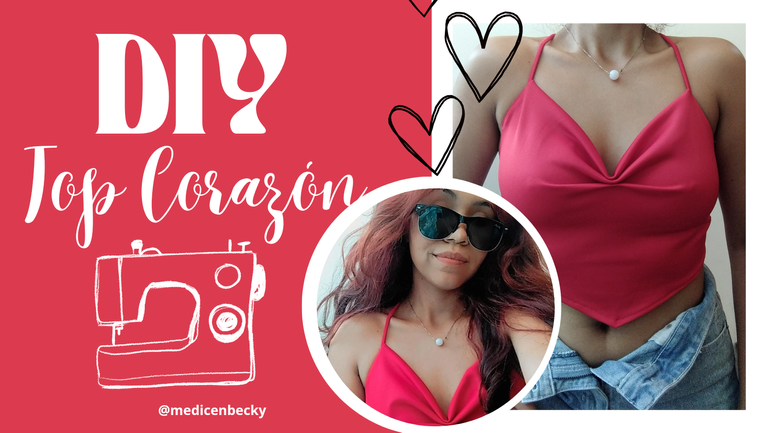

Hola hola gente bonita de hive, paso por aquí una vez más para mostrarles el paso a paso de este top tan precioso, que en mi tienda le llamamos top corazón. Tenía muchísimos días perdidas por trabajo pero, me emociona poder compartir una vez más con todos ustedes y sobre todo en esta comunidad, porque la costura se ha convertido en mi pasión.
Hello hello beautiful people from hive, I'm here once again to show you the step by step of this beautiful top, which in my store we call it heart top. I had many days lost due to work but I am excited to be able to share once again with all of you and especially in this community, because sewing has become my passion.


Spanish


Hace mucho tiempo que empecé mi tienda de ropa online, pero por motivos personales la tuvo que paralizar, y desde el mes pasado, estoy trabajando con ella y me llena de muchísima alegría poder mantenerla en pie porque estoy haciendo lo que me gusta. Sí quieres conocer un poco más mi tienda y ver las prendas que confecciono bajo mi marca la criolla por acá te dejo el link.
Ahora sin nada más que decir vamos con el paso a paso de este top tan bonito, y lo mejor de todo súper sencillo.

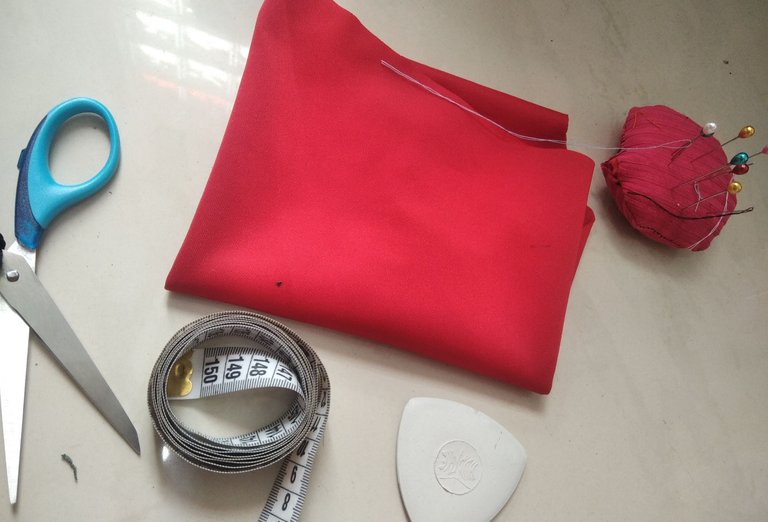
Vas a necesitar tela licra en esta ocasión yo usé esta, que es de un tejido grueso y se llama seúl, también tijeras para tela, alfileres, cinta métrica, papel para el patrón, tiza de sastrería y una máquina de coser.
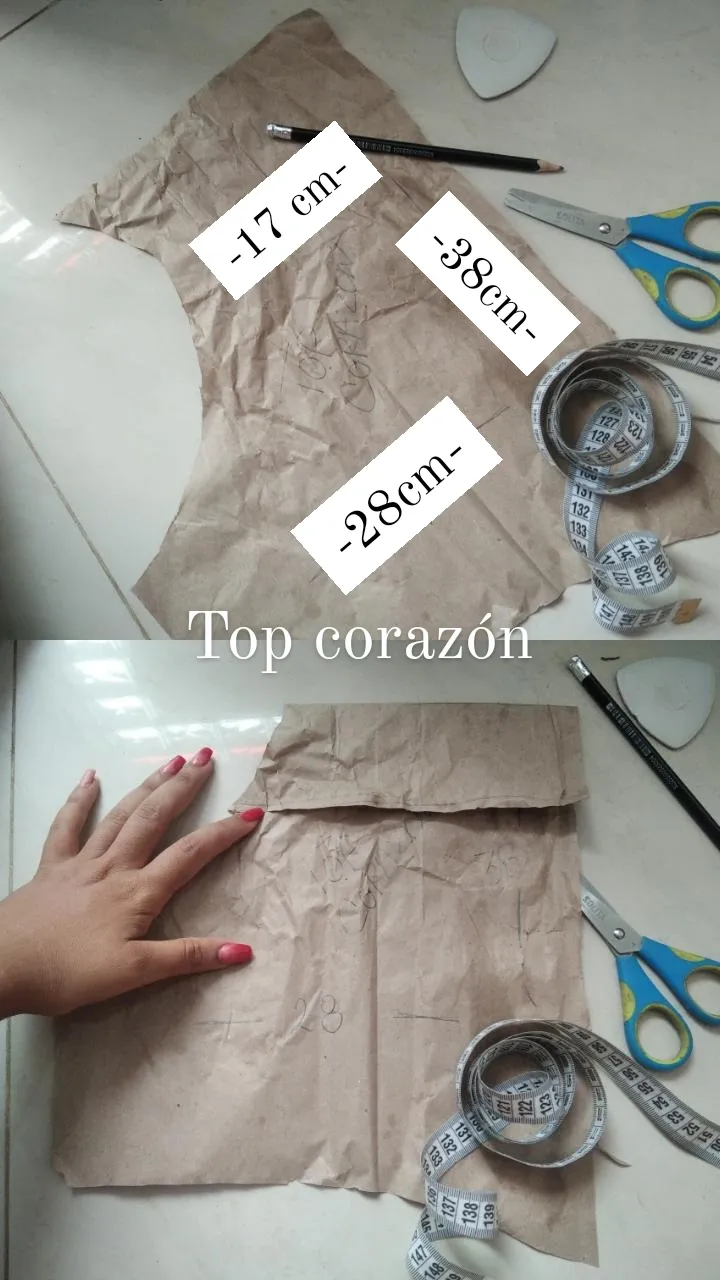
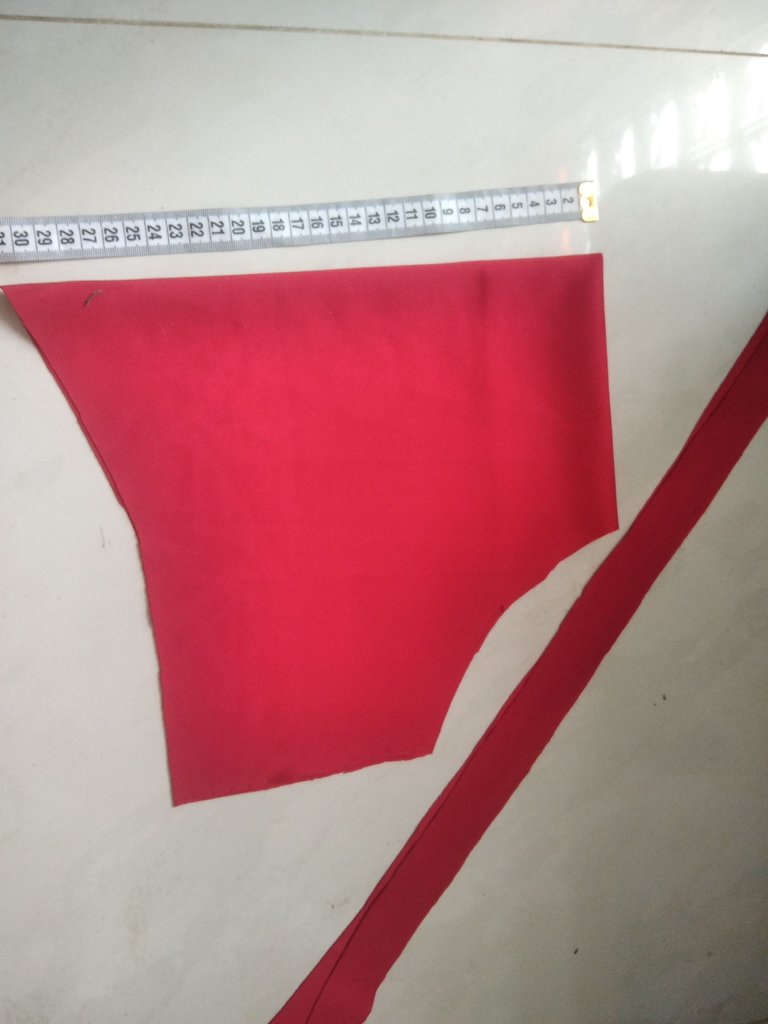
Lo primero que vamos a hacer es sacar el patrón de este top corazón, con las medidas que mostraré a continuación, recordándo que la parte arriba es doble.
Después vamos a cortar exactamente esta misma forma en la tela , y 2 tiras de aproximadamente de 1 metro de largo y 3cm de ancho.
Ahora empezamos a coser con la ayuda de nuestra máquina las dos tiras, dobladas a la mitad, con una puntada en Zig zag.
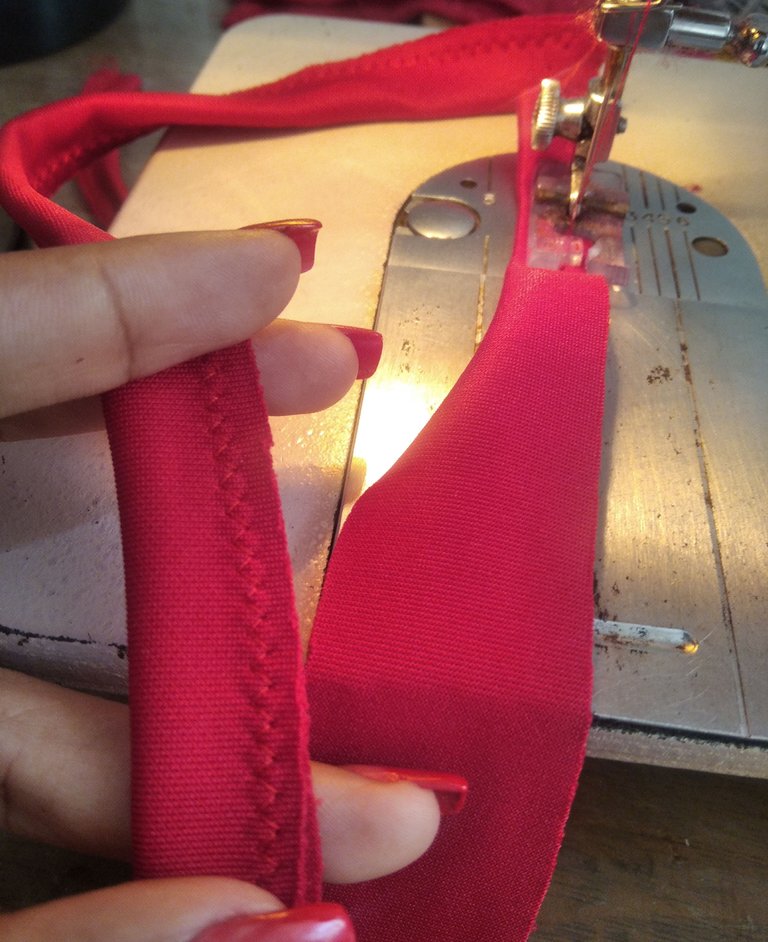
Estas tiras las vamos a voltear con la ayuda de una aguja de tejer o un palillo.
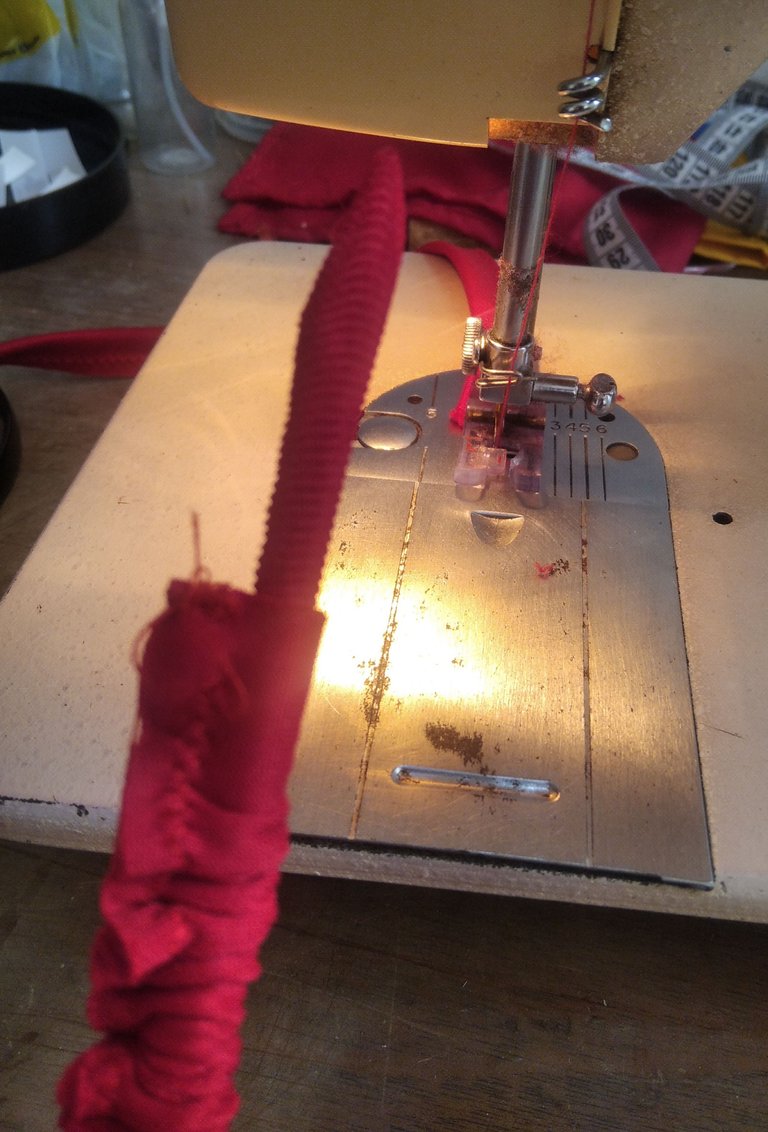
_ Serán los tirantes de nuestro top por esto lo vamos a coser, una en cada extremo de esta forma._
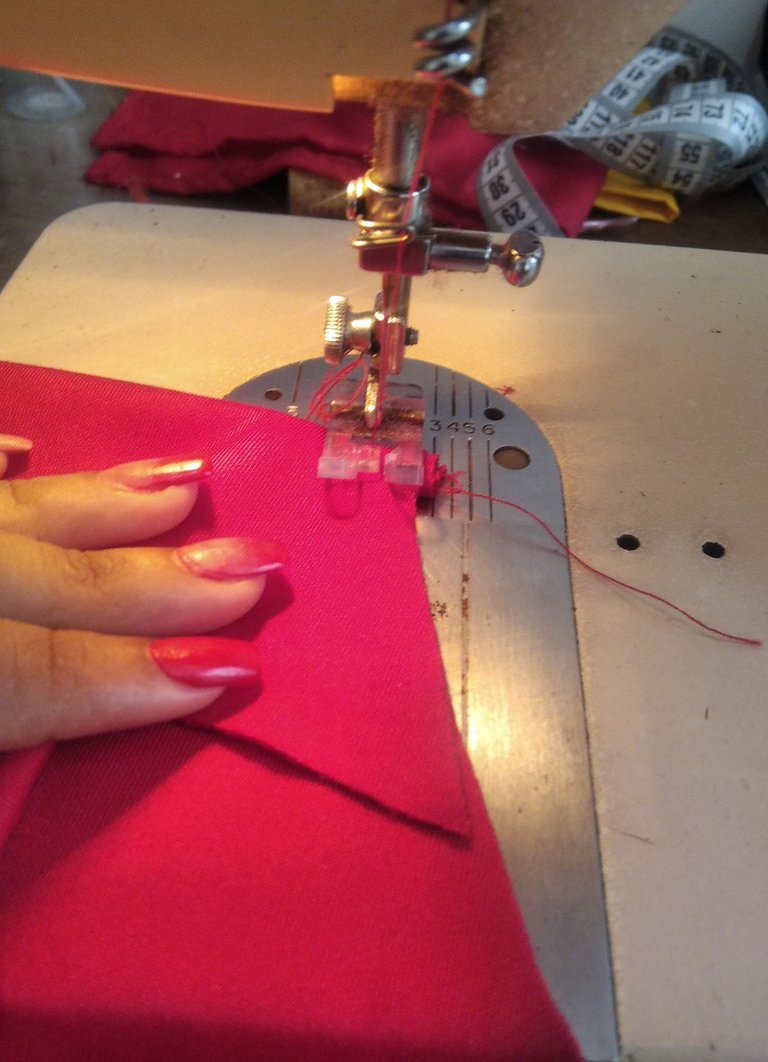
Cuando ya estén pegados nuestros tirantes a la parte doble del top, vamos a proceder a hacer Zig zag por todo el contorno.
Para que la parte del frente te quede recta prolija y bonita vamos a cocer por el lado al revés una costura de esta forma y al voltear tendremos un pico totalmente parejo.
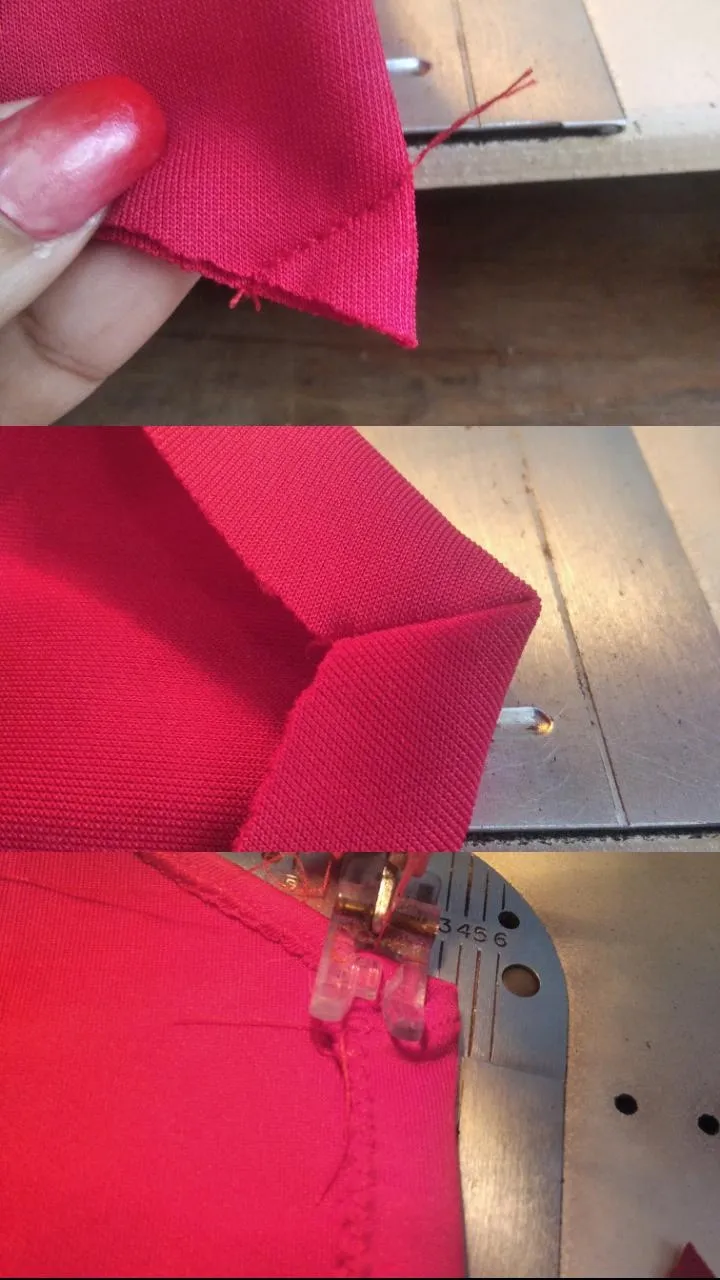
Llegó la llegó la hora de coser todo el top. Me gusta hacer Zig zag porque la orilla no queda tan gruesa, por ende solo tengo que doblar la tela una vez en lugar de dos cómo se hace el dobladillo normalmente. Cómo el tejido de esta tela es bastante gruesa, de esta forma nuestro top se ve más delicado.
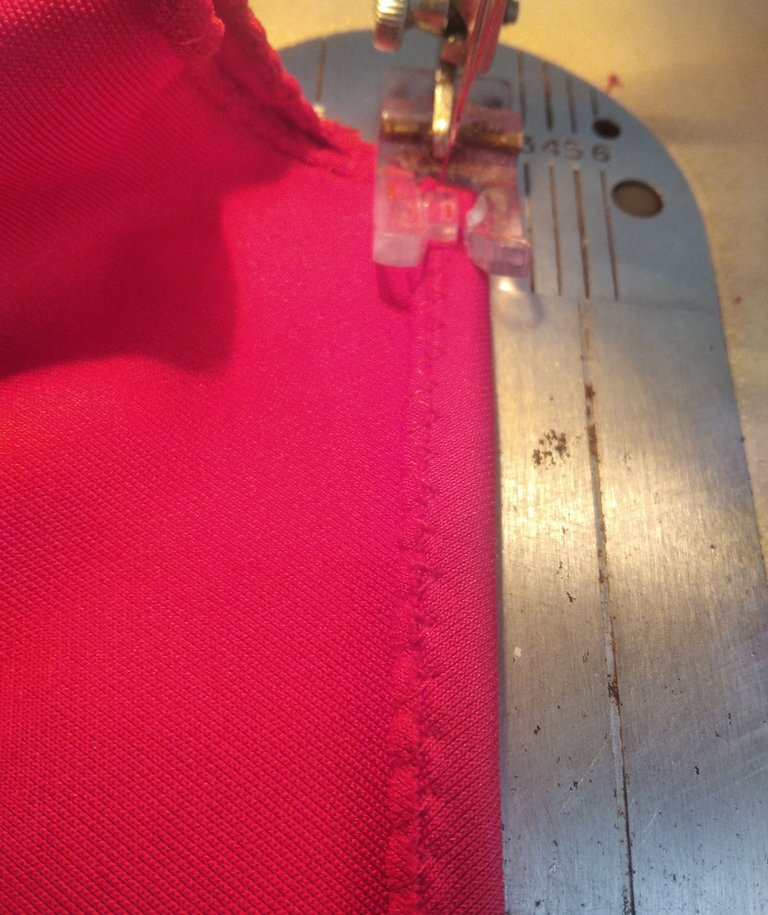
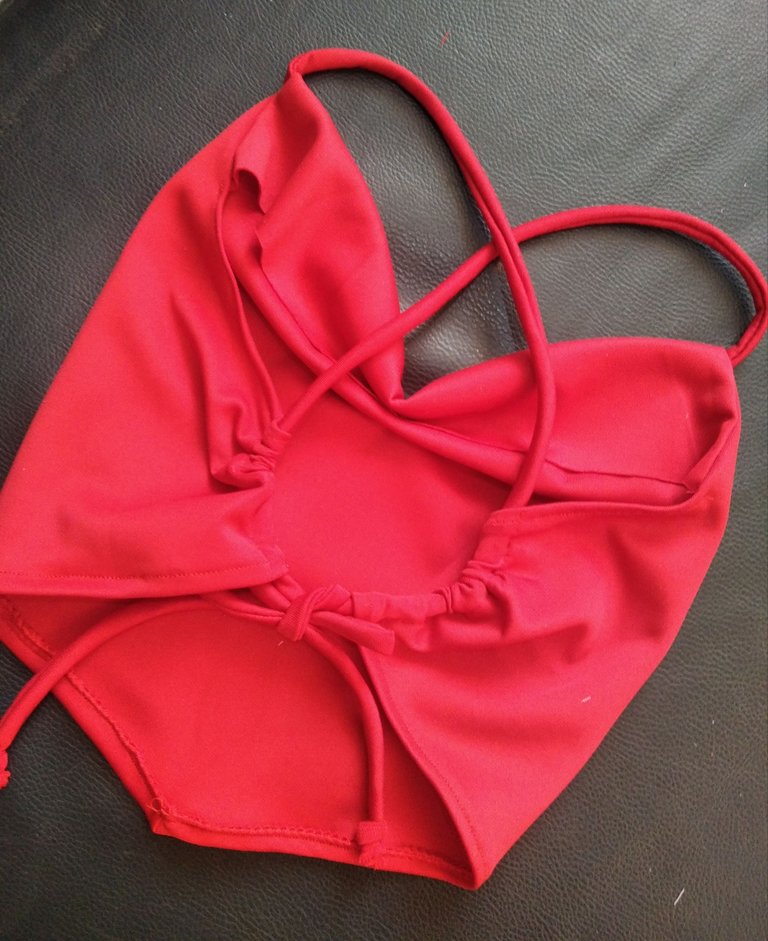
Después que ya cocimos todo el borde Y tenemos nuestro top casi listo, vamos con los laterales. Cosemos con costura recta, dejando aproximadamente 2cm, una abertura razonable para que entre la trenza que posteriormente habíamos cocido como tirantes y no olvidemos la etiqueta.
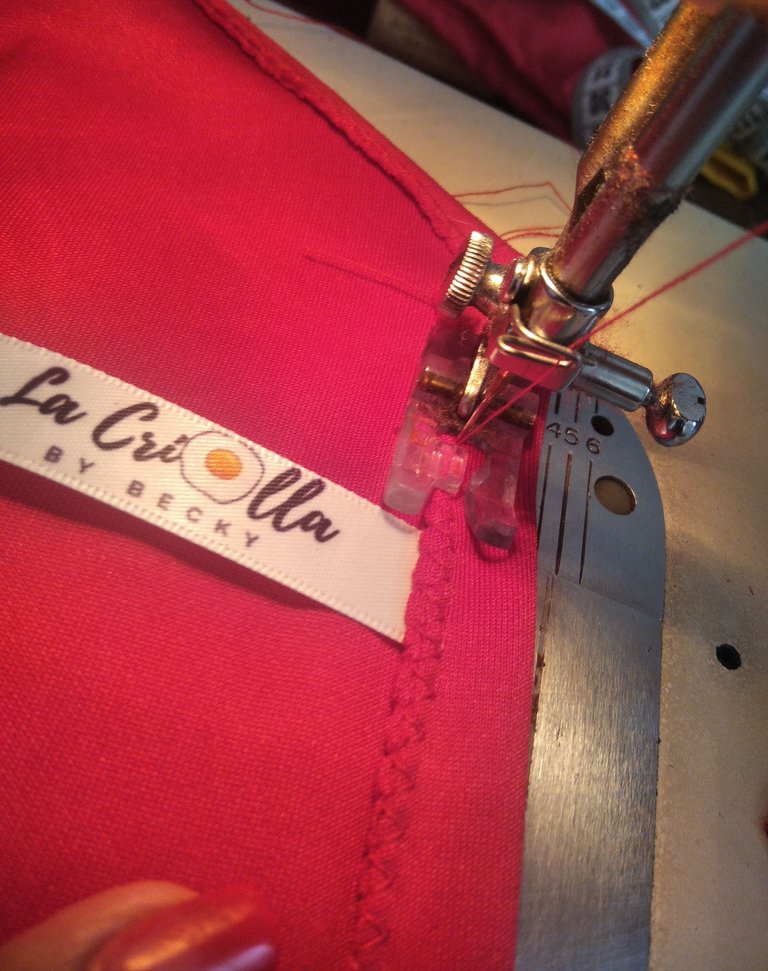
Ahora sí tenemos nuestro top corazón totalmente listo, cortamos los hilos rematamos bien y se ve de esta forma, pero falta un detalle.
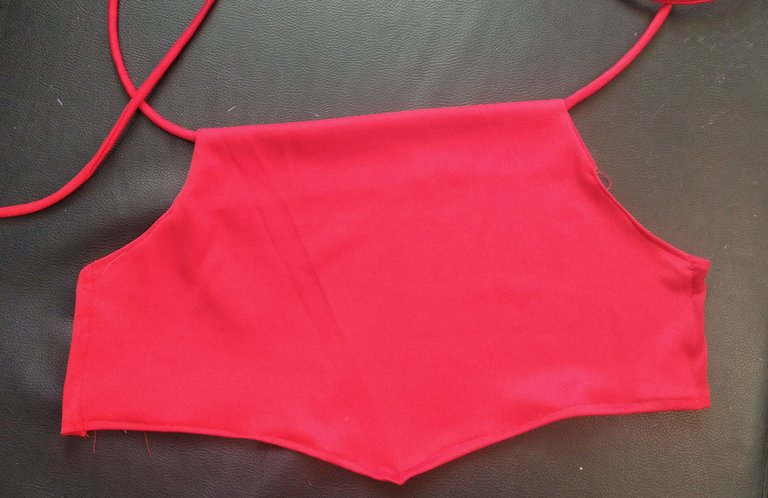
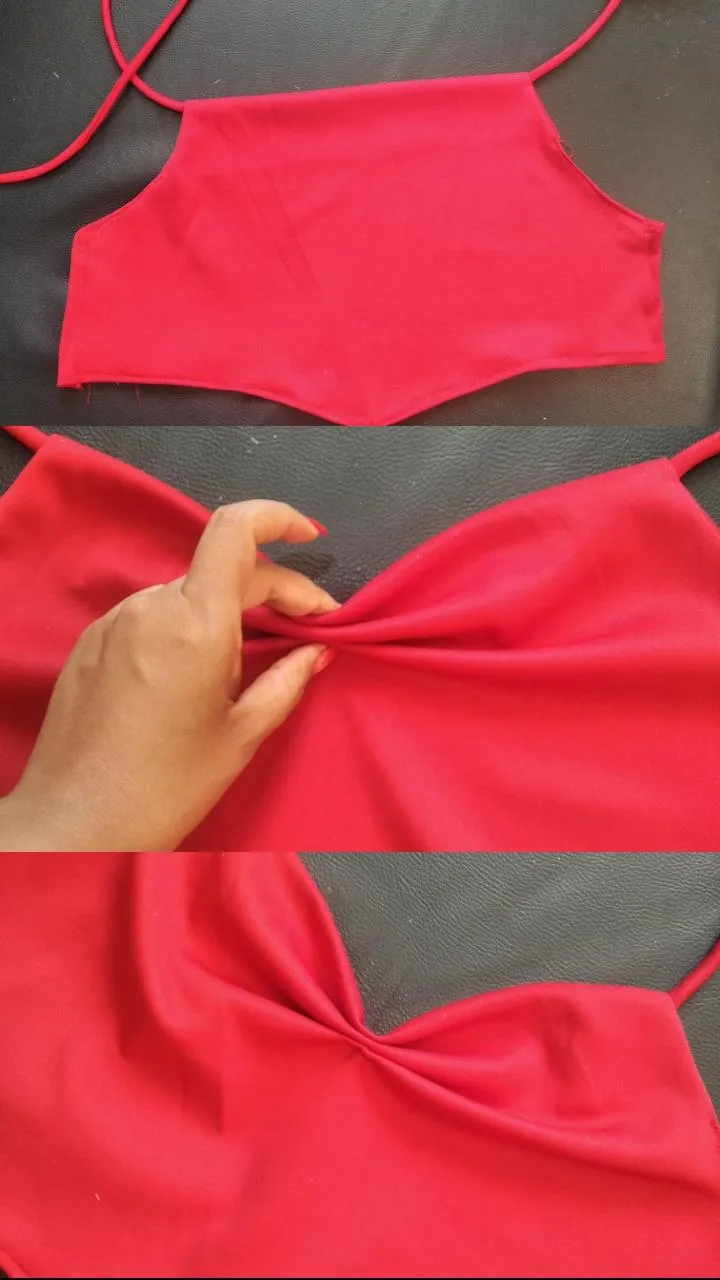
Como su nombre lo dice, falta el pliegue que le dará esa forma del corazón, para esto vamos a medir el top y justo en el centro, hacemos tres pinzas hacia abajo de esta forma. Y con la ayuda de una aguja de coser vamos a agarrar una puntada lo más delicada que podamos.
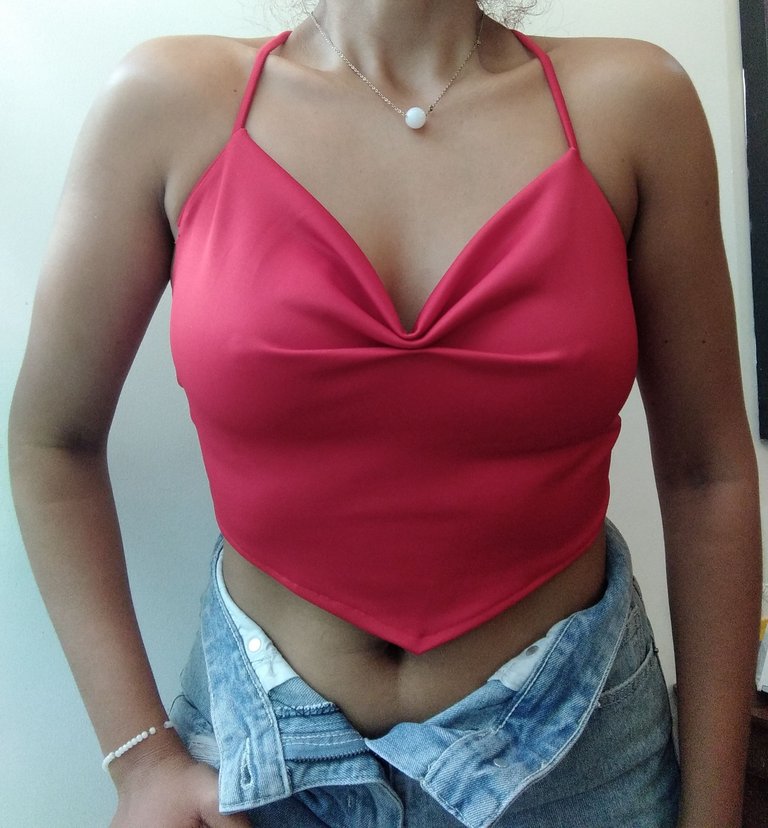
Ahora sí nuestro top está listo para usarse.
**_Y este es el resultado espero les haya gustado. Disfruté mucho hacer este top con ustedes. Sí te gusta este tipo de ropa, te invito a seguirme en mi tienda online @lacriollaonline, hago envíos nacionales en Venezuela Y tenemos precios súper buenos en ropa totalmente en tendencia. Esto fue todo por el post de hoy, nos vemos la próxima✨🦋💞


English


**_It's been a long time since I started my online clothing store but for personal reasons it had to stop, but since last month, I've been working with it and it fills me with great joy to be able to keep it going because I'm doing what I like. If you want to know a little more about my store and see the garments that I make under my brand, la criolla, here is the link_**

Now with nothing more to say let's go with the step by step of this very beautiful top and the best super simple.
( )
)
You are going to need lycra fabric this time I used this one, which is made of a thick fabric and is called seúl, also fabric scissors, pins, a tape measure, paper for the pattern, tailoring chalk and a sewing machine.

The first thing we are going to do is take out the pattern of this heart top, with the measurements that I will show below, remembering that the upper part is double.

Then we are going to cut exactly this same shape in the fabric, and 2 strips of approximately 1 meter long and 3cm wide.
( )
)
Now we begin to sew with the help of our machine the two braids with a Zig zag stitch.

We are going to turn these strips with the help of a knitting needle or a toothpick.

These two braids are going to be the straps of our top, so we are going to sew one at each end in this way.

When our straps are glued to the double part of the top, we are going to proceed to Zig zag all around the contour.
So that the front part stays straight, neat and beautiful, we are going to sew a seam in this way on the reverse side and when we turn it over we will have a totally even peak.

Now it's time to sew the entire top. I like to be zig zag because the edge is not so thick Therefore I only have to fold the fabric once instead of twice How the hem is normally done as the fabric of this fabric is quite thick in this way our top looks more delicate

After we have sewn the entire edge and we have our top almost ready, we go with the sides that we are going to sew, leaving approximately 2 cm a reasonable opening for the braid that we had later sewn as straps to enter and do not forget the label.

Now we do have our heart top completely ready, we cut the threads, we finish it off well and it looks like this but there is one detail missing.

As its name says, the fold that will give it that heart shape is missing. For this we are going to measure the top and right in the center we are going to make three darts downwards in this way and with the needle with the help of a sewing needle we are going to grab a stitch as delicate as we can Now our top is ready to be used.


And this is the result I hope you liked it I really enjoyed making this top with you. If you liked wearing this type of clothing, I invite you to follow me in my online store, I make national shipments in Venezuela And we have super good prices on totally trending clothes, this was all for the break, see you next time today.


Las fotos son de mi propiedad, texto traducido con Google,foto portada y separadores editados en canva ||| The photos are my property, text translated with Google, cover photo and separators edited in canva
