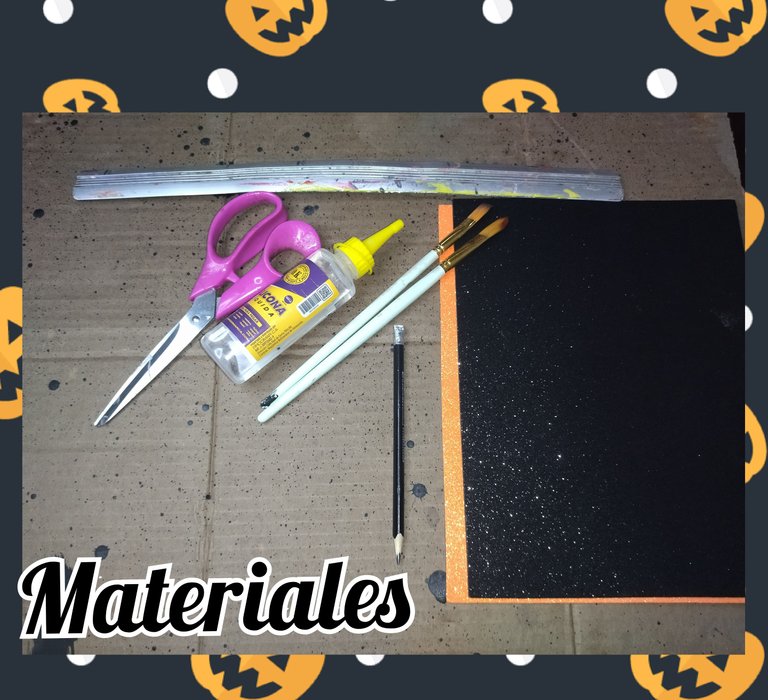
🎃👻🎃 MATERIALES 🎃👻🎃

🎃 Cartón de caja.
👻 Silicón líquido.
🎃 Foami escarchado negro.***
👻 Foami escarchado naranja.
🎃 Foami escarchado verde.
👻 Cartulina blanca.
🎃 Pintura blanca.
👻 Pintura negra.
🎃 Pintura roja.
👻 Pintura dorada.
🎃 Pintura verde manzana.
👻 Tijera.
🎃 Regla.
👻 Lápiz.
🎃 GANAS DE TRABAJAR Y CREATIVIDAD.👻
 🎃👻🎃 PROCESO CREATIVO 🎃👻🎃

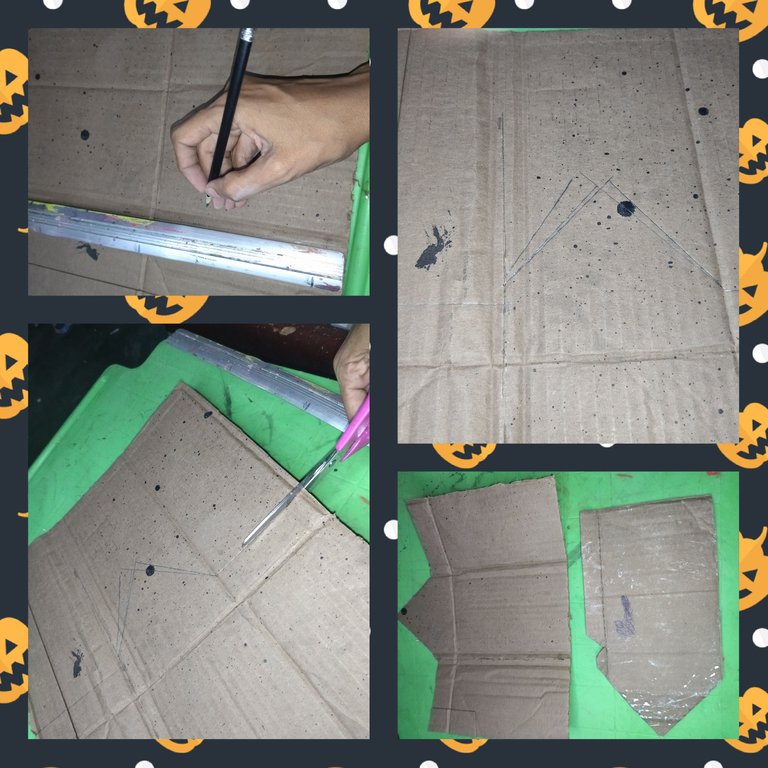
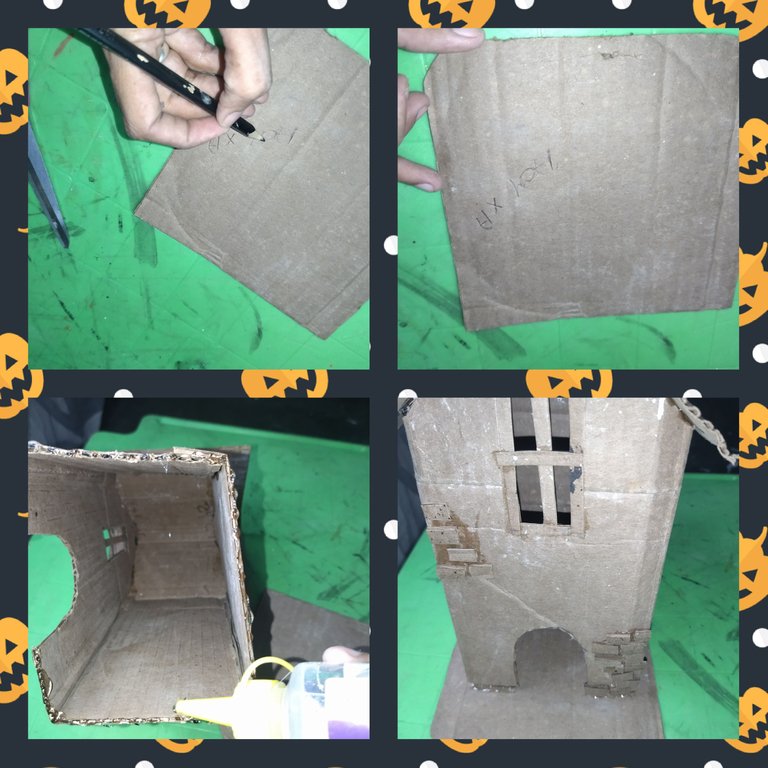
Primero que nada marcamos la forma en el cartón de caja y para eso nos ayudamos con la regla y el lápiz y luego lo recortamos.
El tamaño depende de su gusto de cada quien ya que este trabajo puede hacerse de cualquier tamaño.
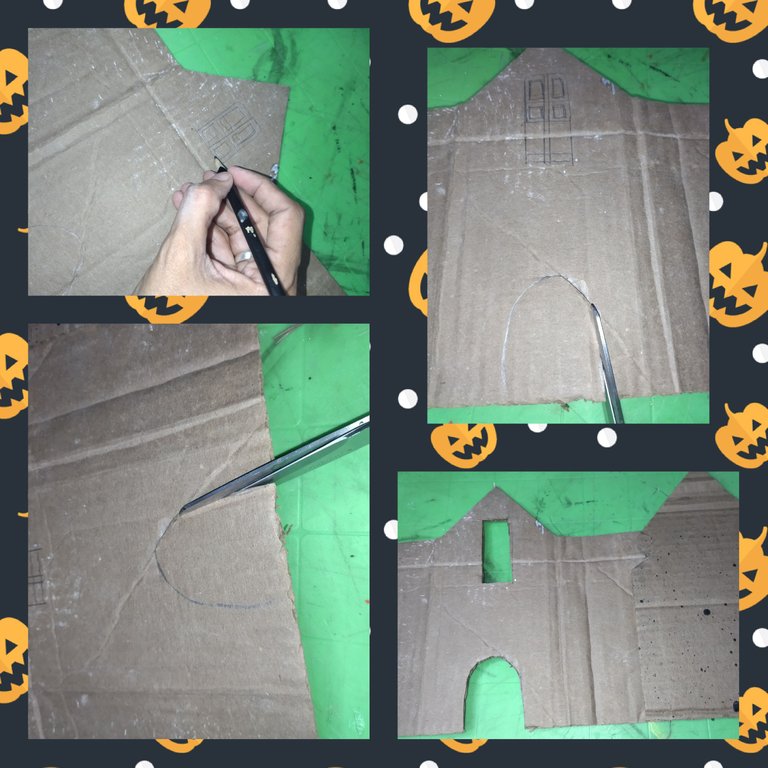
Lo que hice ahora fue marcar la ventana y la puerta en la parte que será el frente de la casita, una vez marcados procedi a recortar con la tijera.
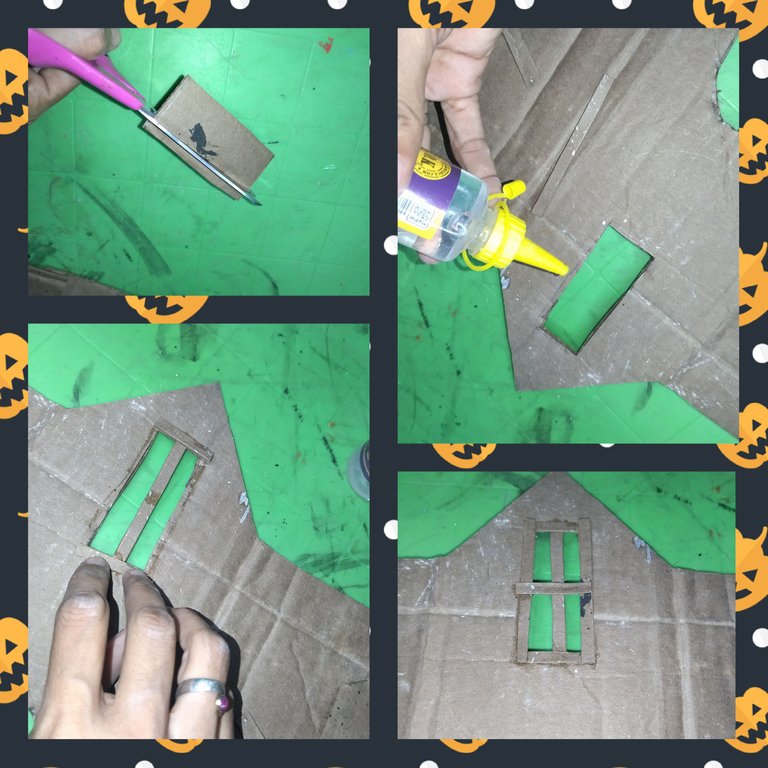
De un retazo del cartón recorte algunas líneas muy delgadas y con ellas las coloque en los bordes de la ventana con el silicón liquido.
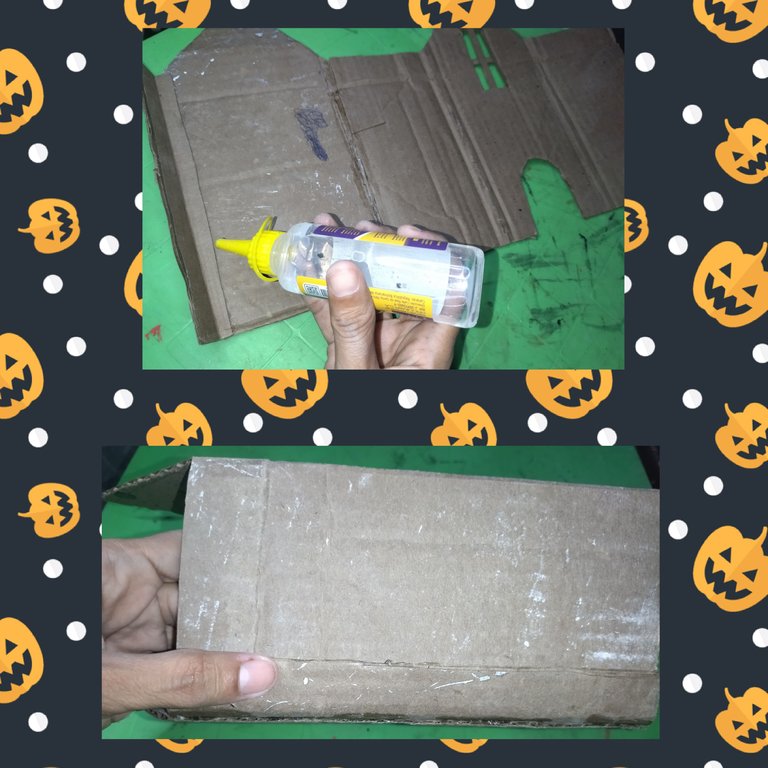
Marque una pestaña y la doble a la que le aplique el silicón liquido, luego la pegue.
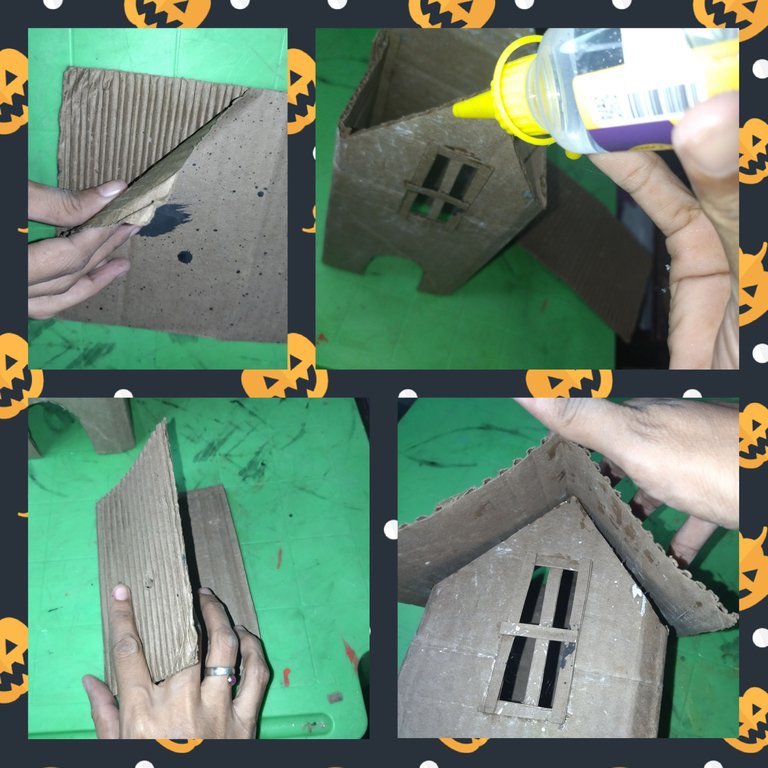
Recorte un rectangulo que cubra el techo de la casita, al cartón le quitamos la capa de arriba para que queden las grietas y se vea el efecto de las tejas del techo, luego le aplique Silicón líquido y pegamos.
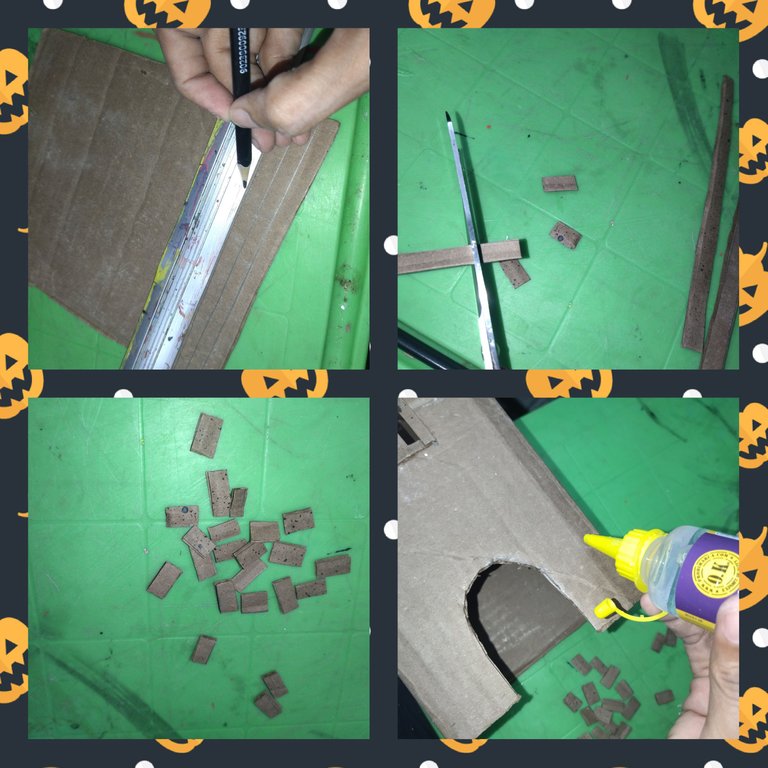
Del cartón de caja recorte algunos listones bien delgados, los cuales recorte en pequeños trocitos que van a simular ladrillos.
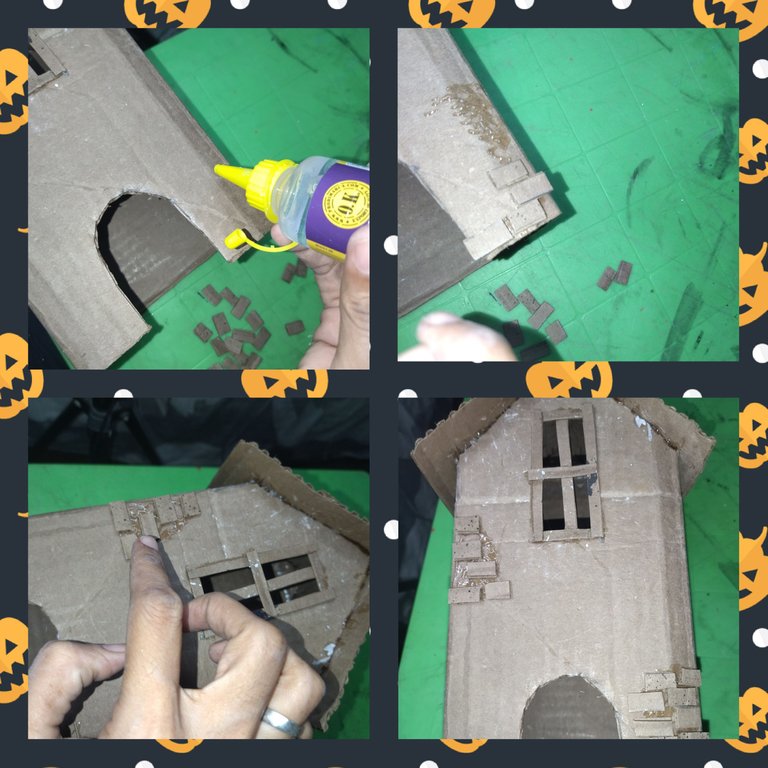
Aplique el silicón en diferentes partes del frente de la casita y comencé a colocar los trocitos que recorte.
Luego recorte un rectangulo de unos 17 cm x 17 cm al que le recorte las puntas y le pegue la casita con el silicón liquido.
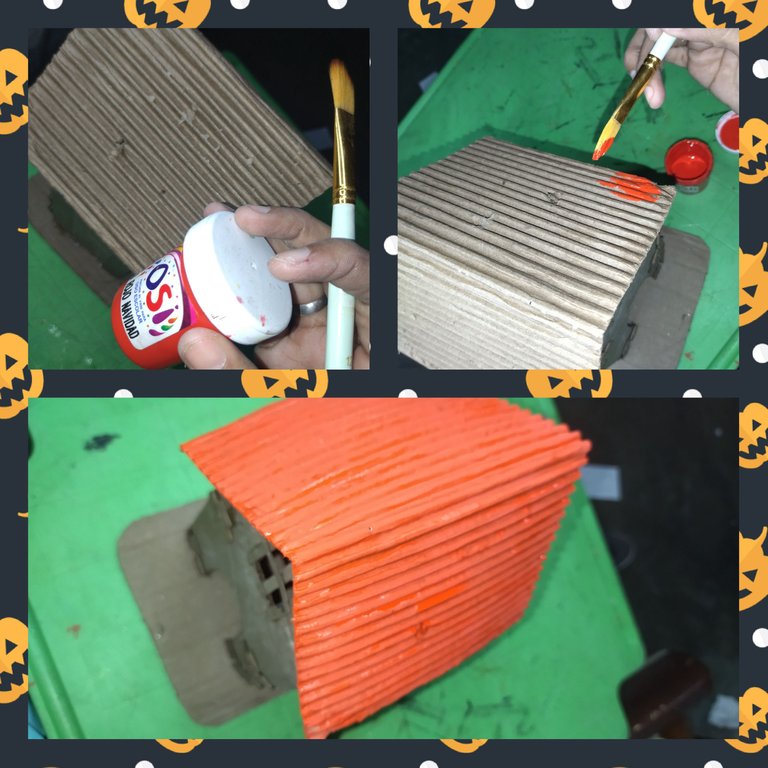
Llegó el momento de darle color, así que tome la pintura roja y la aplique en el techo de la casa.
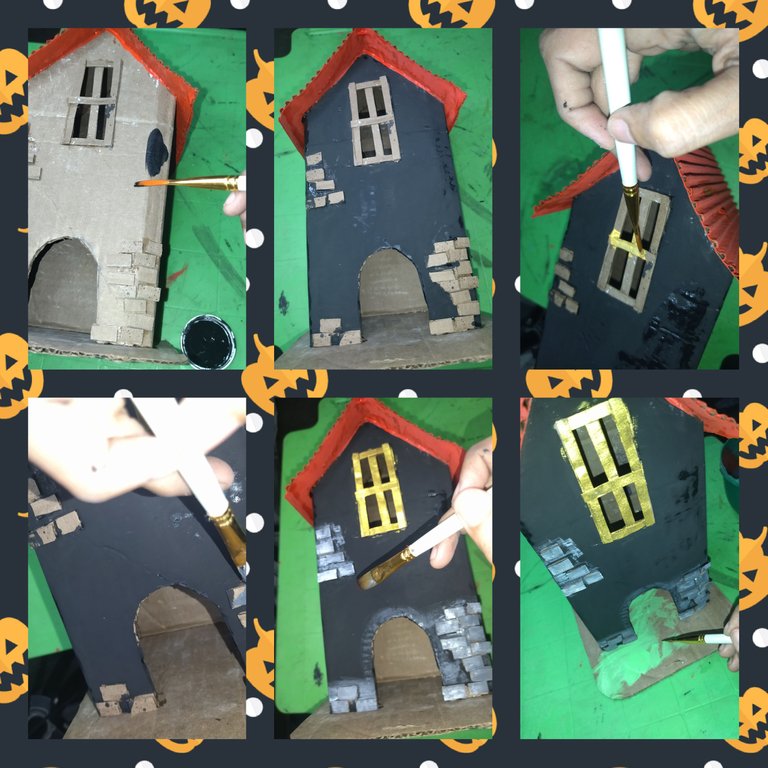
Después tome la pintura negra y pinte todo lo que serían las paredes de la casita, luego utilice la pintura dorada y pinte la ventana, luego dibuje los ladrillos con un poco de gris que forme con la pintura blanca y la negra, cuando seco le aplique un poco de pintura blanca y finalmente aplico la pintura verde manzana en el piso.
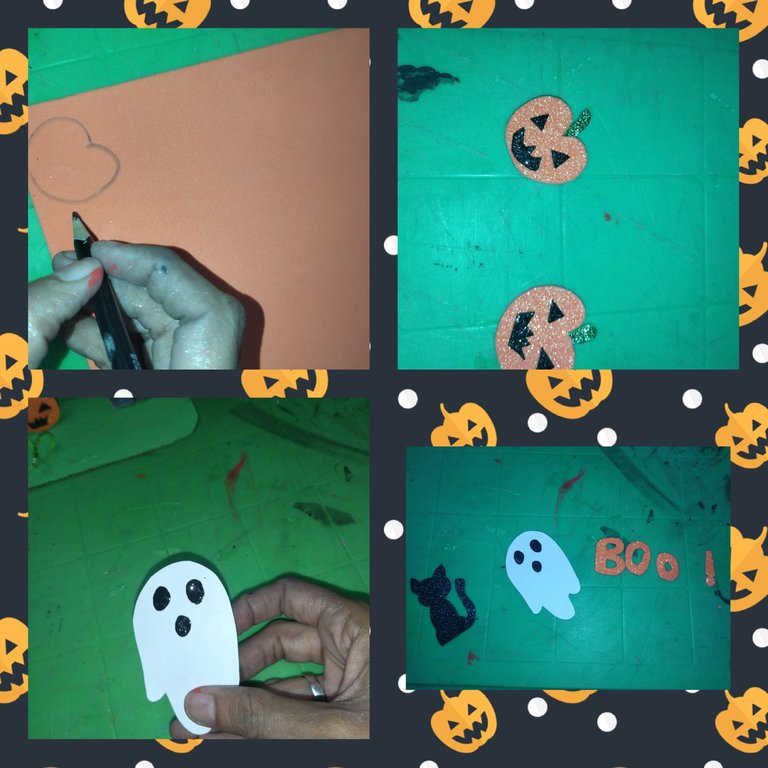
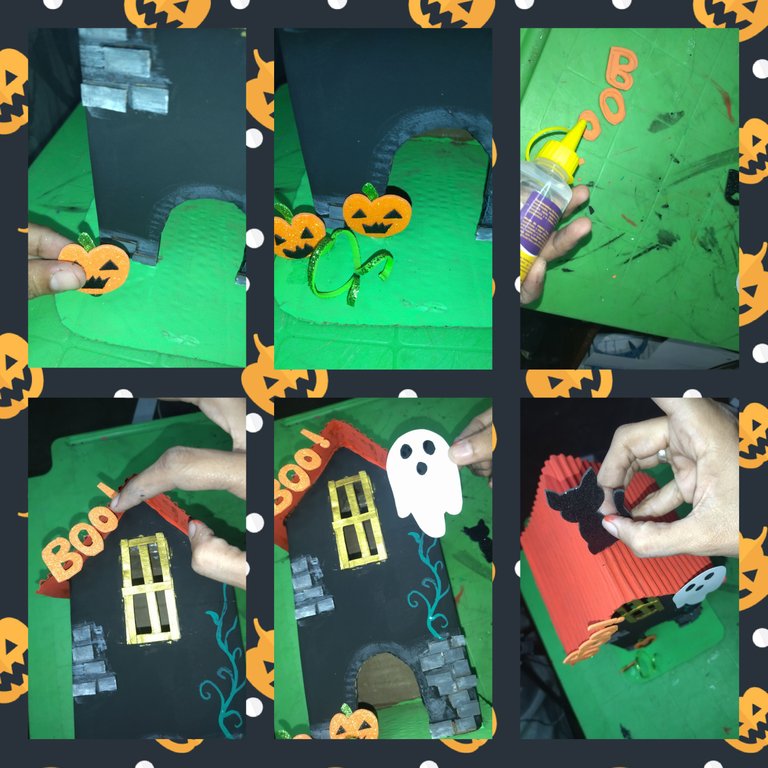
Tome el foami naranja y dibuje unas calabazas las cuales recorte, luego con unos trocitos de foami negro les hice los ojos y la boca y los pegue junto con la rama.
Luego en el cartón recorte una fantasma al que le dibuje los ojos y boca, del foami negro dibuje y recorte un tierno gatito y finalmente del Foami naranja recorte la palabra boo!.
Cómo ya tenemos todas las decoraciones listas procedi a pegarlas y listo trabajo concluido.
 🎃👻🎃 RESULTADO FINAL 🎃👻🎃

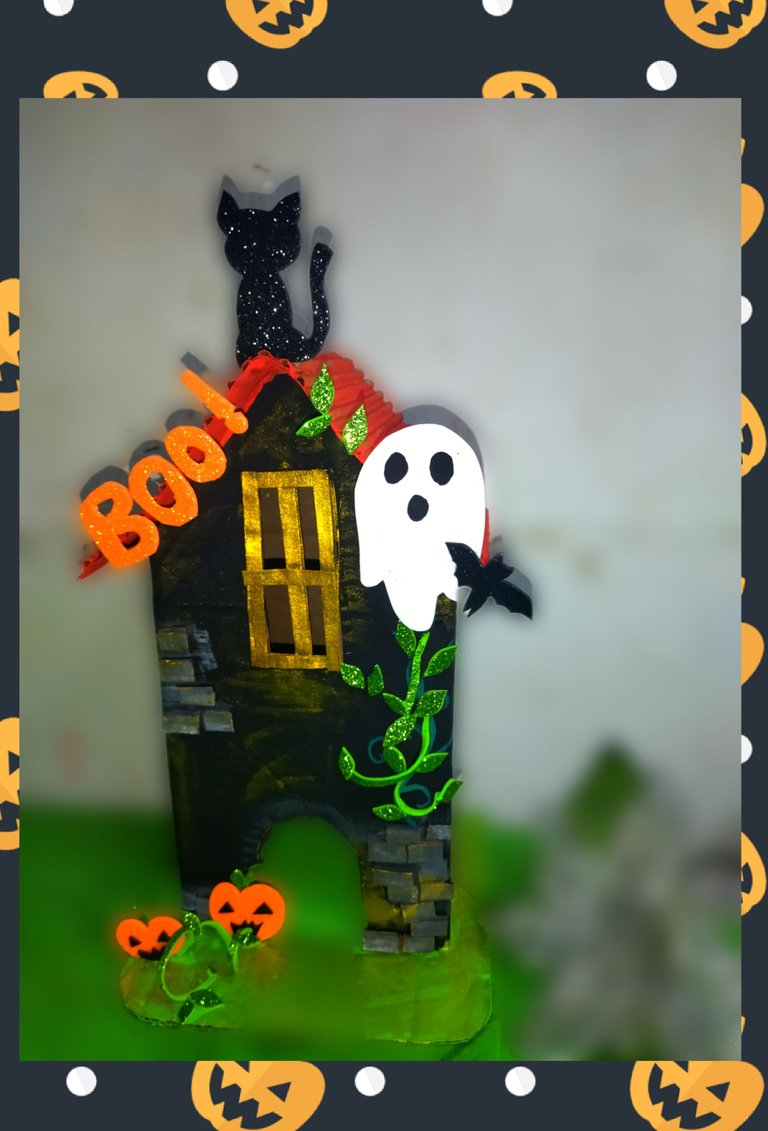

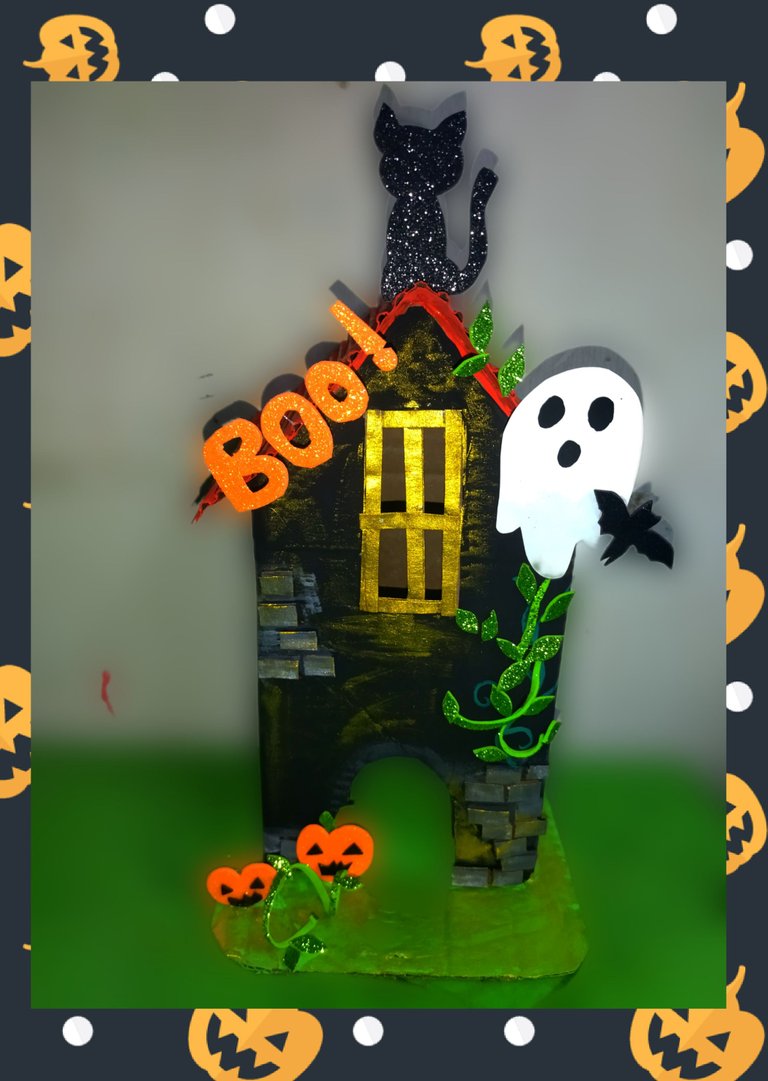

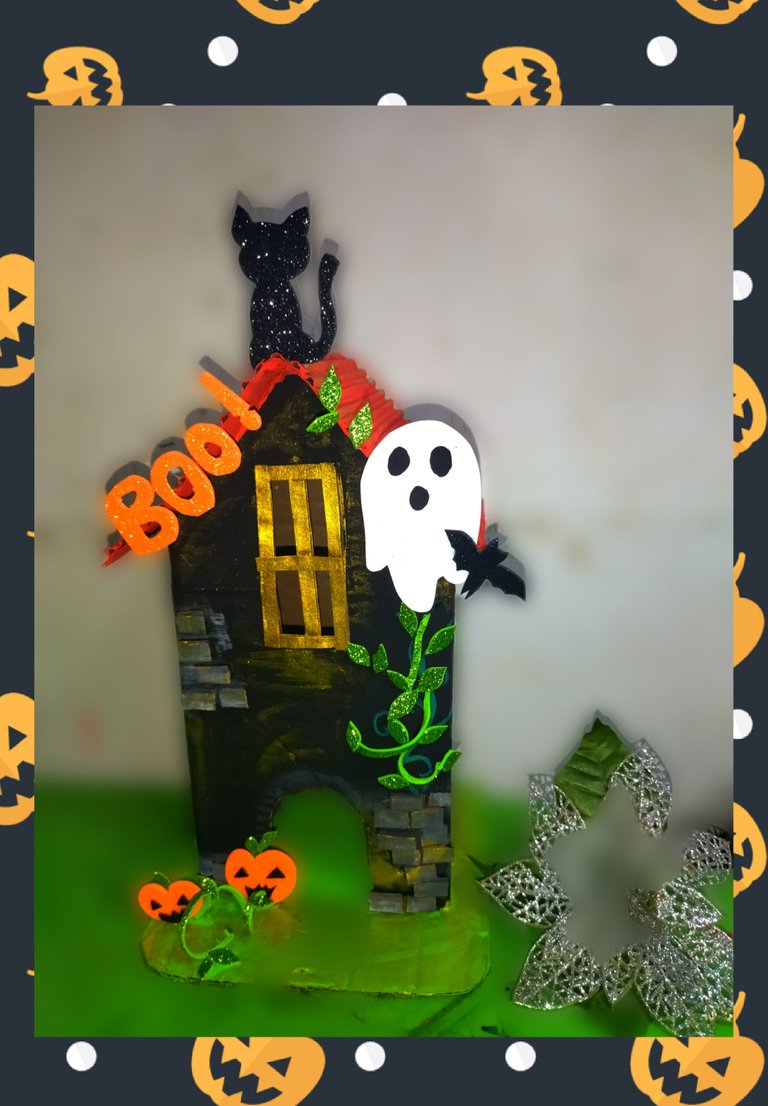

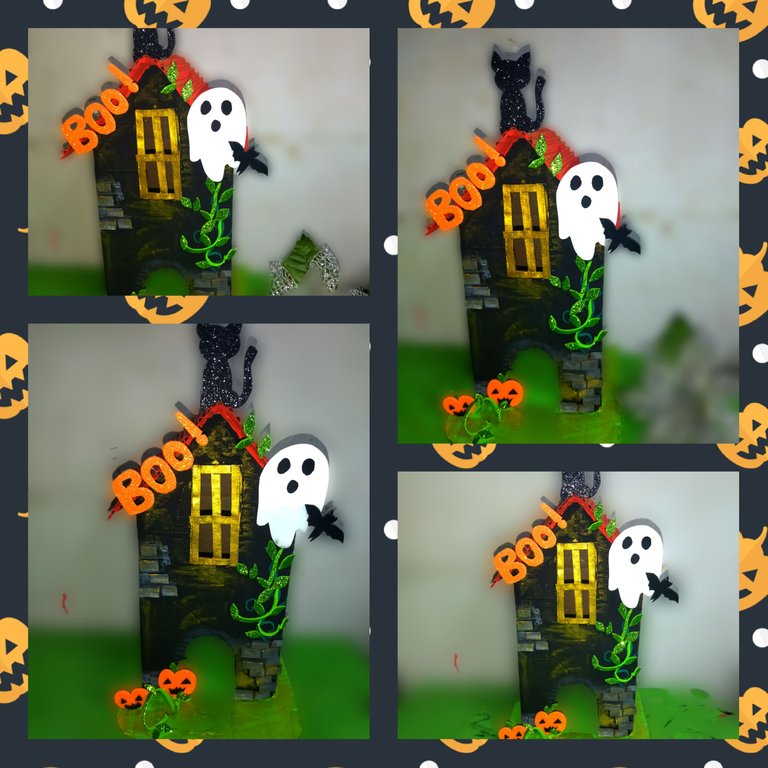
Espero que les haya gustado mi trabajo del día de hoy, si es un poco largo, aunque no tanto cuando tienes entusiasmo, cuando esto pasa el tiempo pasa bien rápido yo por sobre todas las cosas mi divertí increíblemente haciendo esta casita terrorífica pero linda a la vez, la invitación es para que se animen no solo a realizar está propuesta de hoy, sino que cualquiera que les sirva de catarsis, porque no hay mejor manera de ocupar el tiempo que realizando estas bellas decoraciones que sin duda alguna no solo serán parte de nuestra decoración si no que también podrían servirnos para hacer un lindo obsequio que para rematar es elaborado con nuestras manos, así, que manos a la obra, a trabajar, espero ver pronto tus creaciones, y de antemano mil gracias por valorar mi trabajo y visitar mi blog.
🎃👻🎃 CRÉDITOS 🎃👻🎃

📷 Todas las fotos fueron tomadas con mi teléfono Xiaomi readmi 9T y son de mi propiedad.
🎃 Fueron editadas con el programa polish.
👻 Utilicé el traductor de Google.
🎃 Utilice el programa video maker.

 🎃👻🎃 ENGLISH 🎃👻🎃


Greetings friends of
#hive especially to the beautiful artist bees that make life in the
#hivediy community.
We are already in the month of October and with this month comes
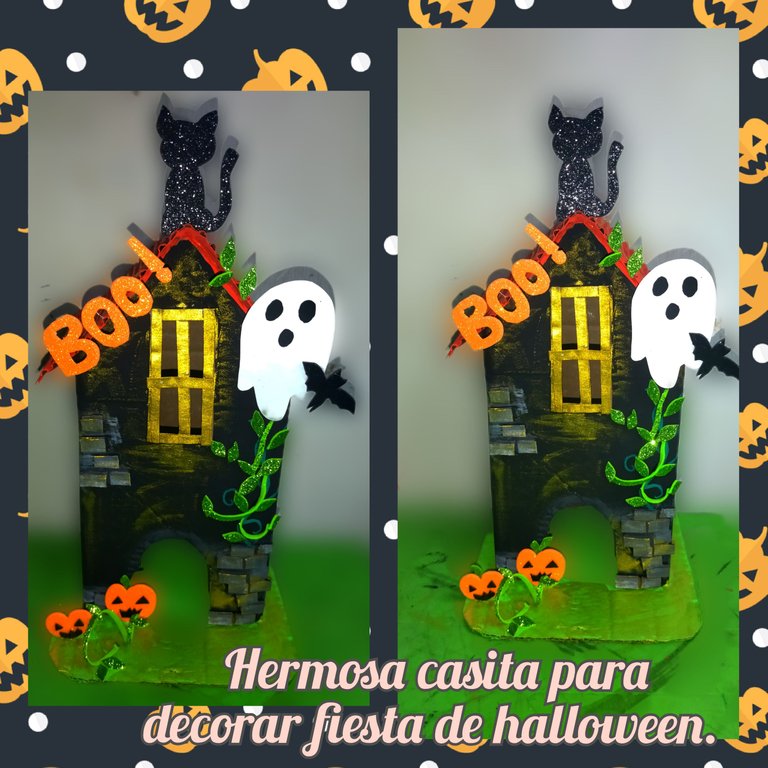
#halloween and many people love to celebrate this party, but if we want to have a great party we must place and use decorations that make our party gloomy but with class, that's why today I'm going to show you how to make a cute horror house that will surely be an element that will complement the decoration, or why not if you want you can use this beautiful detail as a nice gift, that's up to you.
🎃👻🎃 MATERIALS 🎃👻🎃
🎃 Box cardboard.
👻 Liquid silicone.
🎃 Black frosted foami.***
👻 Frosty orange foami.
🎃 Green frosted foami.
👻 White cardstock.
🎃 White paint.
👻 Black paint.
🎃 Red paint.
👻 Gold paint.
🎃 Apple green paint.
👻 Scissors.
🎃 Rule.
👻 Pencil.
🎃 DESIRE TO WORK AND CREATIVITY.👻
 🎃👻🎃 CREATIVE PROCESS 🎃👻🎃
First of all we mark the shape on the cardboard box and for that we help ourselves with the ruler and the pencil and then we cut it out.
The size depends on your taste since this work can be done in any size.

**What I did now was mark the window and the door in the part that will be the front of the house, once marked I proceeded to cut it with scissors.
**

From a piece of cardboard cut some very thin lines and with them place them on the edges of the window with the liquid silicone.

Mark a tab and bend it to the one you apply the liquid silicone to, then glue it.

Cut out a rectangle that covers the roof of the house, we remove the top layer from the cardboard so that the cracks remain and the effect of the roof tiles can be seen, then apply liquid silicone and paste.

From the cardboard box, cut some very thin strips, which you cut into small pieces that will simulate bricks.

I applied the silicone in different parts of the front of the house and I began to place the pieces that I cut.

Then cut out a rectangle of about 17 cm x 17 cm, cut off the ends and glue the house with the liquid silicone.

It's time to color it, so take the red paint and apply it to the roof of the house.

Then take the black paint and paint everything that would be the walls of the house, then use the gold paint and paint the window, then draw the bricks with a bit of gray that Form with the white and black paint, when dry I apply a little white paint and finally I apply the apple green paint on the floor.

Take the orange foami and draw some pumpkins which I cut out, then with some pieces of black foami I made the eyes and the mouth and glue them together with the branch.
Then cut out a ghost on the cardboard and draw the eyes and mouth, draw and cut out a cute kitten from the black foami and finally cut out the word boo! from the orange foami.< /div>

Since we already have all the decorations ready, we proceeded to paste them and the job is done.
 🎃👻🎃 RESULTADO FINAL 🎃👻🎃


I hope you liked my work today, if it is a bit long, although not so much when you are enthusiastic, when this happens time passes very quickly me above all I had incredible fun doing this terrifying but cute little house at the same time, the invitation is for you to be encouraged not only to carry out this proposal today, but also to do anything that serves as a catharsis, because there is no better way to occupy your time than making these beautiful decorations that without a doubt will not only be part of our decoration but could also be used to make a nice gift that to finish off is made with our hands, so, let's get to work, to work, I hope to see soon your creations, and thank you in advance for appreciating my work and visiting my blog.
🎃👻🎃 CREDITS 🎃👻🎃
📷 All photos were taken with my Xiaomi readmi 9T phone and are my property.
🎃 They were edited with the polish program.
👻 I used Google translate.
🎃 Use the video maker program.


