☕🌹☕🌹☕🌹☕🌹☕🌹☕
☕🌹☕🌹☕🌹☕🌹☕🌹☕
Hola amigos de hive especialmente a las bellas abejitas que llenan a esta plataforma con sus obras de arte y su creatividad, reciban una lluvia de bendiciones y buena vibra.
Hello hive friends especially to the beautiful bees that fill this platform with their artwork and creativity, receive a shower of blessings and good vibes.
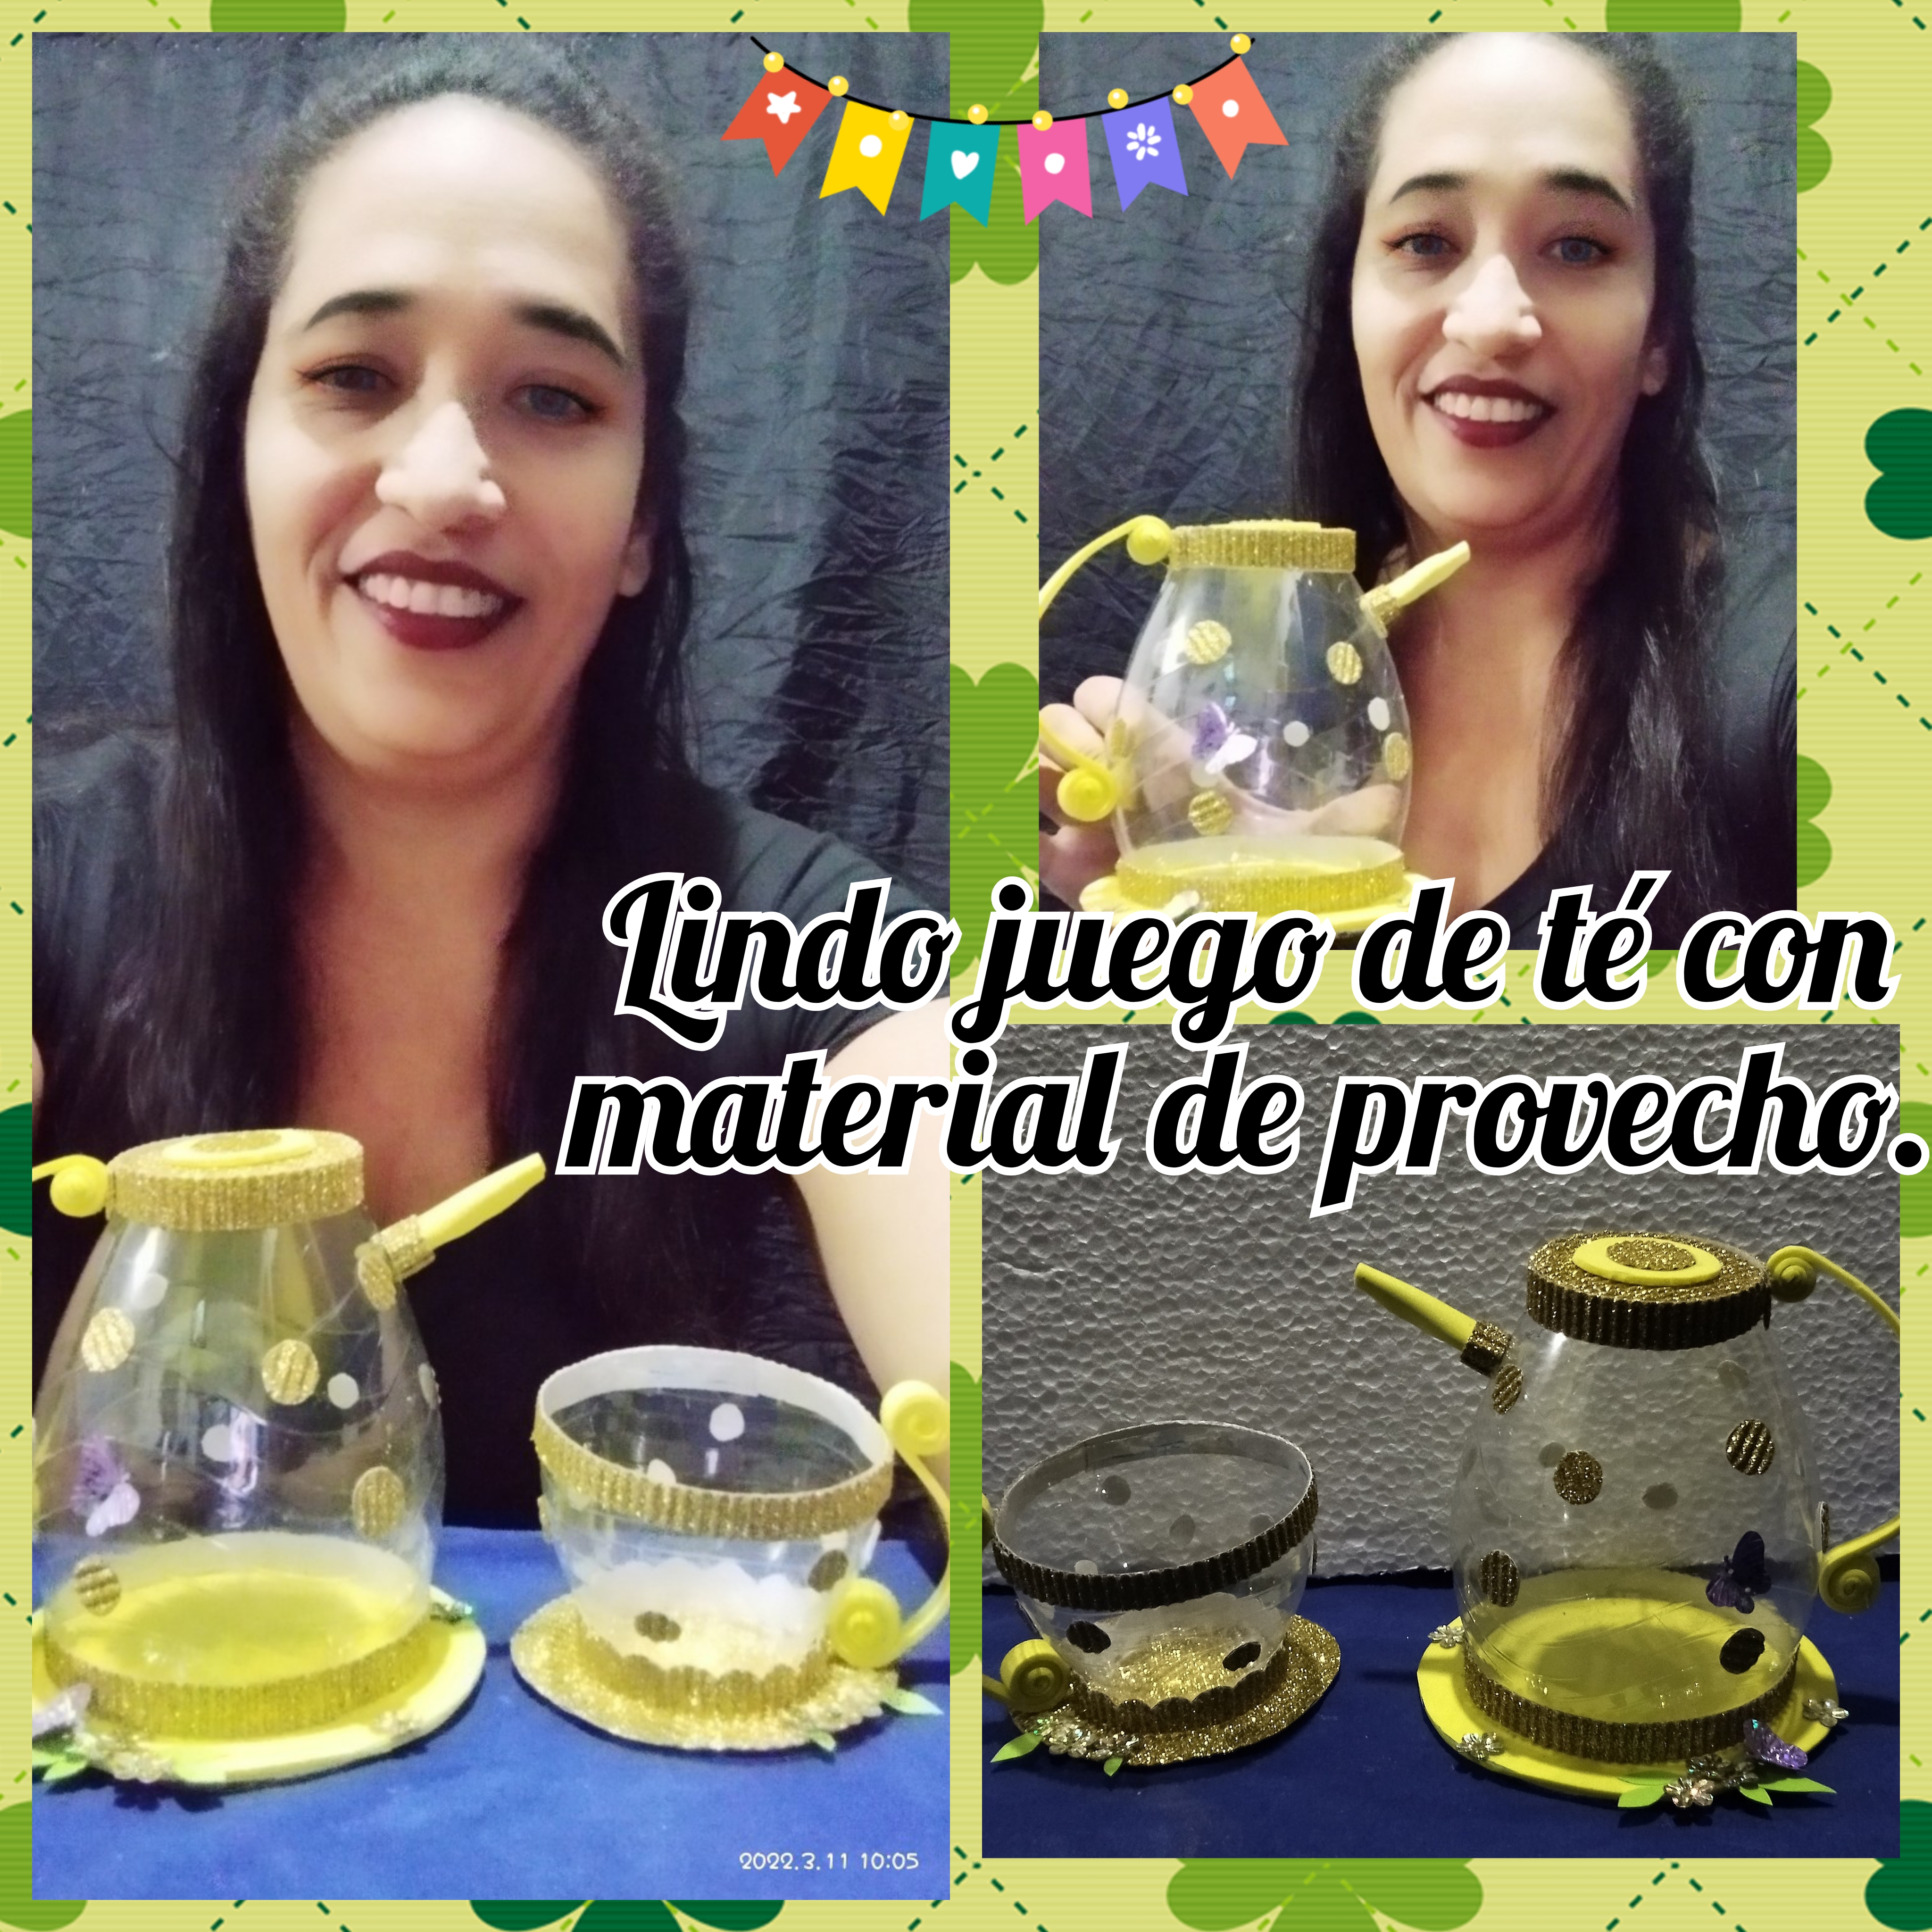
El día de hoy mientras pensaba que propuesta les traería para hoy, recorde que la hija de mi prima la tremenda Lupita me dijo que le gustaría tener un juego de té, así que pensé porque en lugar de comprarlo, no le hacía uno yo con mis manos, así que busque los materiales y me puse manos a la obra, y es el tutorial que les traigo el día de hoy, como elaborar un lindo juego de té con material de provecho, y sin más que decir solo manos a la obra.
Today while I was thinking about what proposal I would bring you today, I remembered that the daughter of my cousin the tremendous Lupita told me that she would like to have a tea set, so I thought why instead of buying it, I didn't make her one with my hands, so I looked for the materials and I got down to work, and this is the tutorial that I bring you today, how to make a nice tea set with useful material, and without more to say just hands to work.
☕🌹☕🌹☕🌹☕🌹☕🌹☕
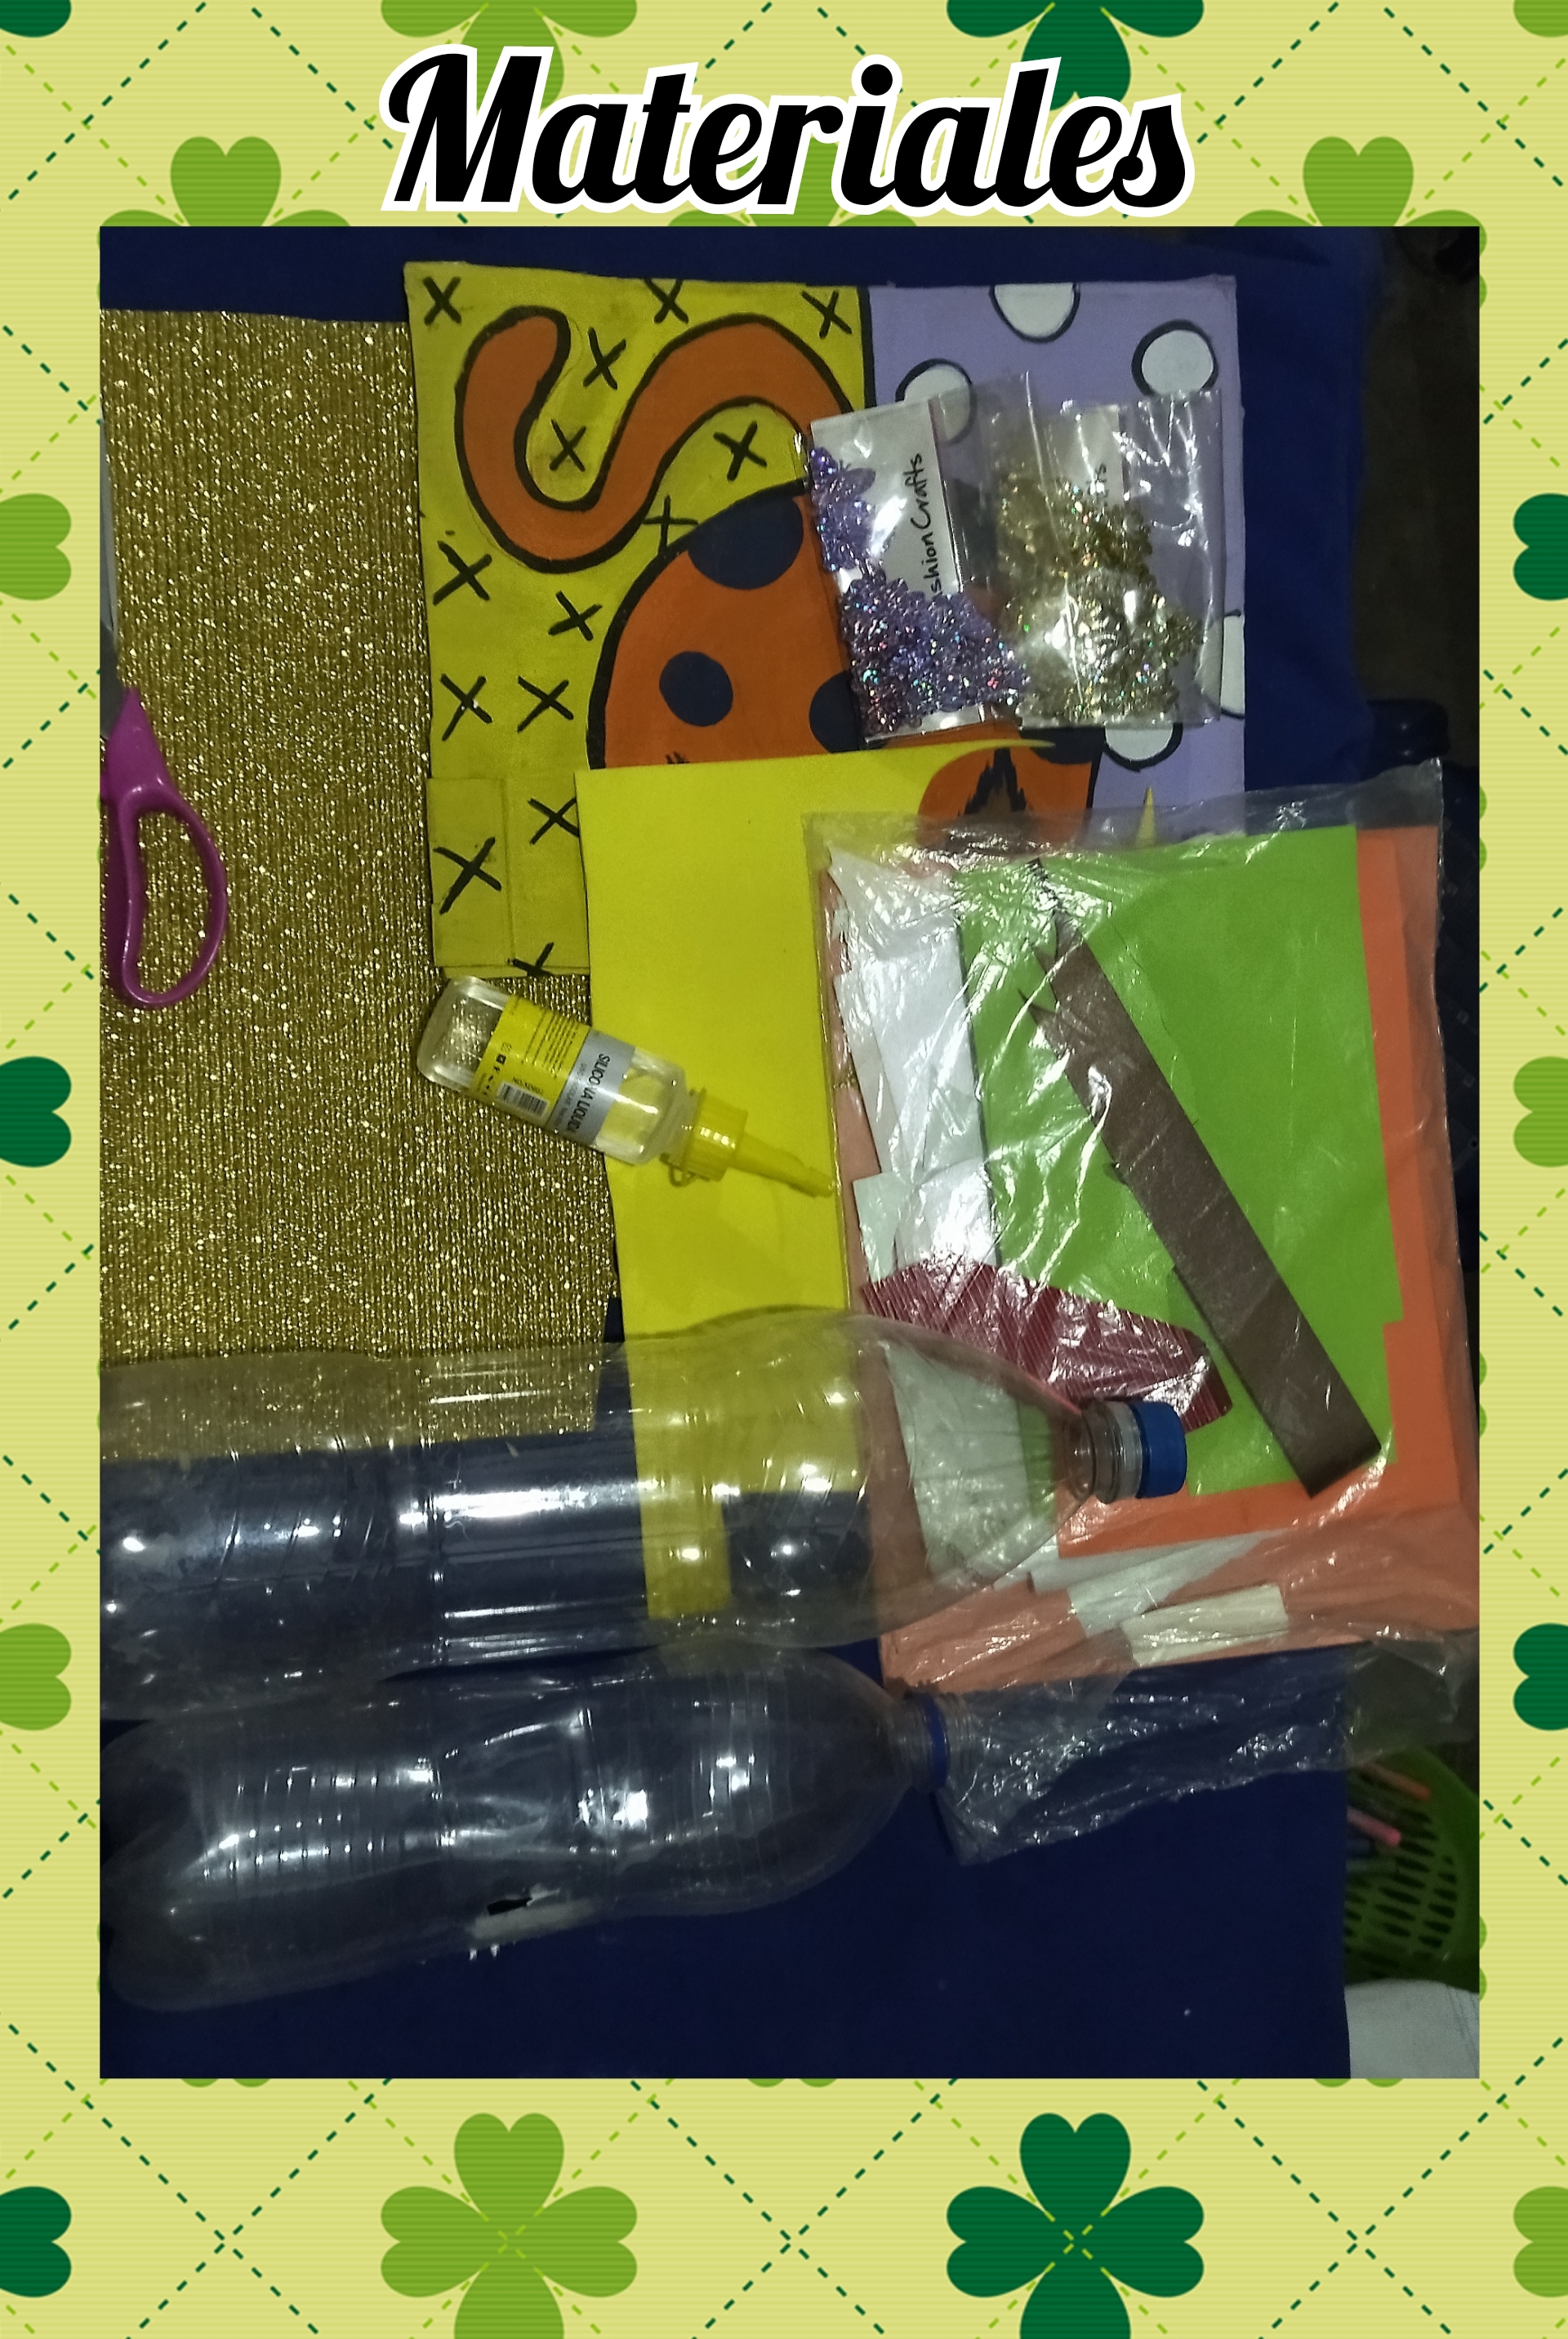
MATERIALES//MATERIALS.
☕🌹☕🌹☕🌹☕🌹☕🌹☕
☕ 2 botellas de refresco plástica una más grande que la otra.//2 plastic soda bottles, one larger than the other.
☕ Cartulina escarchada dorada.//Gold frosted cardboard.
☕ Silicón frío.//Cold silicone.
☕ Cartón.//Cardboard.
☕ Foami amarillo.//Yellow Foami.
☕ Cartulina verde.//Green cardboard.
☕ Aplicaciones de flores y mariposas.//Flowers and butterflies applications.
☕ Tijera y cortador.//Scissors and cutter.
☕ Marcador.//Marker.
☕🌹☕🌹☕🌹☕🌹☕🌹☕
☕🌹☕🌹☕🌹☕🌹☕🌹☕
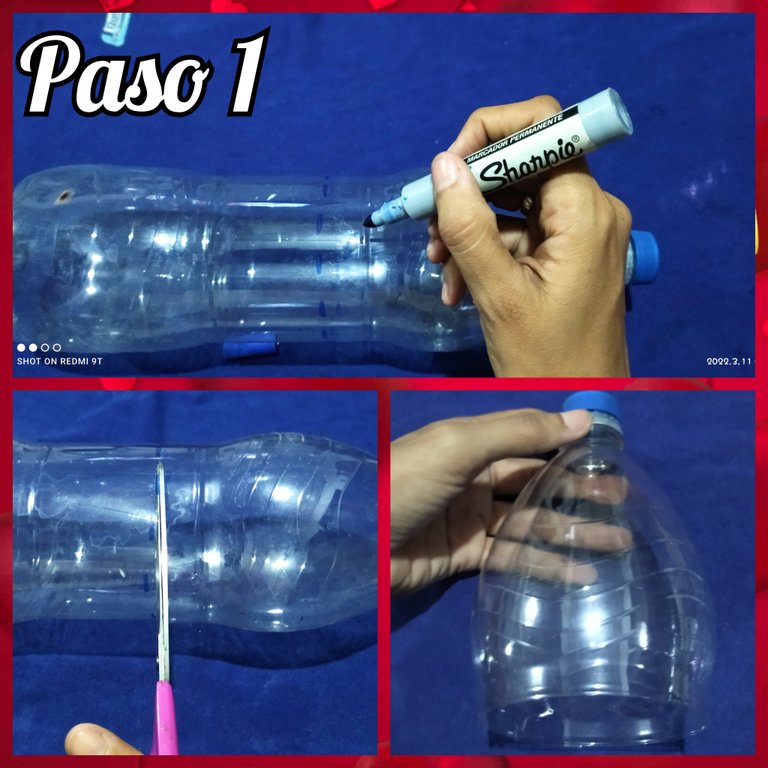
PASO 1// STEP 1
☕🌹☕🌹☕🌹☕🌹☕🌹☕
Primero vamos a trabajar con la botella grande porque con ella vamos a elaborar la tetera, para eso primero tomamos el marcador y vamos a marcar por dónde queremos corta,el tamaño como siempre les digo va a depender de cada quien, yo no lo quise realizar tan grande, porque para una niña pienso que este tamaño es ideal,recuerden que este trabajo será un obsequio para una niña.
We are going to make the teapot, for that first we take the marker and we will mark where we want to cut, the size as I always say will depend on each person, I did not want to make it so big, because for a girl I think this size is ideal, remember that this work will be a gift for a girl.
Luego con la tijera vamos a recortar y trabajaremos con la punta de la botella.
Then with the scissors we will cut and work with the tip of the bottle.
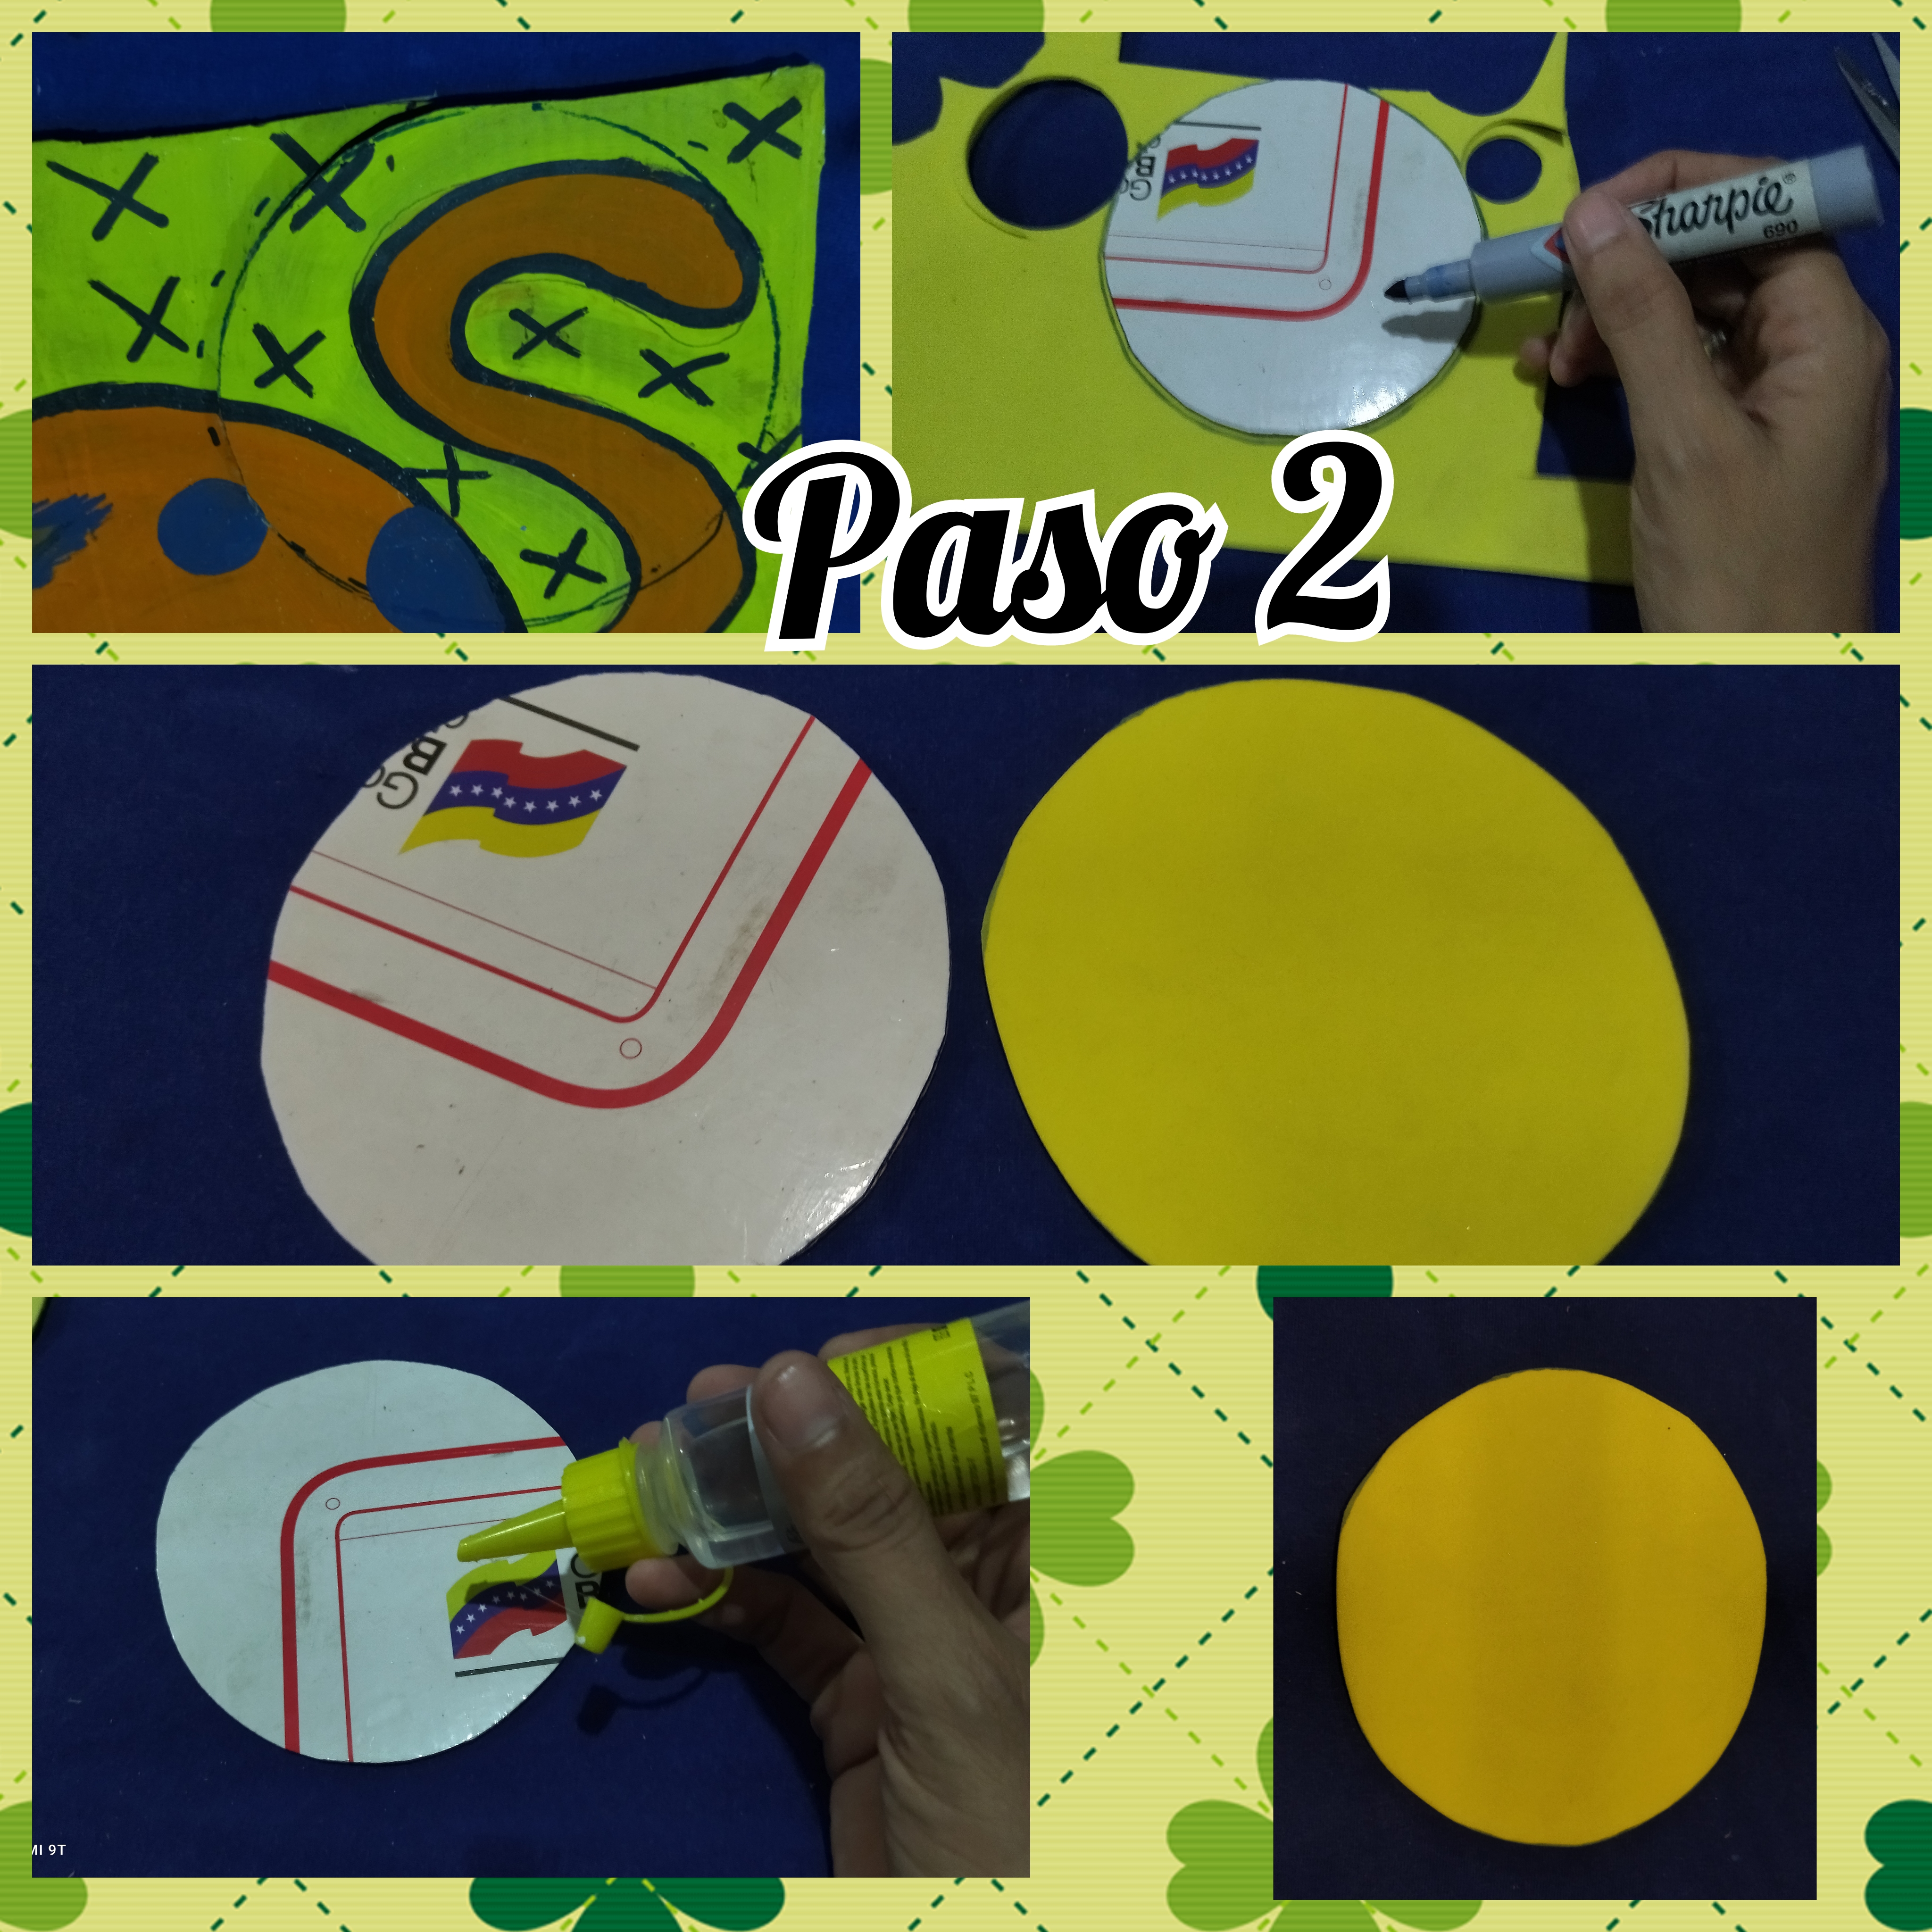
 PASO 2 // STEP 2
☕🌹☕🌹☕🌹☕🌹☕🌹☕
Tomamos el cartón y vamos a marcar un círculo, el tamaño debe ser un poco más grande que el ancho de la botella aunque no tanto, y recortamos.
We take the cardboard and we will mark a circle, the size should be a little larger than the width of the bottle but not so much, and cut it out.
Después sobre el foami amarillo marcamos y también recortamos un círculo del mismo tamaño que del que sacamos del cartón, le aplicamos el silicón al círculo de cartón para luego pegarles encima el círculo de foami.
Then on the yellow foami we mark and also cut out a circle of the same size as the one we took out of the cardboard, we apply the silicone to the cardboard circle and then glue the foami circle on top of it.
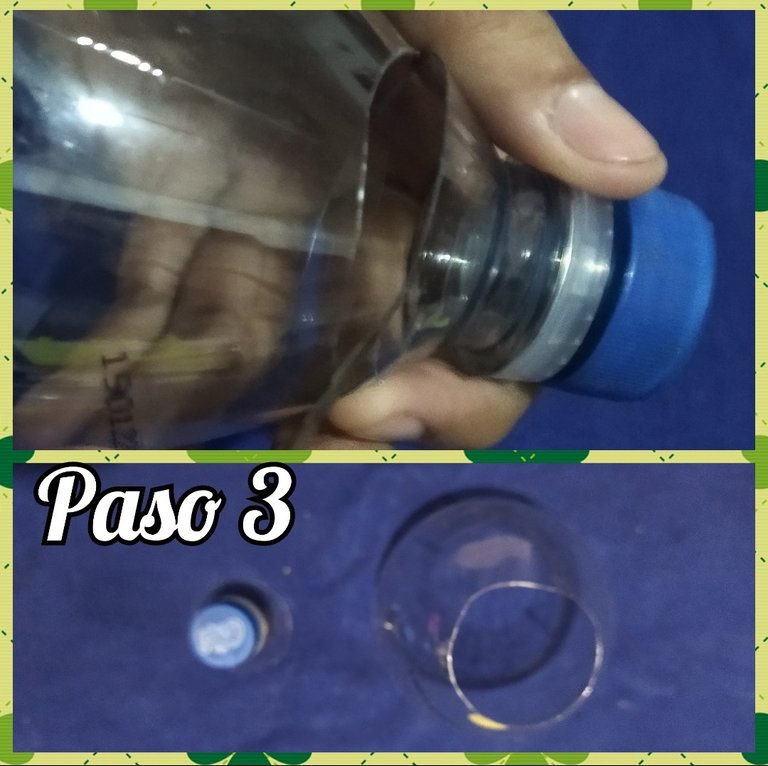
 PASO 3 // STEP 3
☕🌹☕🌹☕🌹☕🌹☕🌹☕
Tomamos la botella y con ayuda del cortador vamos a eliminar la punta, dejando un agujero que se puede apreciar en la fotografía.
We take the bottle and with the help of the cutter we will remove the tip, leaving a hole that can be seen in the photograph.
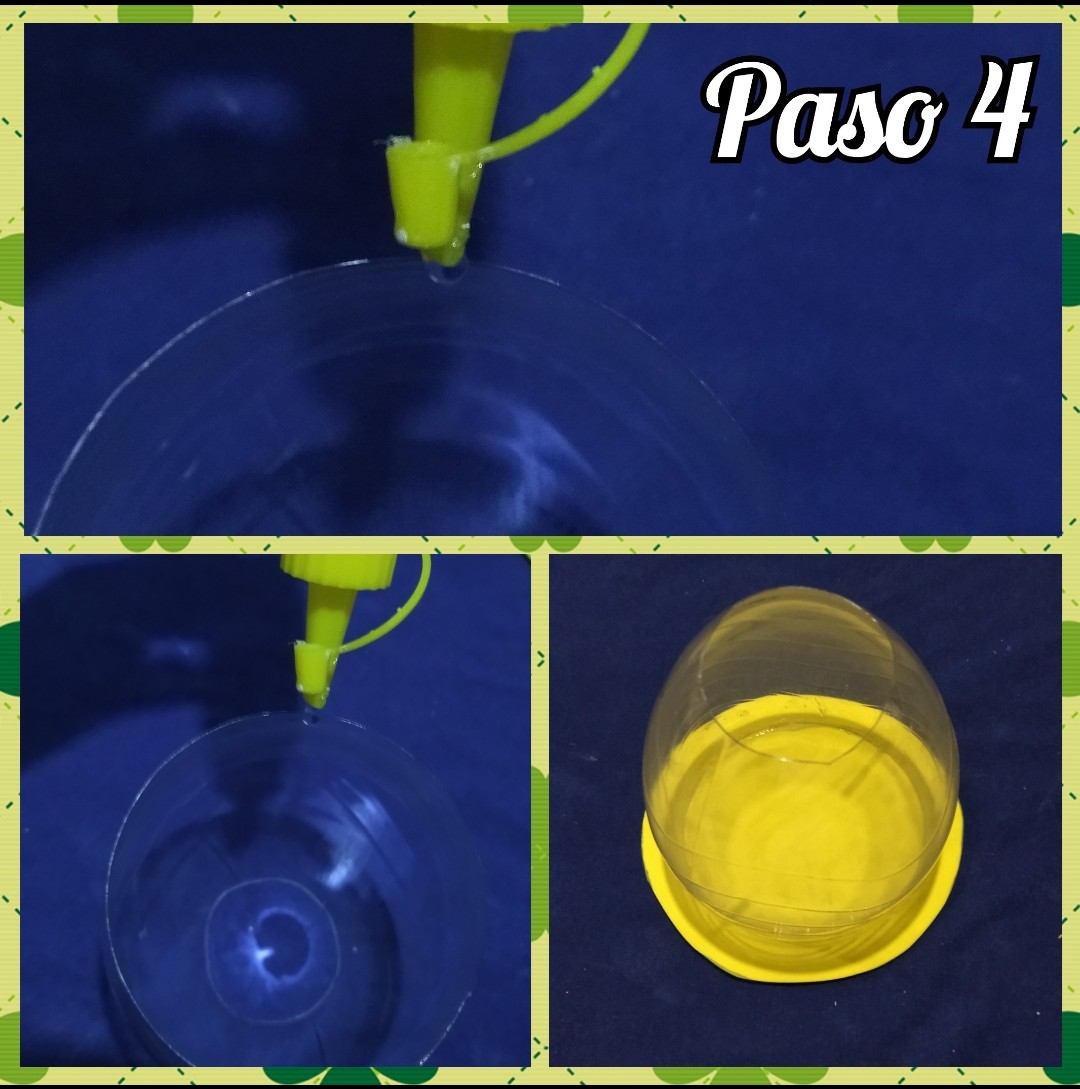
 PASO 4 // STEP 4
☕🌹☕🌹☕🌹☕🌹☕🌹☕
Cómo ya tenemos lista las dos piezas, le colocamos el silicón a la parte de la botella y pegamos del círculo de cartón.
Once we have the two pieces ready, we place the silicone on the part of the bottle and glue the cardboard circle.
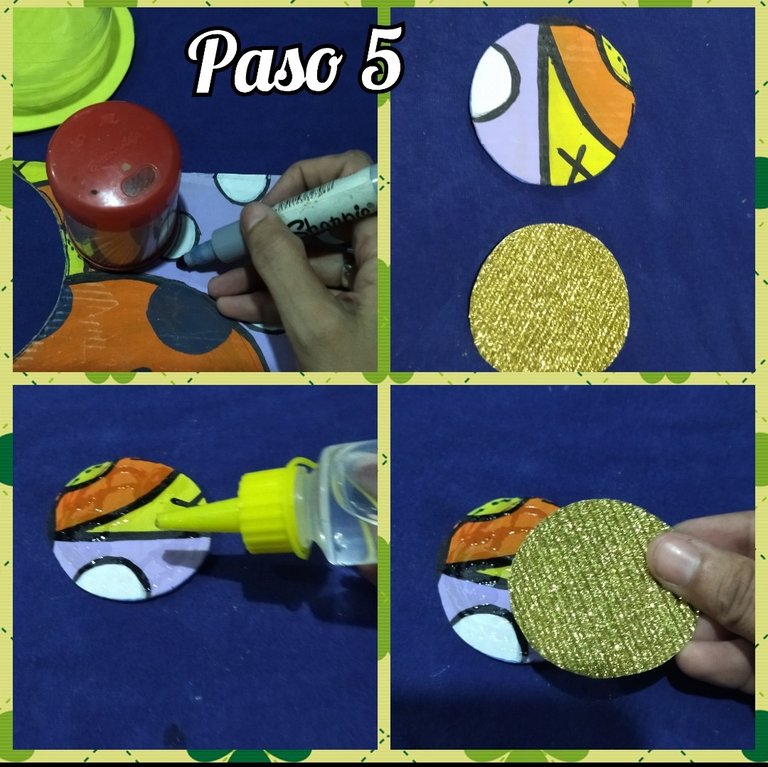
 PASO 5 // STEP 5
☕🌹☕🌹☕🌹☕🌹☕🌹☕
En el cartón al igual que en la cartulina escarchada, vamos a dibujar un círculo un poco más pequeño que será con lo que vamos a tapar la parte de arriba de la botella.
On the cardboard as well as on the frosted cardboard, we are going to draw a slightly smaller circle that will be used to cover the top of the bottle.
Una vez recortado los dos círculos, le colocamos un poco de silicón al cartón y pegamos la cartulina escarchada.
Once the two circles are cut out, we put some silicone on the cardboard and glue the frosted cardboard.
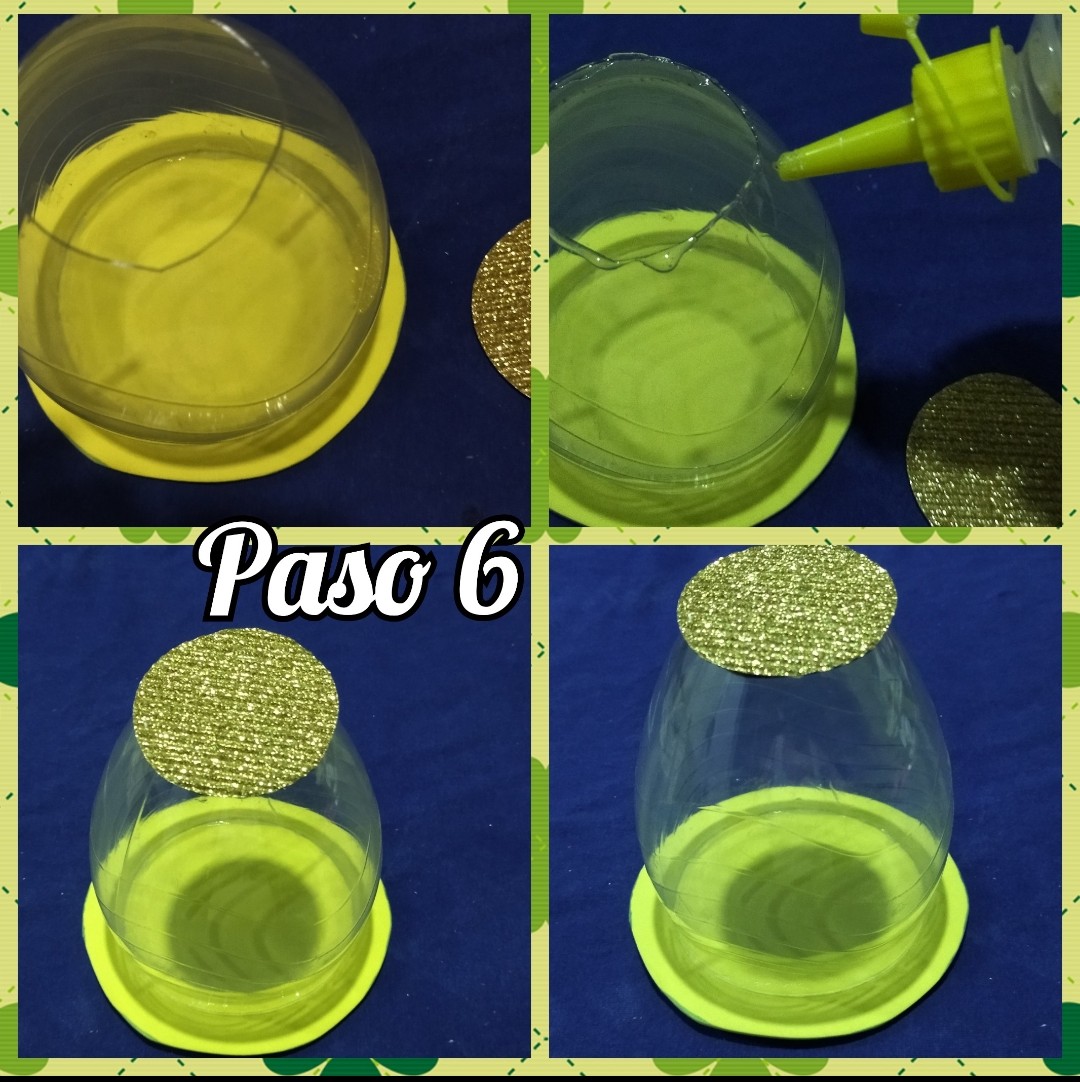
 PASO 6 // STEP 6
☕🌹☕🌹☕🌹☕🌹☕🌹☕
Aplique el silicón frío por el borde de la botella y simplemente pegamos el círculo que elaboramos previamente en el paso 5.
Apply the cold silicone around the edge of the bottle and simply glue the circle we made previously in step 5.
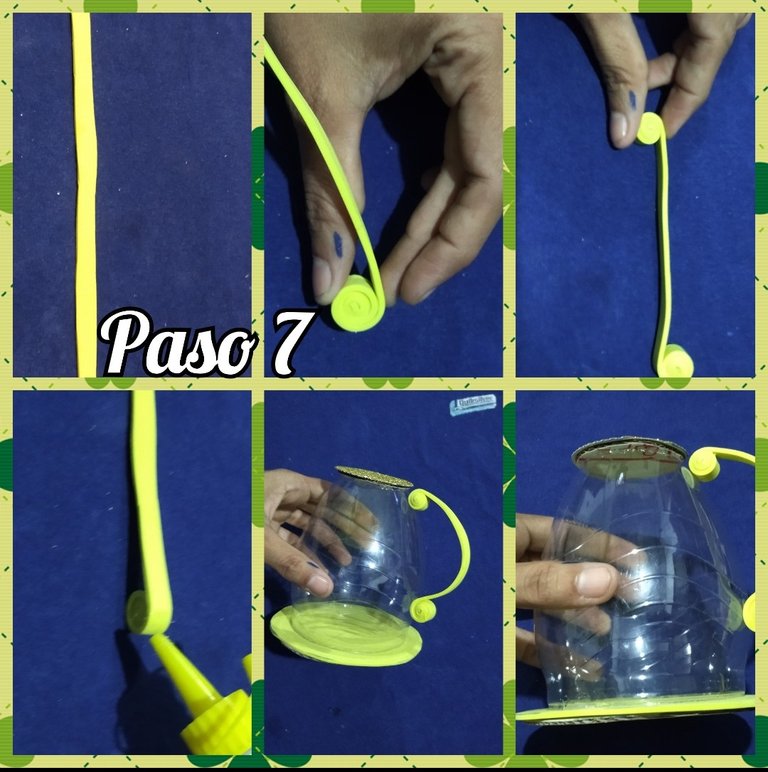
 PASO 7 // STEP 7
☕🌹☕🌹☕🌹☕🌹☕🌹☕
Vamos a tomar el foami amarillo y cortamos una tira 25 cm de largo por 1 cm de ancho, la cual vamos a ir enrollando en ambos extremos cuidando que en uno de los extremos sea doblado en dirección contraria del otro.
We are going to take the yellow foami and cut a strip 25 cm long by 1 cm wide, which we are going to roll up at both ends, making sure that one of the ends is bent in the opposite direction of the other.
A medida que se va enrollando le vamos a ir colocando silicón en pequeñas cantidades para que se pueda fijar bien el enrollando, y dejaremos unos 10 cm sin enrollar.
As it is being rolled, we are going to apply silicone in small quantities so that the rolling can be well fixed, and we will leave about 10 cm without rolling.
Cuando ya está seco solo le aplicamos un poco de silicón en ambos extremos y fijamos los extremos en la botella plástica y dejamos secar.
When it is dry we just apply a little silicone on both ends and fix the ends on the plastic bottle and let it dry.
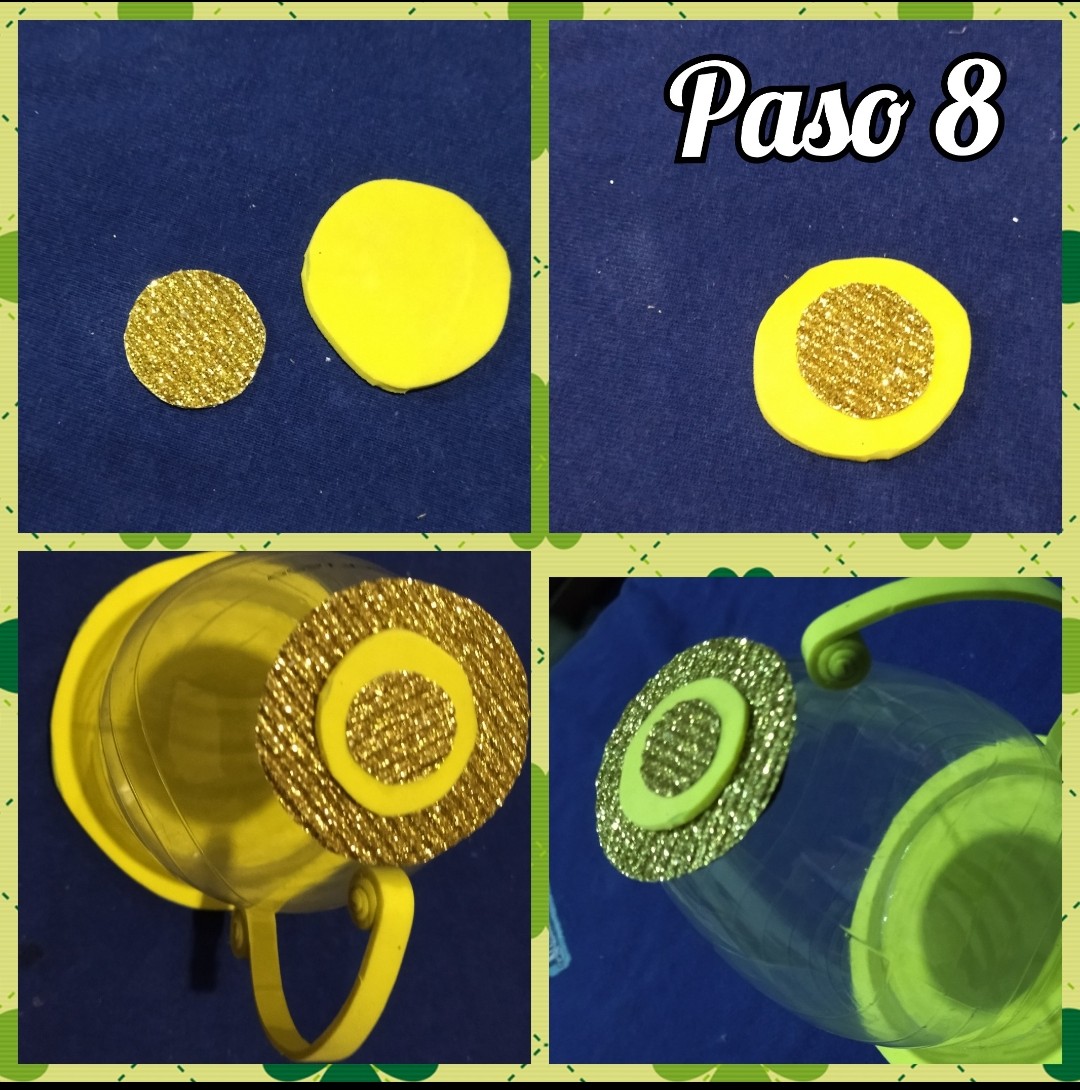
 PASO 8 // STEP 8
☕🌹☕🌹☕🌹☕🌹☕🌹☕
Marcamos y recortamos un círculo en el foami y otro en la cartulina escarchada solo que este será un poco más pequeño, luego ponemos un poco de silicón y montamos una pieza encima de la otra, cuando ya esté lista la vamos a pegar con silicón encima de la base con la que tapamos la parte de arriba.
We mark and cut out a circle in the foami and another in the frosted cardboard only this will be a little smaller, then we put a little silicone and mount a piece on top of the other, when it is ready we will paste it with silicone on top of the base with which we cover the top.
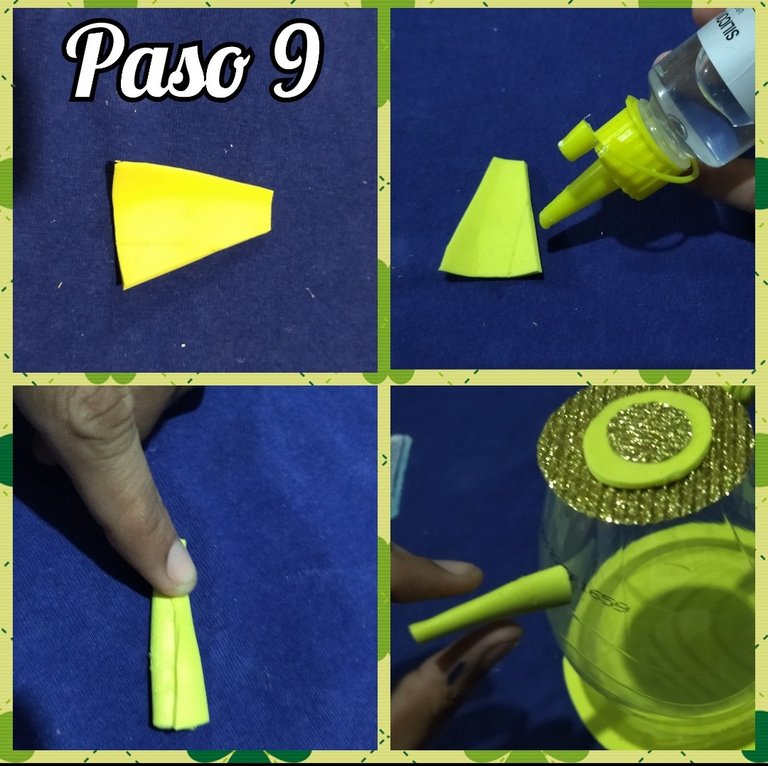
 PASO 9 // STEP 9
☕🌹☕🌹☕🌹☕🌹☕🌹☕
Seguidamente marcamos y recortamos un triángulo en el foami y luego le recortamos la punta a esta pieza, cuando ya está lista le vamos a aplicar el silicón y pegamos, esto será la punta de la tetera,la cual cuando seque la pegamos de la botella.
Then we mark and cut a triangle in the foami and then we cut the tip of this piece, when it is ready we will apply the silicone and glue, this will be the tip of the teapot, which when it dries we glue it to the bottle.
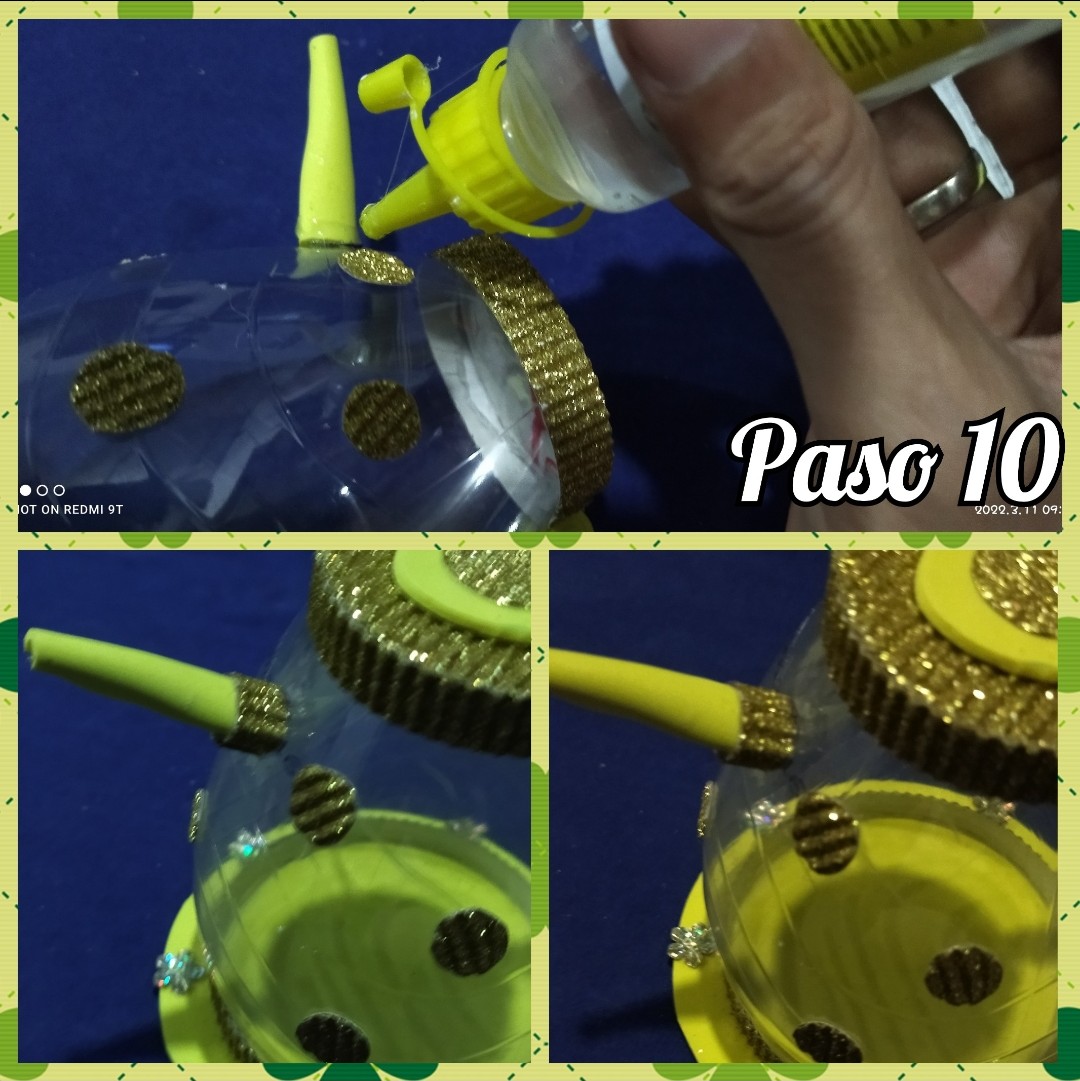
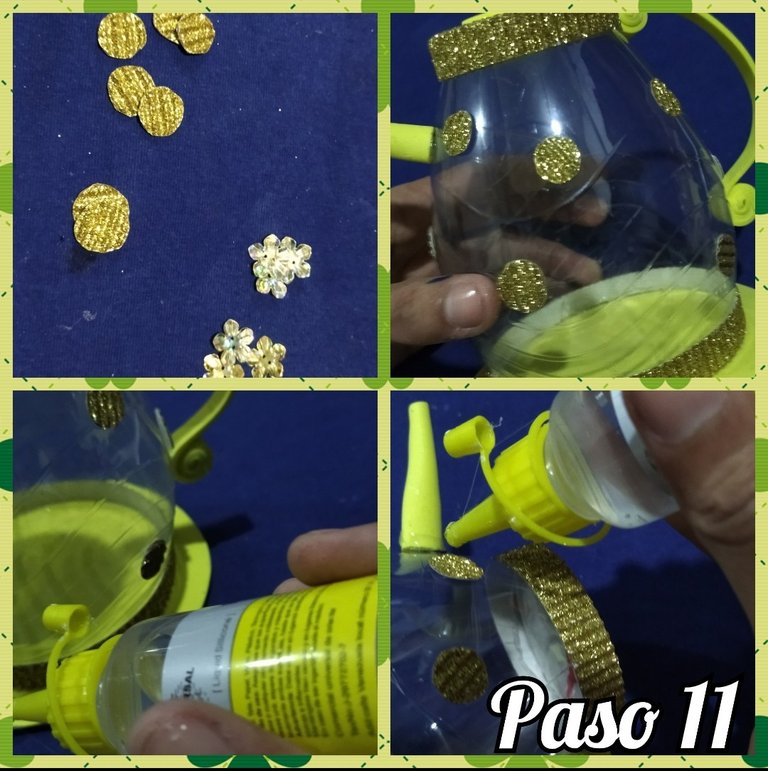
 PASO 10 y 11 // STEP 10 - 11
☕🌹☕🌹☕🌹☕🌹☕🌹☕
Recortamos una pequeñita tira de cartulina escarchada y con silicón pegamos en la base de la punta de la tetera, se aprecia mejor en la imagen.
We cut a small strip of frosted cardboard and with silicone we glue it to the base of the tip of the teapot, it is better seen in the image.
Como teníamos muchos retazos de cartulina y los quise aprovechar y recorte muchos círculos los cuales pegue en el cuerpo de la tetera ayudando a darle un toque decorativo.
Since we had a lot of cardboard scraps and I wanted to take advantage of them, I cut out many circles which I glued on the body of the teapot helping to give it a decorative touch.
☕🌹☕🌹☕🌹☕🌹☕🌹☕
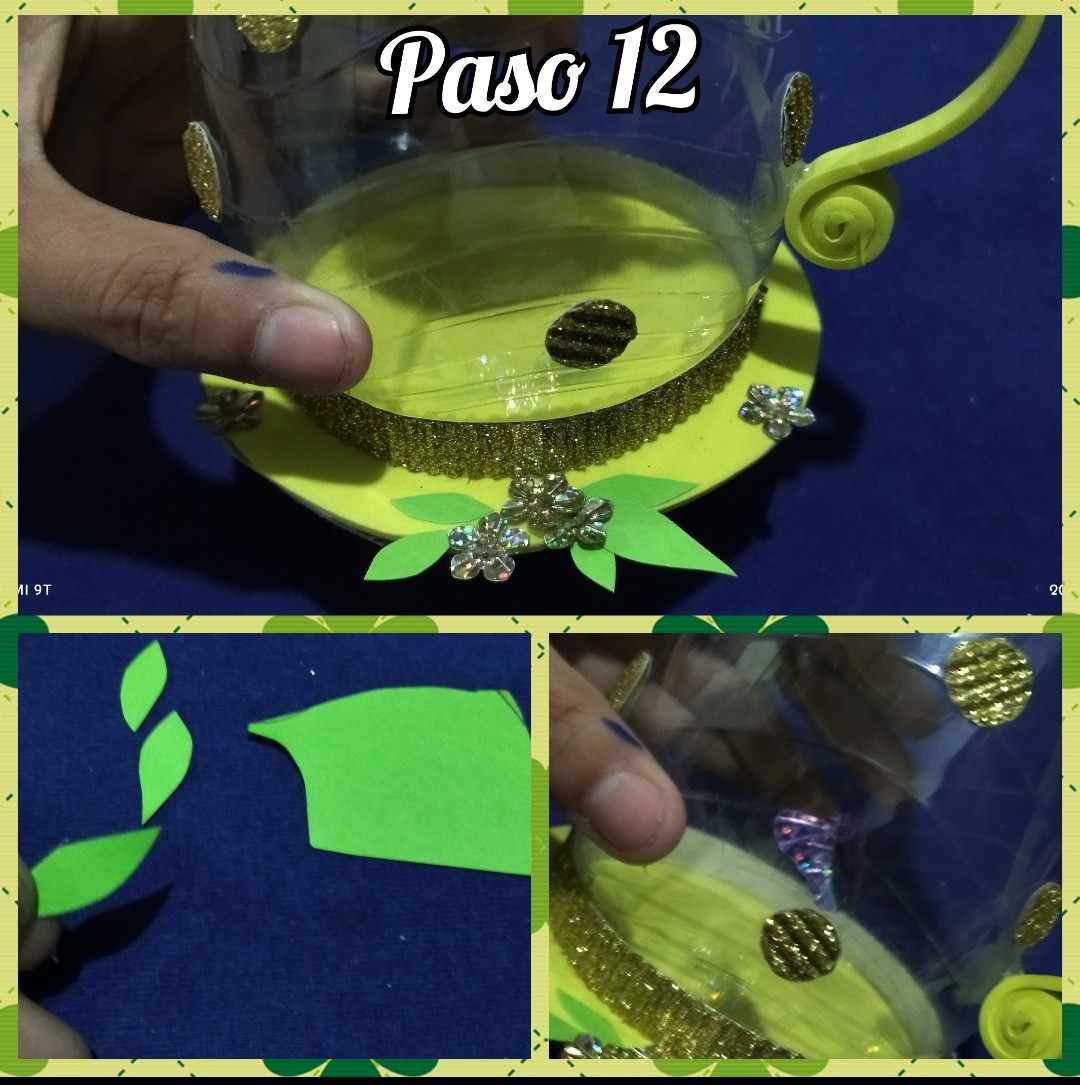
 PASO 12 // STEP 12
☕🌹☕🌹☕🌹☕🌹☕🌹☕
Finalmente pegamos en una esquina las aplicaciones de flores y con la cartulina recortamos pequeñas hojitas las cuales vamos a pegar junto a las flores y la aplicación de mariposa también las pegamos yo coloque una cerca de las flores y la otra en la base de la tetera,queda a gusto de cada quien dónde las quieran colocar.
Finally we glue the flower applications in one corner and with the cardboard we cut out small leaves which we will glue next to the flowers and the butterfly application we also glue them, I placed one near the flowers and the other at the base of the teapot, it is up to each person where they want to place them.
De esta manera hemos terminado la tetera, pero hey dónde nos a tomar el té, tranquilos vamos a realizar una taza también, aquí seguimos.
In this way we have finished the teapot, but hey where are we going to drink the tea, calm down we are going to make a cup too, here we continue.
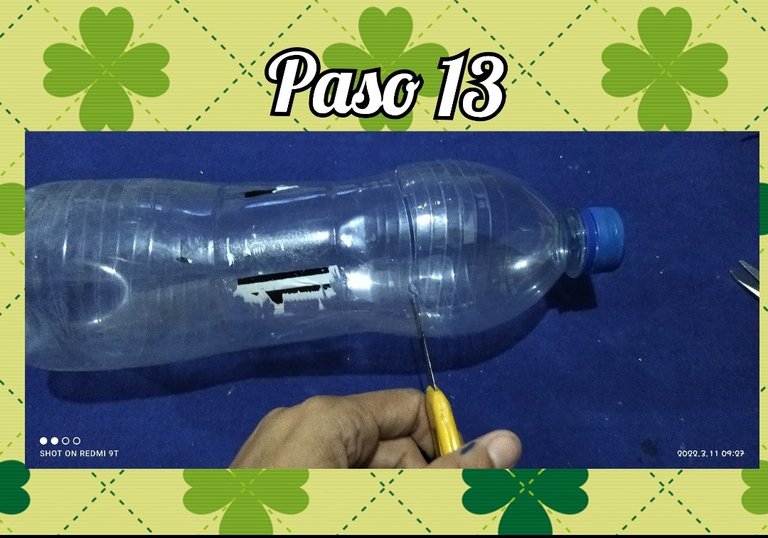
 PASO 13 // STEP 13
☕🌹☕🌹☕🌹☕🌹☕🌹☕
Tomamos la botella más pequeña y recortamos el pico que será la parte con la que vamos a trabajar.
We take the smallest bottle and cut off the spout, which will be the part we are going to work with.
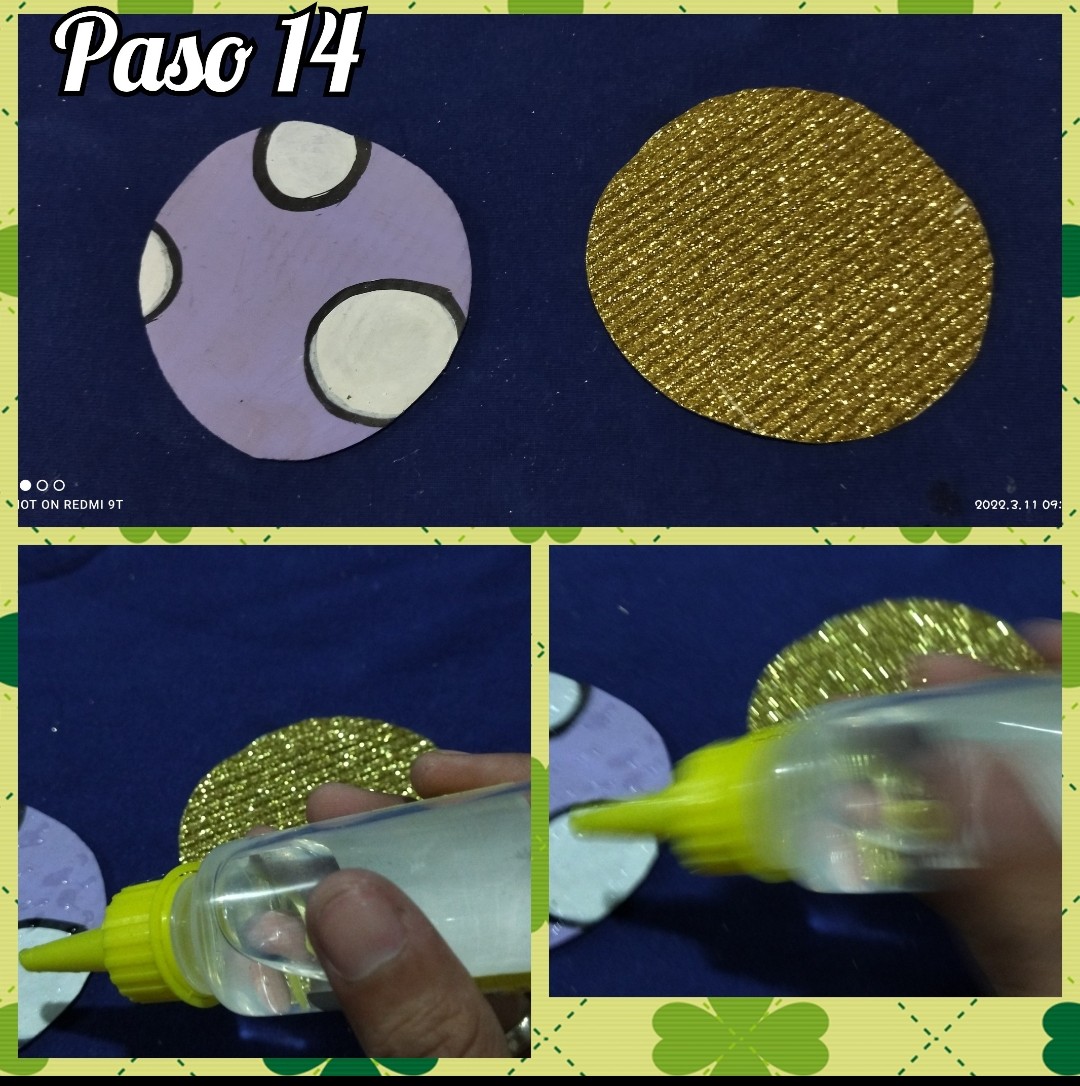
 PASO 14 // STEP 14
☕🌹☕🌹☕🌹☕🌹☕🌹☕
Los pasos son casi similares a los de la tetera pero en menor escala, así que picamos un círculo de cartón y otro en cartulina,ambos del mismo tamaño y pegamos uno encima del otro.
The steps are almost similar to those of the teapot but on a smaller scale, so we cut a cardboard circle and a cardboard circle, both of the same size, and glue one on top of the other.
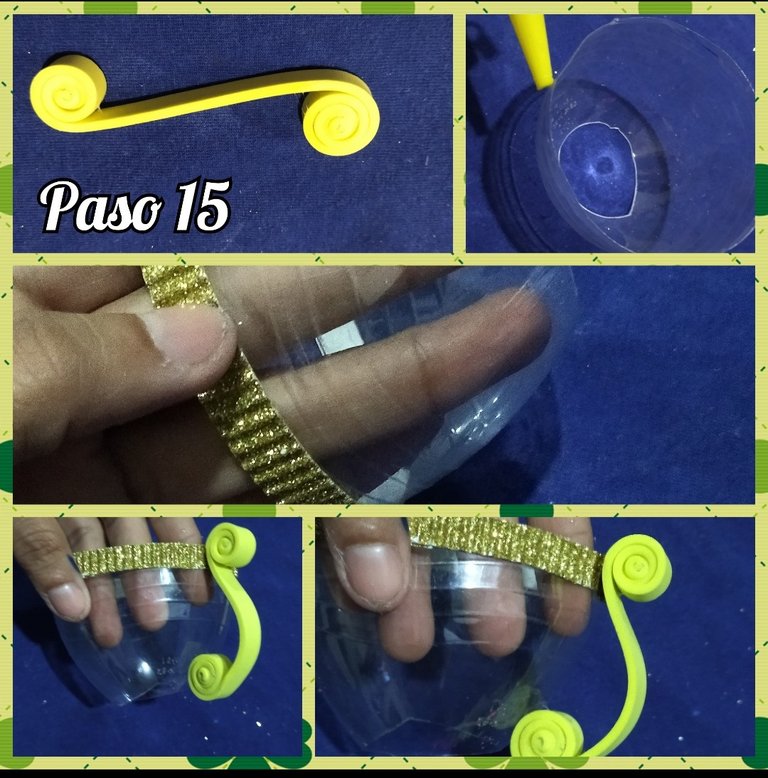
 PASO 15 // STEP 15
☕🌹☕🌹☕🌹☕🌹☕🌹☕
Recortamos un listón de 20 cm y enrollamos en ambos extremos, cuando ya haya secado le colocamos un poco de silicón frío y pegamos.
We cut a 20 cm ribbon and roll it at both ends, when it has dried we put some cold silicone and glue it.
También recorte una tira de la cartulina escarchada y la pegue por todos los bordes tanto de arriba como de abajo.
Also cut out a strip of the frosted cardboard and glue it all around the top and bottom edges.
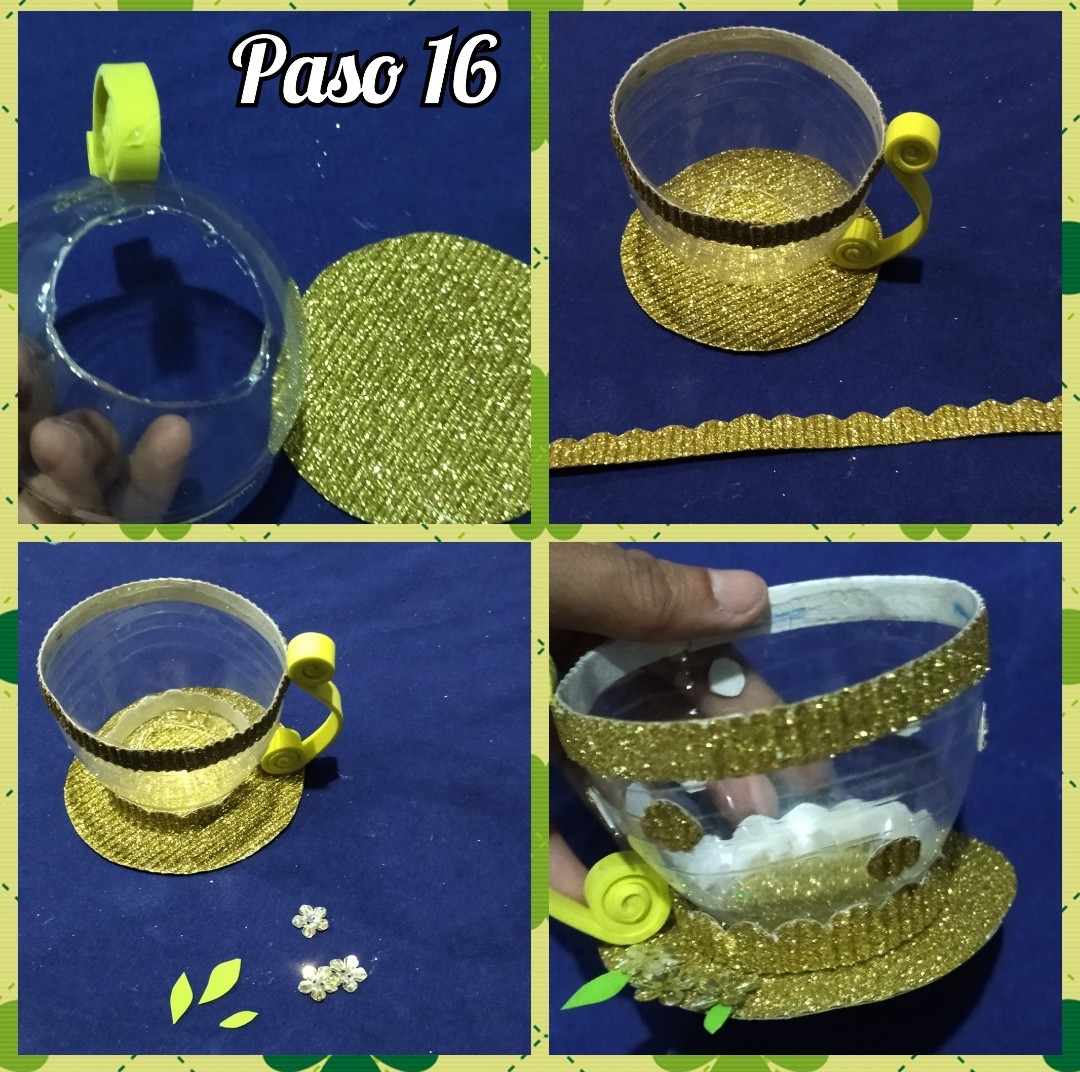
 PASO 16 // STEP 16
☕🌹☕🌹☕🌹☕🌹☕🌹☕
Le aplique Silicón frío a la base de la botella plástica y la pegue al la base de cartulina escarchada, luego le pegue unos círculos de cartulina que recorte previamente también le puse una aplicaciones de flores y hojitas con la cartulina verde para dar por concluido la elaboración de este lindo juego de té.
I applied cold Silicone to the base of the plastic bottle and glued it to the frosted cardboard base, then I glued some cardboard circles that I had previously cut out and I also applied some flowers and leaves with the green cardboard to conclude the elaboration of this beautiful tea set.
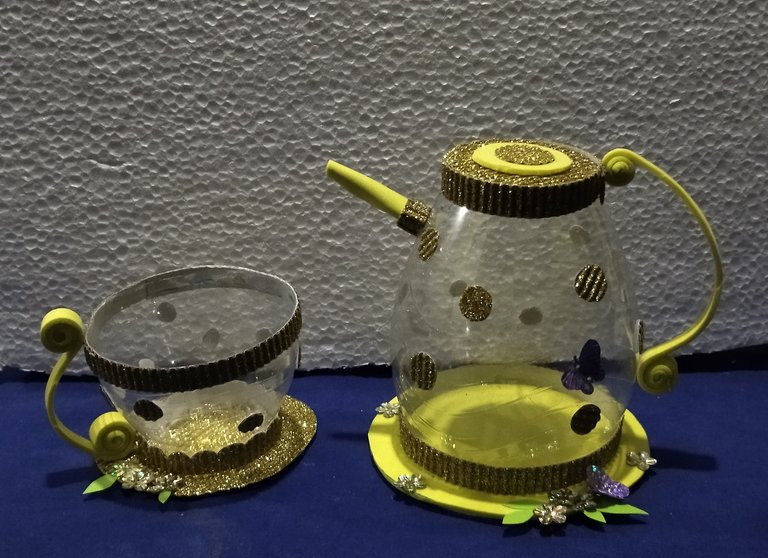
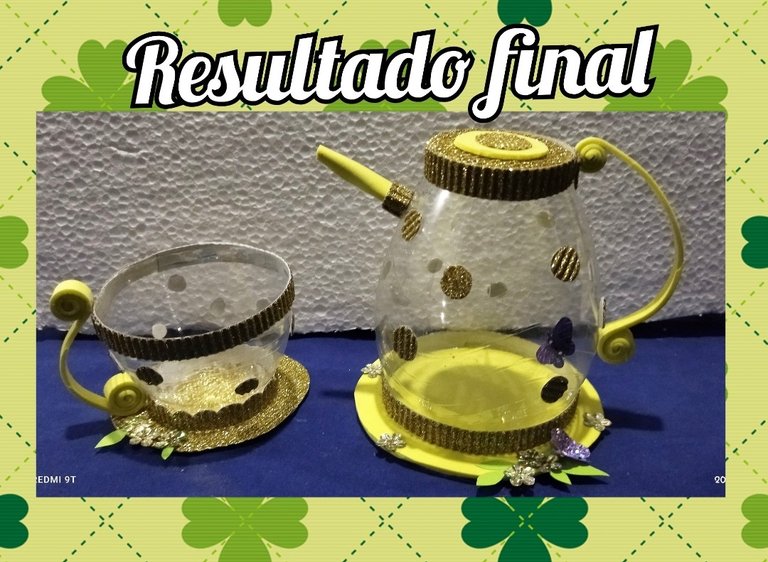
 RESULTADO FINAL//FINAL RESULT
☕🌹☕🌹☕🌹☕🌹☕🌹☕
☕🌹☕🌹☕🌹☕🌹☕🌹☕
☕🌹☕🌹☕🌹☕🌹☕🌹☕
☕🌹☕🌹☕🌹☕🌹☕🌹☕
☕🌹☕🌹☕🌹☕🌹☕🌹☕
☕🌹☕🌹☕🌹☕🌹☕🌹☕
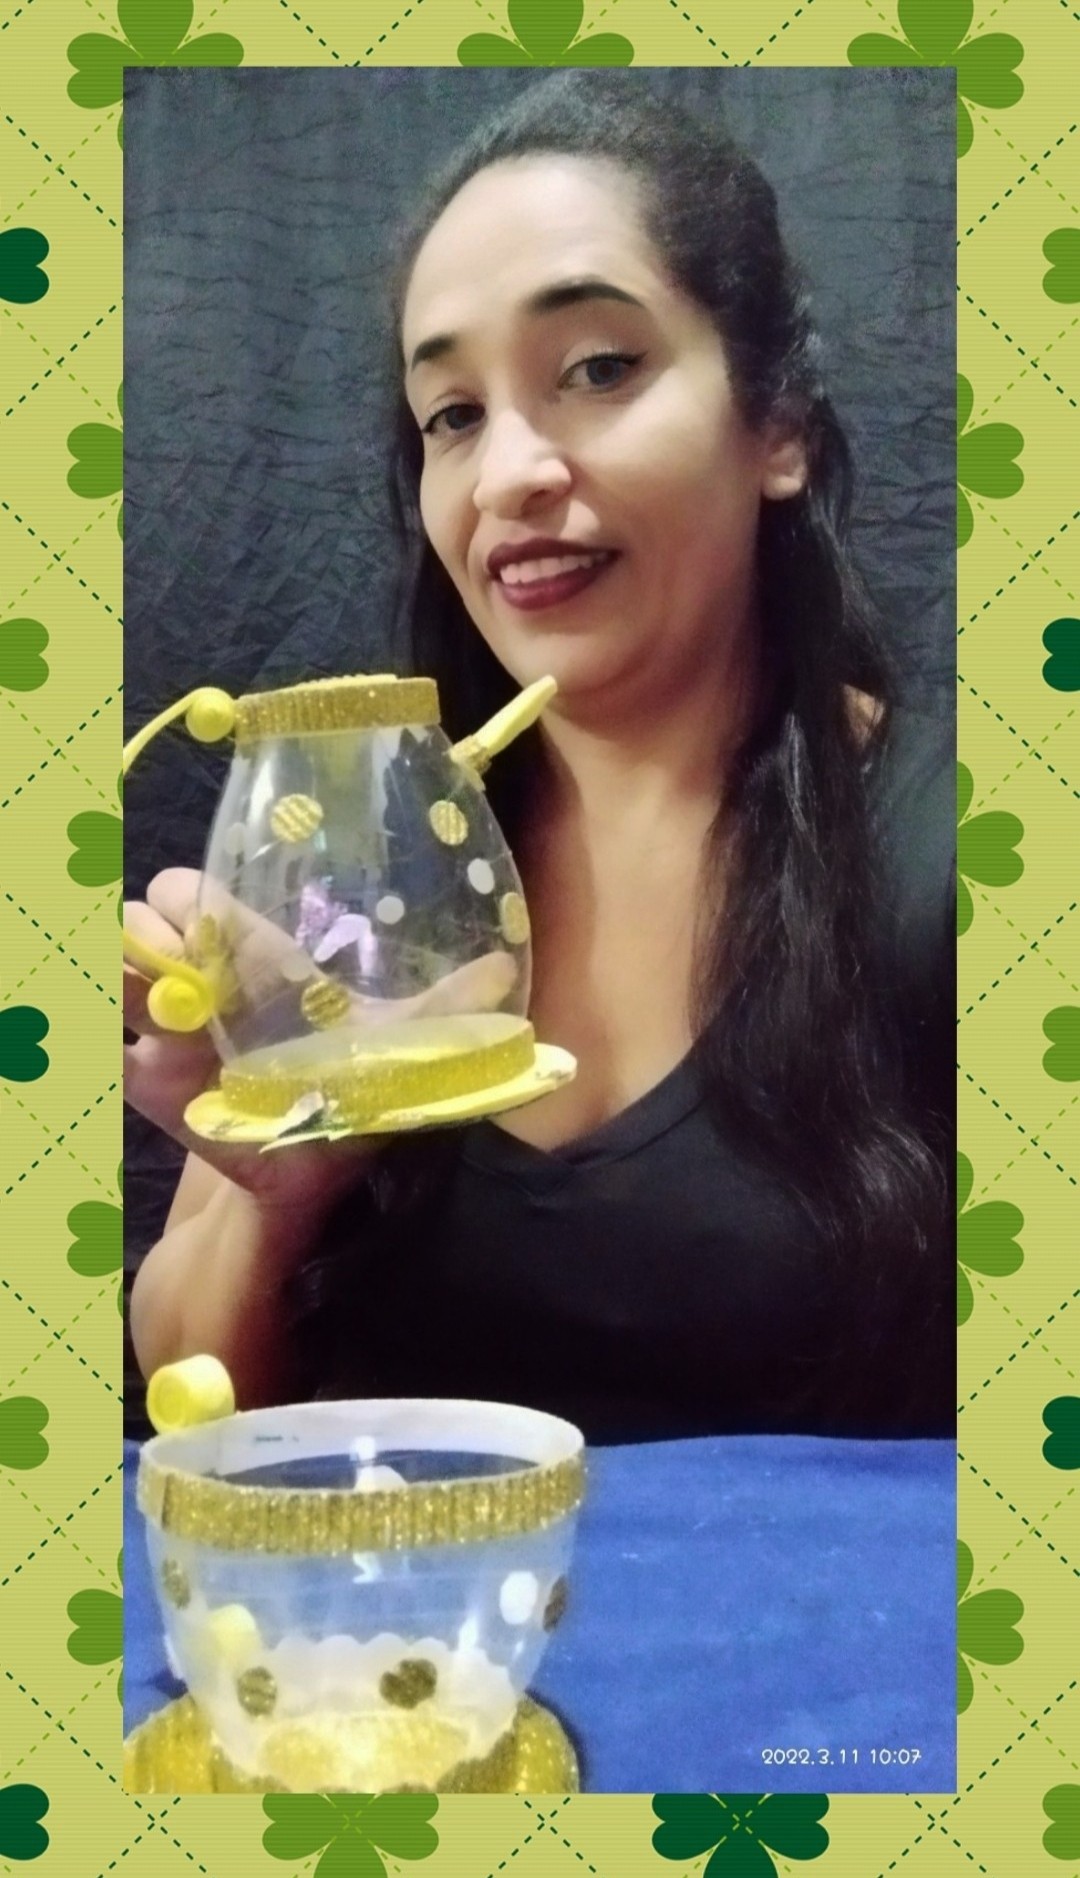
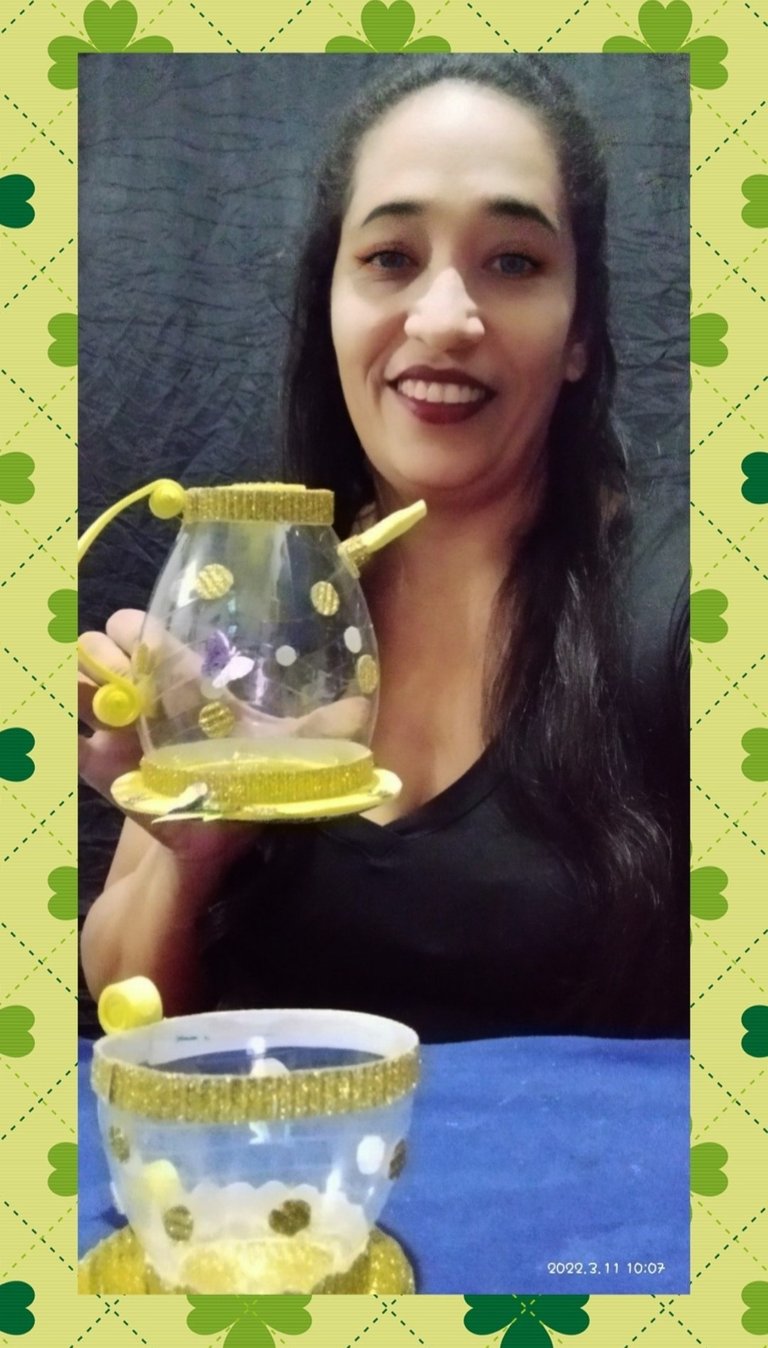
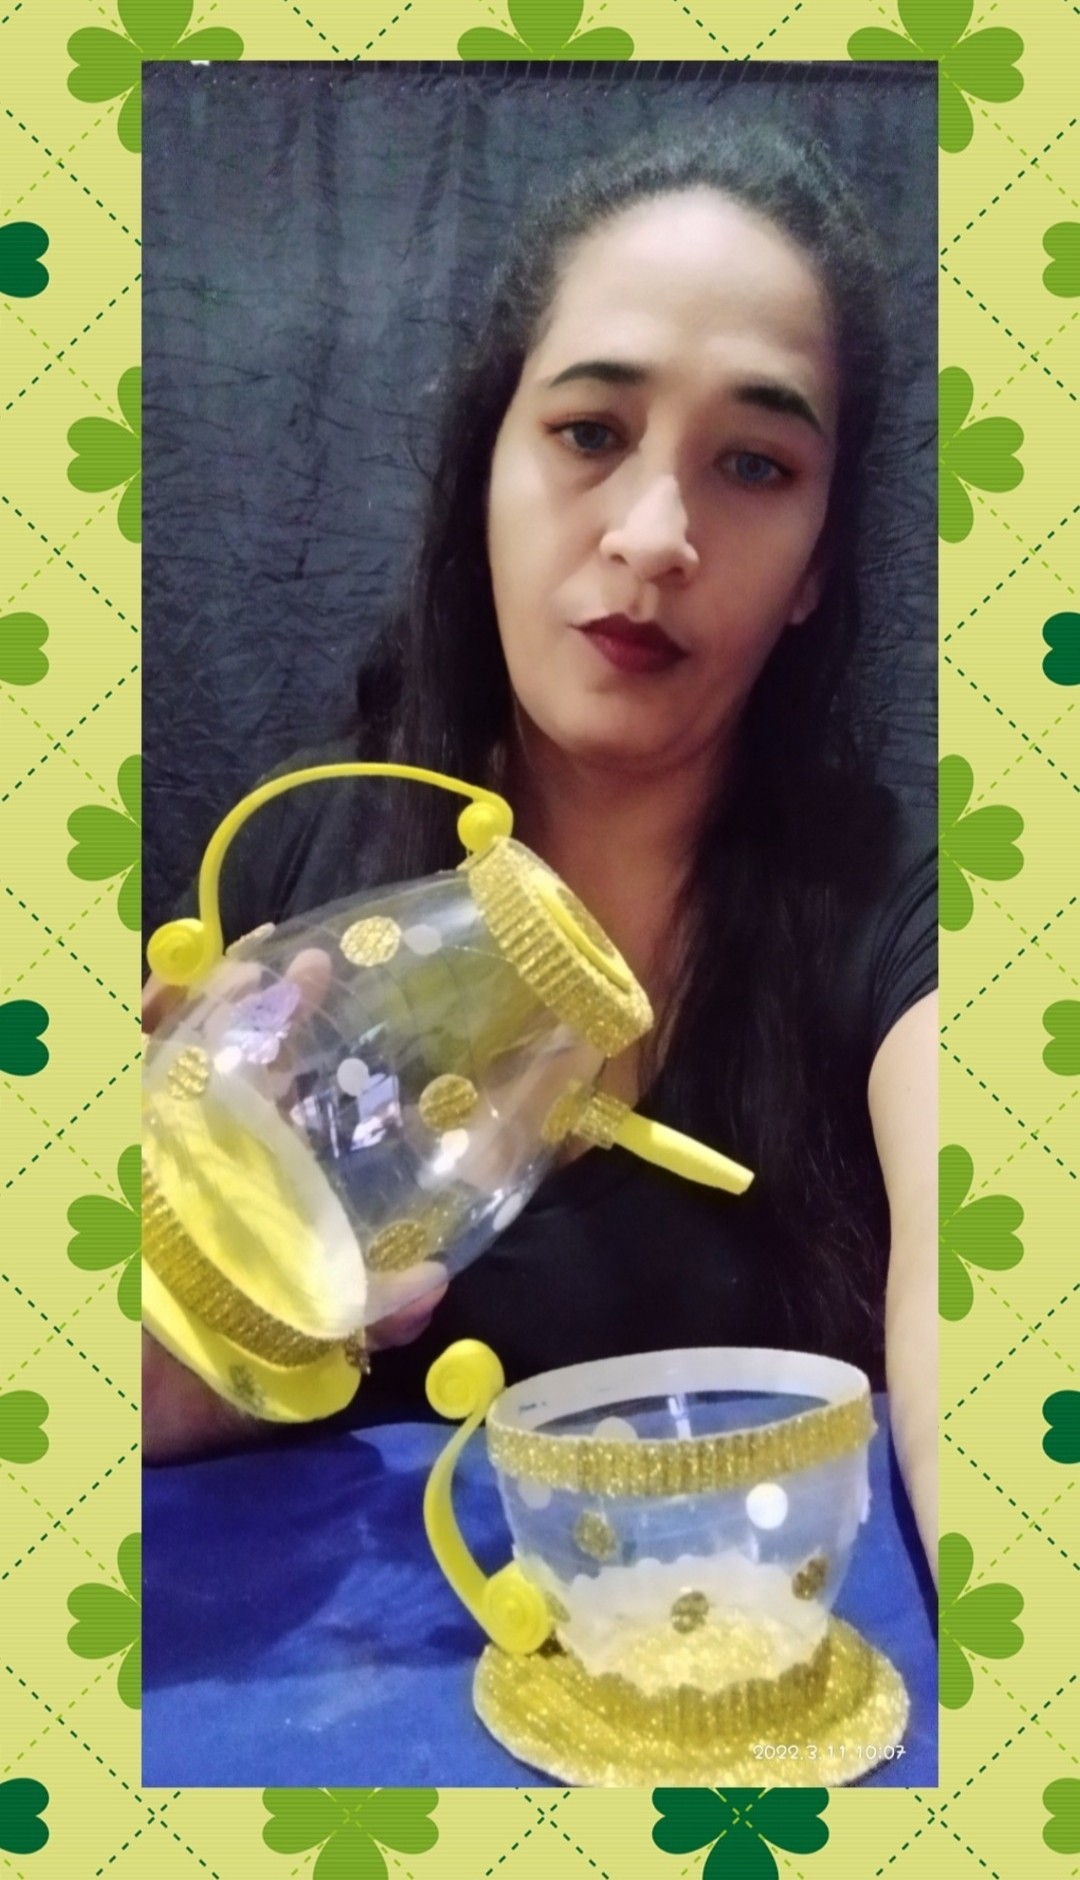
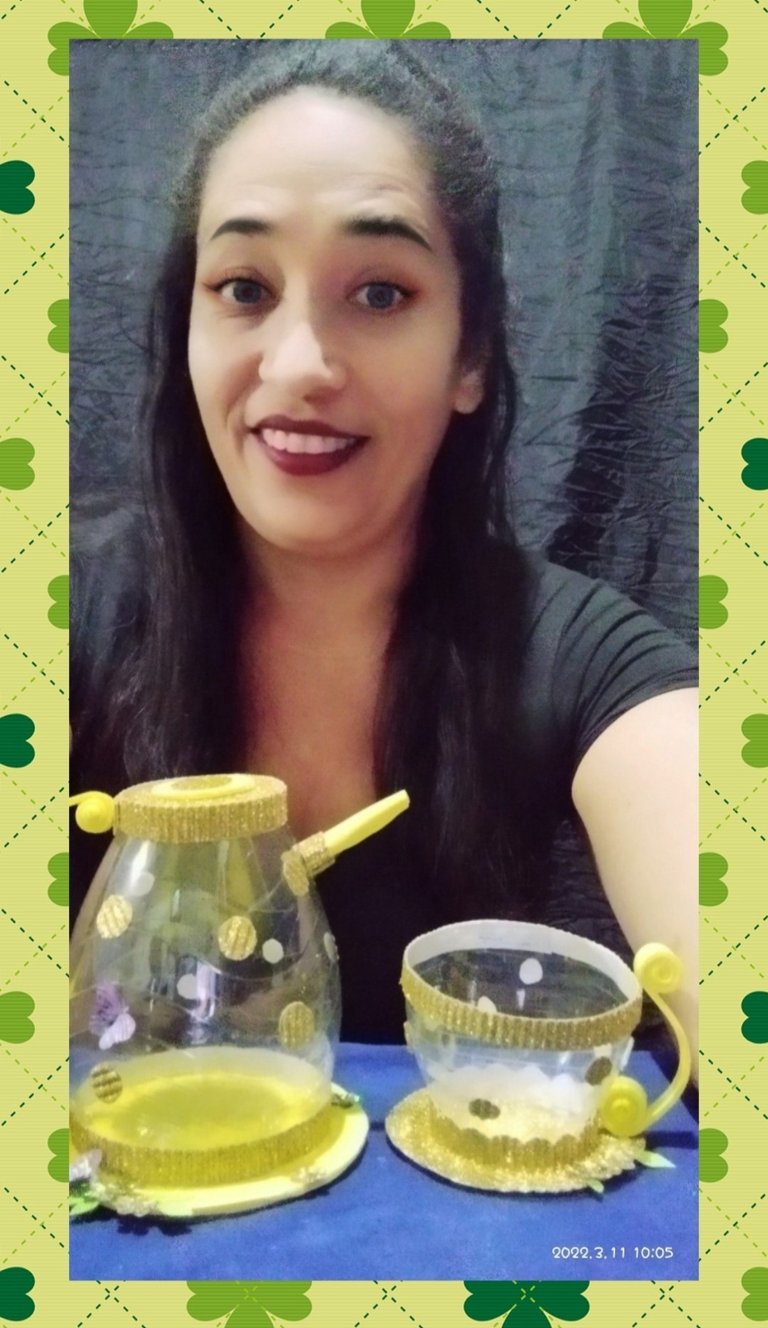
Espero que les haya gustado este lindo juego de té que le hice a mi sobrina, solo le hice una taza pero ustedes pueden elaborar las que quieran al igual que pueden jugar con el color y la decoración, pero la idea de este tutorial es que tenga una noción de como hacer la base ya lo demás queda a gusto e imaginación y creatividad de cada quien.
I hope you liked this cute tea set that I made for my niece, I only made her a cup but you can make as many as you want and you can play with the color and decoration, but the idea of this tutorial is that you have a notion of how to make the base and the rest is to taste and imagination and creativity of each one.
☕ Si te gustó el contenido de este post te invito a votar, rebloguear y comentar, y de antemano muchas gracias.
☕ If you liked the content of this post I invite you to vote, reblog and comment, and thank you very much in advance.
☕ Todas las fotos fueron tomadas con mi teléfono Xiaomi readmi 9T y son de mi propiedad, y fueron editadas con el programa polish y utilice el traductor Deepl.
***
☕ All photos were taken with my Xiaomi readmi 9T phone and are my property, and were edited with polish program and use Deepl translator.
☕🌹☕🌹☕🌹☕🌹☕🌹☕
☕🌹☕🌹☕🌹☕🌹☕🌹☕