¡Hola querida comunidad! Hoy quiero compartirles un nuevo diseño de tarjeta, en esta ocasión he llamado a este modelo “siempre juntos” porque es el mensaje que transmite y lo más divertido es que es una tarjeta interactiva, ya que podemos mover algunos de sus elementos para leer el mensaje oculto. Así que si se ha despertado tu interés, sigue leyendo para que sepas cómo hacer esta linda tarjeta y sorprendas a alguien especial. Recuerda que te muestro el movimiento en una GIF al final de este post.
English Version
Hello dear community! Today I want to share with you a new card design, this time I have called this model “always together” because that is the message it conveys and the funniest thing is that it is an interactive card, since we can move some of its elements to read the hidden message. So if your interest has been aroused, read on to learn how to make this cute card and surprise someone special. Remember that I show you the movement in a GIF at the end of this post.
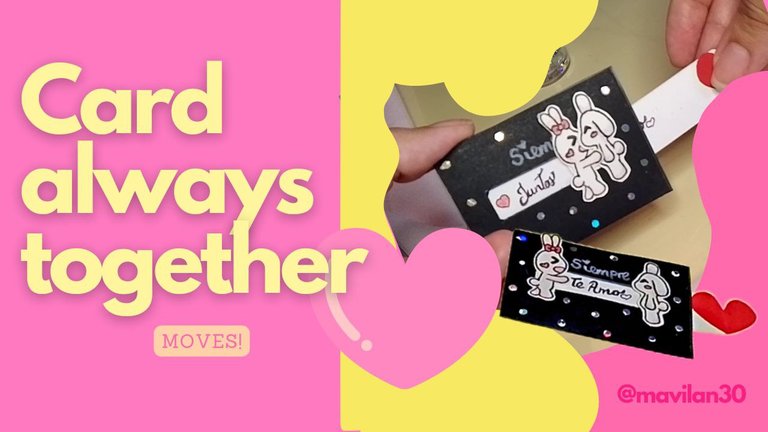
Imagen creada por mí en Canva / Image created by me in Canva
Materiales:
- Cartulina
- Pegamento
- Regla
- Lapicero/colores
- Rapidógrafo
- Lápiz
- Brillos decorativos (opcional)
- Tijeras
- Cúter
Procedimiento:
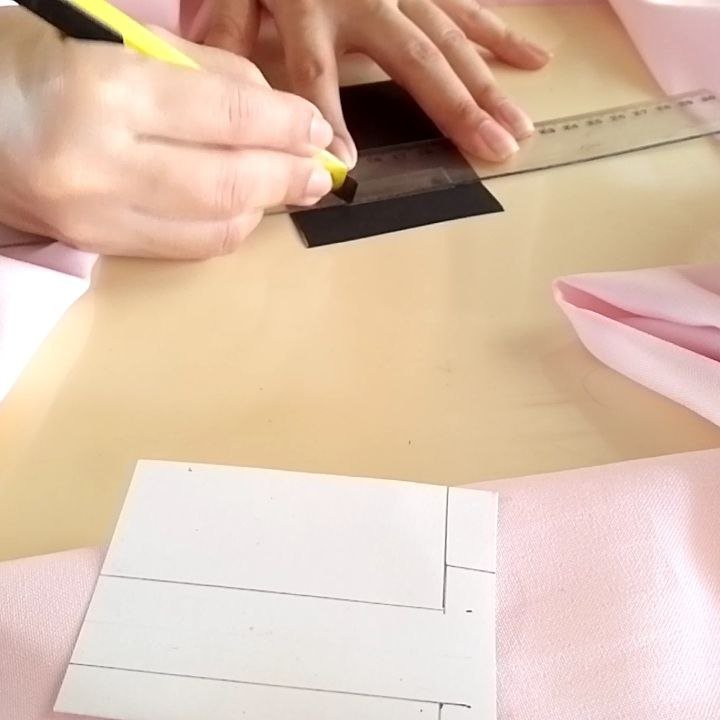
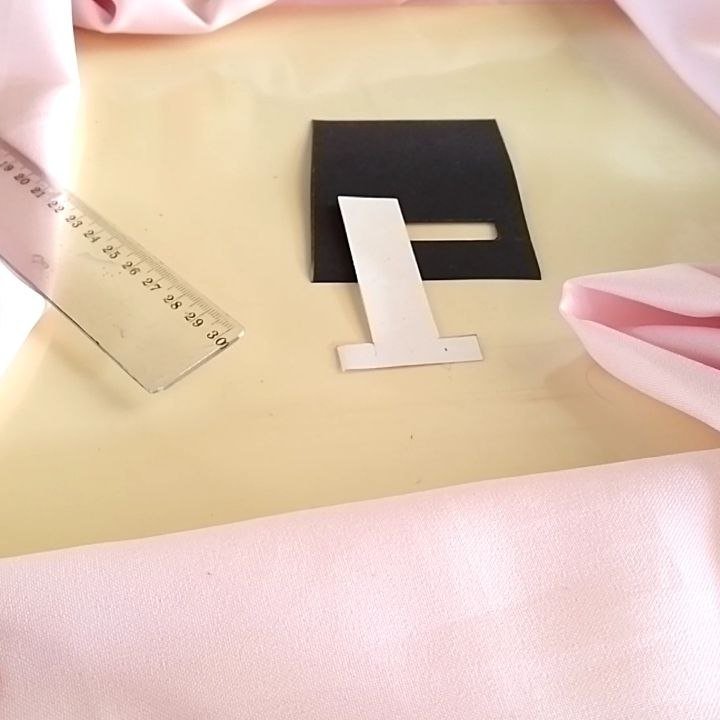
Lo primero que haremos será trazar las figuras necesarias en las cartulinas de colores, yo he usado negro y blanco en este diseño. El cuerpo de mi tarjeta, requiere de un rectángulo de 10x7 cm. En el extremo superior de éste, dibujaremos un rectángulo de 1x4 cm, el mismo estará a 2 cm del extremo superior, a 2 cm del extremo izquierdo y a 1 cm del lado derecho, tal y como se ve en la imagen. También he dibujado una forma de “T” de longitud total 8 cm, la parte amplia de la “T” tiene 4 cm y el resto, 2 cm de ancho.
English VersionMaterials:
- Cardboard
- Glue
- Ruler
- Pencil/colors
- Rapidograph
- Pencil
- Decorative glitter (optional)
- Scissors
- Cutter
Procedure:
The first thing we will do is trace the necessary shapes on the colored cardstock, I have used black and white in this design. The body of my card requires a 10x7 cm rectangle. At the top of this rectangle, we will draw a 1x4 cm rectangle, which will be 2 cm from the top, 2 cm from the left and 1 cm from the right side, as shown in the image. I have also drawn a “T” shape with a total length of 8 cm, the wide part of the “T” is 4 cm and the rest is 2 cm wide.
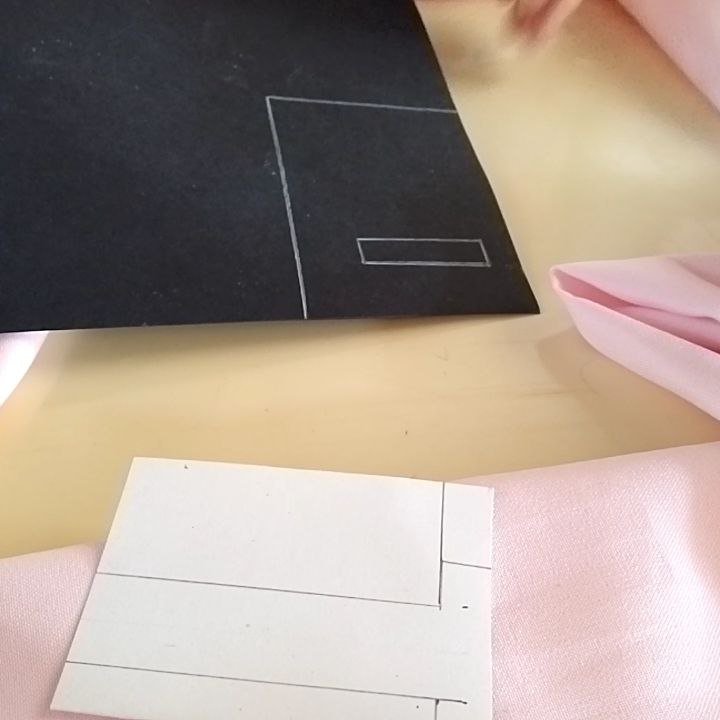
Figuras iniciales / Initial figures
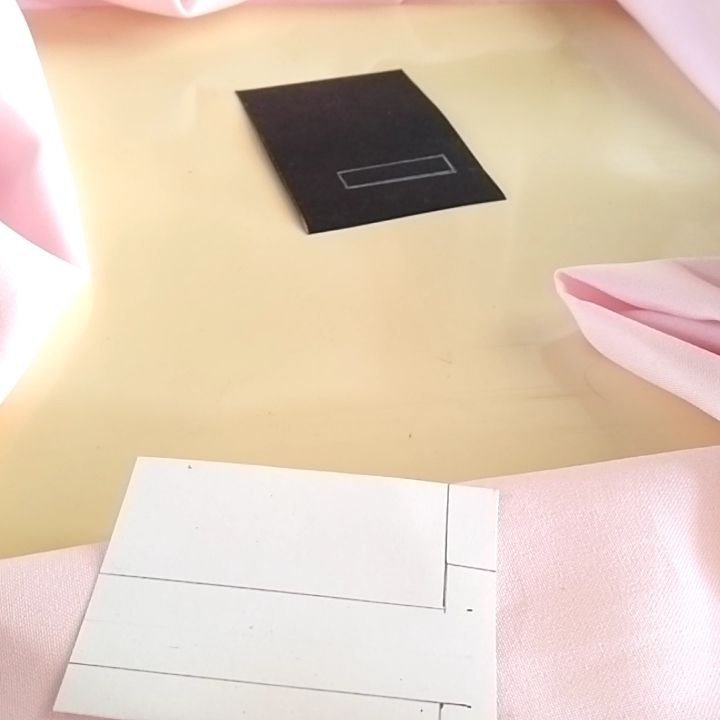
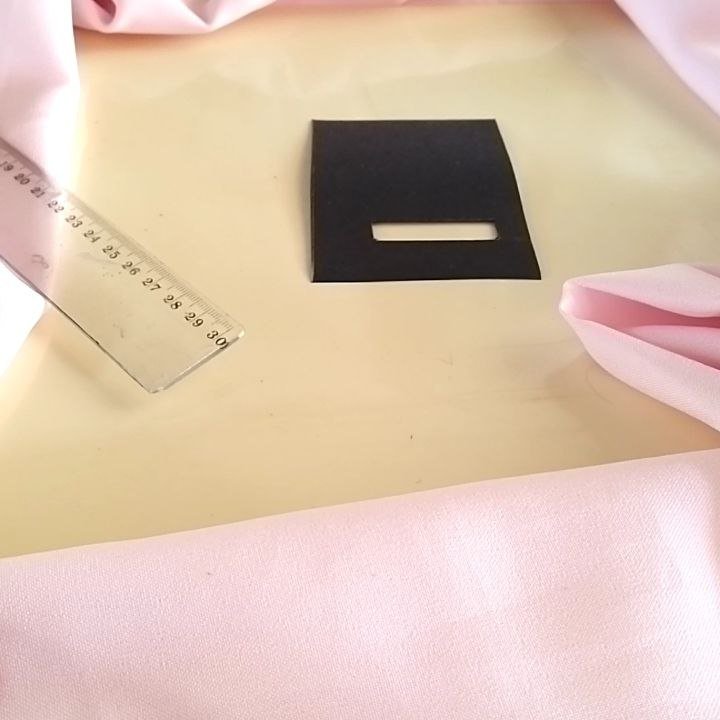
Recortamos las figuras con las tijeras y como recomendación personal, aconsejo que la ventanita de la cartulina negra se recorte con el cúter para que el corte sea más prolijo, es bueno para este paso apoyarse con una regla o cualquier otro objeto con un lado uniforme que sea similar a la regla.
English Version
We cut out the figures with the scissors and as a personal recommendation, I recommend that the little window of the black cardboard be cut out with the cutter so that the cut is neater, it is good for this step to use a ruler or any other object with a uniform side that is similar to the ruler.
 |  |  |  |
|---|
Ahora, doblamos la pieza de color negro a la mitad, así ya va tomando forma de tarjeta. Disculpen esa especie de manchas blancas que se ven en la cartulina negra, es que es reciclada y le despegué una cartulina blanca, pero ya que eso quedará por dentro, no se verá en el resultado final.
English Version
Now, we fold the black piece in half, so it will take the shape of a card. Sorry for the white spots you can see on the black cardboard, it is recycled and I peeled off a white cardboard, but since that will remain on the inside, it will not be seen in the final result.
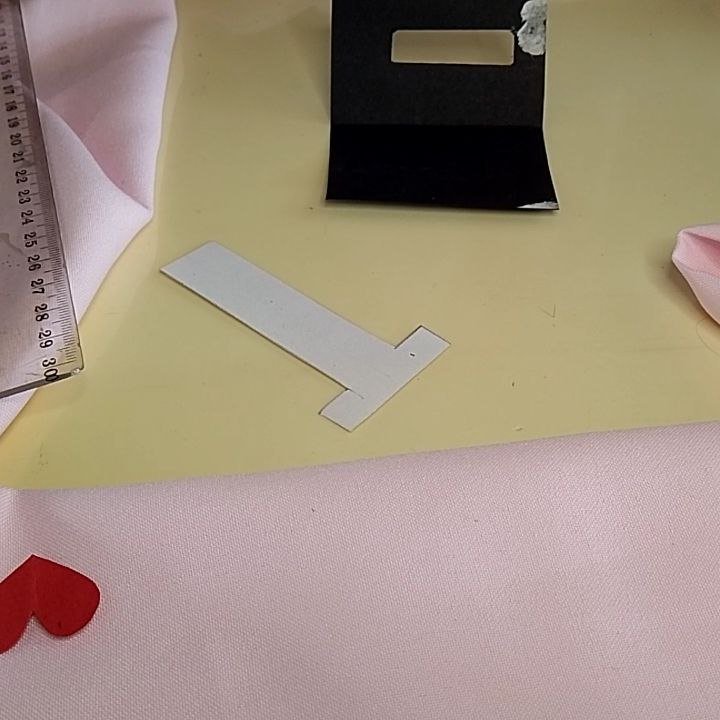
Doblamos / We fold
Es momento de pegar un rectángulo de cartulina blanca en la parte interna de la pieza de color negro, la cartulina blanca debe pegarse en el lado que es continuo, pues a esta es a lo que dará acceso la ventana que hemos cortado antes. Las dimensiones de esta nueva pieza son 3x5 cm.
English Version
It is time to glue a rectangle of white cardboard on the inside of the black piece, the white cardboard should be glued on the side that is continuous, because this is what will give access to the window that we have cut before. The dimensions of this new piece are 3x5 cm.
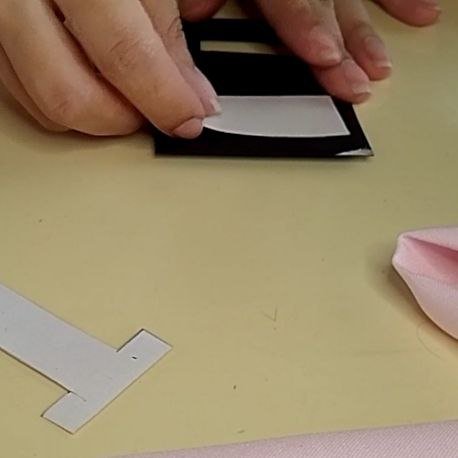
Pegando cartulina blanca / Gluing white cardboard
Tomaremos la pieza en forma de “T” y la posicionaremos dentro del cuerpo de la tarjeta, de modo que quede lo más centrado posible, la parte amplia de la “T” es la que debe ir dentro y procedemos a pegar todos los extremos libres de la tarjeta, por supuesto, en el lado derecho por donde sobresale la pieza de “T”, añadiremos pegamento solo en los extremos, de modo que al secarse, la “T” pueda moverse libremente.
English Version
We will take the “T” shaped piece and position it inside the body of the card, so that it is as centered as possible, the wide part of the “T” is the one that should go inside and proceed to glue all the free ends of the card, of course, on the right side where the “T” piece protrudes, we will add glue only on the ends, so that when it dries, the “T” can move freely.
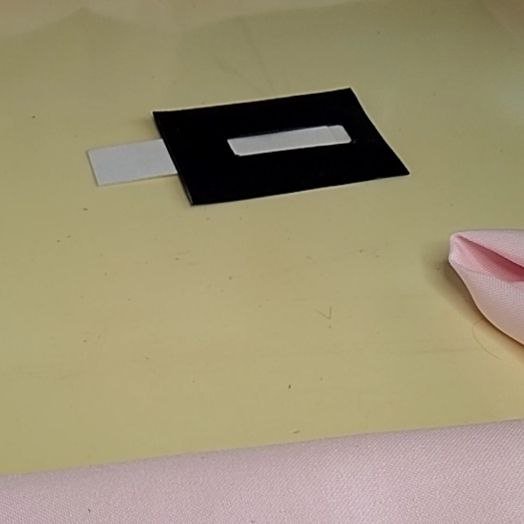
Pegando las piezas principales / Gluing the main parts
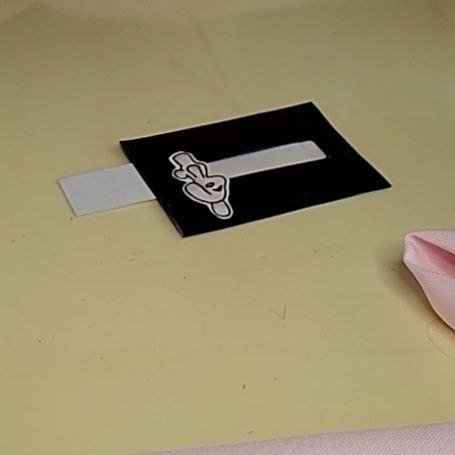
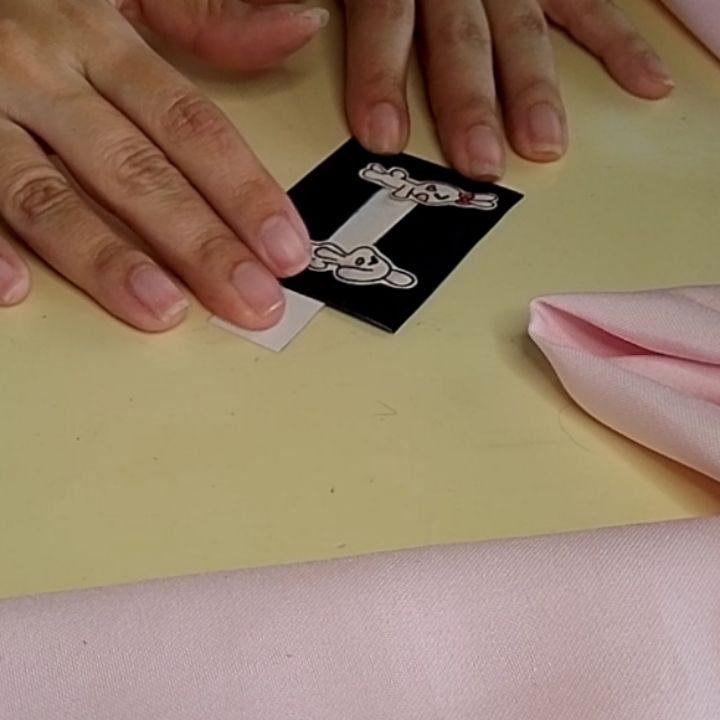
Yo he dibujado en cartulina blanca con rapidógrafo y lápices de colores un par de personajes previamente, se trata de unos conejitos enamorados, así que vamos a posicionarlos en los extremos de la ventana. Yo hice a estos conejos que se darán un abrazo, pero tú puedes dibujar cualquier figura que se complemente al unirse, como dos mitades de un corazón, por ejemplo.
English Version
I have drawn on white cardboard with a rapidograph and colored pencils a couple of characters beforehand, they are bunnies in love, so we are going to position them at the ends of the window. I made these bunnies that will give each other a hug, but you can draw any figure that complements each other when they join, like two halves of a heart, for example.
 |  |
|---|
También agregué un corazón de cartulina roja al extremo de la pieza movible para decorar y he empezado a escribir el mensaje de la tarjeta con lápiz de color blanco sobre la cartulina negra.
English Version
I also added a red cardstock heart to the end of the movable piece to decorate and have started writing the card message with white crayon on the black cardstock.
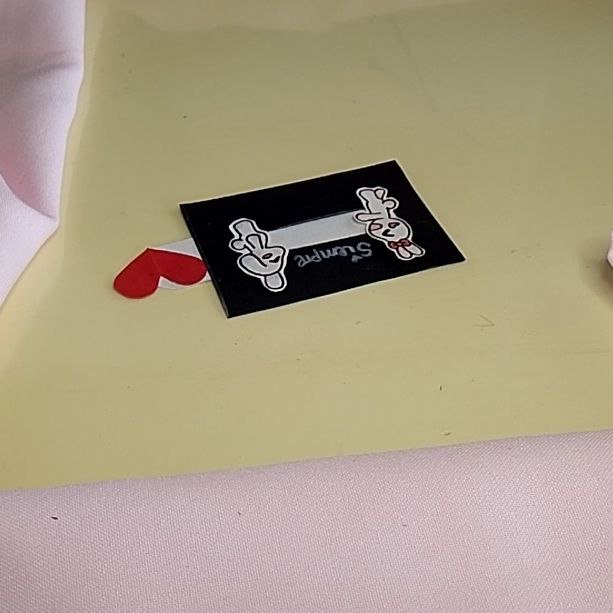
Inicio de las decoraciones / Start of decorations
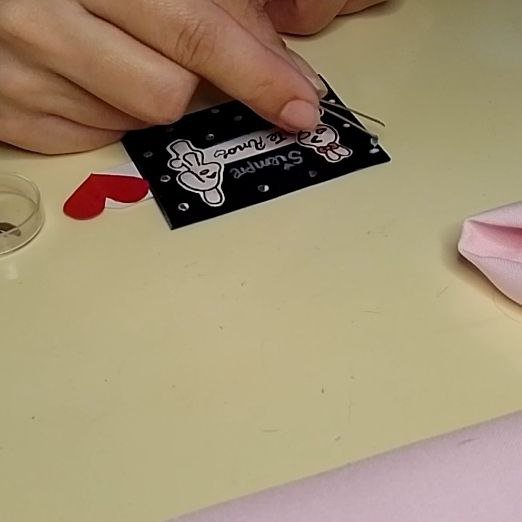
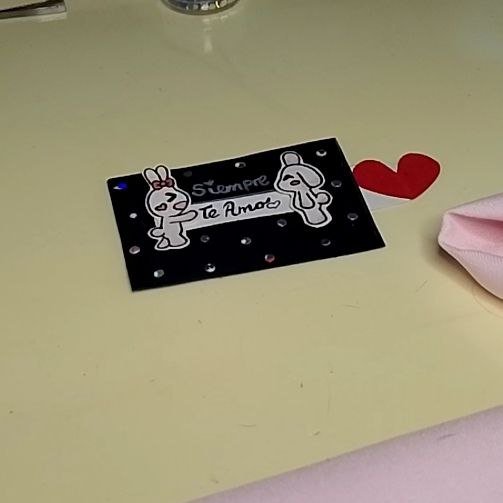
Con lapicero negro he escrito “Te amo” en la pieza blanca con la tarjeta en su posición original y la palabra “Juntos” con la tarjeta ya luego de halar la pieza blanca, de forma que el mensaje completo sería “siempre te amo, siempre juntos”. Posteriormente he agregado puntitos de pegamento para decorarla con muchos brillos plateados y así queda el resultado final:
English Version
With a black pen I wrote “I love you” on the white piece with the card in its original position and the word “Together” with the card after pulling the white piece, so that the complete message would be “I always love you, always together”. Then I added glue dots to decorate it with lots of silver glitter and this is the final result:
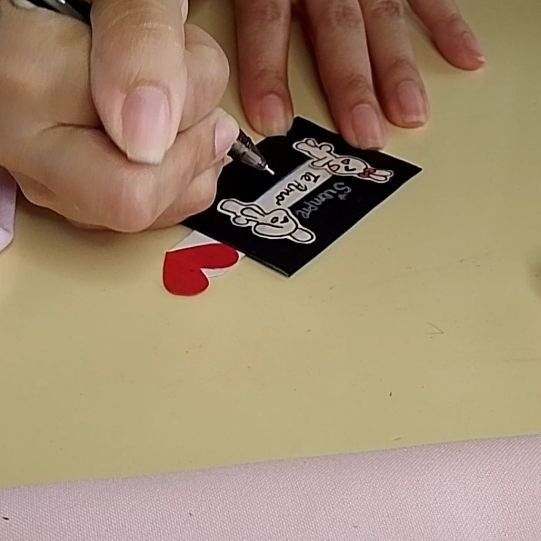 | 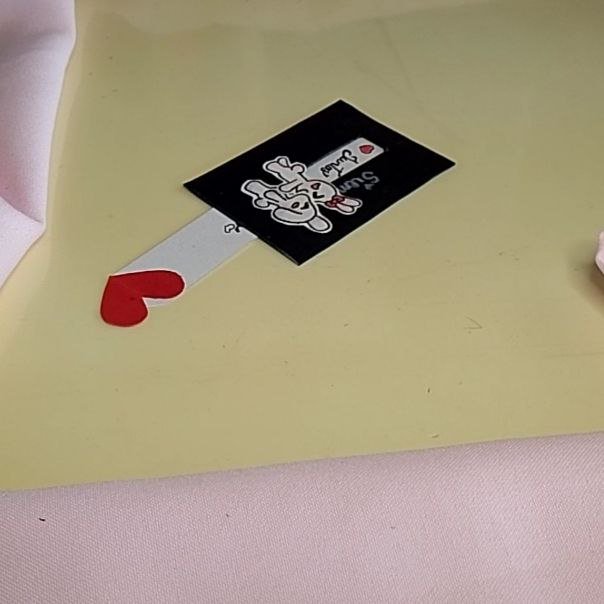 | 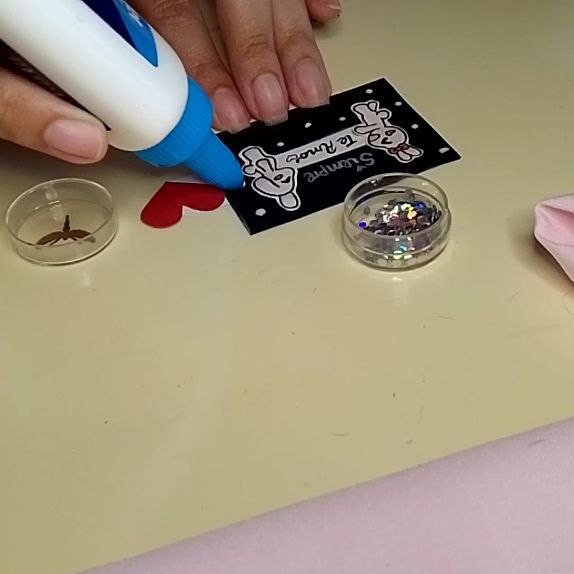 |  |  |
|---|
Por acá una GIF para que vean cómo se ve el movimiento:
English Version
Here is a GIF so you can see how the movement looks like:
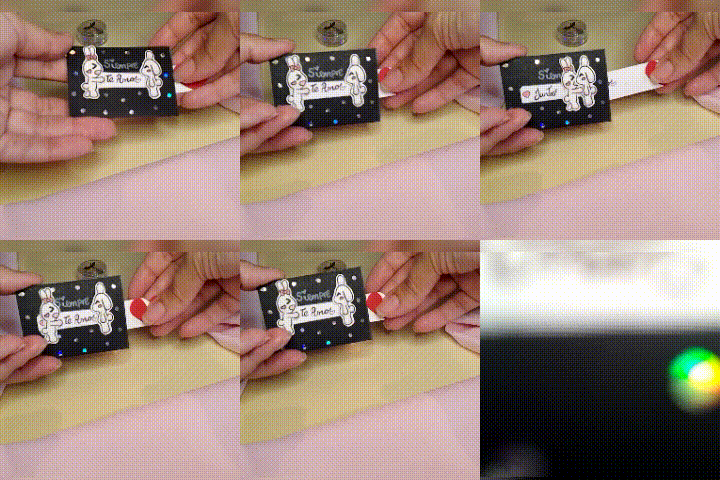
Movimiento / Movement
¡Muchas gracias por leerme!
Thank you so much for reading me!
Fotografías y video propios, tomados con mi Tecno Spark 10C.
GIF hecha con Capcut.
Traducido al inglés con DeepL. English Version
Own photos and video, taken with my Tecno Spark 10C.
GIF made with Capcut.
Translated to English with DeepL.

Banner creado por mí en Canva / Banner made by me in Canva
