

Hello, hello big family of Hive my wish is that everyone is very well, we continue having fun while working with the little ones of the house with useful material and this time we made a beautiful and cute ladybug, and is that my 8 year old girl always wants to be doing any little thing and tells me mom let's do something for Hive and this time was this ladybug, join us to see how we made it.
Hola, hola gran familia de Hive mi deseo es que todos estén muy bien, seguimos divirtiéndonos mientras trabajamos con los más pequeños de la casa con material de provecho y esta vez hicimos una hermosa y tierna mariquita, y es que mi niña de 8 años quiere siempre estar haciendo cualquier cosita y me dice mamá hagamos algo para Hive y esta vez fue esta mariquita, acompáñenos a ver cómo la hicimos.

Materials:
Egg carton.
Tempera.
Scissors
Silicone gun.
Liquid silicone.
Paintbrush.
Blister of empty pills.
Two small balls of foami.
A little ball of wool.
A piece of pipe cleaner.
Materiales:
Cartón de huevos.
Tempera.
Tijeras
Pistola de silicón.
Silicón líquido.
Pincel.
Blíster de pastillas vacía.
Dos pelotitas de foami.
Una pelotita de lana.
Un pedacito de limpiapipas.

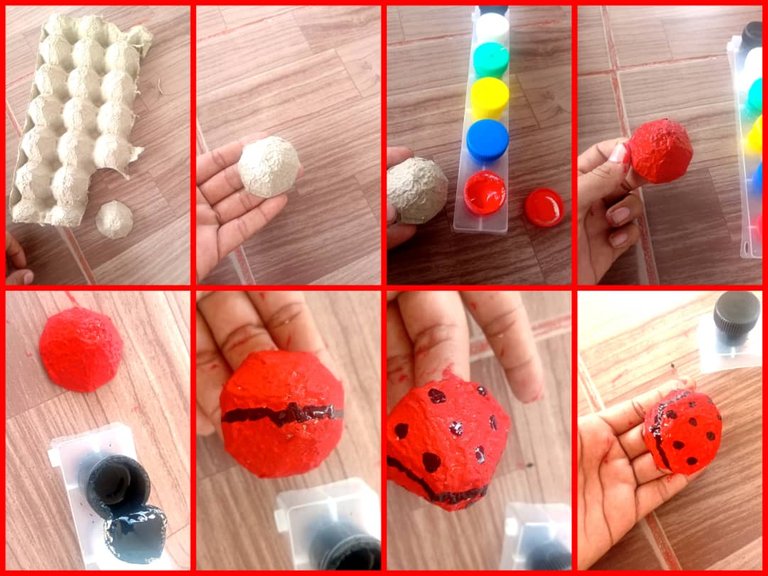
Cut a circle out of the egg carton and cut out the edges, paint with the red tempera and then with the black tempera we make a line down the middle and make black dots all around giving color to the ladybug's body.
Cortamos un círculo del cartón de huevos y recortamos los bordes pintamos con la tempera roja y luego con la tempera negra hacemos una línea por el medio y hacemos puntitos negros por todo alrededor dándole color al cuerpo de la mariquita.
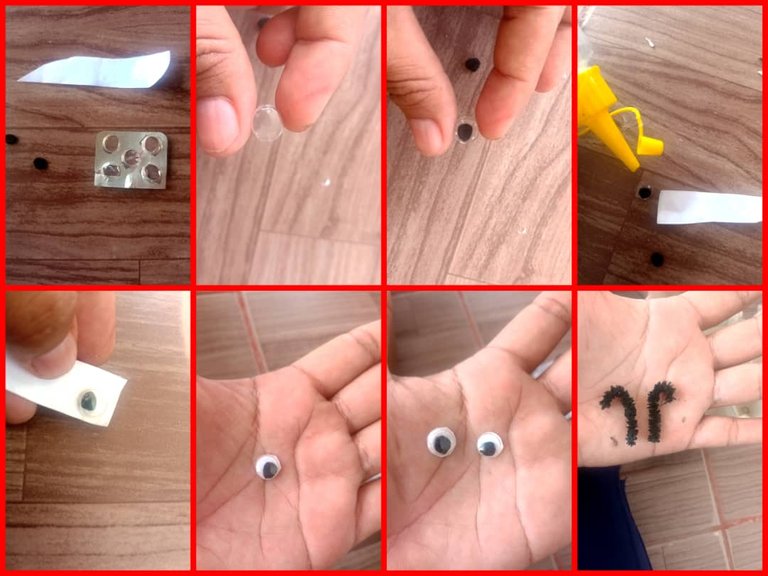
Then we take the plastic of the pills and cut out two circles inside them we place the black dots of foami and on the back with silicone we glue a piece of white paper to close and do not get out the foami so we make the two eyes of the ladybug and with the pipe cleaner we cut in half and semi bend the ends to shape the antennae of the ladybug.
Luego tomamos el plástico de las pastillas recortamos dos círculos adentro de ellos colocamos los puntitos negros de foami y por la parte de atrás con silicón pegamos un pedacito de papel blanco para cerrar y no se salga el foami así hacemos los dos ojos de la mariquita y con el limpiapipas picamos a la mitad y semi doblamos las puntas para darle forma de las antenas de la mariquita.
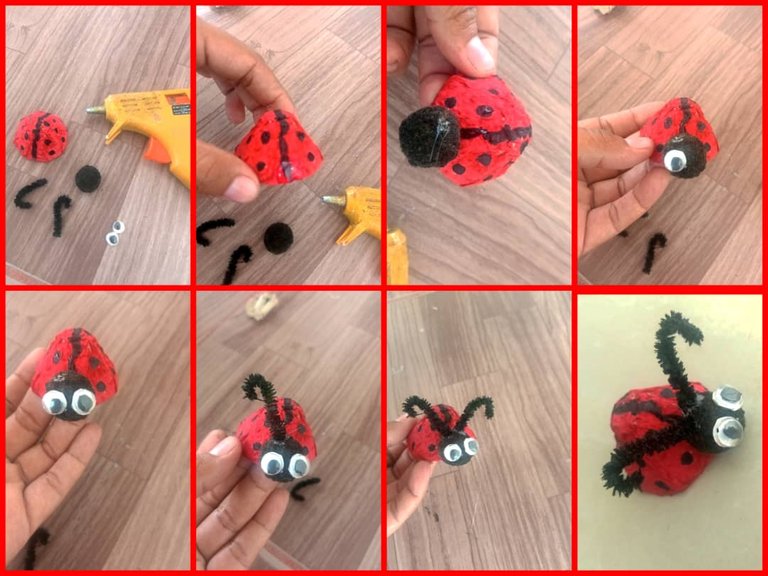
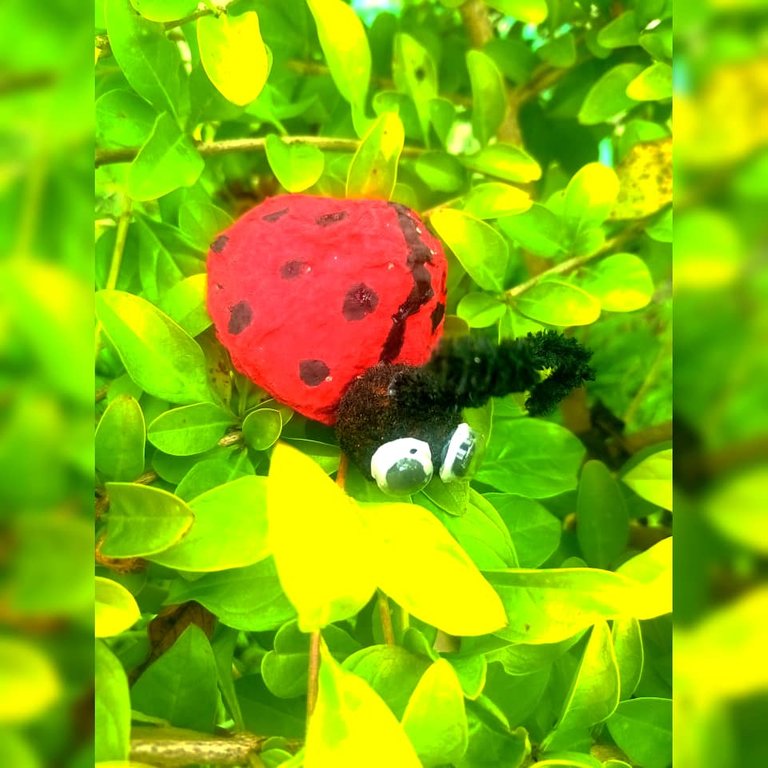
Now with all the pieces ready we are ready to assemble the ladybug, with the hot silicone we glue the little ball of wool to the body of the ladybug, then we glue the two eyes and above the eyes we glue the antennas, and this is how this beautiful and tender ladybug is ready.
Ahora con todas la piezas listas nos disponemos armar la mariquita, con el silicón caliente le pegamos la pelotita de lana al cuerpo de la mariquita, después pegamos los dos ojos y encima de los ojos pegamos las antenas, y es así como queda lista está hermosa y tierna mariquita.
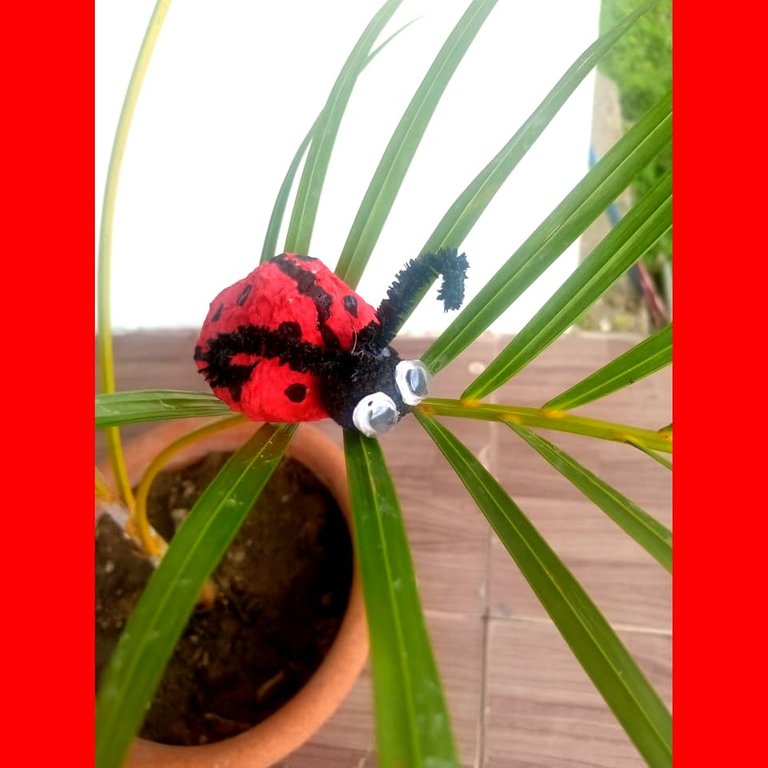
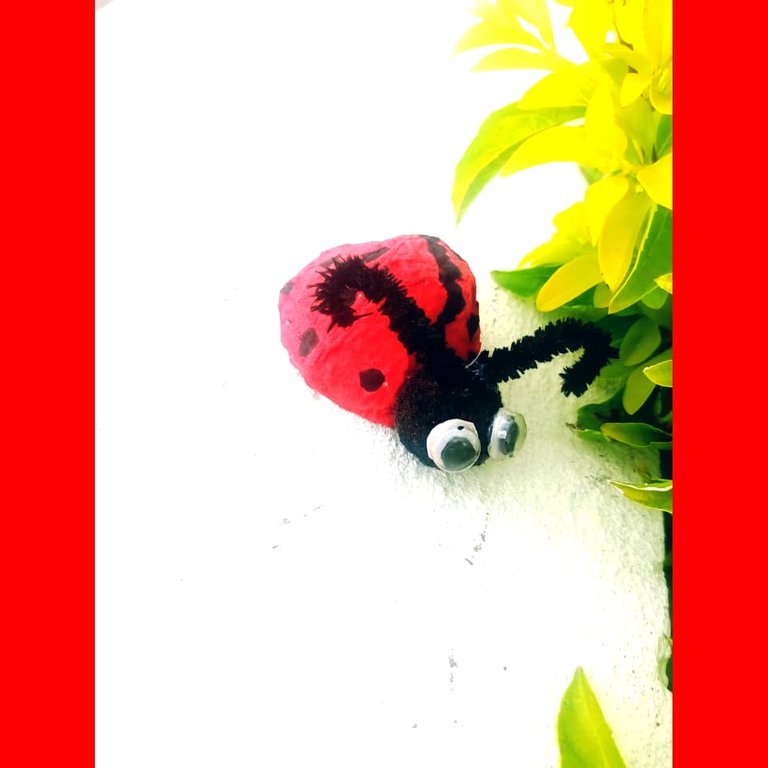
Now it only remains to place it on our plants to give it more life and color, beautiful and decorative our ladybug. I hope you liked it and you can make it at home and have fun with the little ones. Thanks for reading this far.
Ahora solo queda colocarla en nuestras plantas para darle mejor vida y color, hermosa y decorativa nuestra mariquita. Espero les haya gustado y puedan hacerla en casa y divertirse con los pequeñitos. Gracias por leer hasta aquí.
Todas las imágenes son de mi autoría y tomadas desde mi tlf android y editadas de la app InCollage y Canva.
Traducción: DeepL.com

