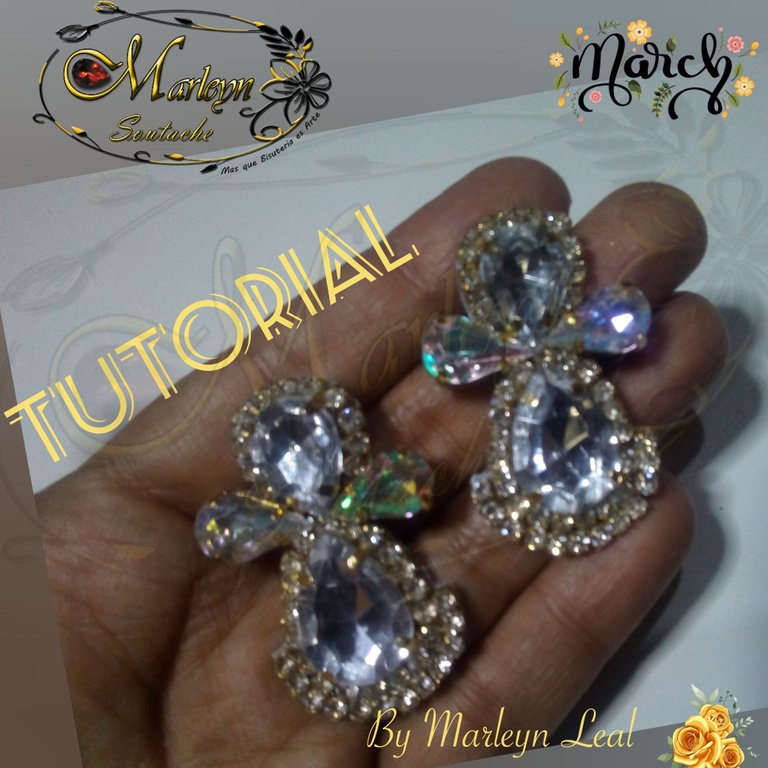
Feliz y bendecido día, 😃 vamos con animo a aprender algo nuevo en este día hermosos, ante todo deseo se encuentren muy bien, llenos de energía y buena vibra, super sanos, en gran abundancia, brillando y creciendo cada día mas, Como siempre yo estoy feliz de tener la oportunidad de estar con ustedes por acá, con amor vamos trabajando, creando, amando cada día mas la vida, mi trabajo, esto cada día es mas que un trabajo es mi pasión es lo que amo y lo enseño con mucho amor, hoy vamos a fabricar un par de zarcillos con cristal engastado, quedan medianos aproximadamente de 4.5 centímetros de alto.
Happy and blessed day, 😃 let's go with encouragement to learn something new on this beautiful day, first of all I wish you are very well, full of energy and good vibes, super healthy, in great abundance, shining and growing more every day, As always I am happy to have the opportunity to be with you here, with love we are working, creating, loving life more every day, my work, this every day is more than a job is my passion is what I love and I teach it with a lot of love, today we are going to make a pair of earrings with crystal set, they are medium approximately 4.5 centimeters high.


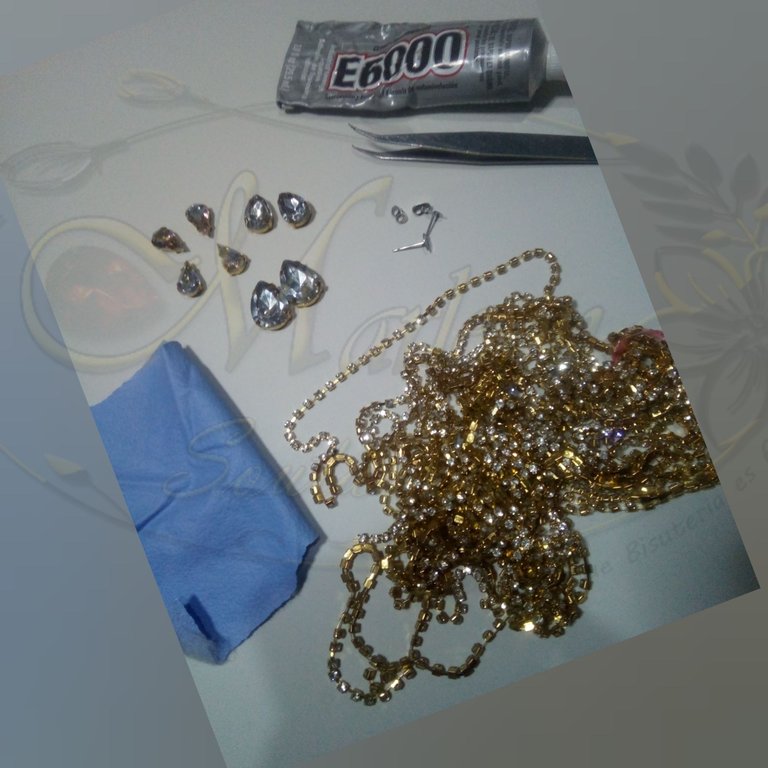
MATERIALES: Strass 3 milímetros, 2 apliques de cristal transparente engastado de 18 milímetros de alto por 13 milímetros de ancho, 2 apliques de cristal transparente engastado de 13 milímetros de alto por 10 milímetros de ancho, 4 apliques de cristal transparente engastado de 13 milímetros de alto por 8 milímetros de ancho estos 4 últimos apliques son los que van a los lados en nuestra pieza, Base para zarcillo plana con su mariposa, un pequeño pedazo de anime o goma espuma, Cuero, Cuerina o tela gruesa pega E6000 o silicon liquido.
MATERIALS: Strass 3 millimeters, 2 clear glass appliques set 18 millimeters high by 13 millimeters wide, 2 clear glass appliques set 13 millimeters high by 10 millimeters wide, 4 appliques of transparent crystal set 13 millimeters high by 8 millimeters wide, these last 4 appliques are the ones that go to the sides in our piece, Flat earring base with its butterfly, a small piece of anime or foam rubber, Leather, Leatherette or thick fabric paste E6000 or liquid silicone.
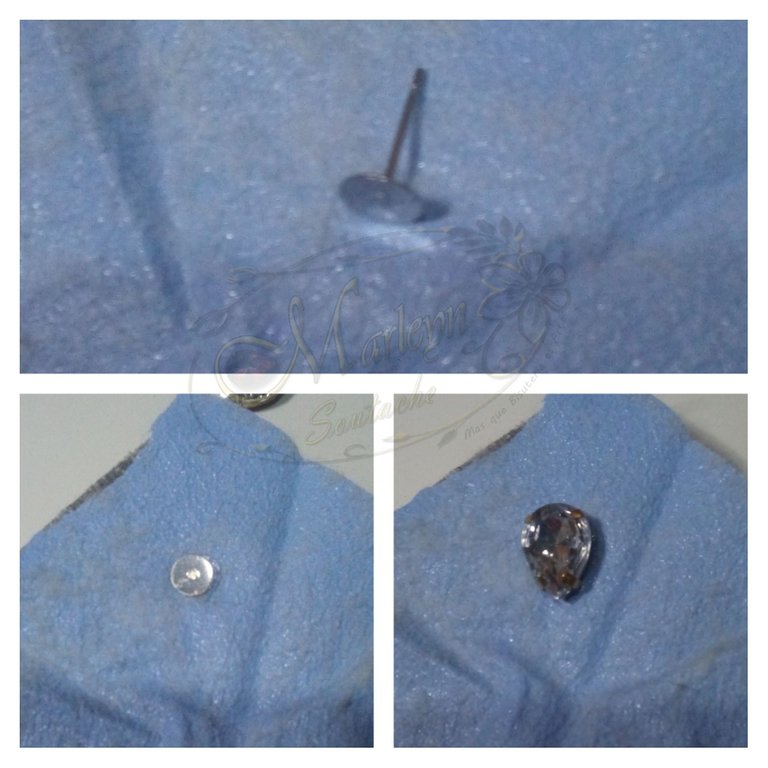
Paso 1: En un cuadro de tela o cuerina como estoy utilizando yo, coloca una gota pequeña de pega puedes utilizar tanto la E6000 como también el silicon liquido, introduce o traspasa la punta del zarcillo por la tela justo donde colocaste la pega para que se fije bien, entierra la punta en el anime o goma espuma para que se te haga mas fácil trabajar, ahora toma el aplique engastado de 13 milímetros de alto por 10 milímetros de ancho y colocaremos pega por su parte de abajo, lo vas a pegar sobre la base del zarcillo, como te muestro en la imagen con la punta hacia abajo, deja secar un poquito.
Step 1: In a square of fabric or leather like I am using, place a small drop of glue you can use both E6000 and liquid silicone, insert or pass the tip of the earring through the fabric just where you placed the glue so that it is fixed well, bury the tip in the anime or foam rubber to make it easier for you to work, now take the applique set 13 millimeters high by 10 millimeters wide and we will place glue by its lower part, you are going to paste it on the base of the tendril, as I show you in the image with the tip downwards, let it dry a little.
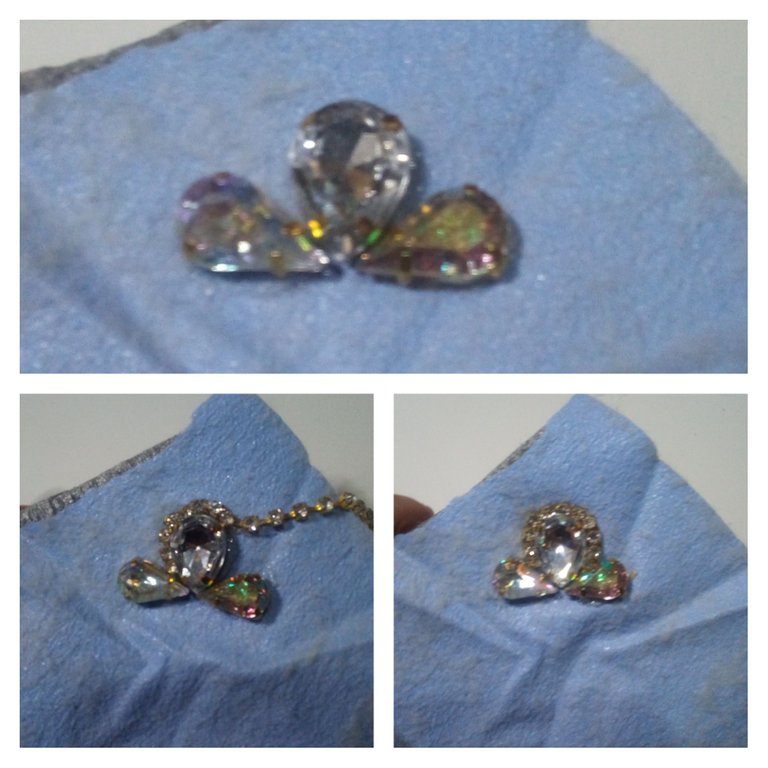
Paso 2: Al estar un poco mas seca la pieza que pegamos en el paso anterior, vamos a pegar 2 apliques de cristal transparente engastado de 13 milímetros de alto por 8 milímetros de ancho a los lados, si miras en la primera imagen el engaste tiene como unos dientes hacia arriba, bueno vamos a pegar los apliques de manera que esos dientes se alineen, ahora vamos a cortar 11 piedras de strass 3 milímetro o 5.5 centímetros, colocaremos suficiente pega por la parte superior de el primer aplique que pegamos y con ayuda de una pinza vamos pegando el strass bien unidos para que se vea mucho mejor.
Step 2: Since the piece that we glued in the previous step is a little drier, we are going to glue 2 transparent glass sconces set 13 millimeters high by 8 millimeters wide on the sides , if you look at the first image the setting has some teeth facing upwards, well we are going to glue the appliqués so that those teeth line up, now we are going to cut 11 strass stones 3 millimeters or 5.5 centimeters, we will place enough glue on the part top of the first appliqué that we paste and with the help of a clamp we stick the rhinestones well together so that it looks much better.
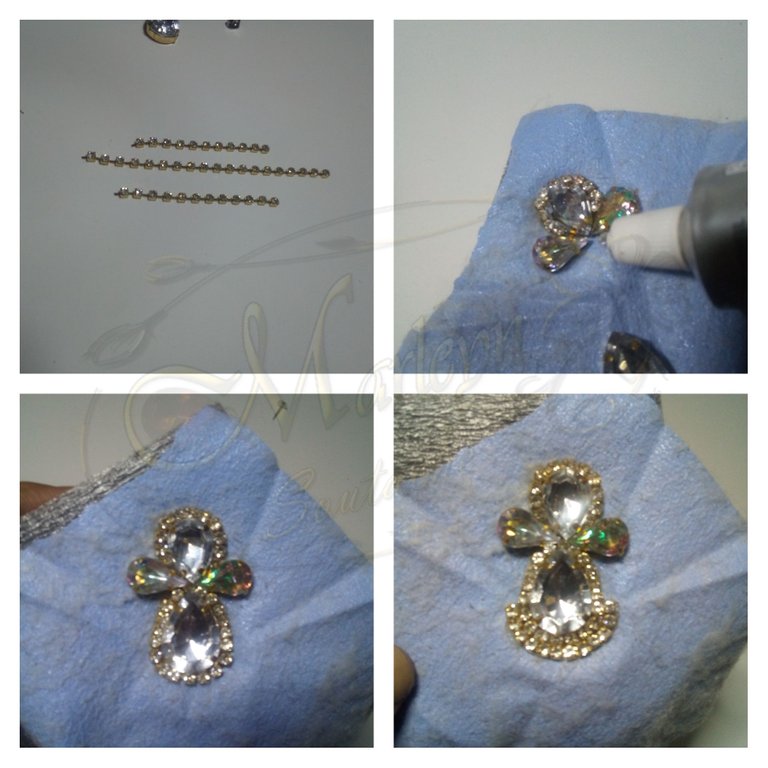
Paso 3: En la parte de abajo de todos los apliques que pegamos en el paso anterior vamos a colocar una pequeña gota de pegamento, cortamos 19 piedras de strass o 8.5 centímetros de largo y la primera piedra del strass se debe pegar justamente donde se conectan las puntas de todos los apliques, luego colocamos pegamento sobre el aplique mas grande y lo pegaremos exactamente abajo del strass, ahora colocamos pegamento por todo el alrededor y pegaremos el strass como arropando la pieza de abajo, ahora en la parte de abajo colocamos mas pegamento y vamos a pegar la ultima tira de strass de 12 piedras o 9 centímetros de largo buscando que quede exactamente en el medio, este proceso lo puedes hacer a ojo.
Step 3: At the bottom of all the appliques that we glued in the previous step we are going to place a small drop of glue, we cut 19 rhinestones or 8.5 centimeters long and the first The strass stone should be glued exactly where the tips of all the appliqués connect, then we put glue on the largest appliqué and we will stick it exactly below the rhinestone, now we put glue all around and we will glue the rhinestone as wrapping the piece below , now at the bottom we put more glue and we are going to glue the last strip of strass of 12 stones or 9 centimeters long looking for it to be exactly in the middle, this process can be done by eye.
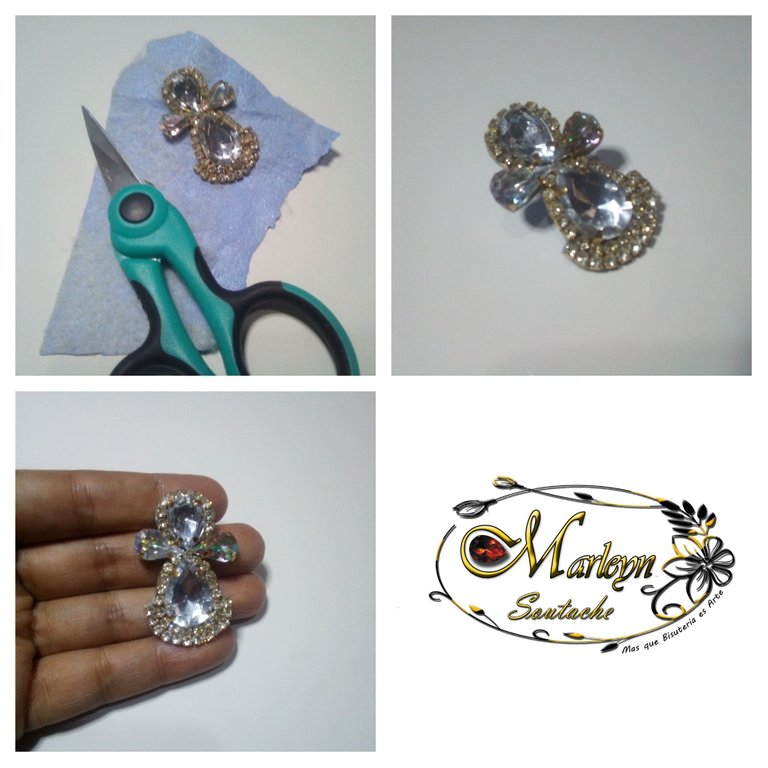
Paso 4: Dejamos secar la pieza un rato, luego procedemos a cortar, si al mover alguna pieza te percatas que alguna no quedo perfectamente pegada no te preocupes solo colocas un poco mas de pegamento sin ensuciar la pieza por la parte de arriba y nuevamente dejamos secar, de esta manera tenemos listo unos zarcillos espectaculares que te harán lucir tan hermosa por fuera como ya lo somos por dentro! Recuerda Eres LUZ, vinimos a este mundo a brillar, a ser feliz, sigue siendo tu, ya eres hermosa tal cual eres!
Step 4: Let the piece dry for a while, then we proceed to cut it, if when moving a piece you notice that one of them is not perfectly glued, don't worry, just put a little more glue without making a mess the piece from the top and let it dry again, in this way we have some spectacular tendrils ready that will make you look as beautiful on the outside as we already are on the inside! Remember you are LIGHT, we came to this world to shine, to be happy, continue to be you, you are already beautiful just the way you are!

Si tienes una duda escríbeme un comentario, estaré feliz de ayudarte con cualquier detalle, Espero que mis diseños les gusten tanto como a mí me gusta, aprendan con placer ...!

Nunca olvides que el Poder es Querer y si quieres Puedes...
Eres Luz eres Energía, TU PUEDES ... Que el universo infinito Conspire para que todo siempre sea mejor ... Se les quiere ...

Venezuela FE
Somos Seres Abundantes! Qué las energías del universo vibren en sintonía con las de cada uno de nosotros en armonía! Cuidemos nuestras palabras, acciones y pensamientos!
If you have a question, write me a comment, I will be happy to help you with any details, I hope you like my designs as much as I like, learn with pleasure ...!

Never forget that Power is Wanting and if you want you can ...
You are Light, you are Energy, YOU CAN ... May the infinite universe Conspire so that everything is always better ... They are loved ...

Venezuela FAITH
We are Abundant Beings! May the energies of the universe vibrate in tune with those of each of us in harmony! Let's take care of our words, actions and thoughts!


Autoría del texto y todas las imágenes: @Marleyn , La edición de las imágenes las realicé yo misma, Por favor no Utilices mis fotos sin mi autorización, edites ni re-publiques mi material ¿Deseas ponerte en contacto conmigo? Escríbeme:
Correo electronico: Marleynl123@gmail.con
Discord #Marleyn#7821
Twitter: @marleynleal1
Imstagran: @MarleynSoutache
YouTube: https://youtube.com/c/marleynlealramos
Facebook: @marleynsoutache
Authorship of the text and all the images: @Marleyn, I did the editing of the images myself, Please do not use my photos without my authorization, edit or republish my material Do you want to contact me? Write me:
Email: Marleynl123@gmail.con
Discord #Marleyn#7821
Twitter: @marleynleal1
Imstagran: @MarleynSoutache
YouTube: https://youtube.com/c/marleynlealramos
Facebook: @marleynsoutache


Mi trabajo es mi pasión y cuando tu trabajo es tu pasión nada es imposible / My work is my passion and when your work is your passion nothing is impossible


