🌸Hola Comunidad HIVE🌸
Hello HIVE Community

Buenos días amigos, hacen dos días mi hija hizo que me comprara unas brochas de maquillaje para tenerlas en caso que necesite realizarme algún maquillaje especial y los del día a día para trabajar. Y como no soy de tener mucho maquillaje no tenía un porta brochas para colocarlas y que no se dañen, además de mantener el orden en la habitación.
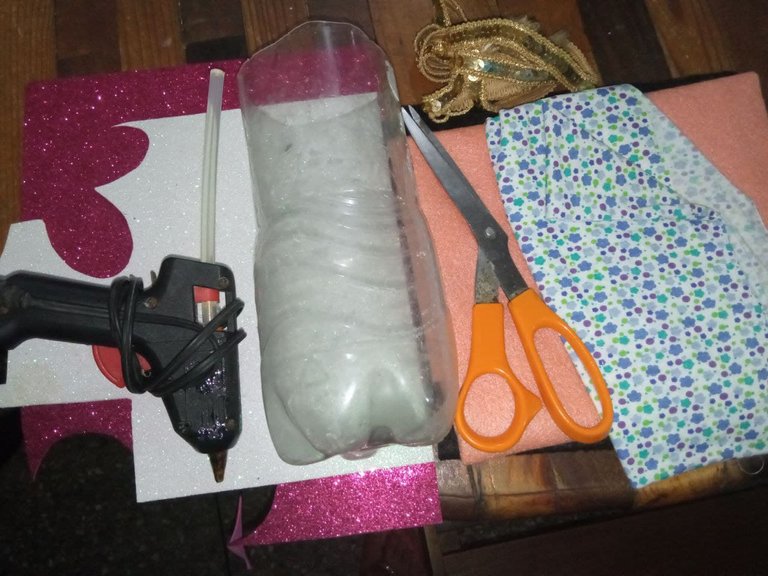
Los materiales utilizados son:
Paso a Paso / Step by Step
1.- Cortamos en foami el diseño de un par de lentes, una pequeña boca y un modelo de pestañas.
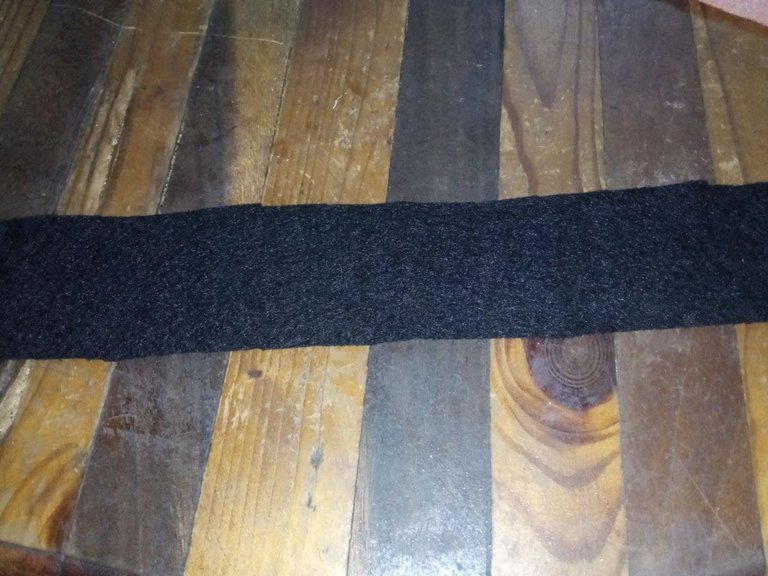
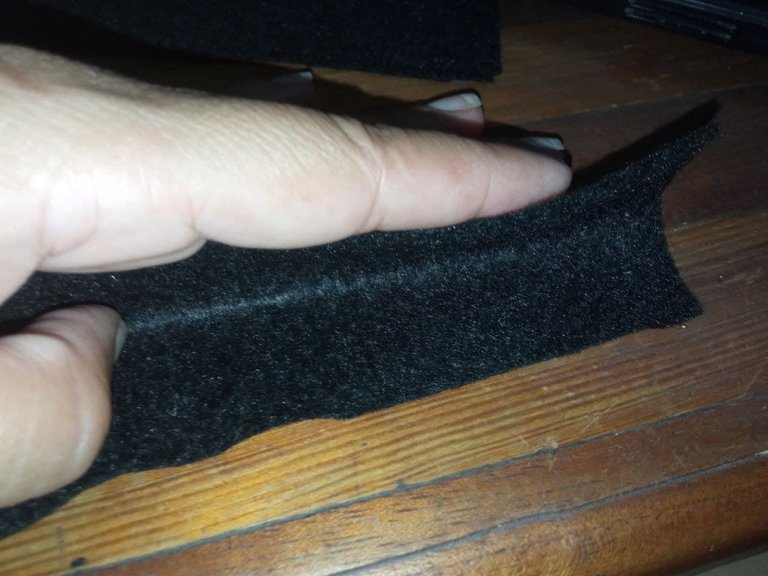
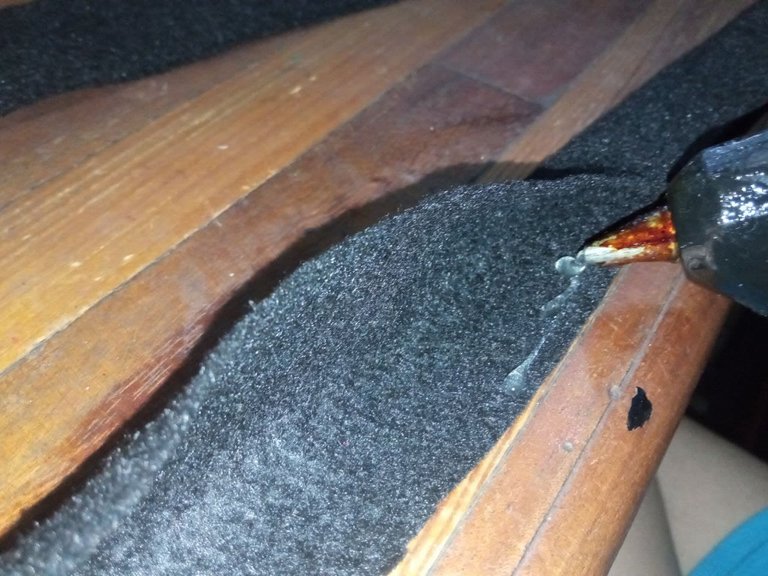
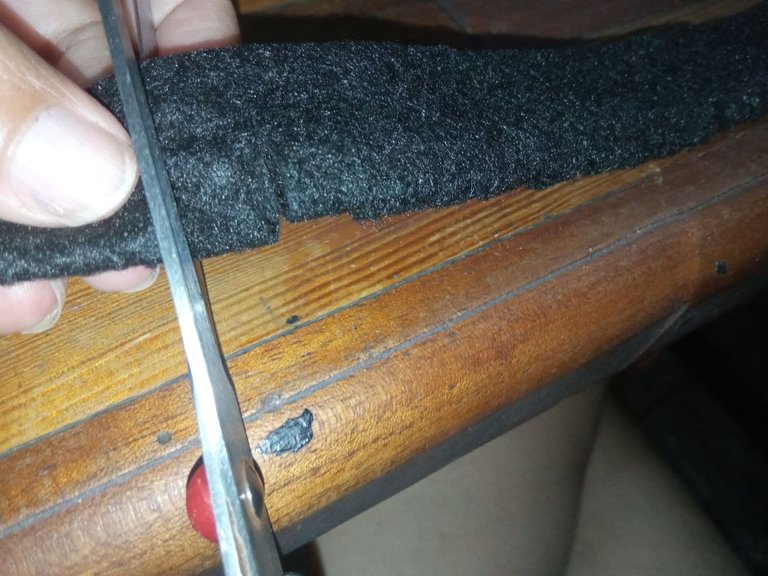
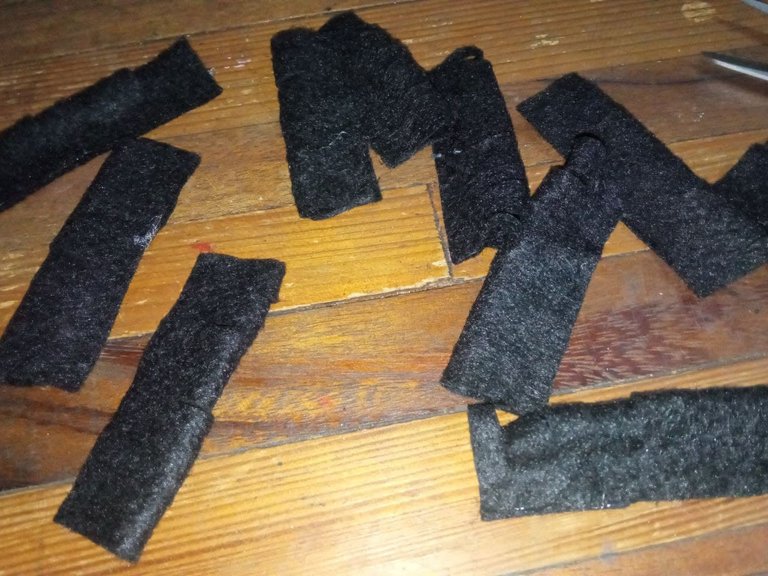
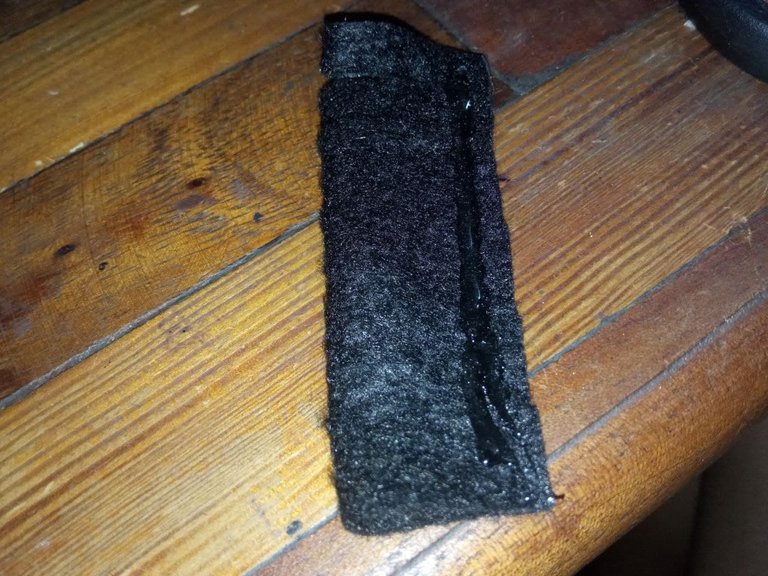
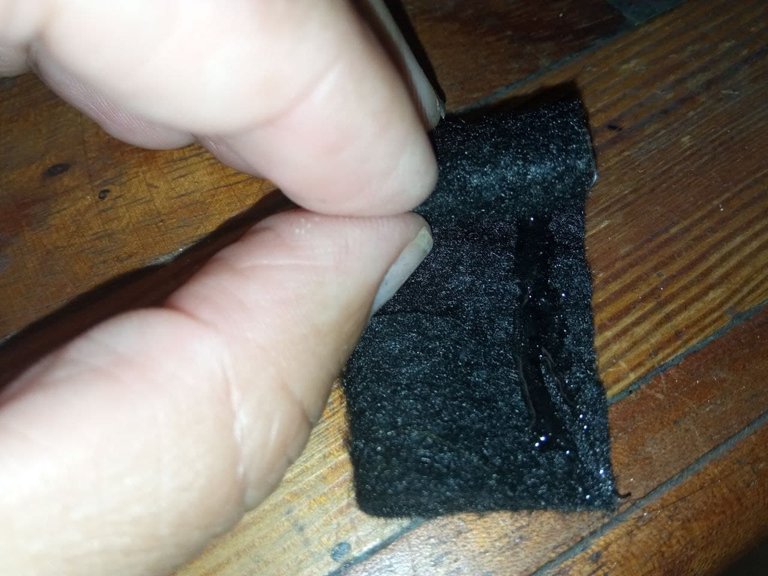
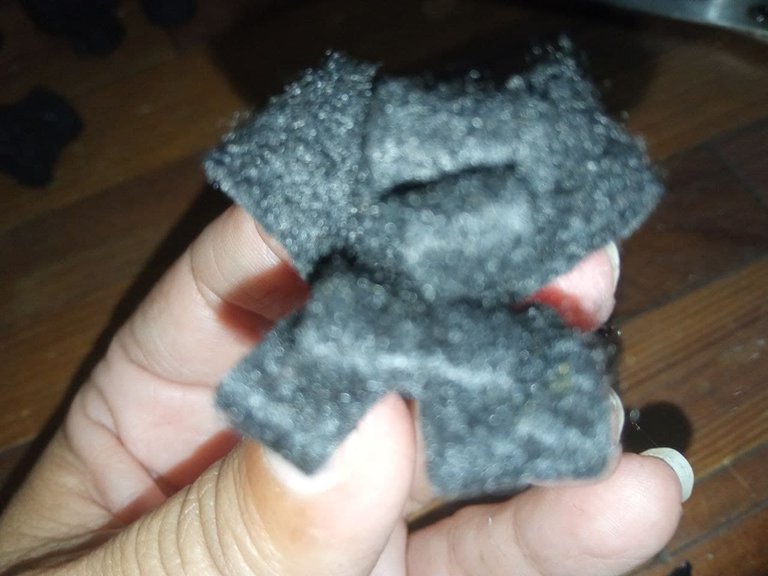
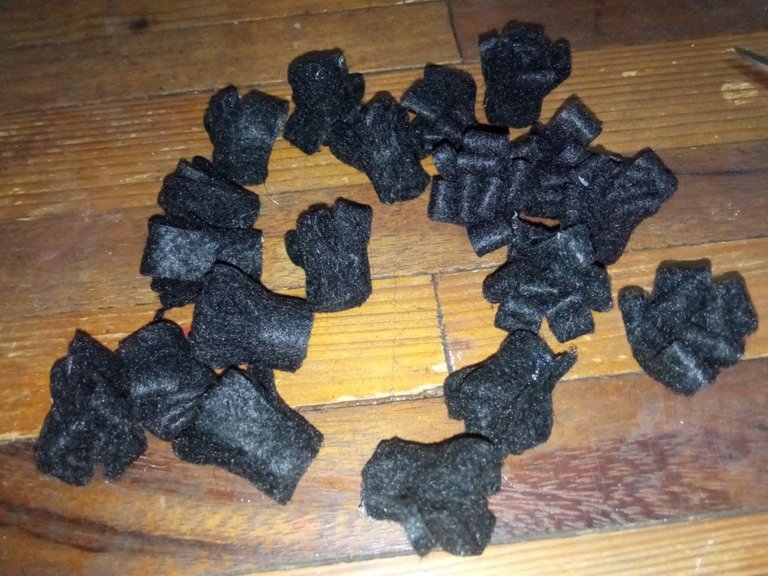
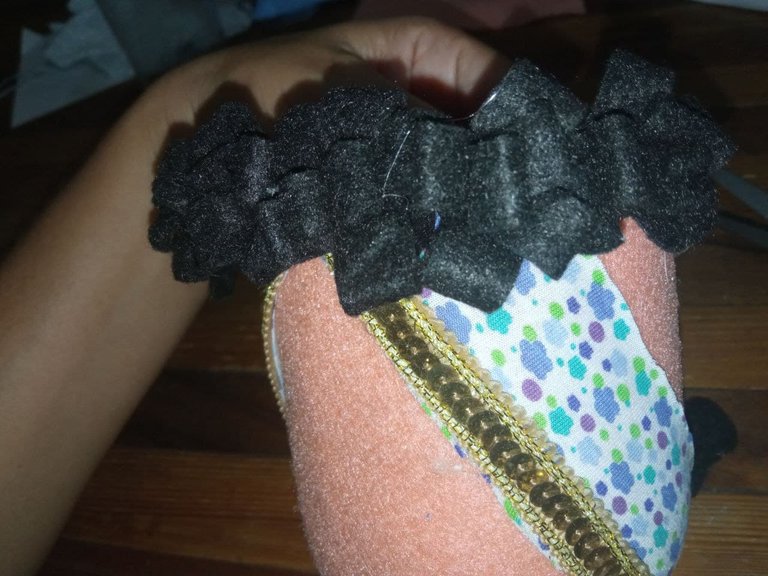
2.- Cortamos tiras de unos 3x50 cm en fieltro negro, tomamos una de las tiras colocamos Silicón y pegamos para formar como un canal, luego vamos a hacer cortes pequeños en todo el canal y luego vamos a cortar la tira en cinco trozos. Con cada trozo vamos a formar rollos, nos quedaran como unas flores o plantitas. Esto lo vamos a hacer con cada tira de fieltro cortada. Reservamos.
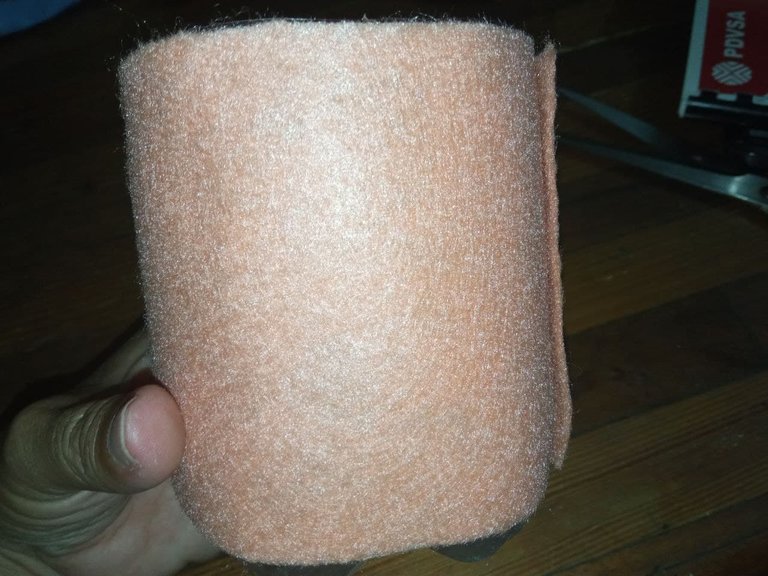
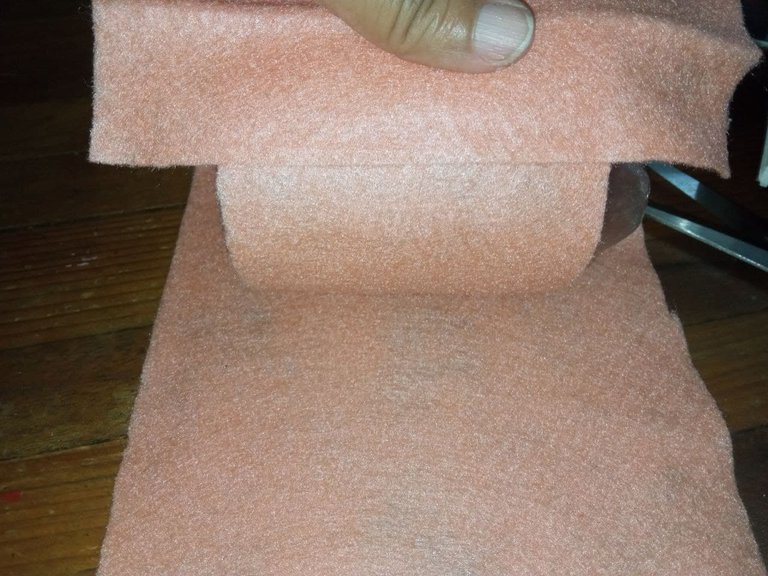
3 .- Forramos en envase de refresco en fieltro Color carne.
4.- Cortamos dos trozos de tela estampada y las pegamos al envase de refresco forrado, también pegamos la cinta dorada.
5.- Pegamos uno a uno los rollos de fieltro negro para formar el cabello del diseño escogido. Luego colocamos un lazo hecho en la tela estampada.
6.- Pegamos los lentes, la boca y las pestañas para finalizar este hermoso trabajo de reciclaje con manualidades.
En lo personal me encantó esta creación, muy original y diferente, además de hermosa. Espero que con el tutorial puedan realizar el suyo para que al igual que yo, disfruten y decoren su zona de maquillaje con este lindo porta brochas.
Hace un tiempo vi, en mis tantas búsqueda de manualidades útiles por la red de Internet un porta brochas muy singular que me encantó y hoy vi la oportunidad de hacerlo ya que además contaba con el material necesario.
Good morning friends, two days ago my daughter made me buy some makeup brushes to have them in case I need to do some special makeup and those of the day to day to work. And since I don't have a lot of makeup, I didn't have a brush holder to put them in so they wouldn't get damaged, and to keep order in the room.Some time ago I saw, in my many search for useful crafts on the Internet a very unique brush holder that I loved and today I saw the opportunity to do it because I also had the necessary material.
Los materiales utilizados son:
The materials used are:
- Botella plástica de refresco vacía.
- Fieltro en diversos colores.
- Silicón.
-Tijeras. - Retazo de tela y cinta dorada.
- Empty plastic soda bottle.
- Felt in different colors.
- Silicone.
-Scissors. - Piece of cloth and gold ribbon.
Paso a Paso / Step by Step
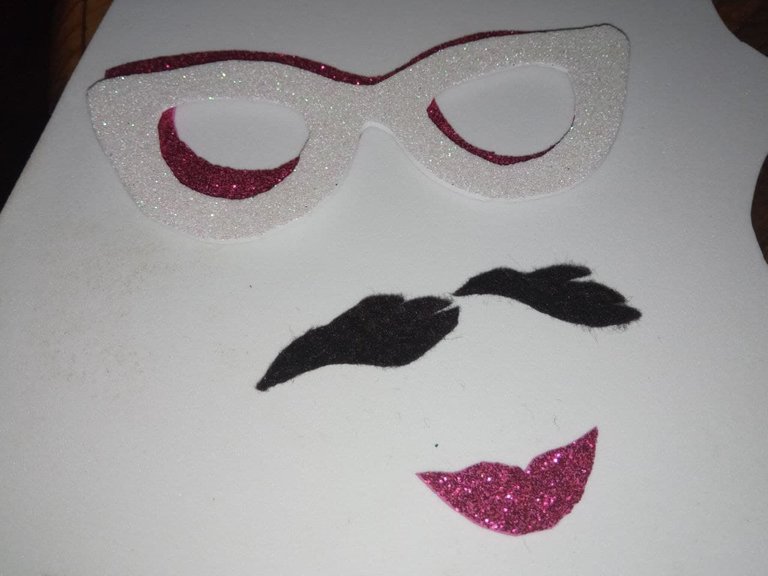
1.- Cortamos en foami el diseño de un par de lentes, una pequeña boca y un modelo de pestañas.
1.- We cut in foami the design of a pair of glasses, a small mouth and a model of eyelashes.
2.- Cortamos tiras de unos 3x50 cm en fieltro negro, tomamos una de las tiras colocamos Silicón y pegamos para formar como un canal, luego vamos a hacer cortes pequeños en todo el canal y luego vamos a cortar la tira en cinco trozos. Con cada trozo vamos a formar rollos, nos quedaran como unas flores o plantitas. Esto lo vamos a hacer con cada tira de fieltro cortada. Reservamos.
2.- We cut strips of about 3x50 cm in black felt, we take one of the strips we put Silicone and glue to form a channel, then we will make small cuts throughout the channel and then we will cut the strip into five pieces. With each piece we are going to form rolls, they will look like flowers or small plants. We are going to do this with each cut felt strip. Set aside.
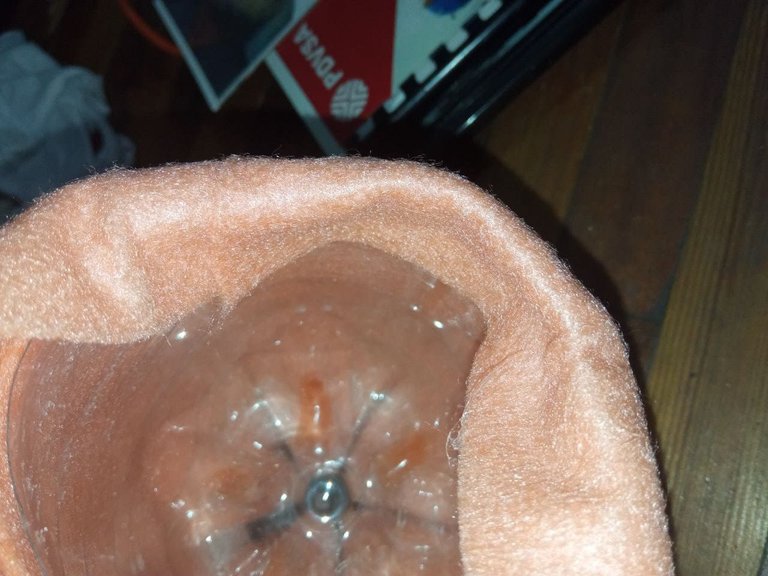
3 .- Forramos en envase de refresco en fieltro Color carne.
3 .- Line the soda can with flesh-colored felt.
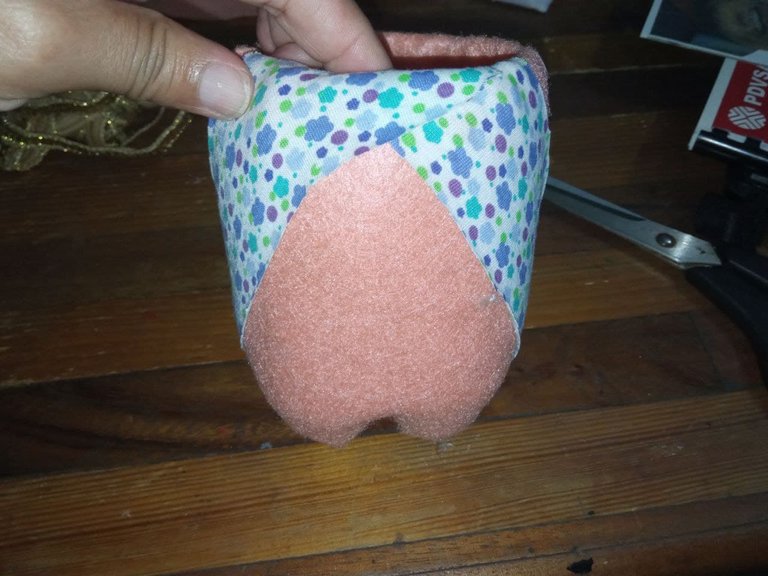
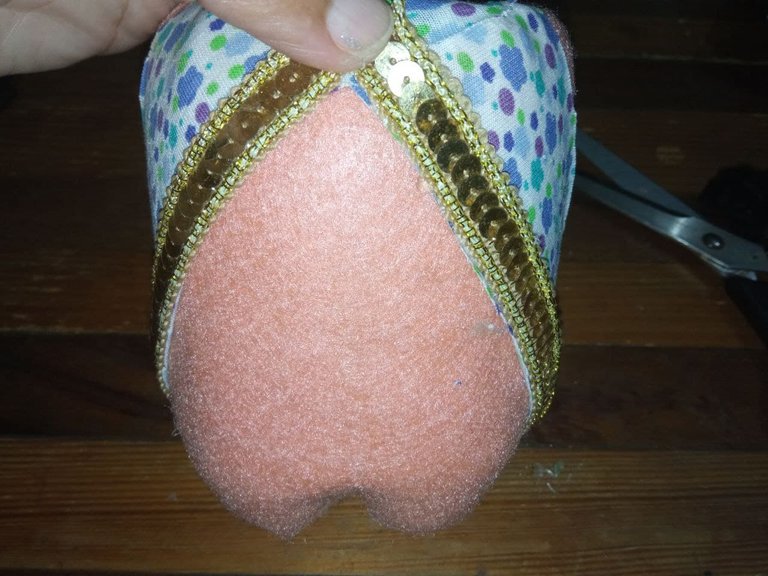
4.- Cortamos dos trozos de tela estampada y las pegamos al envase de refresco forrado, también pegamos la cinta dorada.
4 .- Cut two pieces of printed fabric and glue them to the lined soft drink container, also glue the golden ribbon.
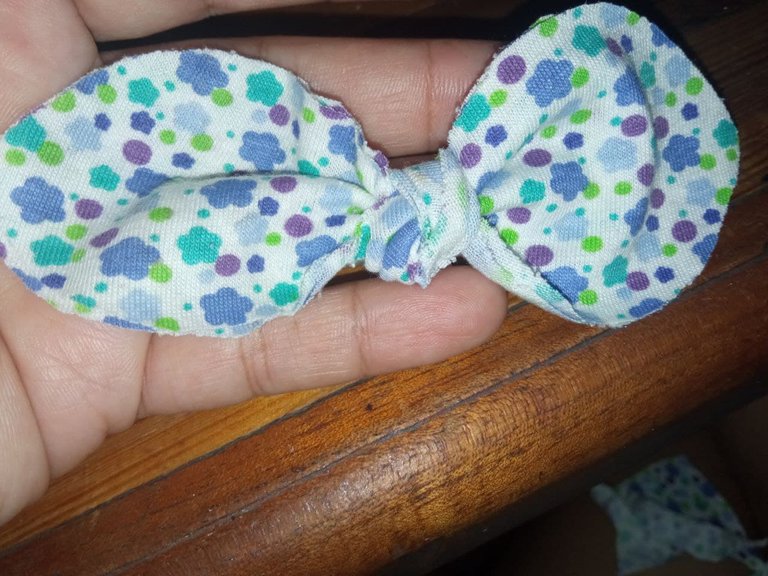
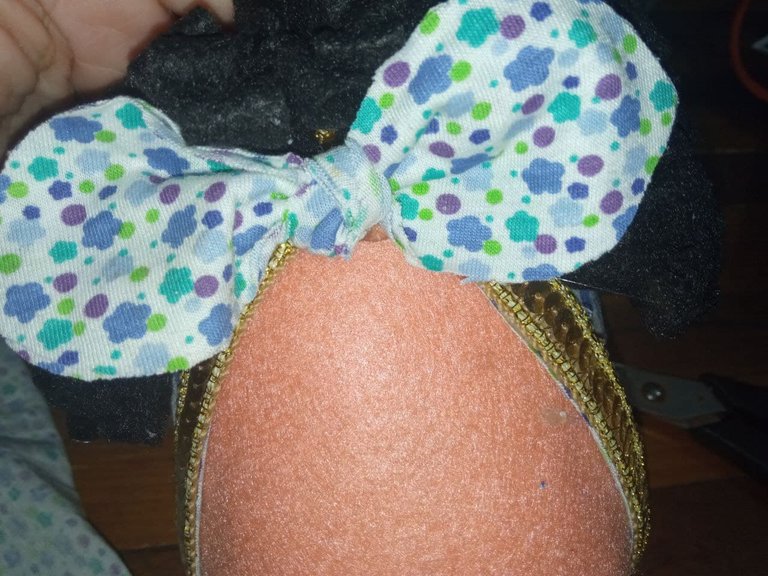
5.- Pegamos uno a uno los rollos de fieltro negro para formar el cabello del diseño escogido. Luego colocamos un lazo hecho en la tela estampada.
5.- Glue one by one the rolls of black felt to form the hair of the chosen design. Then we place a ribbon made of the printed fabric.
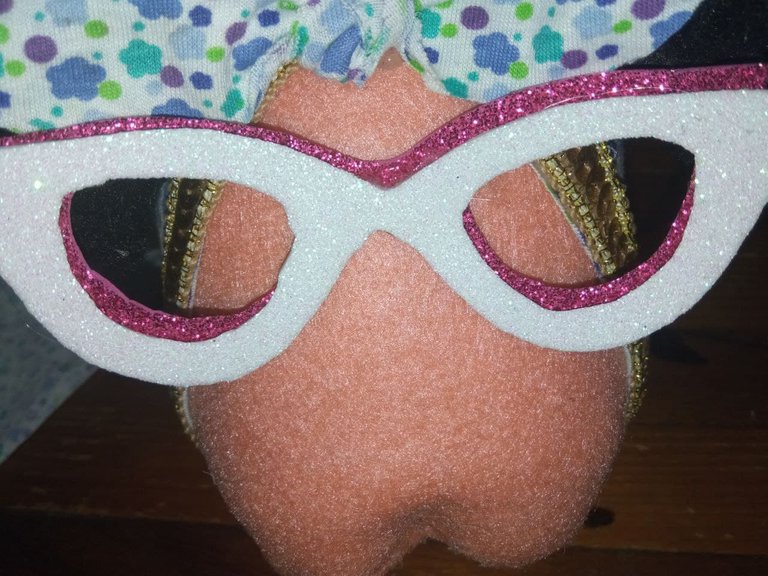
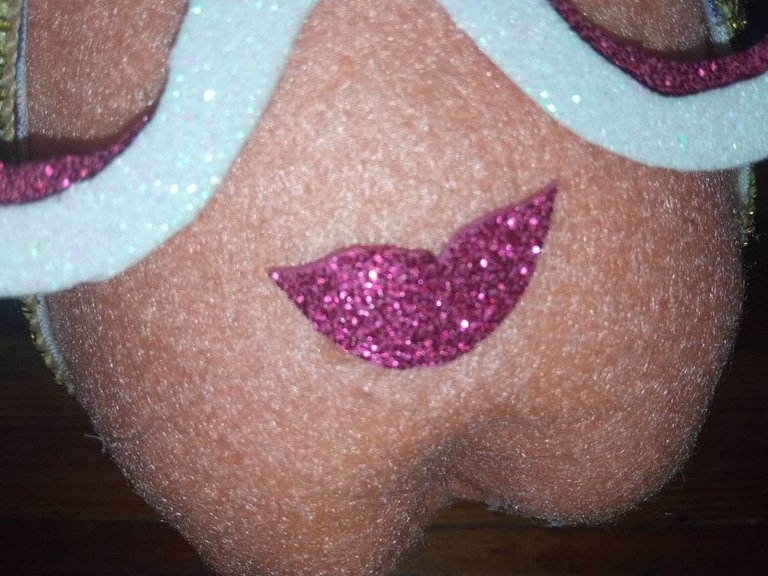
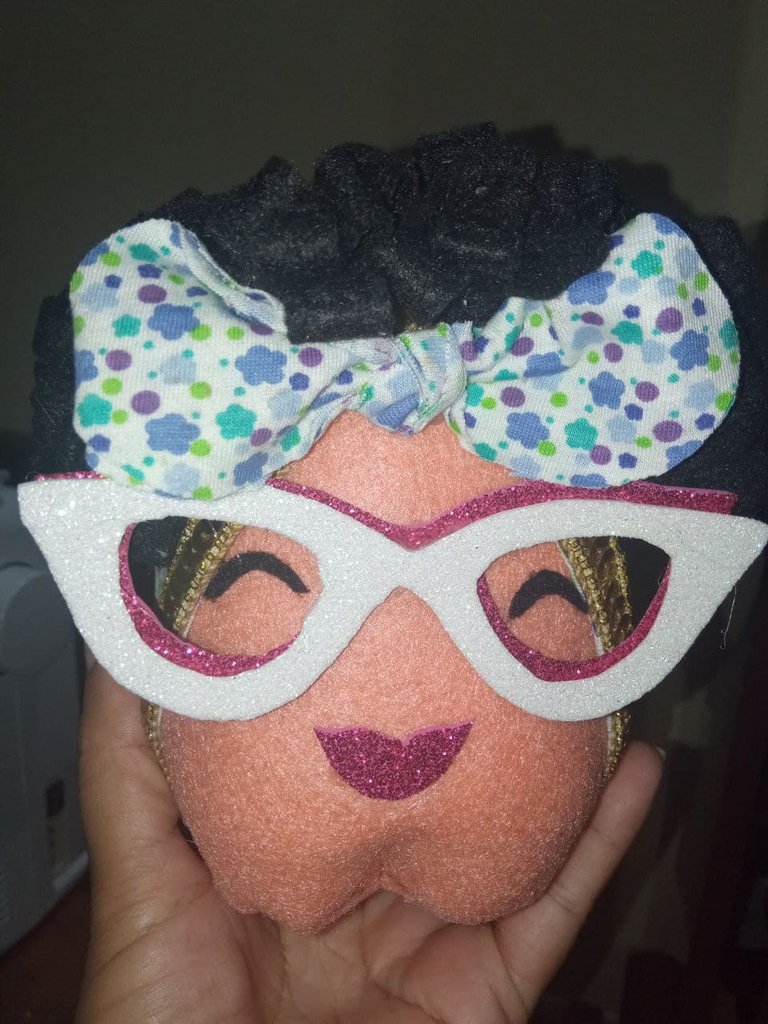
6.- Pegamos los lentes, la boca y las pestañas para finalizar este hermoso trabajo de reciclaje con manualidades.
6.- Glue the glasses, the mouth and the eyelashes to finish this beautiful recycling craft.

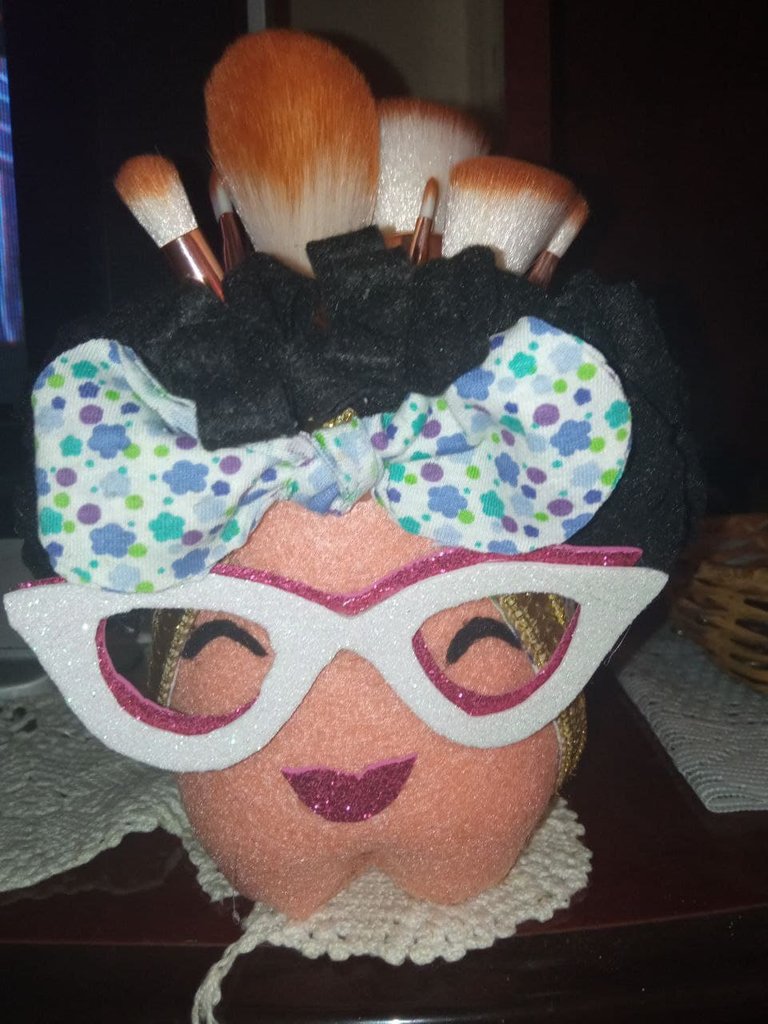
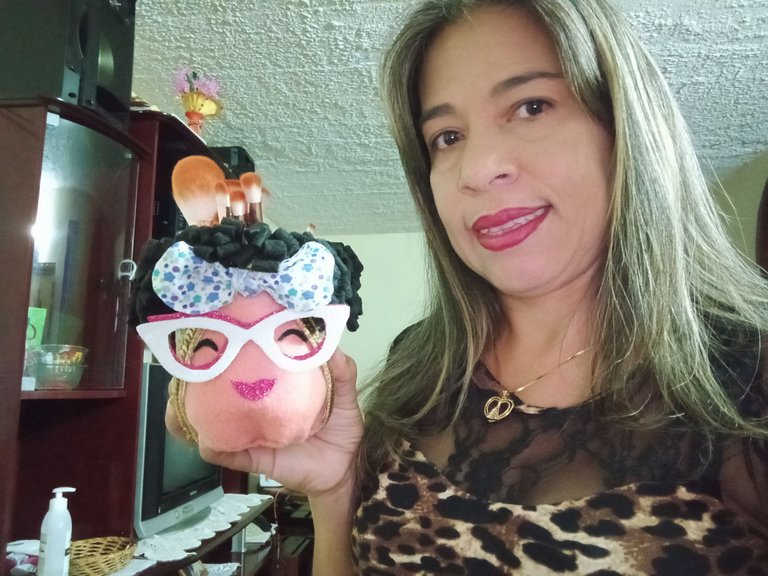
En lo personal me encantó esta creación, muy original y diferente, además de hermosa. Espero que con el tutorial puedan realizar el suyo para que al igual que yo, disfruten y decoren su zona de maquillaje con este lindo porta brochas.
Personally I loved this creation, very original and different, as well as beautiful. I hope that with the tutorial you can make your own so that, like me, you can enjoy and decorate your makeup area with this beautiful brush holder.
Photos of my Property, taken with a Redmi 9