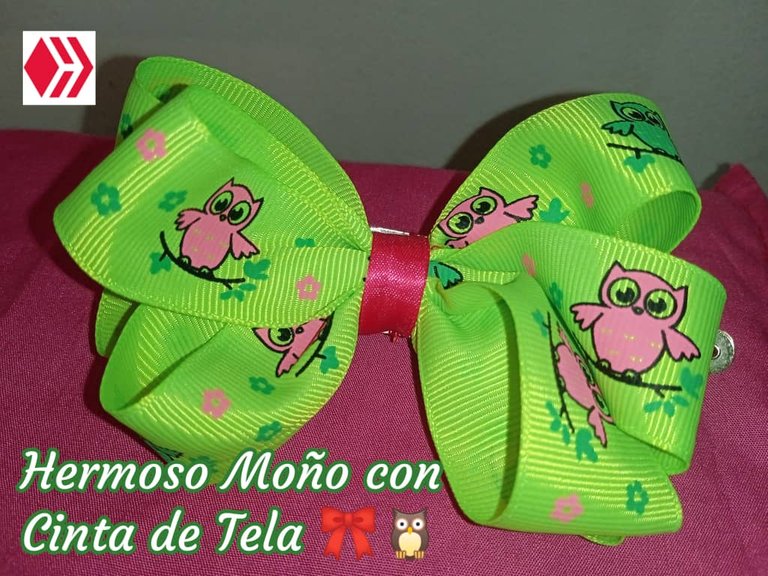
Feliz y bendecida tarde, cómo siempre un gusto saludarles amigos de la comunidad de Hive Diy, hoy con un nuevo proyecto para compartirles, para esta ocasión les mostraré como realizar un hermoso Moño con Cinta de tela estampada, utilice un color verde llamativo 💚, es muy fácil de hacer y como es cosido es más fuerte, aquí les muestro el procedimiento.
Happy and blessed afternoon, as always a pleasure to greet you friends of the Hive Diy community, today with a new project to share with you, for this occasion I will show you how to make a beautiful Bow with Printed Fabric Ribbon, use a striking green color 💚, it is very easy to do and since it is sewn it is stronger, here I show you the procedure.
Les muestro como Realizar Hermoso Moño con Cinta de Tela 🎀🦉
Materiales
1 m de cinta de tela de 2,5 cm de ancho
6 cm de cinta fucsia
Hilo y aguja
Tijera
Regla
1 pinza para el cabello
I show you how to make a beautiful bow with fabric ribbon 🎀🦉
Materials
1 m of 2.5 cm wide fabric tape
6 cm of fuchsia ribbon
needle and thread
Scissors
Ruler
1 hair clip

Procedimiento/Process
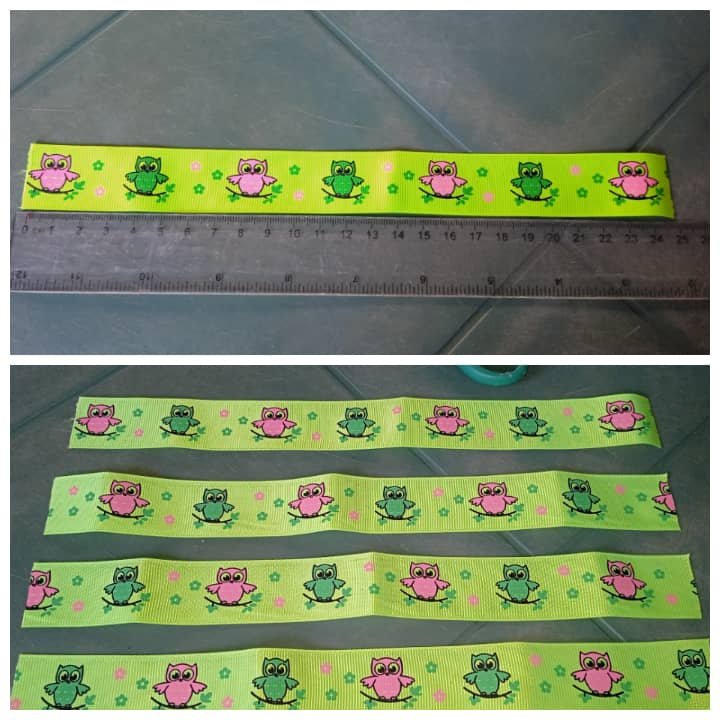
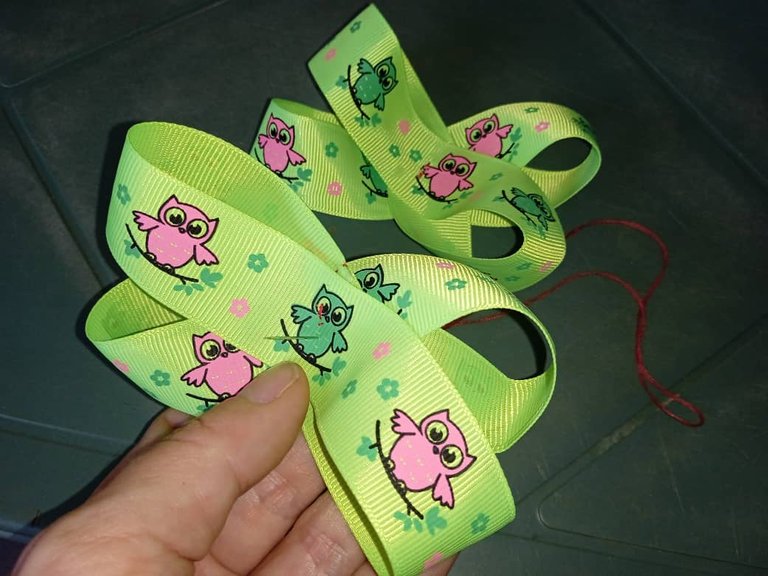
1.Primero vamos a medir la cinta estampada a 25 cm de largo y recortar 4 partes.
1.First we are going to measure the patterned ribbon at 25 cm long and cut 4 parts.
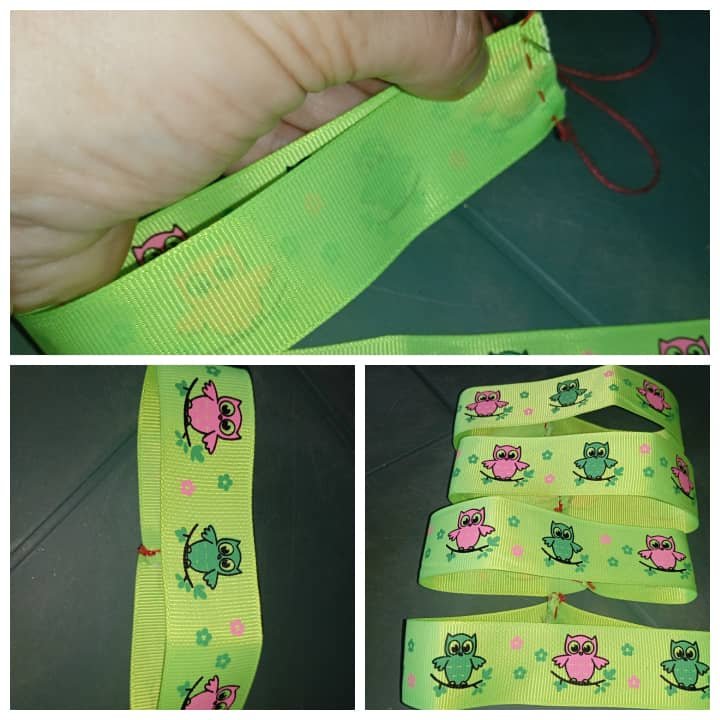
2.Como segundo paso, volteamos la cinta por el revés, doblamos y cosemos por los extremos, hacemos el mismo procedimiento con las 4 partes y volteamos al derecho.
2.As a second step, we turn the tape inside out, fold and sew at the ends, do the same procedure with the 4 parts and turn right side out.
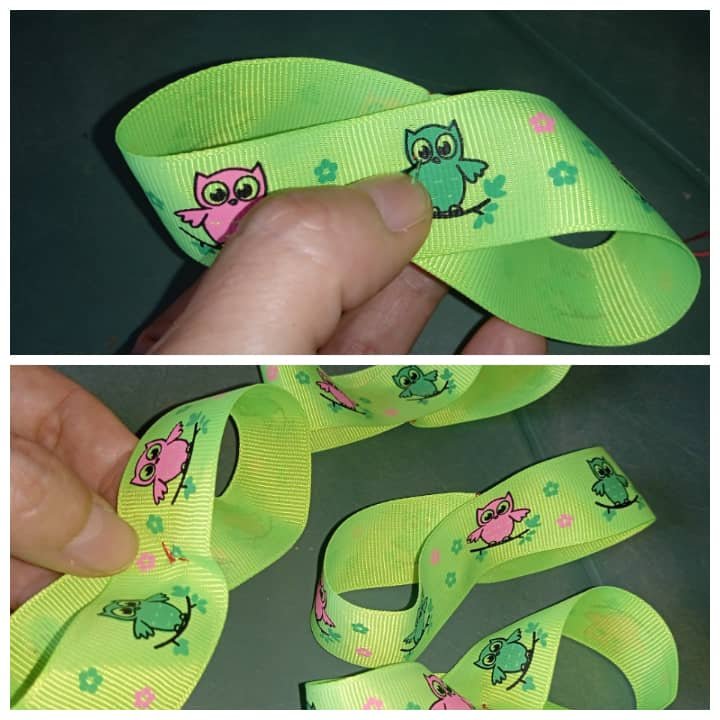
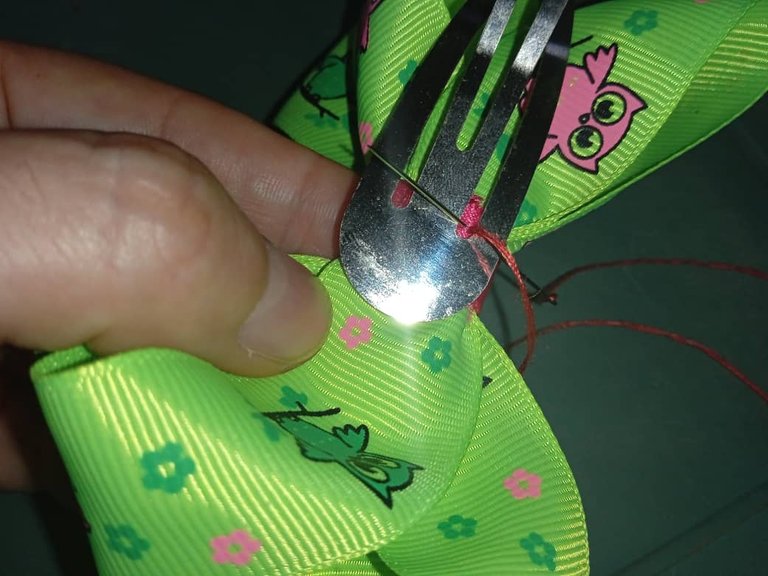
3.Luego procedemos a dar forma de 8 a cada una de las parte y cosemos en el centro, para que quede con la forma que le dimos.
3.Then we proceed to shape each of the parts into an 8 shape and sew in the center, so that it remains in the shape that we gave it.
4.Despues unimos 2 piezas de la siguiente forma:
- Then we join 2 pieces as follows:
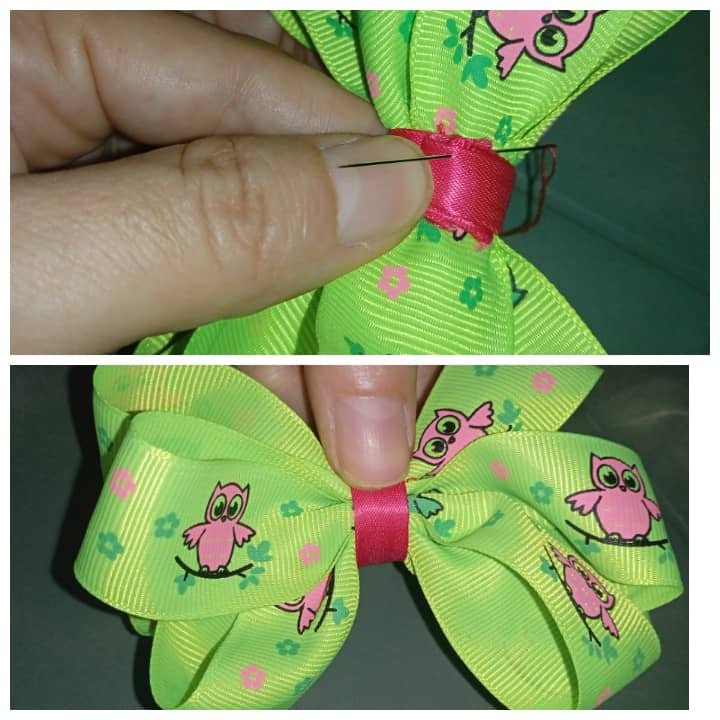
Y luego le colocamos las 2 restantes y unimos con el hilo enrollado por el centro.
And then we put the remaining 2 and join with the thread rolled through the center.

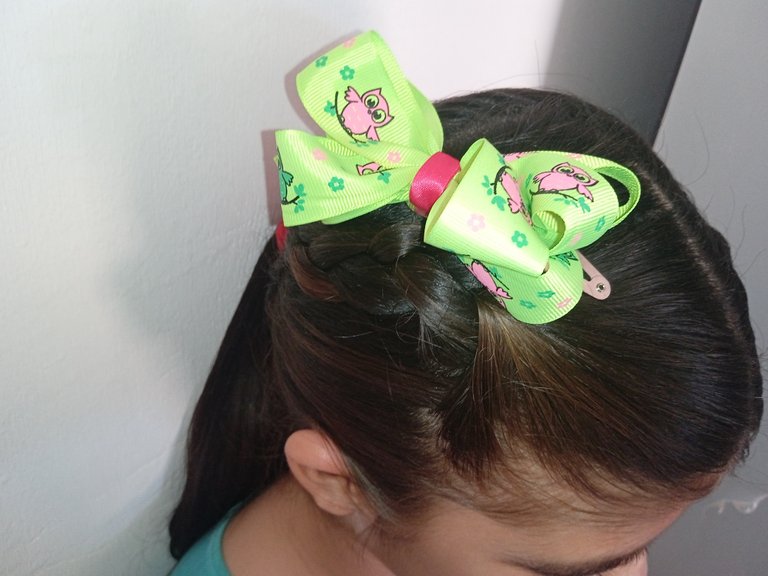
5.Colocamos la cinta fucsia y cosemos muy bien en la parte de atrás y ya el moño está listo.
5.We place the fuchsia ribbon and sew very well in the back and the bow is ready.
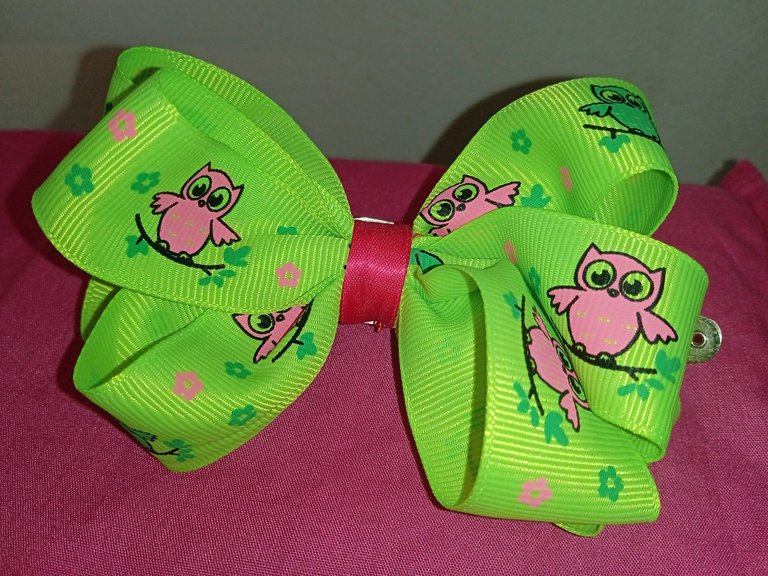
6.Por último unimos el resultado a la pinza para el cabello, cosiendo por ambos lados y listo.
6.Finally we join the result to the hair clip, sewing on both sides and that's it.
De esta forma e agrega volumen al mismo y por ende, se ve más grande y llamativo 💚
In this way, it adds volume to it and therefore, it looks bigger and more striking 💚
Listo!
Ready!

Hasta aquí mi Proyecto de este día, espero les haya gustado, muchas gracias por el apoyo brindado. Saludos 🎀🦉
So Project for this day, I hope you liked it, thank you very much for the support. Greetings 🎀🦉
Todas las imágenes son de mi autoria por @mariarodriguez, tomadas especialmente para esta publicación.
All images are my own by @mariarodriguez, taken especially for this publication.