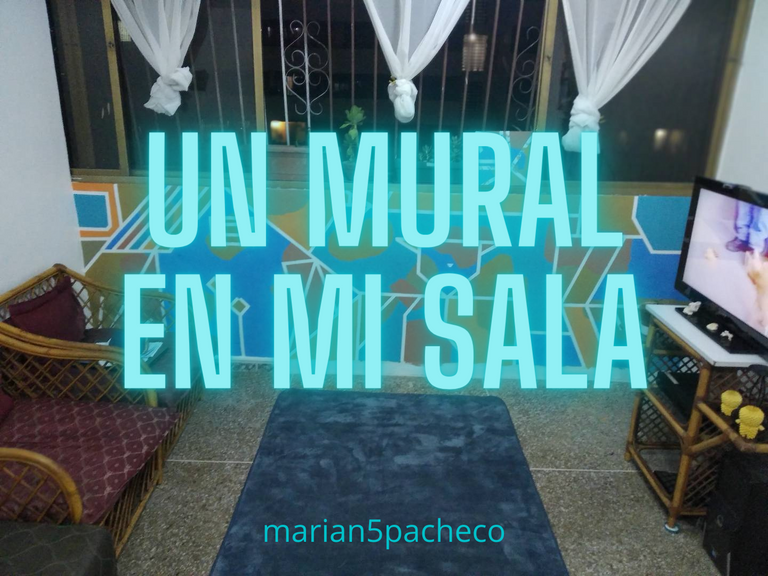
¿Cómo están hivers? Tiempo sin pasar por acá, con mucho que compartir con ustedes lo que poco a poco iré haciendo.
Lo primero que quiero mostrarles es lo que hicimos mi esposo y yo en nuestra casa como iniciativa para crear mas sentido de pertenencia en nuestro hogar y también para hacer una actividad diferente, creativa y que nos haga estar aún mas unidos como familia... les comentaré de cómo fue el proceso para elegir el tipo de mural, las pinturas y finalmente: hacerlo.
How are you hivers? It's been a while since I've been here, with a lot to share with you what I will be doing little by little.

The first thing I want to show you is what my husband and I did in our house as an initiative to create more sense of belonging, and also to do a different, creative activity that makes us be even more united as a family... I will tell you how was the process to choose the type of mural, the paints and finally: to do it.
¿Por qué un mural?
Creo que cada individuo y cada pareja o familia desarrolla con el tiempo su personalidad estética o gusto en particular, es algo que no es fijo, que varía con el tiempo y es influida por los recursos que se disponen, experiencias y estimulos que nos vayamos encontrando en el camino. En mi caso, quería buscar una forma de expresar la calidez que quiero que tenga mi hogar para sentir que estoy en un lugar acogedor, que aunque sea alquilado, es mío y sobretodo que no implique necesariamente una inversión monetaria demasiado grande,
Despues de horas y horas viendo modelos de murales en pinterest, compartir modelos con mi esposo y pasar más horas todavía viendo tutoriales no fue sino hasta el día que lo hicimos que nos decidimos por cuál modelo usar que se adaptara al espacio y los colores que deseamos que tenga.
Why a mural?

I believe that each individual and each couple or family develops over time their aesthetic personality or particular taste, it is something that is not fixed, it varies over time and is influenced by the resources available, experiences and stimuli that we find along the way. In my case, I wanted to find a way to express the warmth that I want my home to have to feel that I am in a cozy place, that even if it is rented, it is mine and above all that does not necessarily involve a large monetary investment,

After hours and hours of looking at mural models on pinterest, sharing models with my husband and spending even more hours watching tutorials, it wasn't until the day we did it that we decided on which model to use that would adapt to the space and the colors we wanted it to have.
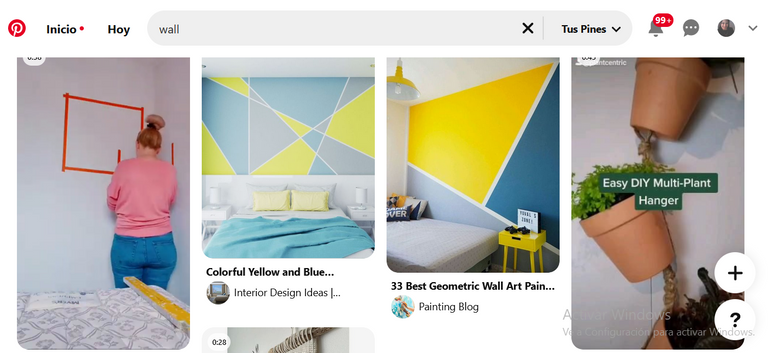 Mis pines en pinterest de wall paint
¿Qué productos compramos?
En nuestro caso quisimos que tuviese multiples colores para darle mas vida al mural para lo que escogimos pinturas de caucho clase B y C de las más económicas y las fuimos comprando poquito a poco, este proceso se tomó alrededor de 3 meses mientras conseguíamos los colores que queríamos. También compramos tirro de papel de un grueso medio para las líneas y las brochas ya las teníamos.
En resumen necesitamos:
- 6 latas de pintura de caucho de colores
- Tirro de papel
- Brochas
- Periódicos para evitar que se manche el piso
- Trapitos para limpiar cualquier desastre.
What products did we buy?

In our case we wanted to have multiple colors to give more life to the mural, so we chose rubber paints class B and C of the cheapest and we bought them little by little, this process took about 3 months while we got the colors we wanted. We also bought medium thick paper for the lines and we already had the brushes.

In summary we needed:
- 6 cans of colored rubber paint.
- Paper strip
- Paintbrushes
- Newspapers to avoid staining the floor.
- Rags to clean up any mess.
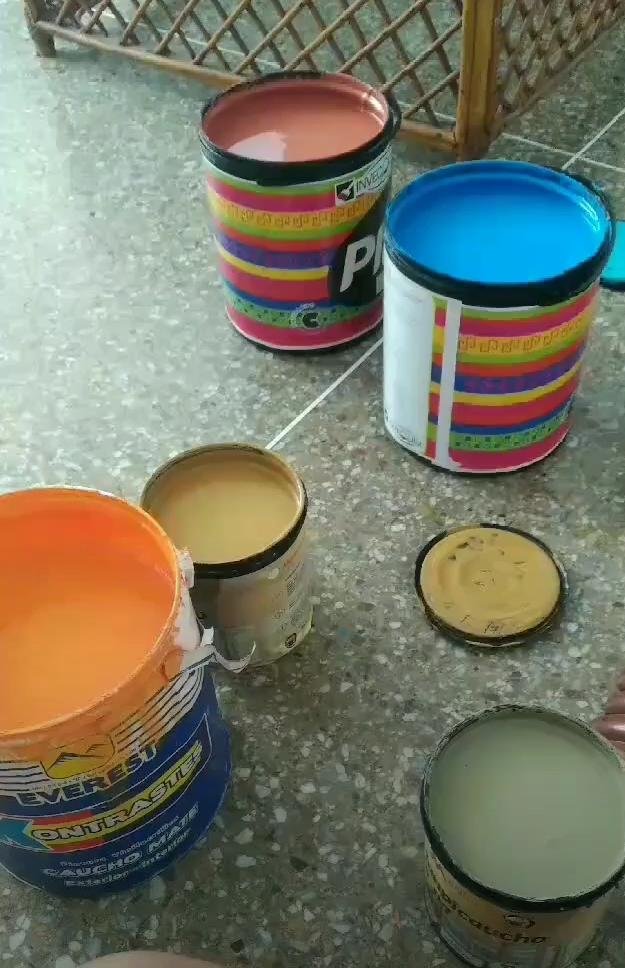 Nuestras pinturas
Preparación del espacio:
Nuestra casa es pequeña, en la cual apenas abres la puerta te encuentras con la sala en todo su largo y ancho, así que escogimos la pared del fondo para hacer el mural, de forma que cuando abrieramos la puerta el mural junto a nuestras cosas fuese lo primero que hiciera impacto visual, además de no ser una pared tan grande lo que haría que fuese más facil de pintar.
Primero movimos todos los muebles para tener el espacio libre estaríamos y recogimos todas las cortinas para que no se mancharan mientras pintamos. Luego limpiamos la pared con un trapo seco para remover todo el polvo que tuviese adherido.
Preparation of the space:

Our house is small, in which as soon as you open the door you find the living room in all its length and width, so we chose the back wall to make the mural, so that when we opened the door the mural next to our things would be the first thing that would make visual impact, besides not being such a big wall which would make it easier to paint.

First we moved all the furniture to have the free space we would be in and we picked up all the curtains so they wouldn't get stained while we painted. Then we cleaned the wall with a dry cloth to remove all the dust that had adhered to it.
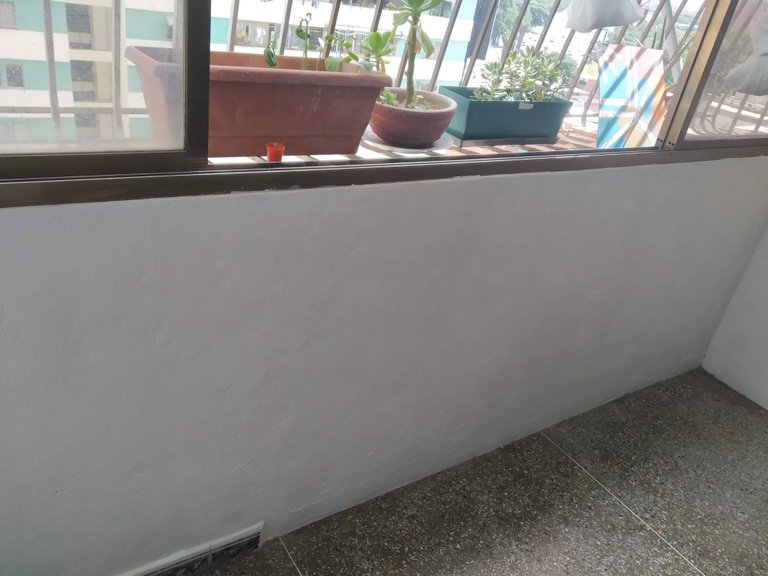 Espacio despejado y pared limpia
Armando el mural:
Utilizamos el tirro pegandolo en la pared para hacer la figura del mural que queríamos, entre los dos fuimos haciendo las figuras que queríamos que tuviese el mural de forma abstracta, mi esposo se encargó del lado derecho y yo del izquierdo pero eso sí, cuidando que los diseños convivieran y se vieran bien. Yo sin querer hice la figura de una casa, con flores en el medio, mi esposo en cambio, hizo una figura inspirada en nuestro perrito Baco y jugó con la geometría.
Tip importante: Luego de pegar el tirro pasarle una tarjeta por encima para eliminar lo mas posible los espacios llenos de aire y hacer que el tirro se pegue aún mas.
Assembling the mural:

We used the tirro sticking it on the wall to make the figure of the mural we wanted, between the two of us we were making the figures we wanted the mural to have in an abstract way, my husband was in charge of the right side and I of the left side but that yes, taking care that the designs coexisted and looked good. I unintentionally made the figure of a house, with flowers in the middle, my husband, on the other hand, made a figure inspired by our little dog Bacchus and played with geometry.

Important tip: After gluing the strip, pass a card over it to eliminate as much as possible the spaces filled with air and make the strip stick even more.
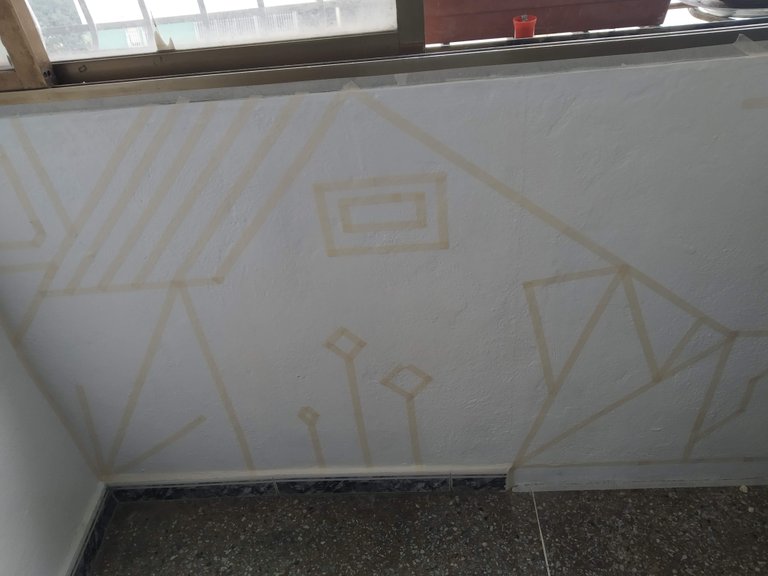
Lado izquierdo con las figuras listas
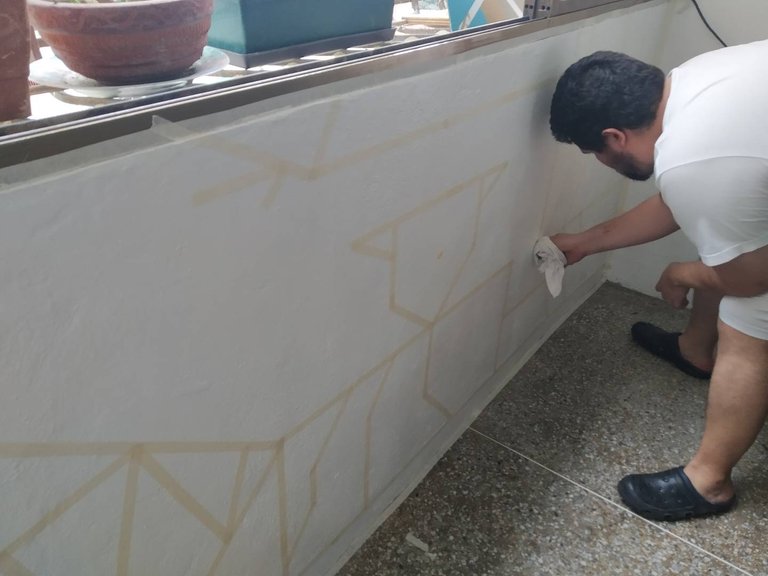 Mi esposo terminando el lado derecho.
Comenzamos a pintar:
Si llegas a buscar modelos de estos murales en cualquier buscador podrás darte cuenta que algunas personas usan solo dos o tres colores, incluso uno solo y que lo usual es que el color quede encerrado entre las lineas aprovechando la figura formado. En nuestro caso, quisimos romper con esos patrones usando 6 colores y no obstante eso pintamos como quisimos, fuera y dentro de la linea, construyendo un segundo patrón de colores que se viera original y dinámico.
Tal como dije arriba, utilizamos pintura de clase B y C para que fuese más económico, pero obviamente, eso tiene sus contra, y para nosotros fue el tener que dar varias capas sobre los colores para que se vieran bien nítidos y llamativos, lo que nos tomo unas horas mas de lo que pensamos que sería.
If you search for models of these murals in any search engine you will notice that some people use only two or three colors, even just one, and that the usual thing is that the color is enclosed between the lines, taking advantage of the formed figure. In our case, we wanted to break with those patterns using 6 colors and nevertheless we painted as we wanted, outside and inside the line, building a second pattern of colors that looked original and dynamic.

As I said above, we used class B and C paint to make it more economical, but obviously, that has its drawbacks, and for us it was having to give several coats over the colors to make them look sharp and striking, which took us a few hours longer than we thought it would.
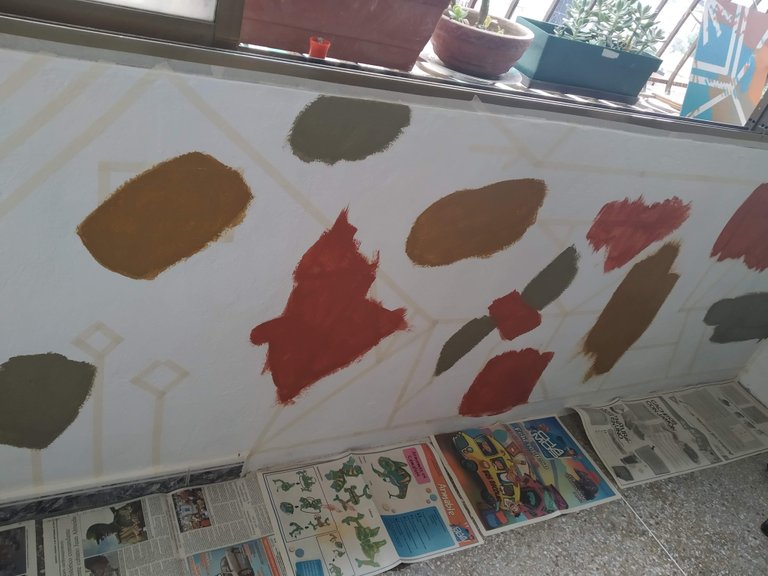 Comenzando a pintar sobre el tirro
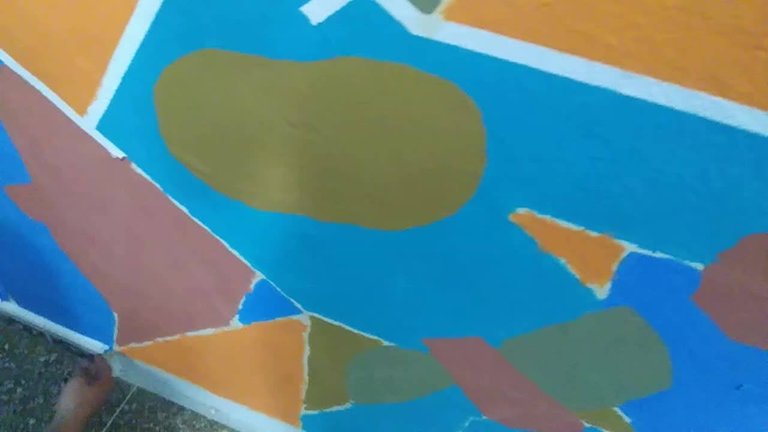 Así se veía mientras la pintura secaba, en muchas partes ni se notaba el tirro, pero todo era parte del proceso de hacerlo así.
El paso más satisfactorio:
Ahora solo tocaba arrancar el tirro para develar nuestra obra de arte maestra, observen en el video una pequeña parte del proceso.
The most satisfying step:

Now it was only time to tear off the strap to unveil our masterpiece of art, watch in the video a small part of the process.
Un mural obra de arte de nosotros para nosotros!
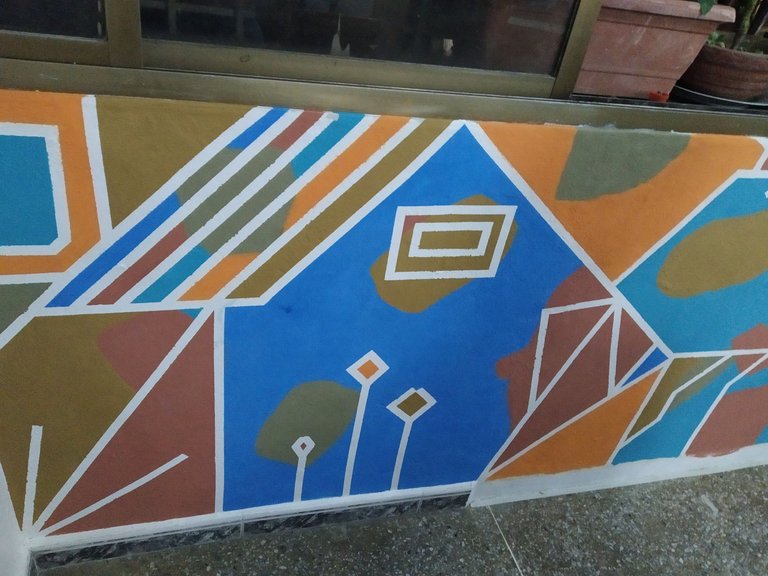
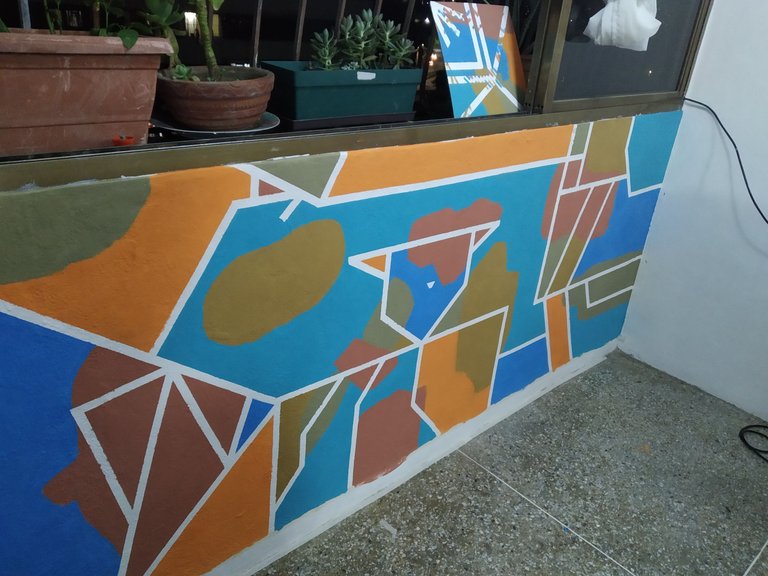
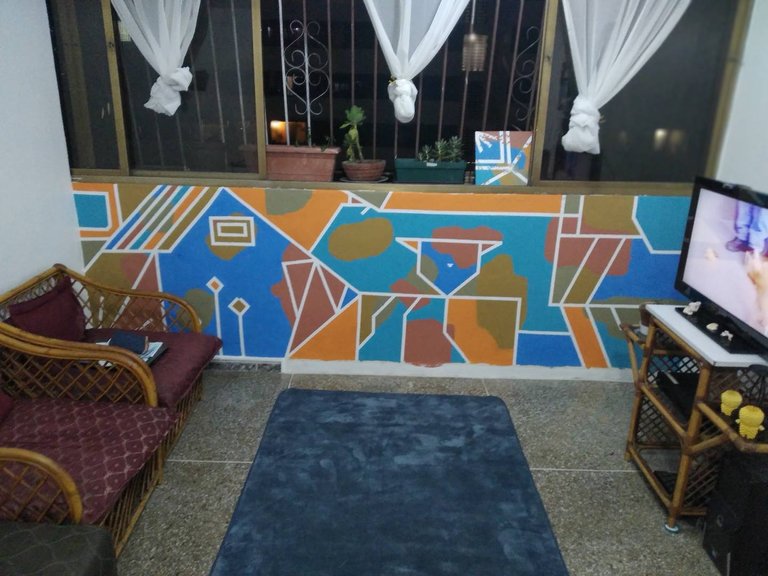
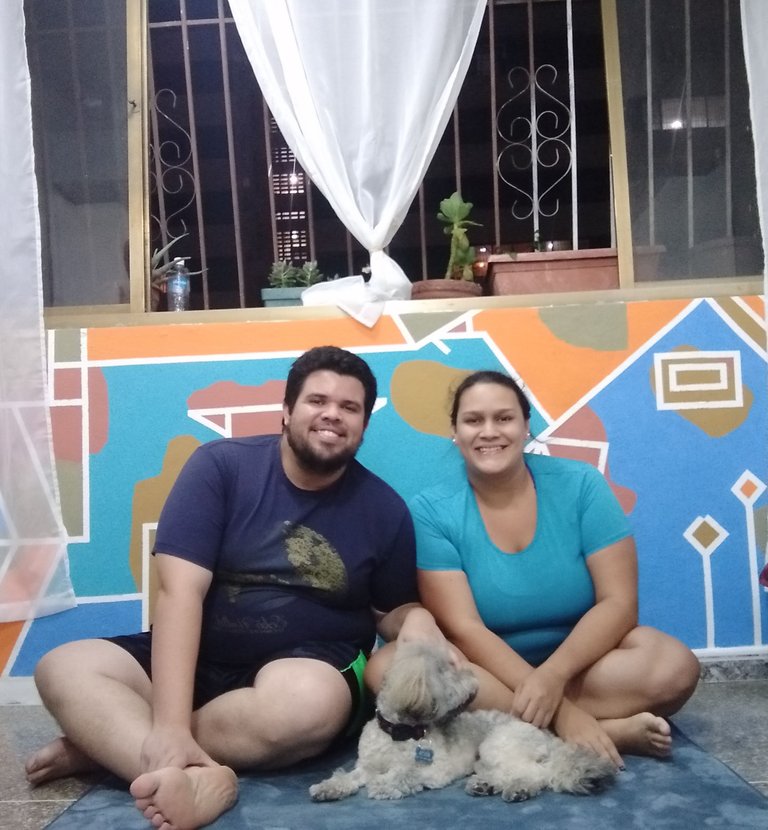
Y así quedó nuestro bello mural!! Estamos super encantados con los resultados!! para nosotros algo único y que ahora caracteriza a nuestro hogar... les dejo más fotos para que aprecien el detalle de todo.
And this is how our beautiful mural turned out! We are very happy with the results!! for us something unique and that now characterizes our home... I leave you more pictures so you can appreciate the detail of everything.

And what do you think? Would you do something like this in your home?
Si quieres ver un poco mas del proceso dale click aquí
Y a ti ¿Qué te pareció? ¿Harías algo así en tu casa?
Muchas gracias por leerme!!
Nos vemos en un próximo post!
Thank you so much for reading me!
See you in a future post!
Fotos y videos tomadas con mi Xiaomi Redmi 7
Traductor: DeepL
