¡Saludos abejitas creativas! | ¡Greetings creative bees!
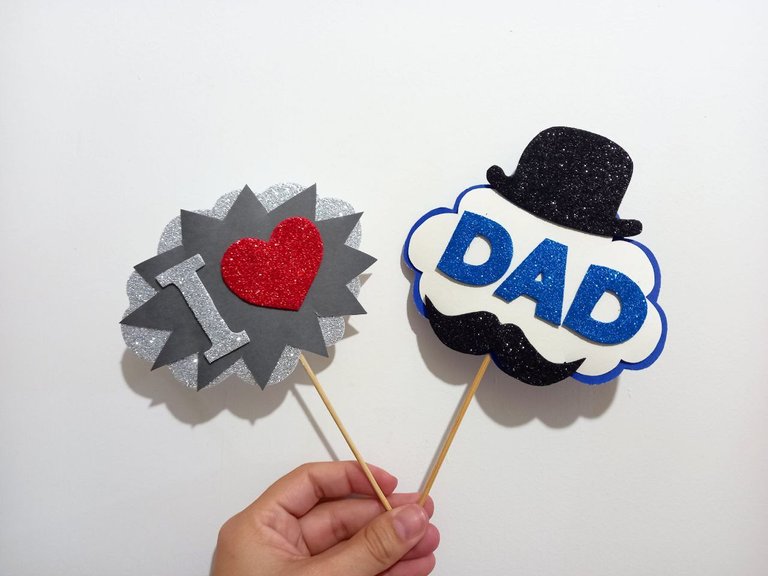
Cada vez estamos más cerca del día del padre y para esa ocasión especial he elaborado un par de mini toppers alusivos a esa fecha, son ideales para complementar arreglos u obsequios para papa en su día, también pueden usarse en tortas o dulces como un elemento decorativo, son muy fáciles de hacer y requieren de pocos materiales que a su vez son fáciles de adquirir por ser comunes, espero que les guste esta idea, sin más, ¡manos a la obra!
We are getting closer to Father's Day and for that special occasion I have made a couple of mini toppers alluding to that date, they are ideal to complement arrangements or gifts for dad on his day, they can also be used in cakes or sweets as a decorative element , they are very easy to make and require few materials that in turn are easy to acquire because they are common, I hope you like this idea, without further ado, ¡let's get to work!

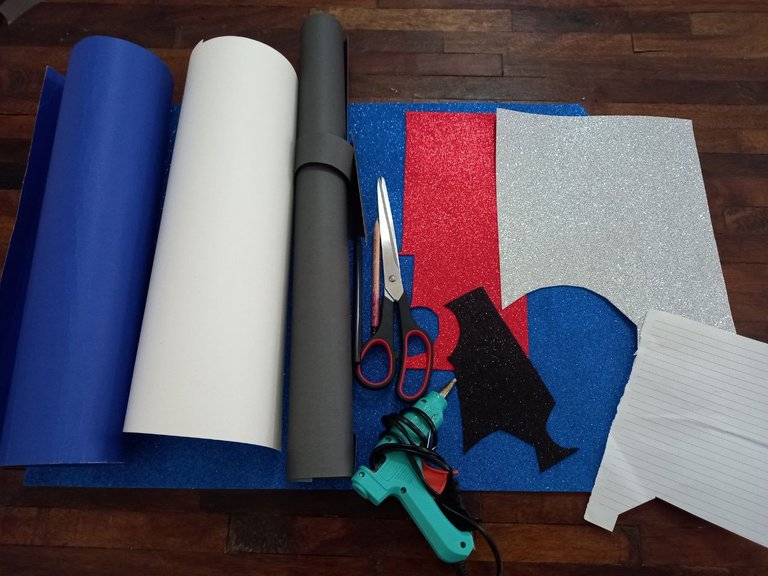
◉ Cartulina escolar blanca, negra y azul rey.
◉ Foami escarchado azul rey, rojo, plateado y negro.
◉ Lápiz.
◉ Tijera.
◉ Hoja de papel.
◉ Silicón caliente.
◉ Palito de altura.
◉ White, black and royal blue school cardboard.
◉ King blue, red, silver and black frosted foami.
◉ Pencil.
◉ Scissor.
◉ Sheet of paper.
◉ Hot silicone.
◉ Height stick.

Primer topper | First topper

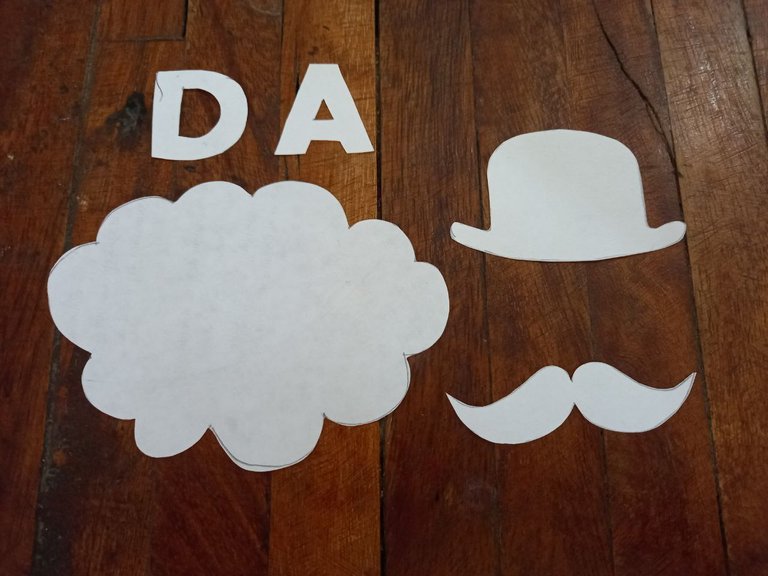
✦ PASO 1. En la hoja de papel haremos las formas que necesitaremos para este topper, es decir, un sombrero, un bigote, la letra D y A, y la forma como la de una nube, luego las transferimos al material y color correspondiente, el sombrero y bigote en foami escarchado negro, la palabra DAD en foami azul rey escarchado y la nube en cartulina escolar blanca y luego recortamos todo.
✦ STEP 1. On the sheet of paper we will make the shapes that we will need for this topper, that is, a hat, a mustache, the letter D and A, and the shape like that of a cloud, then we transfer them to the material and corresponding color, the hat and mustache in black frosted foami, the word DAD in frosted royal blue foami and the cloud in white school cardboard and then we cut everything out.
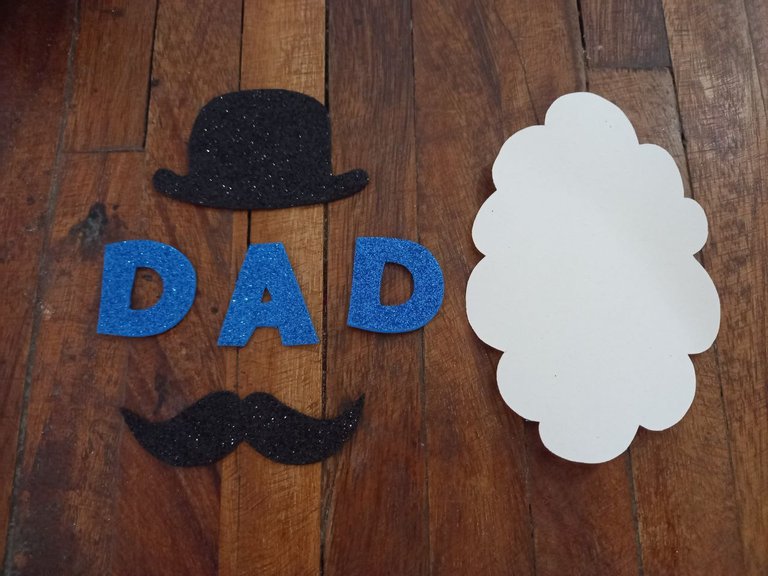
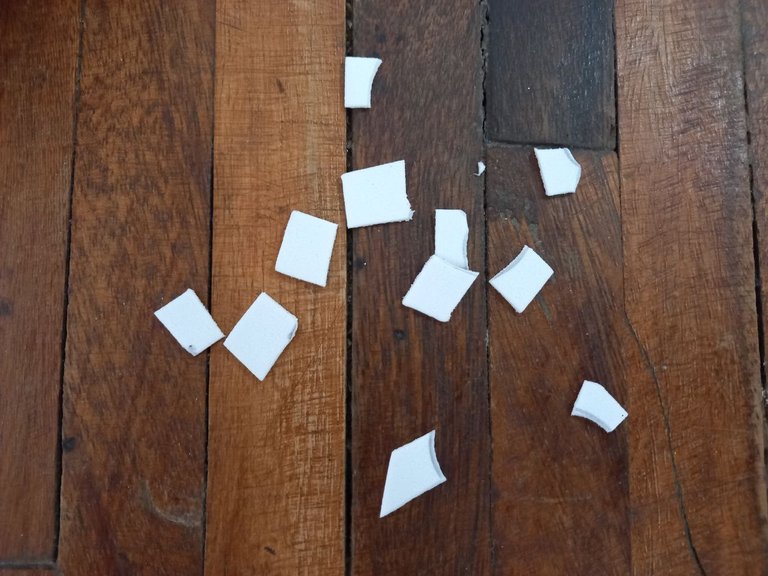
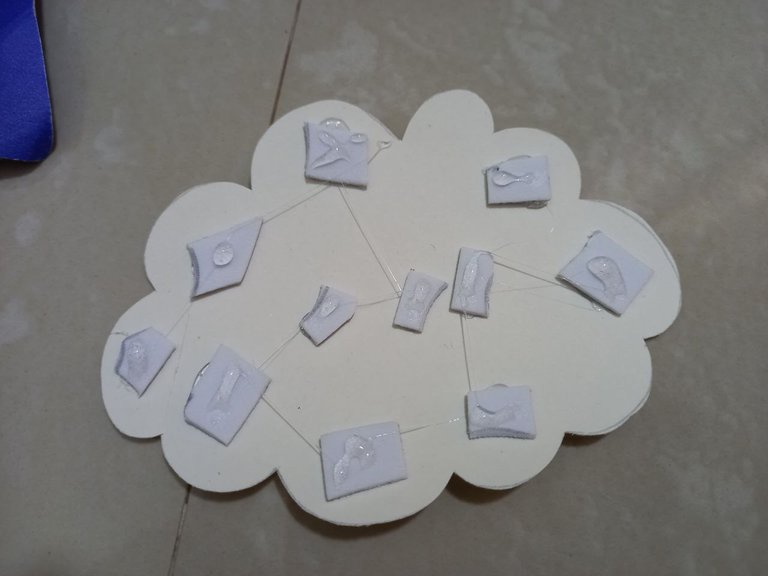
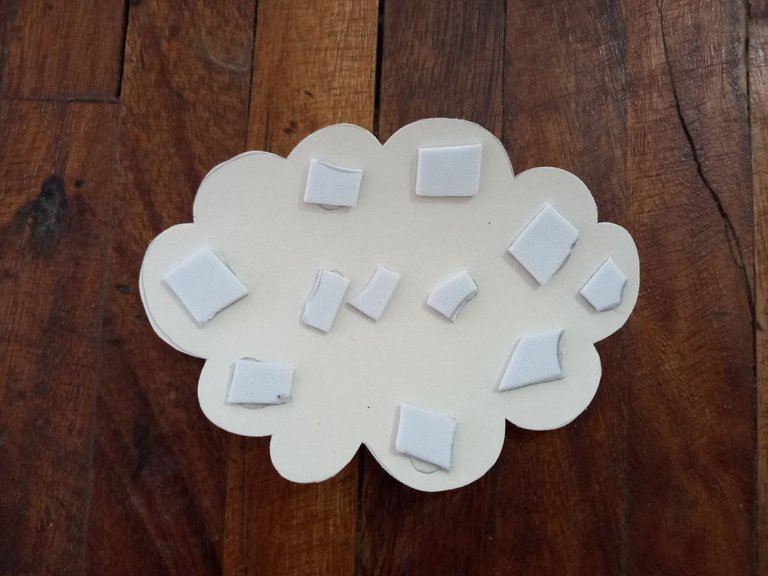
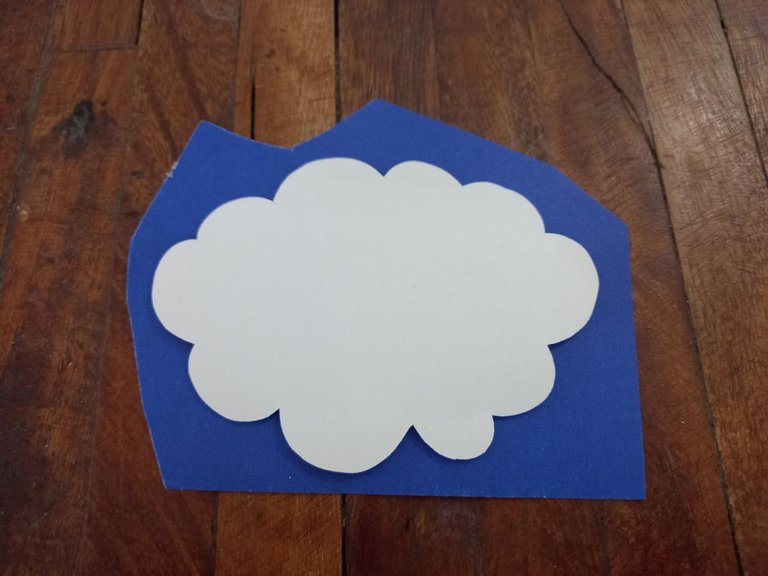
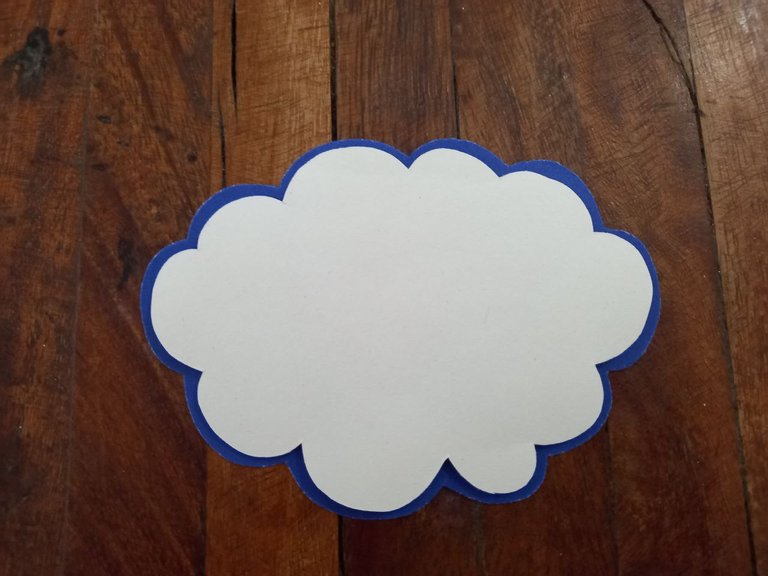
✦ PASO 2.Recortamos varios cuadritos de foami y los pegamos en la parte trasera de la nube de cartulina blanca, le aplicamos silicón a cada uno de los cuadritos de foami y pegamos sobre la cartulina escolar azul rey, luego recortamos alrededor dejando un borde delgado.
✦ STEP 2. We cut out several foam squares and glue them to the back of the white cardboard cloud, we apply silicone to each of the foam squares and stick on the royal blue school cardboard, then we cut around leaving a thin edge.
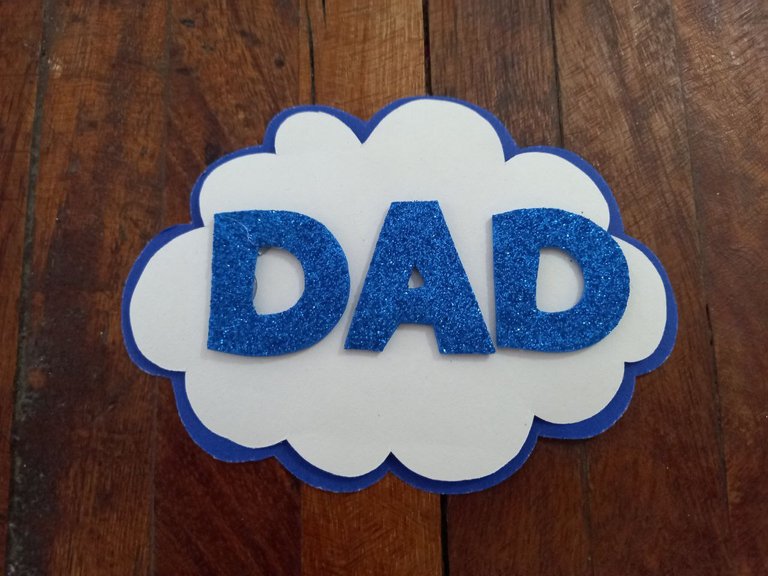
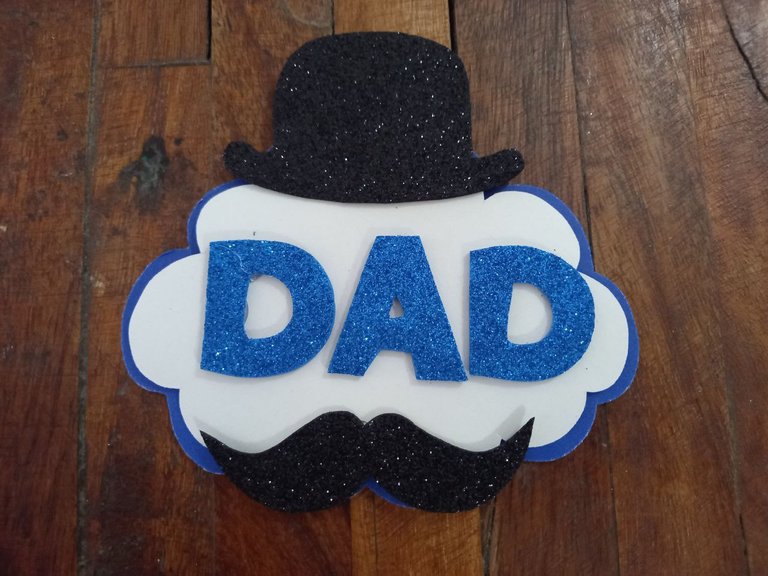
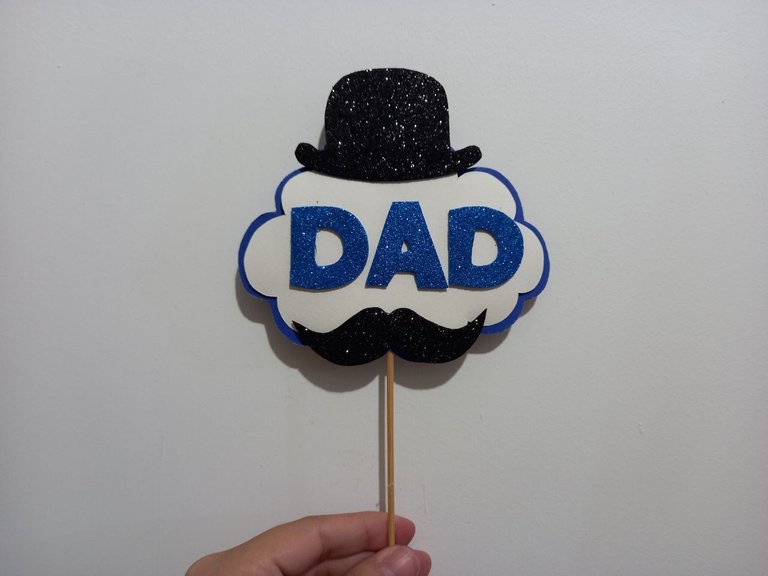
✦ PASO 3. Pegamos las letras en el centro formando la palabra DAD, pegamos el sombrero sobre la palabra justo en el centro y el bigote lo pegamos debajo también en el centro.
✦ STEP 3. We glue the letters in the center forming the word DAD, we glue the hat on the word right in the center and the mustache we glue it below also in the center.
Segundo topper | Second topper
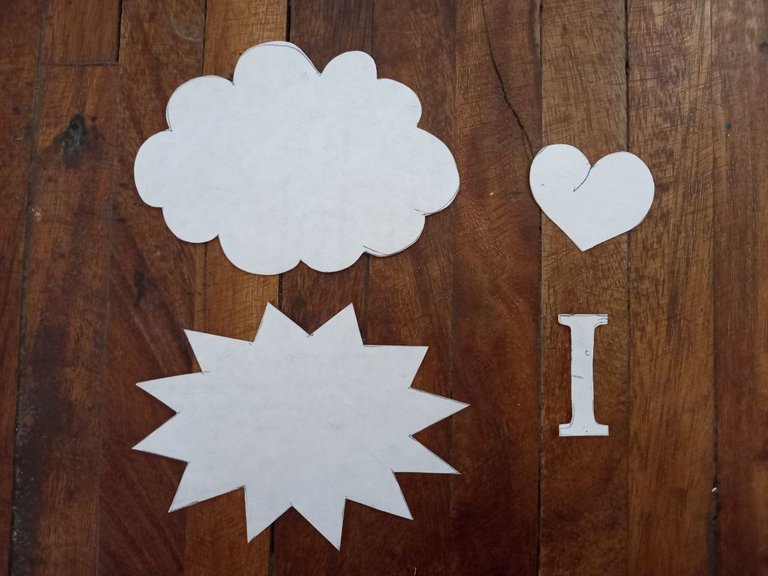
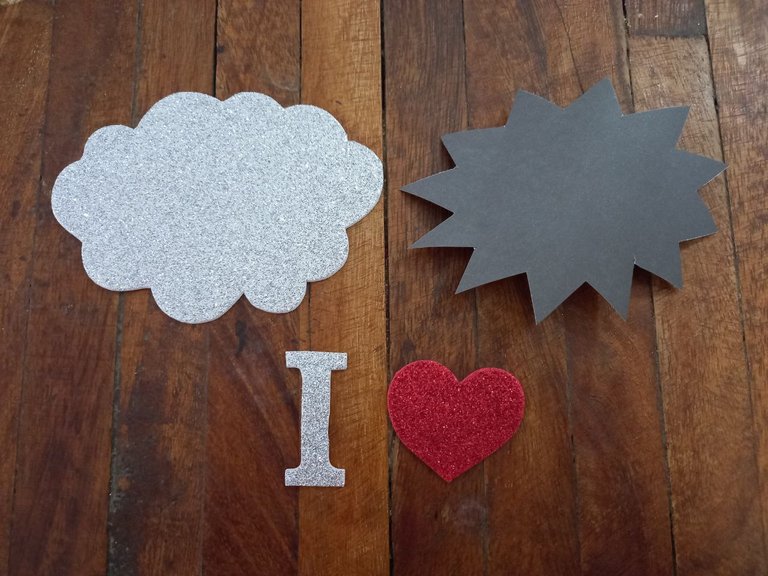
✦ PASO 1. Para este topper necesitaremos el patrón de las piezas que son una nube (como la anterior) y otra con forma puntiaguda, también la letra I y un corazón, los hacemos en la hoja de papel y luego transferimos la letra I en foami plateado, el corazón en foami rojo escarchado, la nube en foami plateado y la forma puntiaguda en cartulina escolar negra, luego recortamos todas las piezas.
✦ STEP 1. For this topper we will need the pattern of the pieces that are a cloud (like the previous one) and another with a pointed shape, also the letter I and a heart, we make them on the sheet of paper and then we transfer the letter I in silver foami, the heart in frosty red foami, the cloud in silver foami and the pointed shape in black school cardboard, then we cut out all the pieces.
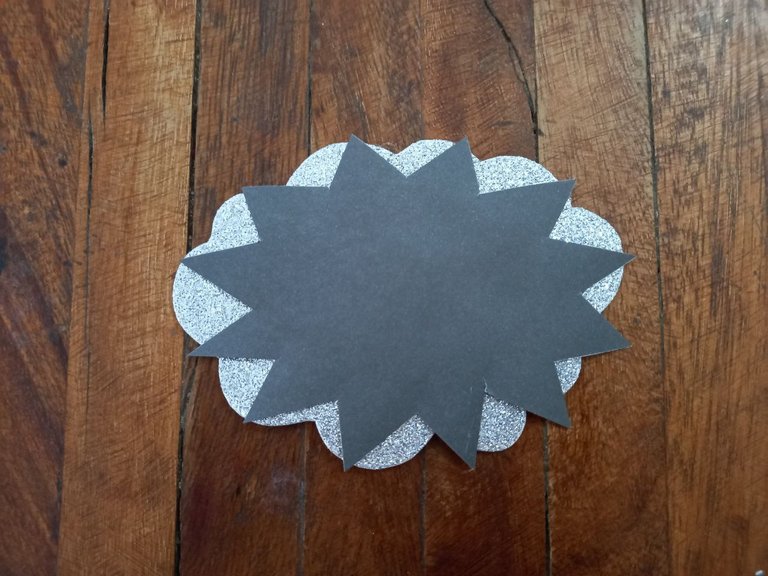
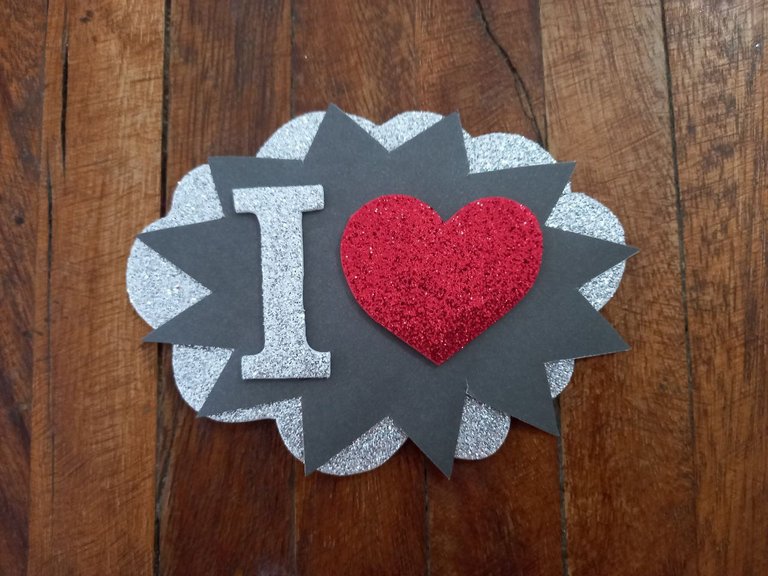
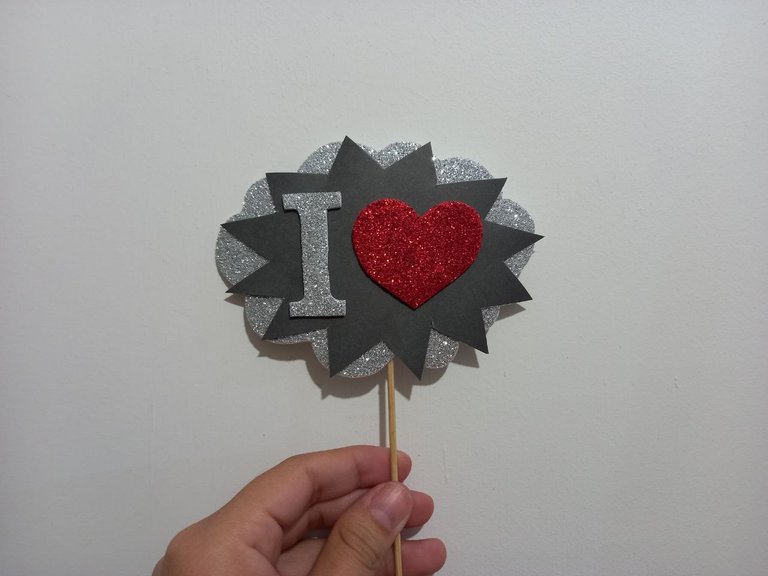
✦ PASO 2. Pegamos la forma puntiaguda sobre la nube de foami plateado, luego sobre esta pegamos primero la letra I y al lado el corazón, simulando la frase “I love”
✦ STEP 2. We paste the pointed shape on the silver foami cloud, then on it we first paste the letter I and next to it the heart, simulating the phrase “I love”
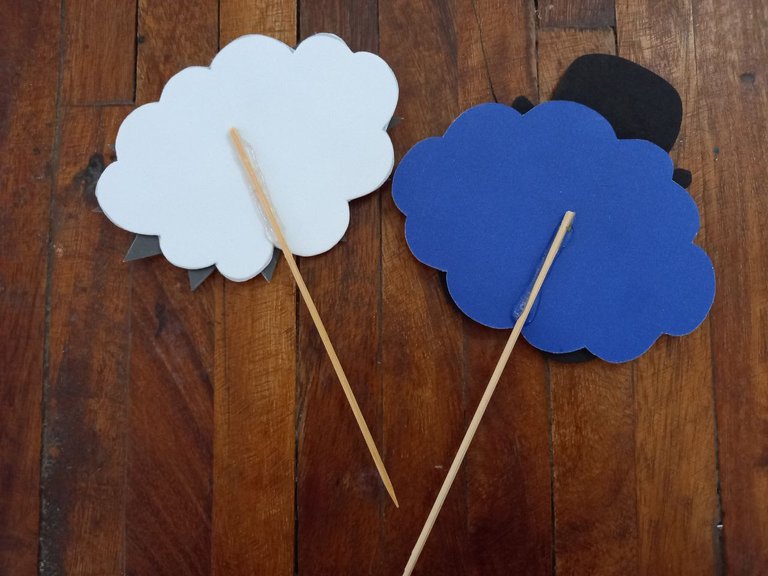
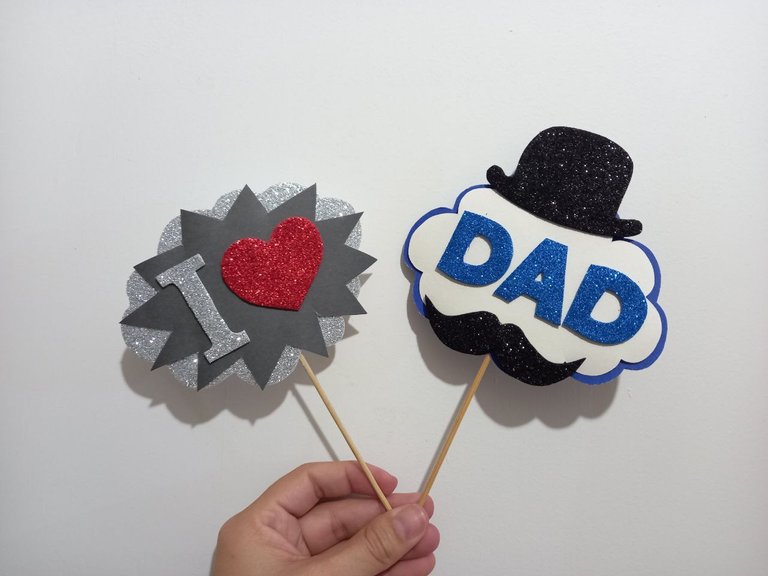
✦ PASO 3. Ya para finalizar cortamos el palito de altura a la mitad, aplicamos una línea de silicón en la parte trasera de ambos toppers justo en el centro y sobre estas pegamos los palitos de altura.
✦ STEP 3. To finish, we cut the height stick in half, we apply a line of silicone on the back of both toppers right in the center and on these we glue the height sticks.
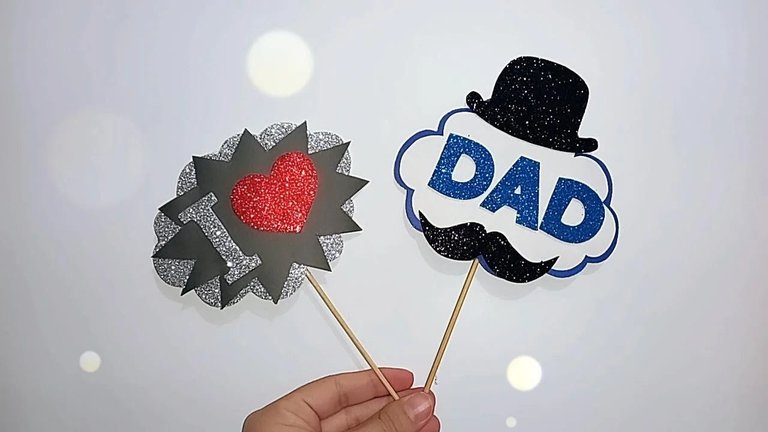
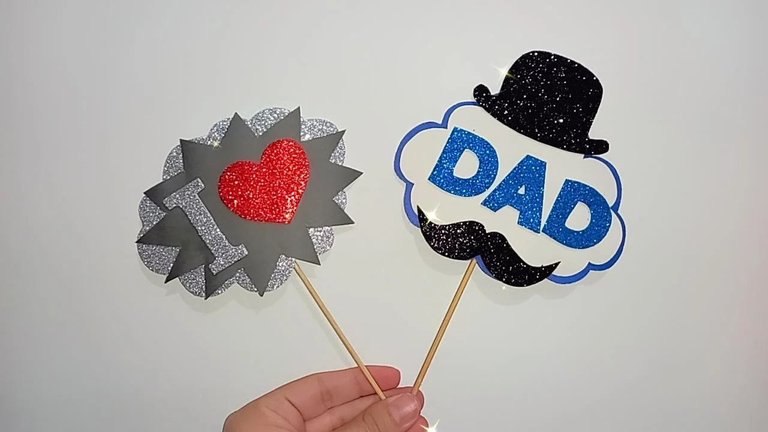
¡Y listo! De esta forma tan sencilla hemos elaborado un lindo par de mini toppers con temática del día del padre ideales para el obsequio de papá en su día, una idea sencilla pero perfecta para un detalle, espero que les haya gustado y les sirva de guía para intentarlo en casa, nos vemos en un siguiente post con una nueva idea creativa.
¡And ready! In this simple way we have made a nice pair of Father's Day themed mini toppers ideal for dad's gift on his day, a simple but perfect idea for a detail, I hope you liked it and it serves as a guide to try it at home, see you in a next post with a new creative idea.


Todas las fotografías son de mi propiedad.
Fotografías capturadas con mi Samsung Galaxy A12
Separador de texto elaborado en Canva.
Nos vemos en mi próxima publicación.
¡Tengan un feliz día!
All photographs are my property.
Photos captured with my Samsung Galaxy A12
Text separator made in Canva.
See you in my next post.
¡Have a happy day!