¡Saludos Comunidad Creativa! | ¡Greetings Creative Community!
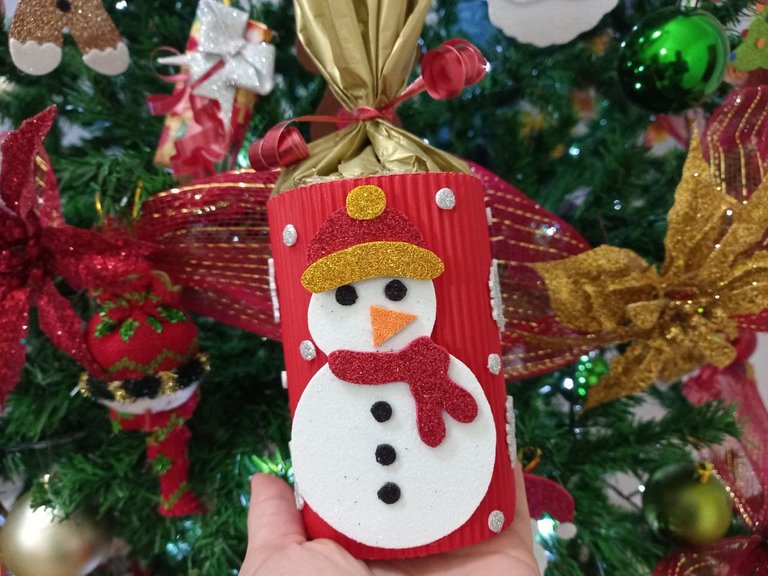
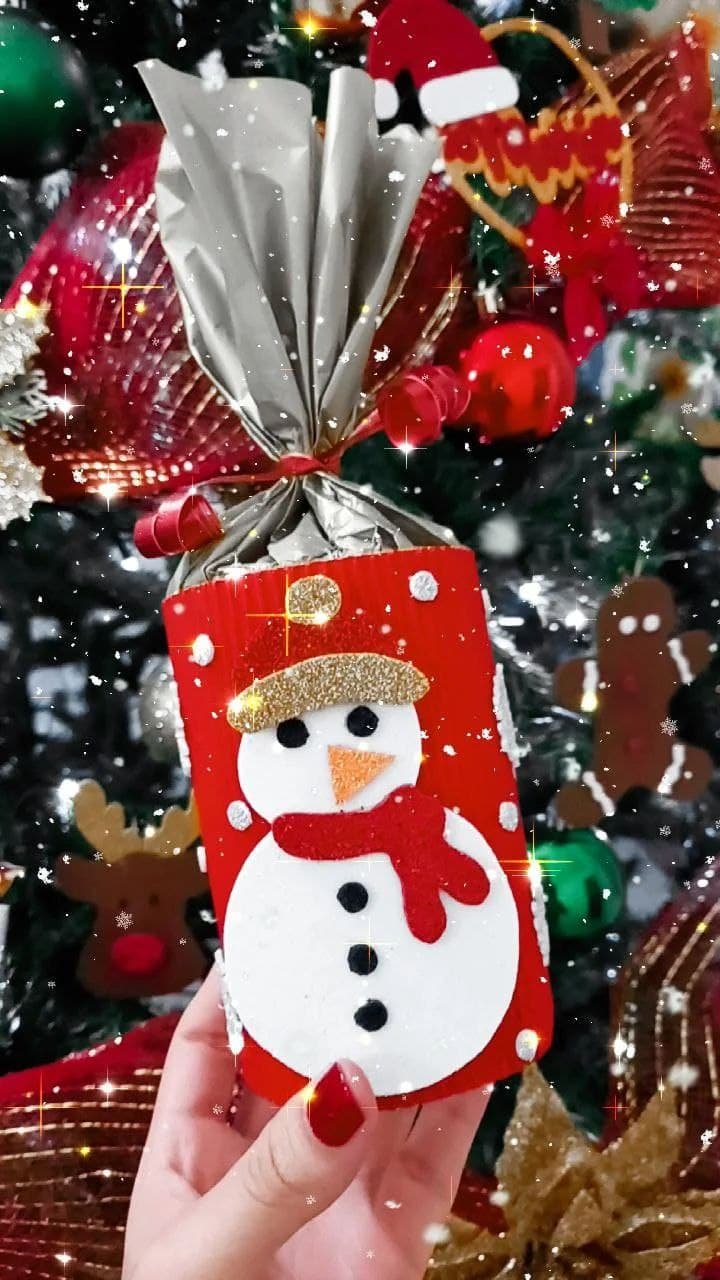
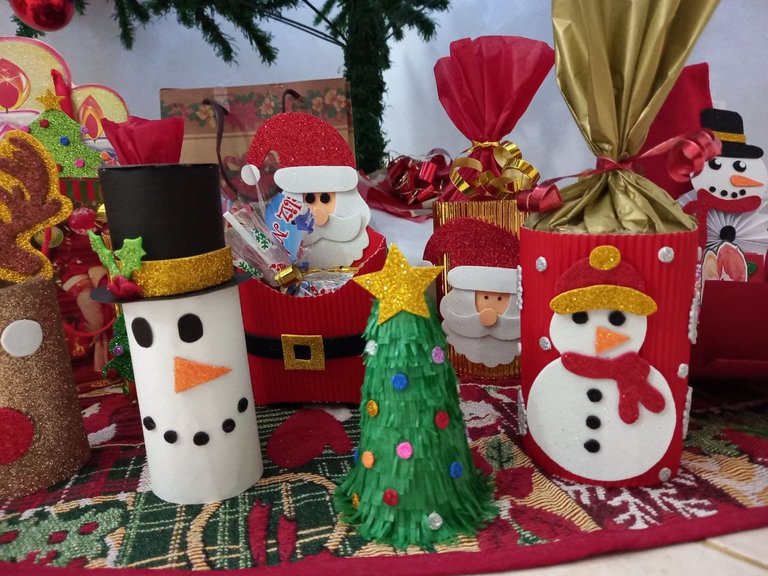
¡Lindo martes para todos! Hoy les traigo otro tutorial para hacer un lindo cotillón navideño o dulcero decorado con un adorable hombre de nieve, este cotillón forma parte de un conjunto de estos que he estado elaborando para obsequiar en navidad a algunos de los niños que conozco y hoy finalmente terminé con el último y es este que les presento en este tutorial, espero que les guste.
¡Nice Tuesday everyone! Today I bring you another tutorial to make a cute Christmas party or candy box decorated with an adorable snowman, this party is part of a set of these that I have been making to give at Christmas to some of the children I know and today I finally finished with the last one and it is this one that I present to you in this tutorial, I hope you like it.

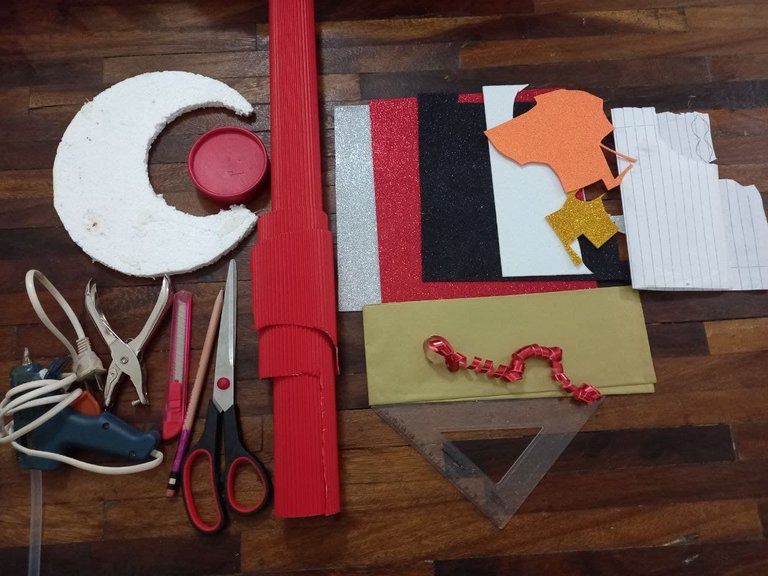
- Cartulina corrugada roja.
- Foami escarchado negro, blanco, plateado, dorado y naranja.
- Papel de seda dorado.
- Anime.
- Cinta de papel roja.
- Hoja de papel.
- Lápiz.
- Silicón.
- Pistola de silicón.
- Tijera.
- Cutter.
- Regla.
- Abrehuecos.
- Objeto circular.
- Red corrugated cardboard.
- Black, white, silver, gold and orange frosted foam.
- Gold tissue paper.
- Anime.
- Red paper tape.
- Paper sheet.
- Pencil.
- Silicone.
- Silicone gun.
- Scissor.
- Cutter.
- Rule.
- Open holes.
- Circular object.

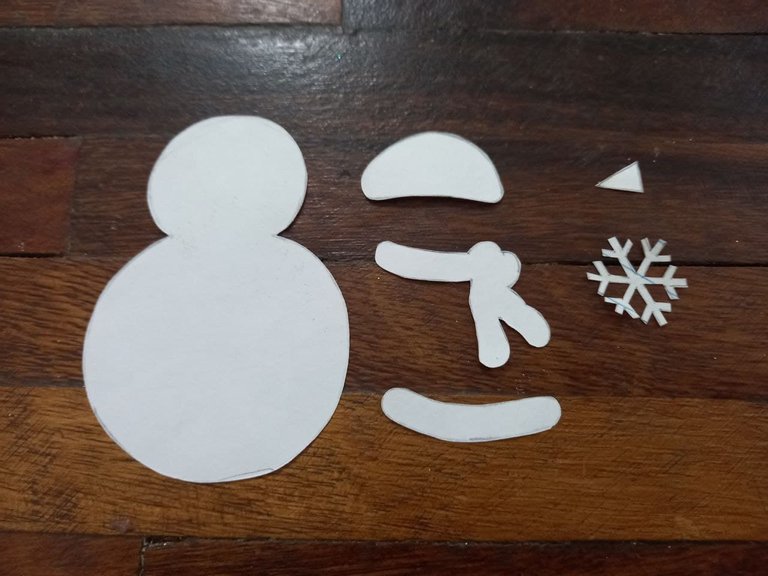
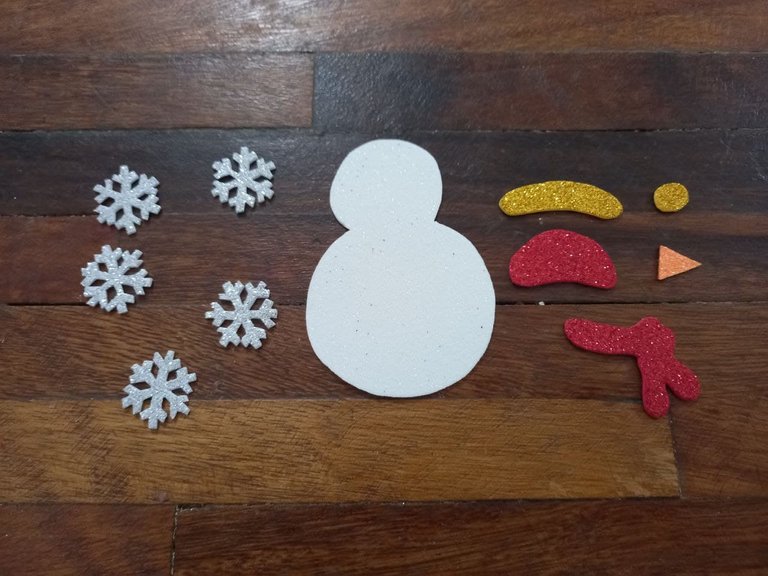
🎄 PASO 1. En la hoja de papel haremos los moldes del hombre de nieve, aquí les dejo los que yo utilizo, además también necesitamos uno de un copo de nieve, pasamos las piezas al foami cada una del color correspondiente, haremos el hombre de nieve en blanco, la bufanda y el gorro en rojo, el borde del gorro y pompón en dorado, la nariz en naranja y el copo de nieve en plateado, necesitaremos 5 o la cantidad que queramos.
🎄 STEP 1. On the sheet of paper we will make the molds of the snowman, here are the ones that I use, we also need one of a snowflake, we pass the pieces to the foami each one of the corresponding color, we will make the snowman in white, the scarf and the hat in red, the edge of the hat and pompom in gold, the nose in orange and the snowflake in silver, we will need 5 or the quantity we want.

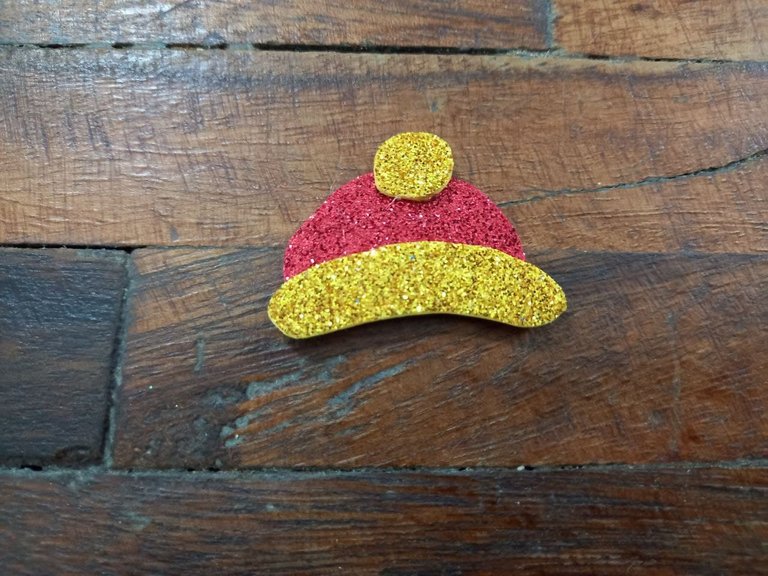
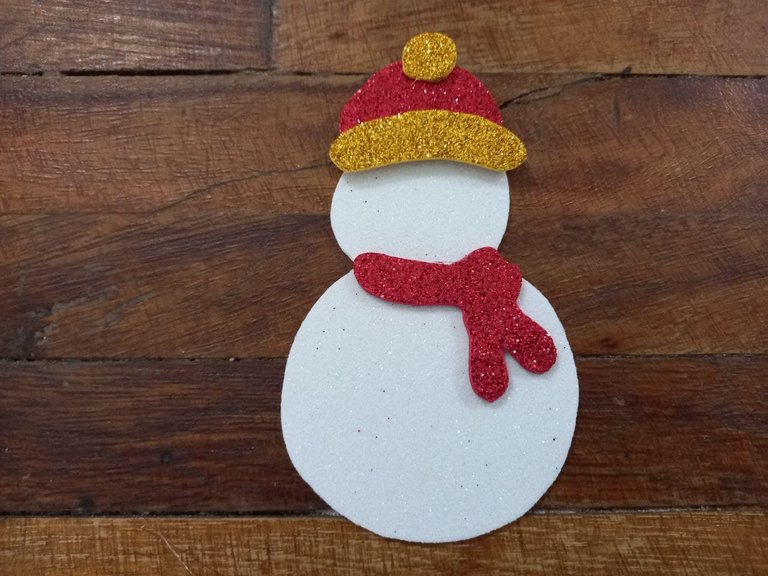
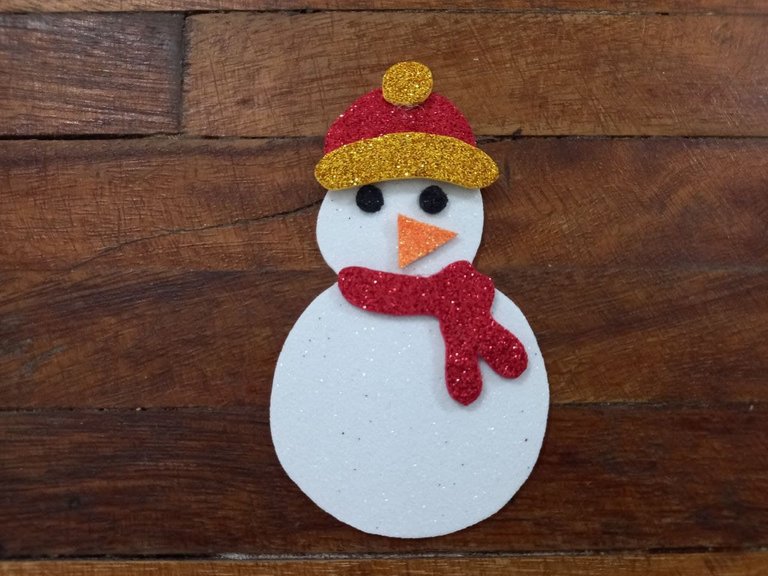
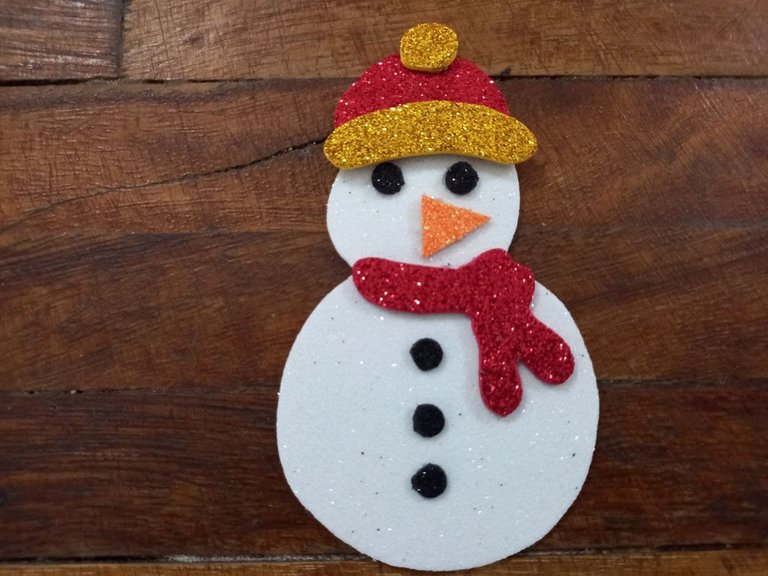
🎄 PASO 2.Comenzamos a armar al hombre de nieve, primero pegamos el borde dorado del gorro sobre este y el pompón en la parte de arriba, pegamos el gorro sobre la cabeza del hombre de nieve, luego la bufanda, hacemos 5 pequeños círculos de foami negro escarchado y pegamos 2 en el lugar de los ojos y la nariz en medio de ellos, los 3 círculos de foami negro restantes los pegamos en el resto del cuerpo ya que serán los botones del hombre de nieve y de esta manera ya esta listo.
🎄 STEP 2. We start to assemble the snow man, first we glue the golden edge of the hat on it and the pompom on the top, we glue the hat on the head of the snow man, then the scarf, we make 5 small circles of frosted black foam and we glue 2 in the place of the eyes and the nose in the middle of them, the 3 remaining circles of black foam we paste on the rest of the body since they will be the buttons of the snowman and this way is already ready.

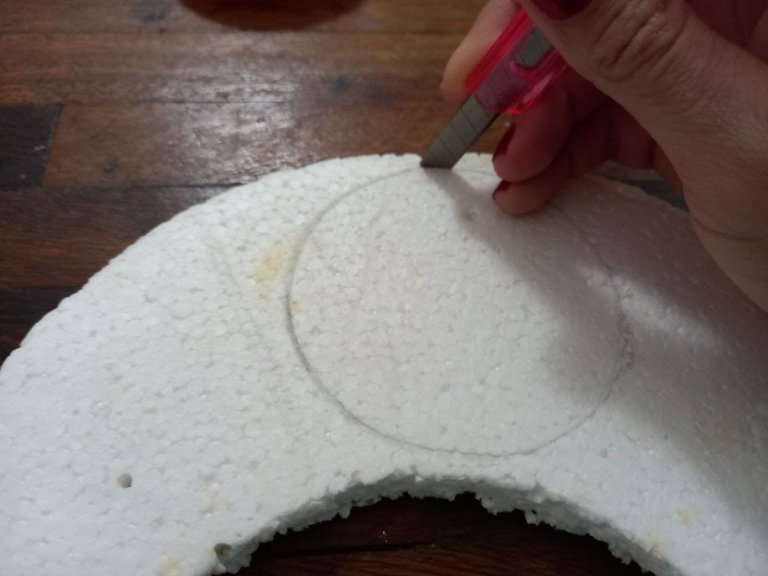
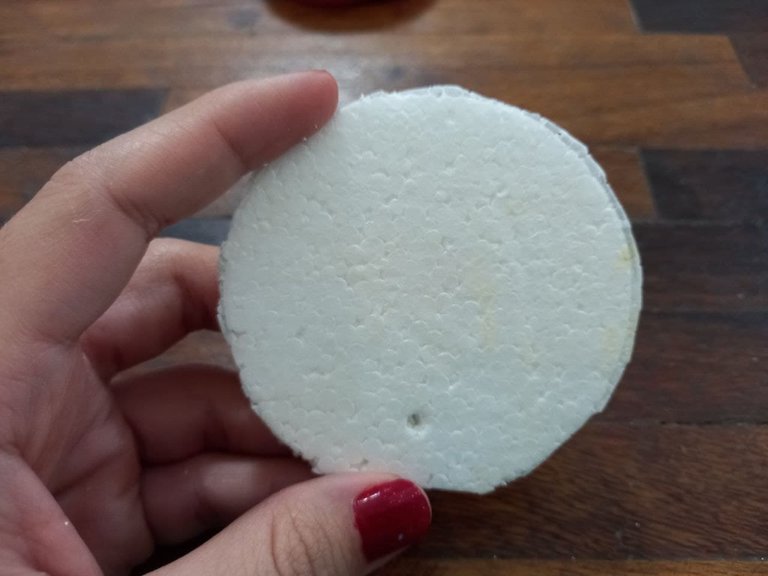
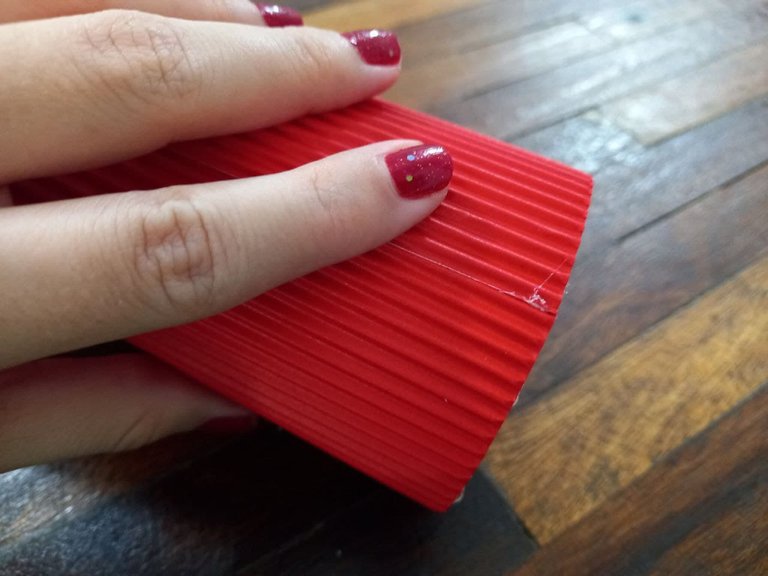
🎄 PASO 3. Con el objeto circular hacemos un circulo en el anime y con el cutter lo recortamos, luego con ayuda de la regla medimos una pieza de cartulina corrugada roja del ancho que pueda cubrir el circulo de anime y del alto de nuestra preferencia.
🎄 STEP 3. With the circular object we make a circle in the anime and with the cutter we cut it out, then with the help of the ruler we measure a piece of red corrugated cardboard of the width that can cover the anime circle and the height of our preference.

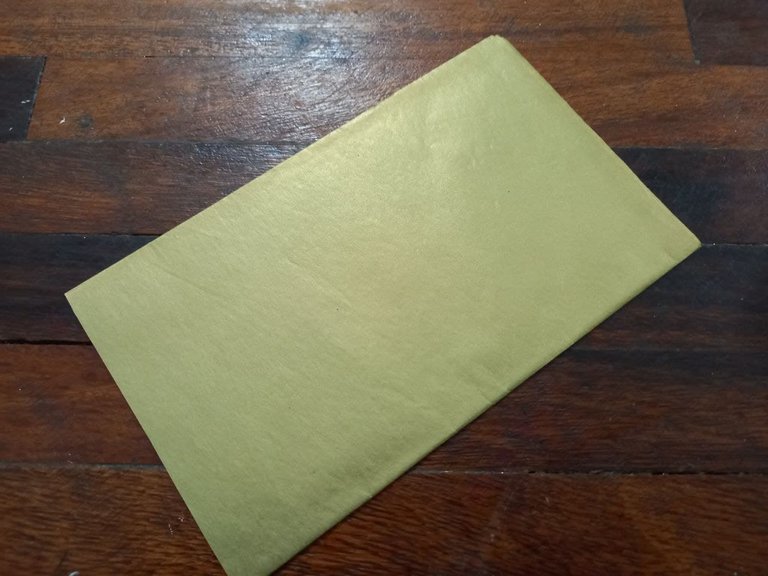
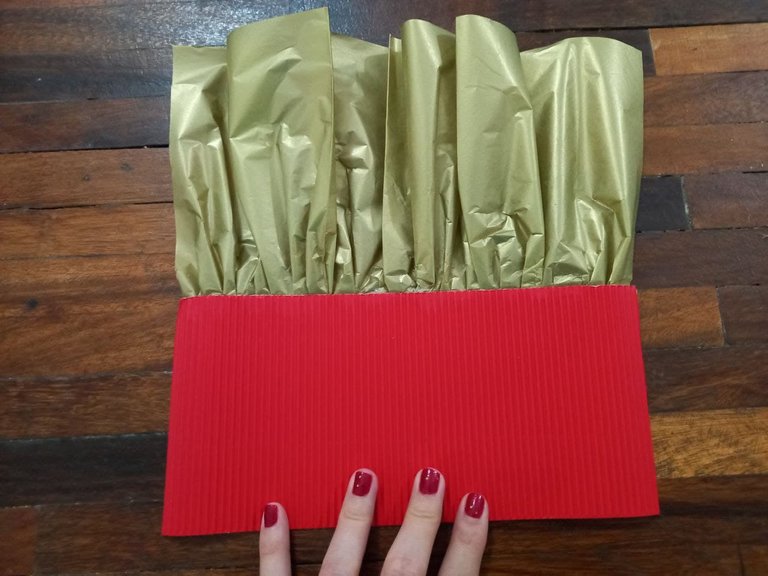
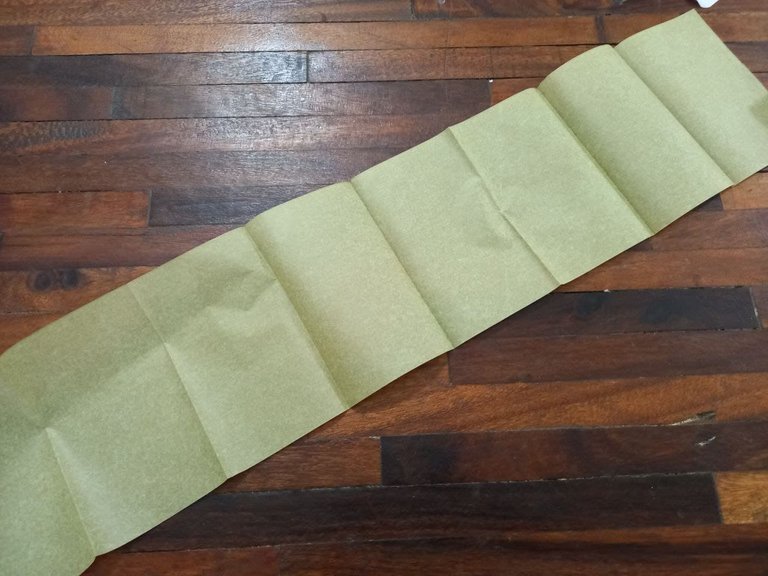
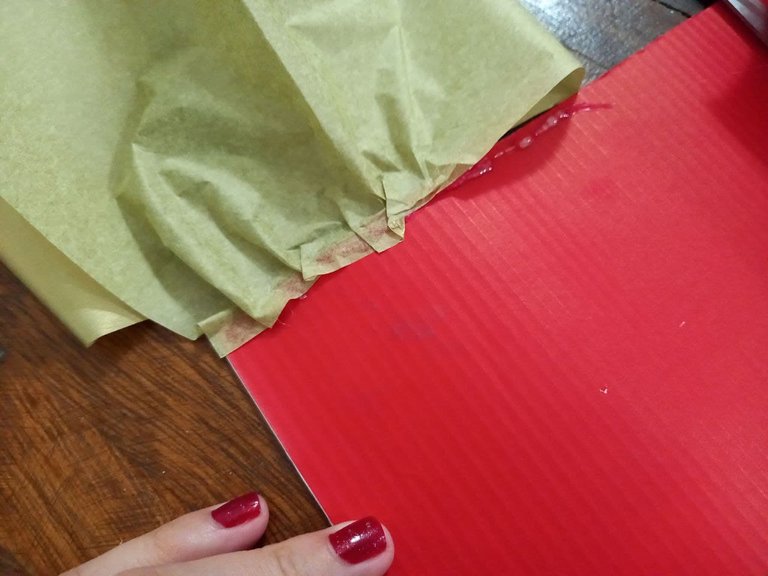
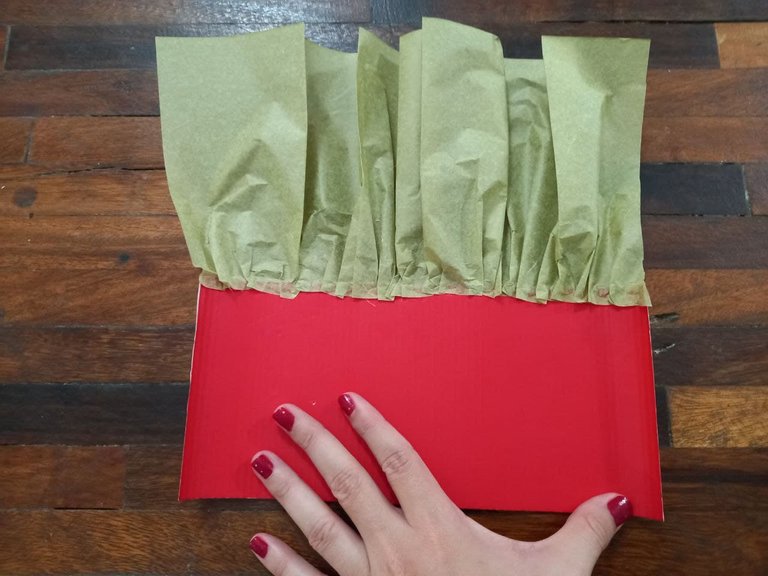
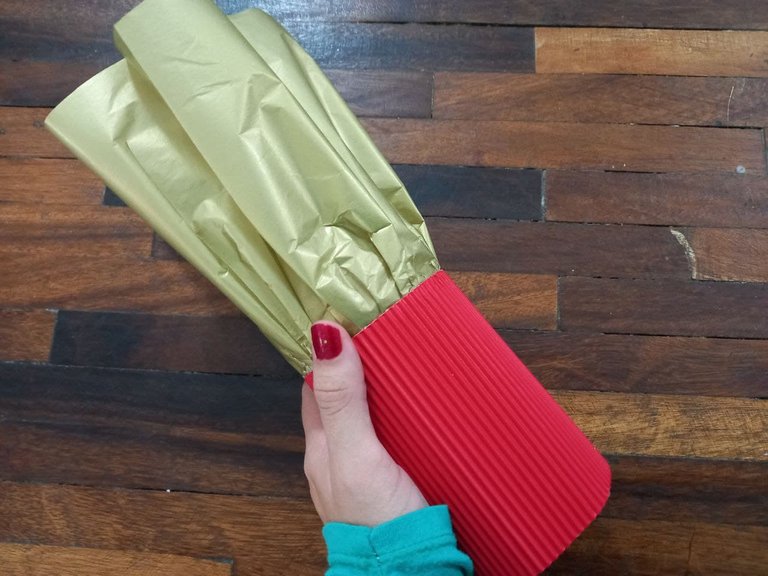
🎄 PASO 4. Cortamos una tira ancha de papel de seda dorado que tenga de largo el doble del tamaño de la pieza de cartulina, extendemos el papel de seda, aplicamos silicón en la orilla de la pieza de cartulina y comenzamos a pegar el papel de seda poco a poco de manera que quede arruchado hasta llegar al final.
🎄 STEP 4. We cut a wide strip of gold tissue paper that is twice the size of the piece of cardboard, we spread the tissue paper, we applied silicone on the edge of the piece of cardboard and we began to paste the tissue paper little by little so that it is wrinkled until reaching the end.

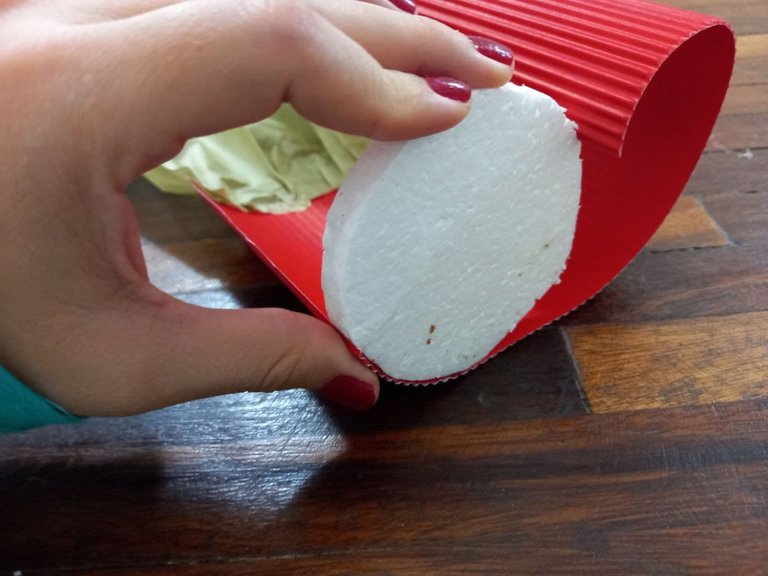
🎄 PASO 5. Pegamos el circulo de anime en la orilla inferior de la cartulina y vamos cerrando hasta unir los 2 extremos y pegamos estos para sellar.
🎄 STEP 5. We glue the anime circle on the bottom edge of the cardboard and we are closing until the 2 ends are joined and we glue these to seal.
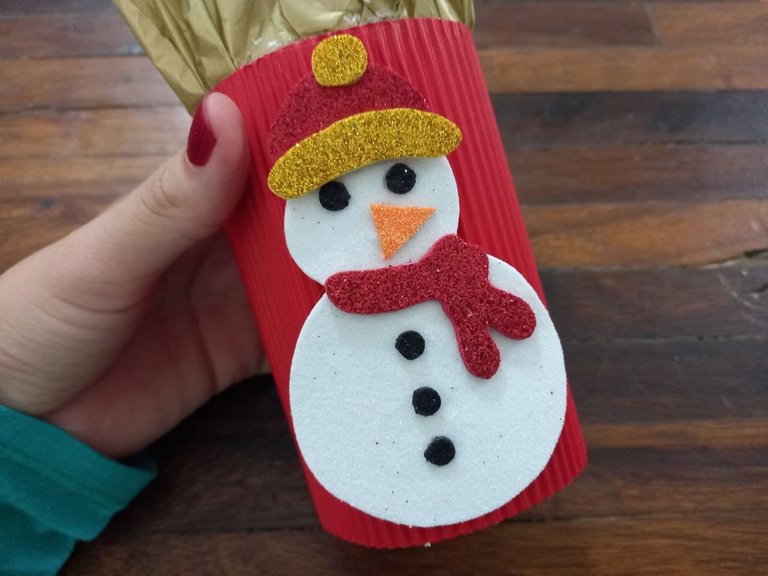
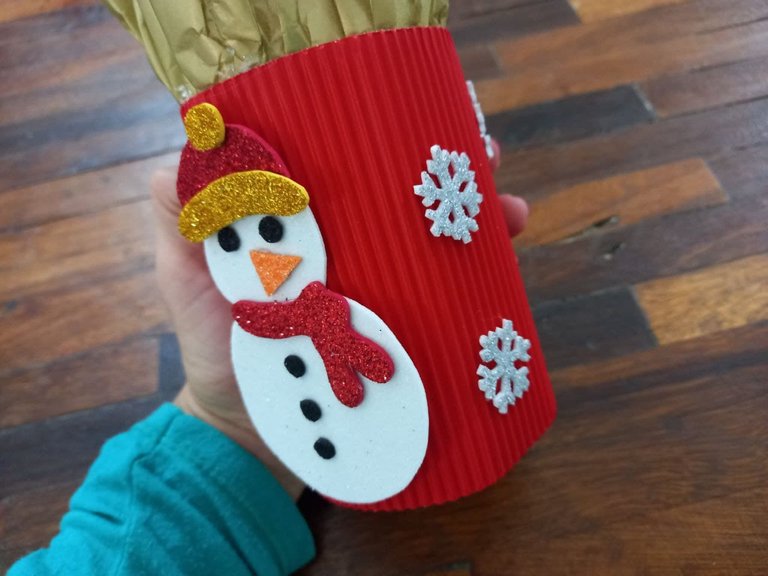
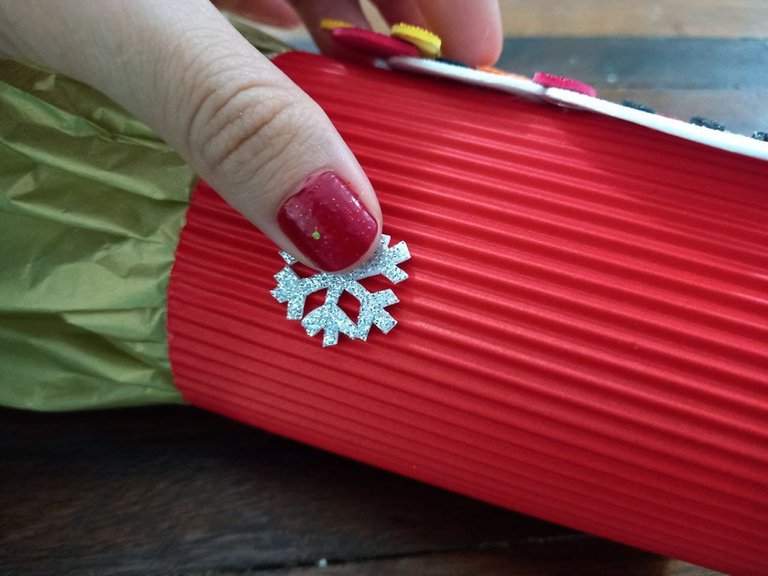
🎄 PASO 6. Es momento de decorar el cotillón, pegamos el hombre de nieve en el centro y a los lados pegamos los copos de nieve de foami, para complementar un poco también pegué varios círculos pequeños de foami plateado que hice con el abrehuecos y una vez que terminemos de decorar el cotillón ya estará listo.
🎄 STEP 6. It is time to decorate the party favors, we glued the snowman in the center and on the sides we glued the foami snowflakes, to complement a little I also glued several small circles of silver foami that I made with it hole opener and once we finish decorating the party favors it will be ready.

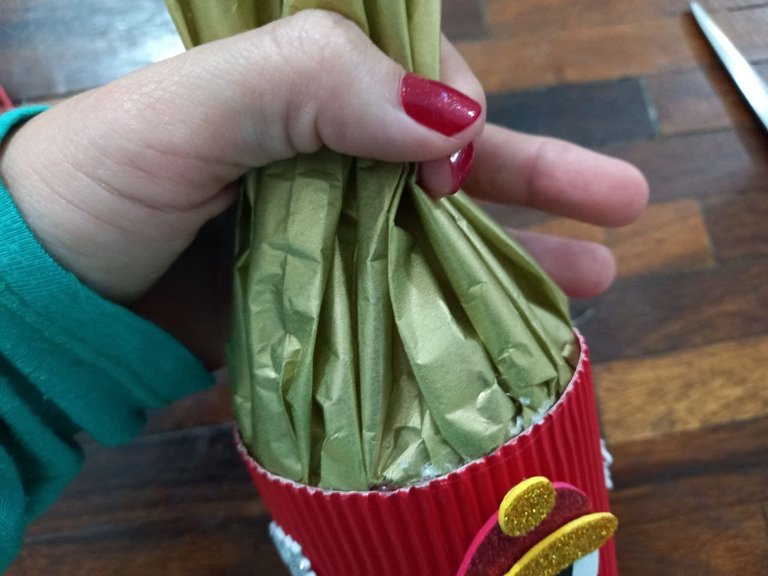
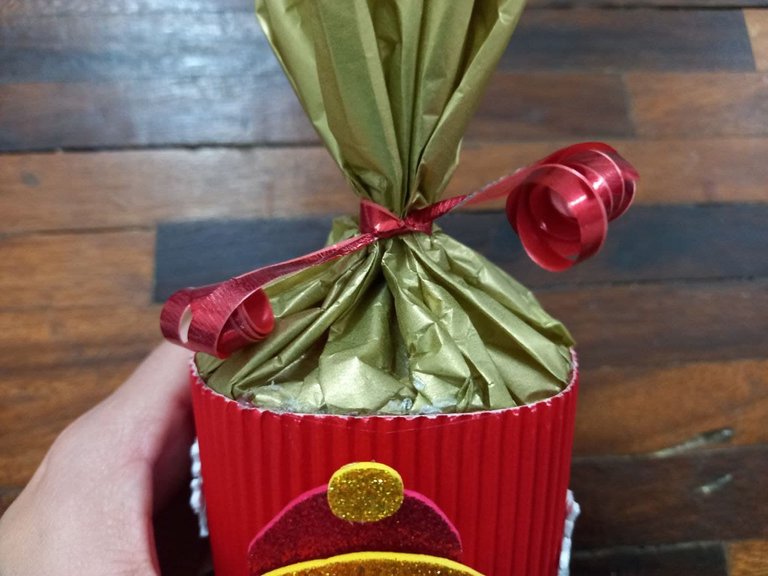
🎄 PASO 7. Para finalizar cerramos la parte del papel de seda con la cinta de papel, hacemos un nudo y la enrollamos con la tijera.
🎄 STEP 7. To finish we close the part of the tissue paper with the paper tape, make a knot and roll it up with the scissors.
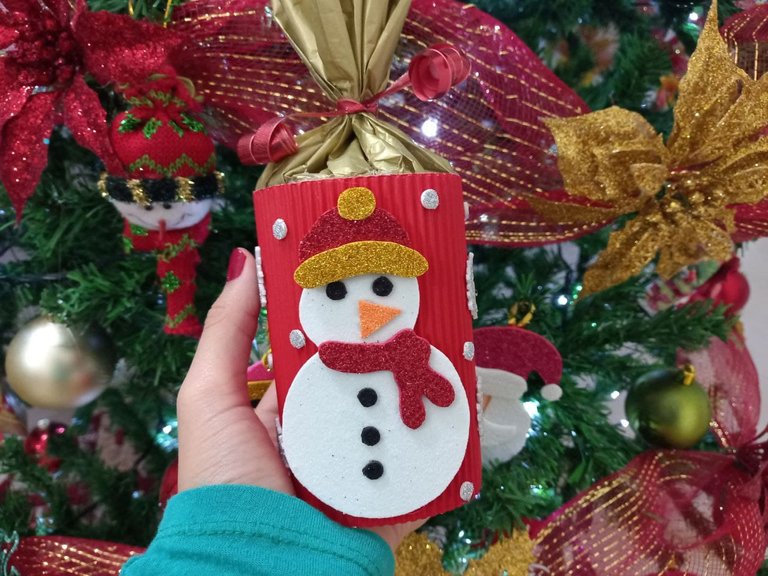
¡Y listo! Ya tenemos un lindo cotillón navideño ideal para obsequiar en estas fechas en especial a los niños, espero que les haya gustado este tutorial y les sirva como guía para intentarlo en casa.
And ready! We already have a nice Christmas party ideal to give on these dates especially to children, I hope you liked this tutorial and it will serve as a guide to try it at home.


Todas las fotografías son de mi propiedad.
Fotografías capturadas con mi Samsung Galaxy A12
Separador de texto elaborado en Canva.
Nos vemos en mi próxima publicación.
¡Tengan un feliz día!
All photographs are my property.
Photos captured with my Samsung Galaxy A12
Text separator made in Canva.
See you in my next post.
¡Have a happy day!