¡Saludos Comunidad Creativa! | ¡Greetings Creative Community!
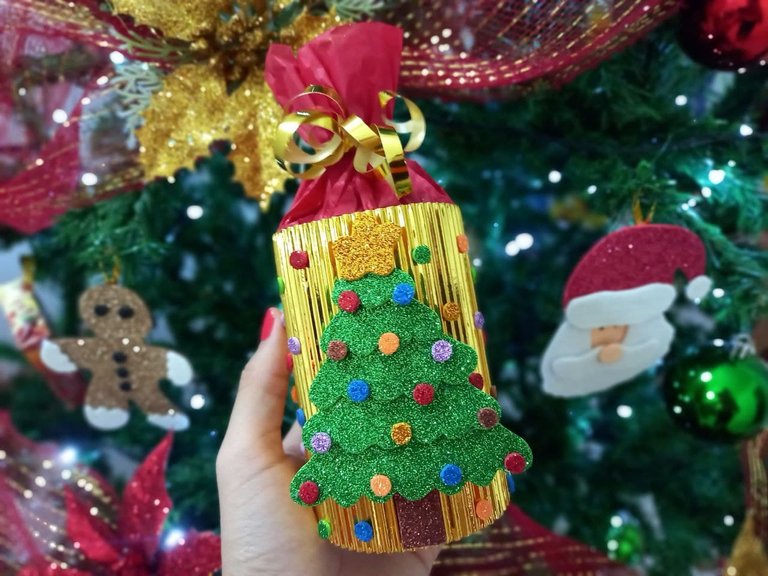
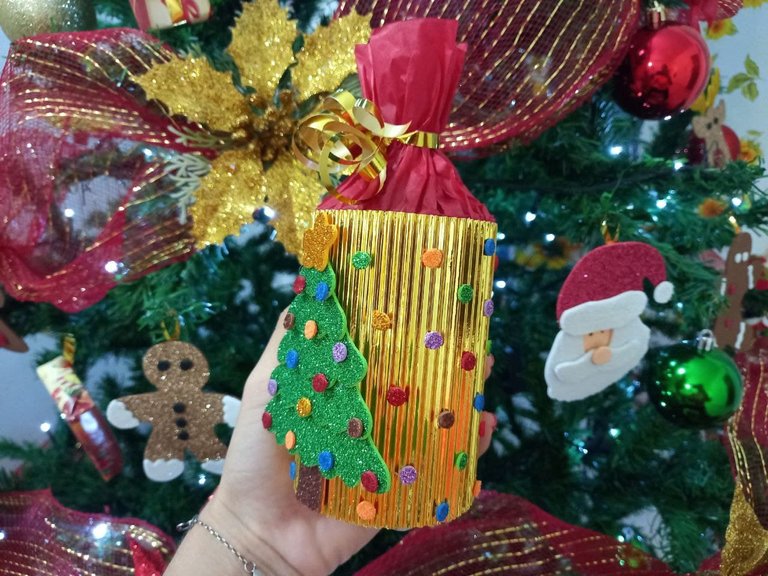
El día de hoy les traigo un nuevo tutorial navideño, se trata de un lindo cotillón o dulcero con motivo de árbol de navidad, muy lindo y colorido ideal para obsequiar en navidad a un ser especial, espero que les guste y lo puedan intentar en casa.
Today I bring you a new Christmas tutorial, it is a cute party favors or candy box with a Christmas tree motif, very cute and colorful, ideal to give to a special being at Christmas, I hope you like it and can try it at home .

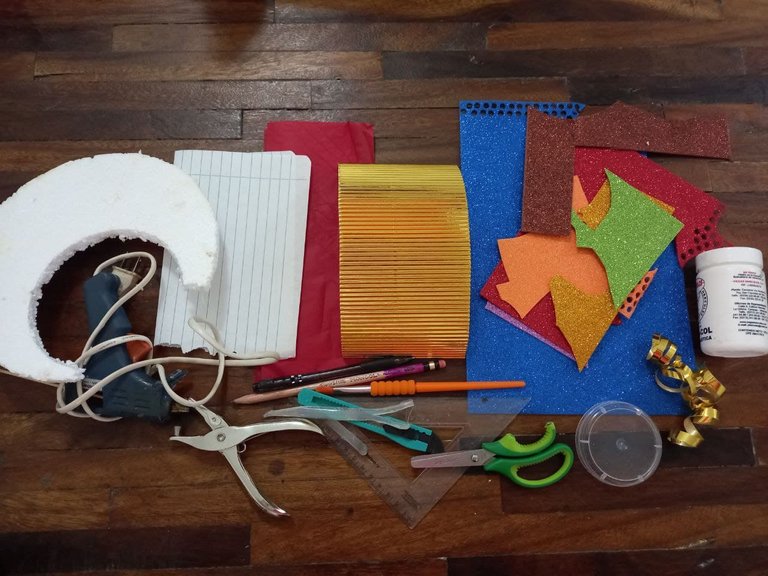
- Cartulina corrugada dorada.
- Foami escarchado de varios colores.
- Papel de seda rojo.
- Anime.
- Cinta dorada de papel.
- Regla.
- Lápiz.
- Silicón.
- Pistola de silicón.
- Cutter.
- Abrehuecos.
- Pega blanca.
- Tijera.
- Pincel.
- Objeto circular.
- Hoja de papel.
- Gold corrugated cardboard.
- Frosted foam of various colors.
- Red tissue paper.
- Anime.
- Gold paper ribbon.
- Rule.
- Pencil.
- Silicone.
- Silicone gun.
- Cutter.
- Open holes.
- White paste.
- Scissor.
- Brush.
- Circular object.
- Paper sheet.

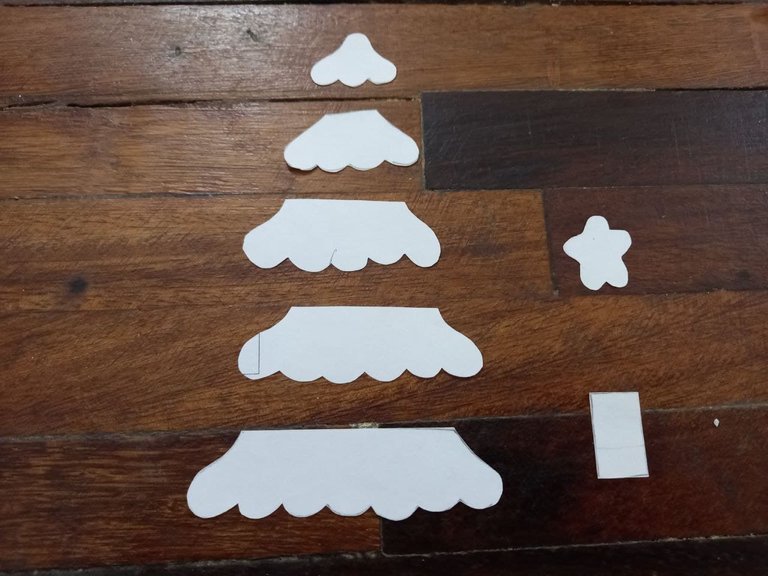
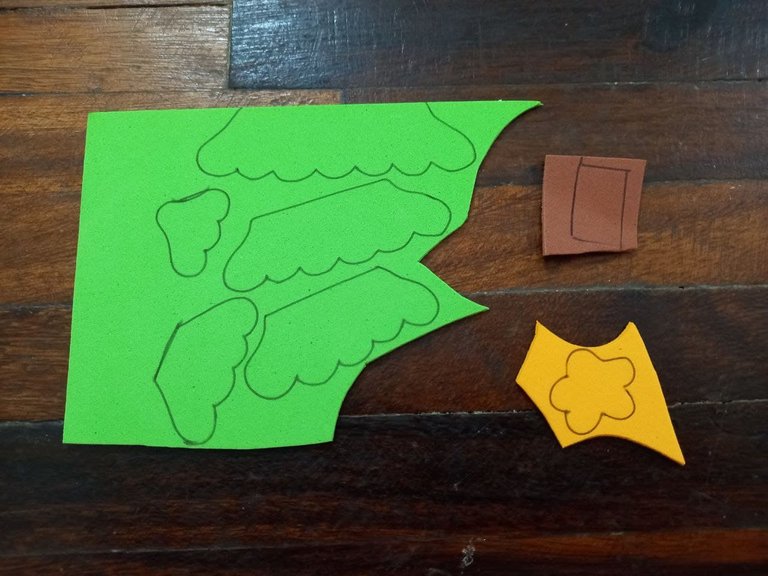
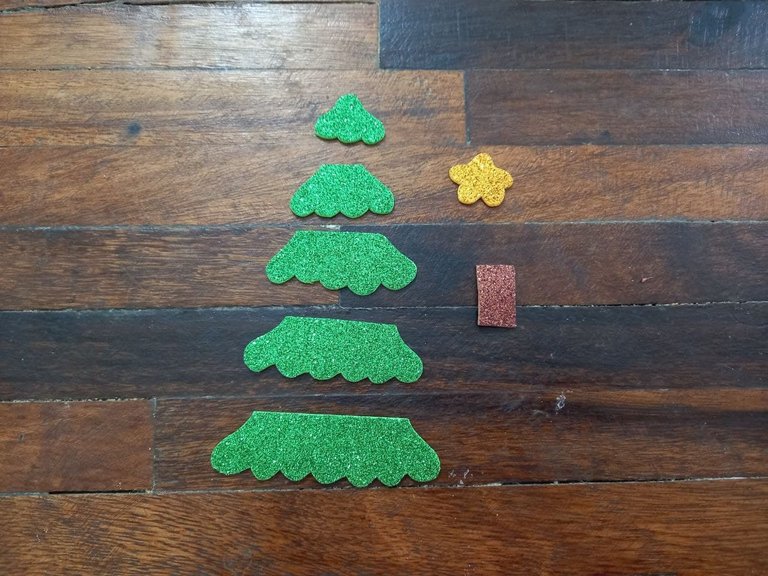
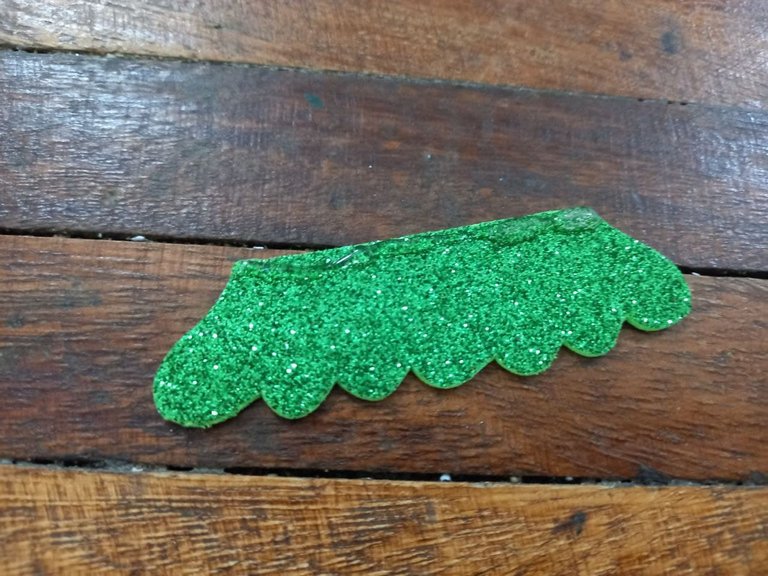
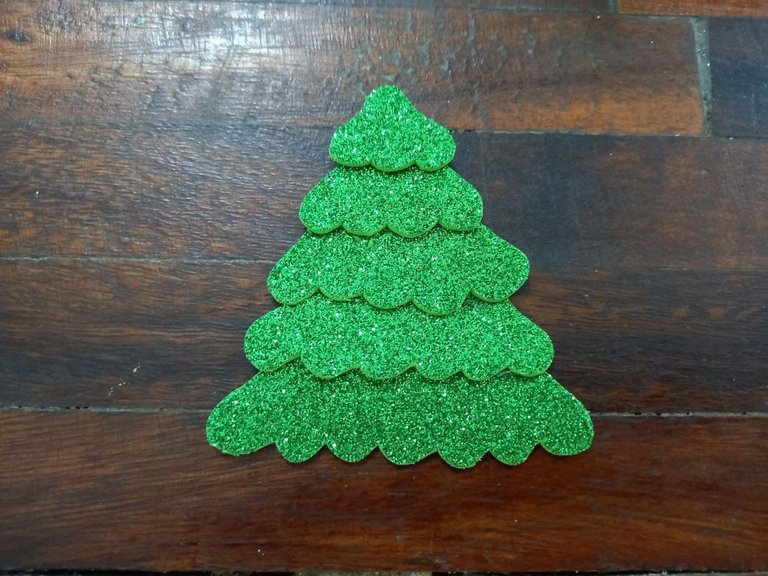
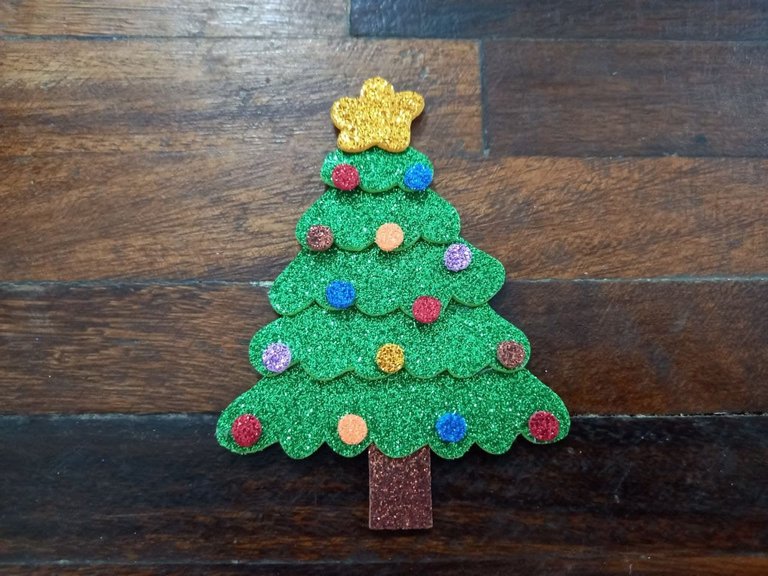
🎄 PASO 1. Iniciamos haciendo la forma del arbolito en la hoja de papel, en mi caso haré varias piezas para que el resultado final sea en capas, luego hacemos las pieza en foami escarchado verde, una estrella en dorado y el troncoen marrón y recortamos.
🎄 STEP 1. We start by making the shape of the tree on the sheet of paper, in my case I will make several pieces so that the final result is layered, then we make the pieces in green frosted foami, a star in gold and the trunk in brown and cut.

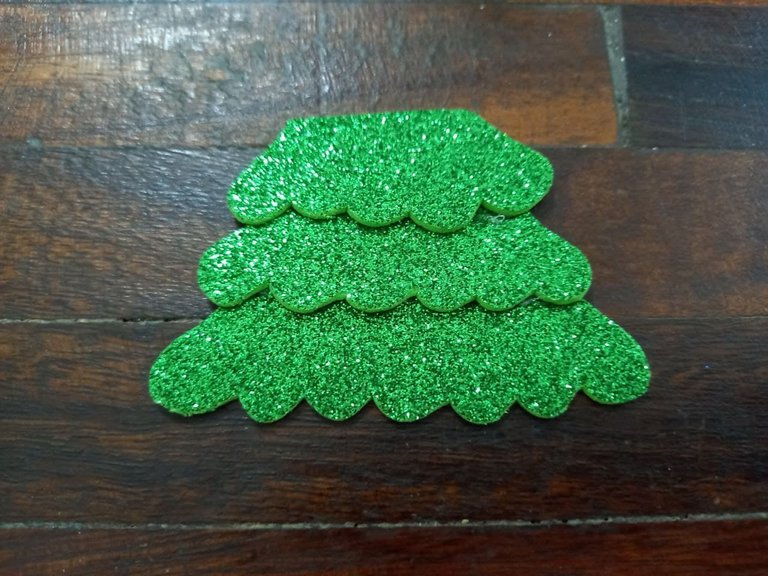
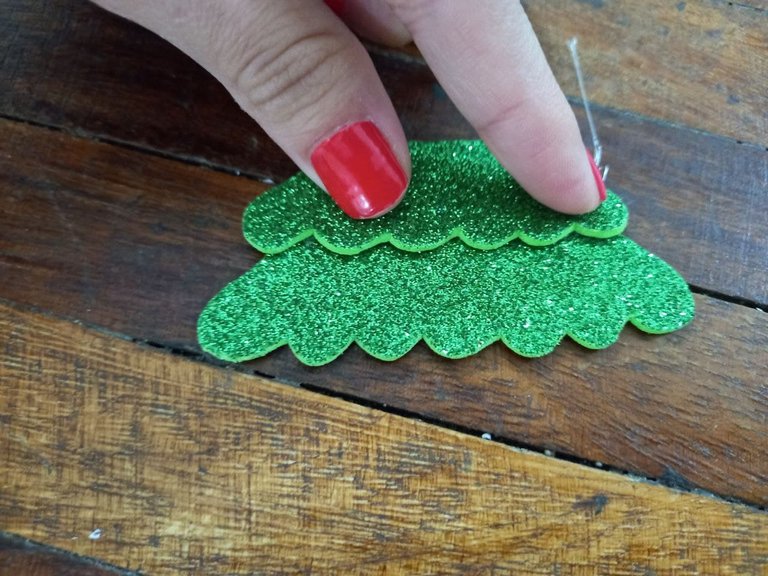
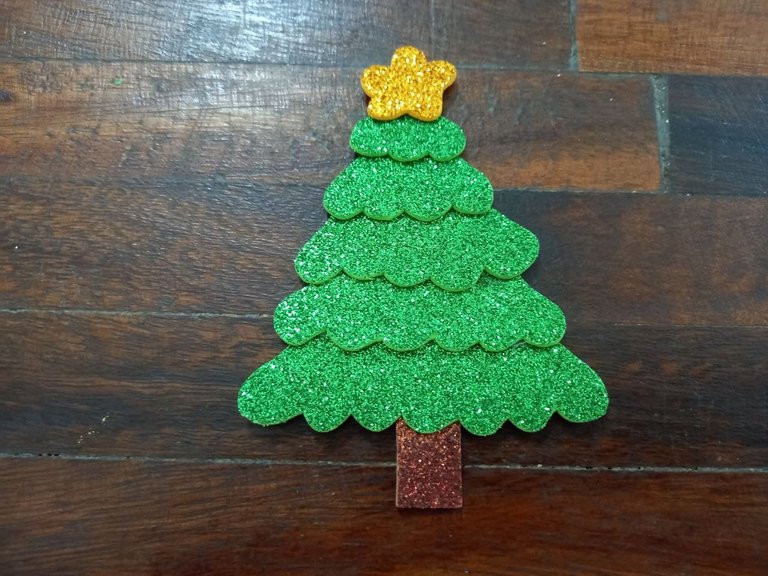
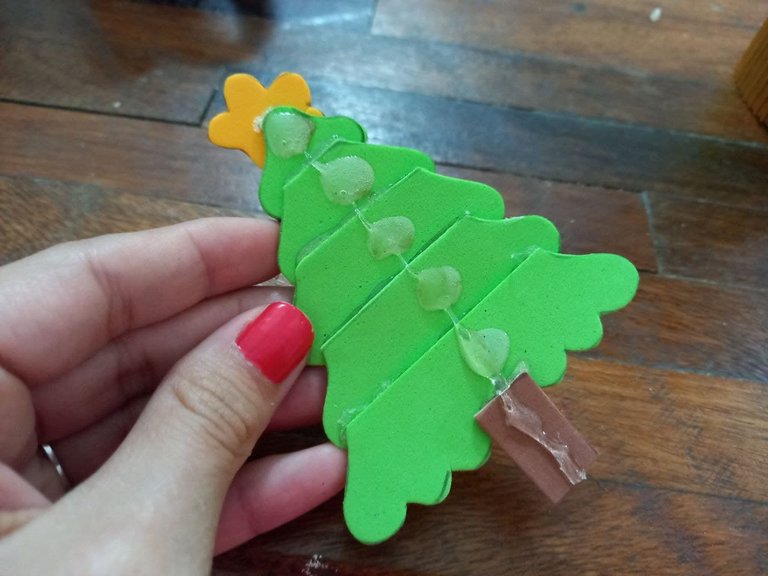
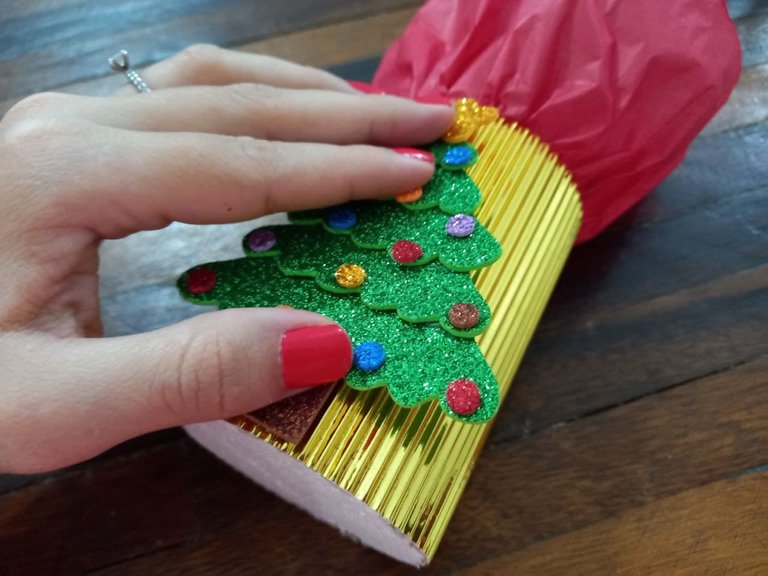
🎄 PASO 2. Comenzamos a armar el arbolito uniendo todas la piezas comenzando de abajo hacia arriba con la pieza más grande y pegando sobre ella la del tamaño siguiente hasta llegar a la punta, luego en esta pegamos la estrella y en la parte de abajo pegamos en tronco.
🎄 STEP 2. We begin to assemble the tree by joining all the pieces starting from the bottom up with the largest piece and sticking the next size one over it until we reach the tip, then in this we paste the star and in the bottom part we stick on the trunk.
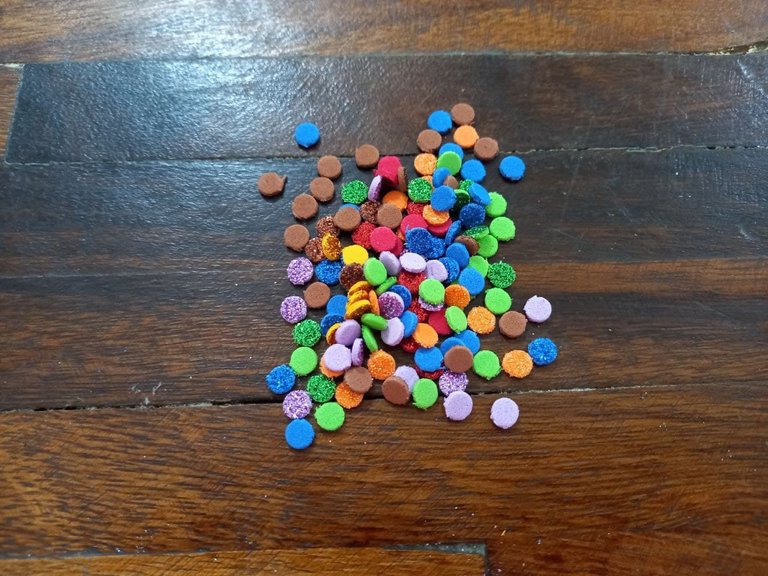
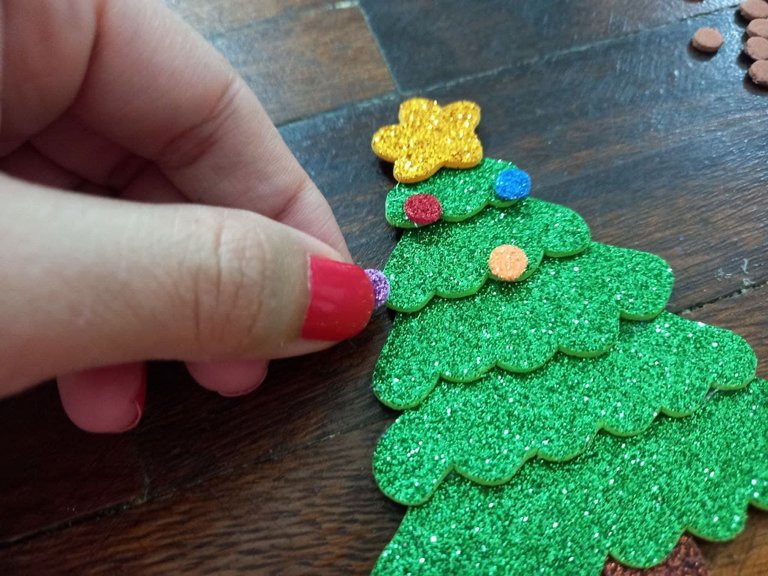
🎄PASO 3. Con el abrehuecos hacemos una buena cantidad de círculos en todos los foamis de colores y con estos decoramos el arbolito pegándolos sobre el variando los colores y los demás los guardamos para el final.
🎄 STEP 3. With the hole opener we make a good amount of circles in all the colored foamis and with these we decorate the little tree by sticking them on it, varying the colors and we save the rest for the end.
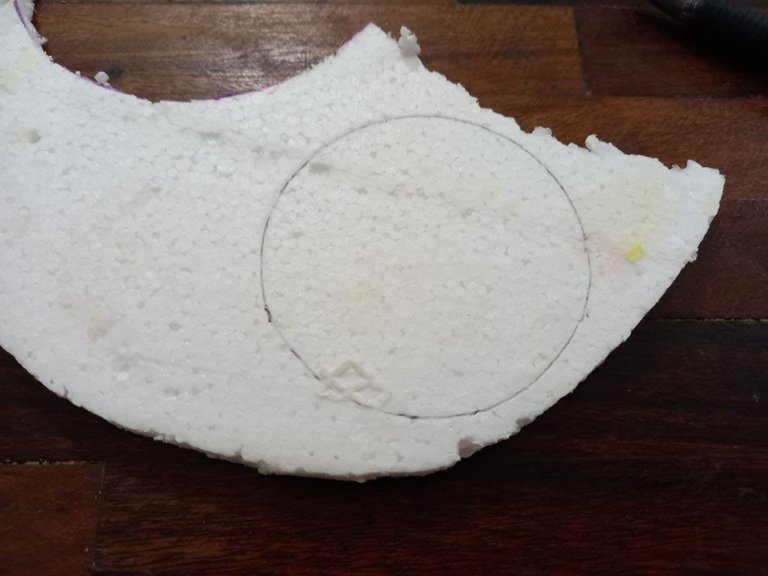
🎄 PASO 4. Comenzamos a armar el cotillón, para ello cortamos una pieza de la cartulina corrugada dorada del tamaño que queremos que sea el cotillón luego tomamos un objeto circular que tenga el tamaño justo para cerrar la cartulina y con el hacemos un circulo en el anime y lo cortamos.
🎄 STEP 4. We begin to assemble the party favors, for this we cut a piece of the golden corrugated cardboard of the size we want the party favors to be, then we take a circular object that has the right size to close the cardboard and with it we make a circle in the anime and we cut it.
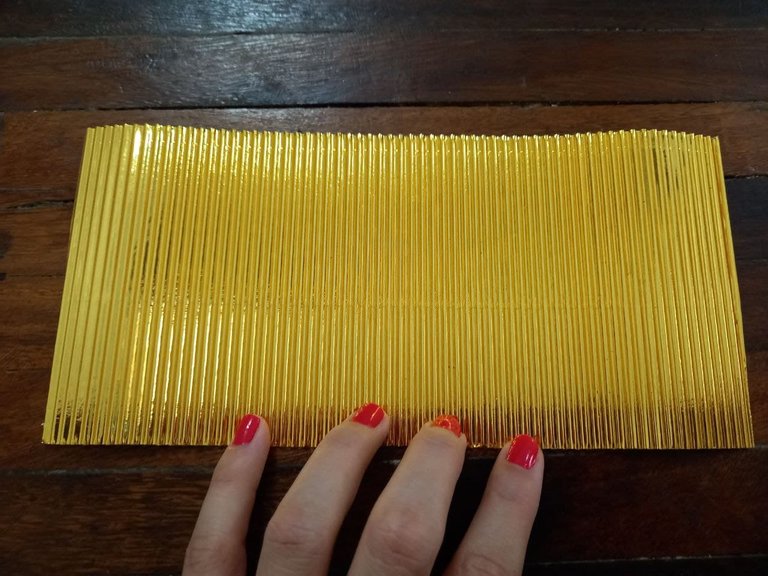
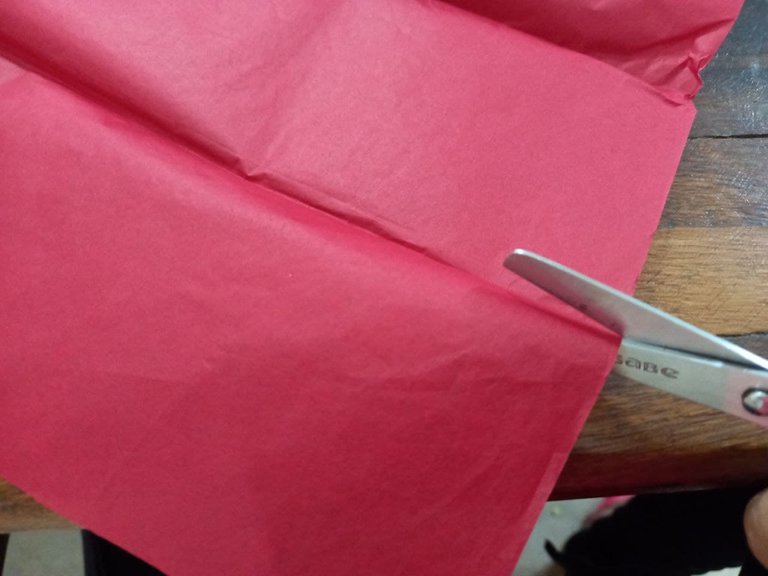
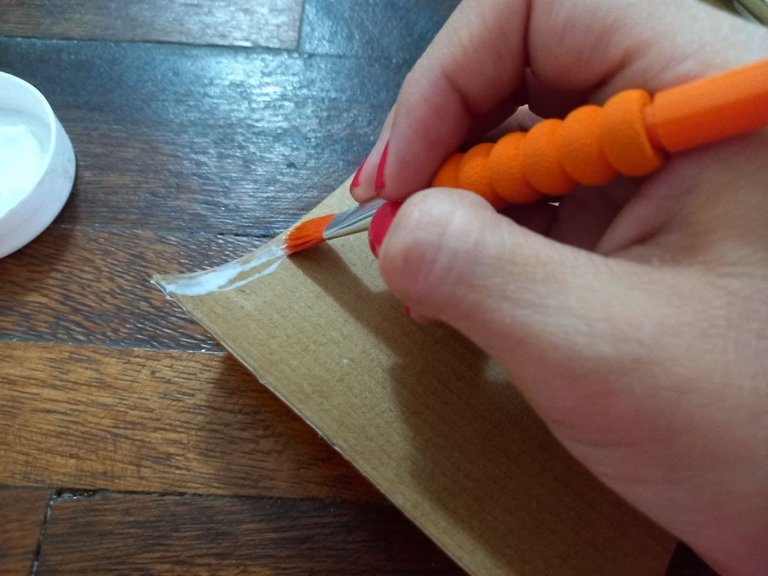
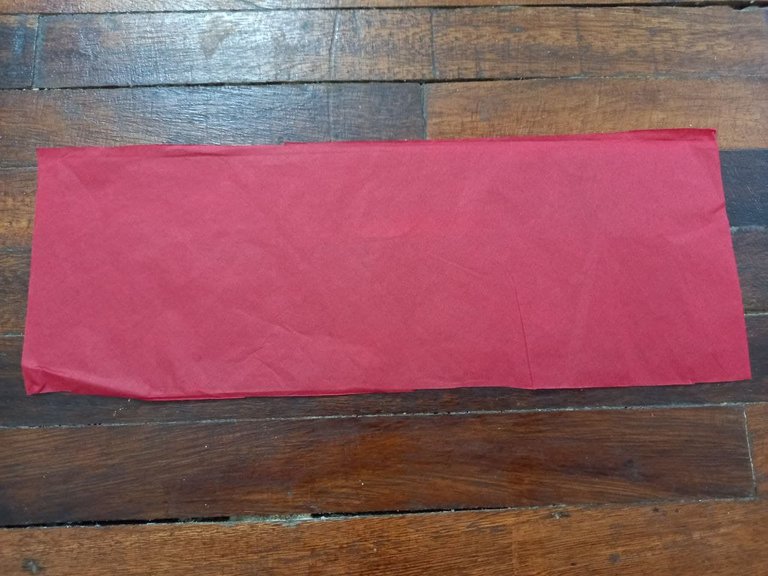
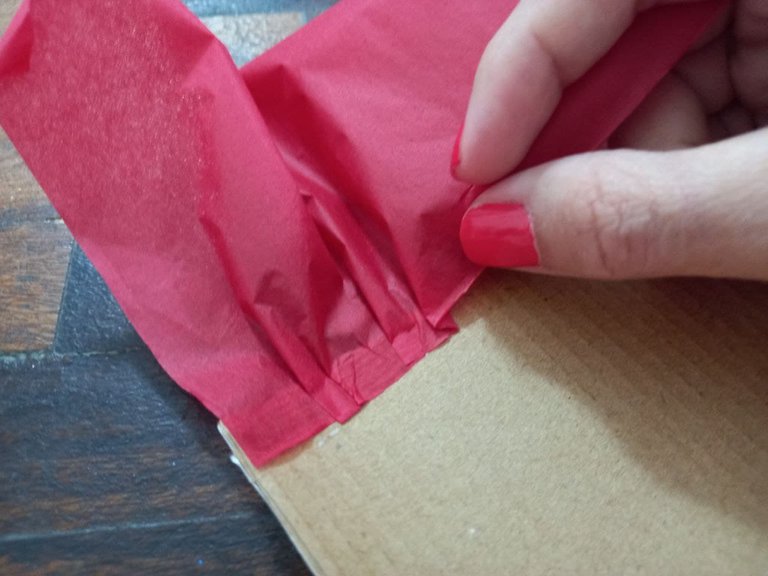
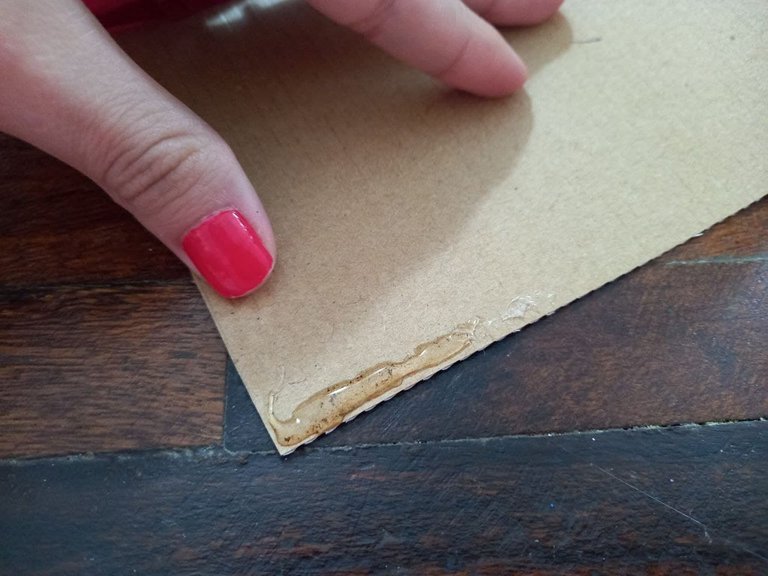
🎄 PASO 5. Extendemos el papel de seda y recortamos una tira que tenga el doble del largo de la pieza de cartulina corrugada dorada, mojamos el pincel en la pega blanca y la aplicamos en la orilla de la cartulina a lo largo y vamos pegando el papel de seda que quede arruchado.
🎄 STEP 5. We spread the tissue paper and cut a strip that is twice the length of the piece of gold corrugated cardboard, we dip the brush in the white glue and apply it along the edge of the cardboard and we are gluing the tissue paper that is crumpled.

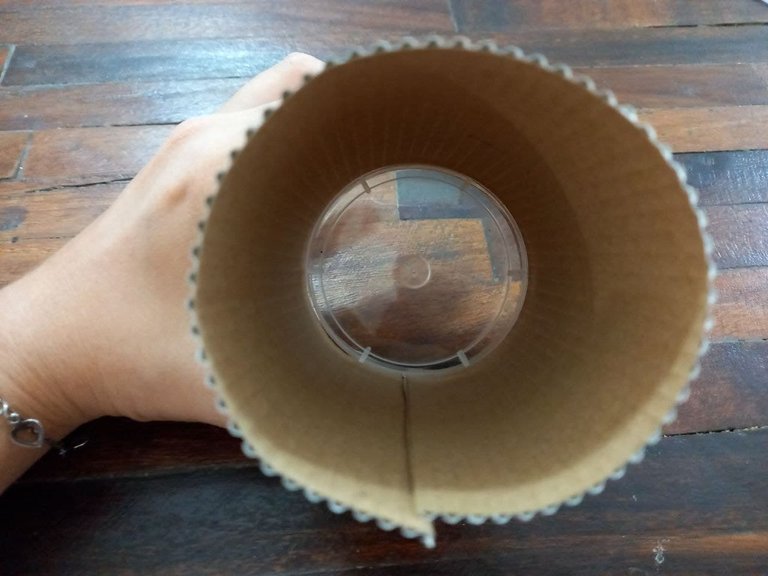
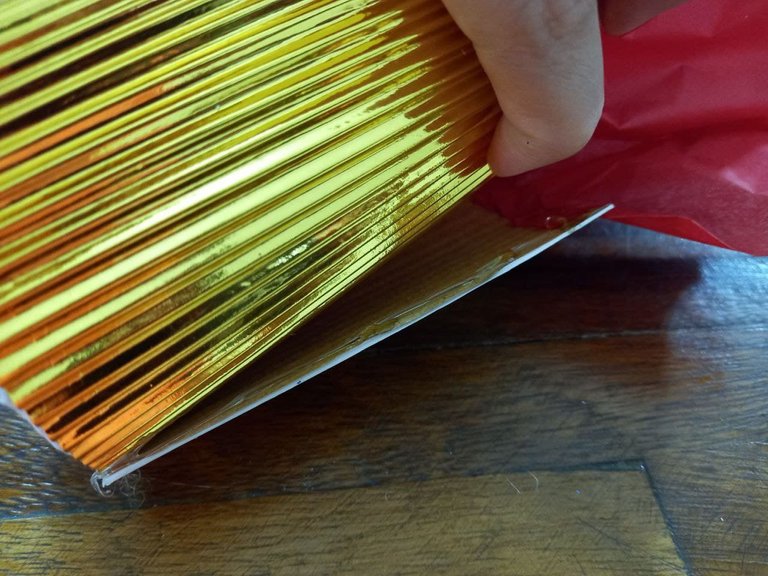
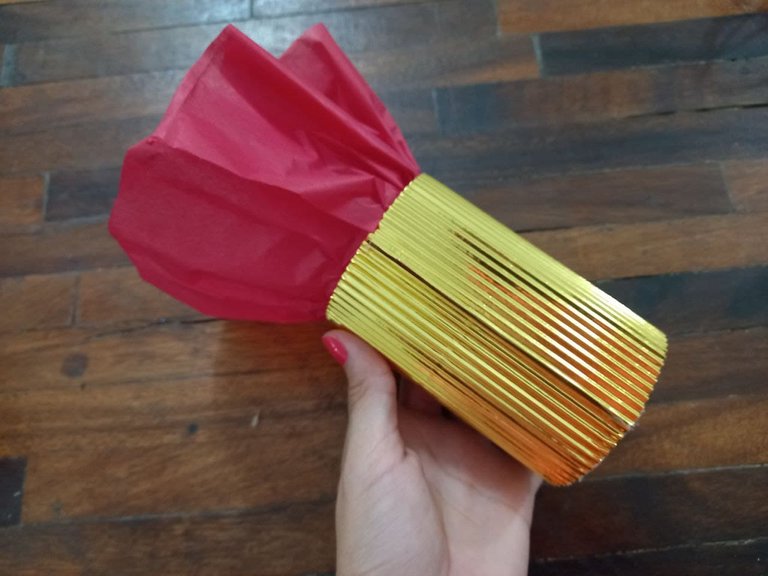
🎄 PASO 6. Aplicamos silicón en la orilla inferior de la cartulina y pegamos el circulo de anime que hicimos anteriormente hasta formar un cilindro, luego pegamos los 2 extremos para unirlos y presionamos para que se pegue bien, de esta forma ya tenemos lista la base del cotillón.
🎄 STEP 6. We apply silicone on the lower edge of the cardboard and glue the anime circle that we made previously until forming a cylinder, then we glue the 2 ends to join them and press so that it sticks well, in this way already we have the base of the party ready.

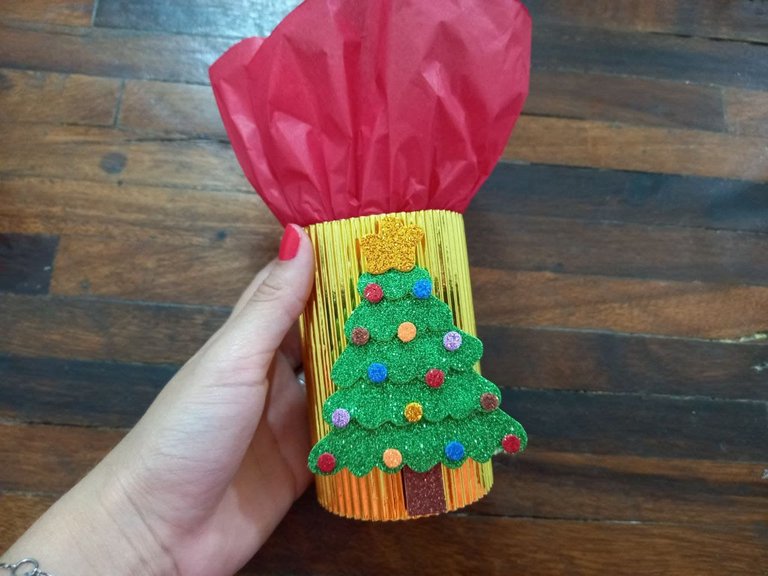
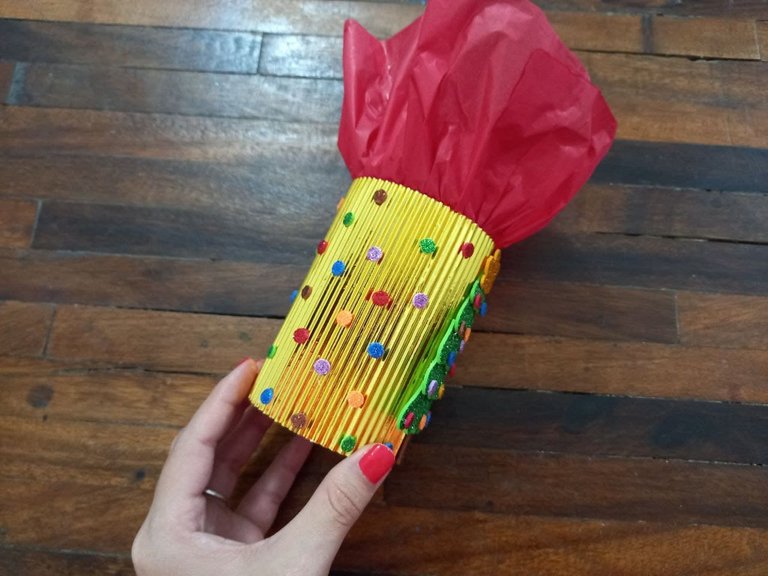
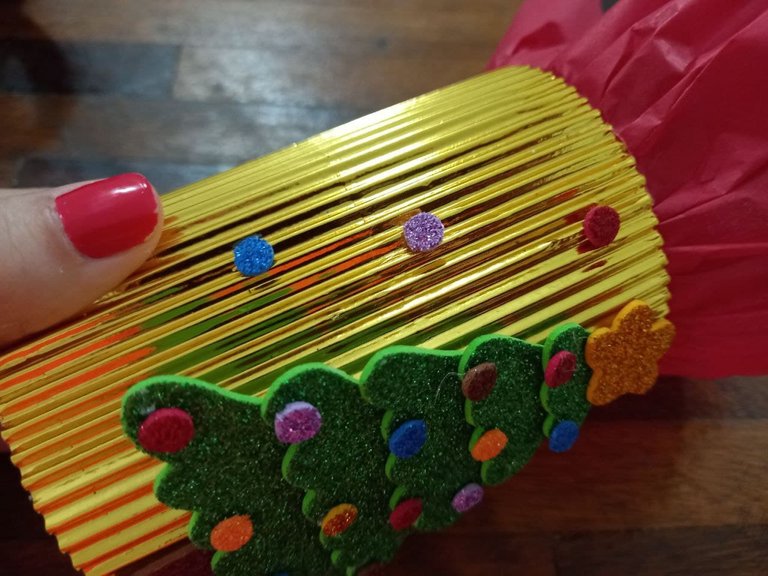
🎄 PASO 7. Procedemos a decorar el cotillón y lo primero es pegar el arbolito en el centro de este, luego vamos a pegar por todo el cotillón los puntitos de foami de colores que guardamos del principio alternando los colores.
🎄 STEP 7. We proceed to decorate the party favors and the first thing is to stick the little tree in the center of it, then we are going to paste the dots of colored foami that we keep from the beginning alternating the colors all over the party.
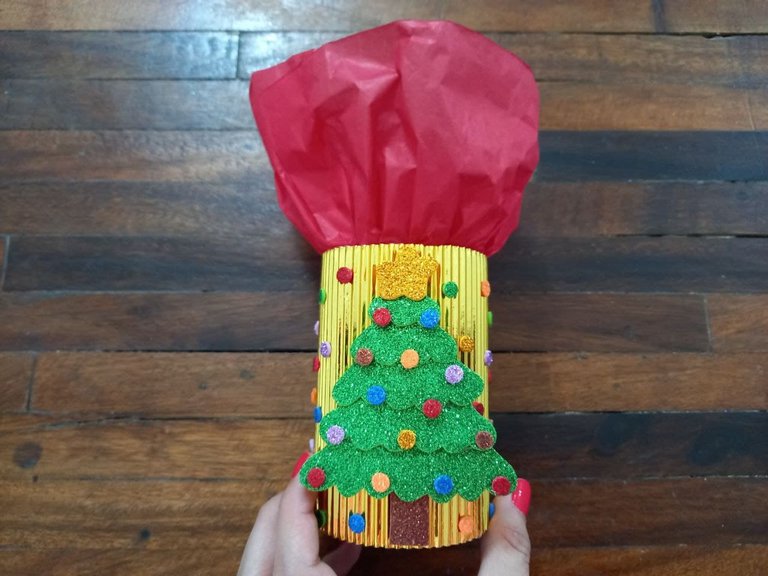
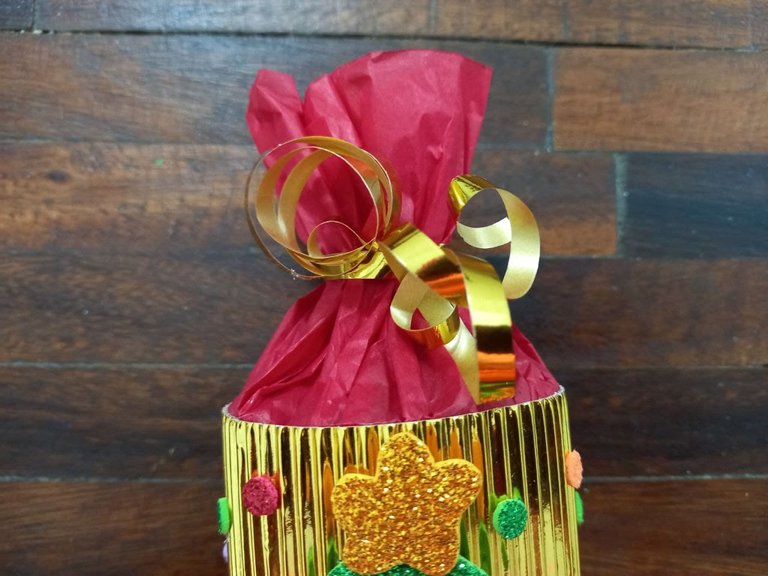
🎄 PASO 8. Por último, amarramos el papel de seda con la cinta de papel haciendo un nudo y enrollando el restante.
🎄 STEP 8. Finally, we tie the tissue paper with the paper tape, making a knot and rolling the rest.

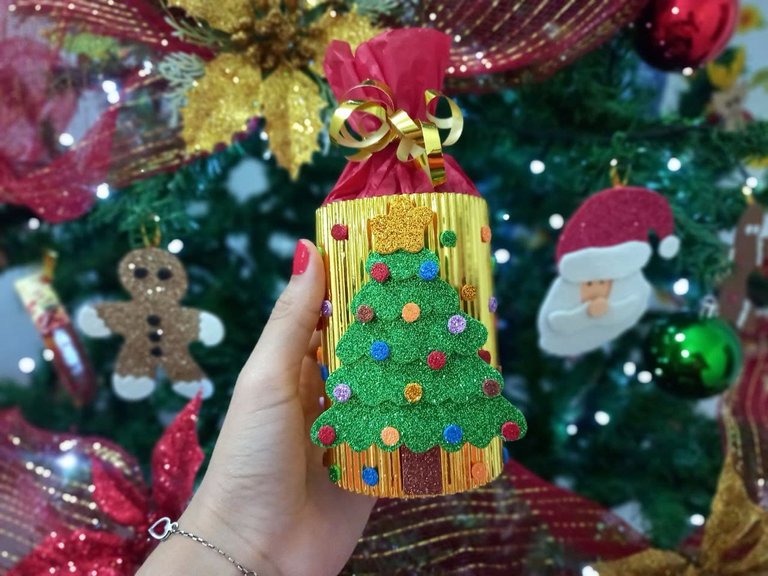
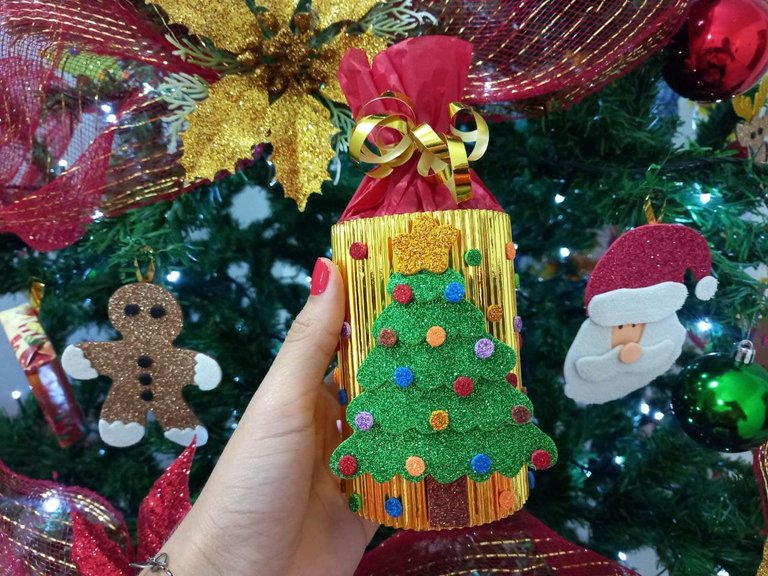
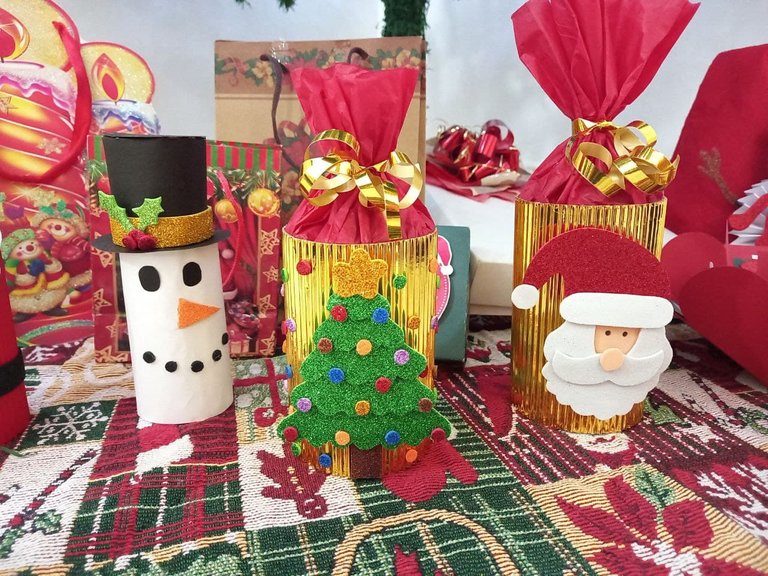
¡Y listo! Ya tenemos un hermoso cotillón navideño perfecto para regalar en navidad, podemos llenarlo con dulce o cualquier obsequio que deseemos regalar, también podemos variar la decoración y hacerla a nuestro gusto, utilizando otros colores y otros motivos navideños, espero que les haya gustado este tutorial y puedan hacerlo en casa para tener un lindo detalle que regalar a esa persona especial.
¡And ready! We already have a beautiful Christmas party perfect to give at Christmas, we can fill it with candy or any gift that we want to give, we can also vary the decoration and make it to our liking, using other colors and other Christmas motifs, I hope you liked this tutorial and They can do it at home to have a nice detail to give to that special someone.


Todas las fotografías son de mi propiedad.
Fotografías capturadas con mi Samsung Galaxy A12
Nos vemos en mi próxima publicación.
¡Tengan un feliz día!
All photographs are my property.
Photos captured with my Samsung Galaxy A12
See you in my next post.
¡Have a happy day!