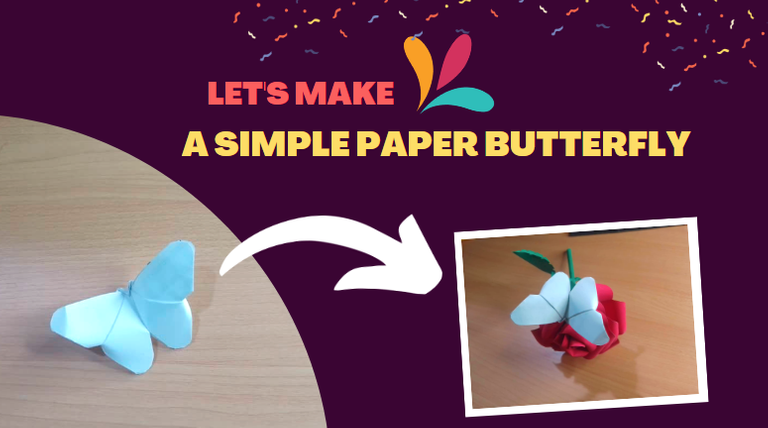
Portada diseñada por mi en el editor de Canva
Hello craft lover friend, I haven't posted something in this community for a long time, but today I felt the need to share with you something I learned recently and that can be very useful when making simple decorations that require a special touch to complement a project, that adds beauty without being extravagant, It is a simple butterfly, but best of all is that you do not need too many materials just paper and a pair of scissors because we will be using an ancient oriental technique that the Japanese call Origami and it is only about making a series of folds that allow us to give the shape we want to this noble material. Join me 😊.
Hola amigo o amiga amante de la artesanía, tengo mucho tiempo que no publico algo en esta comunidad, pero hoy tuve la necesidad de compartir con ustedes algo que aprendí recientemente y que puede resultar muy útil a la hora de hacer decoraciones sencillas pero que requieran un toque especial para complementar un proyecto, que le aporte belleza sin llegar a ser extravagante, se trata de una sencilla mariposa, pero lo mejor de todo es que no necesitas demasiados materiales tan solo papel y un par de tijeras ya que estaremos usando una técnica milenaria oriental a la que los japoneses llaman Origami y que solo se trata de hacer una serie de dobleces que nos permitirán darle la forma que deseemos a este noble material. Acompáñenme 😊.
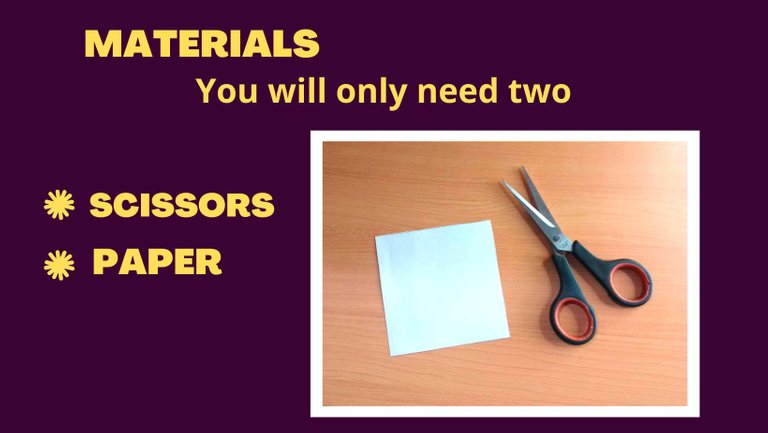
As I mentioned we will only need two elements, a pair of scissors and a square of paper with the measurements of your preference, in this case I cut a square of 8 cm by 8 cm, but you can make it as big or small as you prefer.
Tal como mencioné solo necesitaremos dos elementos, unas tijeras y un cuadrado de papel con las medidas de tu preferencia, en este caso yo corte un cuadrado de 8 cm por 8 cm, pero puedes hacerlo tan grande o pequeño como prefieras.
Let's get started😉
Comencemos😉
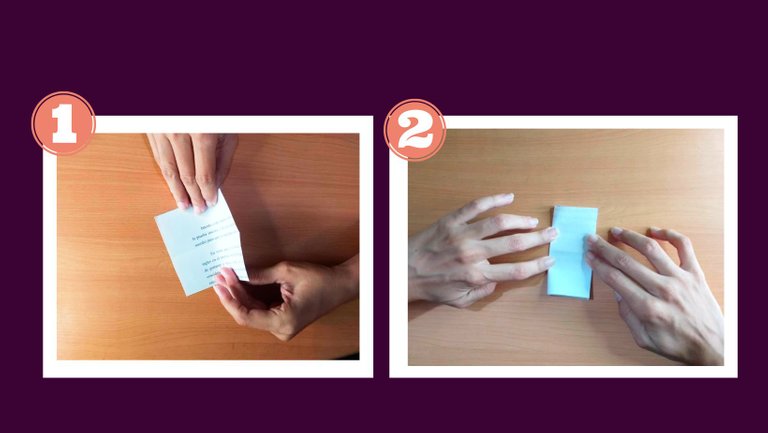
We start by folding the piece of paper right in half and mark the fold very well using our fingernail.
Comenzamos doblando el pedazo de papel justo a la mitad y marcamos muy bien el doblez usando la uña.
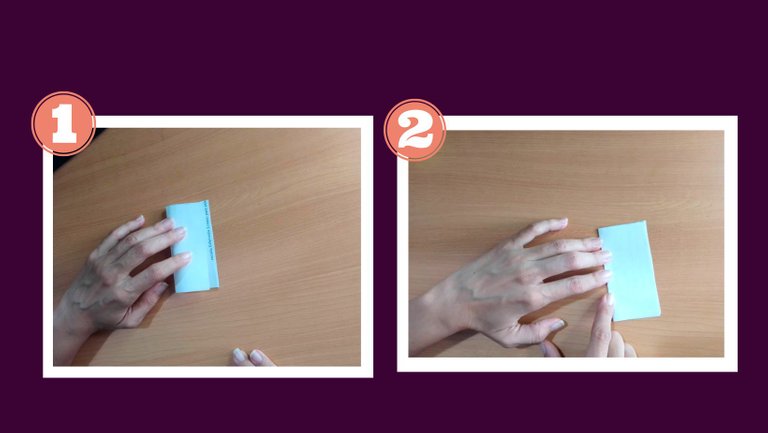
And then we do exactly the same but from the ot
Y posteriormente hacemos exactamente lo mismo pero del otro lado.
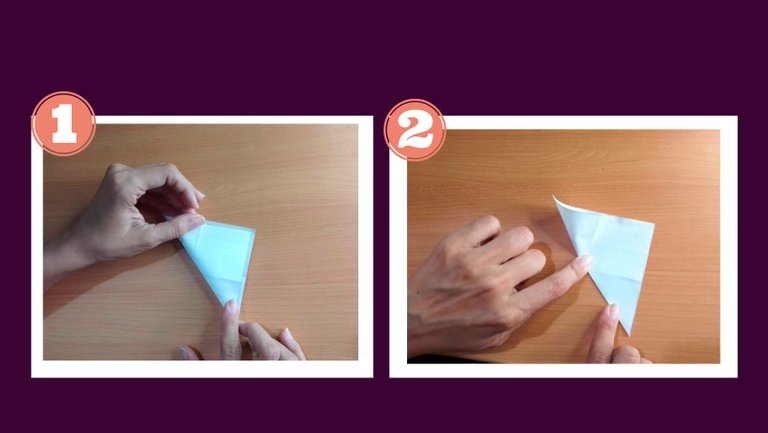
Then we must fold the paper again from one corner to the other forming a triangle, we mark the fold with the fingernail and repeat the process on the other side as we did with the previous step.
luego debemos volver a doblar el papel desde una esquina hasta la otra formando un triángulo, marcamos el doblez con la uña y repetimos el proceso por el oro lado al igual que hicimos con el paso anterior.
Then open the sheet of paper until it has its original shape and then just follow the folds as shown in the images below until you get a small triangle.
Posteriormente abrimos la hoja de papel hasta que tenga su forma original y luego solo debemos seguir los dobleces tal y como se muestra en las imágenes de abajo hasta obtener un triángulo pequeño.
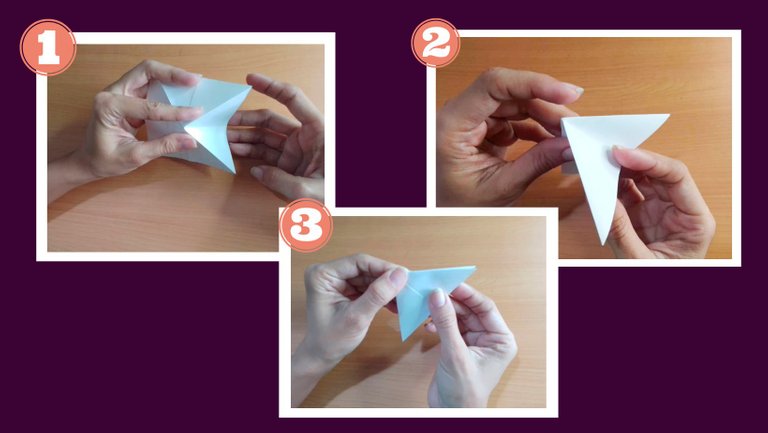
This triangle should be folded in half following the middle fold to obtain an even smaller triangle.
Este triángulo debemos doblarlo a la mitad siguiendo el doblez del medio para obtener un triángulo aún más pequeño.
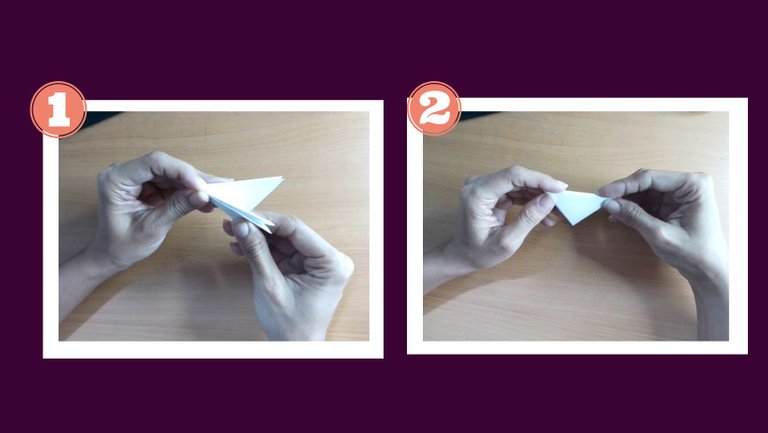
Now, using the scissors, we cut the corner to give it a rounded shape, as shown in the image.
Ahora, usando la tijera, cortamos la esquina para darle una forma redondeada, tal y como se muestra en la imagen.
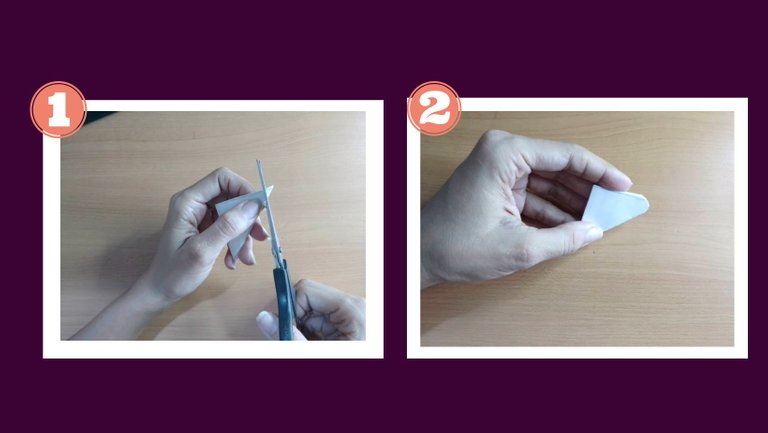
Then open the triangle and fold one of the wings towards the center of the piece, and do the same with the other until it looks like this.
Luego abrimos el triángulo y doblamos una de las alitas hacia el centro de la pieza, y hacemos lo mismo con la otra hasta que se vea de esta manera.
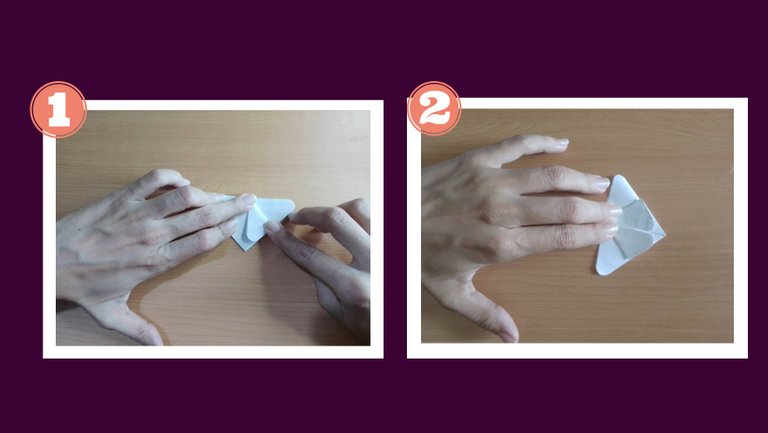
Now we take the back part and bend it backwards until the tip sticks out a little, like this.
Ahora tomamos la parte posterior y la doblamos hacia atrás hasta que la punta sobresalga un poco, de esta manera.
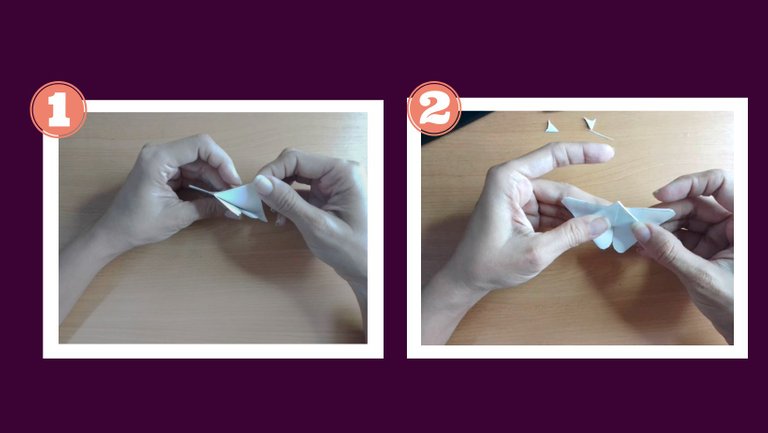
The protruding tip should be bent as shown in the pictures.
Esa punta que sobresale, la doblaremos como se indica en las imágenes
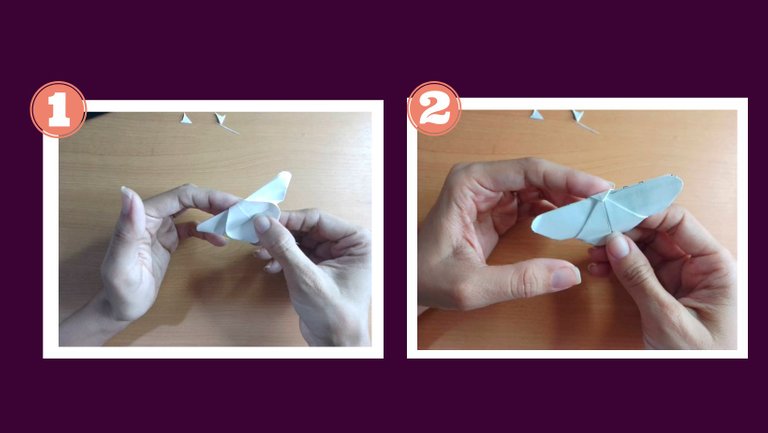
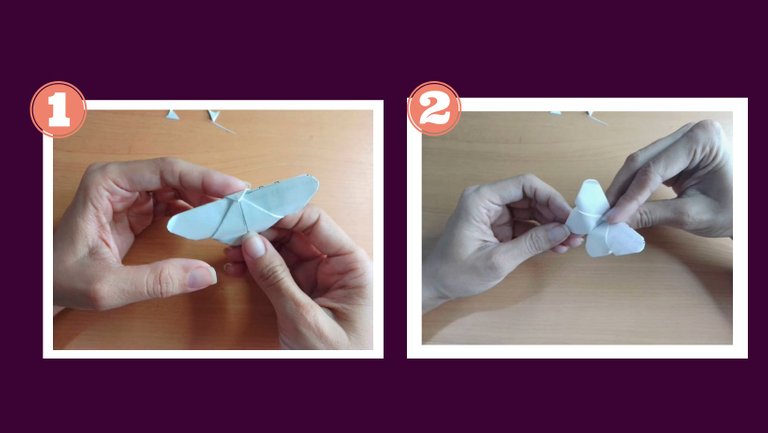
Now, holding the piece as we have it in the image one, we must sink a little with the index finger at the top and at the same time press with the thumb and middle finger of the same hand at the bottom, in this way the butterfly will be ready.
Ahora, sosteniendo la pieza tal como la tenemos en la imagen uno, debemos hundir un poco con el dedo índice en la parte superior y al mismo tiempo presionar con el debo pulgar y medio de la misma mano por la parte de abajo, de esta forma estará lista la mariposa.
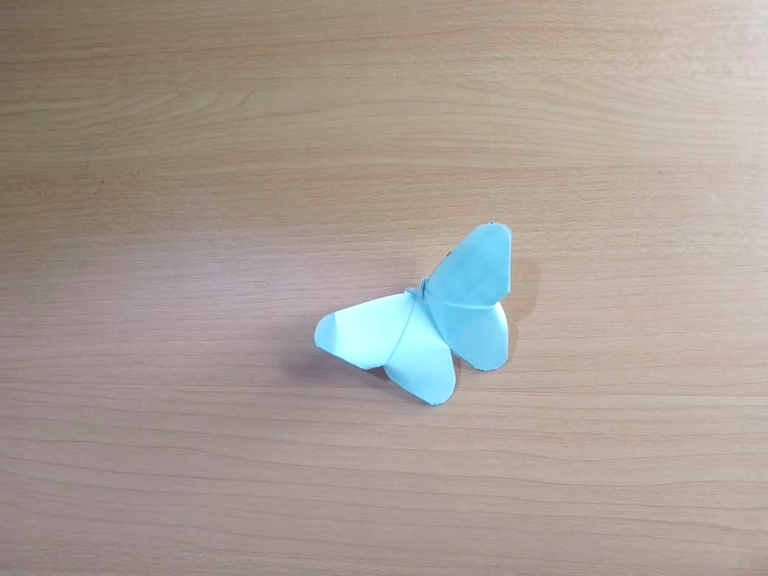
The result is simple but beautiful
El resultado es simple pero hermoso
You can also paint them or use colored paper directly, you can even paste them in a notebook to decorate them.
También puedes pintarlas o usar directamente papeles de colores, incluso puedes pegarlas en algún cuaderno para decorarlos
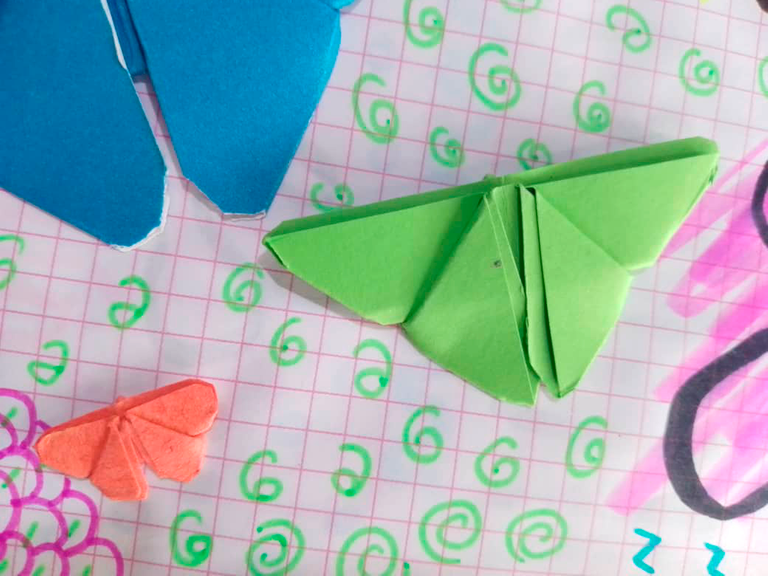
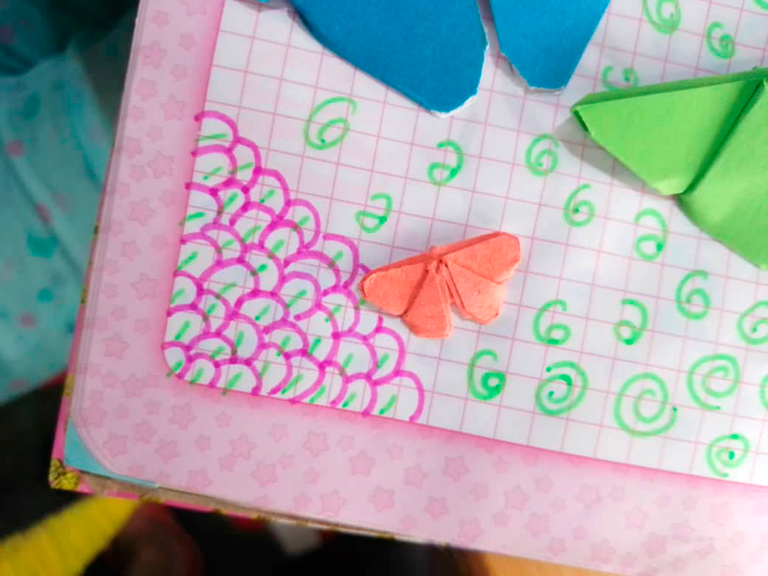
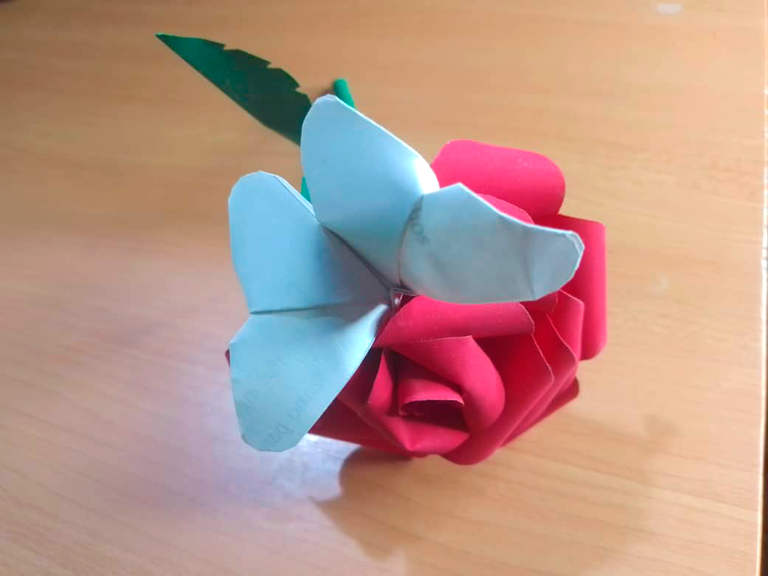
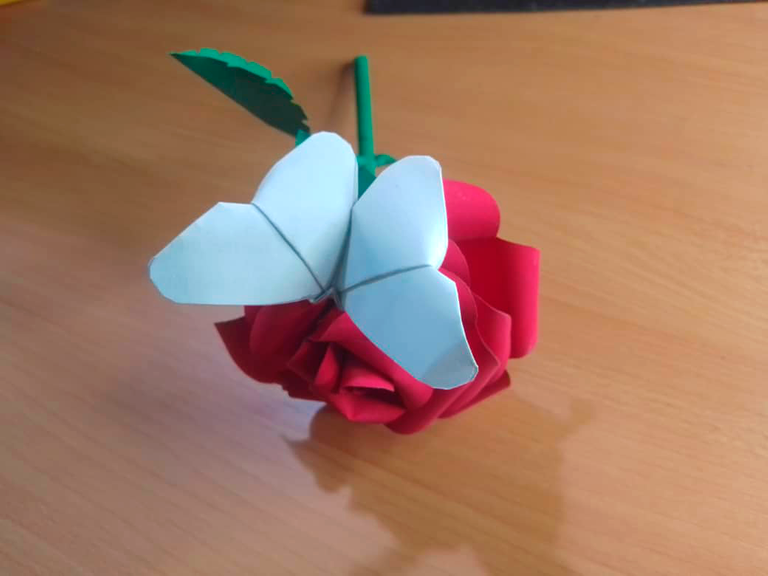
Or you can place them over other decorations, as in this case I put it over a paper rose that I made last year to give as a Mother's Day gift.
O las puedes colocar sobre otras decoraciones, como en este caso que la puse sobre una rosa de papel que yo hice el año pasado para regalar el día de las madres.
Thank you very much for all your attention, friends, I hope I have provided useful ideas for you and that in this way you have learned something new, I wish you a happy week, full of blessings and success in your projects.
Muchas gracias por toda su atención, amigos, espero haber aportado ideas útiles para ustedes y que de esta forma hayan aprendido algo nuevo, les deseo una semana feliz, llena de bendiciones y éxito en sus proyectos.
Imagen diseñada por mi en el editor de Canva.
All images in this post are my own, taken with my LGK4 Lite mobile phone.
Todas las imágenes de este post son de mi propiedad, las tomé con mi teléfono celular LGK4 Lite.

