HELLO!! Well, after working on this model I finally have it ready after a month, the truth is I already had it ready 3 days after starting it since it took me a while because I'm not sculpting so often anymore that he kept reviewing the program's tools and seeing other functions of the program for some things that he had to explain for some classes.
I worked it at the suggestion of @bdvoter.cur since he left me a comment on the last model that I published that he wanted to see this model as the next one so it was possible in another art contest for splinterlands so here it is, it cost me a little but more that all because of the shape of the model and a little lack of organization to optimize the time to be with other things.
One of the things that made me delay was also the fact of the model's hair when working on the retopology. As I always like to try new things on the model and improve, this time I tried to see how to do the retopology of the hair and the tail but in the end what worked individually and then joined didn't work so I went for the other option which was to simply lower the amount of modifier levels (multiresolution) and adjust the mesh which was not what I wanted to do but In the end it was what I had to do to have a retopology of the mane.
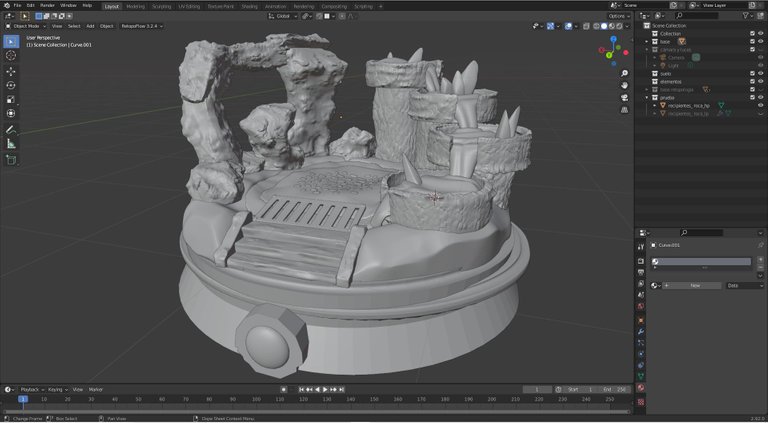
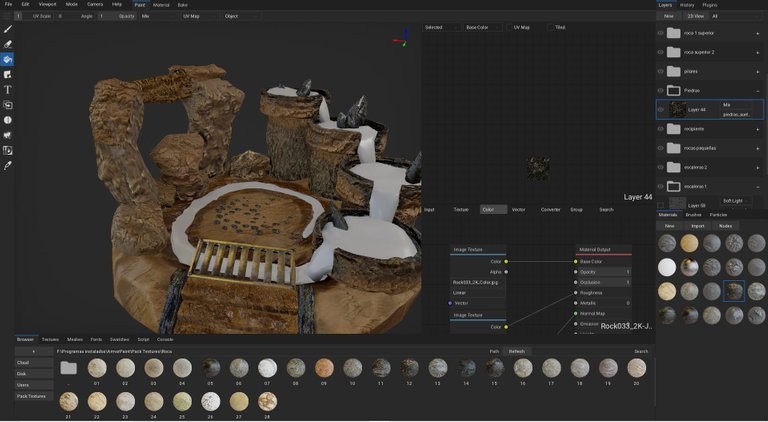
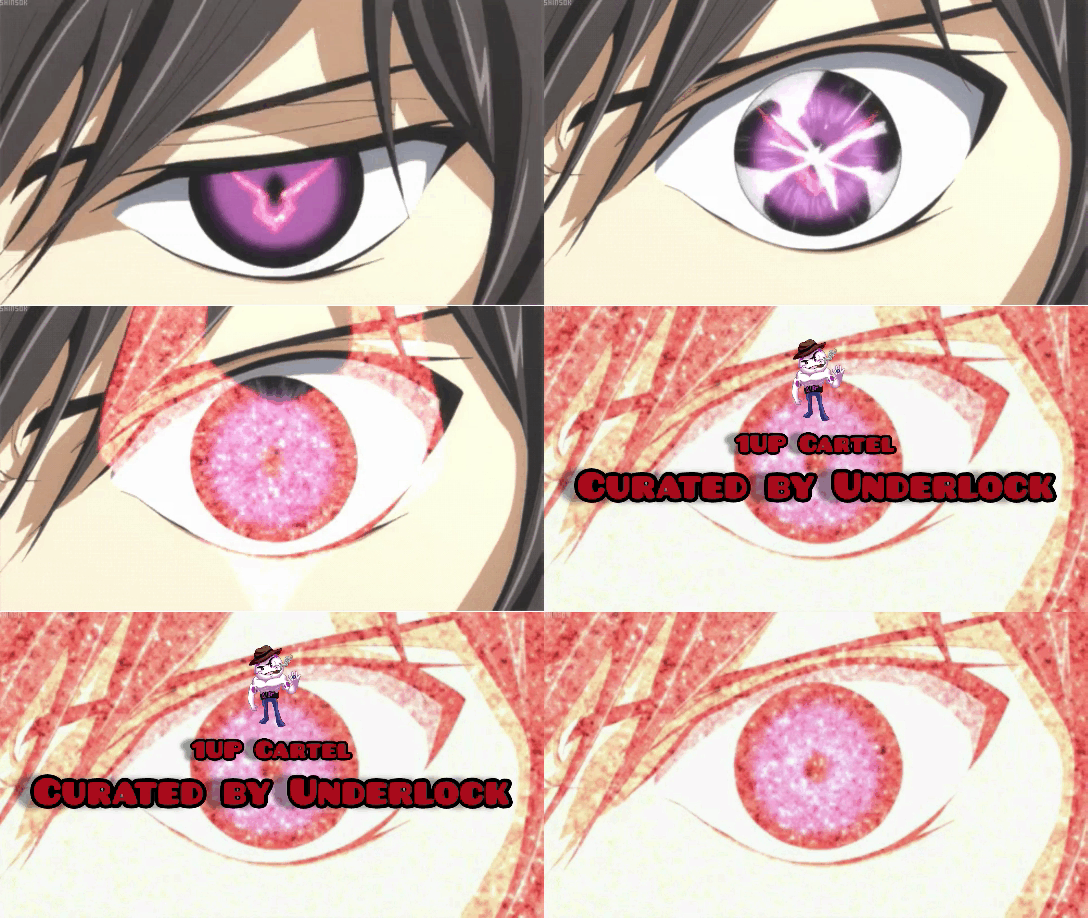
For this model I also usually just placed a texture for the eyes and that's it, but this time I tried a different way to make the eyes and give them a little more depth or realism, working the eye with 3 elements, external eye + mask and iris and pupil, also use in this model alpha textures in the brushes that you download to create the base or stage giving a rocky shape to the base of the model.
- Work Tools:
Blender 3D
Armorpaint
Tablet Wacom Intuos 5
- Model of card:
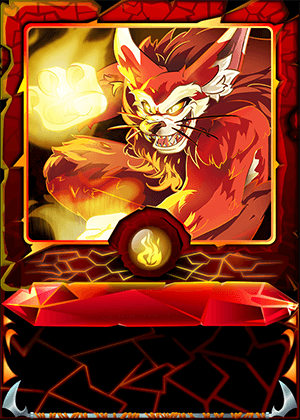
- Video in high speed 57 minutes: Here
- Download Yodin Zaku 3D Model: Here
- Carved Model Block:
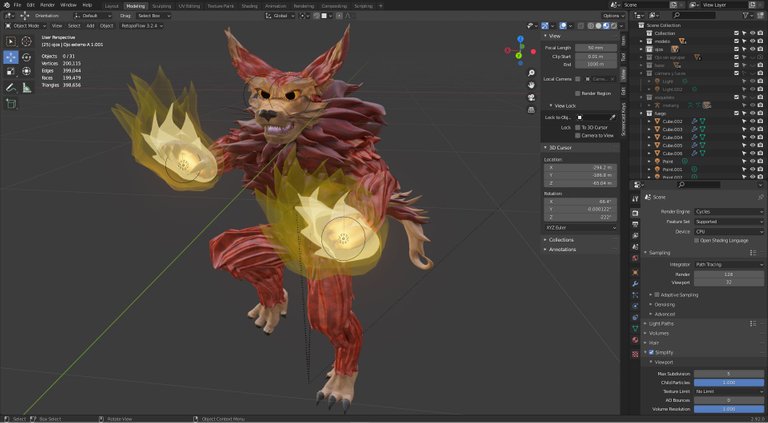
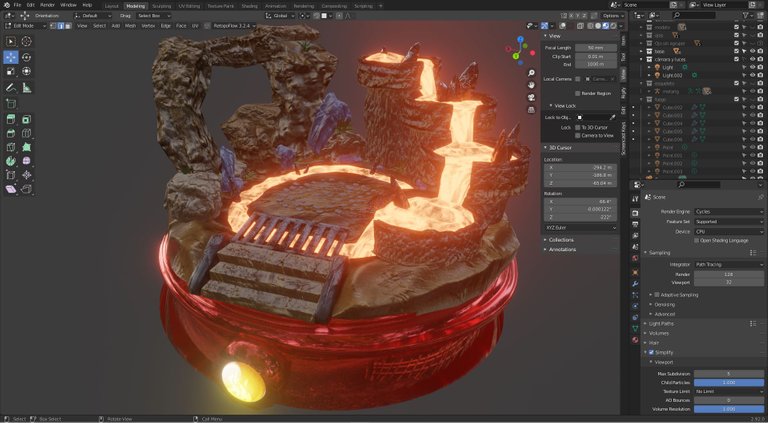
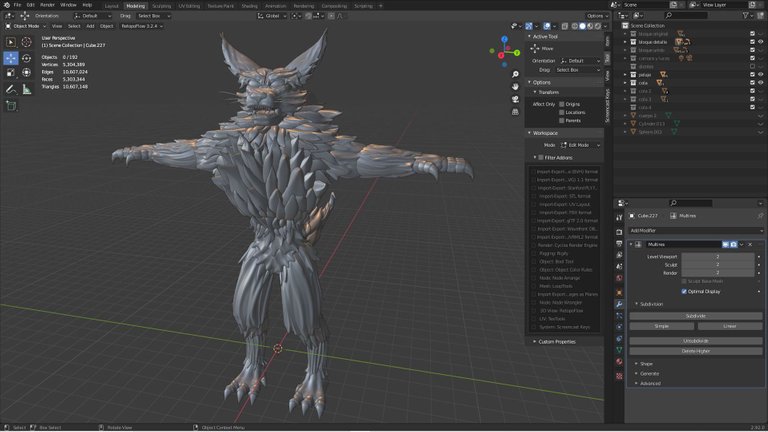
Here is the step by step of how I started with a basic block and then I was first giving the shape similar to the body and then sculpting each part of the block and giving the shape of the model, the mane and tail cost me a bit because I didn't know how to do them because I had doubts about the retopology, when I finished the model and its textures I went to the stage and I had not drawn for a month, I made a simple sketch to have a clear idea of the stage.
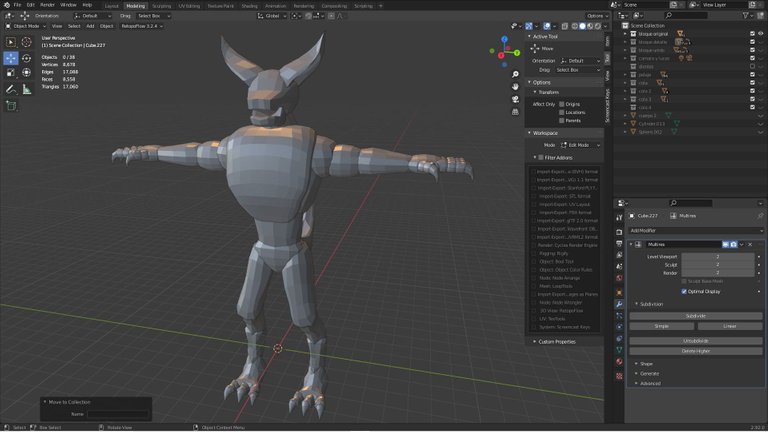
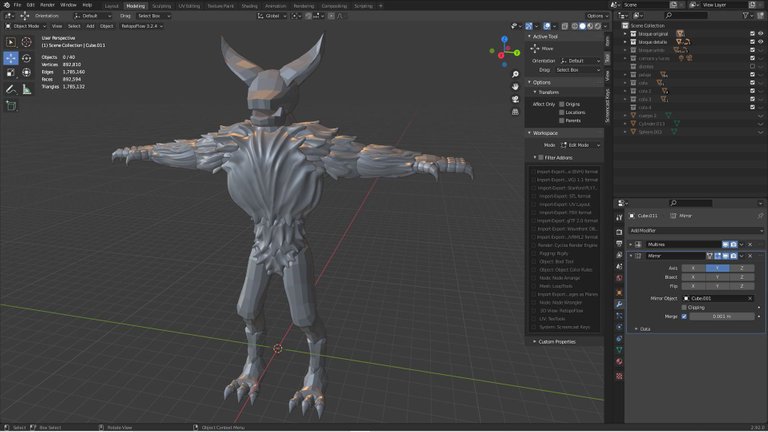
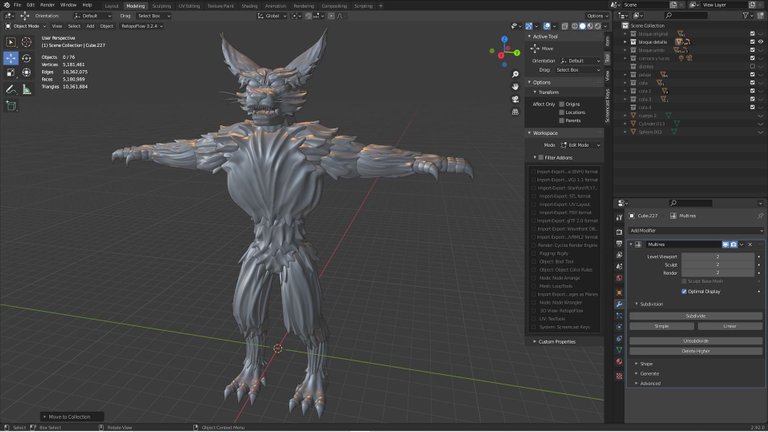
- Textures in ArmorPaint:
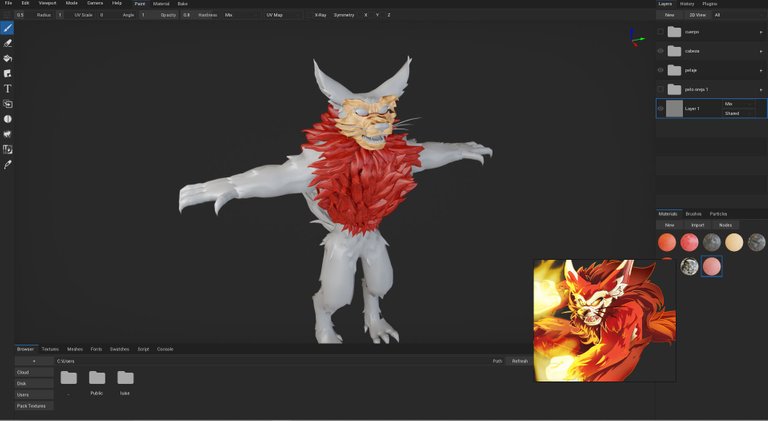
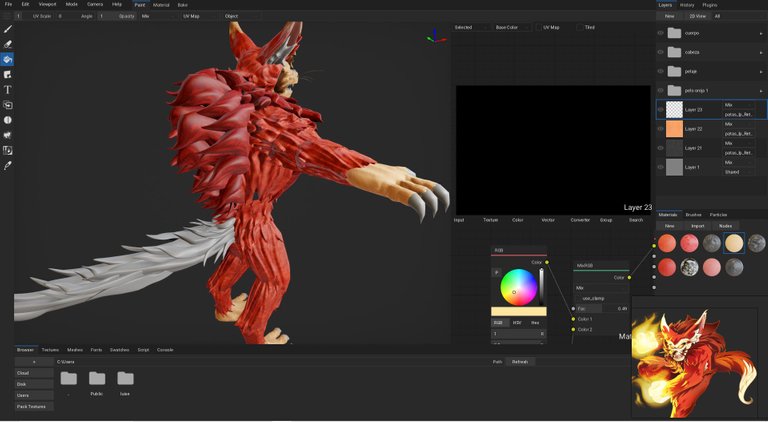
Here I was working on the textures in Armorpaint after finishing the retopology of the model and the base, I exported it to OBJ and after that I imported it into the program to start working on its textures, for the eye this time I worked it differently for give it a slightly more realistic shape, working on the iris and using some masks for the outside.
- Textures in Blender:
These are the textures already exported from Armorpaint and then imported into the model, use the models with retopology to apply the textures, so I optimize the renders and it doesn't take so long, the mask in the texture of the eyes makes it look like this in preview.
- Textures and render tests:
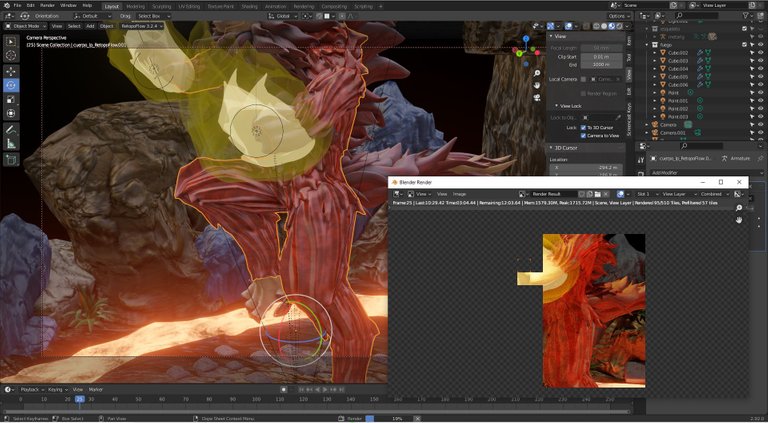
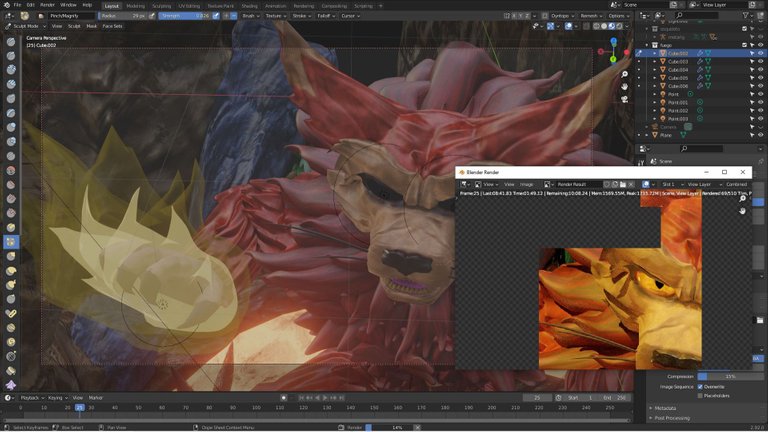
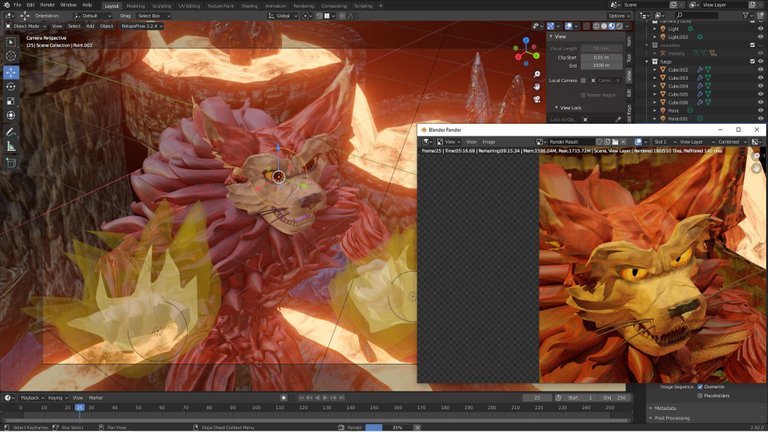
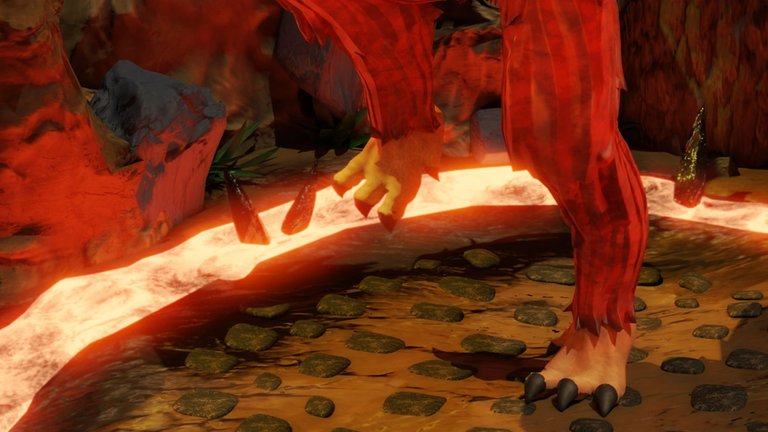
Here I was doing some lighting tests to get a good final render for the model views, when I had some ready I made some changes in the strength of the fire lights in the model's claws and I repeated the other renders since the I liked the result with the adjustment much more.
- Renders ready:
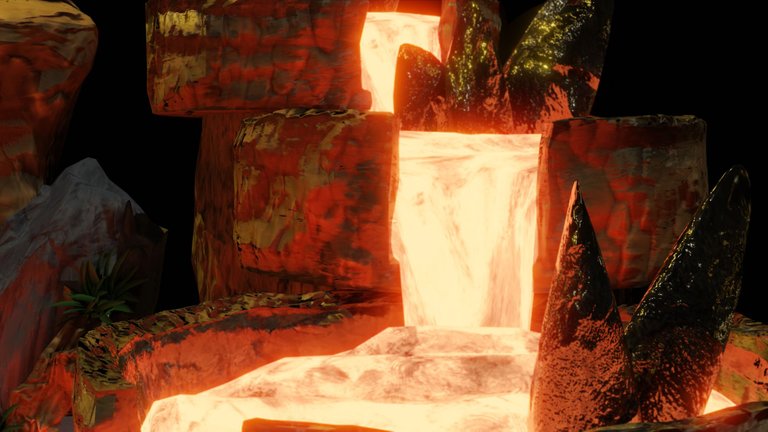
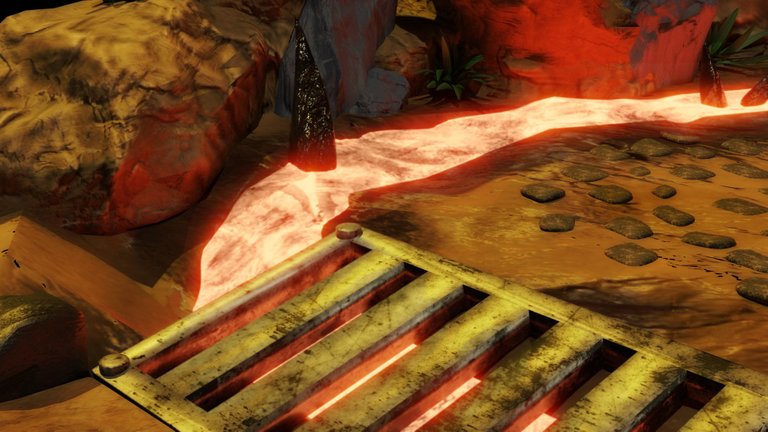
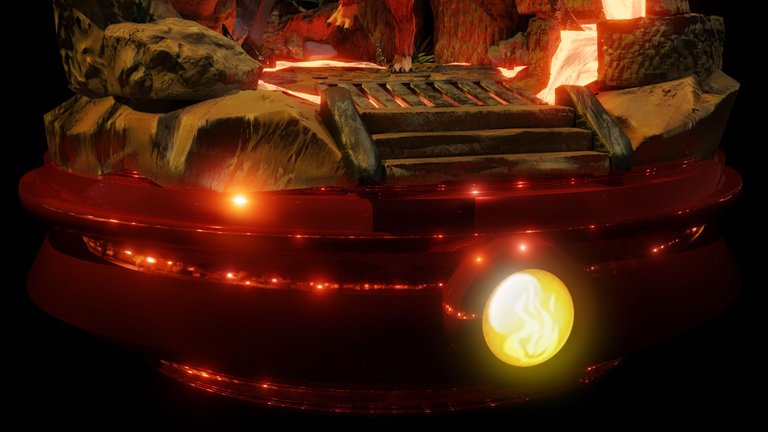
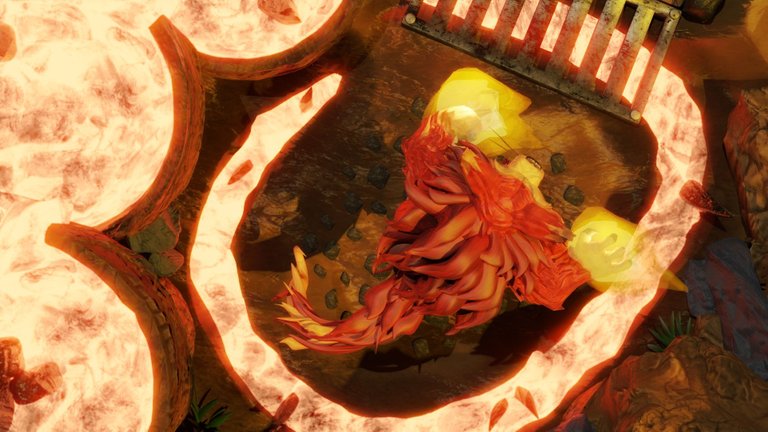
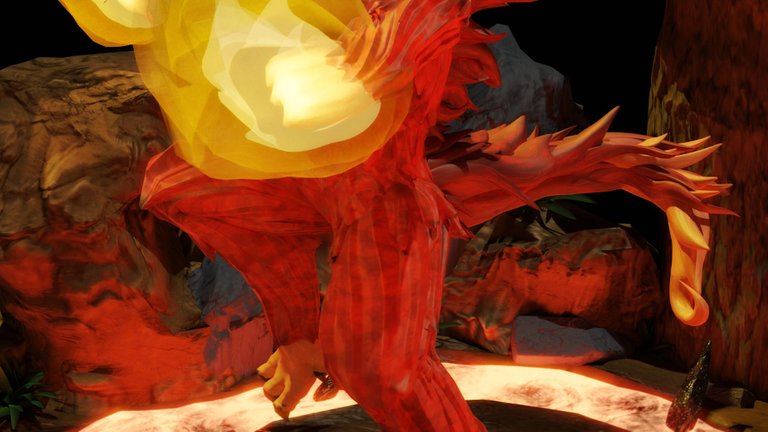
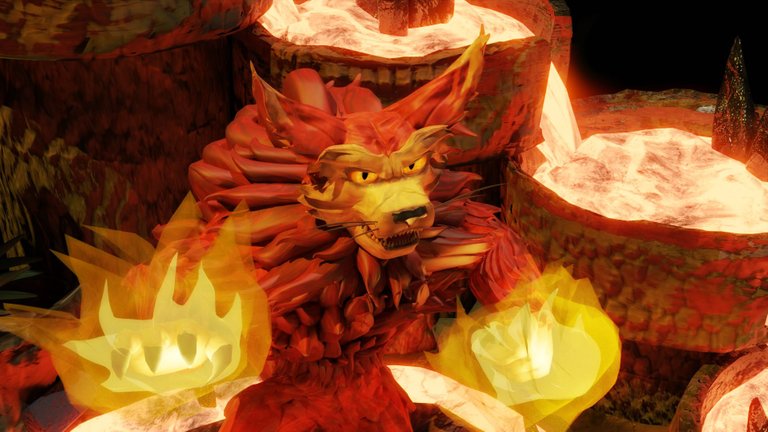
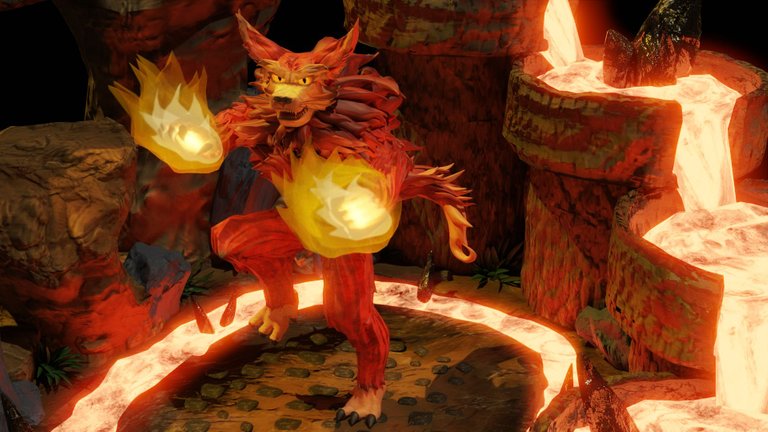
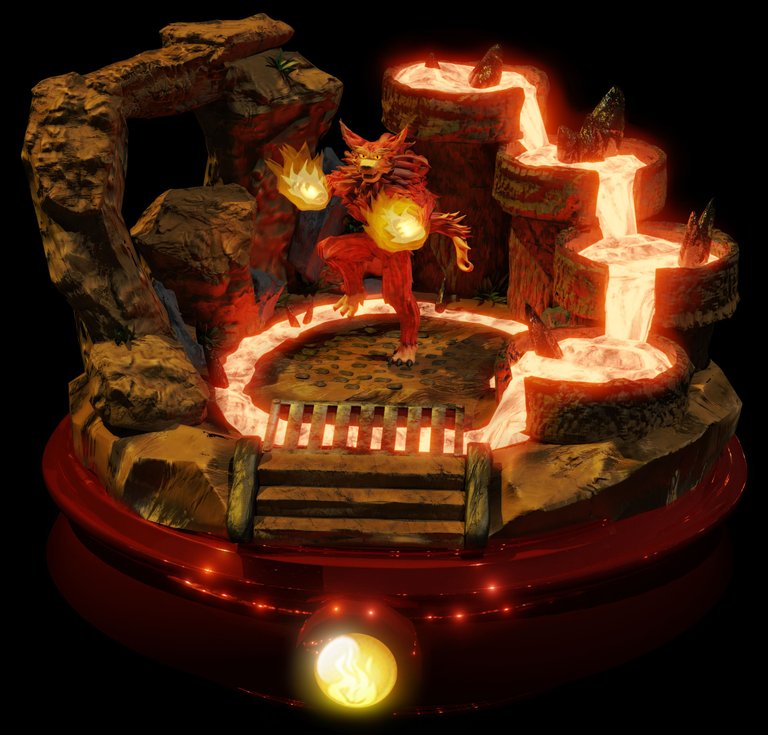
Well, this was the final result of the model, I loved it a lot as always and every day I improve a little more, the work in 3D, the only detail I think was to improve the expression on the model's face a little more but the result was the same I loved it a lot. I hope you like the model 😘
Thank you very much and I hope you liked my post Greetings 😄

Mail: luislr0804@gmail.com
If you need my services you can contact me from my email or from my own Peakd profile leaving a message in my post 😄
