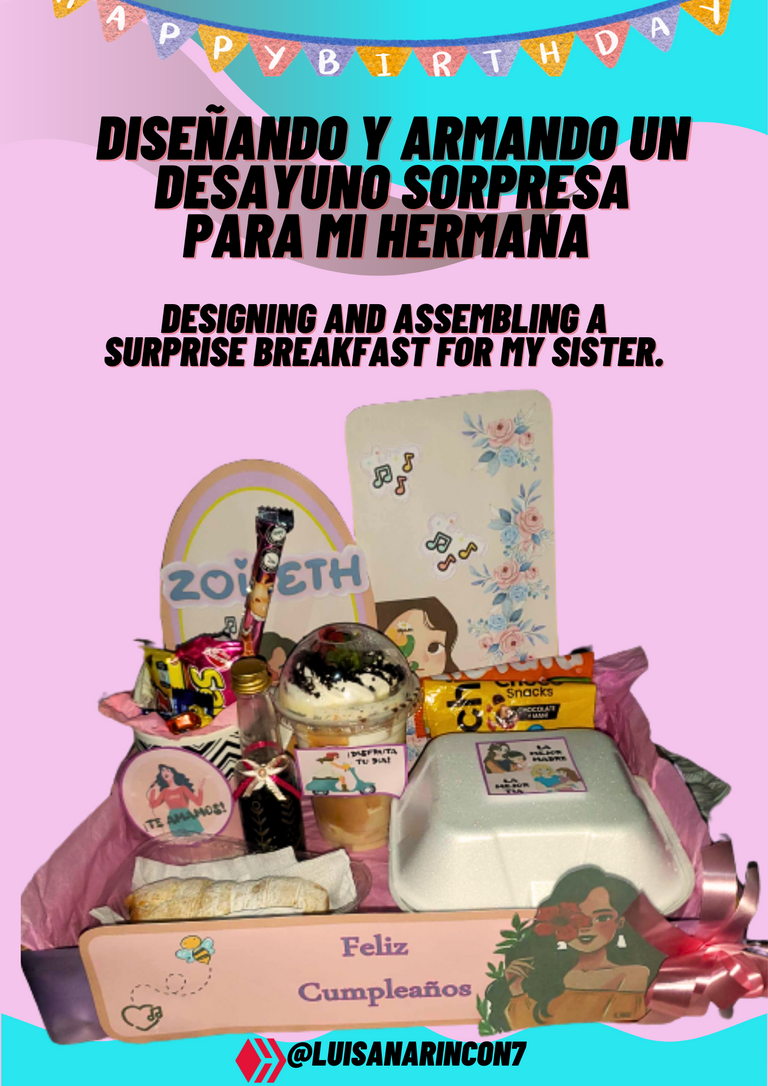
Hola hermosa comunidad, hoy vengo con algo bien creativo, mi única hermana esta de cumpleaños, y quise hacer algo diferente, ya que cada año, decido comprarle un obsequio; pero esta vez tuve la brillante idea de realizarle un desayuno sorpresa, pues a ella le gusta comer y que mejor desayuno que ese… aparte de sacarle provecho a la impresora que tengo en casa, decidí diseñar toda la decoración en PowerPoint, y utilizar una caja que tenía en casa y que además estaba sin uso, para hacer la bandeja del desayuno. Menciono que es la primera vez que animo a hacer algo así, quiero ver que tal queda y que debo perfeccionar, para realizarle una a mi hija, para el día del niño, que será el próximo 18 de julio.
Materiales:
-Caja del tamaño de tu preferencia
-Silicon
-Cinta del color de tu preferencia
-3 cartulinas opalina tipo carta
-papel seda
-lazo tipo corbata decorativo
-Tijeras
Hello beautiful community, today I come with something very creative, my only sister is having a birthday, and I wanted to do something different, since every year, I decide to buy her a gift; but this time I had the brilliant idea of making her a surprise breakfast, because she likes to eat and what better breakfast than that... apart from taking advantage of the printer I have at home, I decided to design all the decoration in PowerPoint, and use a box I had at home and that was also unused, to make the breakfast tray. I mention that it is the first time that I encourage to make something like this, I want to see how it looks and what I have to improve, to make one for my daughter, for the day of the child, which will be next July 18.
Materials:
-Box of the size of your choice
-Silicon
-Ribbon in the color of your choice
-3 opaline cardboard cardstock type letter
-Tissue paper
-Decorative tie ribbon
-Scissors
Procedimiento:
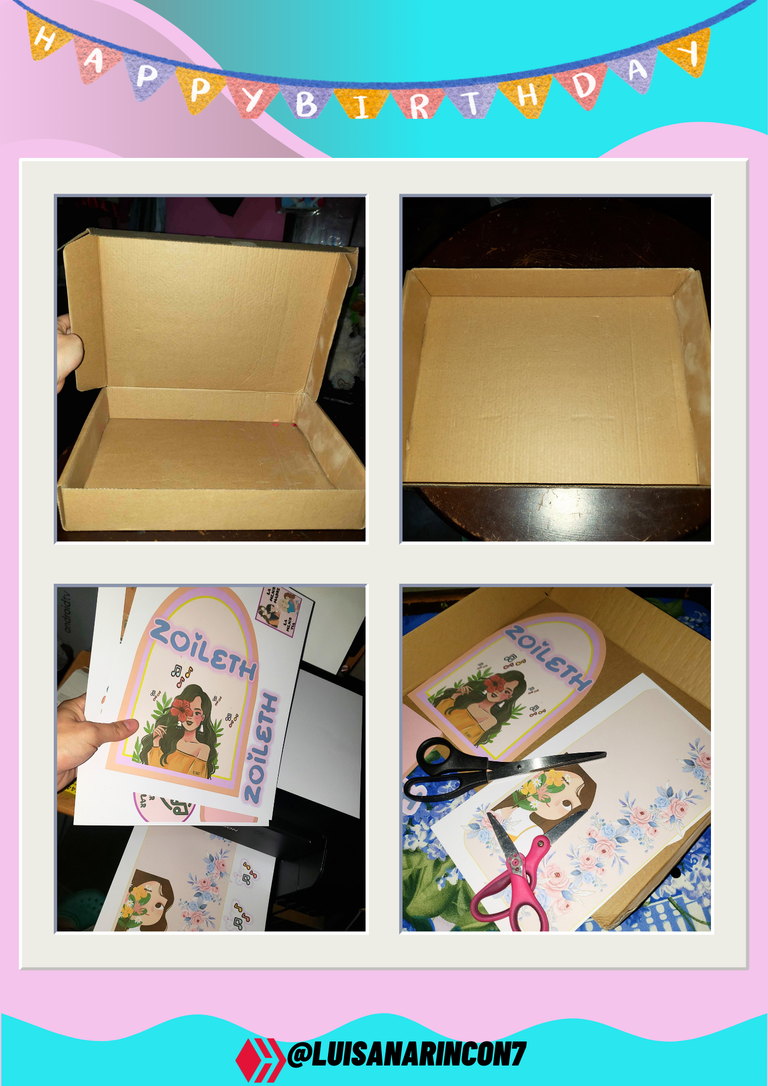
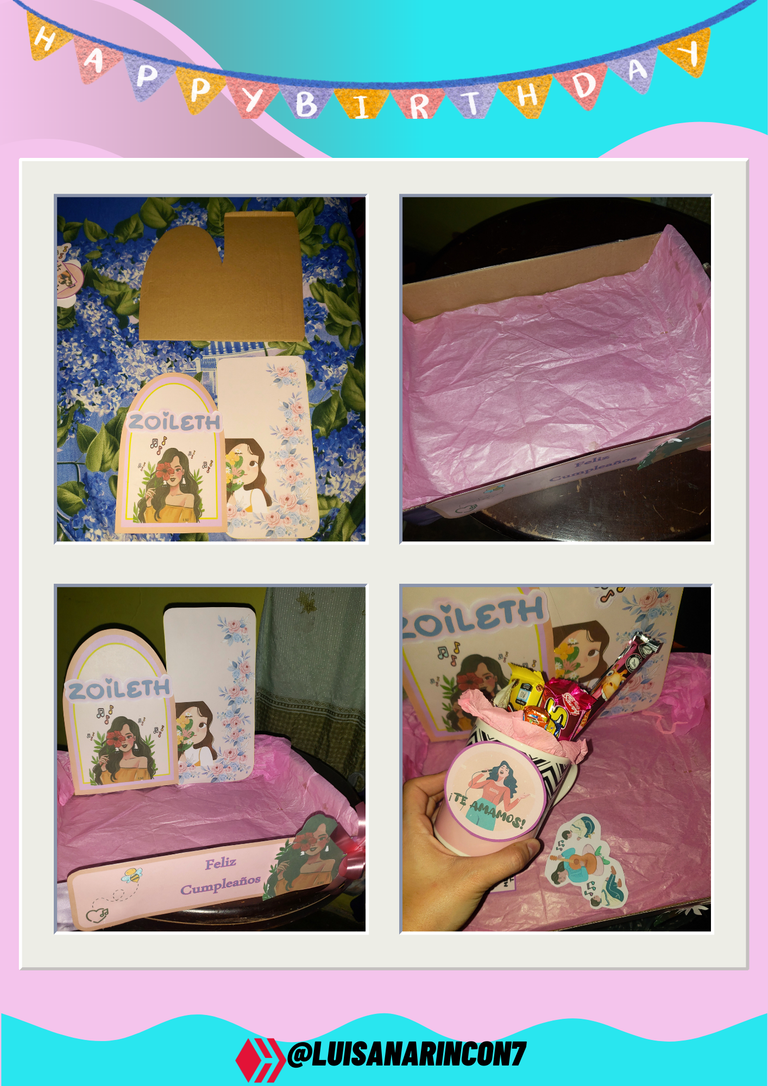
Darle la forma de bandeja a la caja que tengas (si tiene tapa no la deseches, nos servirá más adelante).
por los laterales de la bandeja colocas la cinta hasta tapar todos los bordes de la caja.
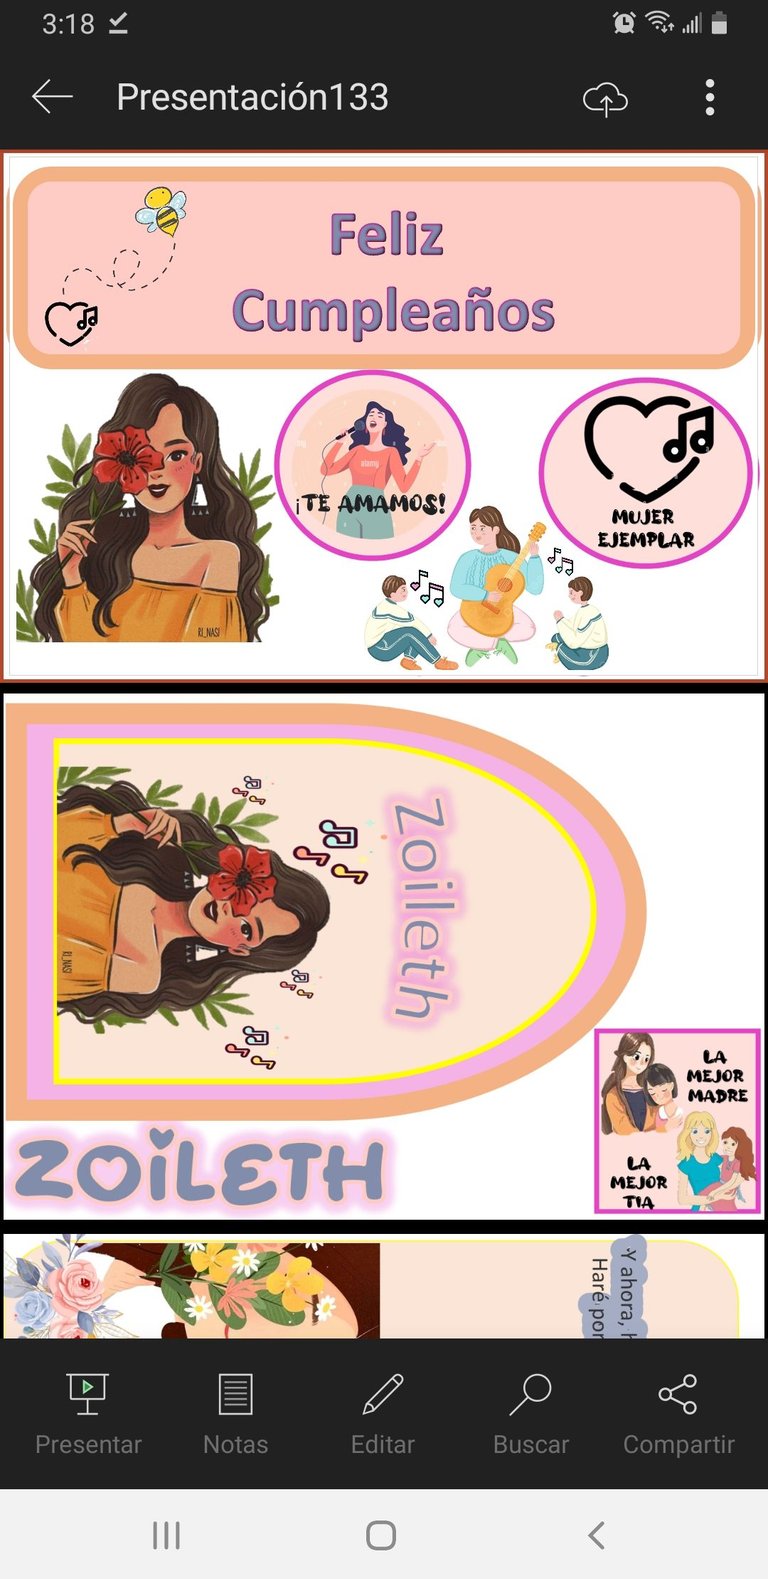
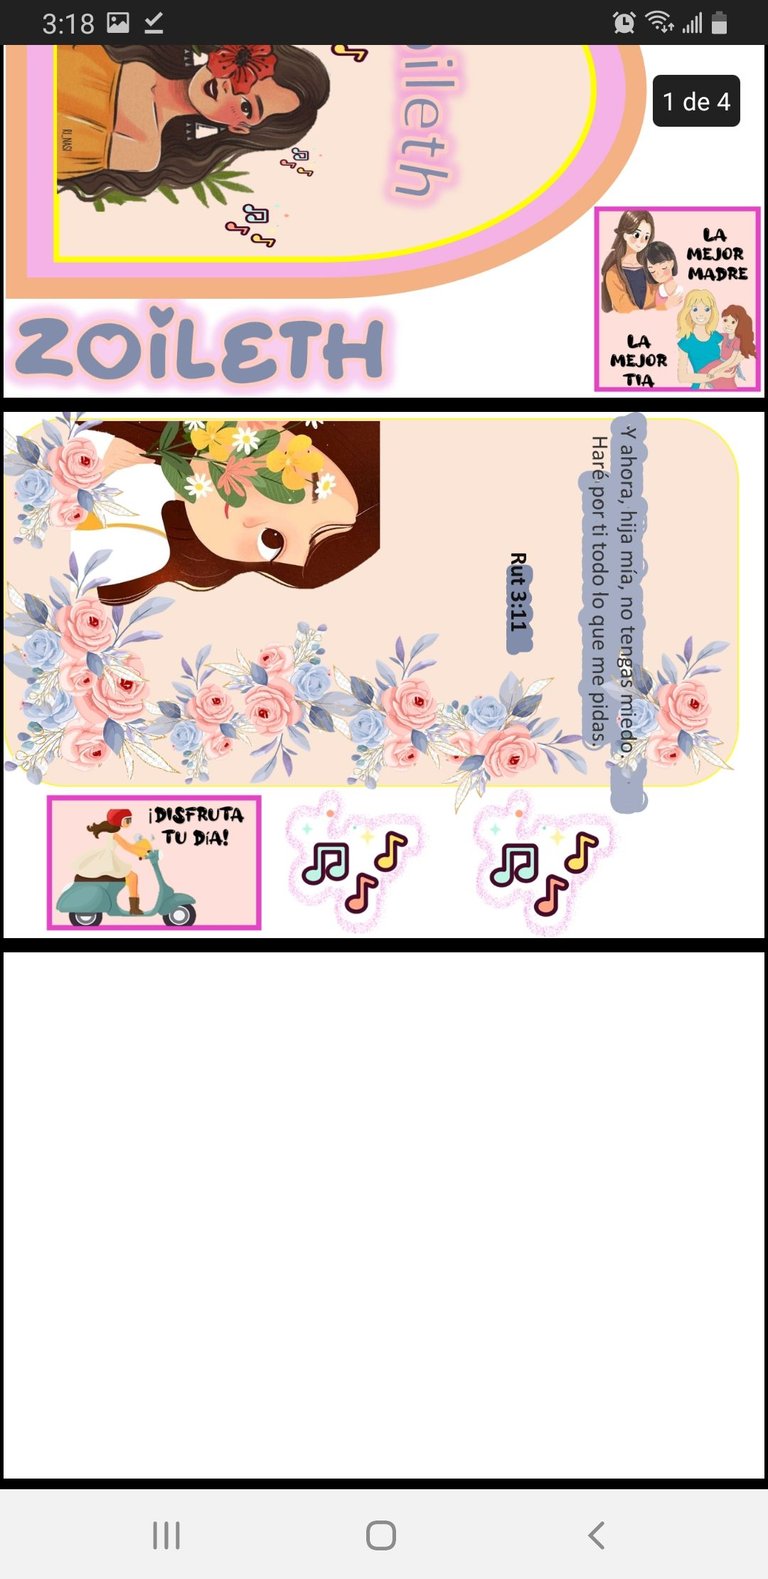
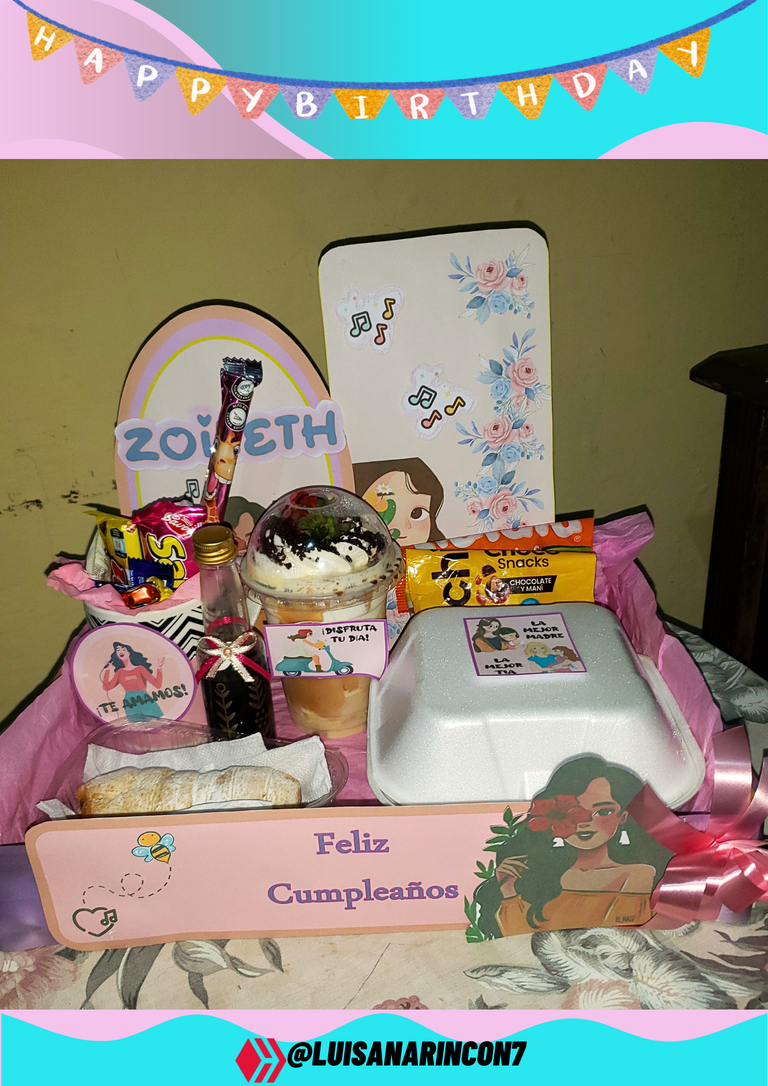
se recorta el material antes impreso y se coloca en los lugares deseados, si ven en las imágenes yo hice 3 principales, dos para el fondo de la bandeja y uno que va en la parte delantera de la bandeja, con el mensaje de “feliz cumpleaños” y buenos dibujos decorativos. También unos mini toppers con lindos mensajes.
el lazo tipo corbata (lo compré), lo pegué con silicón a un lado de la bandeja.
las dos siguientes impresiones que les mencione que seria el fondo de la bandeja, las pegue en el sobrante de la caja que me quedo (por eso les dije que no lo desecharan, pues ayudará a darle rigidez al fondo).
para pegar usé silicón, pero a último momento me percaté, que la pistola de silicón se había prestado y nunca la devolvieron, así que no podía detenerme y debía buscar soluciones, es por eso que tuve que ir derritiendo la barra de silicón con un yesquero (encendedor).
el papel seda, lo coloqué por la parte de adentro de la bandeja, para que lograra ocultar un poco el color del cartón.
Agregué los mini toppers a los lugares que creí adecuados.
y listo ya tendremos nuestra bandeja lista.
siento que es opcional hacer las cosas impresas (seria mas que todo para ahorrarse un poco mas de tiempo, aunque igual se invierte tiempo al realizarse en PowerPoint), lo que quiero decir es que también podemos hacer todo manual, con cartulinas de colores, un exacto de cortar y tijeras.
Procedure:
- Shape the box you have into a tray (if it has a lid, don't discard it, it will be useful later).
- Place the ribbon on the sides of the tray until it covers all the edges of the box.
- Cut out the previously printed material and place it in the desired places, if you see in the pictures I made 3 main ones, two for the bottom of the tray and one that goes on the front of the tray, with the message "happy birthday" and good decorative drawings. Also, some mini toppers with cute messages.
- the tie ribbon (I bought it), I glued it with silicone on one side of the tray.
- the next two prints that I mentioned that would be the bottom of the tray, I glued them on the leftover box (that's why I told them not to throw it away, it will help to stiffen the bottom).
- I used silicone for gluing, but at the last moment I realized that the silicone gun had been lent and never returned, so I could not stop and I had to look for solutions, that's why I had to melt the silicone bar with a tinder stick (lighter).
- The tissue paper, I placed it on the inside of the tray, to hide a little the color of the cardboard.
- I added the mini toppers to the places I thought were appropriate.
- And now we have our tray ready.
I feel that it is optional to do things printed (it would be mostly to save a little more time, although time is still invested when done in PowerPoint), what I mean is that we can also do everything manually, with colored cardboard, an exact cutter and scissors.

Para los alimentos que tendría la bandeja:
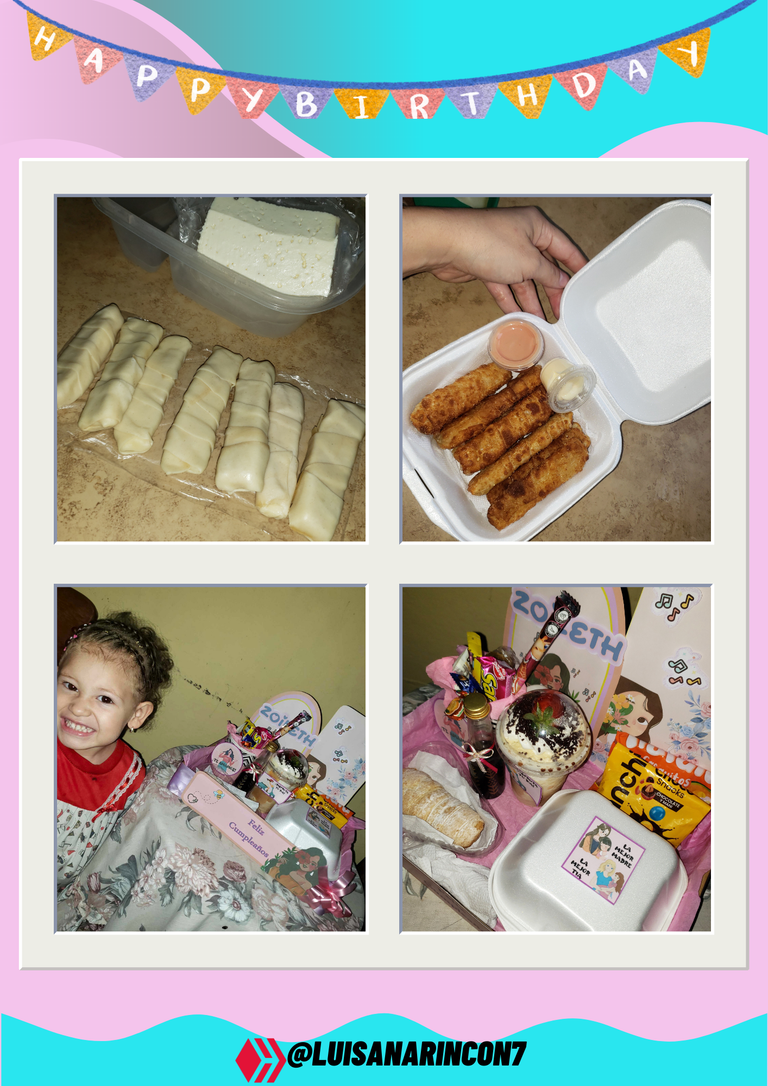
Intenté realizar unos tequeños de queso, tenía algunas láminas de masa fácil en casa y queso tipo llanero, lo que hice fue cortar las láminas en 3, igual el queso en bastones de mismo tamaño, luego cada bastón lo cubrí con la masa hasta quedar totalmente envuelto, los freí en aceite y así quedaron. Además, le agregue un envase pequeño con salsa rosa (que es mayonesa y kétchup)
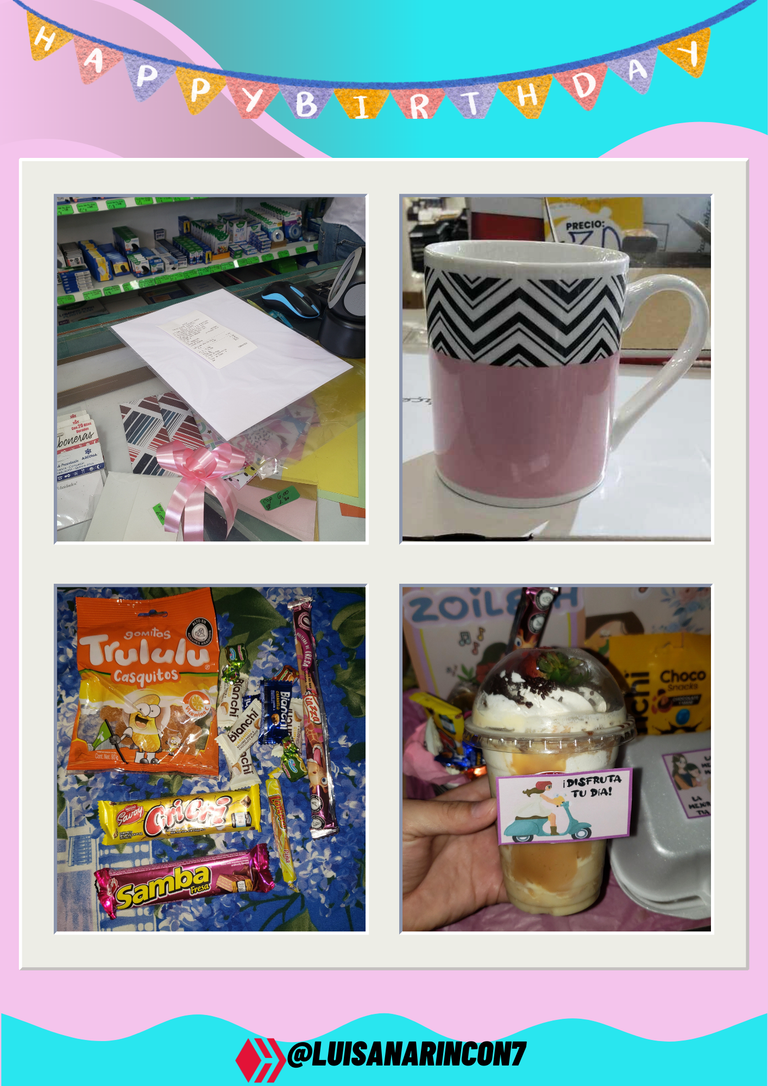
compre una taza para tomar café (aproveche las ofertas de la tienda de mango bajito), compre algunos chocolates, golosinas y dulces. A la taza por dentro le puse un poco de papel seda, luego cada golosina.
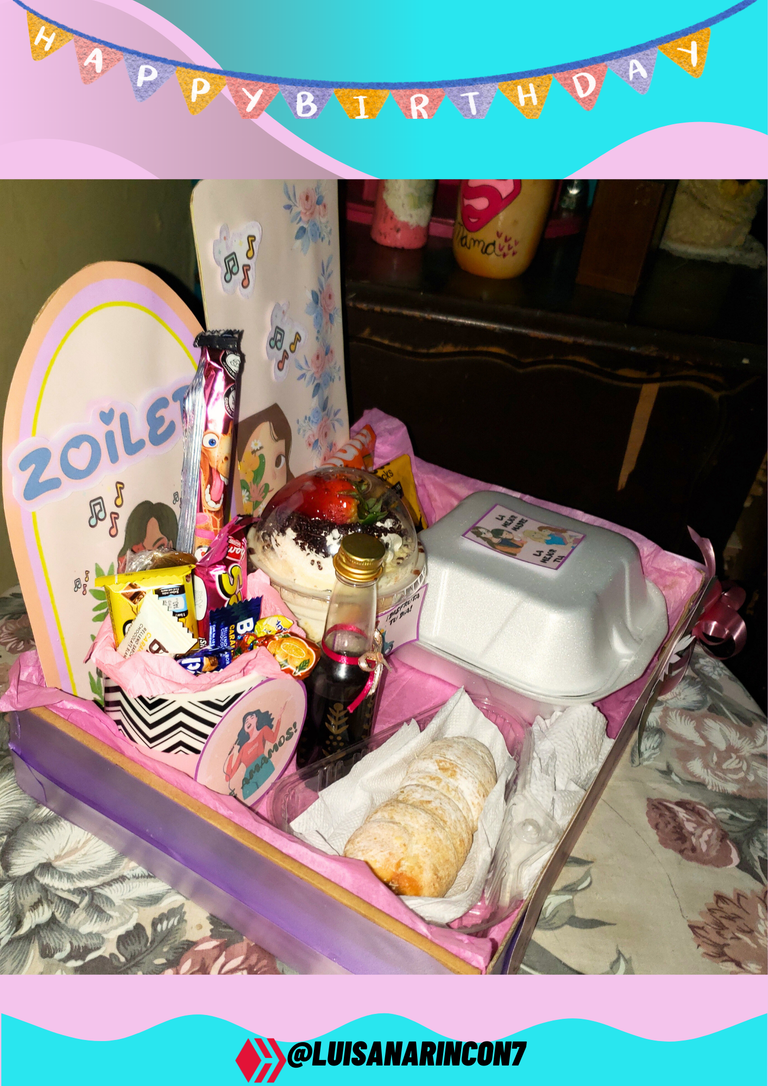
compre en una pastelería un vaso de la felicidad, que contiene: retazos de bizcocho de vainilla, dulce de leche, crema chantilly y fresas (es el favorito de mi hermana), también compre un canelón relleno de dulce de leche.
y le agregue una botella pequeña que contenía miel.
Para los envases que usé, los tenía ya en casa, pues siempre que compramos algo, mi madre decide darles una segunda oportunidad (la verdad me pareció buena idea y me sirvió totalmente).
¿Qué tal te pareció?
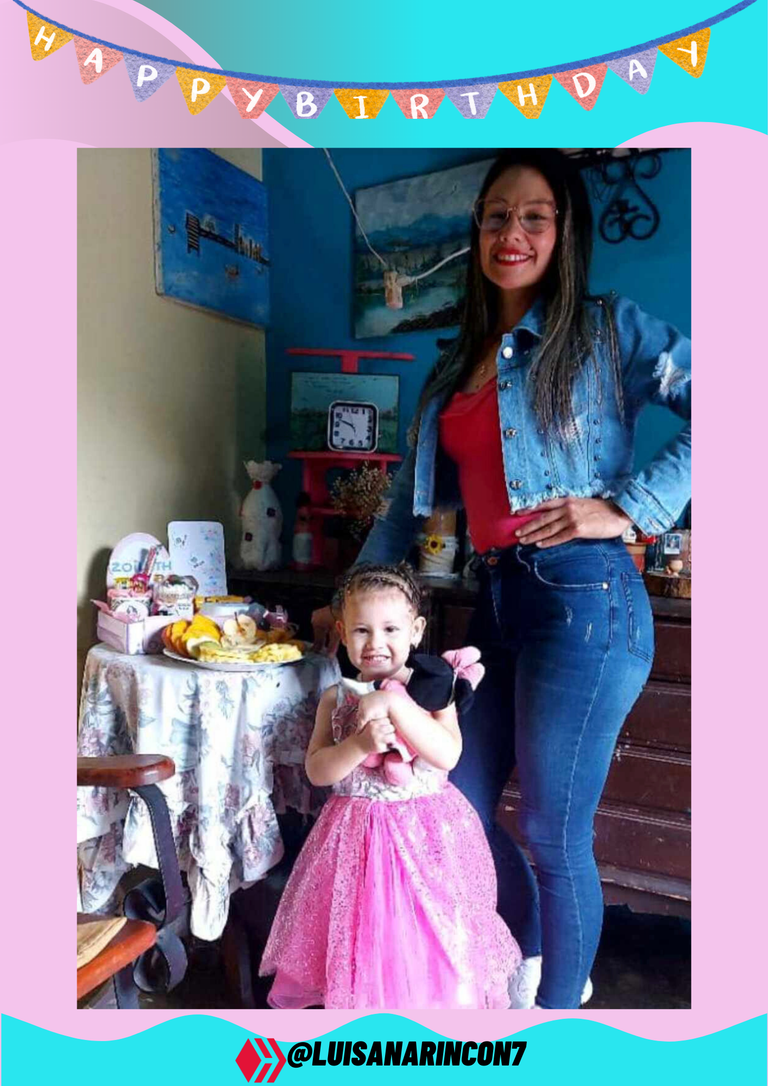
Yo no pude dárselo personalmente pues debía salir de casa al trabajo, pero dejé a mi hija valerie encargada. ¡Ella estaba más emocionada que la cumpleañera
For the food that the tray would have:
- I tried to make some cheese tequeños, I had some sheets of easy dough at home and llanero type cheese, what I did was cut the sheets in 3, same the cheese in sticks of the same size, then each stick I covered it with the dough until it was completely wrapped, I fried them in oil and that's how they were. I also added a small container with pink sauce (mayonnaise and ketchup).
- I bought a cup to drink coffee (I took advantage of the special offers at the mango bajito store), bought some chocolates, candies and sweets. I put some tissue paper inside the cup, then each candy.
- I bought a cup of happiness in a bakery, which contains: pieces of vanilla sponge cake, dulce de leche, whipped cream and strawberries (it's my sister's favorite), I also bought cannelloni filled with dulce de leche.
- And I added a small bottle containing honey.
For the containers I used, I already had them at home, because whenever we buy something, my mother always decides to give them a second chance (the truth is that I thought it was a good idea and it totally worked for me).
How did you like it?
I couldn't give it to her personally because I had to leave home for work, but I left my daughter Valerie in charge, ¡she was more excited than the birthday girl!

Créditos:
Imágenes tomadas desde mi celular Samsung s9+ / Images taken from my Samsung s9+ cell phone.
Ajustes de las imágenes en / Image settings in Canva.
Traducción realizada en / Translated using DeepL.

