💕 Hello Hive Community! 💕
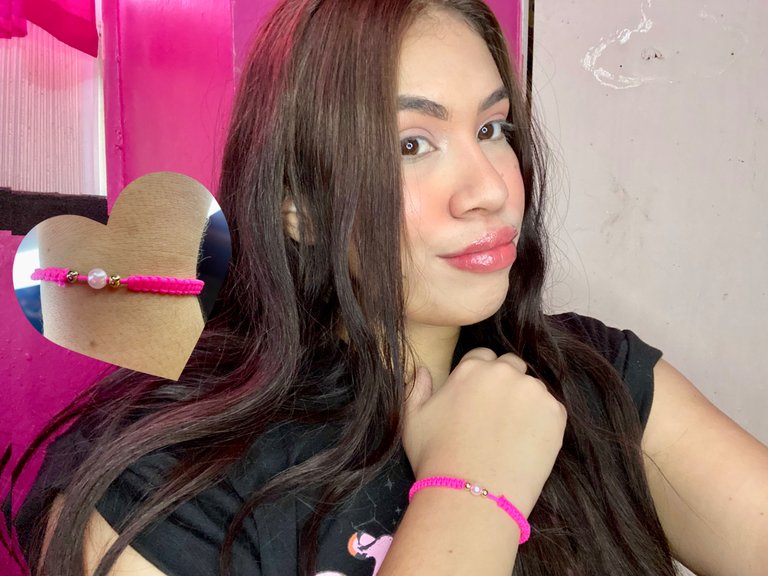
Recuerdo cuando comencé a hacer este tipo de contenido, con pulseras y anillos de mostacillas, en ese momento no pensé que me iba a gustar tanto. Ahora he comprado nuevos materiales, para poder hacer combinaciones entre los distintos accesorios que se crear, por los momentos me mantengo en lo que son pulseras, anillos y collares. Y en esta oportunidad les quiero presentar una linda pulsera con una de mis nuevas adquisiciones, un rollo de hilo chino fucsia.
I remember when I started making this type of content, with bracelets and beads rings, at that time I did not think I was going to like it so much. Now I have bought new materials, to be able to make combinations between the different accessories that can be created, for the moment I keep on what are bracelets, rings and necklaces. And this time I want to present you a nice bracelet with one of my new acquisitions, a roll of fuchsia Chinese thread.
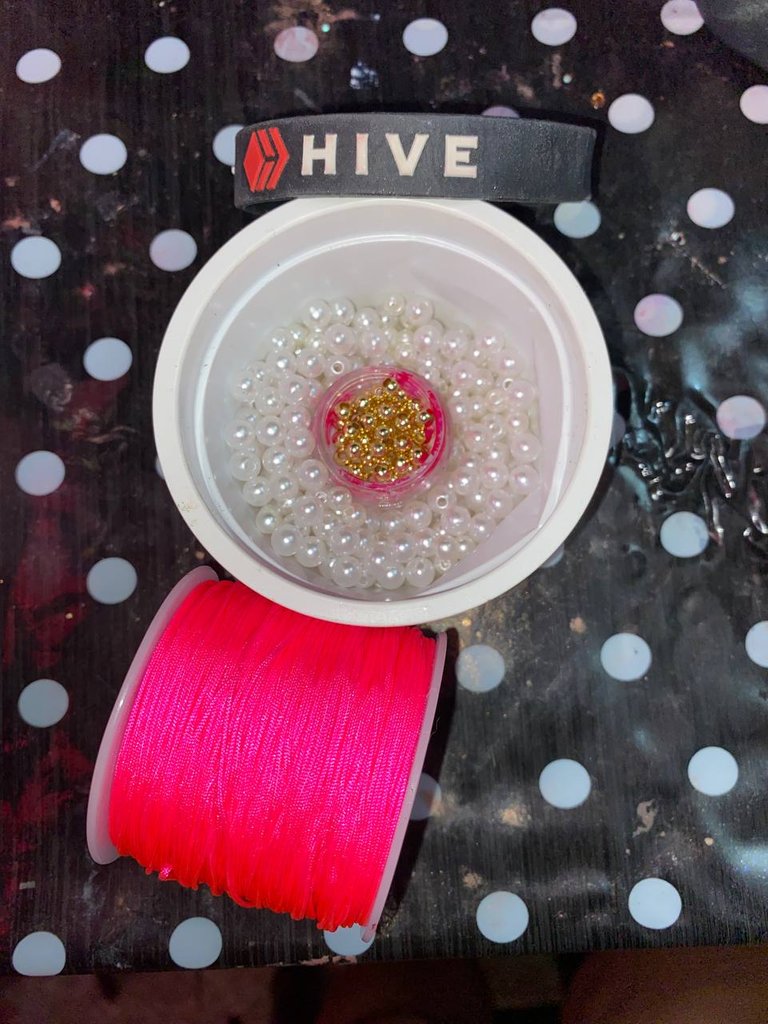
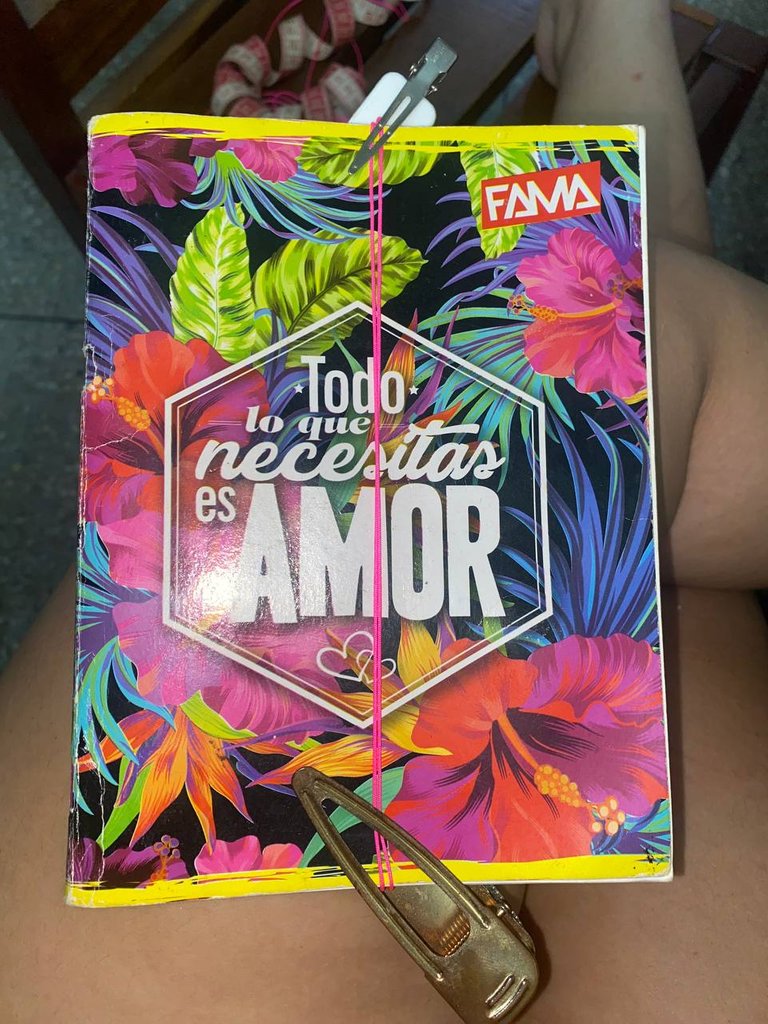
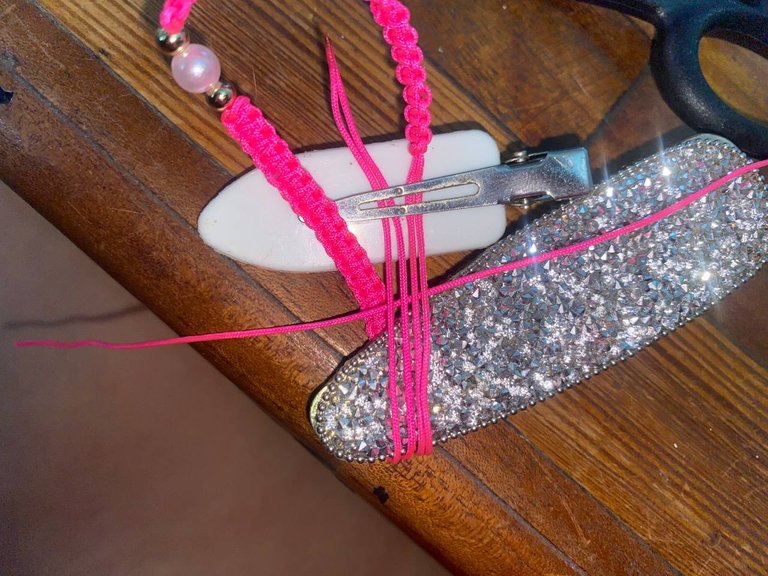
Utilice pocos materiales, principalmente hilo chino en tono fucsia, una perla, dos balines, tijeras y una vela o encendedor. De hilo chino utilice como 3 metros, ya que esta pulsera al tener la perla y los balines en el centro, debemos cortar el hilo. Estuve cortando el hilo en varios tamaños, dos trozos de 35m y dos trozos de 90cm. También se necesita una tabla para poder tener el hilo estirado, yo no tenia así que improvise con un cuaderno y unas pinzas del cabello, tal como les muestro en la foto, midiendo que queden por fuera unos 7cm de hilo.
I used few materials, mainly Chinese thread in fuchsia tone, a pearl, two pellets, scissors and a candle or lighter. I used about 3 meters of Chinese thread, since this bracelet has the pearl and the pellets in the center, we must cut the thread. I was cutting the thread in several sizes, two pieces of 35m and two pieces of 90cm. You also need a table to have the thread stretched, I didn't have one so I improvised with a notebook and some hair clips, as I show in the picture, measuring about 7cm of thread on the outside.
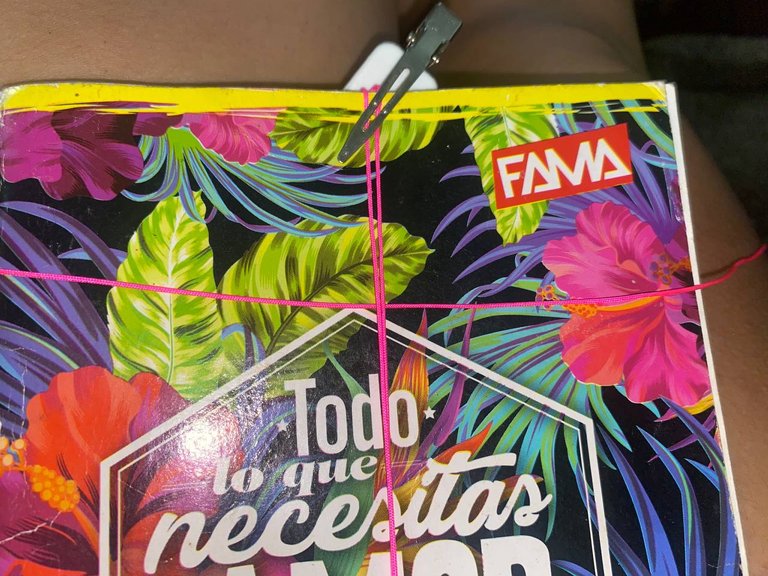
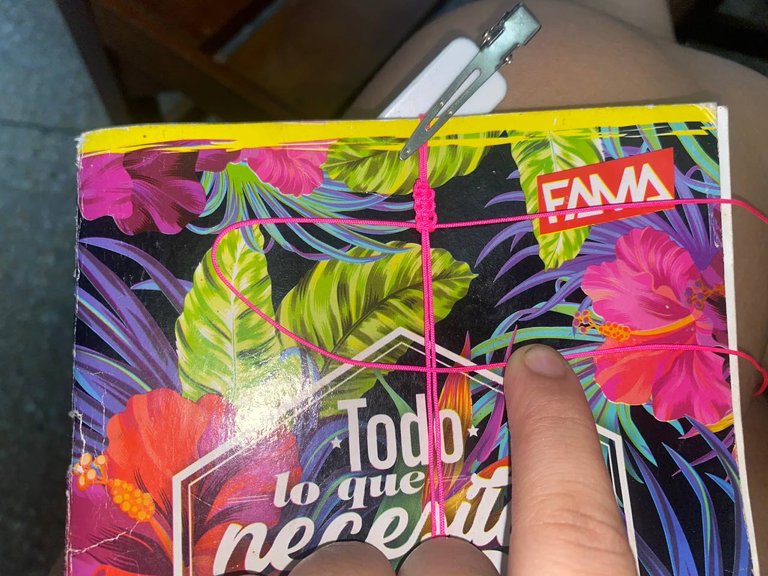
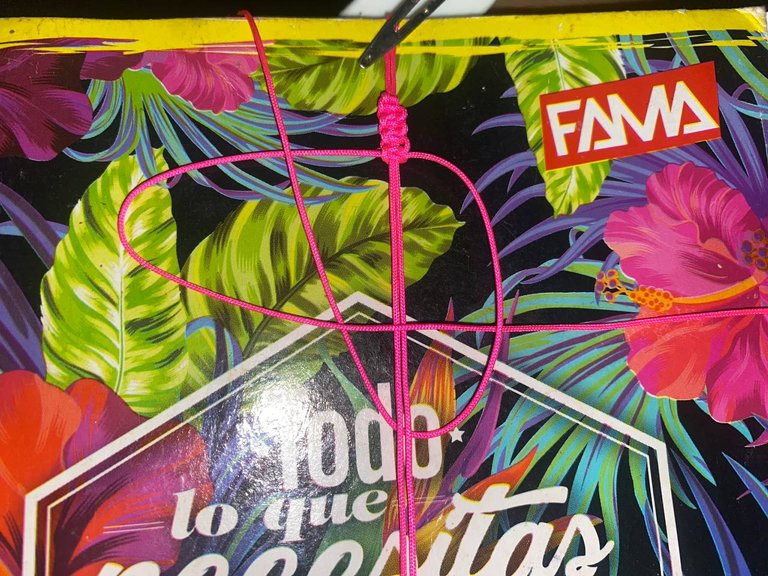
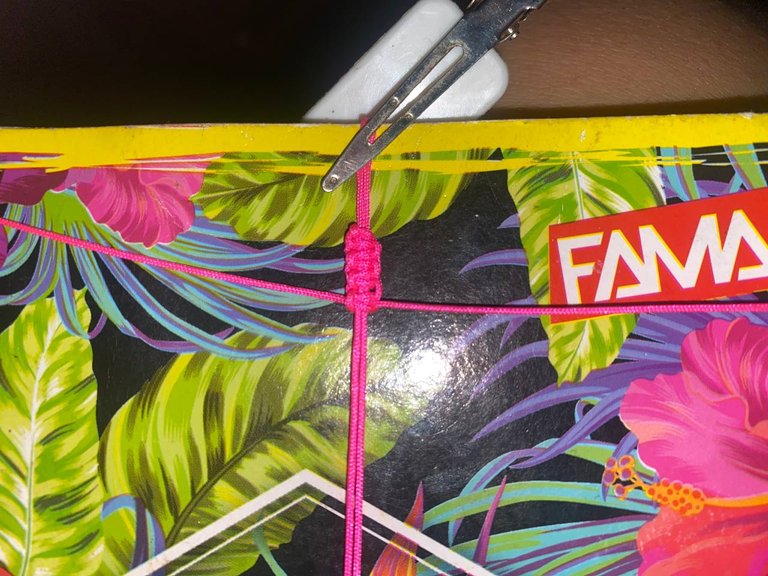
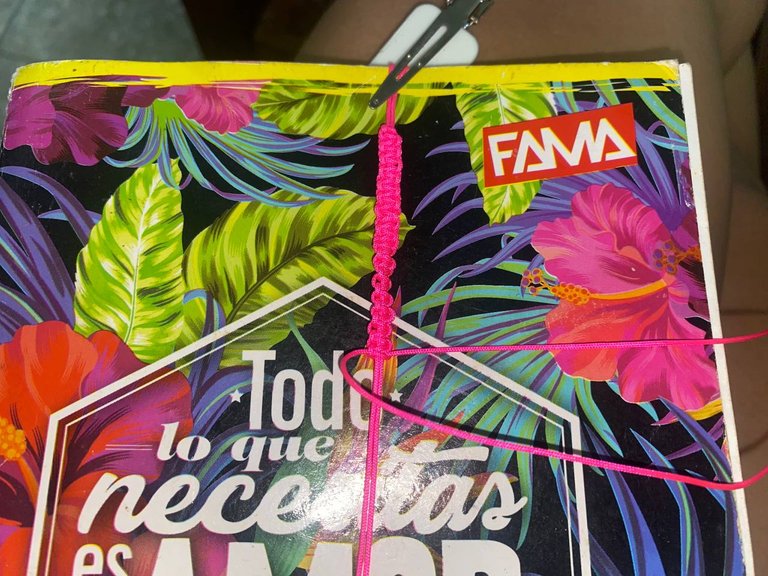
Para empezar tomamos dos trozos de hilo de 30cm y los colocamos en nuestra base, bien estirados, luego con el trozo más largo lo pasamos por debajo de los hilos, después tomamos un extremo, yo estuve haciendo unas pruebas a ver que tal primero y después comencé con las fotos para el tutorial. Tomé el extremo de hilo izquierdo y lo pase por encima del hilo base, haciendo un semi circulo. Luego tomé el otro extremo, lo pase por encima del extremo derecho, por debajo del hilo base y saque por el semi circulo, después aprete y se forma el nudo justo del lado opuesto, en este caso, se forma del lado derecho.
To start we take two pieces of thread of 30cm and place them on our base, well stretched, then with the longer piece we pass it under the threads, then we take one end, I was doing some tests to see how it works first and then I started with the photos for the tutorial. I took the left end of the yarn and passed it over the base yarn, making a semi-circle. Then I took the other end, passed it over the right end, under the base thread and pulled it through the semi-circle, then tighten it and the knot is formed just on the opposite side, in this case, it is formed on the right side.
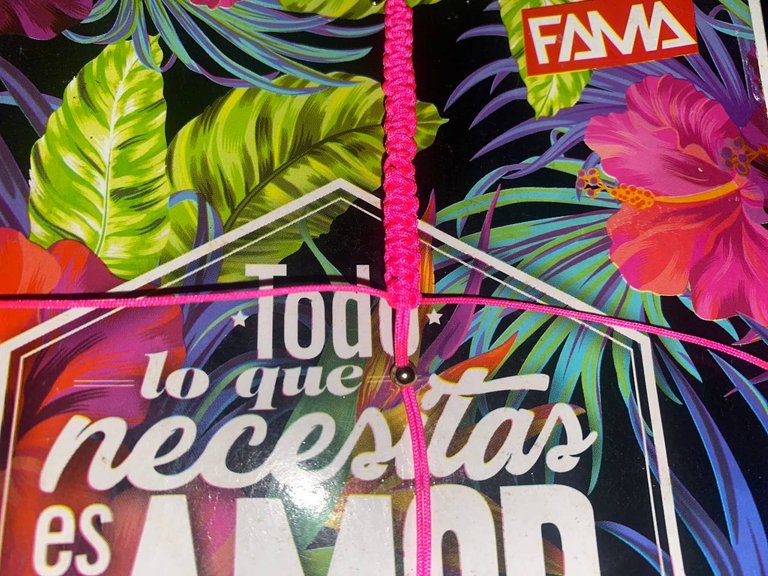
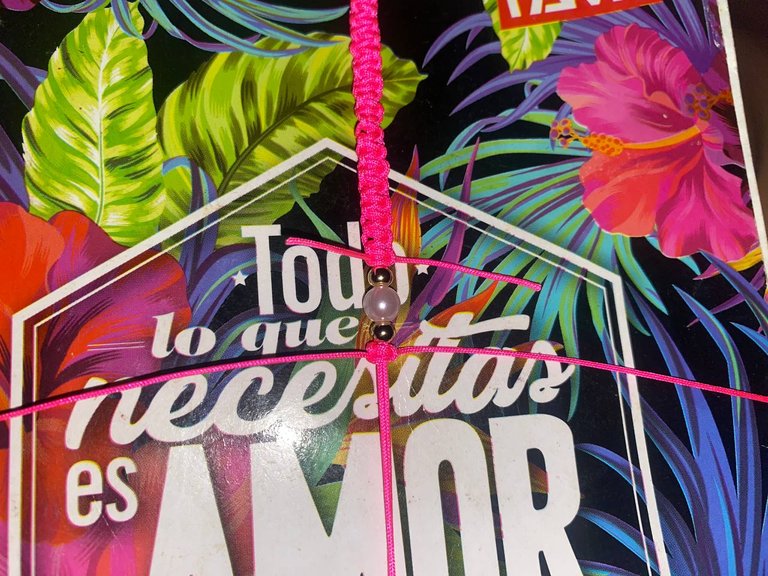
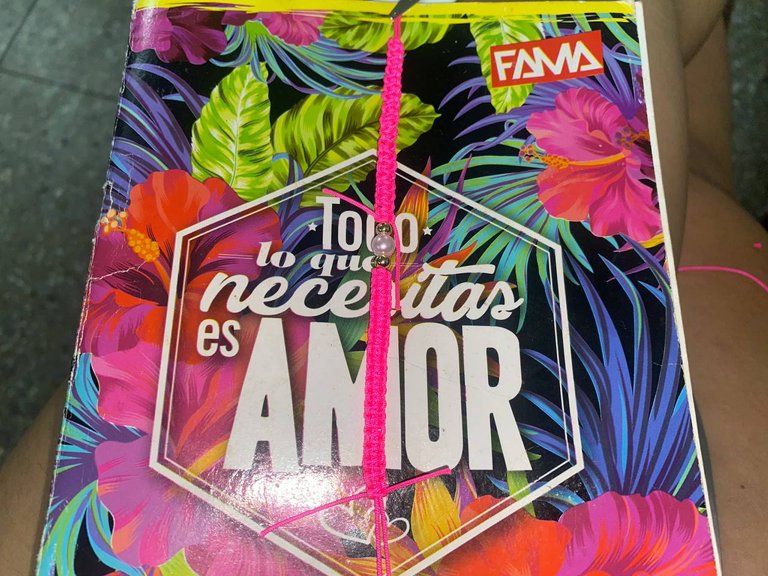
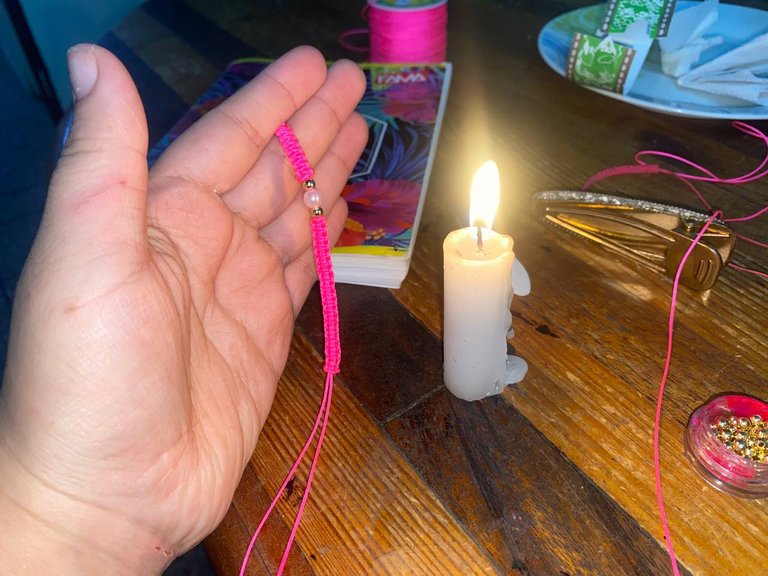
Repito este proceso varias veces hasta finalizar la primera parte, cuando quedo del tamaño que quería, coloque un balín, seguido de una perla y seguido de otro balín. Después corté los hilos sobrantes para comenzar con un nuevo hilo y nuevamente repito todo el proceso. Ya cuando finalicé y corté los sobrantes, solo me quedó cerrar esos hilos con ayuda del fuego, yo utilicé una vela ya que mi encendedor esta defectuoso.
I repeated this process several times until the first part was finished, when it was the size I wanted, I placed a bead, followed by a bead and then another bead. Then I cut the leftover threads to start with a new thread and again repeat the whole process. When I finished and cut the leftovers, I only had to close those threads with the help of fire, I used a candle because my lighter is defective.
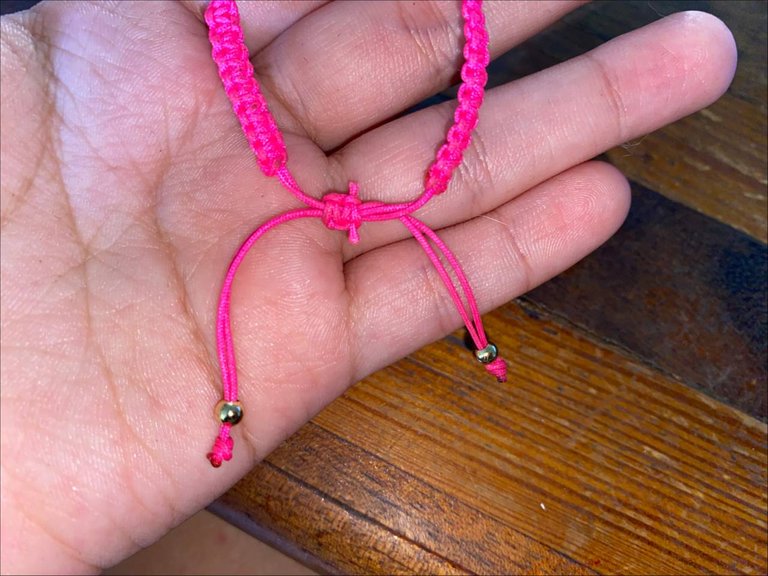
Y el ultimo paso, es colocar todos los hilos juntos, y con uno de los hilos sobrantes, cerramos la pulsera haciendo el mismo nudo del principio. Al final coloque unos balines en los extremos para hacerlo más lindo, juntando los dos hilos que quedan de cada lado, pasé el balín y realicé un nudo pequeño.
And the last step, is to place all the threads together, and with one of the leftover threads, we close the bracelet making the same knot of the beginning. At the end I put some balls on the ends to make it prettier, joining the two remaining threads on each side, I passed the ball and made a small knot.
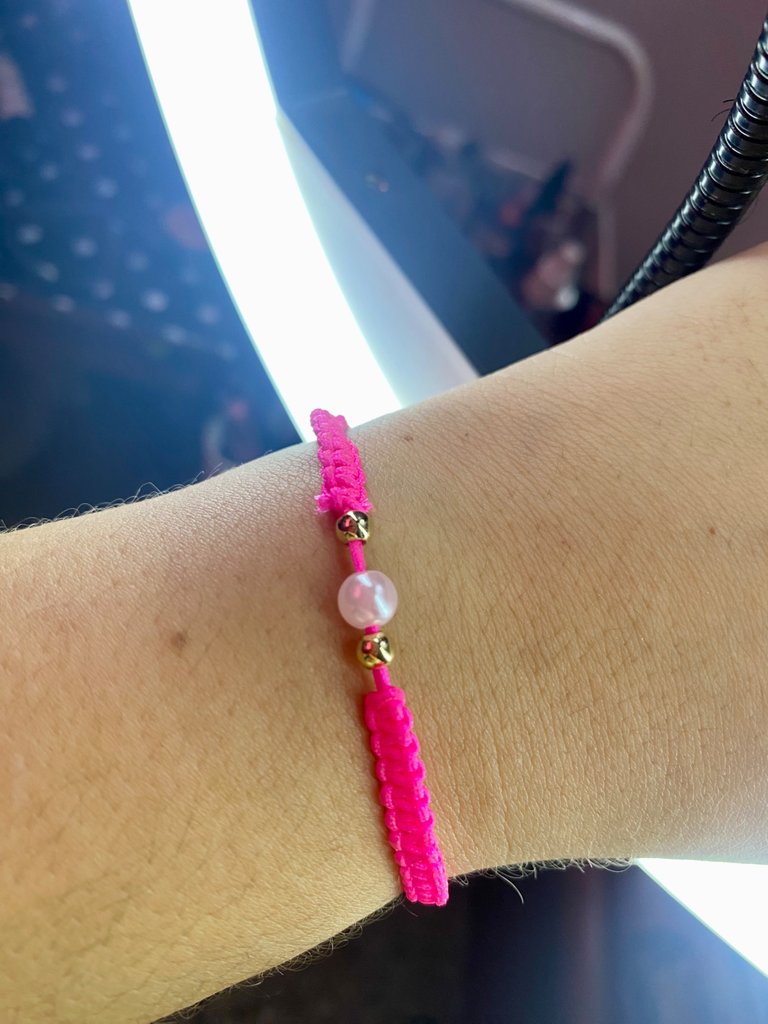
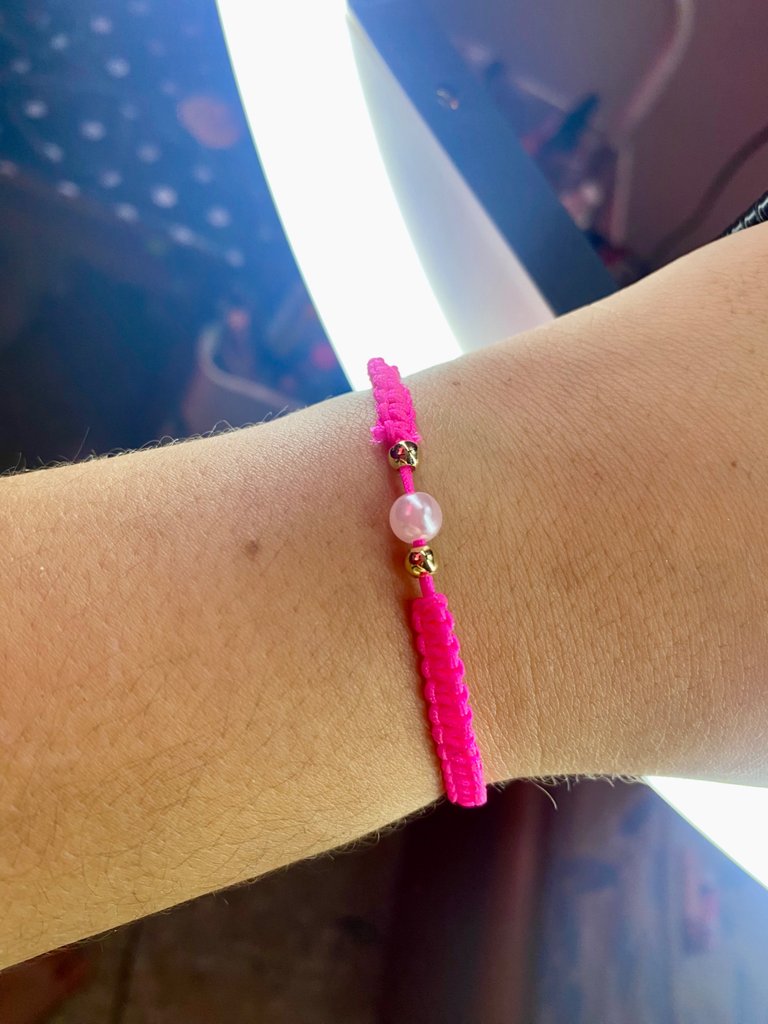
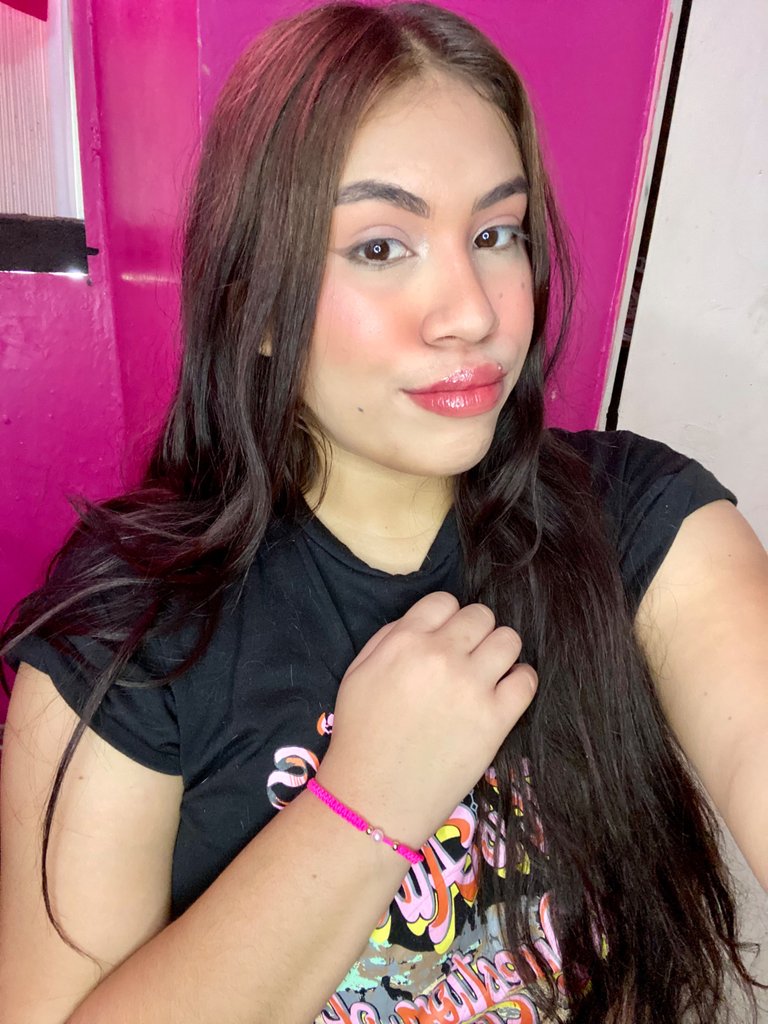
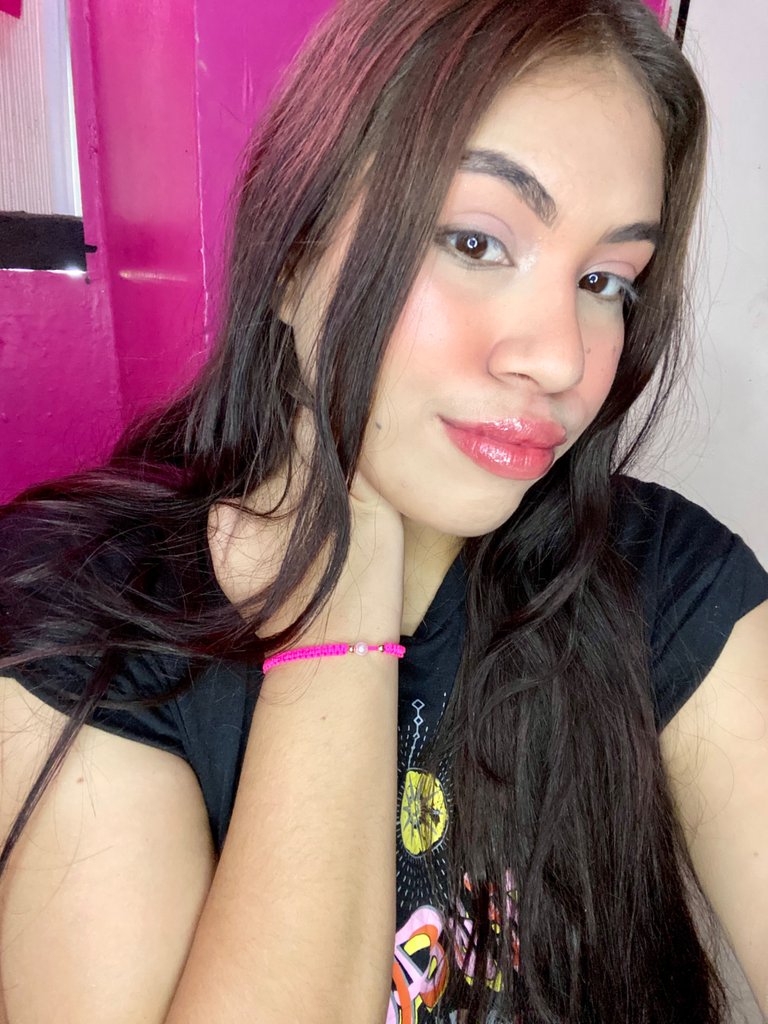
Esta pulsera me gustó mucho ya que la hice en mi color favorito, el modelo es bastante sutil y combina con mi estilo. Me gustaría hacerla en un hilo más grueso, ya que mi brazo no es tan delgado y en ocasiones me gusta llevar piezas un tanto grandes. Pero en términos generales, es una linda pulsera, espero que les haya encantado tanto como a mi, nos leemos pronto!
I really liked this bracelet because I made it in my favorite color, the pattern is quite subtle and matches my style. I would like to make it in a thicker thread, since my arm is not so thin and sometimes I like to wear big pieces. But overall, it's a nice bracelet, I hope you loved it as much as I did, see you soon!
Pictures of my property.
Exclusive Content for HIVE.
Camera: Apple iPhone 11.
If you like makeup, the world of beauty or making art on your skin I invite you to the Makeup Power Community and the Makeup Power Telegram
Scan the QR and follow me!
| Telegram | TikTok | 3speak | ||
|---|---|---|---|---|
|

|

|
|

|
