💕 Hello Hive Community! 💕
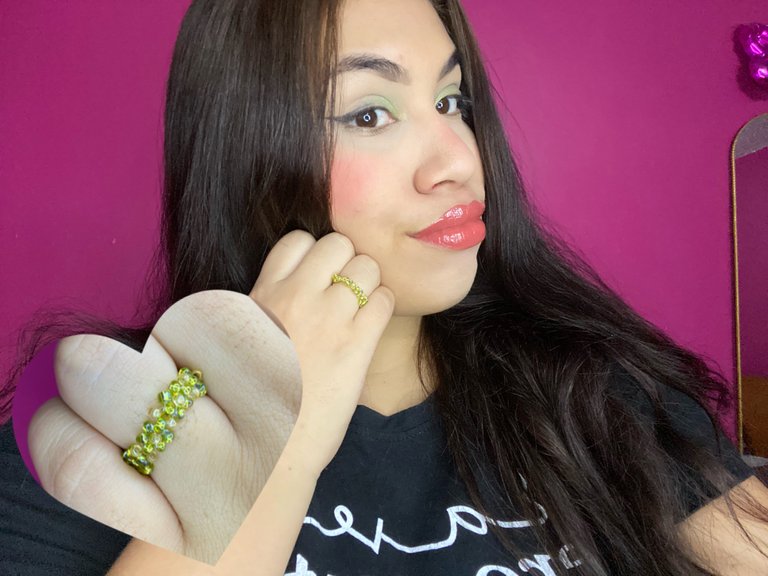
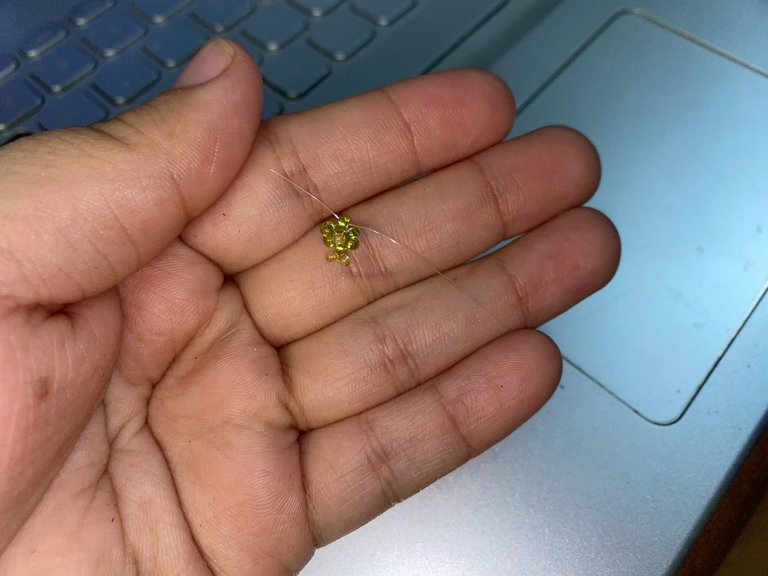
Tengo un particular gusto por los accesorios hechos a mano, me parecen super especiales y más aún cuando tu misma eres quien los hace. No me considero una experta haciendo accesorios, pero me gusta hacer el intento. Recientemente he tenido una atracción por la mostacillas, las perlas y el alambre de bisutería, aunque creo que vengo llegando tarde a esta tendencia. Hoy salí a comprar nylon y mostacillas para intentar hacer algo, así que decidí hacer un anillo de flores con mostacillas y nylon transparente.
I have a particular taste for handmade accessories, I find them super special and even more when you are the one who makes them yourself. I don't consider myself an expert at making accessories, but I like to give it a try. Recently I've been attracted to beads, pearls and wire jewelry, although I think I'm a latecomer to this trend. Today I went out to buy nylon and beads to try to make something, so I decided to make a flower ring with beads and clear nylon.
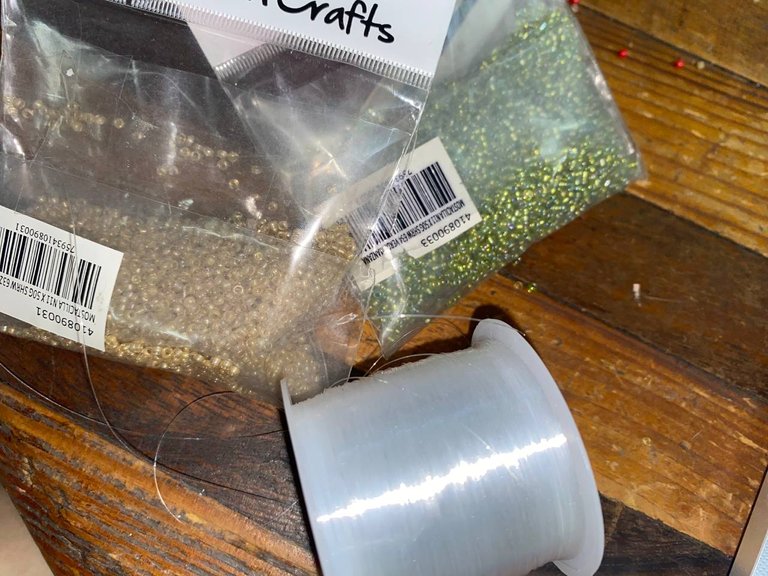
Para hacer este anillo solo utilicé nylon transparente no elástico, es mejor el elástico pero el que tenía era de 0.6mm lo cual era muy grueso, así que me toco utilizar el Rígido de 0.2mm. También utilicé mostacillas en dos colores, verde manzana y un tono oro.
To make this ring I only used non-elastic transparent nylon, elastic is better but the one I had was 0.6mm which was too thick, so I had to use the Rigid 0.2mm. I also used beads in two colors, apple green and a gold tone.
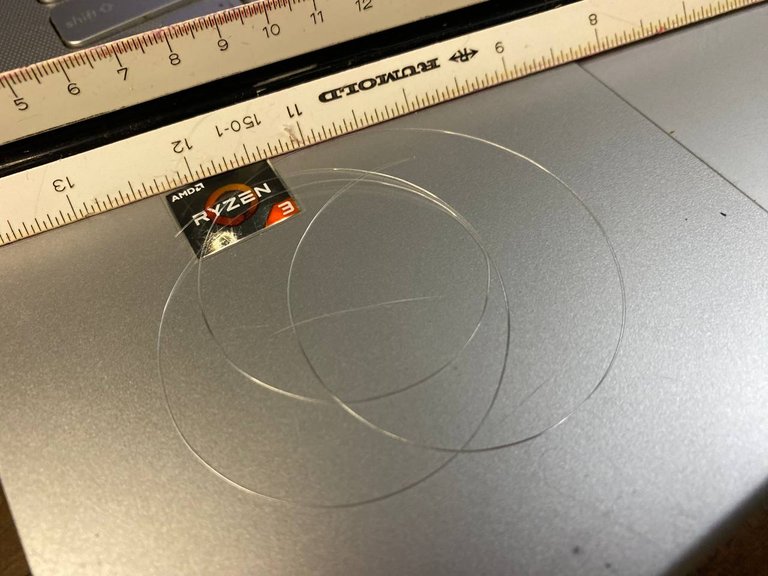
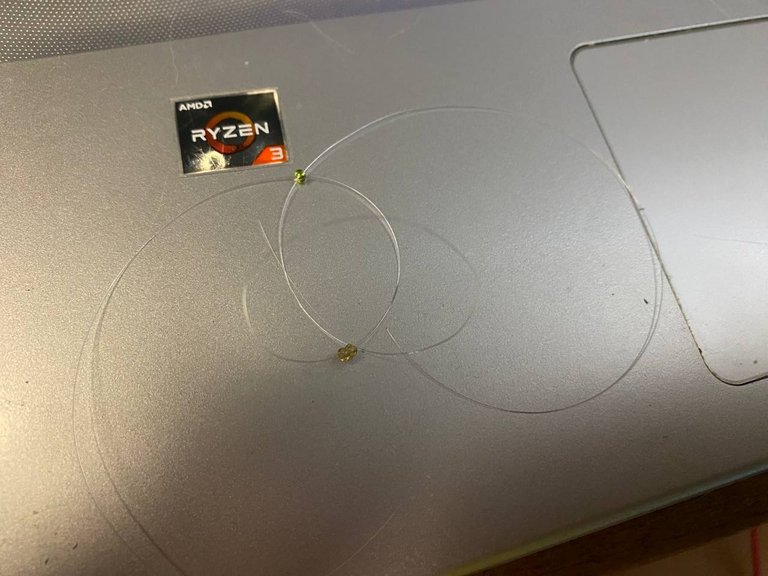
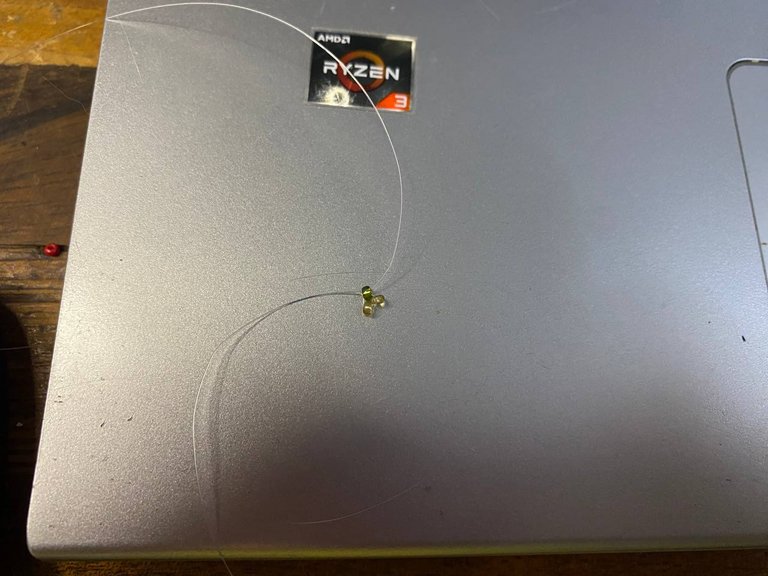
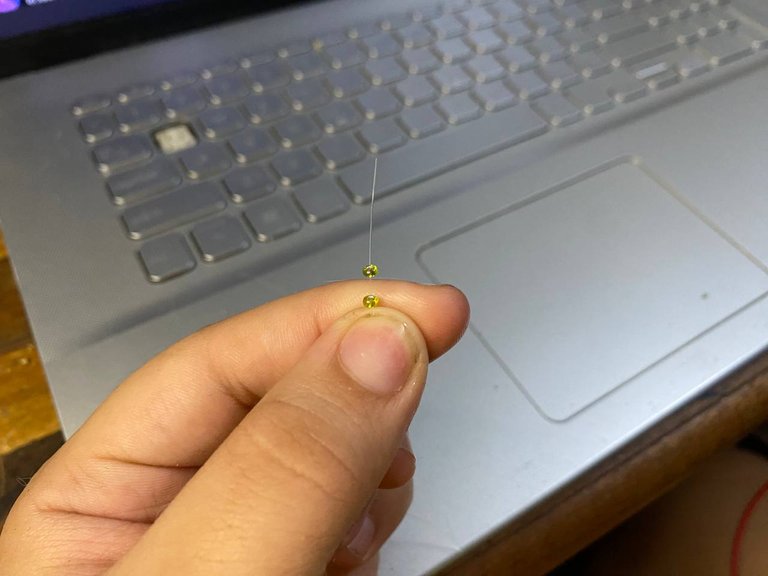
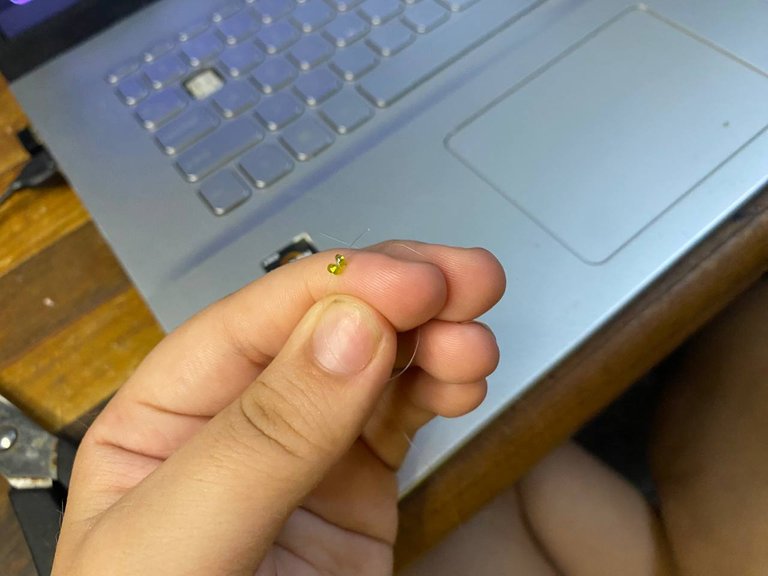
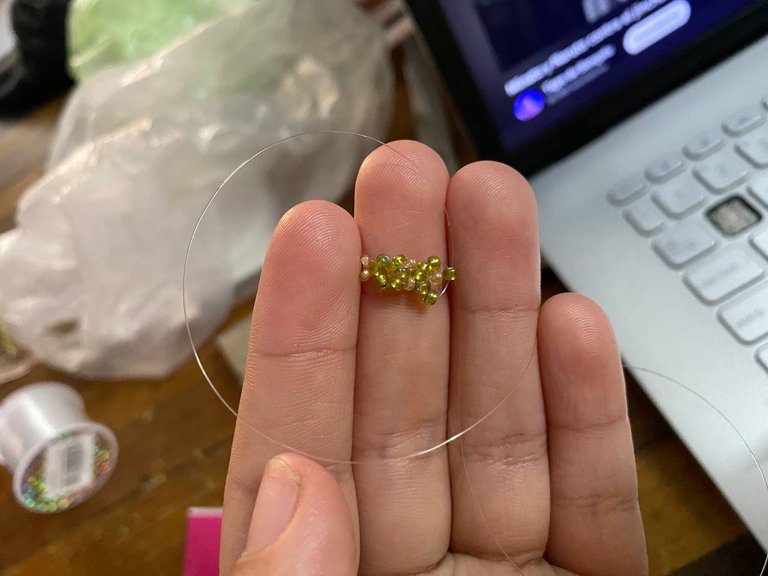
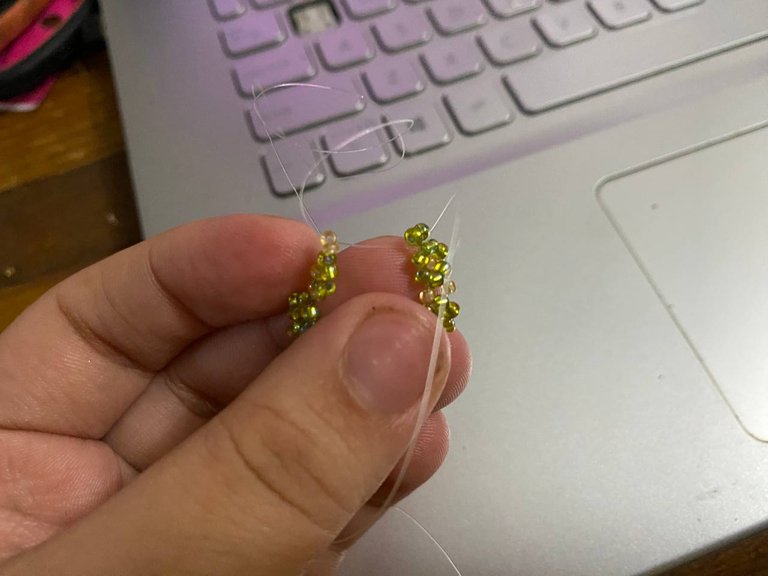
Lo primero que tenemos que hacer, es cortar un trozo de nylon, como de 50cm para que tengamos mucho espacio a la hora de hacer las flores. Luego tomamos dos piedras del color del centro de la flor u otro color distinto, en mi caso fue el tono oro, y la colocamos en el nylon, seguidamente tomamos una piedra del color que queremos la flor, en mi caso verde, y la pasamos por el extremo izquierdo del nylon, no la pasamos hasta el final, sino que pasamos el otro extremo de afuera hacia adentro para dividir.
The first thing we have to do, is to cut a piece of nylon, about 50cm long so that we have plenty of space when making the flowers. Then we take two stones of the color of the center of the flower or another different color, in my case it was the gold tone, and we place it in the nylon, then we take a stone of the color we want the flower, in my case green, and we pass it through the left end of the nylon, we do not pass it to the end, but we pass the other end from the outside to the inside to divide.
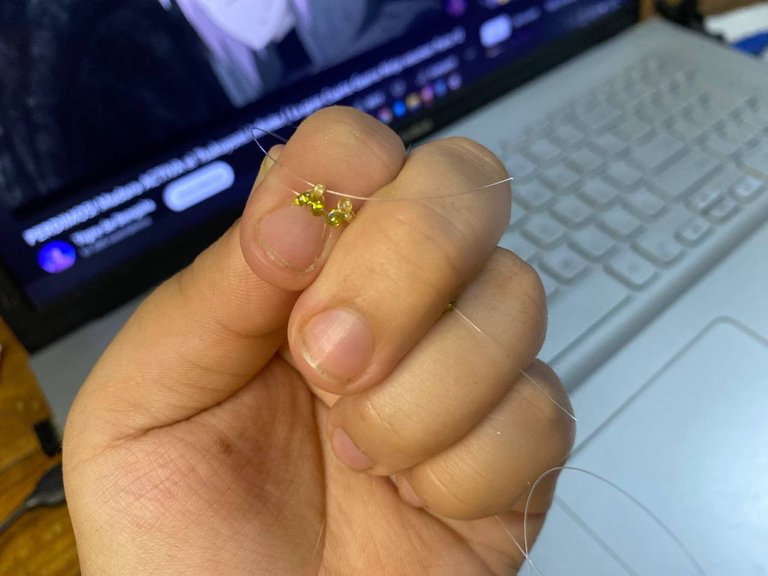
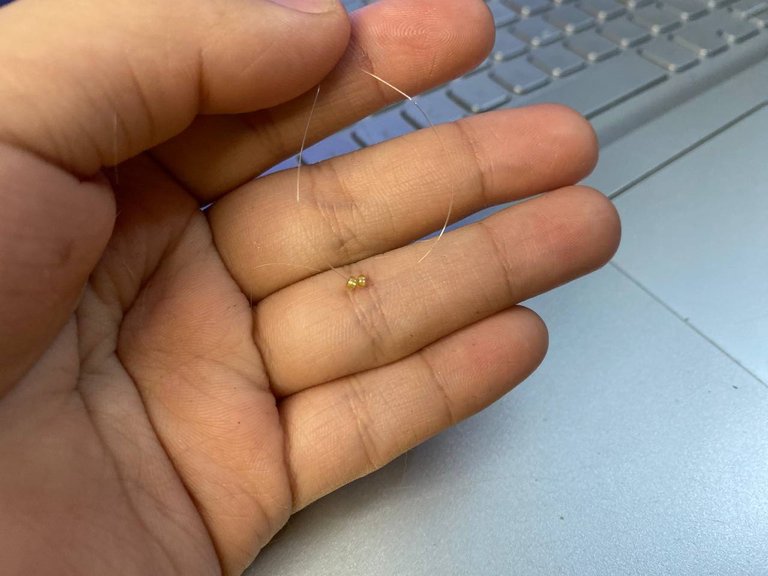
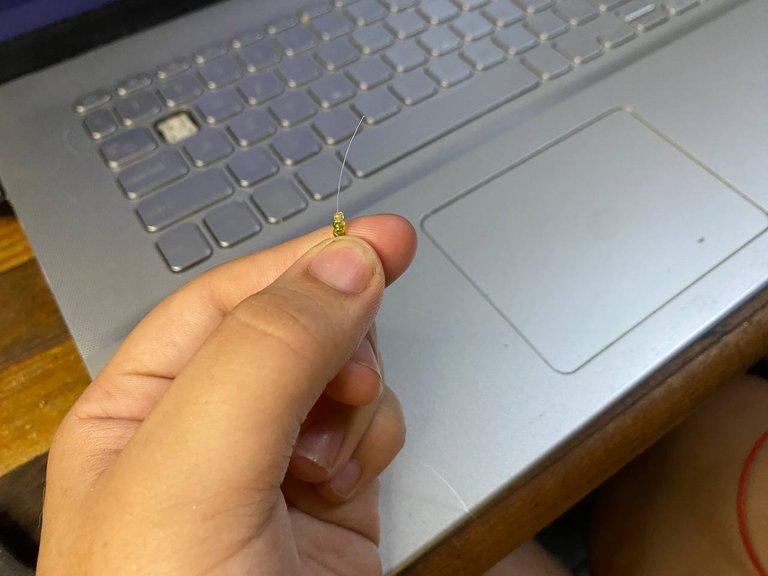
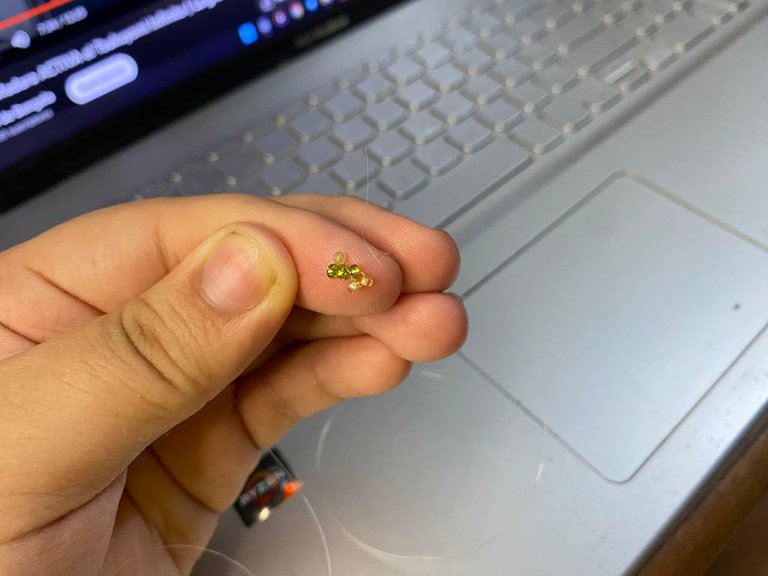
Luego tomamos dos piedras del tono de la flor y la colocamos por el extremo izquierdo, también agregamos el centro de la flor, después vamos a pasar el mismo lado del nylon por las piedras de la flor, omitiendo el centro, esto para que el centro pueda voltearse y quede justamente en el medio.
Then we take two stones of the same color of the flower and we put it through the left end, we also add the center of the flower, then we are going to pass the same side of the nylon through the stones of the flower, omitting the center, this so that the center can be turned over and be right in the middle.
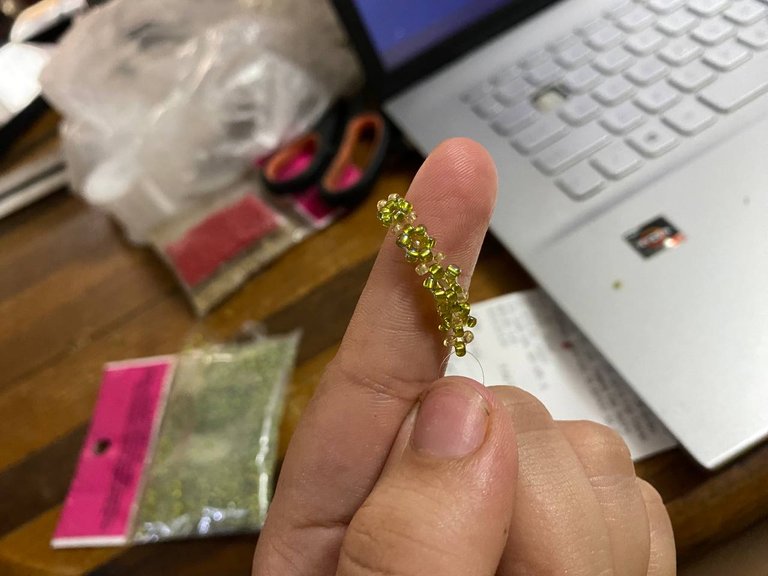
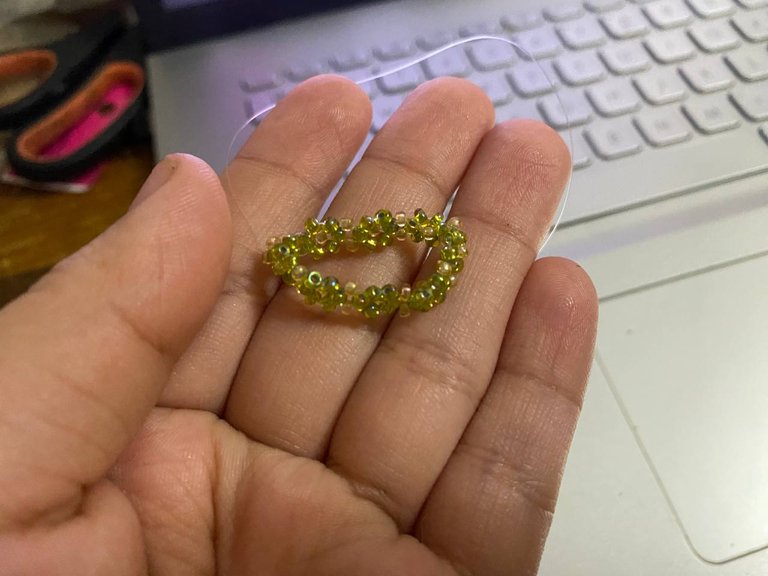
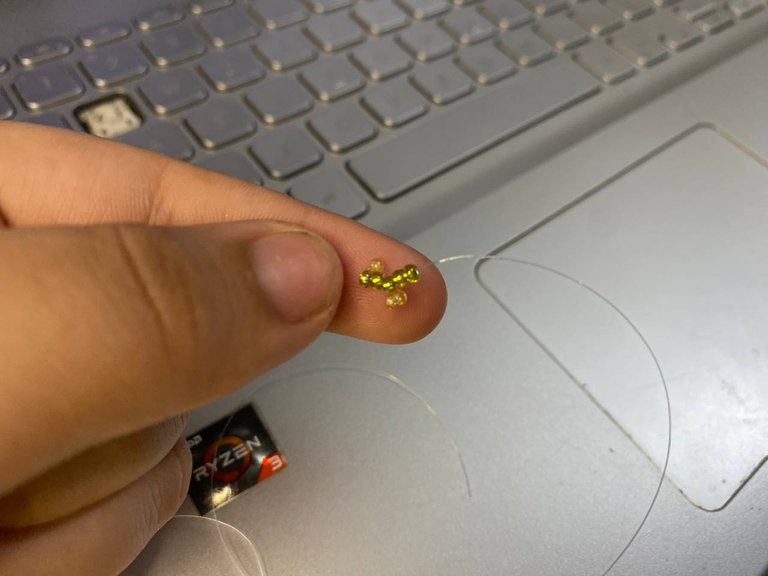
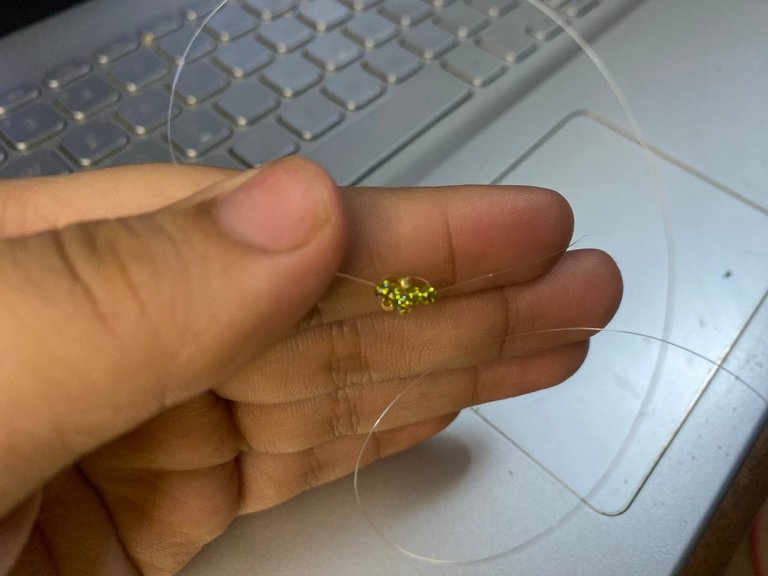
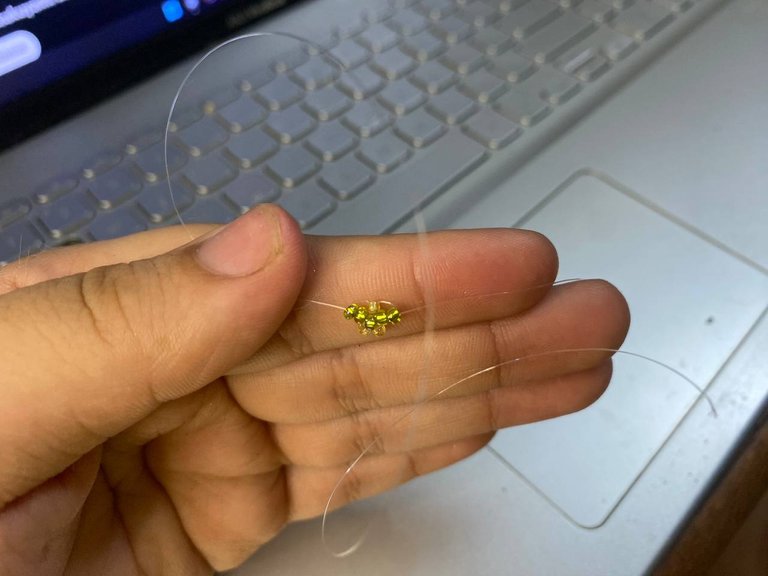
Después tomamos el otro nylon, el derecho y colocamos 2 piedras del tono de la flor, y vamos a pasar el mismo nylon por el centro de la flor y luego por las dos ultimas piedras que acabamos de introducir. Queda viéndose un tanto extraño pero para que tome forma, vamos a introducir la ultima piedra de la flor por el lado izquierdo y repetimos el proceso de pasar el nylon derecho por la ultima piedra, al apretar queda formada la flor.
Then we take the other nylon, the right one and place 2 stones of the same color of the flower, and we are going to pass the same nylon through the center of the flower and then through the last two stones that we have just introduced. It looks a little strange but to take shape, we are going to introduce the last stone of the flower on the left side and repeat the process of passing the right nylon through the last stone, when tightening the flower is formed.
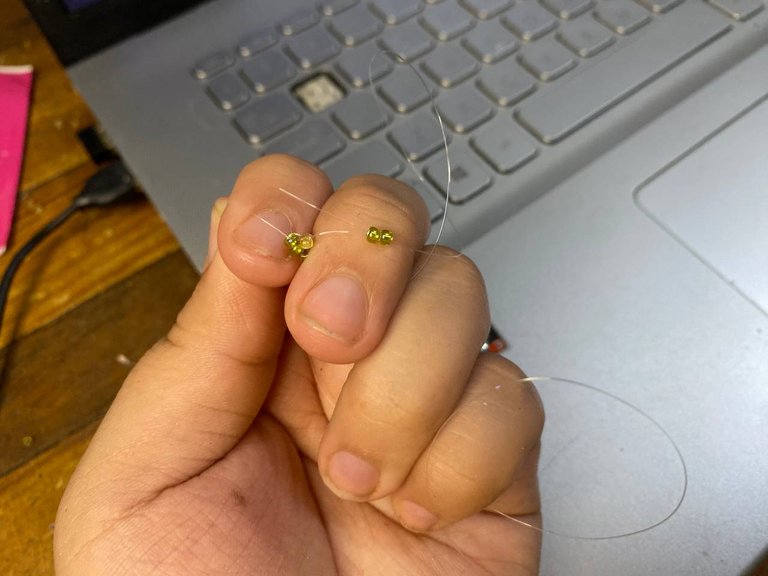
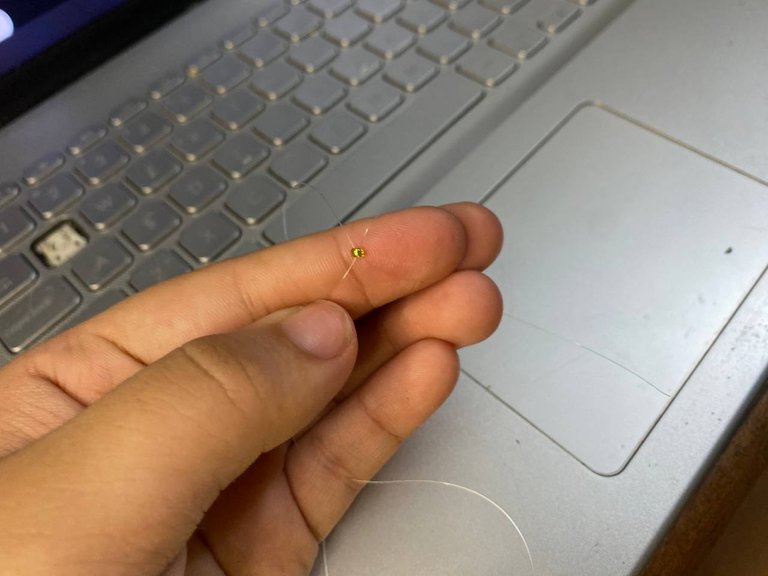
Ya después lo que tenemos que hacer es ir haciendo flores repitiendo el proceso, en mi caso yo estuve haciendo 9 flores, un anillo que de largo media 8cm. Al final para cerrarlo simplemente introducimos ambos extremos de los nylon por las los piedritas que colocamos al inicio del anillo, hacemos un nudo y cortamos el sobrante.
Then what we have to do is to make flowers repeating the process, in my case I was making 9 flowers, a ring that is 8cm long. At the end to close it we simply introduce both ends of the nylon through the little stones that we placed at the beginning of the ring, we make a knot and cut the excess.

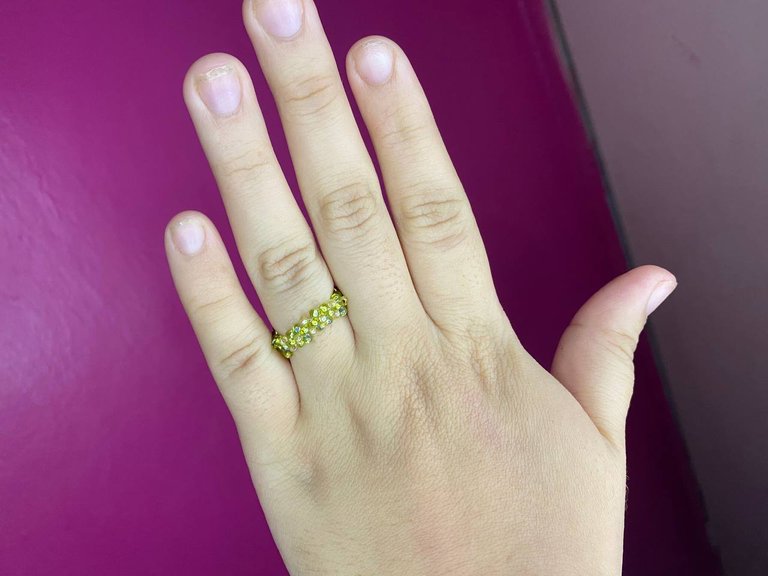

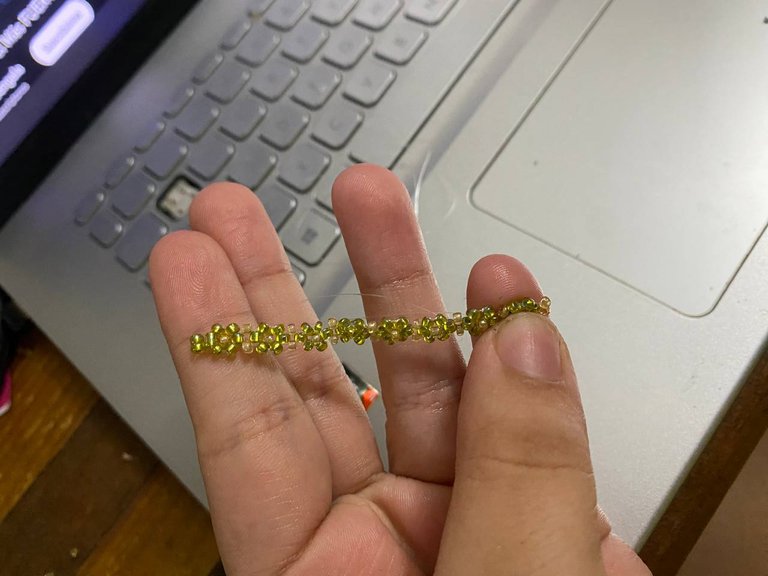
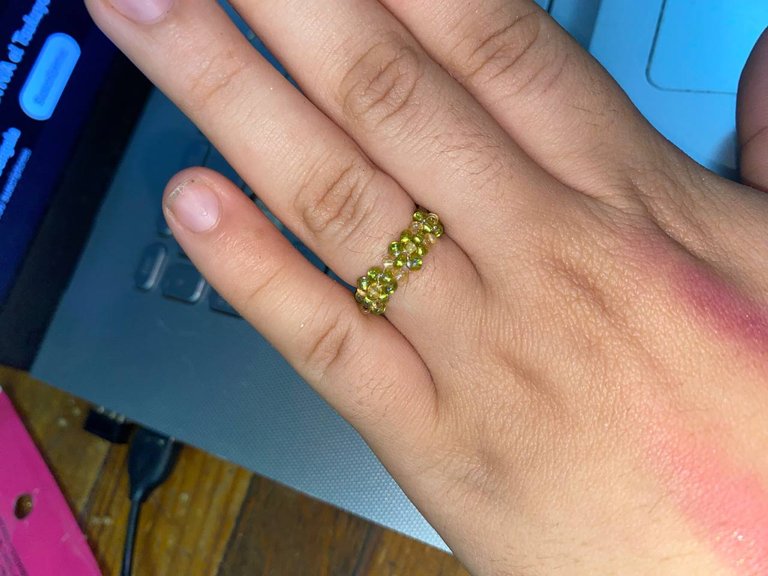
Me tomo 2 horas hacer este anillo, al principio lo veía difícil porque no entendía como hacer para que una piedra me quedara en el centro, pero luego me di cuenta que es una técnica fácil cuando le agarras la vuelta. Varias veces me toco deshacer las flores porque hacia mal las vueltas, pero casi finalizando lo entendí todo. Me gustó mucho como me quedo este anillo, quiero hacer ahora una pulsera utilizando esta técnica para que sea un juego, pero al mismo tiempo hacerla diferente para probar algo nuevo. Espero que les haya encantado tanto como a mi esta manualidad, nos leemos pronto!
It took me 2 hours to make this ring, at first I found it difficult because I did not understand how to make a stone in the center, but then I realized that it is an easy technique when you get the hang of it. Several times I had to undo the flowers because I made the wrong turns, but almost at the end I understood everything. I really liked how this ring turned out, I want to make a bracelet now using this technique to make it a game, but at the same time make it different to try something new. I hope you loved this craft as much as I did, see you soon!
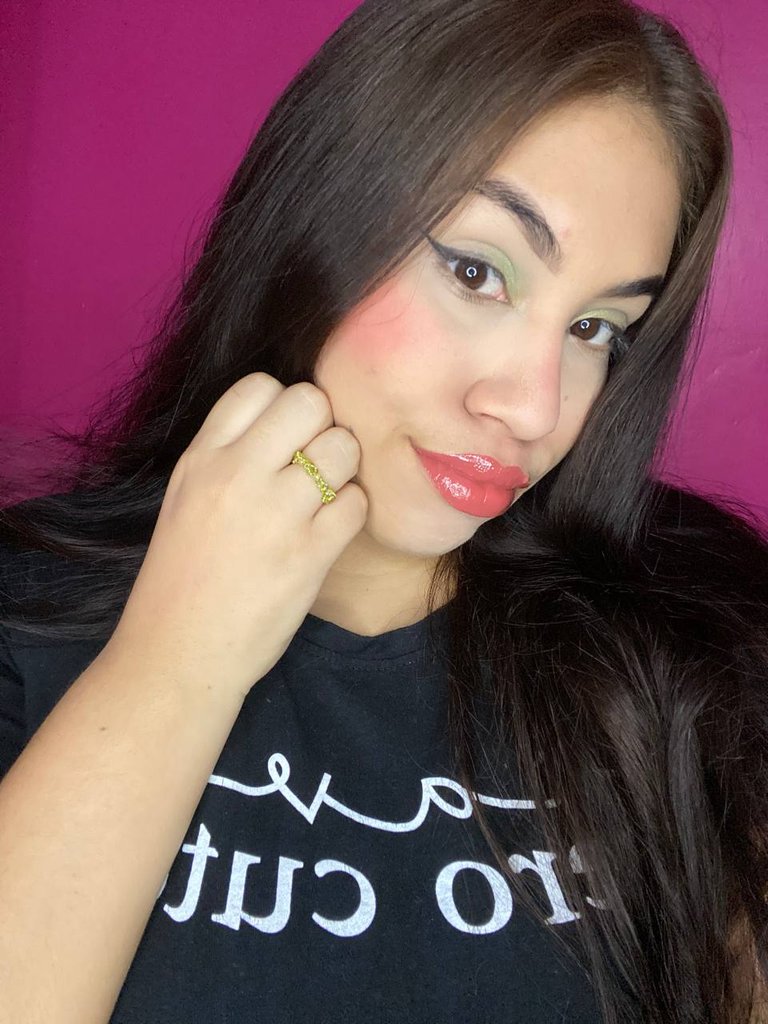
Pictures of my property.
Exclusive Content for HIVE.
Camera: Apple iPhone 11.
If you like makeup, the world of beauty or making art on your skin I invite you to the Makeup Power Community and the Makeup Power Telegram
Scan the QR and follow me!
| Telegram | TikTok | 3speak | ||
|---|---|---|---|---|

|

|

|
|

|