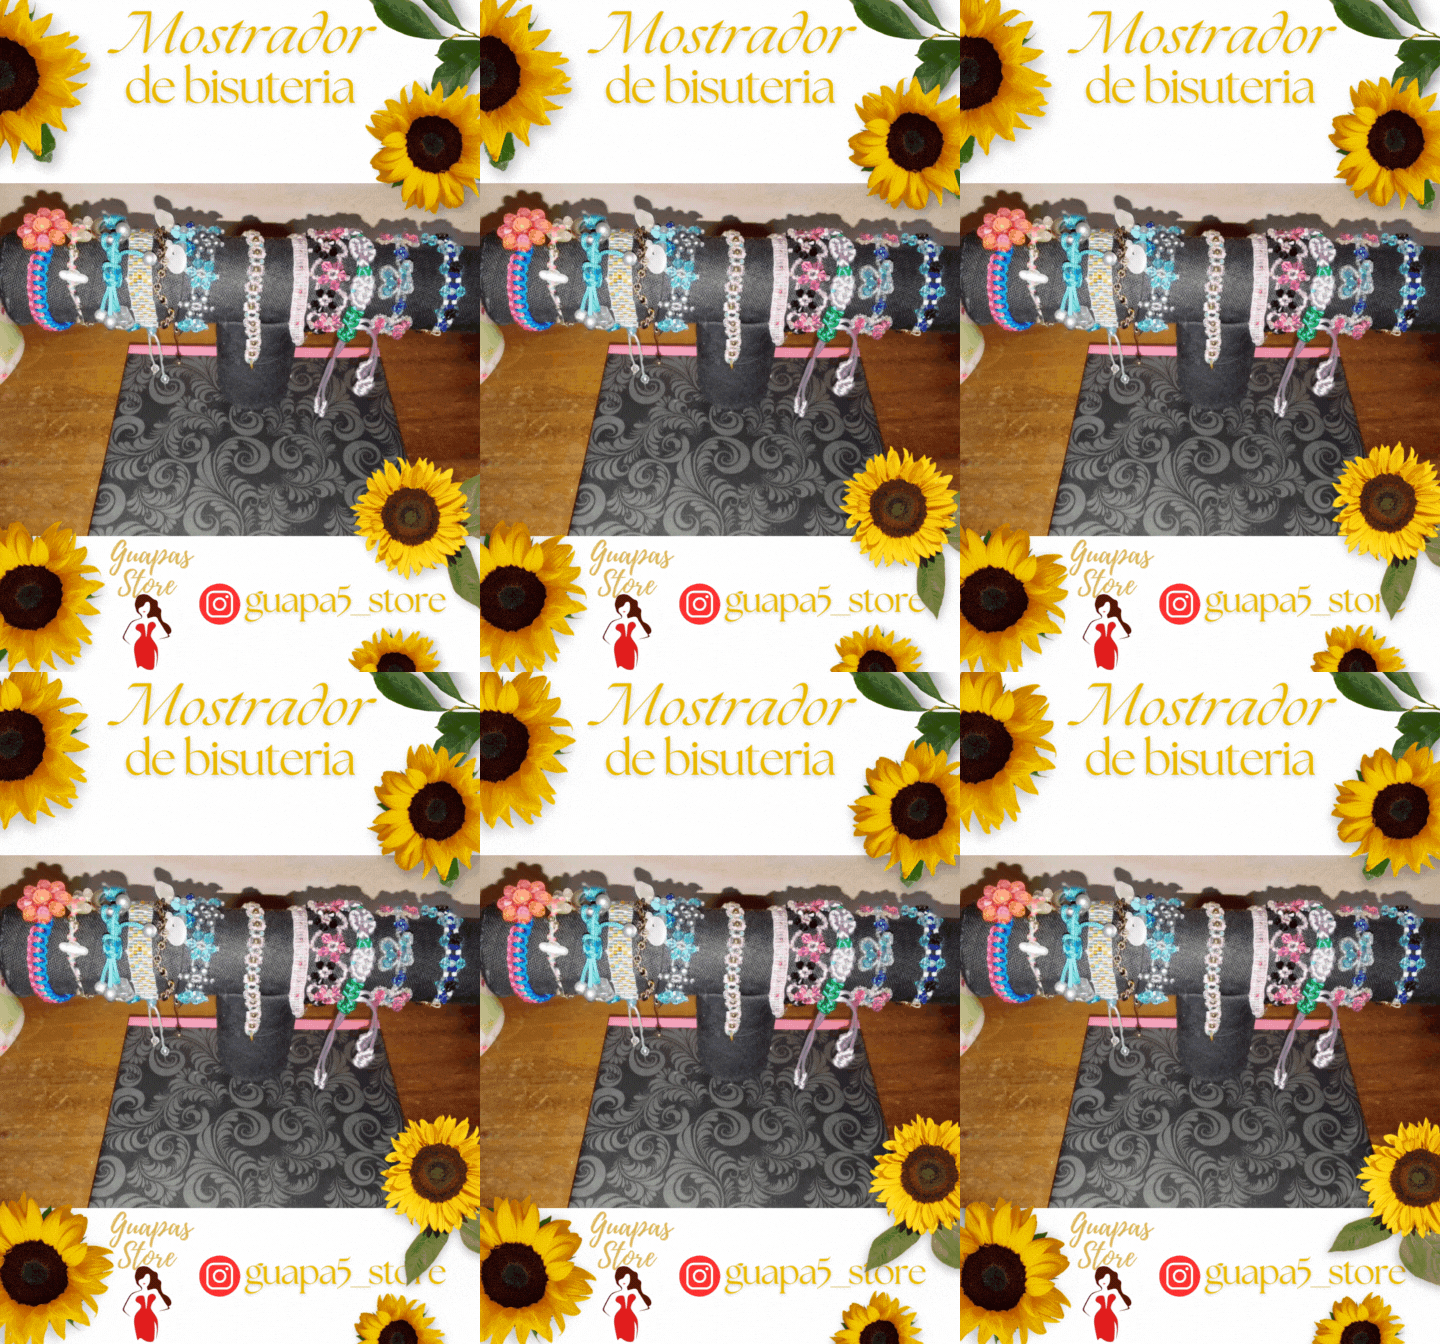
Hola Linda comunidad de Diy Hub, en esta oportunidad hice un pequeño tutorial de como hacer un mostrador para bisuteria, especificamente para pulseras. Es muy facil de hacer use materiales reciclados, espero les guste.
Hello nice community of Diy Hub, this time I made a small tutorial on how to make a counter for jewelry, specifically for bracelets. It is very easy to make using recycled materials, I hope you like it.
Materiales | Materials
- 4 Rollos de carton redondo
- Cartulina
- Tela negra usada
- Fieltro usado
- Pega blanca escolar
- Silicon caliente
- Papel reciclado tamaño carta
- 4 Rolls of round cardboard
- Cardboard
- Used black cloth
- Used felt
- White school glue
- Hot silicon
- Recycled letter size paper
Procedimiento | Procedure
Psao 1 | Step 1
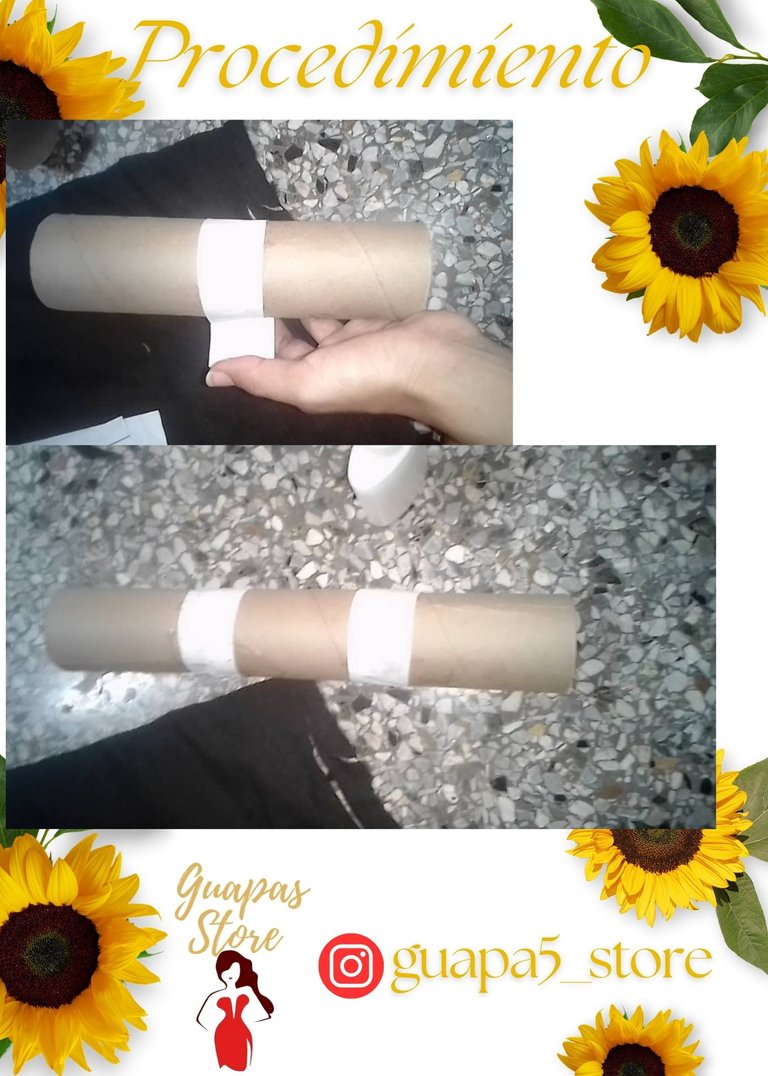
Unir los rollos de cartón (3 rollos) con pega blanca y retazos de hojas de papel. Forrar con tela negra con pega blanca y al final al unir los dos extremos de la tela pegar con silicón caliente. Luego en los extremos cortar dos circulos mas grandes y pegar con silicon caliente en los extremos.
Join the cardboard rolls (3 rolls) with white glue and scraps of paper. Cover with black fabric with white glue and at the end of the two ends of the fabric glue with hot silicone. Then at the ends cut two larger circles and glue with hot silicone on the ends.
Psao 2 | Step 2
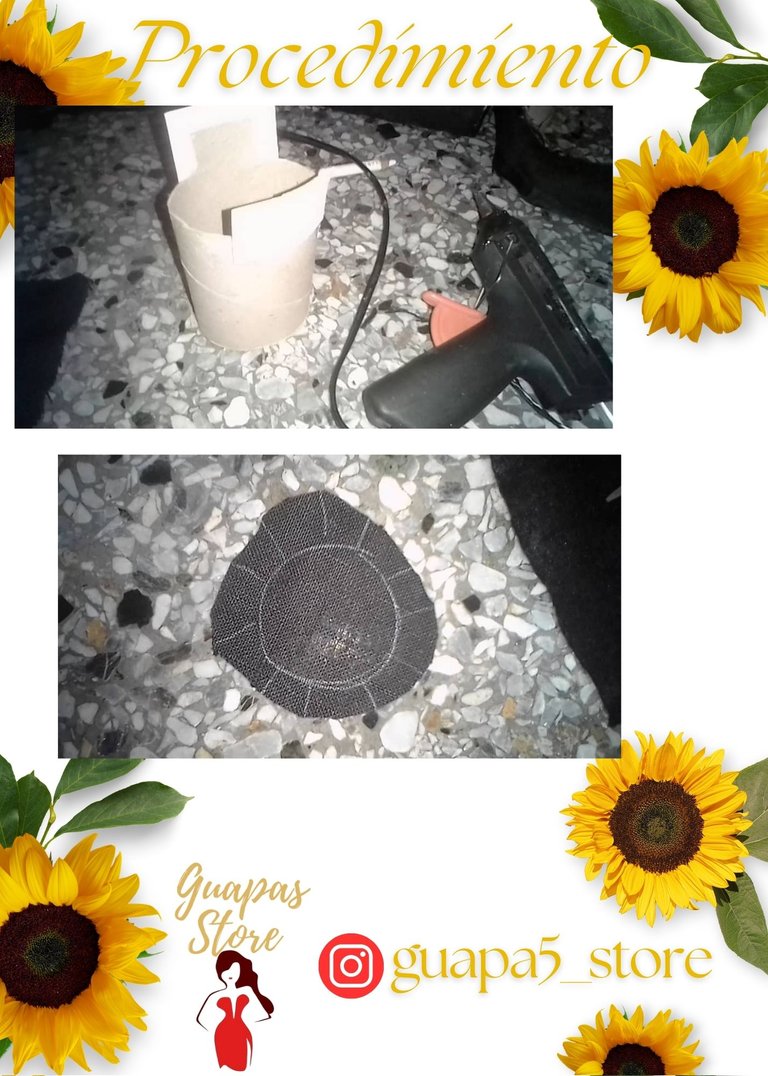
Cortar un rollo y colocarle un poco de cartulina , cortarlo como se ve en la imagen siguiente, este va a ser el soporte del mostrador y luego forrarlo y pegarlo con tela negra y fieltro en la punta para tapar el agujero.
Cut a roll and place some cardboard on it, cut it as shown in the following image, this will be the support of the counter and then line it and glue it with black fabric and felt at the tip to cover the hole.
Resultado | Result
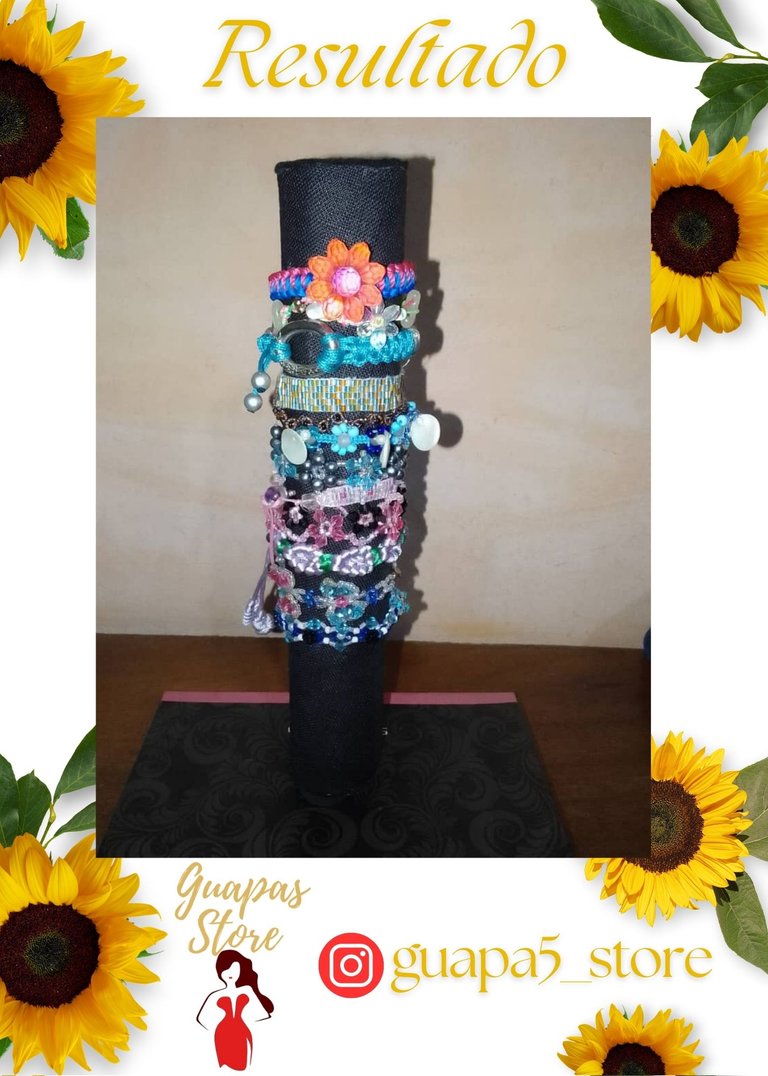
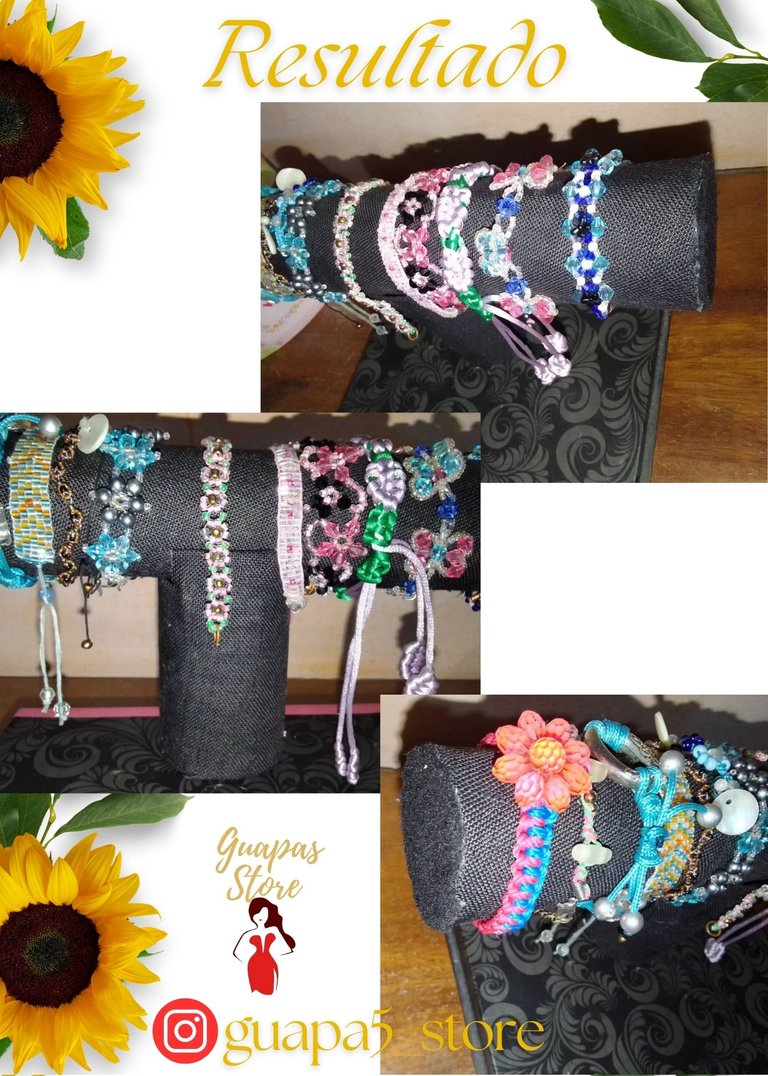
Finalmente colocar encima el otro extremo sin pegarlo. Asi se puede usar como mostrador verticar y horizontal. Y asi es como queda con dos formas de usarlo y tapado con fieltro en las puntas. Espero les haya gustado.
Finally place the other end on top without gluing it. This way it can be used as a vertical and horizontal counter. And this is how it looks with two ways to use it and covered with felt at the ends. I hope you liked it.
Gracias por leer.
Thank you for reading.
Créditos | Credits
Utilicé Canva para editar imágenes y personalicé un poco una plantilla de Canva.
I used Canva to edit images and customize a Canva template a bit.
Utilicé www.deepl.com/es para la traducción
I used www.deepl.com/es to traduction.
Todas las imagenes del paso a paso son mías, tomadas con mi telefono Yezz Liv1 y un telefono Tecno Pop 7.
All the step by step images are mine, taken with my Yezz Liv1 phone and Tecno Pop 7 phone.
| |

