WELCOME TO MY BLOG
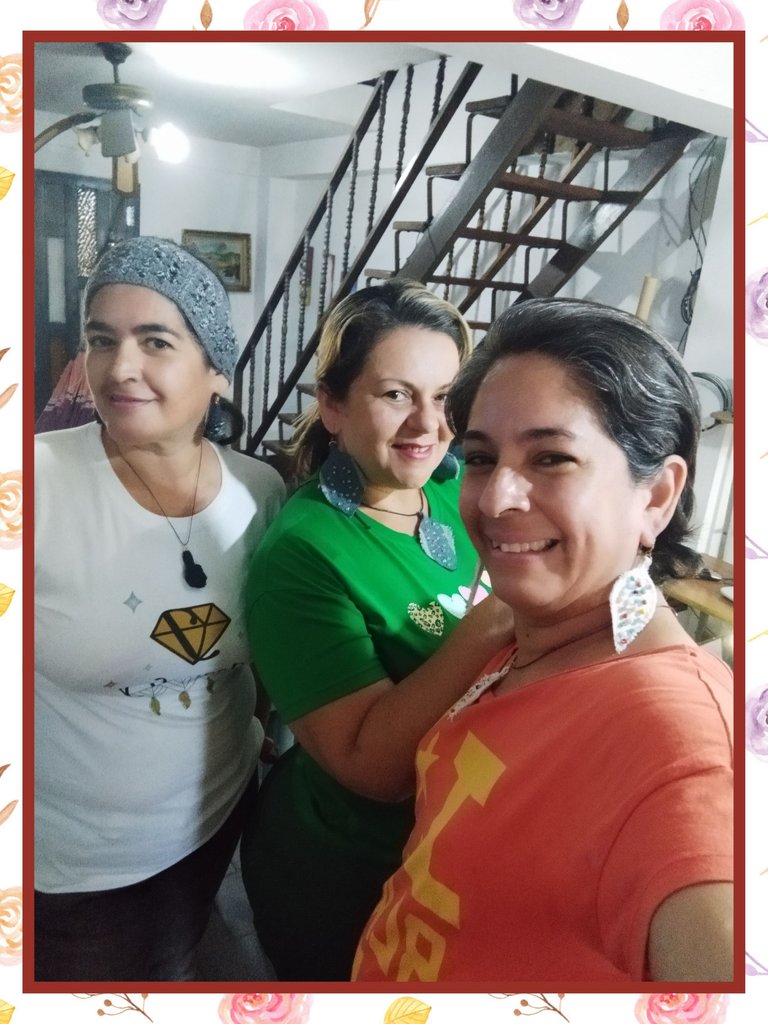
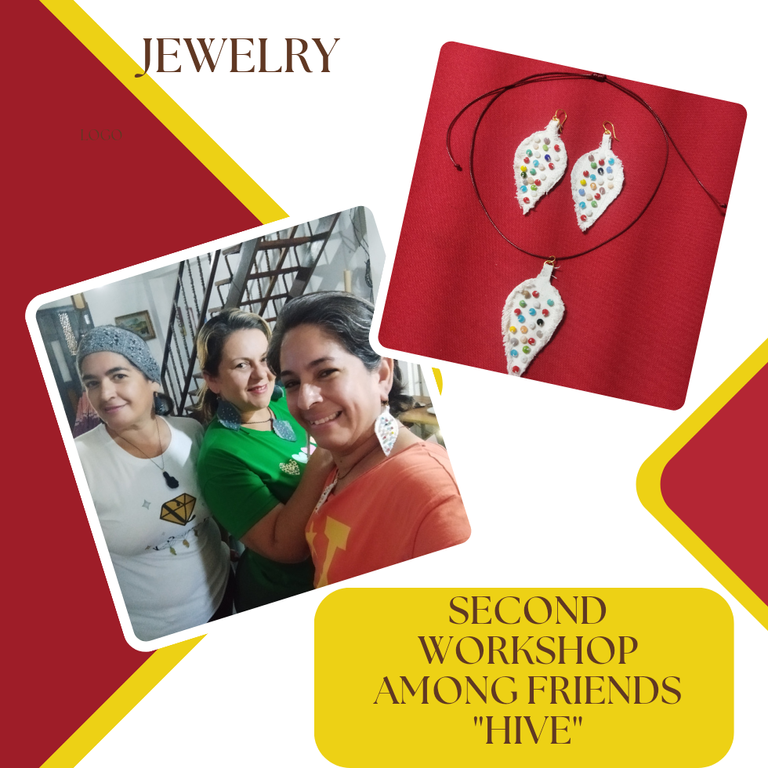
Hellooooo, hellooooooo! Greetings and my respects to the jewelry creators. Very excited to share with you our second workshop among friends of "Hive". On this occasion we have met at my house to dedicate a whole day to sharing knowledge and creating beautiful accessories for #Jewelry, with the pleasant company of @katiuskamata and @creacioneslelys.
For those who don't know the story, I tell you that a few days ago, we received a visit from @katiuskamata in our city and we organized a meeting to share and get to know each other. In this first meeting we had the joy of getting along and we planned to hold some workshops where we could share experiences and knowledge. We would carry out 3 workshops, in which each of us would be in charge of organizing a meeting and would provide us with the list of materials and support material for said workshop.
On this occasion it was up to @katiuskamata to lead this meeting and I made my house available to them as a meeting point. She provided us with the list of materials we would use ahead of time and on the day. And once again we came together to create this set of necklace and earrings made with scraps of jeans, emphasizing her love for recycling. I hope you like it. Let's get started.
BIENVENIDOS A MI BLOG
¡Holaaaa, holaaaaa! Saludos y mis respetos a los creadores de bisutería. Muy emocionada de compartir con ustedes nuestro segundo taller entre amigas de "Hive". En esta ocasión nos hemos reunido en mi casa para dedicarle un día entero a compartir saberes y crear bellos accesorios para #Jewelry, con la grata compañía de @katiuskamata y @creacioneslelys.
Para los que no conocen la historia, les cuento que hace unos cuantos días, recibimos en nuestra ciudad la visita de @katiuskamata y organizamos un encuentro para compartir y conocernos. En este primer encuentro tuvimos la dicha de congeniar y pautamos realizar unos talleres donde podríamos compartir experiencias y saberes. Realizaríamos 3 talleres, en el que cada una de nosotras se encargaría de organizar un encuentro y nos suministraría la lista de materiales y material de apoyo para dicho taller.
En esta ocasión le correspondió a @katiuskamata dirigir este encuentro y puse a su disposición mi casa como punto de encuentro. Ella nos proporcionó la lista de materiales que usaríamos con anticipación y el día. Y una vez más nos reunimos para la creación de este juego de collar y zarcillos realizados con retazos de jeans, enfatizando su amor por el reciclaje. Espero les guste. Comencemos.
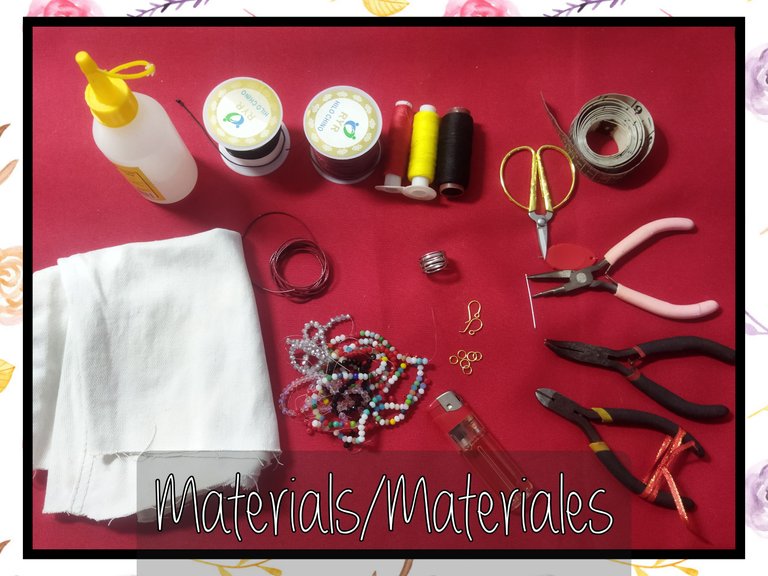
MATERIALS
- Scraps of jeans fabric
- 4 mm crystals
- Pair of hooks for tendrils
- Snakeskin cord
- Sewing thread
- 5 mm hoops
- Graphite pencil and recycled sheets
- Scissors
- Sewing needle #11
- Measuring tape
- Jewelry tweezers
- Jewelry ring
- Liquid silicone
MATERIALES
- Retazos de tela de jeans
- Cristales de 4 mm
- Par de anzuelos para zarcillos
- Cordón piel de serpiente
- Hilo de coser
- Aros de 5 mm
- Lápiz de grafito y hojas recicladas
- Tijera
- Aguja de coser #11
- Cinta métrica
- Pinzas de bisutería
- Anillo de bisutería
- Silicón liquido
STEP BY STEP // PASO A PASO
PATTERN MAKING
Before starting to make our pieces, @katiuskamata shared with us her experience as a jewelry creator and her love for making pieces from recycled material, jeans being one of her favorites. Then she presented us with the idea that she already had and how we would develop it, leaving the selection of the design to our free will. Since we have all worked with these materials, the workshop became a pleasant environment, where we began our work between anecdotes and laughter.
We start by making our pattern. For this we use the graphite pencil and recycling paper.
REALIZACIÓN DE PATRÓN
Antes de comenzar a realizar nuestras piezas, @katiuskamata compartió con nosotras su experiencia como creadora de bisutería y su amor por realizar piezas a partir de material reciclado, siendo el jeans uno de sus favoritos. Luego nos presentó la idea que ya traía y cómo la elaboraríamos, dejando a nuestro libre albedrío la selección del diseño. En vista de que todas hemos trabajado con estos materiales, el taller se convirtió en un ameno entorno, donde comenzamos nuestra labor entre anécdotas y risas.
Comenzamos realizando nuestro patrón. Para ello utilizamos el lápiz de grafito y el papel de reciclaje.
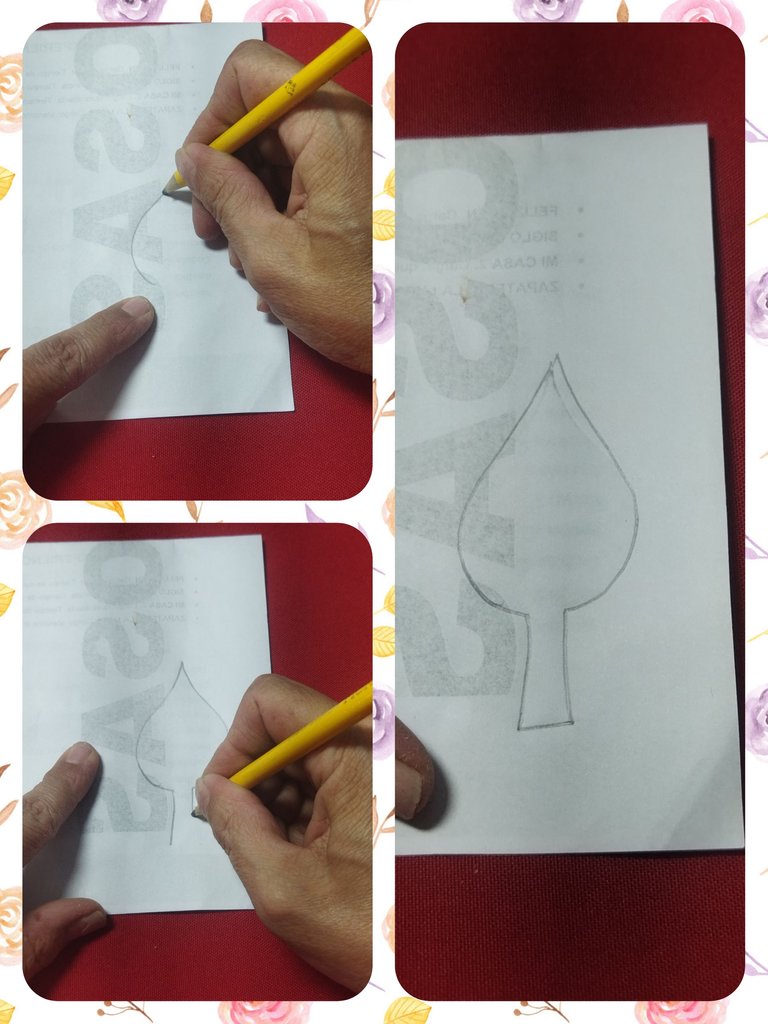
Once the pattern was ready, he told us that we had to make 6 equal pieces. 2 for the pendant and 4 for the earrings.
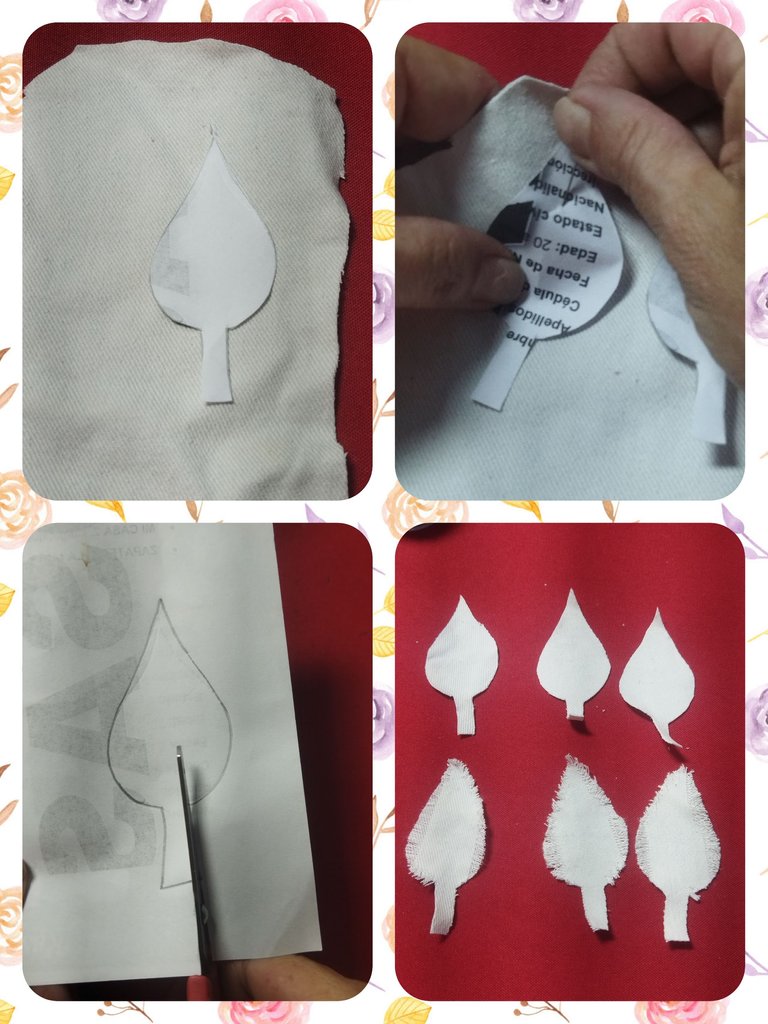
We place the stopper on the fabric, secure it with sewing pins and cut the 6 pieces.
Una vez listo el patrón, nos indicó que debíamos realizar 6 piezas iguales. 2 para el dije y 4 para los zarcillos.
Colocamos el parón sobre la tela, lo fijamos con alfileres de costura y cortamos las 6 piezas.
DESHILACHADO OR DESHEBRATED TECHNIQUE
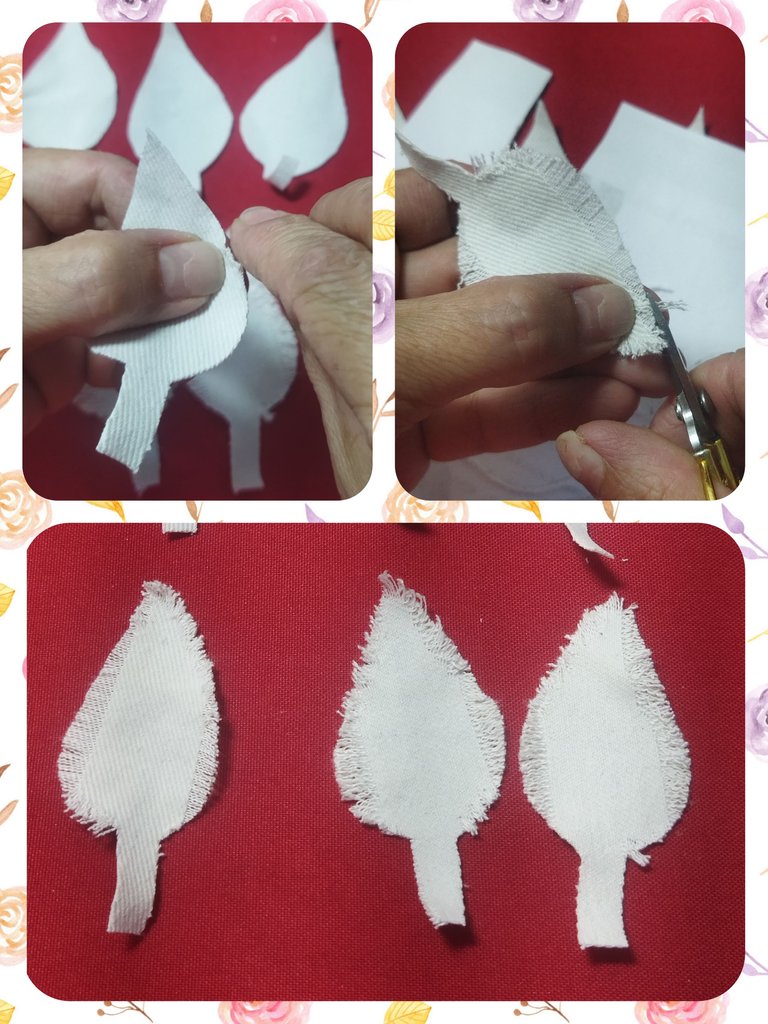
In this step, @katiuskamata explained to us the fraying technique which consists of removing a considerable amount of the fabric from the fabric so that the threads remain and forming a figure in it.
With a needle or some sharp object we proceed to remove threads by threads until we consider enough, then with the scissors we shape the design again.
We will carry out this procedure only on 3 pieces.
TÉCNICA DE DESHILACHADO O DESHEBRADO
En este paso, @katiuskamata nos explicó la técnica de deshilachado que consiste en quitar una cantidad considerable del tejido de la tela de manera que queden las hilachas y formando una figura en la misma.
Con una aguja o algún objeto filoso procedemos a sacar hilos por hilos hasta que consideremos suficiente, luego con la tijeras damos forma nuevamente al diseño.
Este procedimiento lo realizaremos sólo en 3 piezas.
EMBROIDERY WITH CRYSTALS
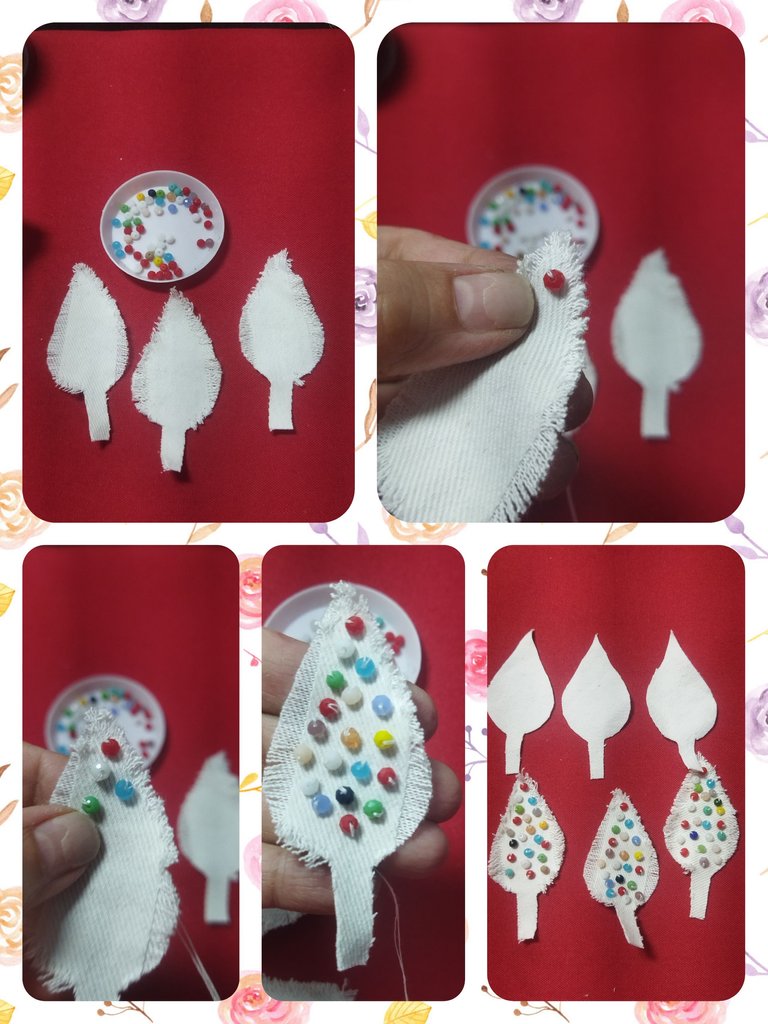
To give life and color to the design, each of us chose the crystals we would decorate with. As you already know, I love everything that is multicolored and I selected crystals of all the colors I had. and We use the embroidery technique.
With the #11 needle and white thread I proceeded to make the scattered embroidery on the leaf.
In the same way, we carry out this step on the 3 pieces that we frayed.
BORDADO CON CRISTALES
Para darle vida y color al diseño, cada una de nosotras eligió los cristales con los que decoraría. Como ya saben, a mi me encanta todo lo que sea multicolor y seleccioné cristales de todos los colores que tenía. y Utilizamos la técnica de bordado.
Con la aguja #11 e hilo blanco procedí a realizar el bordado disperso sobre la hoja.
De la misma manera, realizamos este paso en las 3 piezas que deshilachamos.
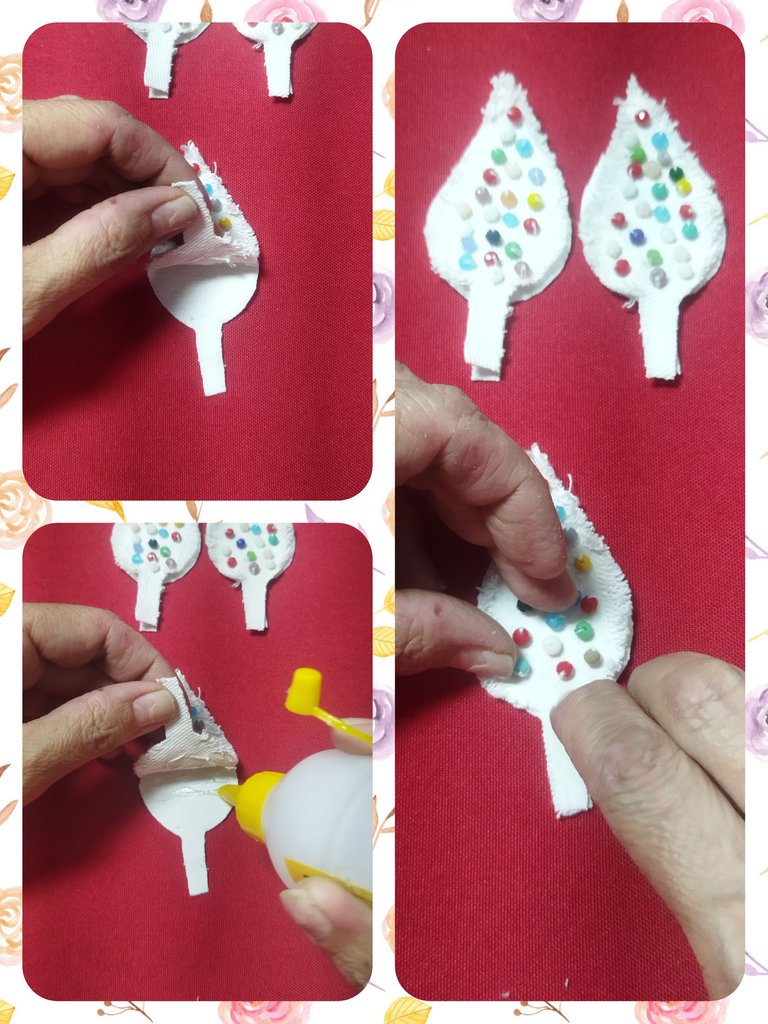
Now what we will do is cover the back of the embroidery with the other 3 pieces that we made. For this we will use liquid silicone. We join the pieces that are aligned and proceed to glue.
Ahora lo que haremos será cubrir con las otras 3 piezas que realizamos la parte trasera del bordado. Para ello utilizaremos el silicón líquido. Unimos las piezas que queden alineadas y procedemos a pegar.
FORMING THE TENDENCIES AND NECKLACE
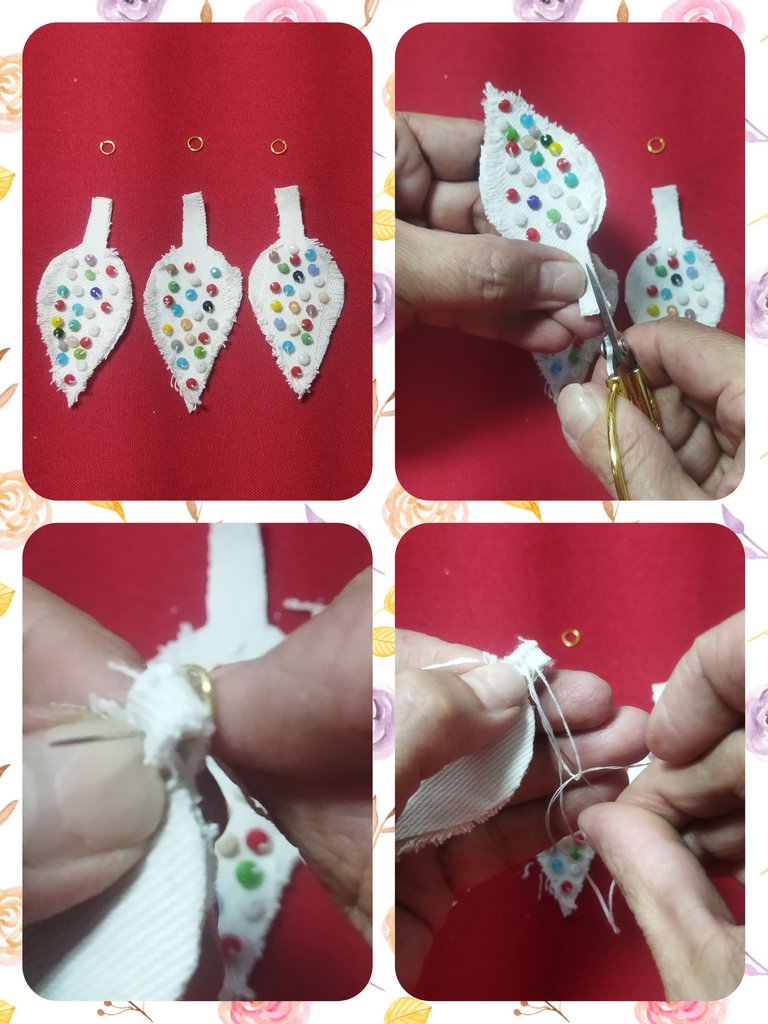
Once the design is finished, we take each of them and proceed to place the rings. For this process we are going to cut the fabric until we reach the thickness necessary to pass it through the hoop.
Then with thread and needle we sew to secure it.
FORMANDO LOS ZARCILLOS Y COLLAR
Una vez terminado el diseño tomamos cada uno de ellos y procedemos a colocar las argollas. Para este proceso vamos a recortar la tela hasta alcanzar el grosor necesario para pasarlo por el aro.
Luego con hilo y aguja cosemos para asegurarlo.
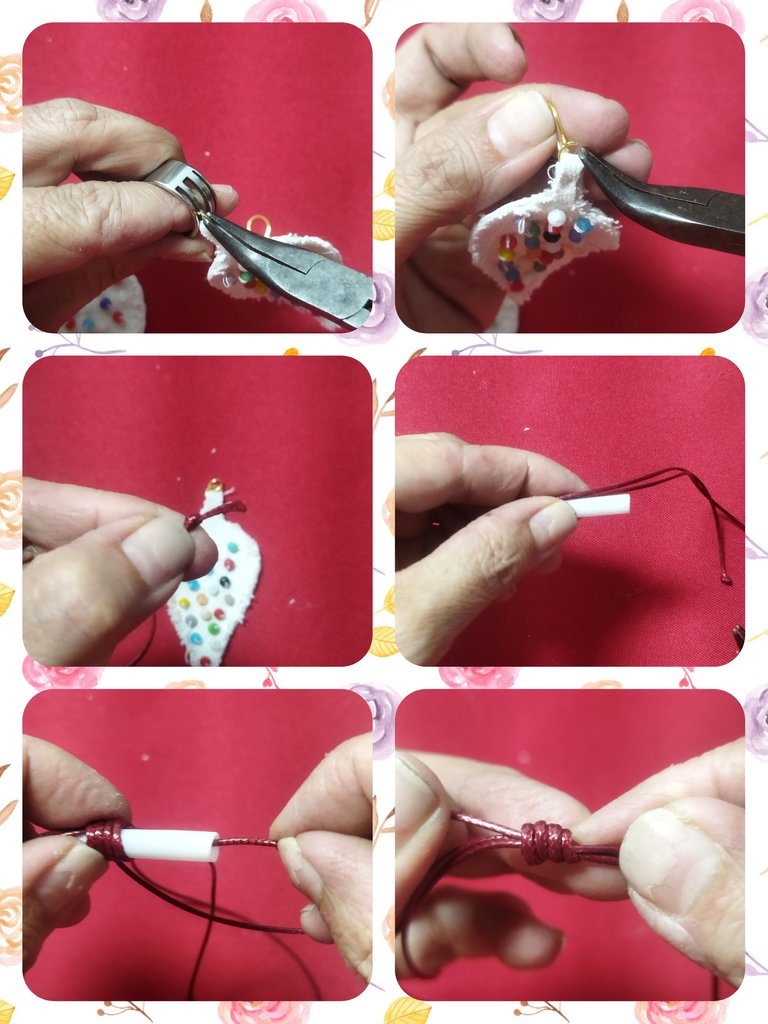
We take the earring hooks and place them on each of the leaves, thus forming the tendrils.
And for the necklace, we pass the snakeskin cord through the ring, we make a knot at each of the ends and for the insurance we are going to make the Franciscan knot.
Tomamos los anzuelos para aretes y colocamos en cada una de las hojas, formando así los zarcillos.
Y para el collar, pasamos el cordón de piel de serpiente por el aro, realizamos un nudo en cada uno de los extremos y para el seguro vamos a realizar el nudo franciscano.
PROJECT COMPLETED
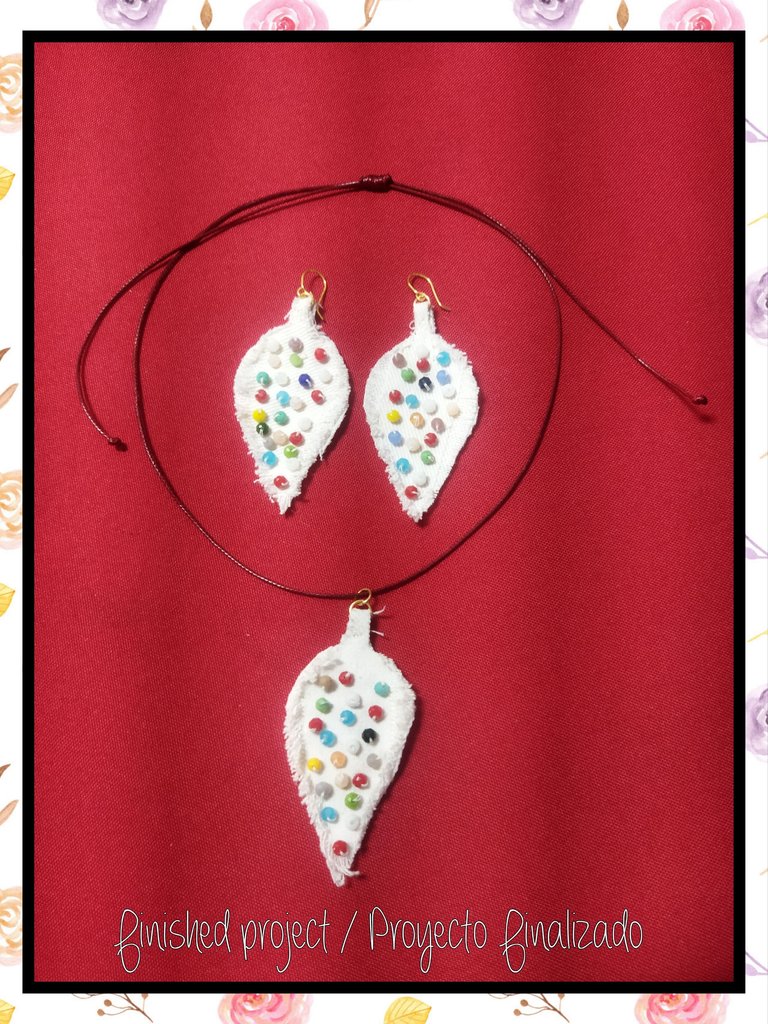
This is how my project ends. I must tell you that it was a very fun and rewarding workshop, despite being simple pieces, the result is satisfactory and very beautiful.
PROYECTO FINALIZADO
Así termino mi proyecto. Debo decirles que fue un taller muy divertido y gratificante, a pesar de ser unas piezas sencillas, el resultado es satisfactorio y muy bonito.
Special thanks to @katiuskamata for making our day a great feedback. Hoping it will be repeated more frequently. It's a pleasure to work with you.
Agradecimientos especiales para @katiuskamata por hacer de nuestro día un grandioso feedback. Esperando que se repita con más frecuencia. Es un placer trabajar contigo.
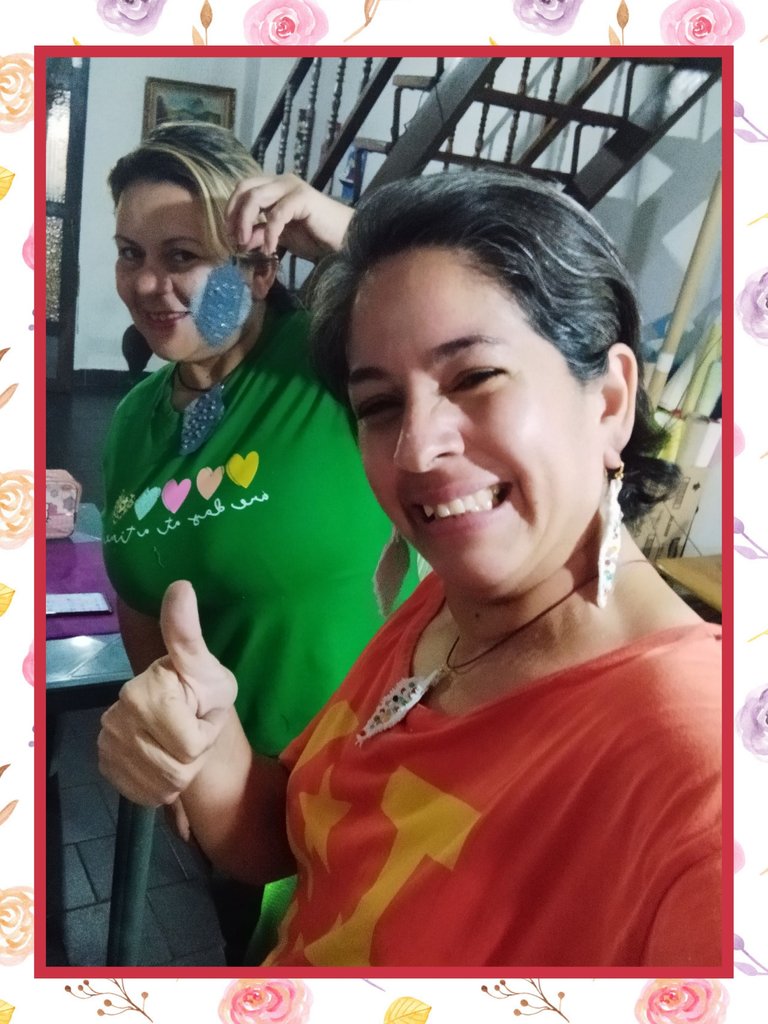
Likewise for @creacioneslelys. My sister, every day at your side fills me with joy. Thank you for all the moments shared.
De igual manera para @creacioneslelys. Hermana mía, cada día a tu lado me llena de alegría. Gracias por todos los momentos compartidos.
