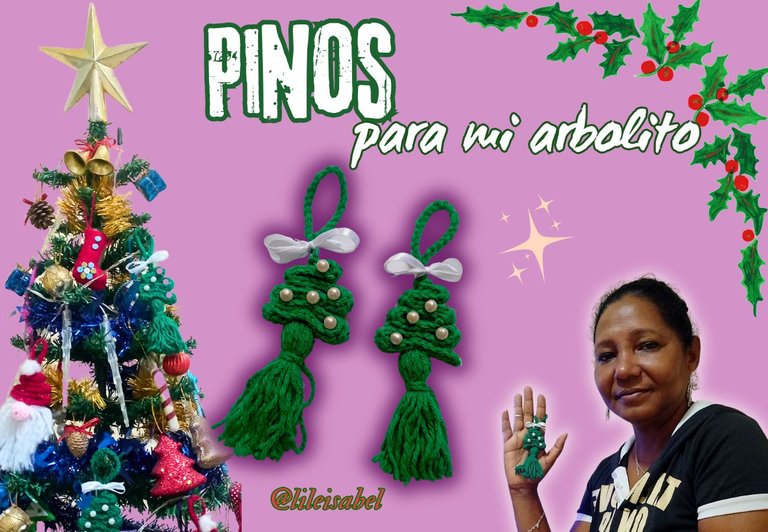
Hola amigos de Hive DIY,
Me uno a esta comunidad para participar nuevamente en la iniciativa de Especial Decoración de la Navidad. Esta época del año es muy bonita y llena de colores 🌈, así que este año decidí realizar algunos adornos para mi árbol de Navidad. Me gusta mucho crear objetos, y si son navideños, ¡mucho más! Todos nos preparamos para cerrar el año e iniciar con nuevos bríos el nuevo año.
En mi caso, disfruto mucho haciendo mis propios adornos navideños. Creo que los adornos hechos a mano tienen un encanto único y aportan un toque personal a la decoración. Además, hacer estos adornos es una actividad relajante y gratificante que puedo compartir con mi familia. Ver el árbol decorado con piezas que hemos creado con nuestras propias manos es una experiencia muy especial y entrañable. Cada pieza cuenta una historia y refleja el cariño y esfuerzo que hemos puesto en su creación.
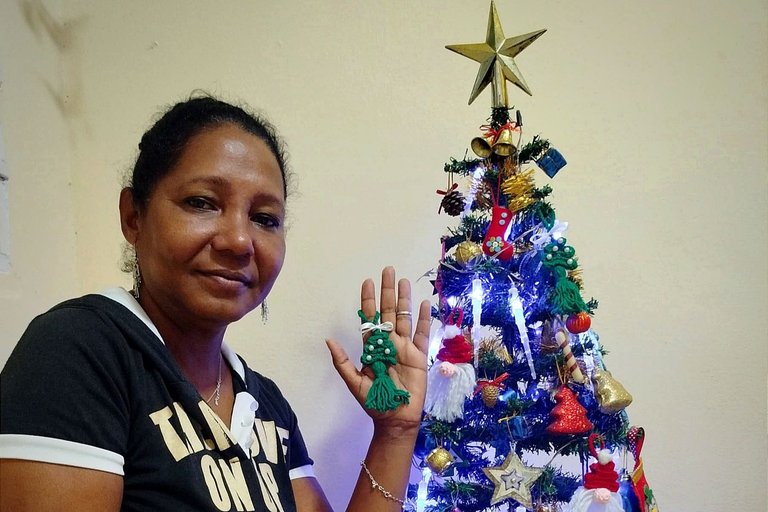
Les muestro los adornos navideños que hice hace unos días. En esta ocasión, quería traeros unos adornos para mi árbol de Navidad que representaban pinos navideños. Los hice a crochet, una técnica que me gusta mucho porque nos permite crear objetos muy duraderos y de buena calidad. El crochet es una técnica versátil que nos permite dar rienda suelta a nuestra imaginación y crear piezas únicas y personalizadas.
Así que, sin más dilación, les muestro los materiales y el proceso de elaboración de este adorno para mi árbol.
Hello friends of Hive DIY,
I'm joining this community to participate again in the Special Christmas Decoration initiative. This time of year is very nice and full of colors 🌈, so this year I decided to make some decorations for my Christmas tree. I really like creating objects, and if they are Christmas-themed, even more so! We all get ready to close the year and start the new one with new energy.
In my case, I really enjoy making my own Christmas decorations. I think that handmade decorations have a unique charm and add a personal touch to the decoration. In addition, making these decorations is a relaxing and rewarding activity that I can share with my family. Seeing the tree decorated with pieces that we have created with our own hands is a very special and endearing experience. Each piece tells a story and reflects the love and effort that we have put into its creation.
I'm showing you the Christmas decorations that I made a few days ago. On this occasion, I wanted to bring you some decorations for my Christmas tree that represented Christmas pines. I crocheted them, a technique that I really like because it allows us to create very durable and good quality objects. Crochet is a versatile technique that allows us to give free rein to our imagination and create unique and personalized pieces.
So, without further ado, I show you the materials and the process of making this ornament for my tree.
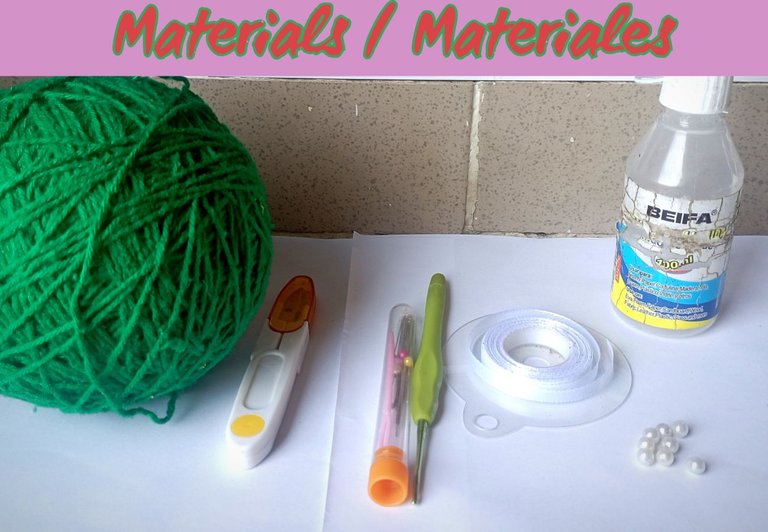
Materiales / Materials
- Hilos de lana verde oscuro
- Cinta blanca delgada
- Perlas blancas
- Aguja de tejer o crochet
- Aguja lanera
- Tijeras
- Silicona líquida
- Dark green wool threads
- Thin white ribbon
- White pearls
- Knitting or crochet needle
- Wool needle
- Scissors
- Liquid silicone
Proceso de elaboración/ Process of making
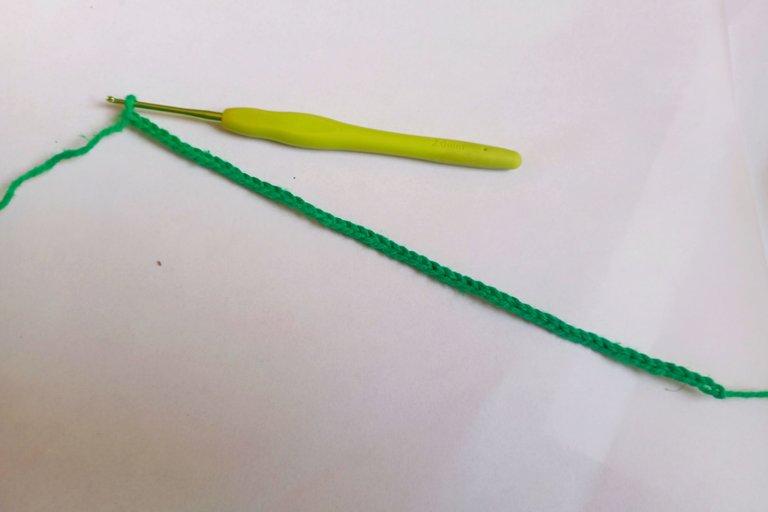
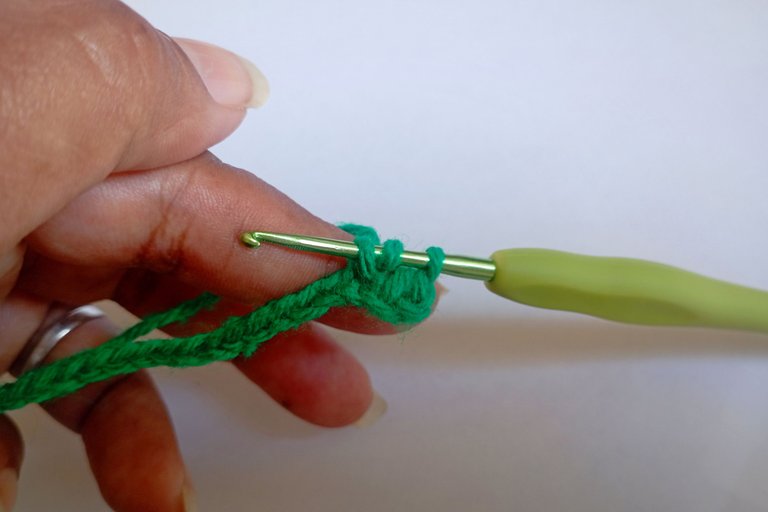
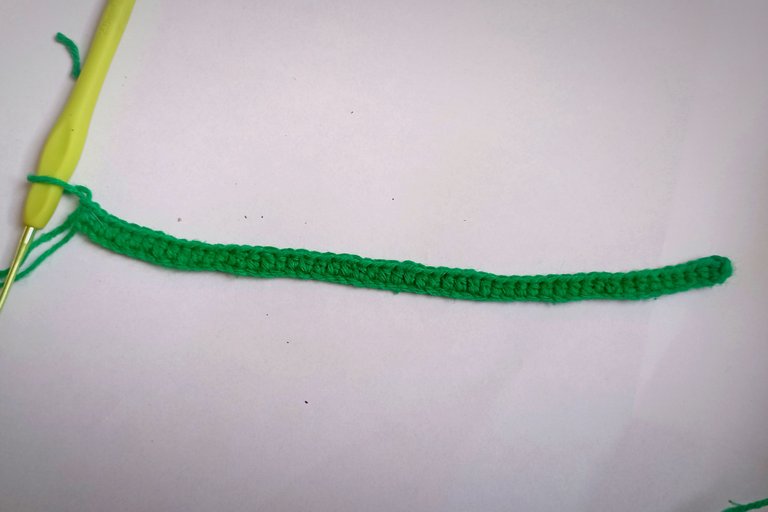
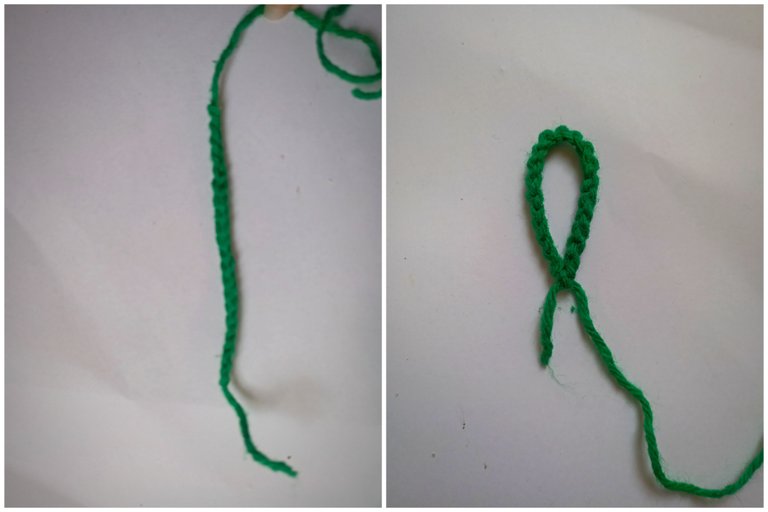
Comencé haciendo una cadeneta de 50 puntos y sobre ella un medio punto alto en cada punto, realizando una franja verde. Esta franja será la base de nuestro adorno.
I started by making a chain of 50 stitches and over it a half double crochet in each stitch, making a green stripe. This stripe will be the base of our ornament.
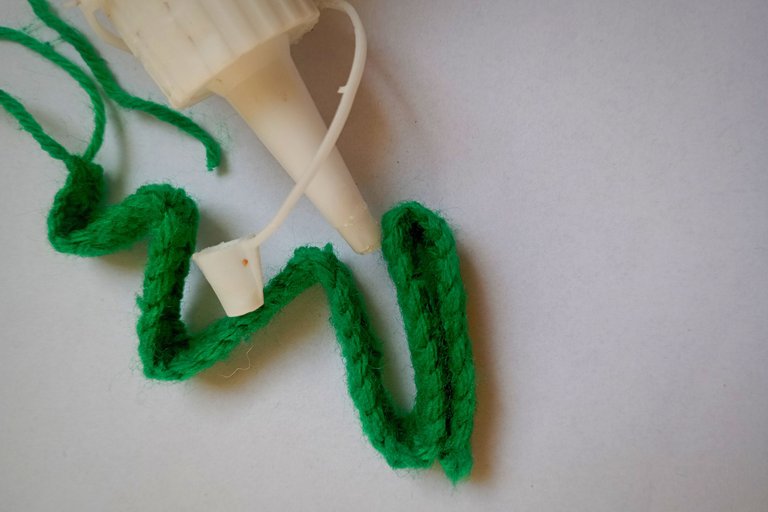
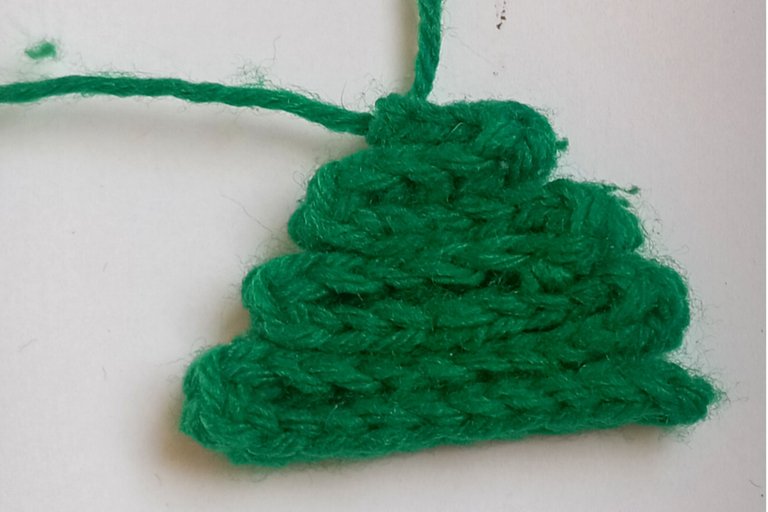
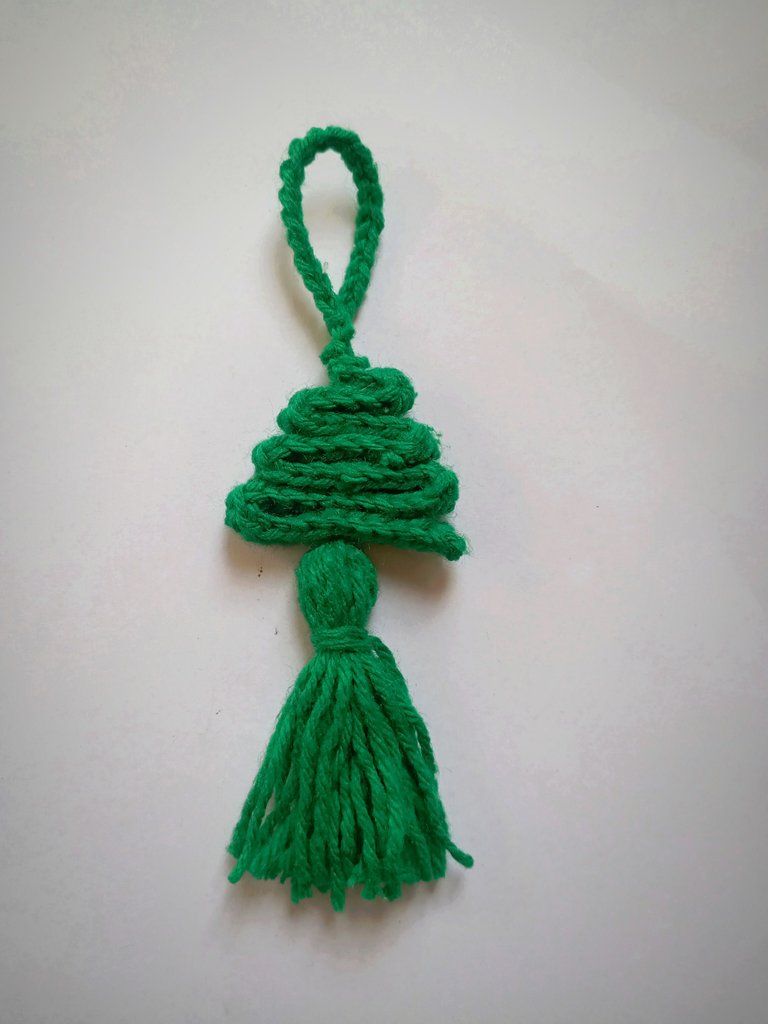
A continuación, tomé la franja tejida verde y la doblé en zigzag de mayor a menor, formando un triángulo. Este triángulo será la forma del arbolito de navidad. Pegué cada doblez con la silicona líquida para asegurarme de que mantuviera su forma.
Next, I took the green knitted strip and folded it in a zigzag pattern from largest to smallest, forming a triangle. This triangle will be the shape of the Christmas tree. I glued each fold with liquid silicone to make sure it kept its shape.
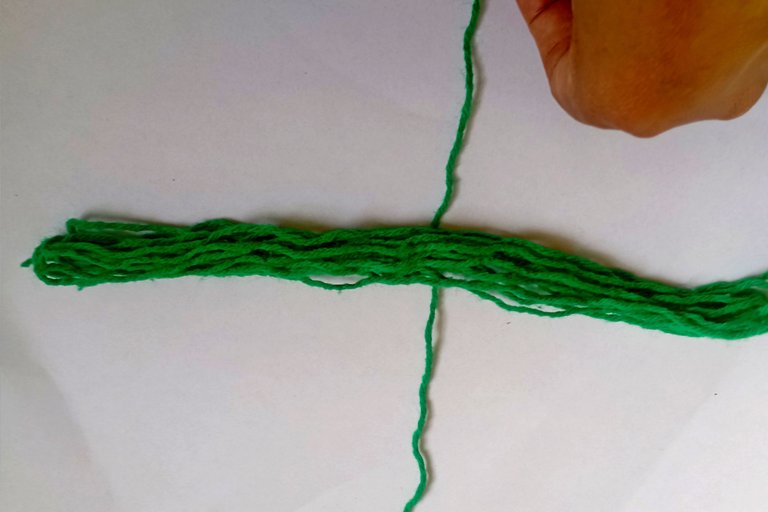
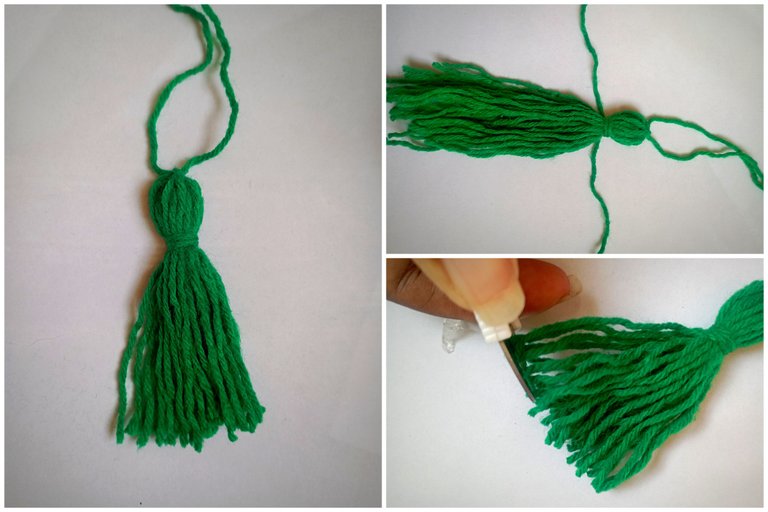
Uní 15 hilos verdes cortados a una medida de 12 centímetros. Los até todos juntos en el centro con uno de ellos y luego los até en la parte superior, formando una borla. Me gusta mucho este adorno porque le da un toque especial y diferente.
I joined 15 green threads cut to a length of 12 centimeters. I tied them all together in the center with one of them and then tied them at the top, forming a tassel. I really like this ornament because it gives it a special and different touch.
Fijé la borla a la parte superior del pino con una aguja lanera, sacando el hilo por la parte superior, aprovechando para sujetarlo a la anilla para colgarlo. Así me aseguro de que la borla quede bien sujeta y no se desprenda fácilmente.
I attached the tassel to the top of the pine tree with a yarn needle, pulling the thread out through the top, and then used it to attach it to the ring for hanging. This ensures that the tassel is secure and won't come off easily.
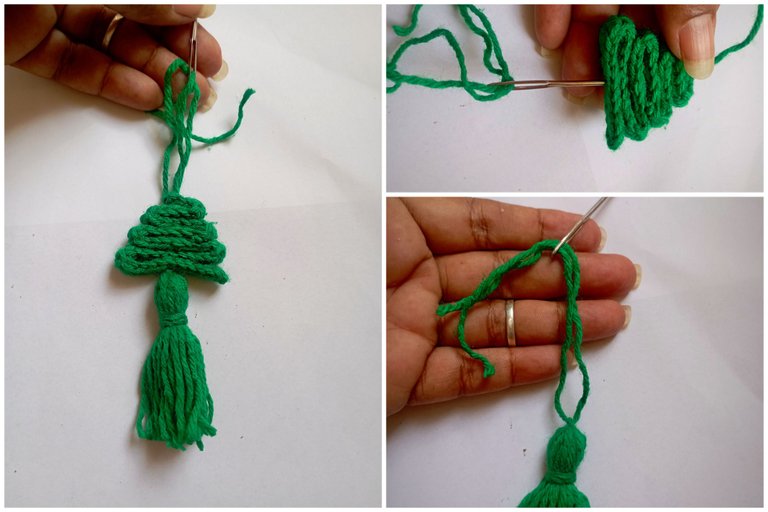
Para colgar el pino en el árbol hice una cadeneta de 15 puntos, la uní por los extremos para hacer el asa y luego la uní a la copa del pino.
To hang the pine tree I made a chain of 15 stitches, joined it at the ends to make the handle and then attached it to the top of the pine tree.
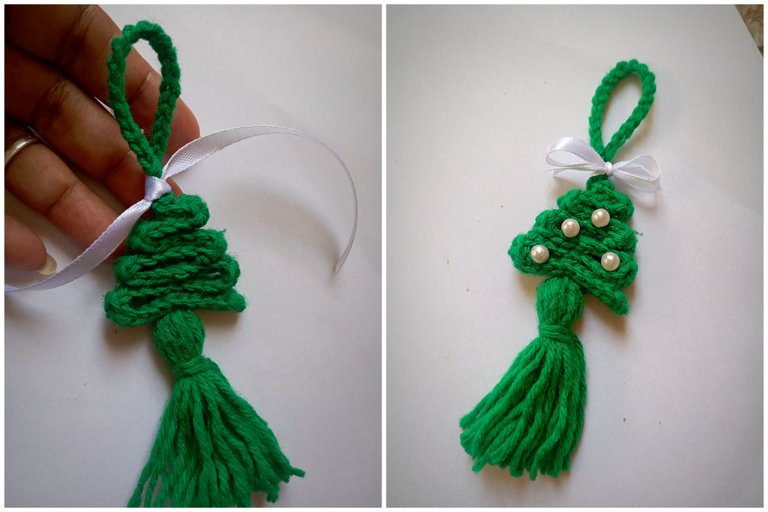
Utilizando silicona, pegué unas perlas decorativas al pino para darle un toque de brillo y elegancia. Además, con la cinta color blanco hice un lazo en la parte superior, tapando la unión del pino y la anilla. Esto no solo disimula la unión, sino que añade un detalle decorativo que hace que el adorno luzca mucho más bonito.
Utilizando silicona, pegué unas perlas decorativas al pino para darle un toque de brillo y elegancia. Además, con la cinta color blanco hice un lazo en la parte superior, tapando la unión del pino y la anilla. Esto no solo disimula la unión, sino que añade un detalle decorativo que hace que el adorno luzca mucho más bonito.
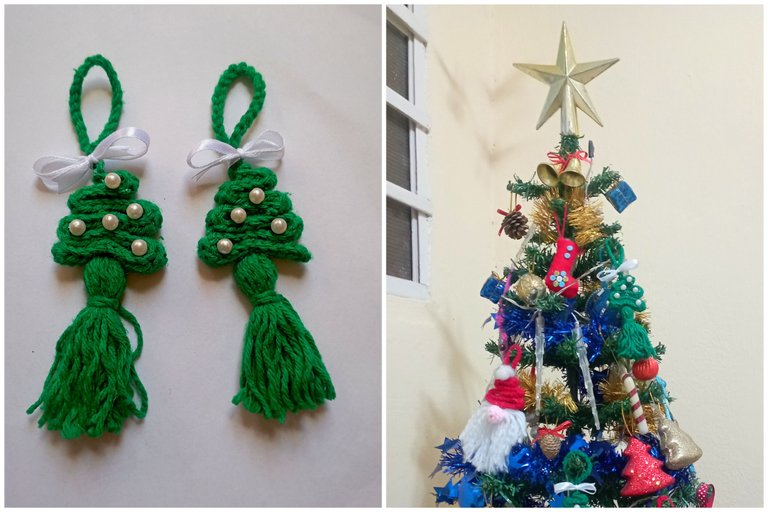
Espero que disfruten de estas creaciones tanto como yo disfruté haciéndolas. Ademas aprovecho para invitar a mi hermana @taniagonzalez y a mis amigas @jordy0827 y @lagoticaderocio. Les deseo a todos unas felices y creativas navidades. ¡Hasta pronto, amigos!
I hope you enjoy these creations as much as I enjoyed making them. I also take this opportunity to invite my sister @taniagonzalez and my friends @jordy0827 and @lagoticaderocio. I wish you all a happy and creative Christmas. See you soon, friends!
Las fotos fueron tomadas con mi teléfono Xiaomi Note 11, unidas y recreadas en canva.
Usar Traductor DeepL
The photos were taken with my Xiaomi Note 11 phone, joined and recreated in canva.
Use Translator DeepL
Posted Using InLeo Alpha
