Hola Bienvenidos. 🤗
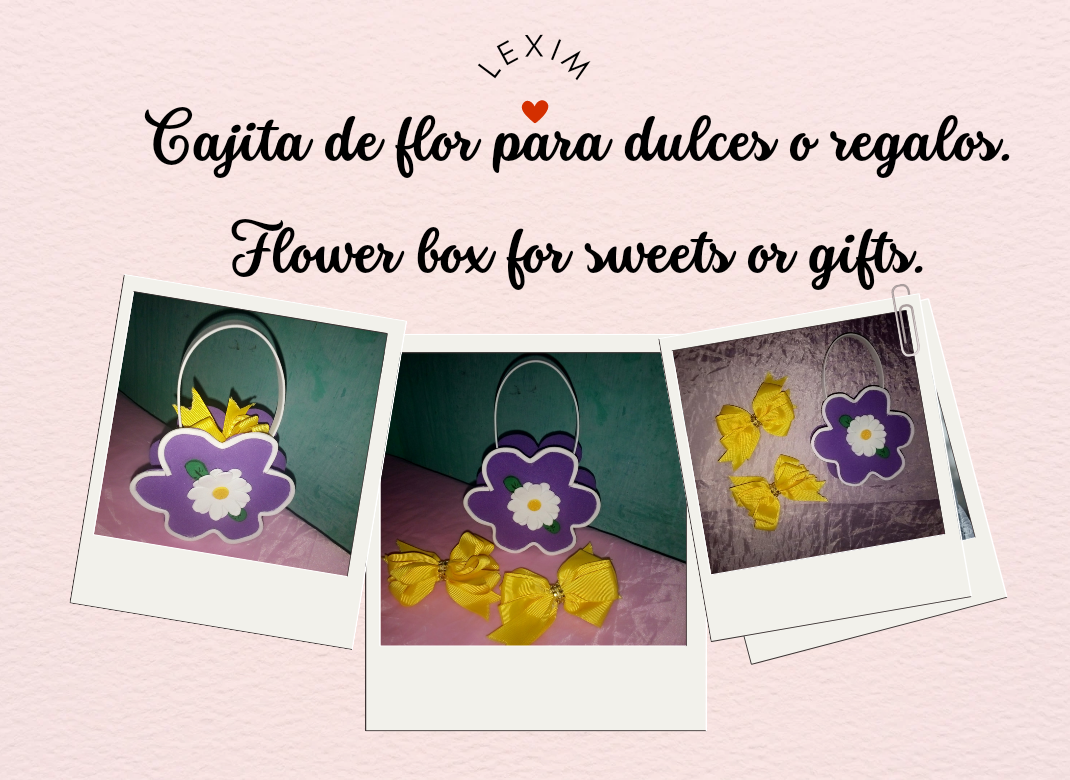
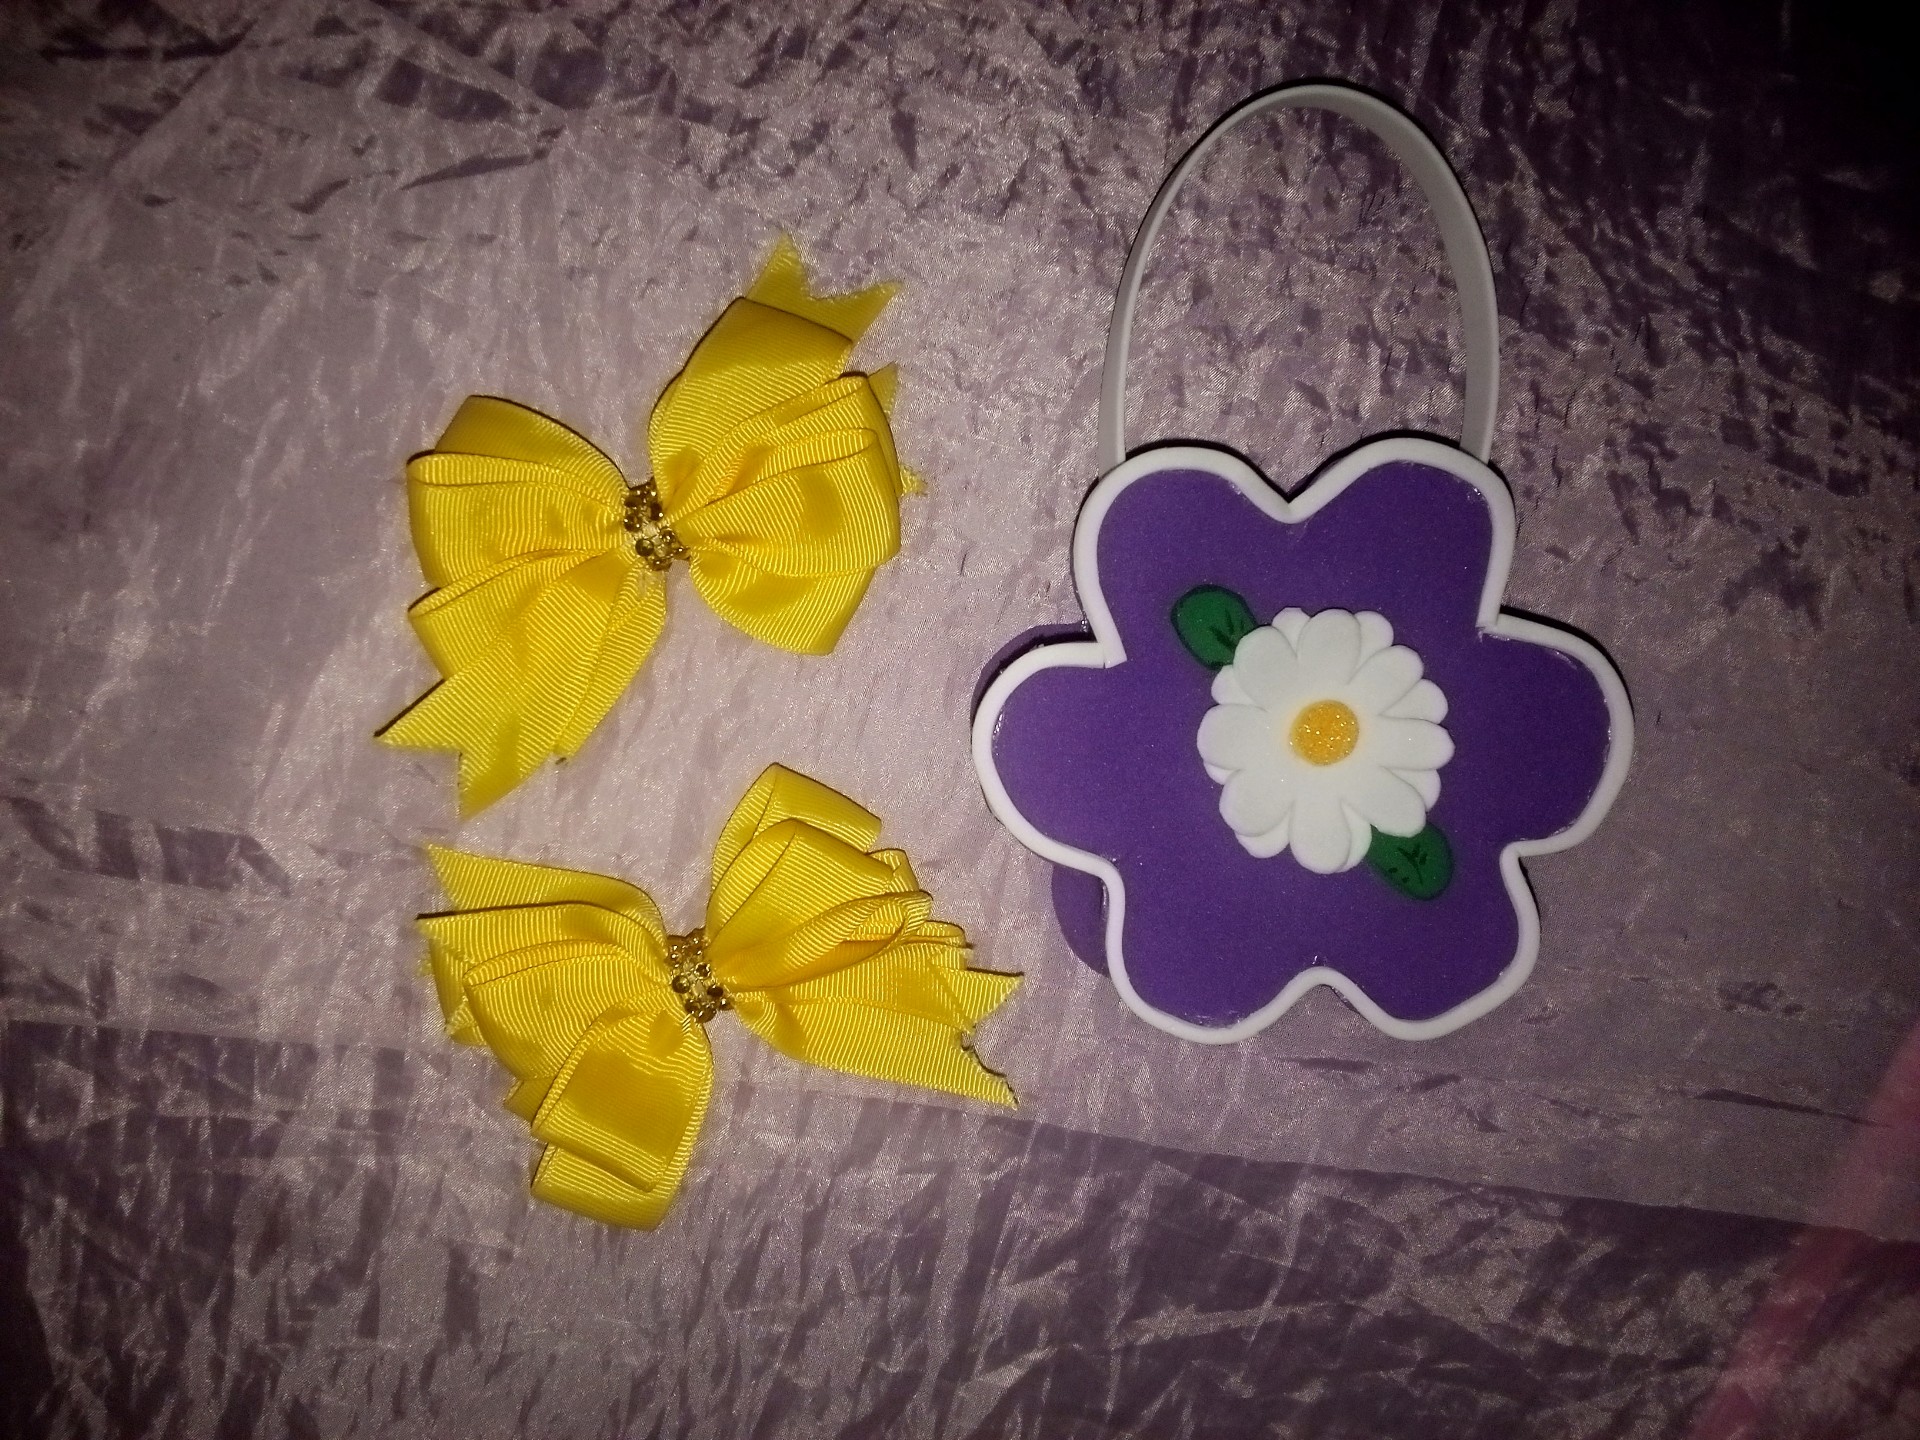
Hello to all dear colleagues who are part of this social network. Today I bring you one of my creative activities that I like to do with much affection for you a step by step of a flower box for gifts and sweets I make it with Eva rubber is very practical and easy to do.
Hola a todos queridos compañeros que hacen parte de esta red social. El día de hoy les traigo una de mis actividades creativas que me gusta hacer con mucho cariño para ustedes un paso a paso de una cajita de flor para regalos y dulces lo realize con goma Eva es muy práctico y fácil de hacer.

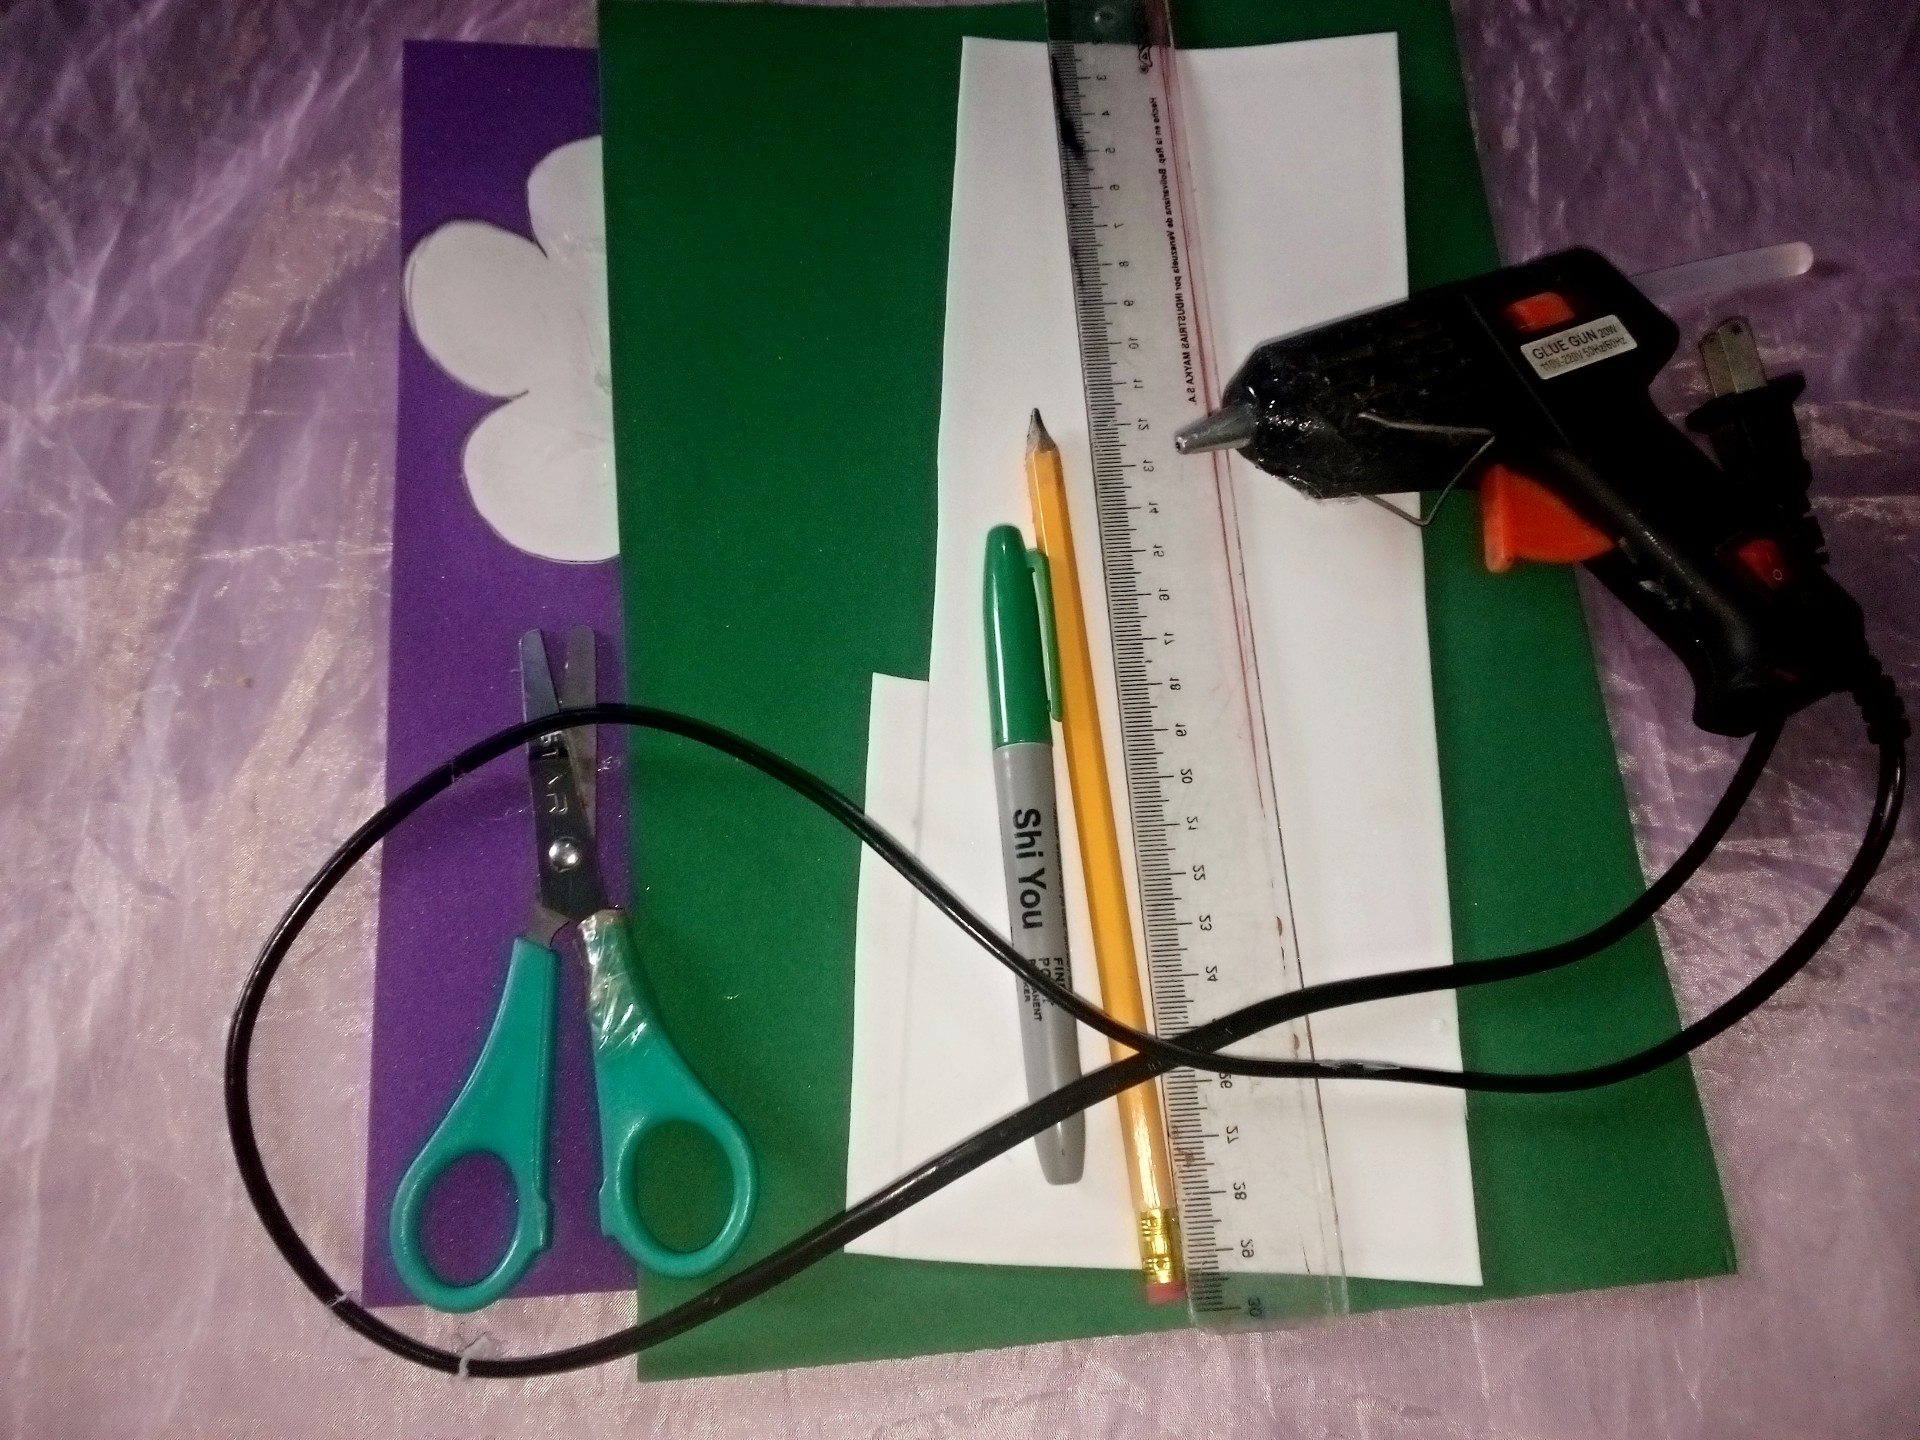
Materials.
Materiales.

- purple, green, white and yellow eva glue
- hot silicone
- ruler
- pencil
- felt-tip pen
- scissors
- mold
- Goma Eva morado, verde, blanco y amarillo
- silicón caliente
- regla
- lápiz
- rotulador
- tijera
- molde

Step by step.
Paso a paso.

Paso 1. // Step 1.
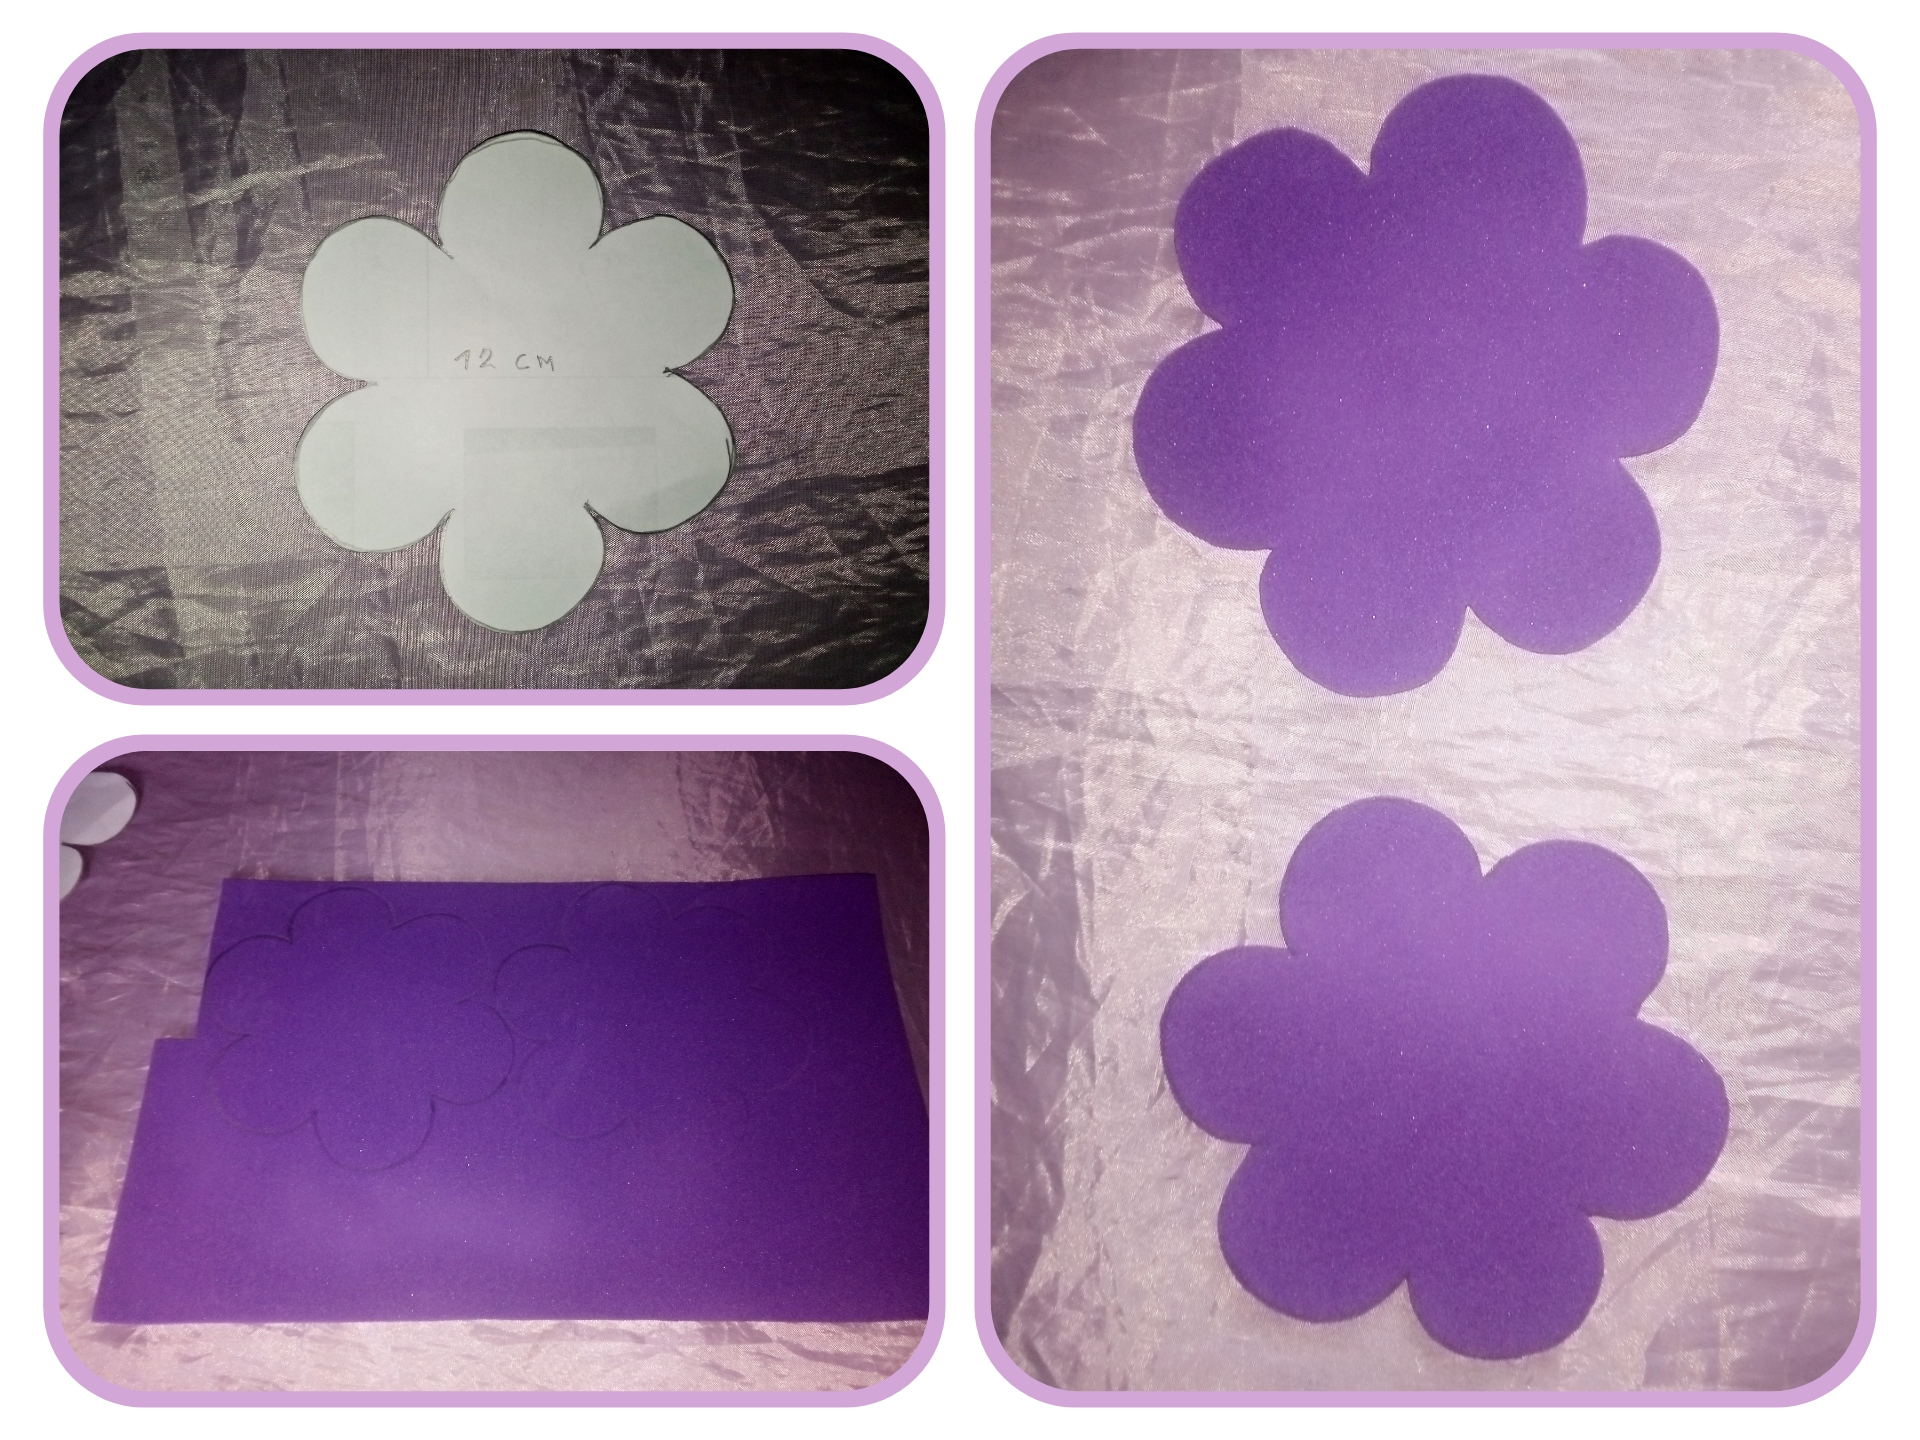
Take the mold of the flower and choose a color of Eva rubber I chose a purple but you can be the color we have or we like and draw the flower twice. <
Toma el molde de la flor y escoje un color de goma Eva yo eleji un morado pero puedes ser del color que tengamos o nos guste y dibuja la flor dos veces.
Paso 2. // Step 2
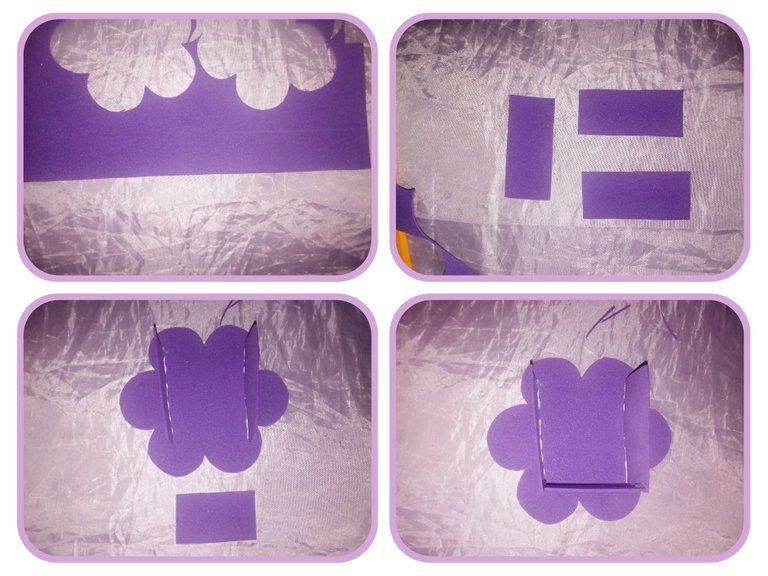
To form the box, cut three 3 x 6 centimeter rectangles with the purple Eva rubber and glue the three rectangles to a flower with hot silicone, placing the other part of the flower on top and glue with silicone.
Para forma la cajita con la goma Eva morada corta tres rectángulo de 3 x 6 centímetros y pega a una flor los tres rectángulos con silicón caliente colocando encima la otra parte de la flor y pega con silicón.
Paso 3. // Step 3.
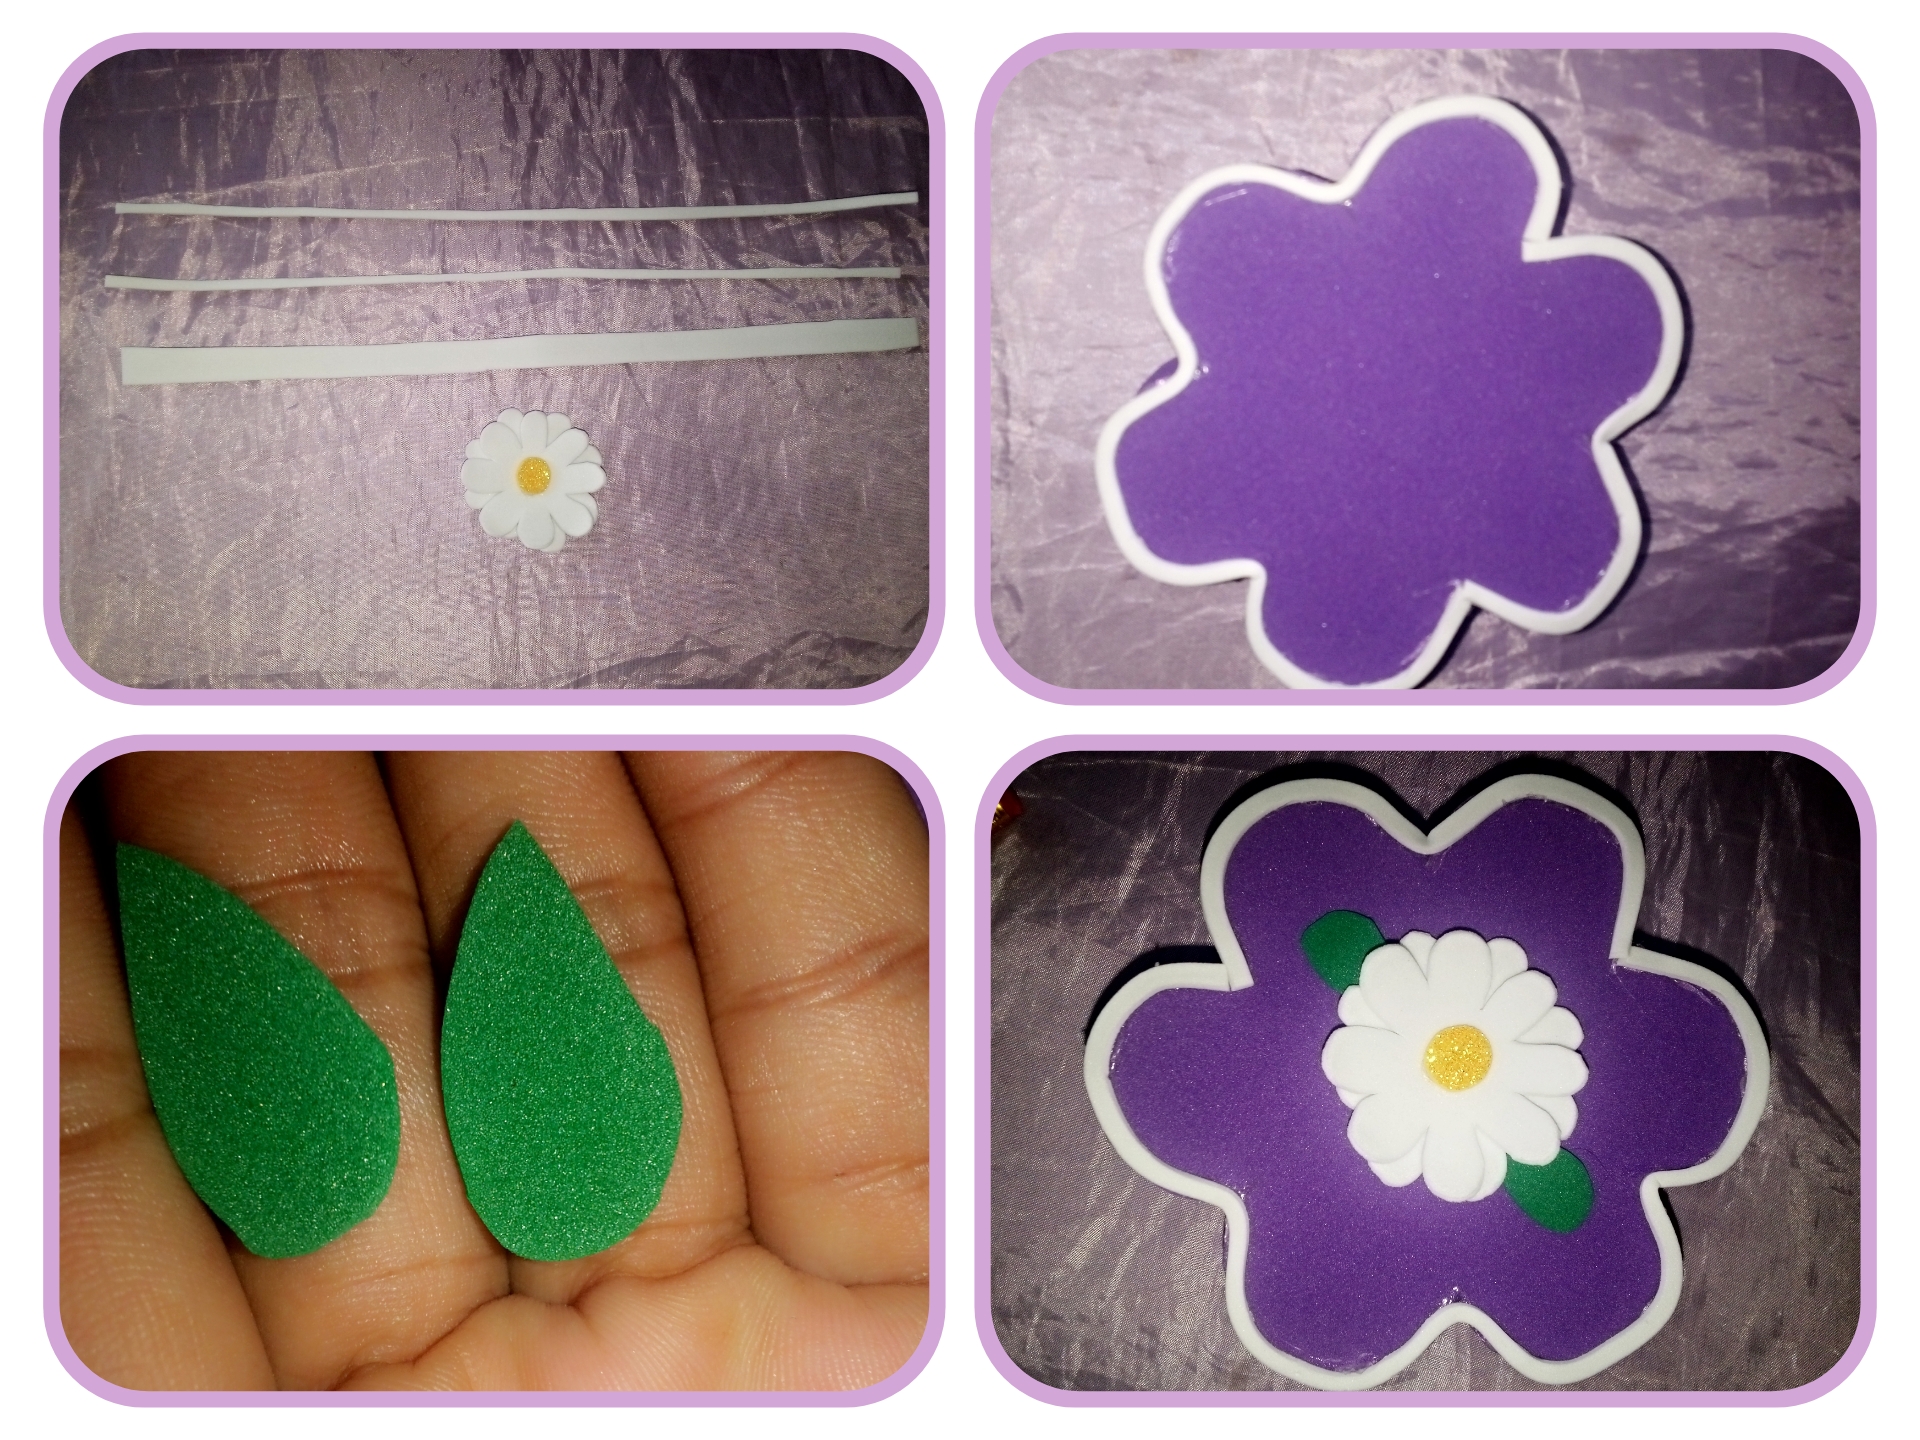
With the white Eva rubber cut a thin strip of 0.5 centimeters for the edge of the flower also the handle and make a pretty flower to decorate the box with two green leaves with the green marker draw the stripes of the leaf.
Con la goma Eva blanca corta una tira fina de 0,5 centímetros para el borde de la flor también el asa y haz una linda flor para decorar la cajita con unas dos hojitas de color verde con el rotulador verde dibuja las ralla de la hoja.
Paso 4. // Step 4.
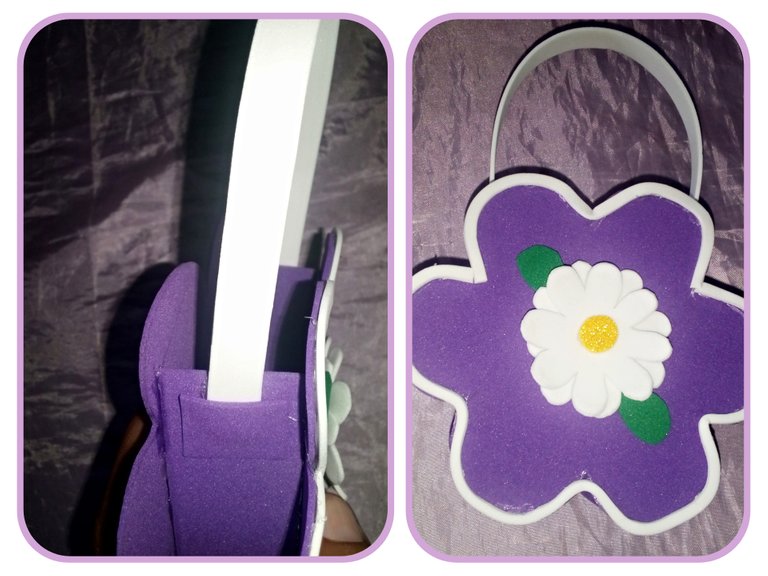
For the last step, glue the handle on the sides and cover with a piece of purple Eva rubber to cover the silicone on the handle. The flower box is now ready.
Para el último paso, pega el asa por los laterales y tapa con un retazo de goma Eva morado para tapar el silicón en el asa. Ya de esta manera queda hecha la cajita de flor.

Final result. // Resultado final.

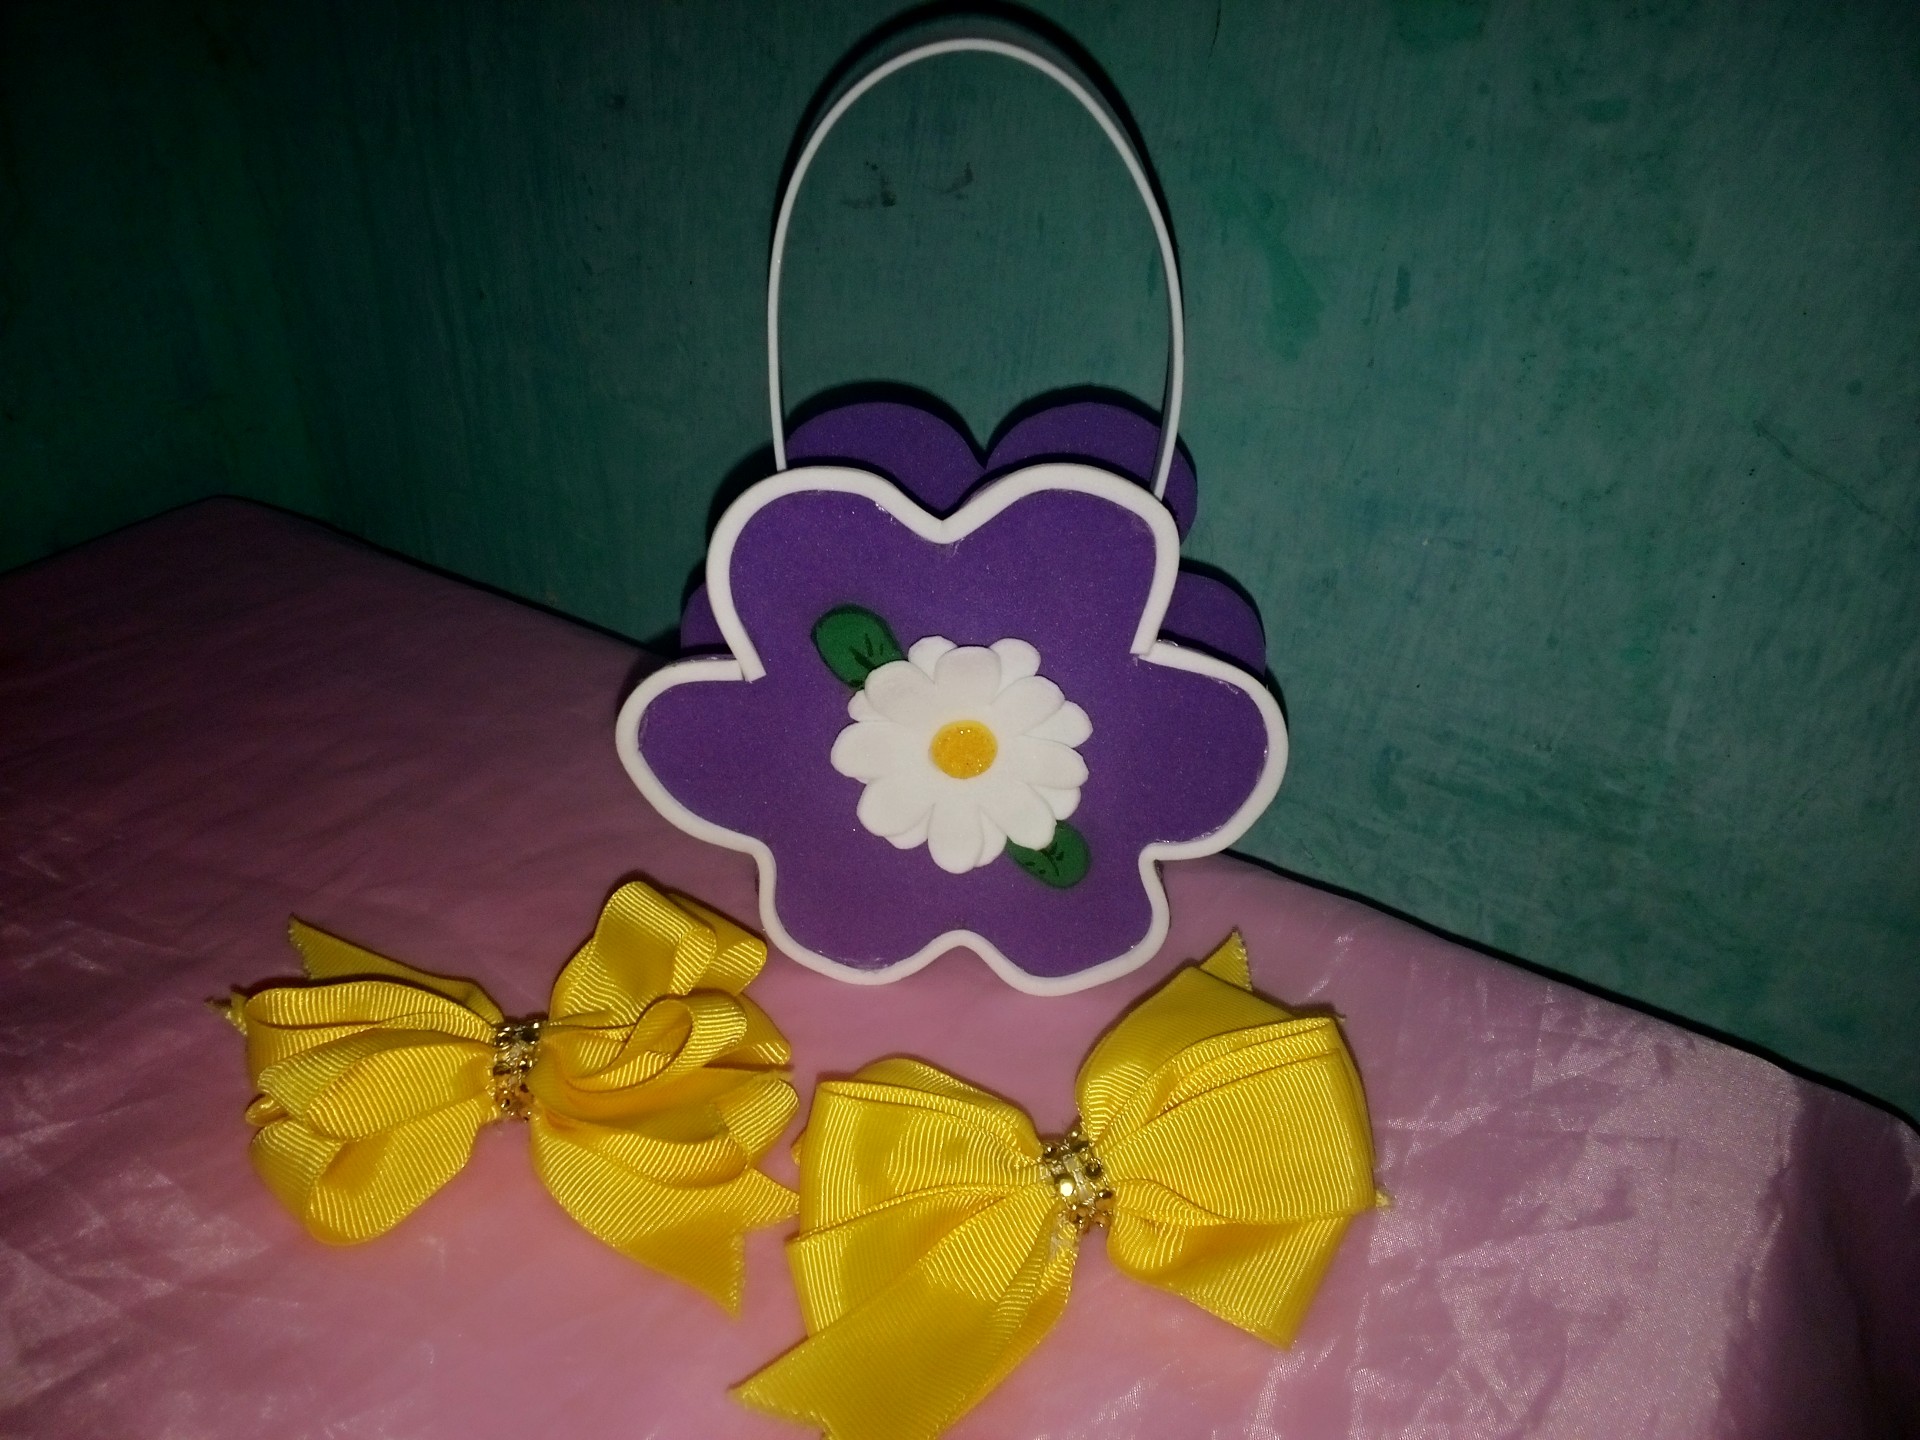
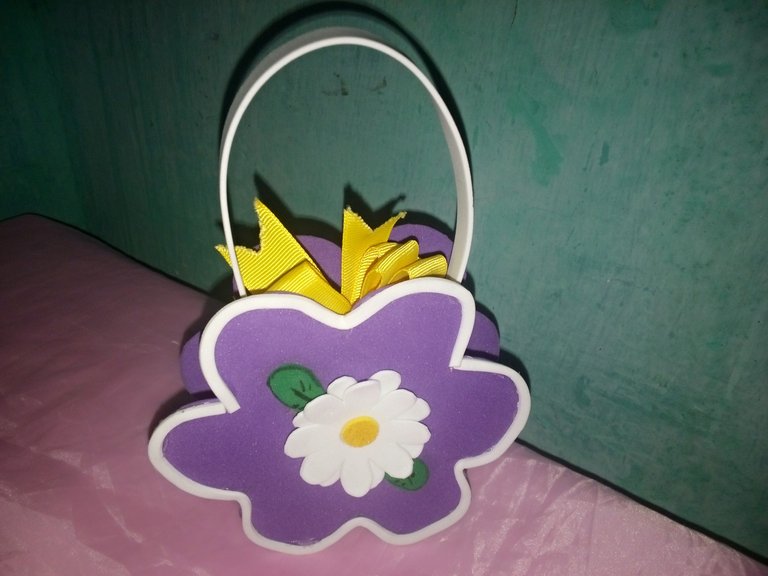
Gracias por visitar.
Todas las fotos y el contenido son originales que hago diariamente para mi blog. Para La traducción uso deepl los marcos y separadores es usado de canva .📷🖼️🤗
Thank you for visiting.
All photos and content are originals that I make daily for my blog. For translation I use deepl the frames and separators are used from canva .📷🖼️🤗


