Hola Bienvenidos. // Hello and welcome. 🤗
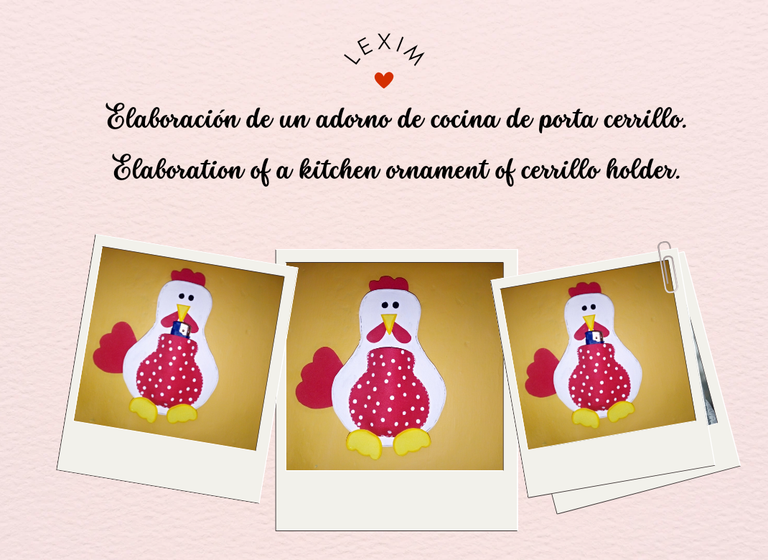
Hello to all dear colleagues who are part of this social network. Today I bring you one of my creative activities that I like to do with love for you a step by step of a nice kitchen ornament of a match holder is super simple and useful to place our match, match or tinder so they say in my country I wanted to do this idea because every time I go to turn on the stove I do not find the match and this is the way to have it in sight and easier to locate it made with recycled cardboard is resistant and durable depends on the care we give to our ornament here I share its elaboration.
Hola a todos queridos compañeros que hacen parte de esta red social. El día de hoy les traigo una de mis actividades creativas que me gusta hacer con mucho cariño para ustedes un paso a paso de un lindo adorno de cocina de un porta cerrillo es súper sencillo y útil para colocar nuestro cerrillo, fósforo o yesquero así le dicen en mi país quise hacer está idea porque cada vez que voy a prender la cocina no encuentro el cerillo y está es la manera de tenerlo a la vista y sea más fácil de ubicarlo lo elabore con cartón reciclado es resistente y dura depende de los cuidado que le demos a nuestro adorno acá les comparto su elaboración.

Materials.
Materiales.

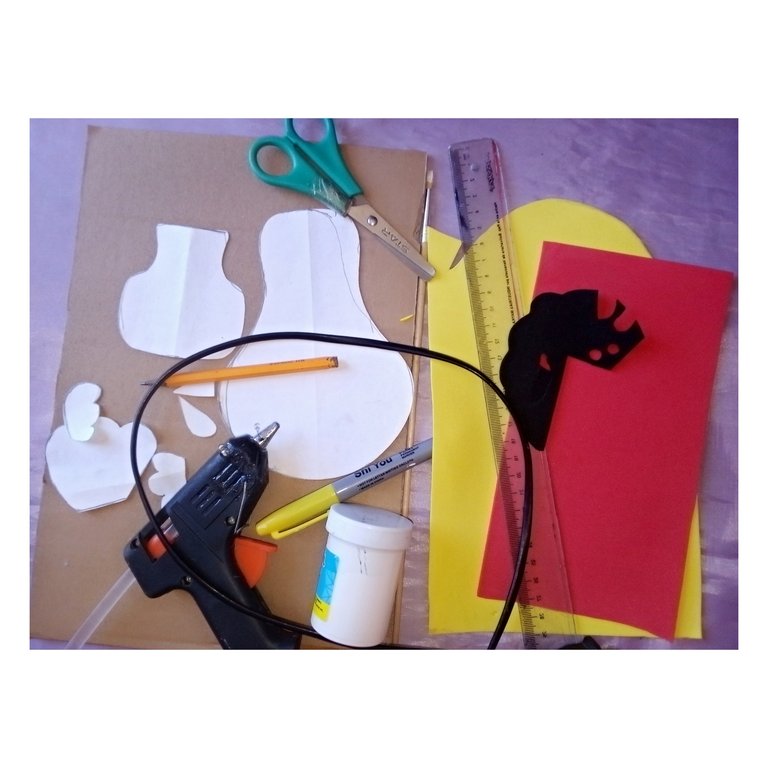
- Cardboard
- Silicone gun
- Scissors
- Pencil
- Mold
- Marker pen
- Pencil
- Ruler
- Black, yellow and red EVA glue.
- White paint.
- Paintbrush.
- Cartón
- Pistola de silicón
- Tijera
- Lápiz
- Molde
- Rotulador
- Lapiz
- Regla
- Goma Eva negro, amarillo y rojo.
- Pintura blanca.
- Pincel.

Step by step.
Paso a paso.

Paso 1. // Step 1.
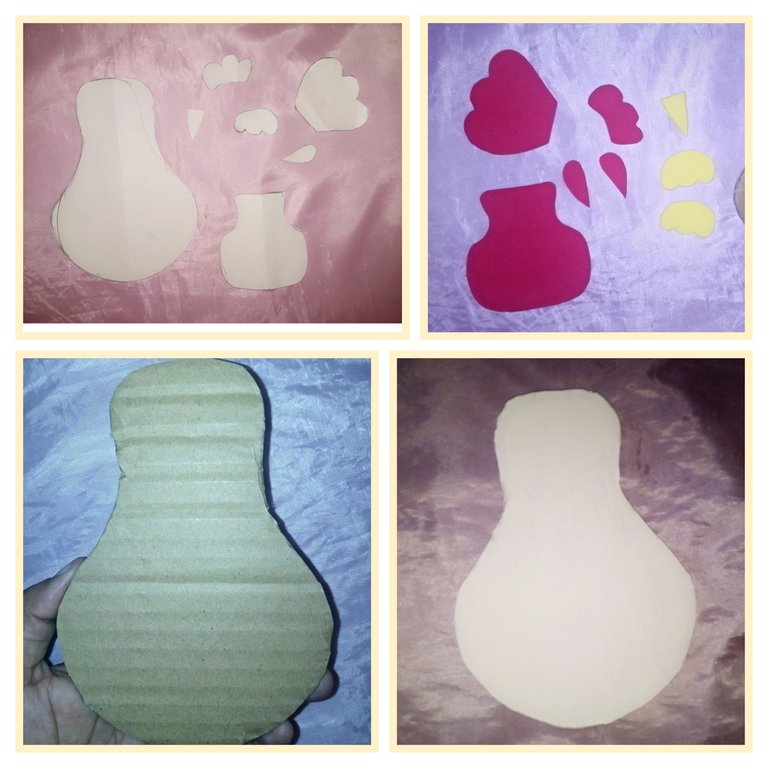
The first thing we are going to do is to take the template of our chick with its parts and we pass it to the Eva rubber of the color that we are going to choose in this case take the red color and draw the crest, the chin, the tail and an eyelash with the yellow color draw the feet and the beak. With the cardboard draw the body of the chicken and cut out and paint the white color.
Lo primero que vamos hacer es tomar la plantilla de nuestro pollito con su partes y lo pasamos a la goma Eva del color que vamos a elegir en este caso toma el color rojo y dibuja la cresta, la barbilla, la cola y un delantar con el color amarillo dibuja los pies y el pico. Con el cartón dibuja el cuerpo del pollo y recorta y pinta del color blanco.
Paso 2. // Step 2
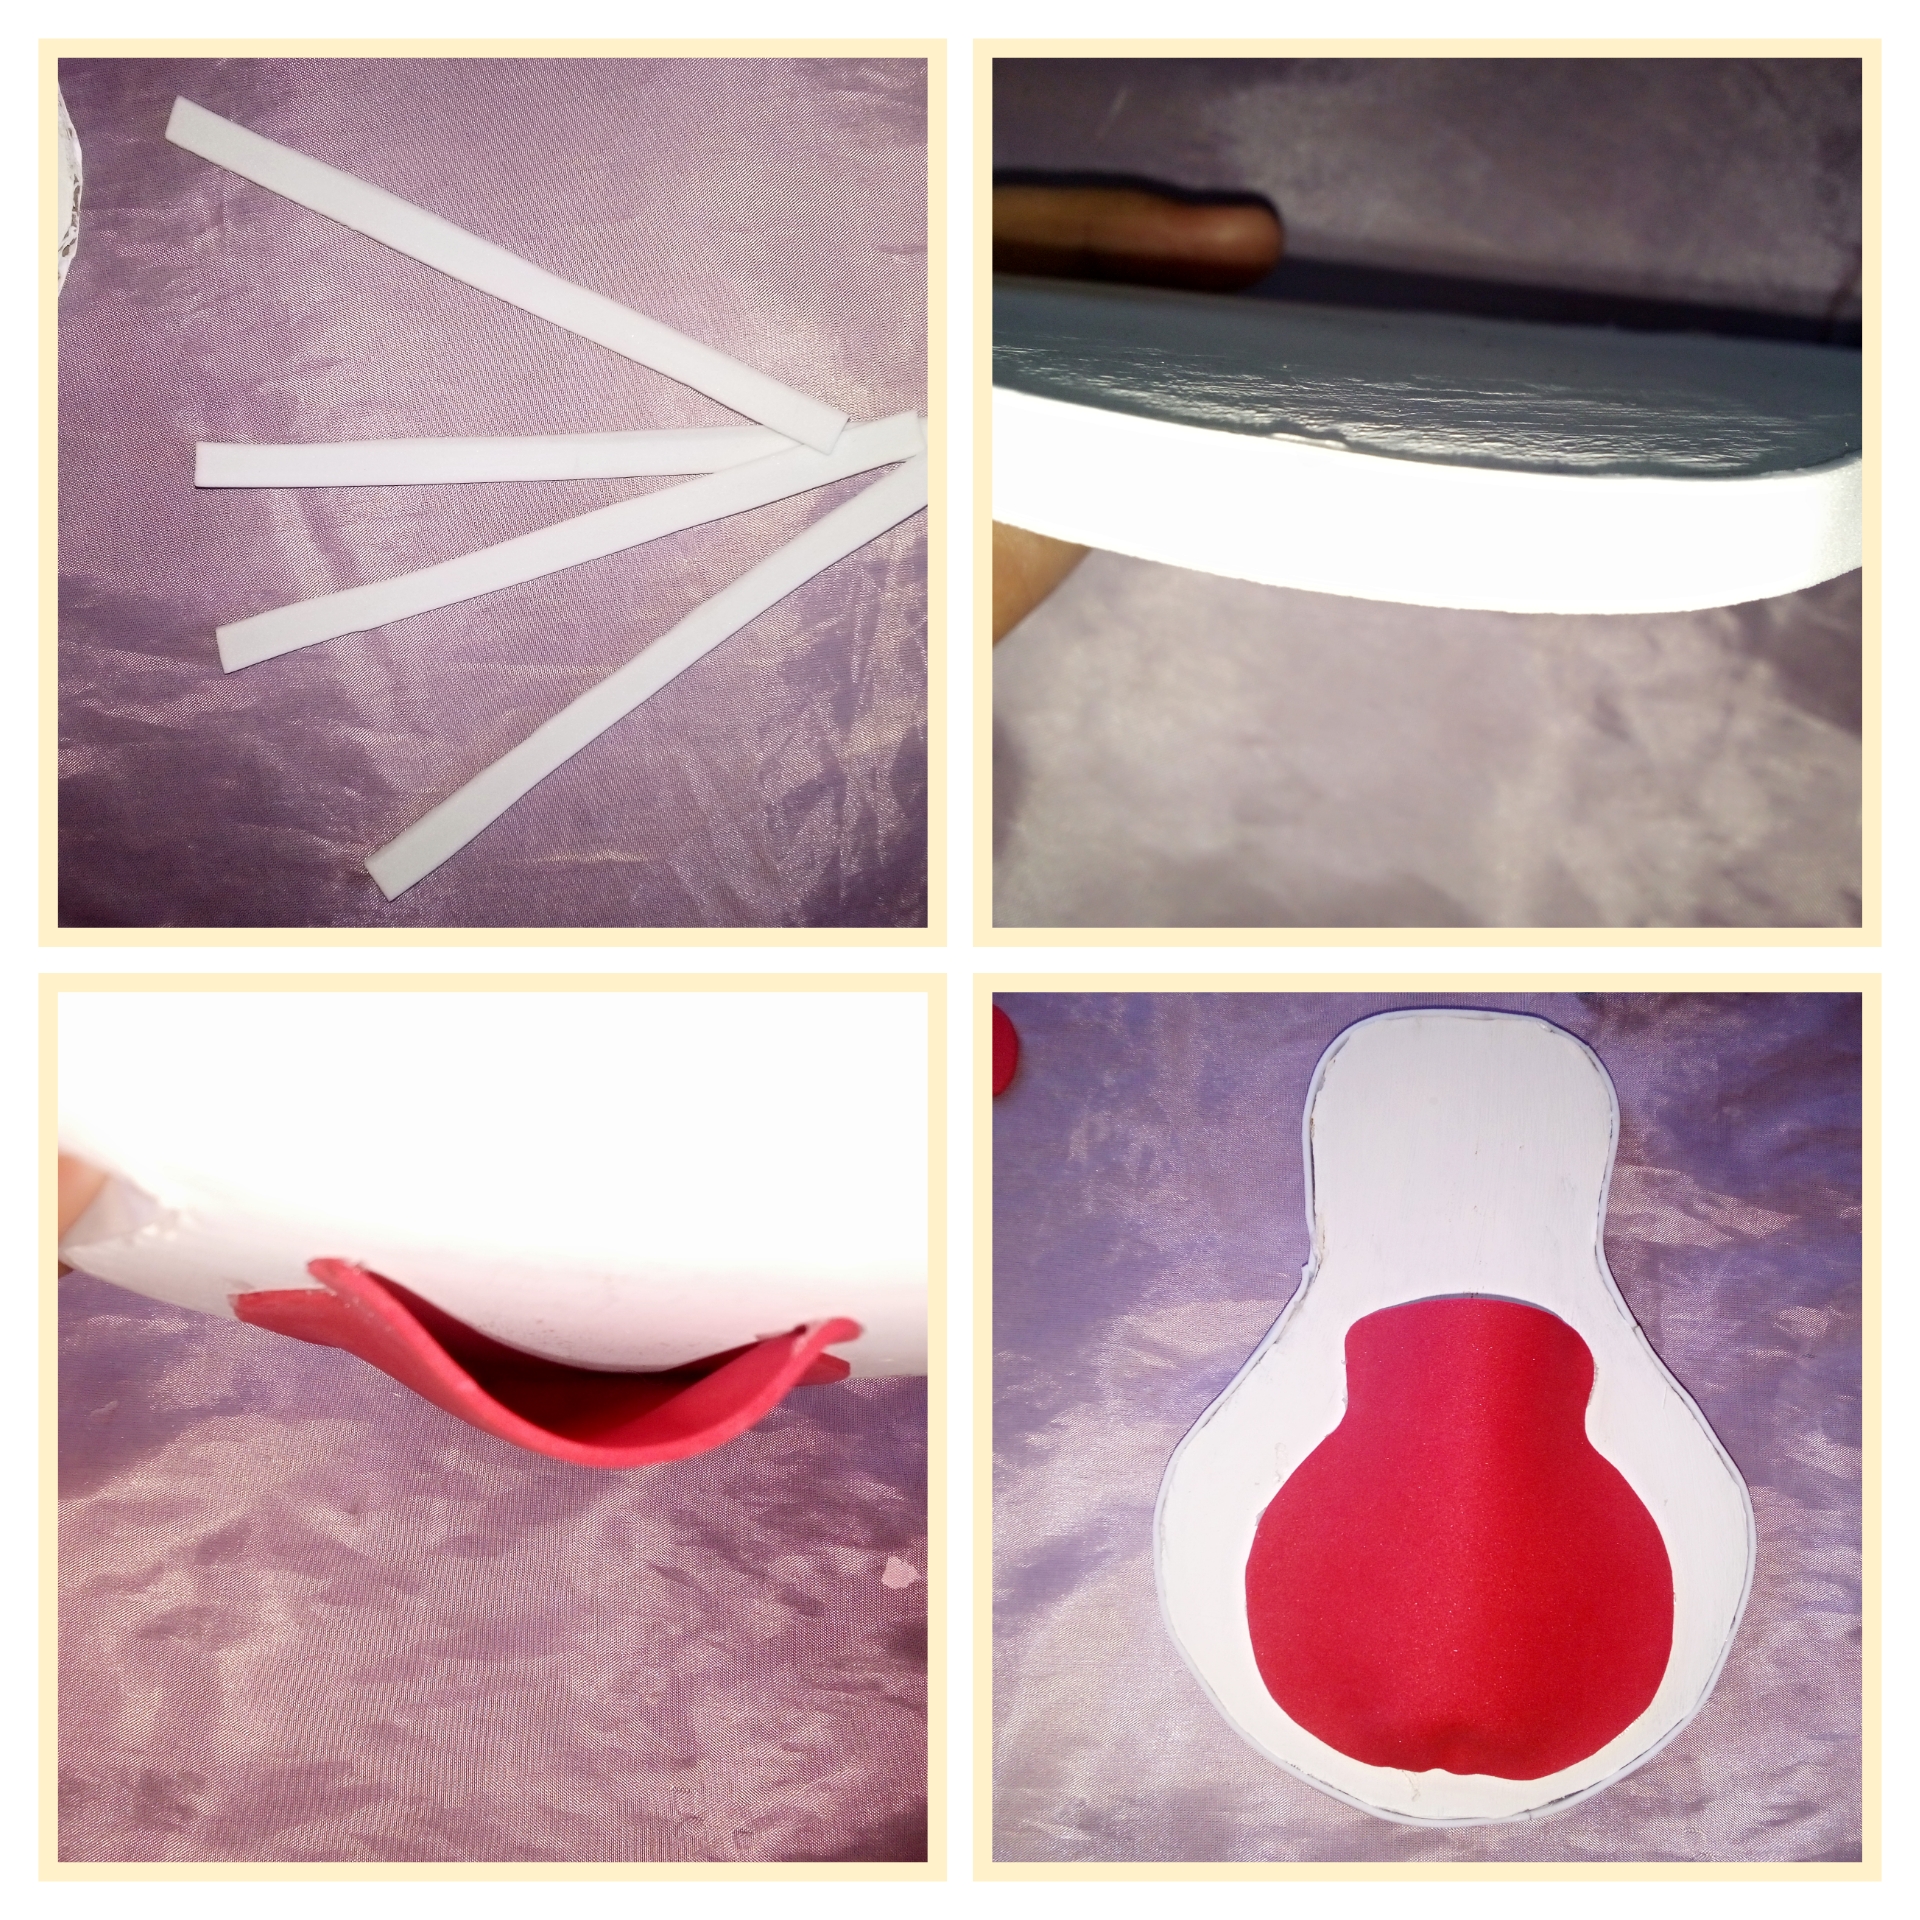
Once the chicken is dry, we will make strips of white Eva rubber to glue around the chick. Glue with hot silicone the edge on the chick leaving a hole for the matchstick to enter.
Ya seco el pollo haremos tiras de goma Eva blanco para pegar alrededor del pollito pega con silicón caliente el delantar en el pollito dejando un hueco para que entre el cerillo.
Paso 3. // Step 3.
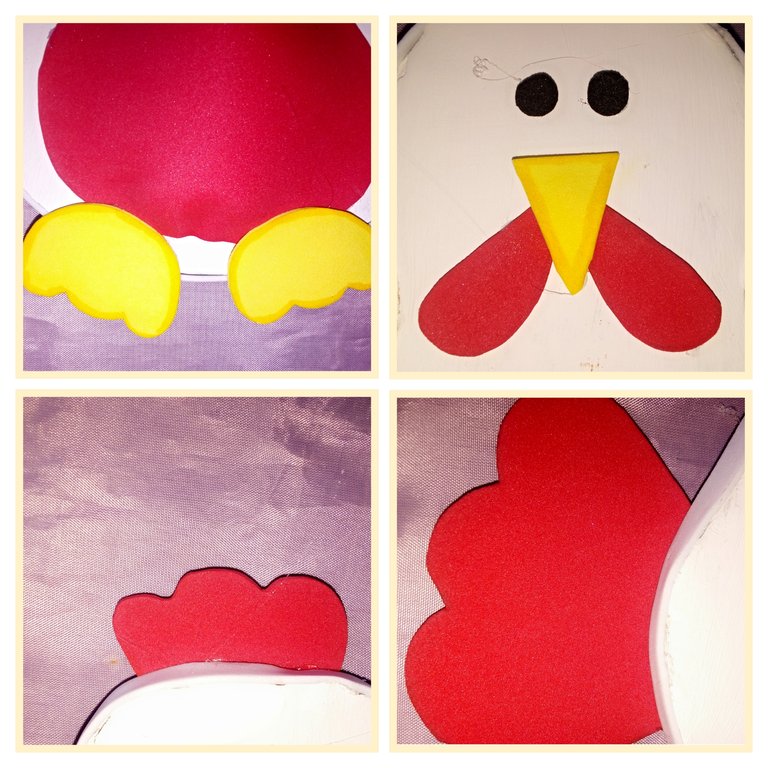
Then we glue the feet, eyes, beak, chin, crest and tail in place.
Luego pegamos los pies, los ojos, el pico , la barbilla, la cresta y la cola en su lugar.
Paso 4. // Step 4.
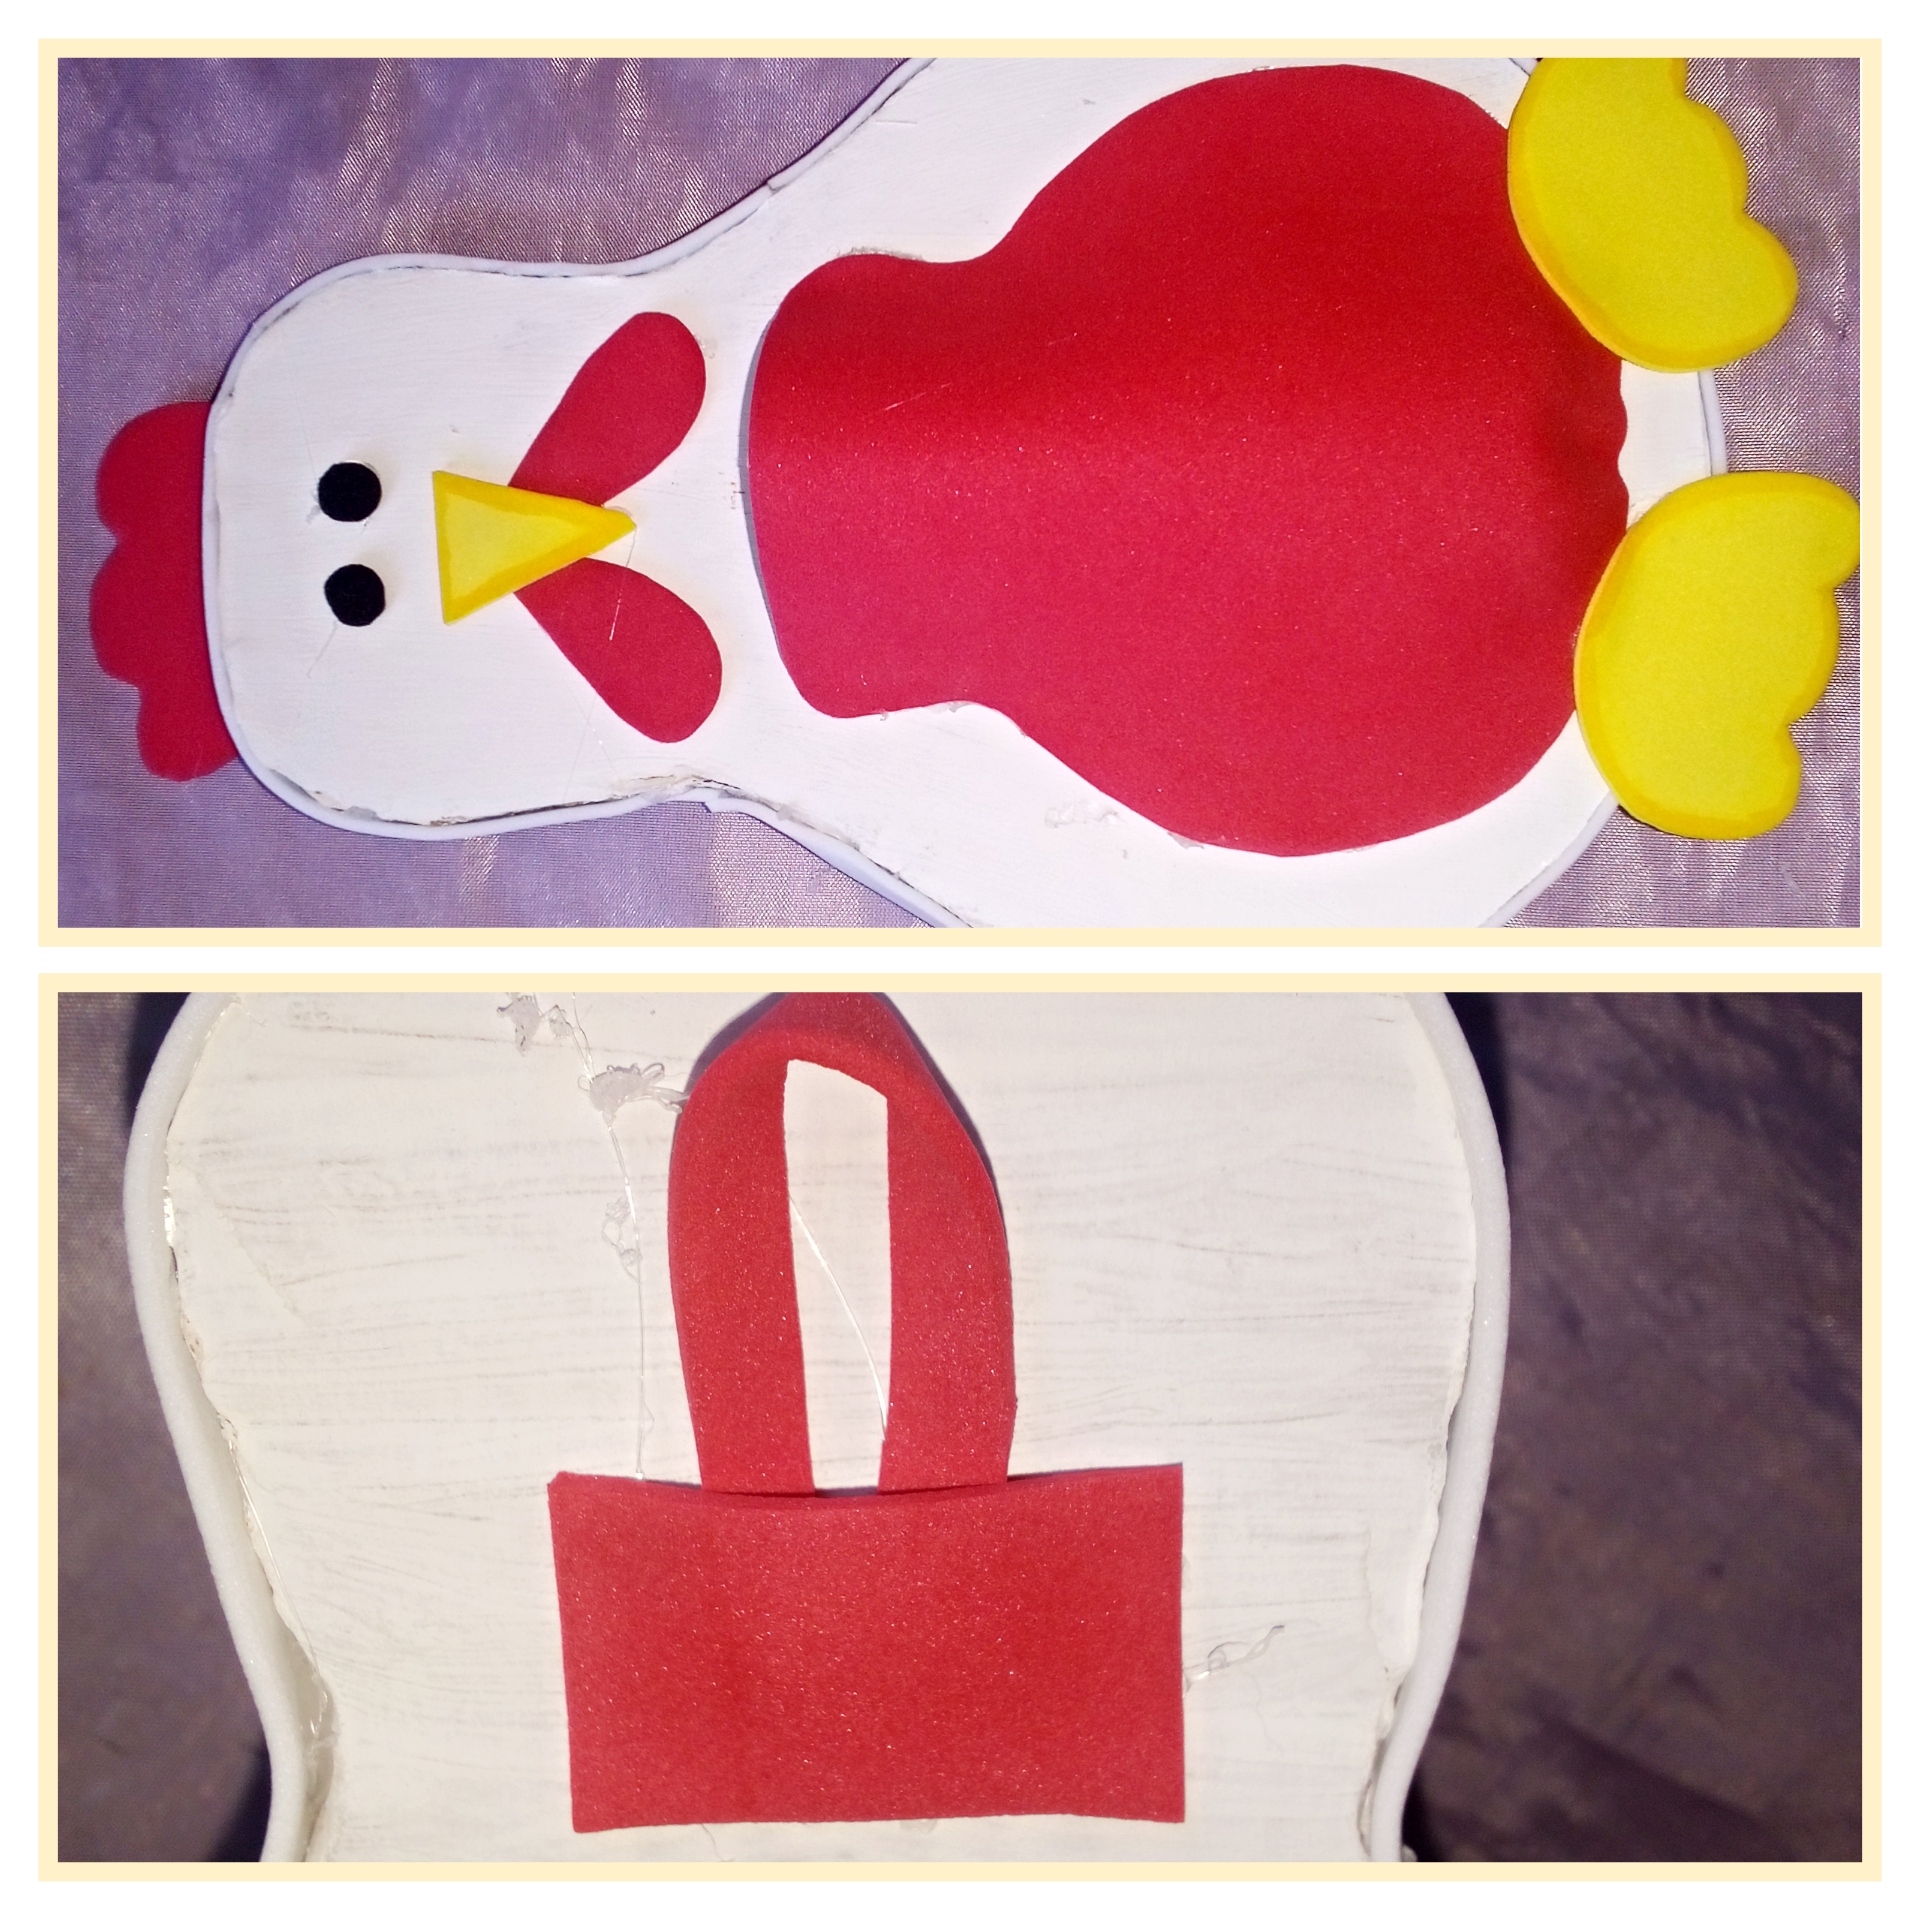
Now we glue all the pieces to hang the ornament on the back of the back stick a handle with a strip of Eva rubber. And to finish off the matchstick ornament, paint the back with white dots.
Ya pegamos todas las piezas para colgar el adorno en la parte trasera pega un asa con una tira de goma Eva. Y ya para culminar el adorno de cerillo pinta con punticos blanco el delantar.

Final result. // Resultado final.

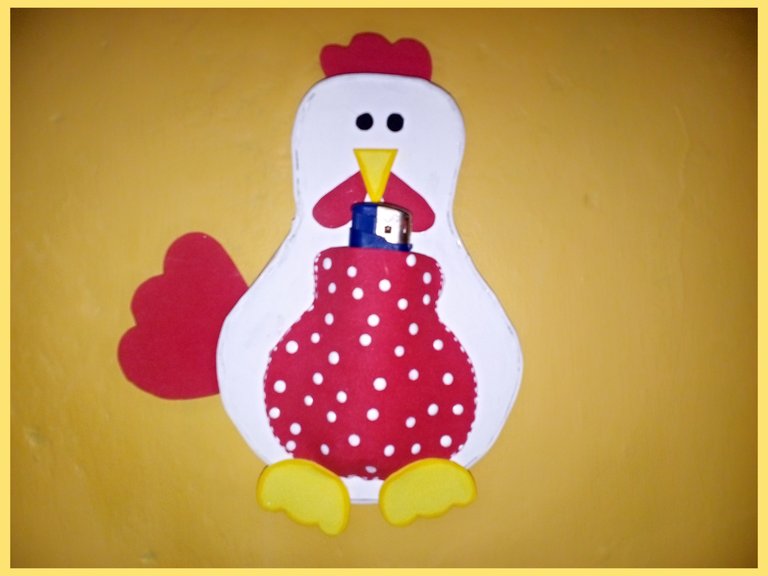
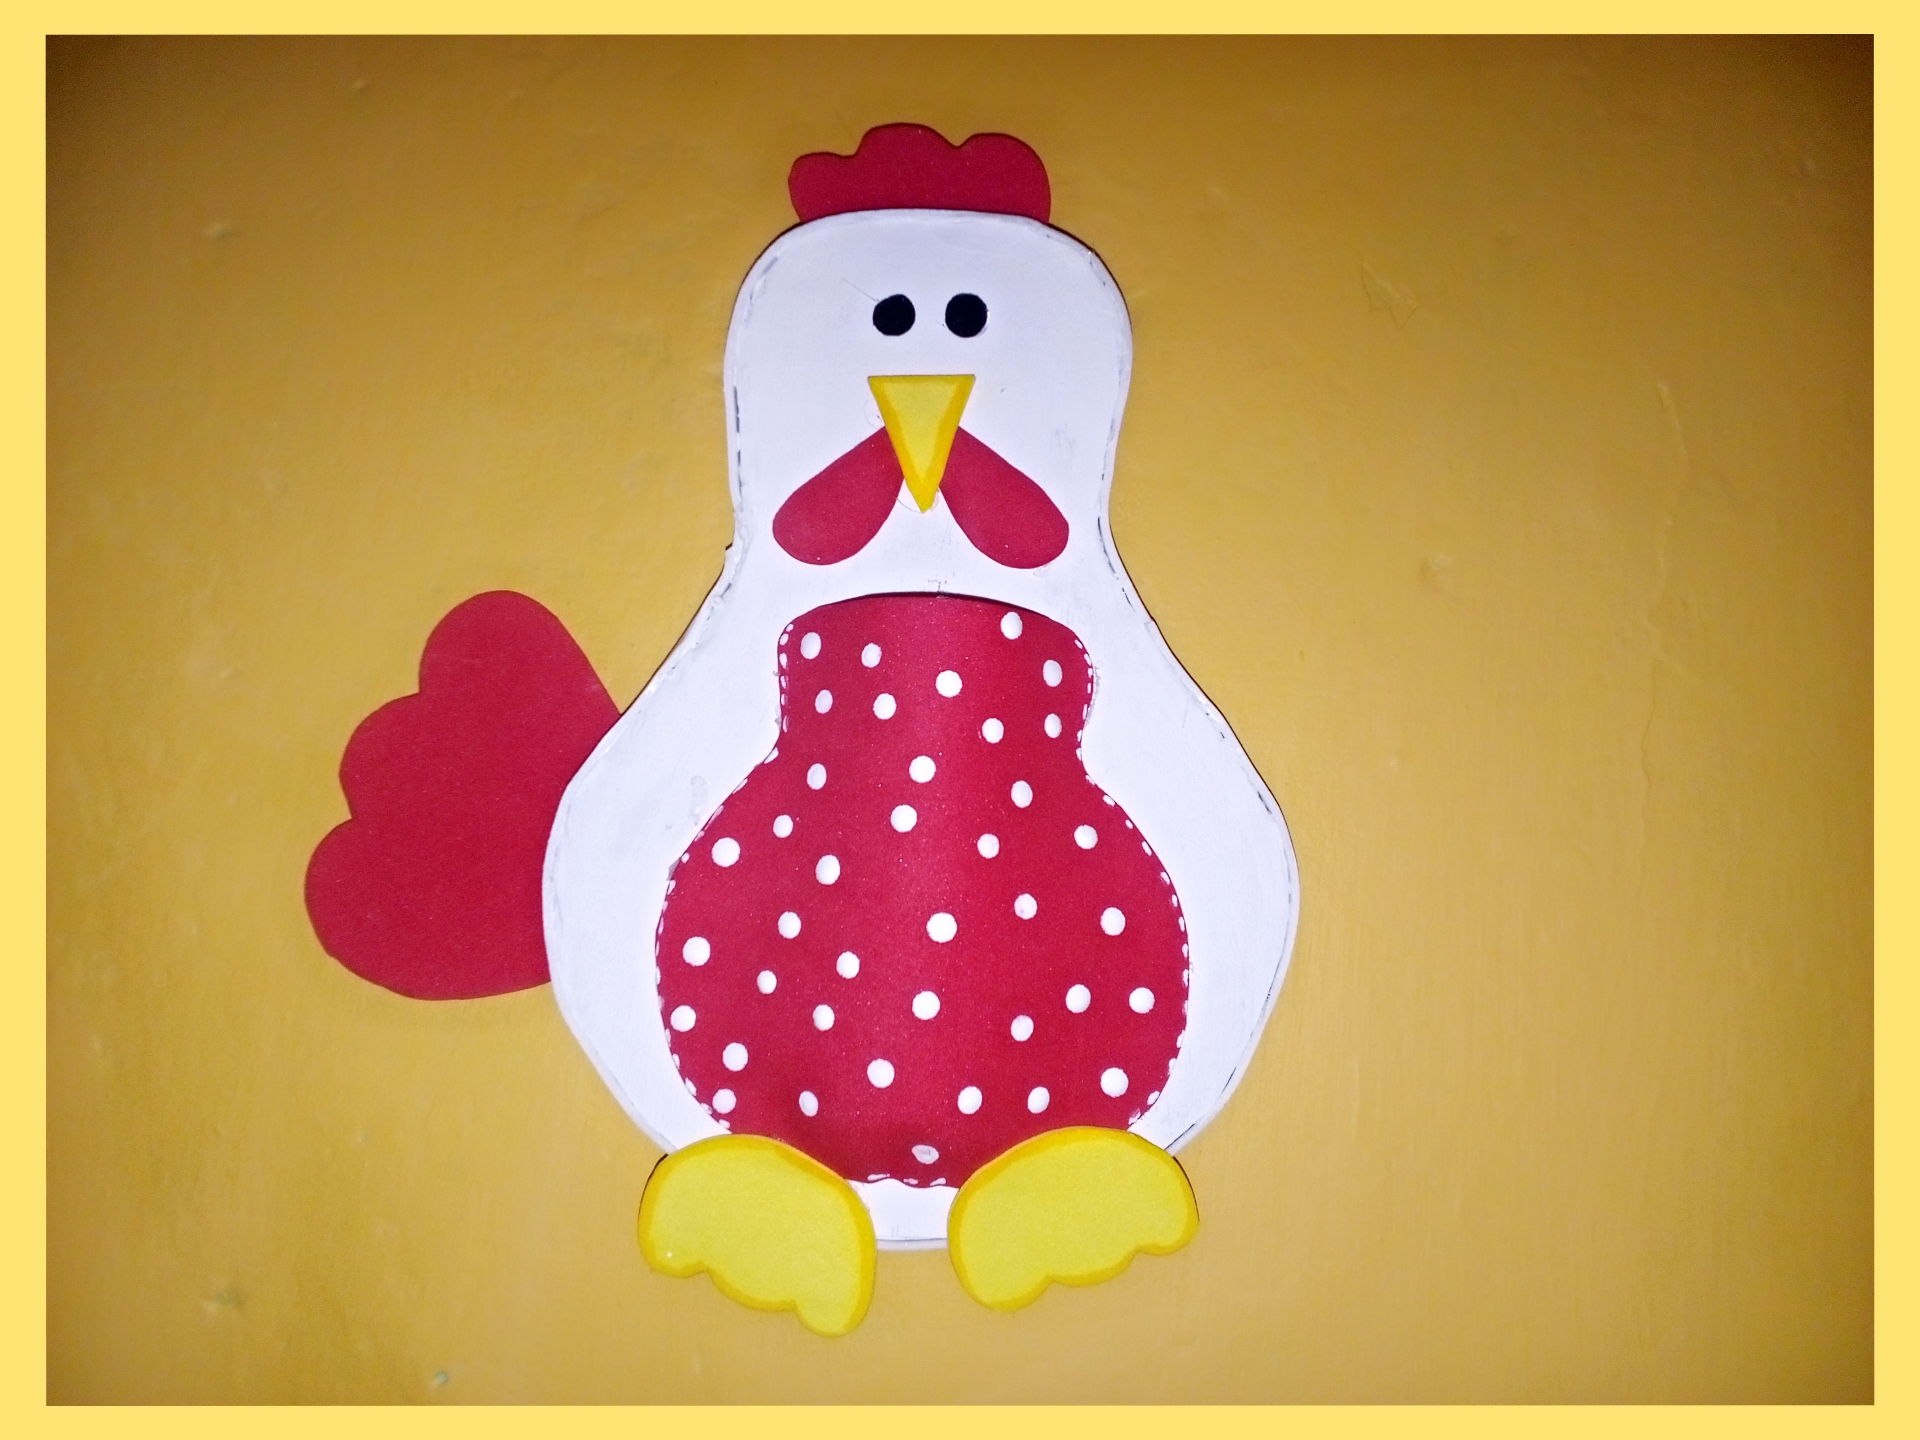
Gracias por visitar.
Todas las fotos y el contenido son originales que hago diariamente para mi blog. Para La traducción uso deepl los marcos y separadores es usado de canva .📷🖼️🤗
Thank you for visiting.
All photos and content are originals that I make daily for my blog. For translation I use deepl the frames and separators are used from canva .📷🖼️🤗


