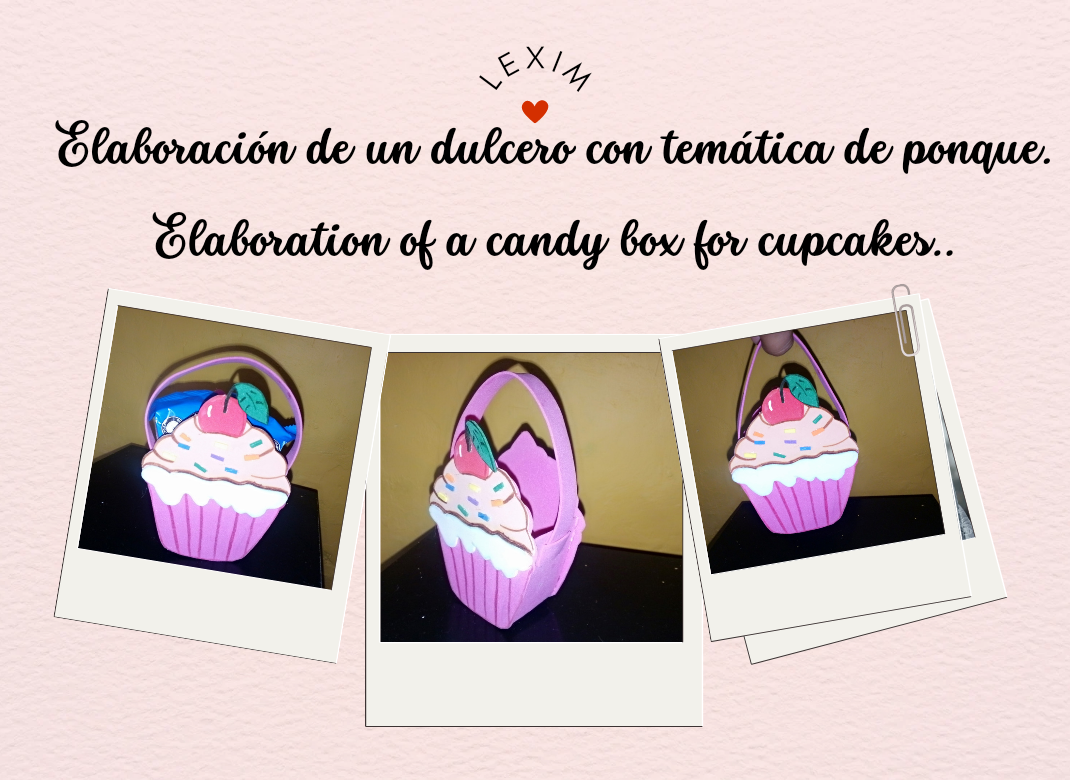
Hello to all dear colleagues who are part of this social network. Today I bring you one of my creative activities that I like to do with much affection for you a step by step of a nice candy box in the form of ponquecito this idea I really liked because it looks very striking and different this candy box can serve us to give or store candy, cotillion, centerpiece, exchanges or other things depends on its size its preparation is super easy below I leave you the steps to follow I wish you a successful day happy month of June.
Hola a todos queridos compañeros que hacen parte de esta red social. El día de hoy les traigo una de mis actividades creativas que me gusta hacer con mucho cariño para ustedes un paso a paso de un lindo dulcero con forma de ponquecito está idea me gustó mucho ya que se ve muy llamativa y diferente este dulcero nos puede servir para obsequiar o guardar golosinas, cotillón, centro de mesa, intercambios u otras cosas depende de su tamaño su elaboración es super fácil abajo les dejos los pasos a seguir les deseo un éxito día feliz mes de junio.
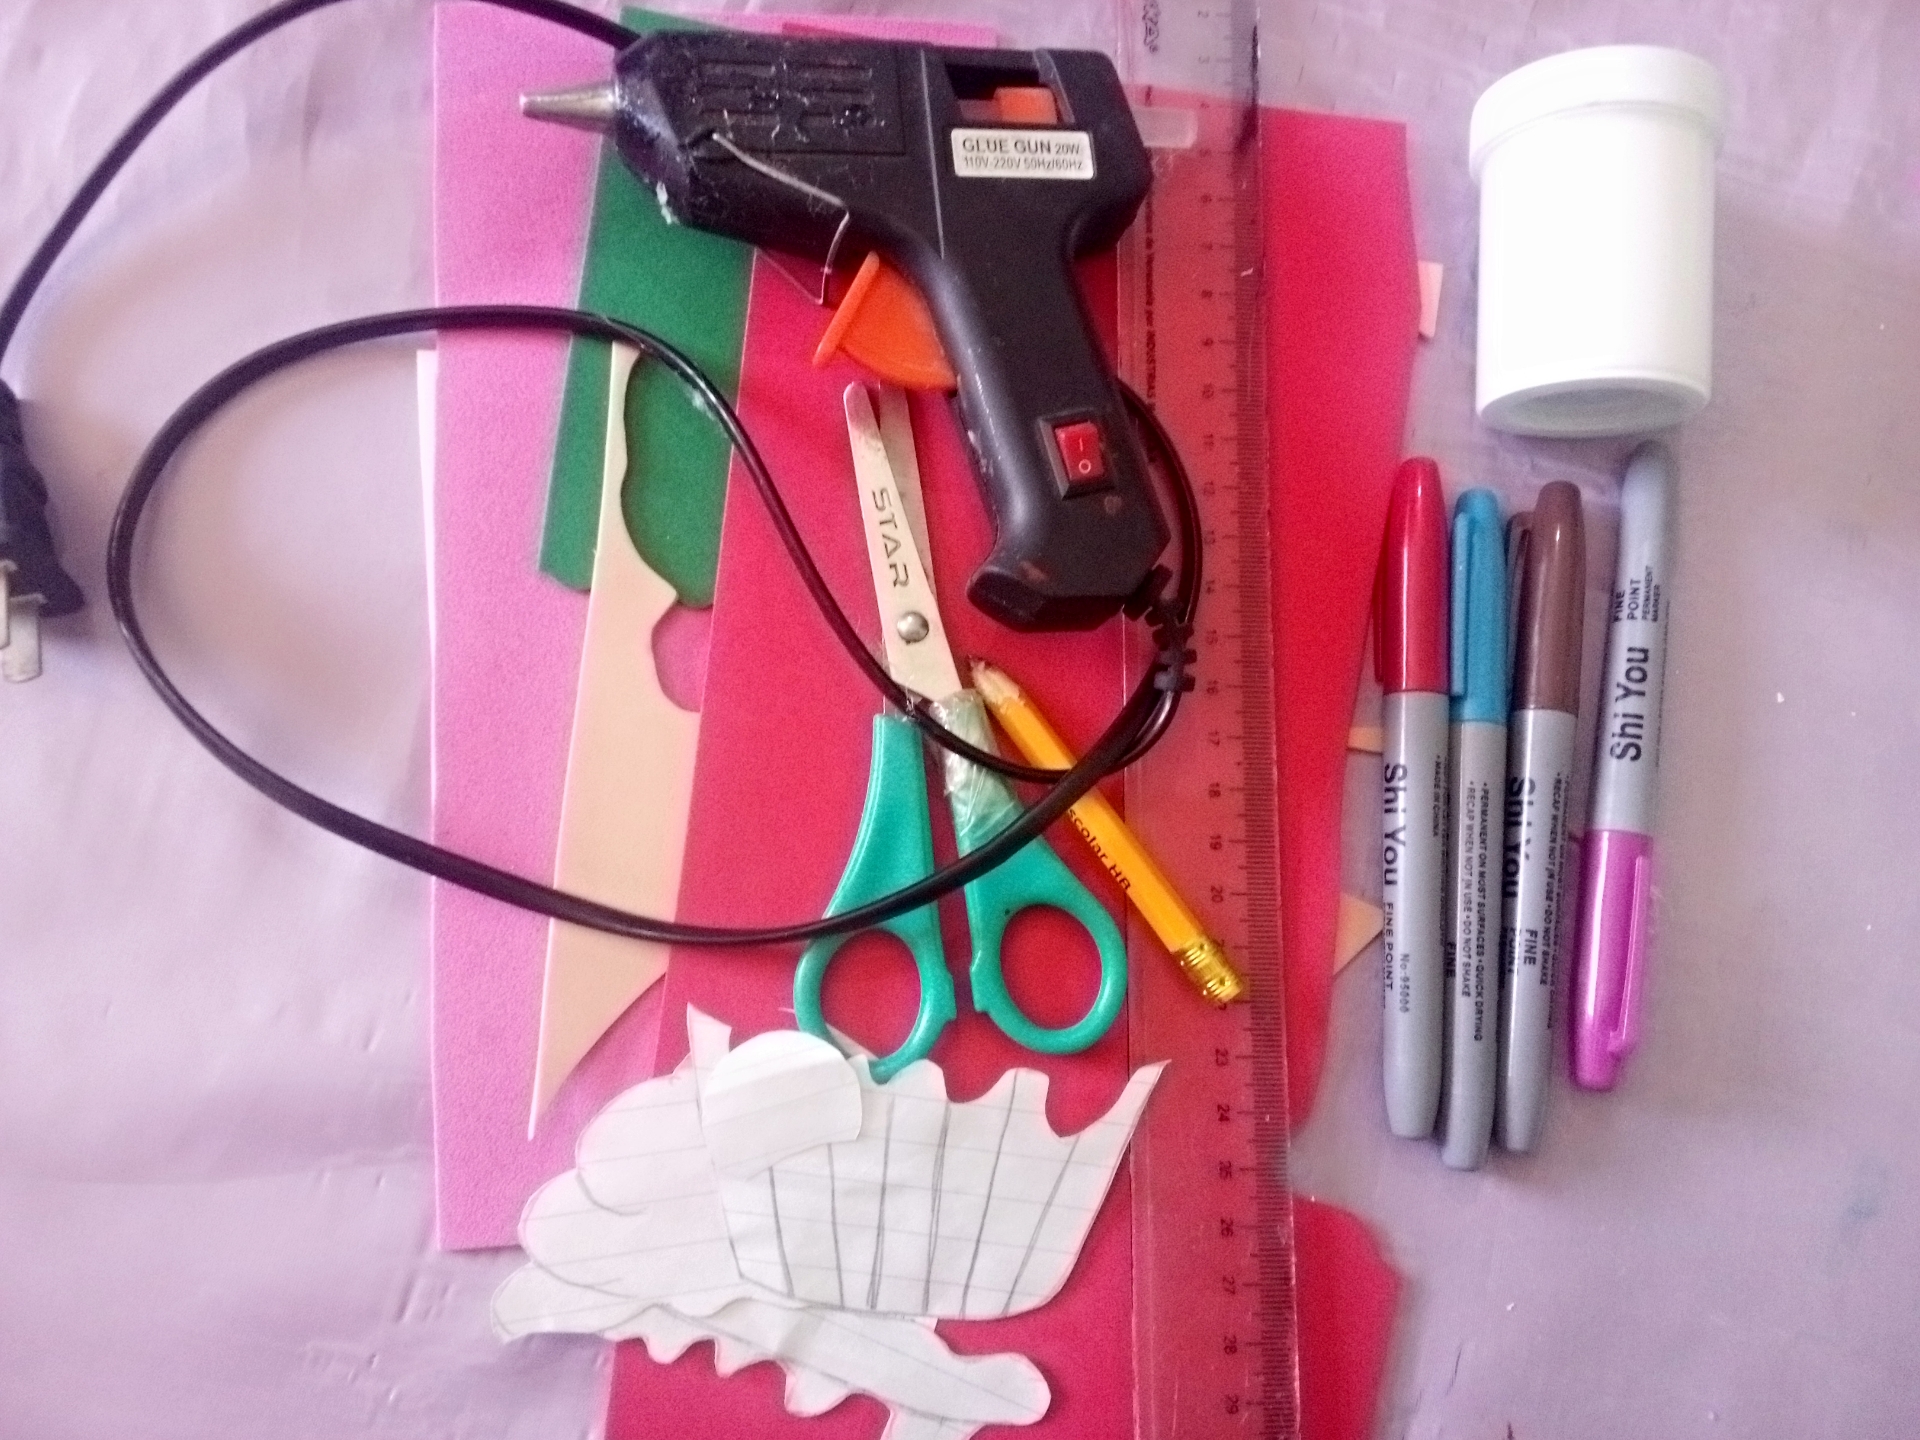
Step by step.
Paso a paso.

Paso 1. // Step 1.
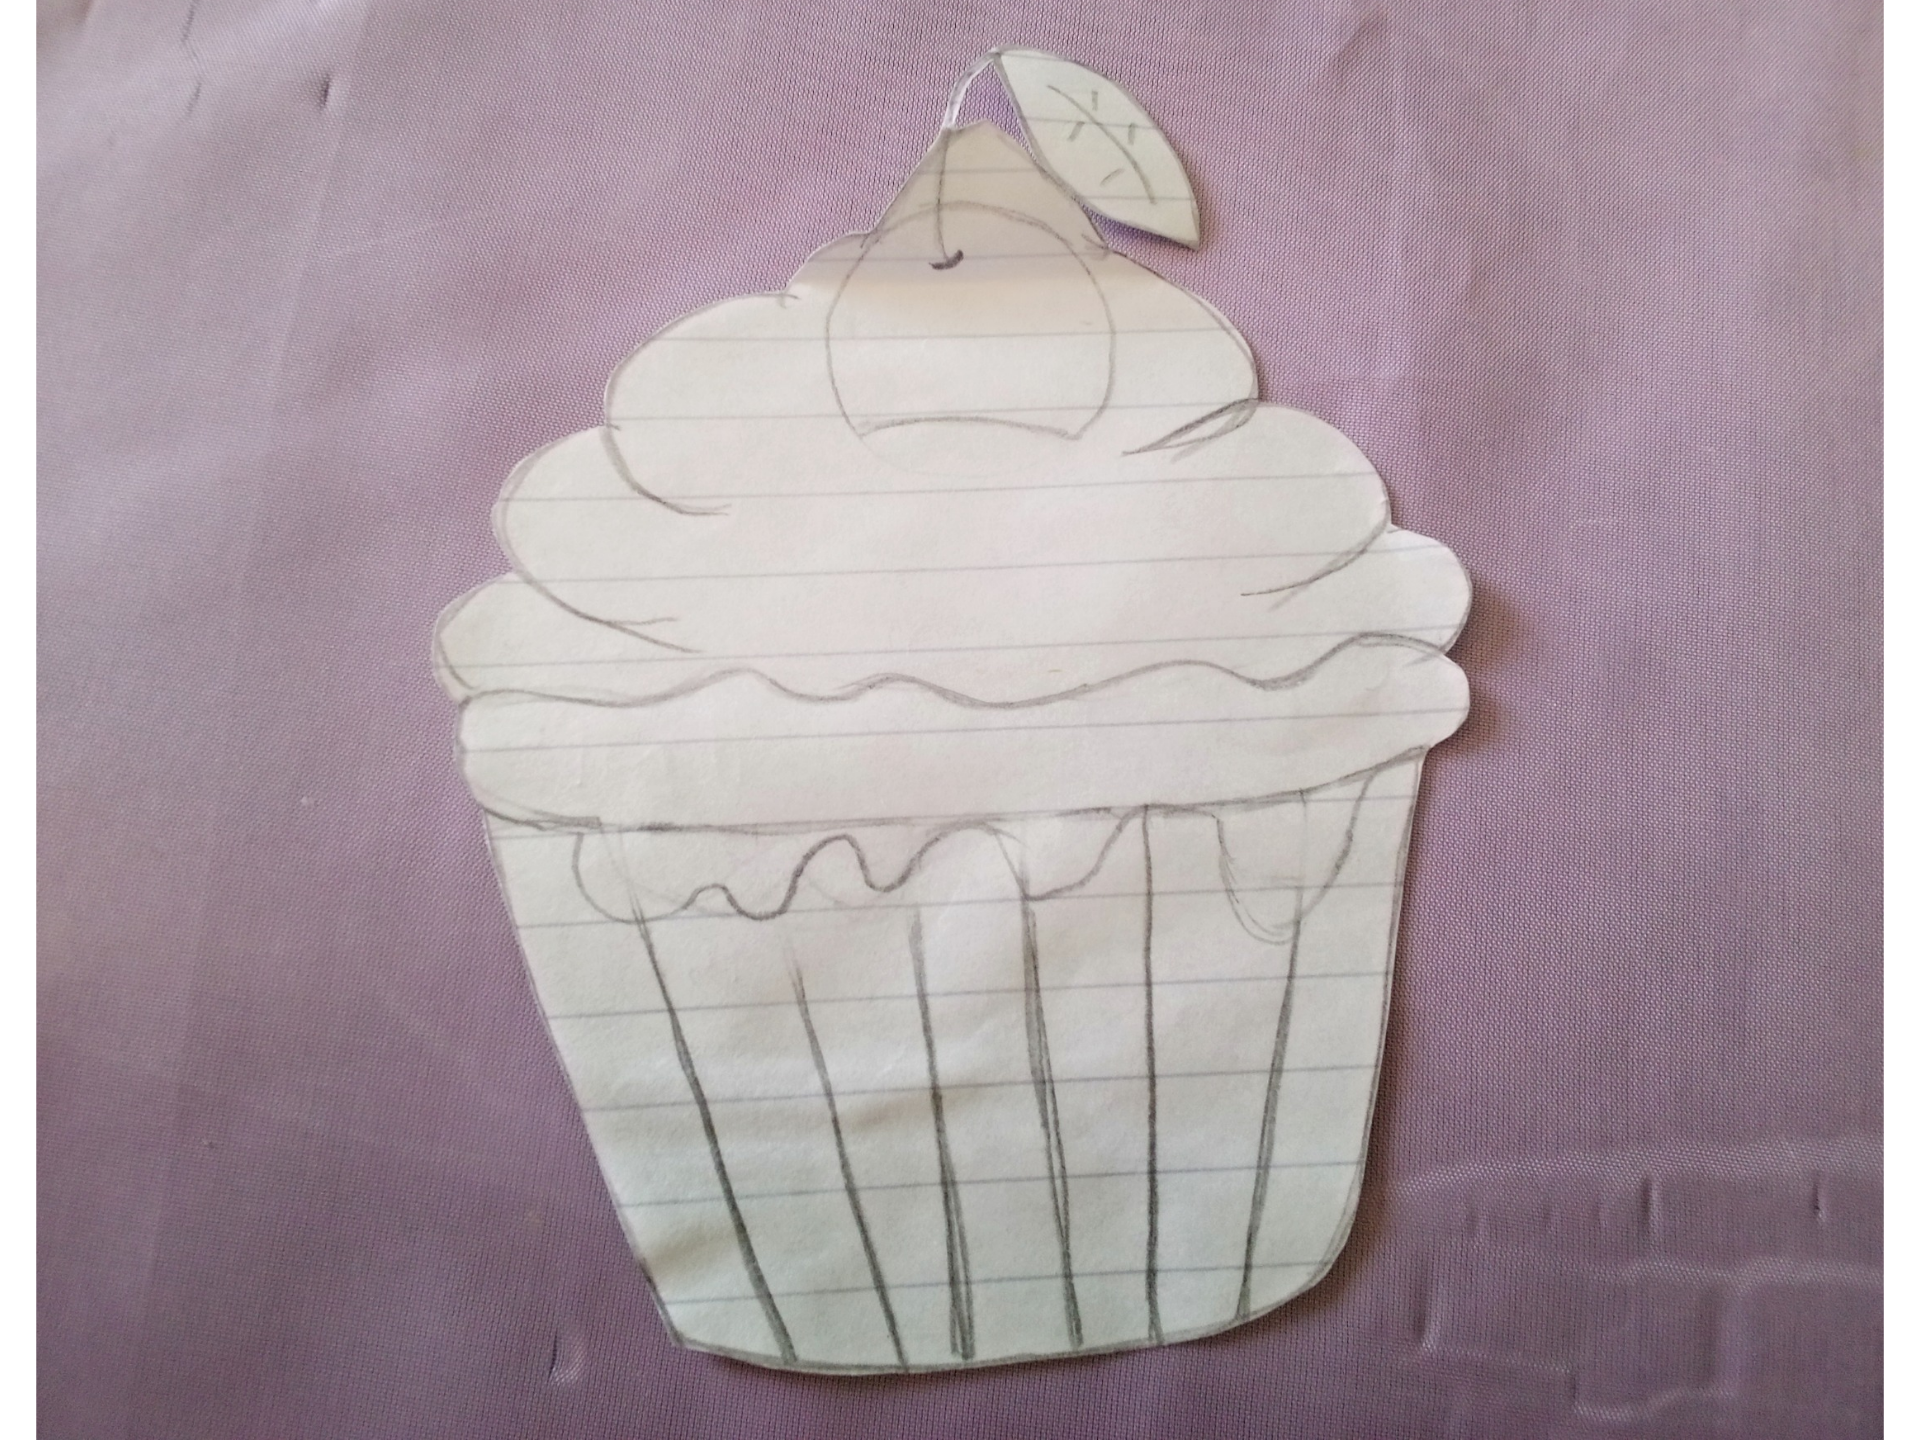
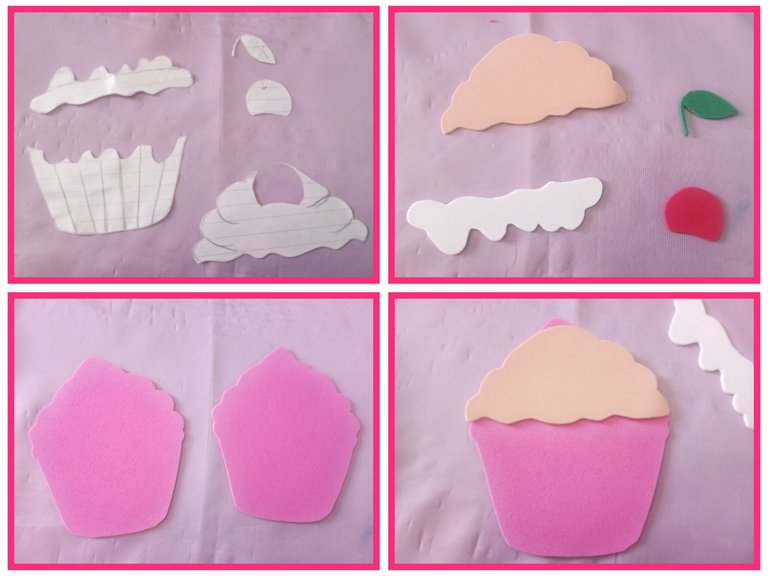
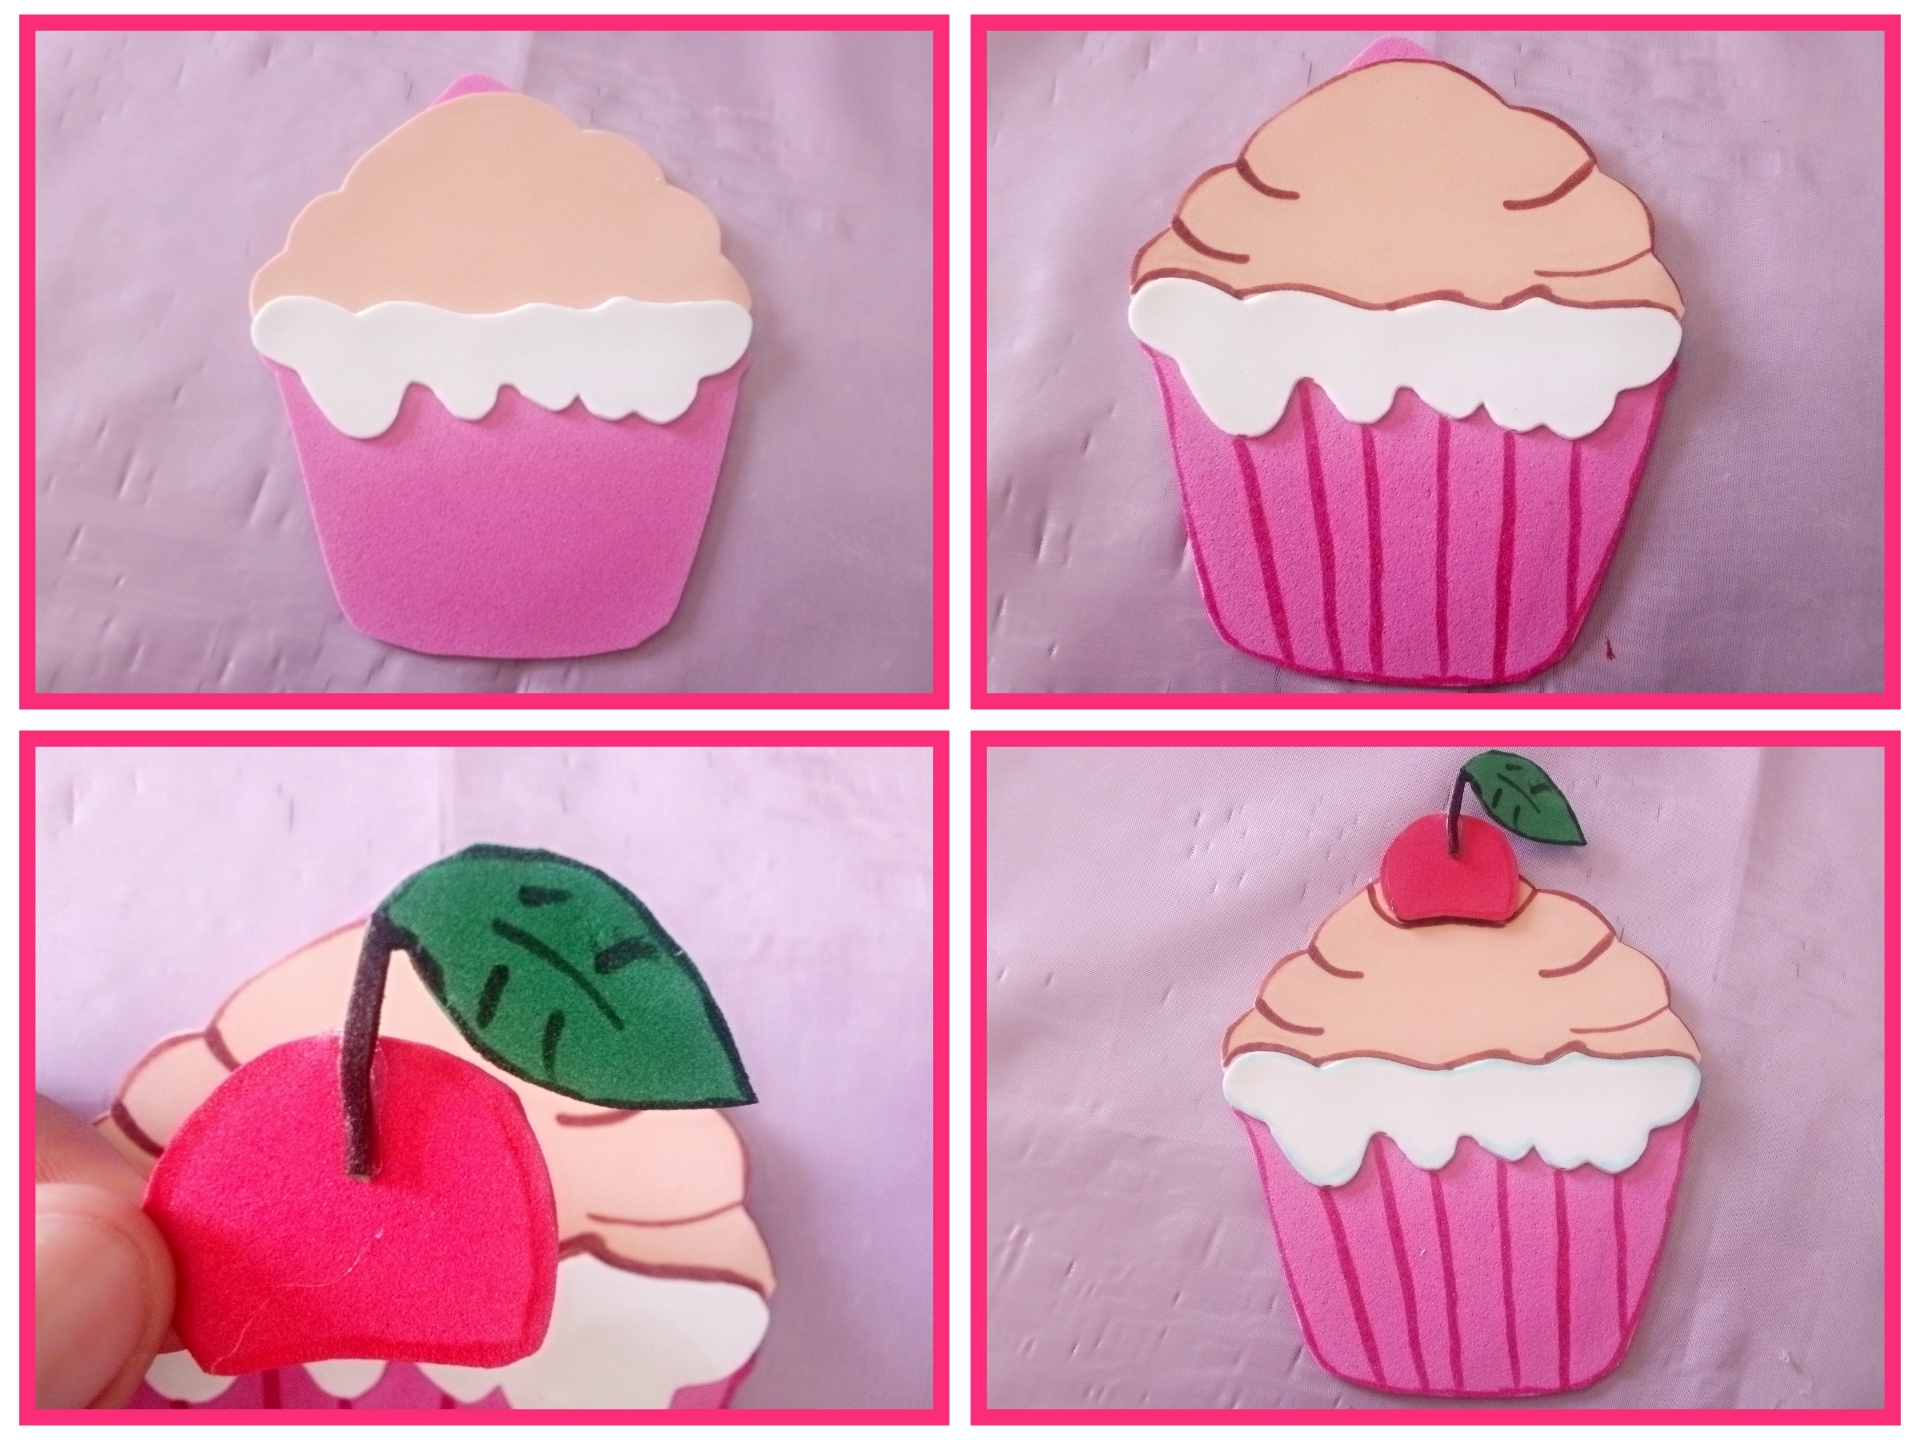
Start by drawing a cupcake to your liking, I drew it with a cherry, this will serve us for the mold. Draw two cupcake templates on the pink eva rubber and cut them out separately to have the pieces separated. We will draw on the eva rubber with their respective colors and start gluing the pieces in the right place with silicone.
Comienza dibujando un ponquecito a nuestro gusto yo lo dibuje con una cereza este nos servirá para el molde dibuja en la goma Eva rosa dos plantilla de ponquecito y recorta por parte para tener las piezas separadas. Que dibujaremos en la goma Eva con sus respectivos color comienza a pegar con silicon las piezas en el lugar que adecuado.
Paso 2. // Step 2
At the same time, with the help of the marker pen, we mark the figures and place the details of the cake, such as the cherry and the leaf.
En el mismo instante con la ayuda del rotulador vamos marcando las figuras y colocando los detalles del ponquecito como la cereza y la hoja.
Paso 3. // Step 3.
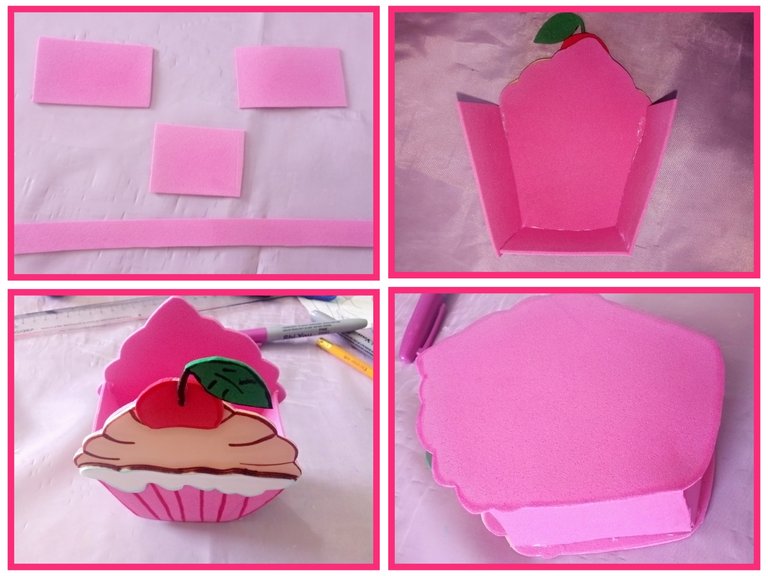
Make two 4x 6 cm triangles out of the leftover pink eva glue, and a 3x3 cm triangle with a 2x 9 cm strip of the same color for the handle. Glue the triangles to form the box and the 3x3 centimeters base on one of the templates and then glue the other template.
En la goma Eva sobrante del color rosa haz dos triángulos de 4x 6 centímetros, y una de 3x3 centímetros con una tira del mismo color para el asa de 2x 9 centímetros. Pega una de las plantillas del ponquecito los triángulos para forma la caja y la base de 3x3 centímetros y después pega la otra plantilla.
Paso 4. // Step 4.
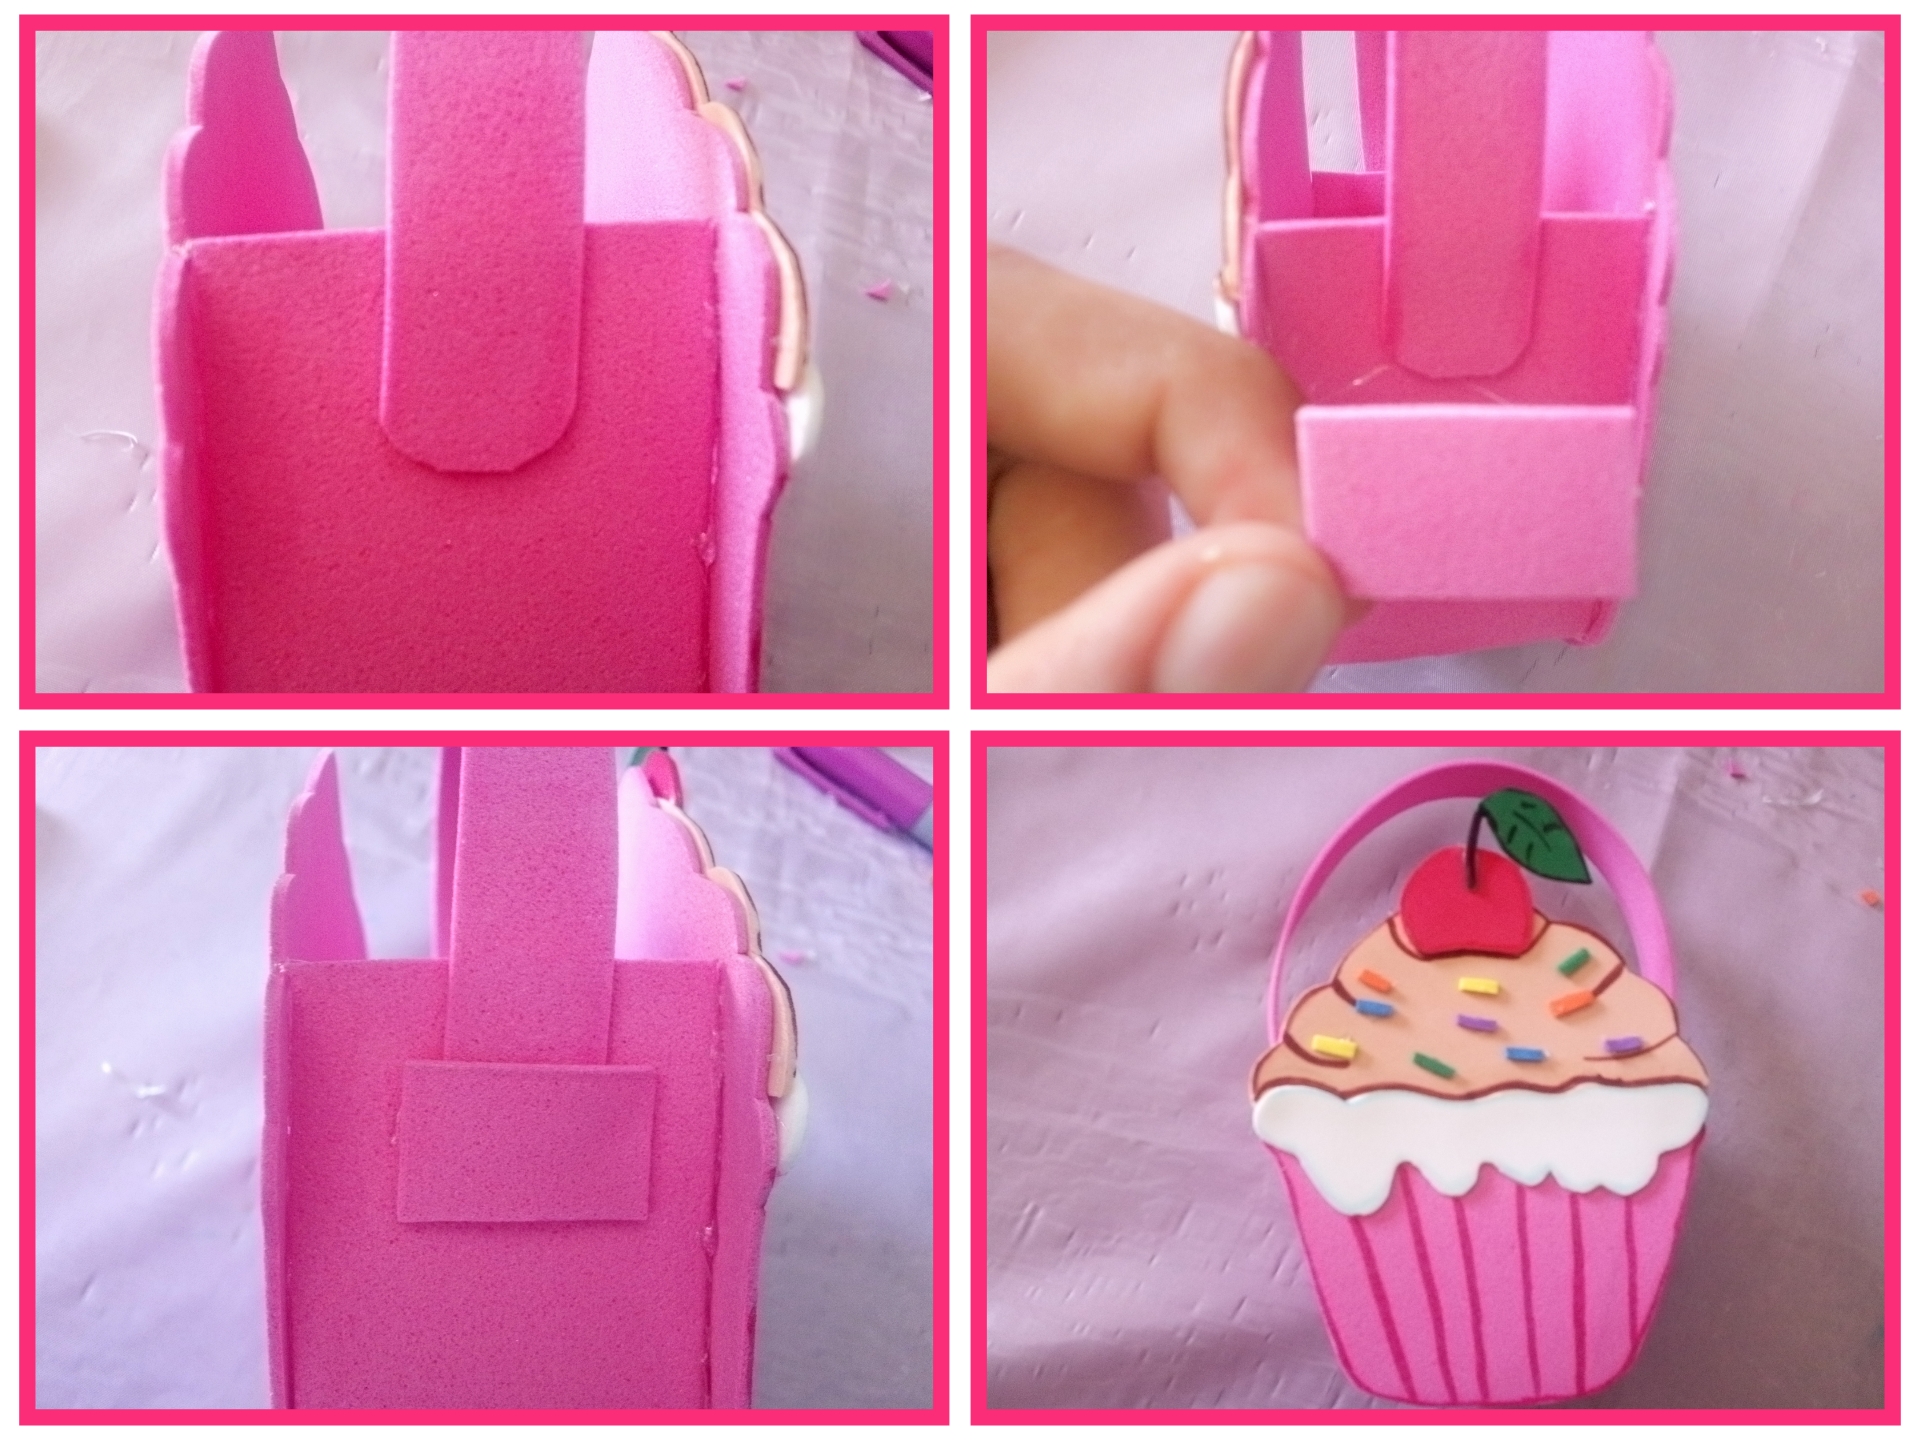
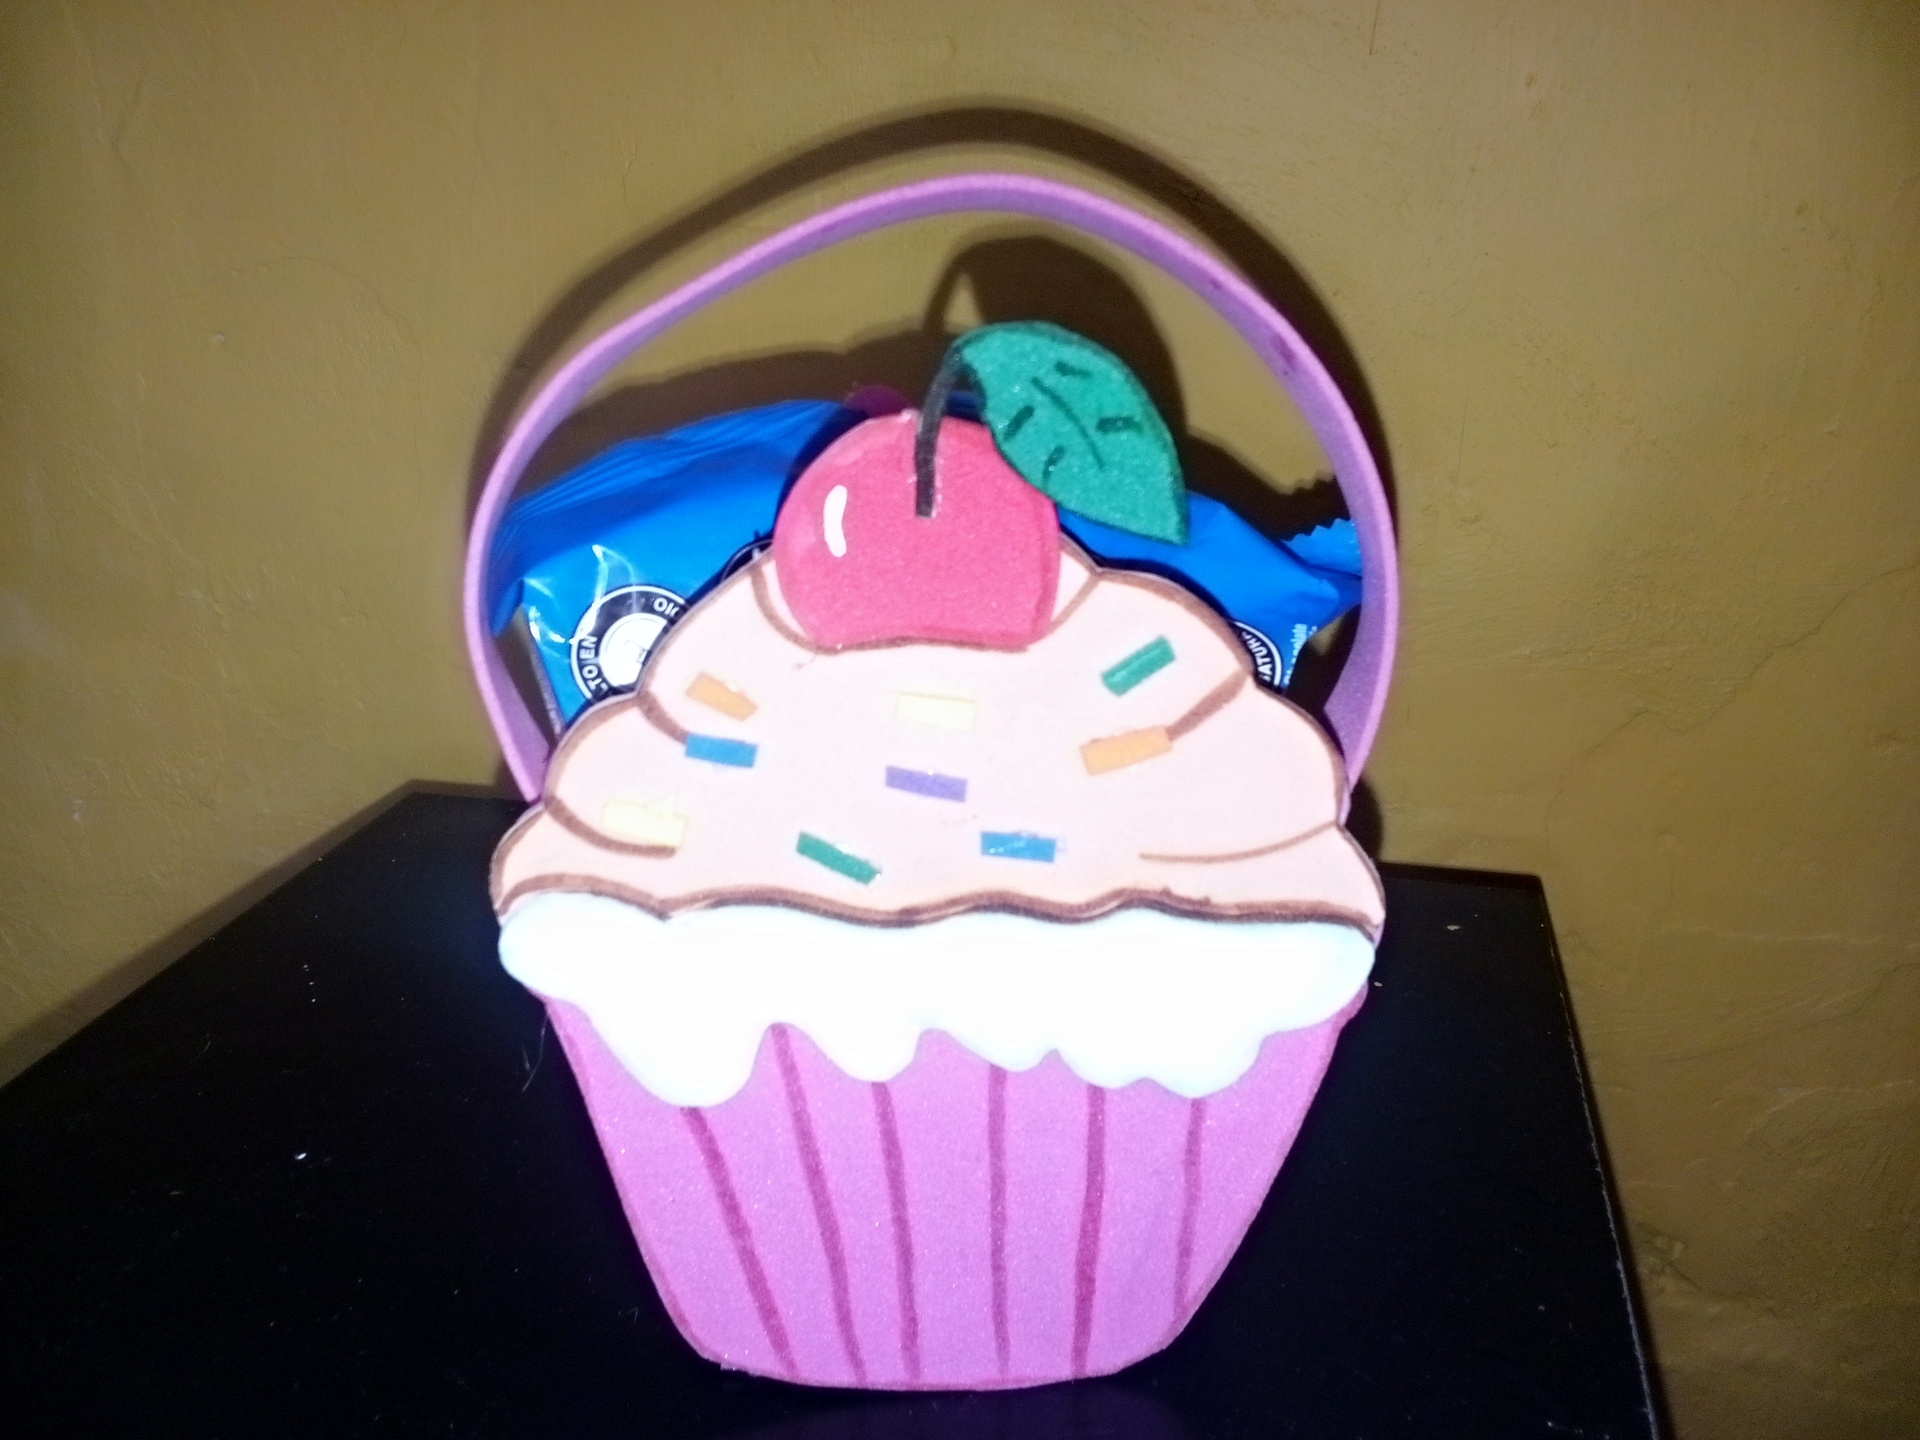
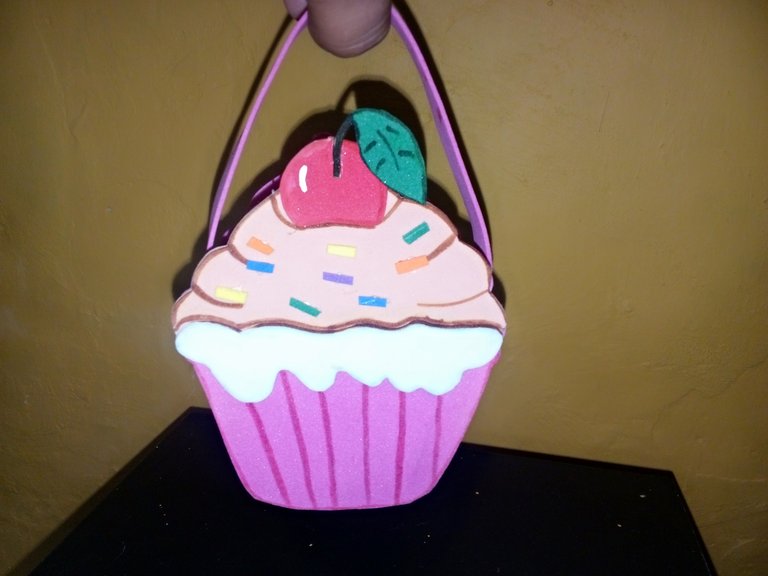
Glue the handle and with the help of the scissors ovalize the two tips and glue them to the candy box on both sides and cover with a small square the handles and with several colors of Eva rubber make a colored chip style and with the white paint make a little line on the cherry and this is how the candy box ends.
Pega el asa y con la ayuda de la tijera ovalamos las dos punta y pega al dulcero en ambos lados y tapa con un cuadrito las asas y con varios colores de goma Eva haz un estilo de chipita de colores y con la pintura blanca haz a la cereza una rayita y así termina el dulcero.

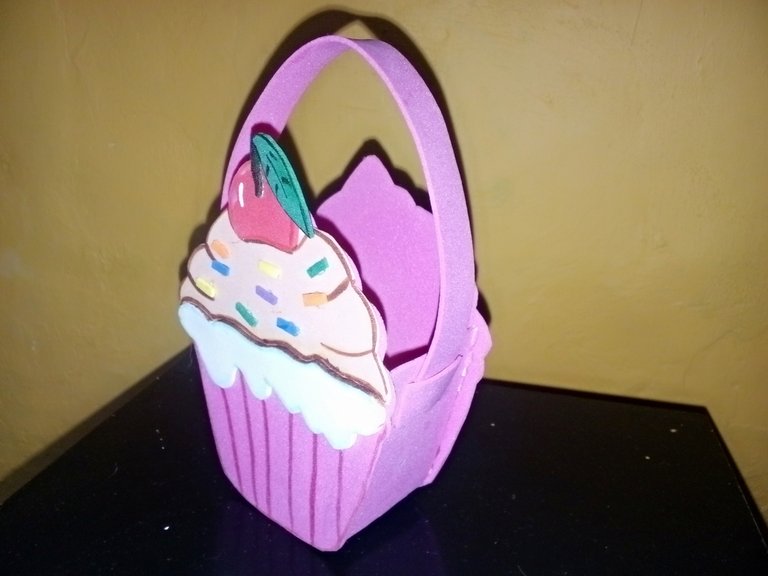
Final result.🧁🧁 // Resultado final. 🧁🧁

Gracias por visitar.
Todas las fotos y el contenido son originales que hago diariamente para mi blog. Para La traducción uso deepl los marcos y separadores es usado de canva .📷🖼️🤗
Thank you for visiting.
All photos and content are originals that I make daily for my blog. For translation I use deepl the frames and separators are used from canva .📷🖼️🤗


