Hola buenas noches queridos amigos de la colmena de hive blog, quiero darle muchas gracias a Dios por estar aquí con ustedes espero todos se encuentren muy bien, ando un poquito enfermo del virus pero aquí seguimos con compartiendo con ustedes hermanos y pidiéndole a mi Dios siempre, hoy les vengo con un nuevo bricolaje muy fácil y rápido de realizar en casa para nuestros hijos.
Hello good evening dear friends of the hive blog hive, I want to thank God for being here with you I hope you all are very well, I'm a little sick of the virus but here we continue sharing with you brothers and asking my God always , today I come to you with a new DIY that is very easy and quick to do at home for our children.
Se trata de un:
It's about a:
Bonito y creativo auto de fórmula1 realizado con material de provecho.
Beautiful and creative formula1 car made with useful material.

Para poder crear está bonita manualidad vamos a necesitar estos siguientes materiales que les mostraré a continuación amigos.
In order to create this beautiful craft we are going to need these following materials that I will show you below friends.
- silicón
- pintura
- pincel
- cartón
- regla
- lápiz
- tijera
- compas
- silicone
- painting
- Brush
- paperboard
- rule
- pencil
- scissor
- compass

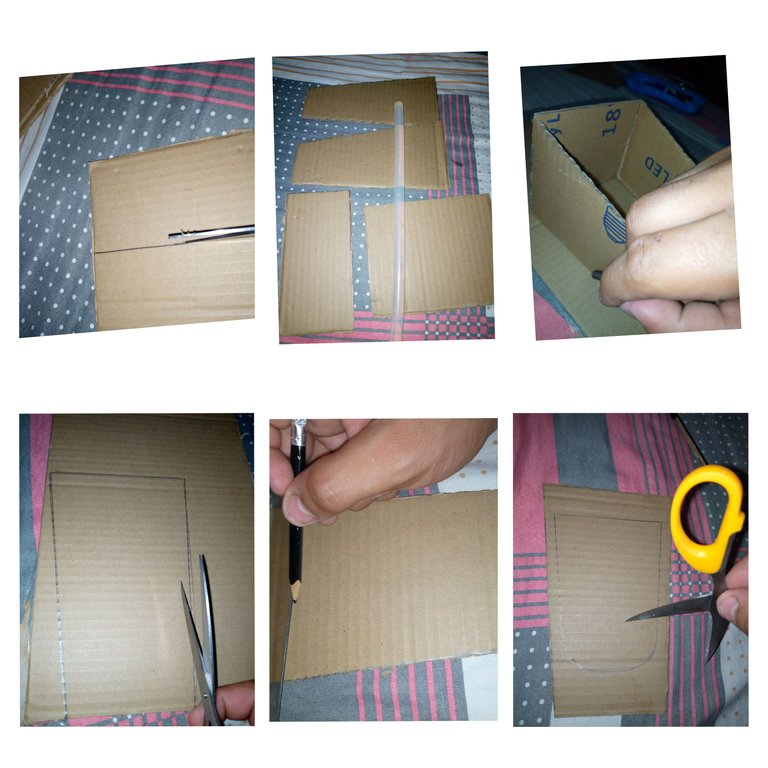
En este primer paso: comenzamos con el lápiz dibujando los lados del carro, una vez ya listos con la tijera procedemos a recortar luego tomamos y medimos la parte de atrás y la de adelante.
In this first step: we start with the pencil drawing the sides of the car, once ready with the scissors we proceed to cut then we take and measure the back and the front.
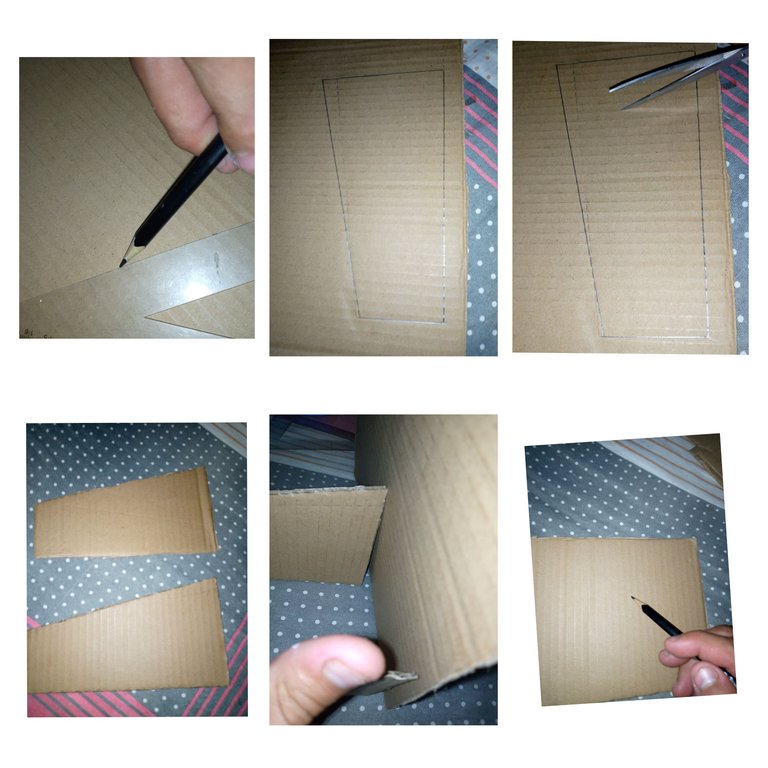

En este segundo paso: seguimos con la tijera recortamos y luego con el silicón pegamos el frente y la parte de atrás de auto, y ya pegado lo montamos encima de un cartón y con el lápiz sacamos la forma de arriba y de abajo, ya listo con el lápiz dibujamos de la siguiente forma que les mostraré a continuación y sacamos.
In this second step: we continue with the scissors we cut and then with the silicone we paste the front and the back of the car, and once glued we mount it on a piece of cardboard and with the pencil we take out the shape of the top and bottom, that's it with the pencil we draw in the following way that I will show you below and we take out.

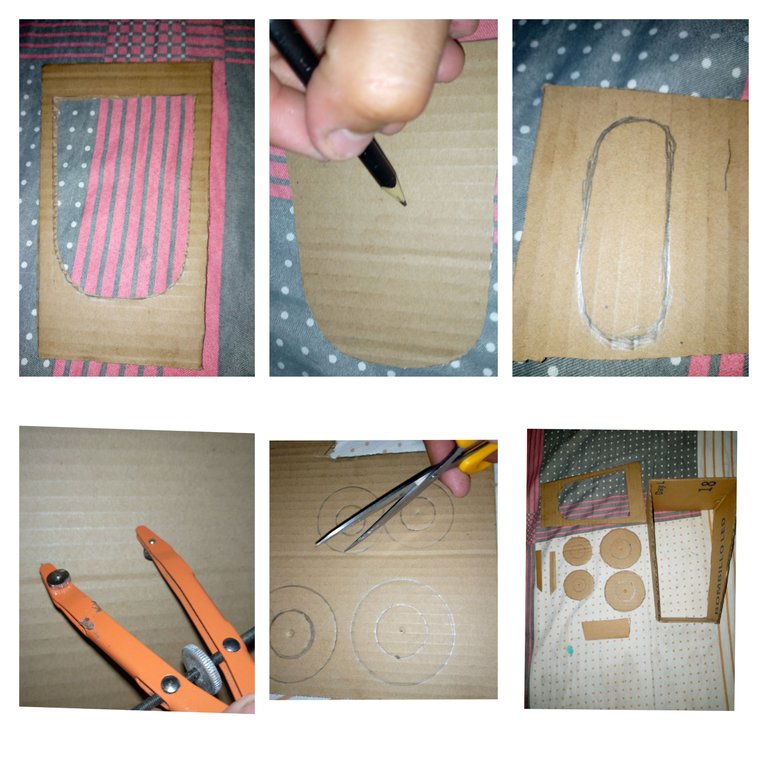
En este tercer paso? Ya sacada la forma de capón proseguimos con lápiz a dibujar el espoile del Ferrari, ahora con el compás hacemos las ruedas y las recortamos y a continuación les mostraré todas las formas obtenidas.
In this third step? Once the shape of the capon has been drawn, we continue with a pencil to draw the spoiler of the Ferrari, now with the compass we make the wheels and cut them out and then I will show you all the shapes obtained.

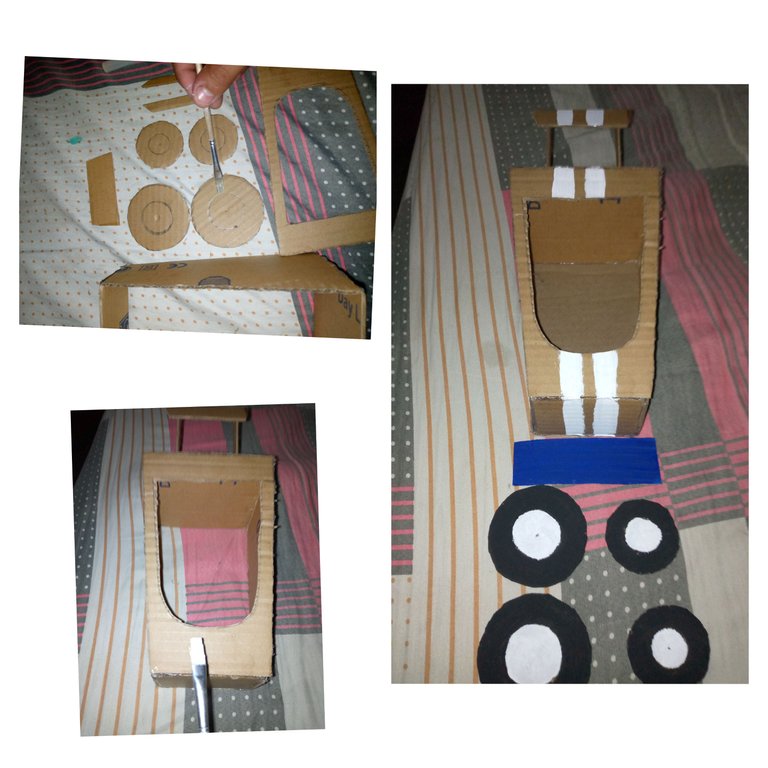
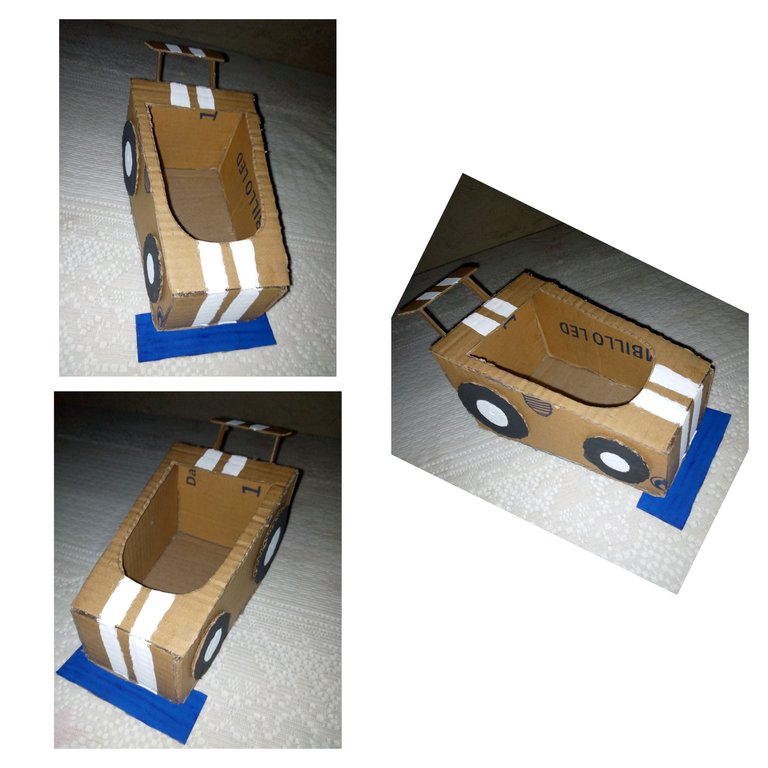
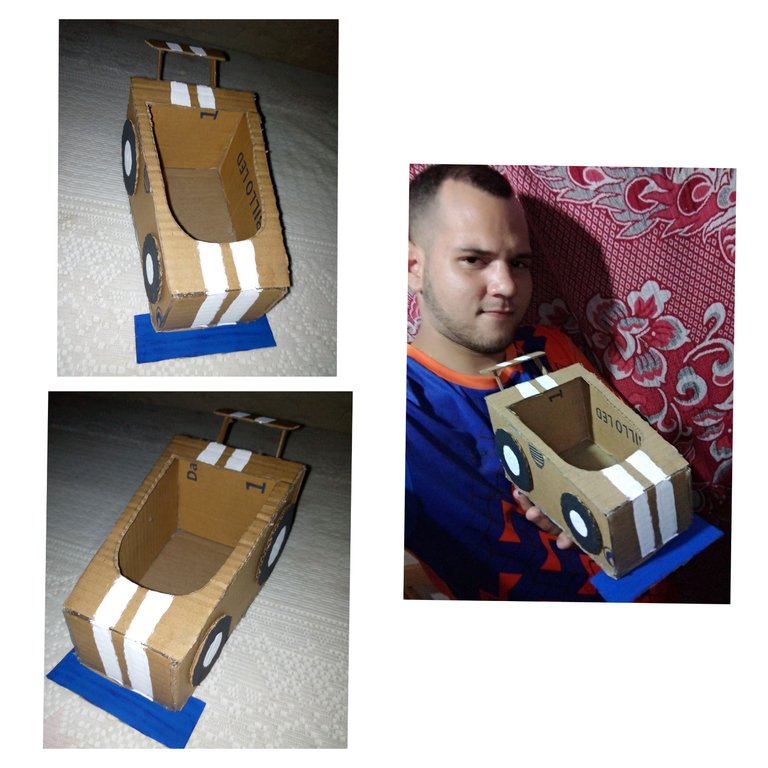
En este cuarto y último paso: tomamos el pincel y pintamos las ruedas en color blanco y negro, a nuestro Ferrari le pintamos dos franjas blancas por el medio, y al espoile y ya pintado todo tomamos el silicón y pegaremos y a continuación les mostraré como quedó.
In this fourth and last step: we take the brush and paint the wheels in black and white, we paint our Ferrari two white stripes in the middle, and the espoile and already painted everything we take the silicone and we will paste and then I will show you how it turned out .
