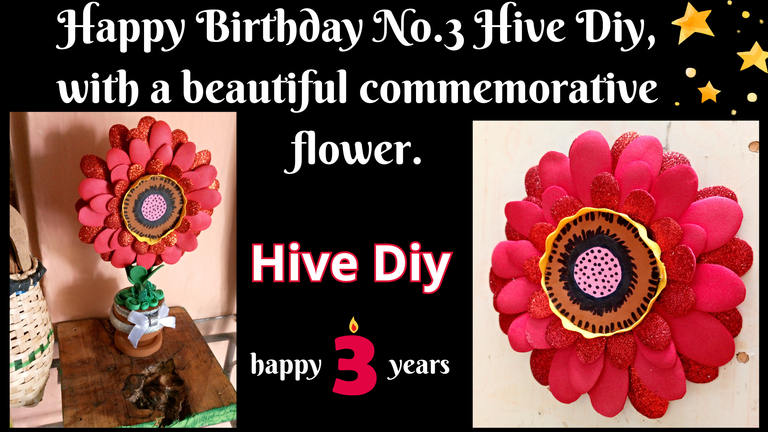
Greetings to all with much love and joy, we are pleased to feel so happy, because this week our dear community Hive Diy is celebrating a special date, as is the commemoration of 3 years of perseverance, hard work and love, to get here, which is why today I share with you the joy of having a friendly house for all artisans, and in gratitude to our artisan community.
I share with you a beautiful flower as a detail to celebrate this great week, and is that flowers will always be that detail that can not miss, as it conveys a significant value that stands out for any occasion.
I hope you like the elaboration of this floral detail.
The pictures you will see below were taken with my phone model TECNO SPARK GO 2024.
Saludos para todos con mucho cariño y alegría, nos es grato sentirnos tan felices, porque esta semana nuestra querida comunidad Hive Diy está de fiesta, por tratarse de una fecha especial, como es la conmemoración de 3 años de constancia, trabajo y amor, para llegar hasta aquí, es por ello que hoy comparto con ustedes la alegría de tener una casa amiga, para todos los artesanos, y en gratitud a nuestra comunidad artesana.
Les comparto una linda flor como detalle para celebrar esta gran semana, y es que las flores serán siempre ese detalle que no puede faltar, ya que transmite un significativo valor que destaca para cualquier ocasión.
Espero que les guste la elaboración de este detalle floral.
Las fotografías que verán a continuación, fueron tomadas con mi teléfono modelo TECNO SPARK GO 2024.

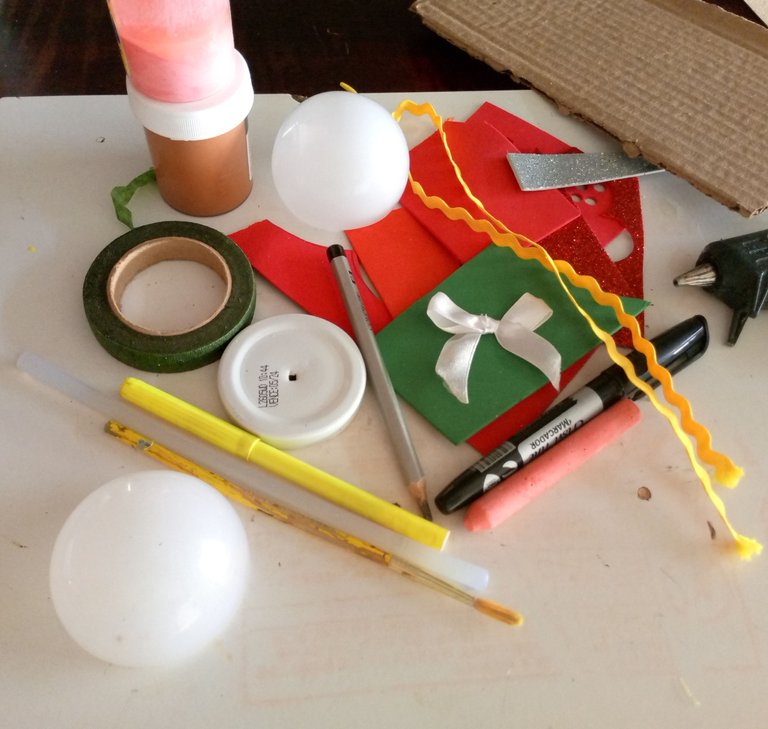
materials:
Pieces of foami, red green and silver frosted color.
Brown and pink paints
Cardboard
Floratex tape
Silicone stick
2 led bulb screens
Yellow zigzag tape
1 jar lid
Black fine tip marker
Pencil
Brush
Damaged marker
Scissors
Iron
Silicone gun
Materiales:
🌹 Trozos de foami, color rojo verde y plata escarchado
🌹 Pinturas marrón y rosado
🌹 Cartón
🌹 Cinta floratex
🌹 Barra de silicona
🌹 2 pantallas de bombillos led
🌹 Cinta amarilla en zigzag
🌹 1 tapa de frasco
🌹 Marcador punta fina negro
🌹 Lápiz
🌹 Pincel
🌹 Marcador dañado
🌹 Tijera
🌹 Plancha
🌹 Pistola para silicona

 |  |  |
|---|
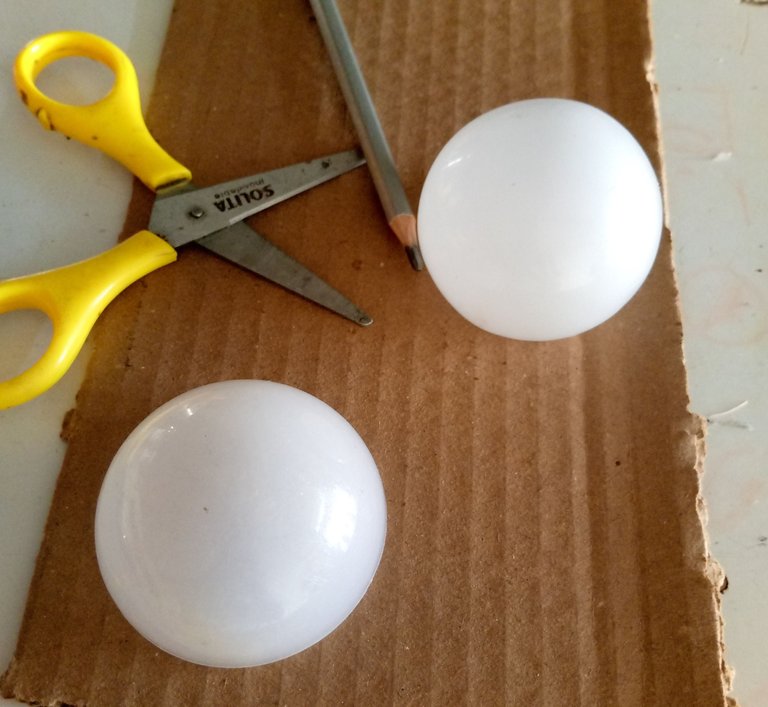
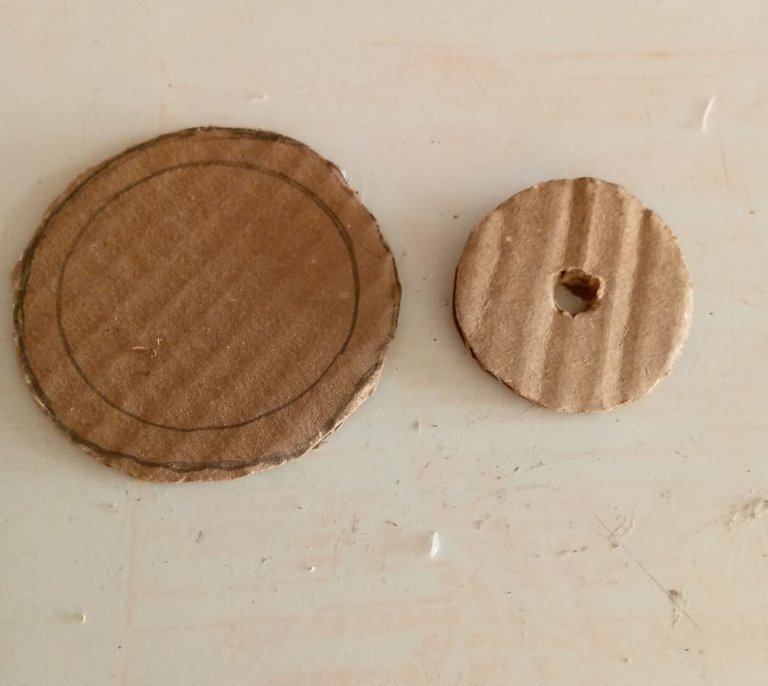
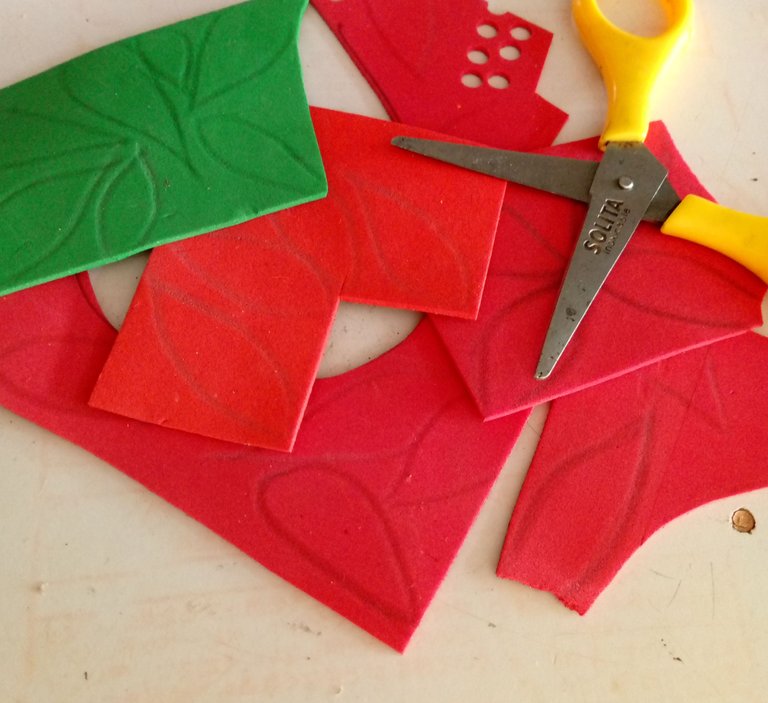
I made the marking of 2 circles of different sizes taking into account the LED bulb shades, then I cut them out and made a hole in the center of the smaller one.
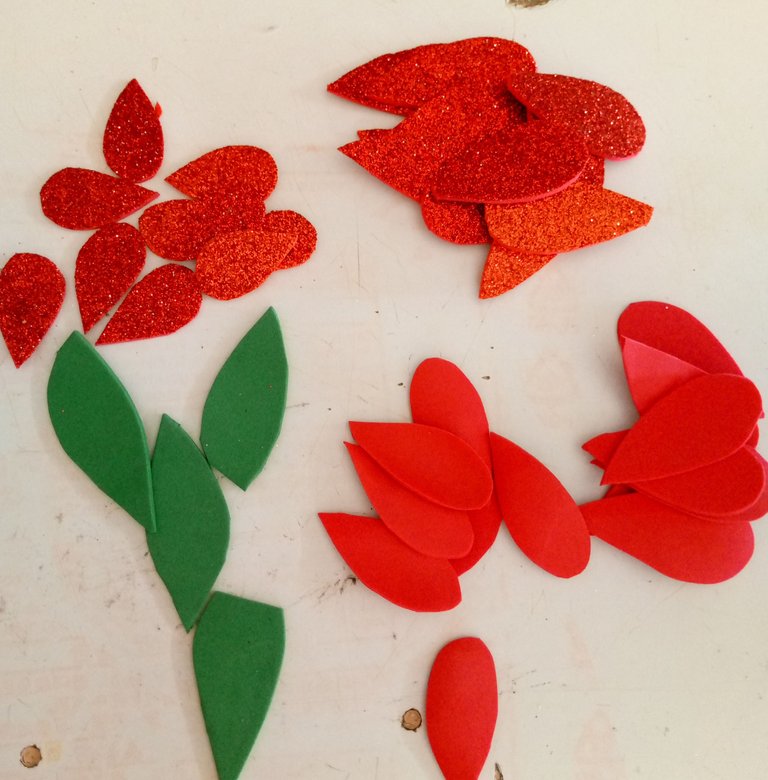
Having these lids ready, I drew on the various pieces of fomi, petals of 3 different sizes to create volume effect. I also drew the leaves.
Hice el marcado de 2 círculos de diferentes tamaños teniendo en cuenta las pantallas de las bombillas LED, luego los recorté e hice un agujero en el centro del más pequeño.
Teniendo estas tapas listas, dibujé sobre las distintas piezas de fomi, pétalos de 3 tamaños diferentes para crear efecto de volumen. También dibujé las hojas.

 |  |  |
|---|
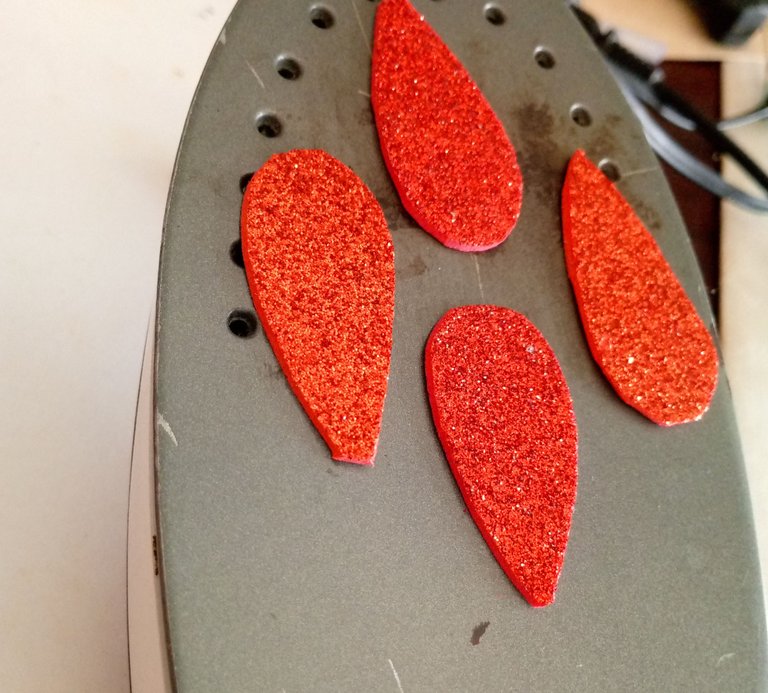
Cut out the petals and use the iron to shape and smooth the petals, to remove the cut lines that give them a rustic look.
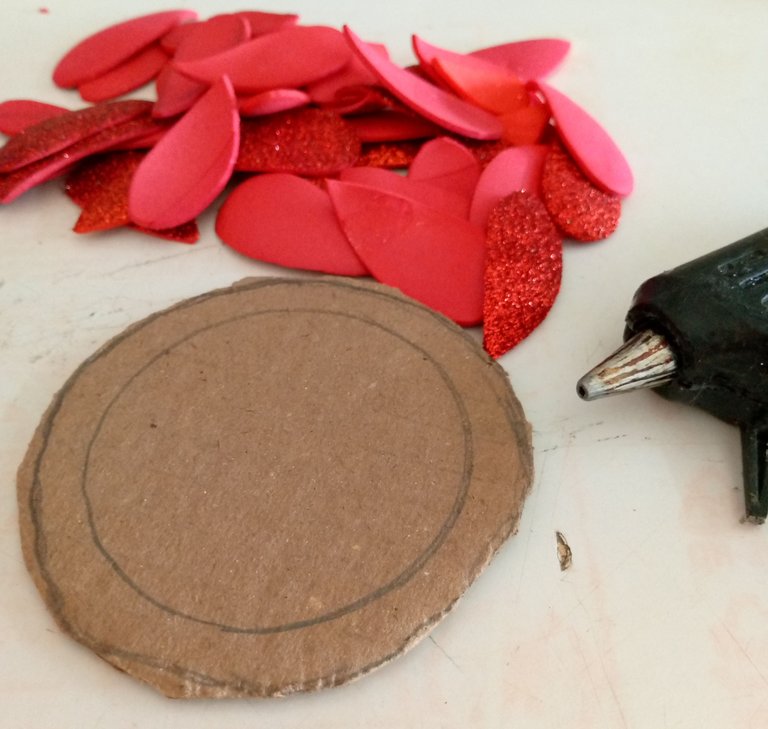
Prepare the circular cardboard base to start gluing each petal with silicone.
Recorte los pétalos y pase a utilizar la plancha para moldear y suavizar los pétalos, para quitarle las líneas de corte que le dan un aspecto rústico.
Prepare el cartón circular de base para comenzar a pegar con silicona cada uno de los pétalos.

 |  |  |
|---|
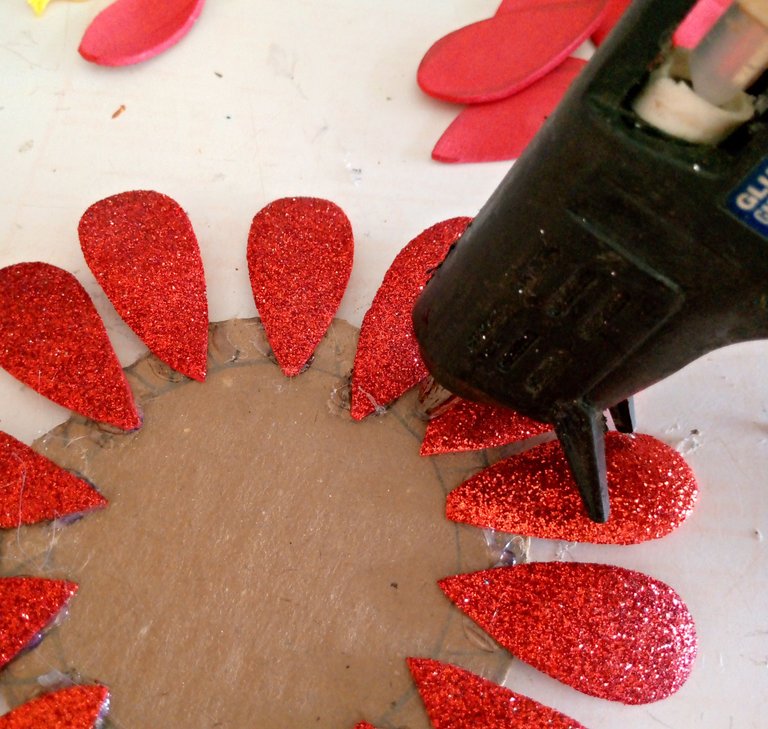
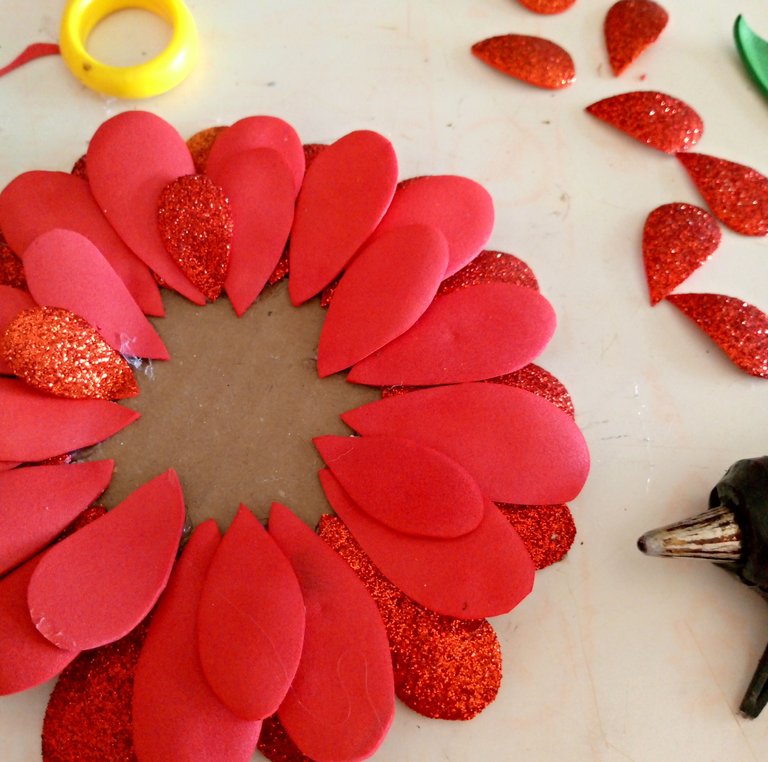
Inside the cardboard circle I drew a smaller circle, to guide me where I was going to place each petal, starting to glue with hot silicone the frosted red petals and then all the rest, varying the sizes.
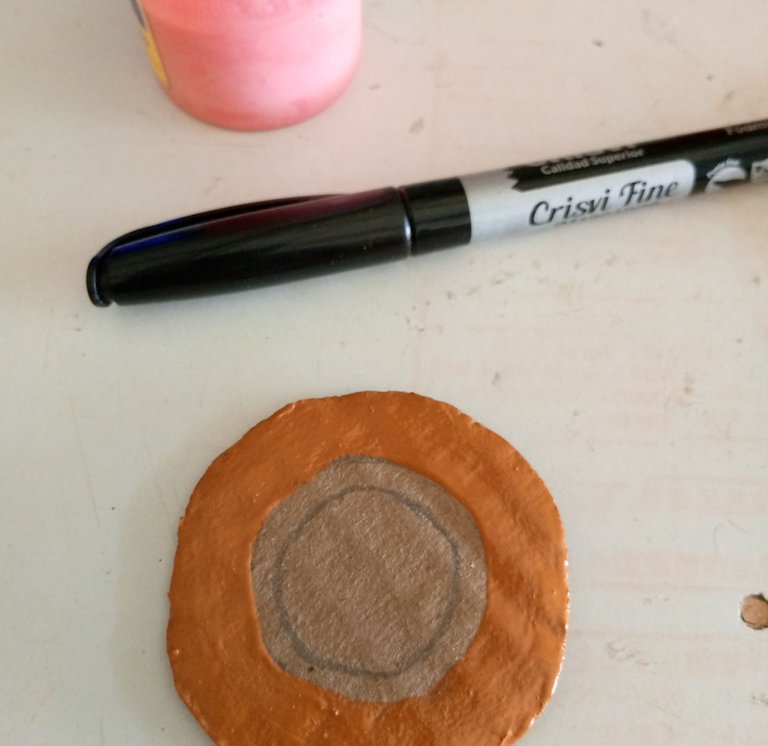
After finishing gluing the petals, I painted the circle that will be the center of the flower.
Dentro del círculo de cartón dibuje un círculo más pequeño, para guiarme donde iba a posicionar cada pétalo, comenzando a pegar con silicona caliente los pétalos rojos escarchado y seguido todo el resto variando los tamaños.
Luego de terminar de pegar los pétalos, pinte el círculo que será el centro de la flor.

 |  |
|---|
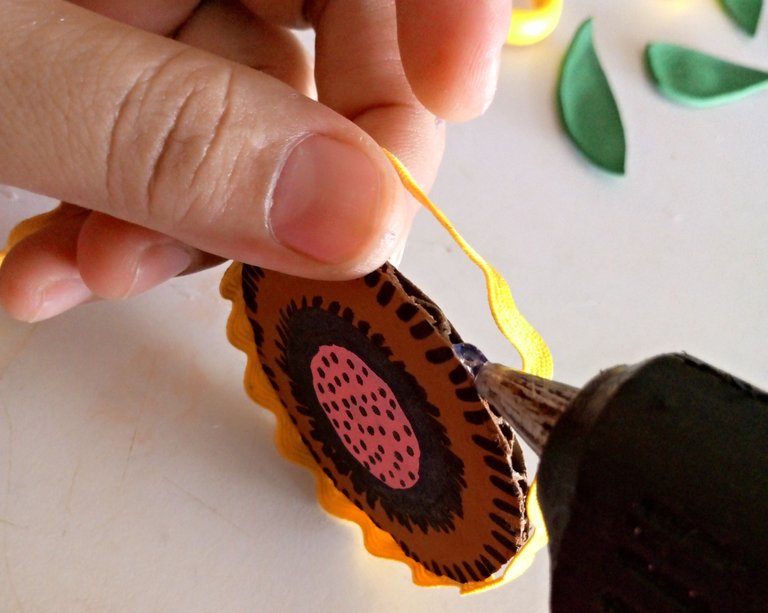
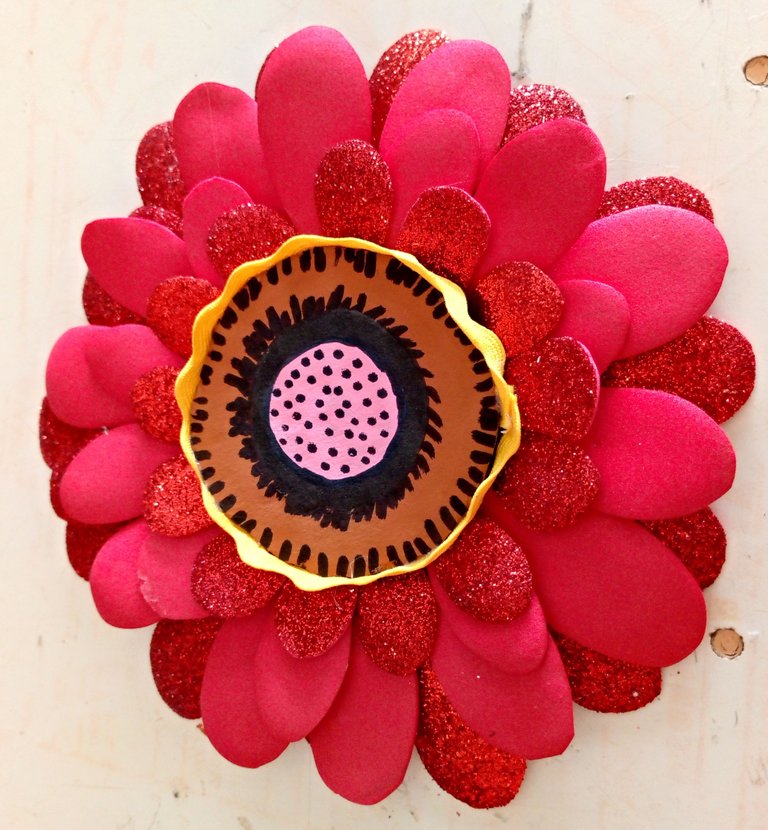
The circle for the center of the flower I painted brown, then black and pink in the same circular order, I made details with the fine tip marker let it dry for a few minutes and continue gluing the yellow zigzag ribbon, all around the edge of the circle of the center of the flower, and glue the flower in the center with hot silicone.
El círculo para el centro de la flor lo pinté de color marrón, luego negro y rosa en el mismo orden circular, le hice detalles con el marcador punta fina deje secar por unos minutos y continúe pegando la cinta zigzag de color amarillo, por todo en borde del círculo del centro de la flor, y pegue a la flor en el centro con silicona caliente.

 |  |
|---|
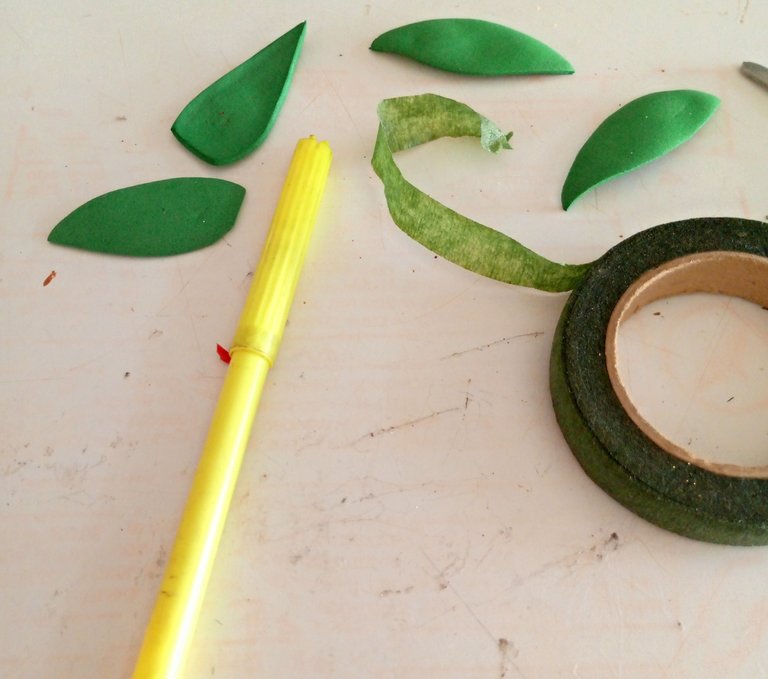
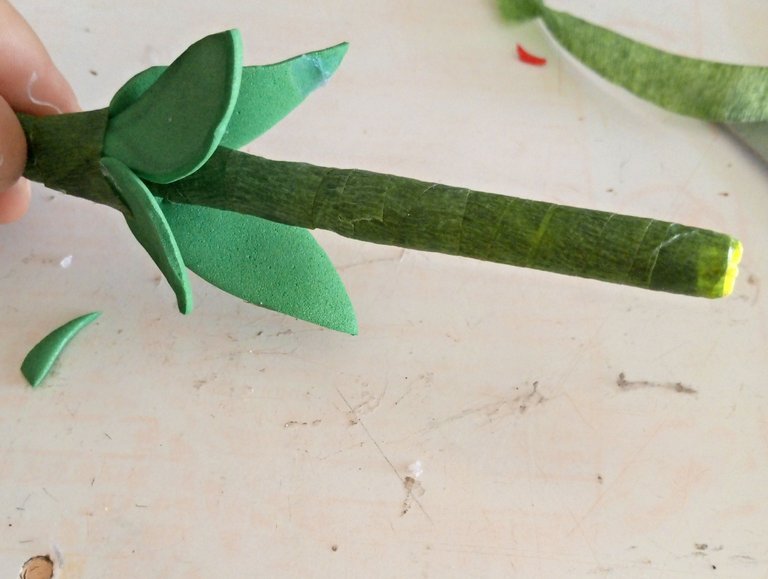
I continued by making the stem which is from an already worn marker, and floratex tape to cover it, plus some leaves that I made when I made the flower petals and had reserved for this moment.
Continúe haciendo el tallo que es a partir de un marcador ya gastado, y cinta floratex para cubrirlo, además de unas hojas que hice cuando hice los pétalos de la flor y que había reservado para este momento.

 |  |  |
|---|
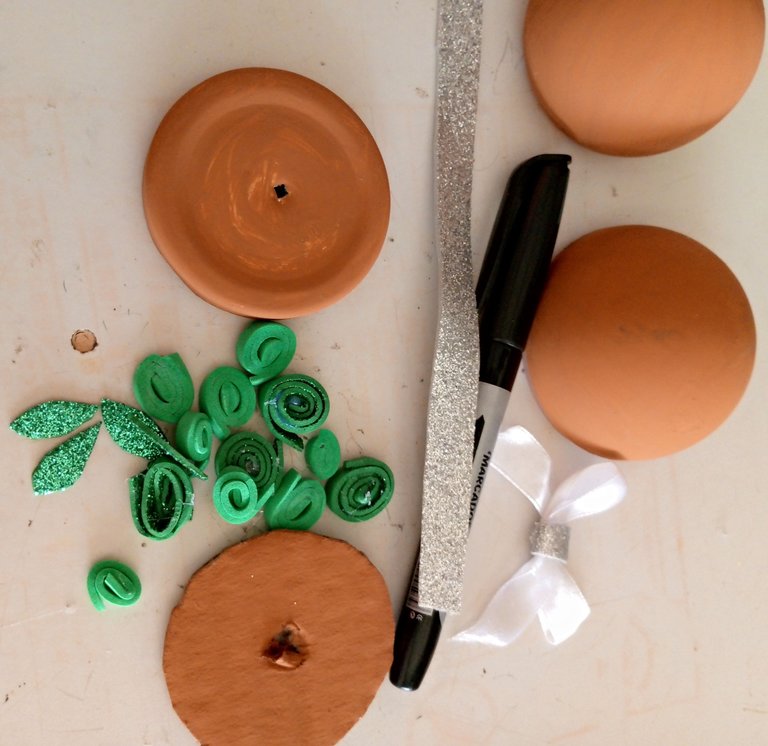
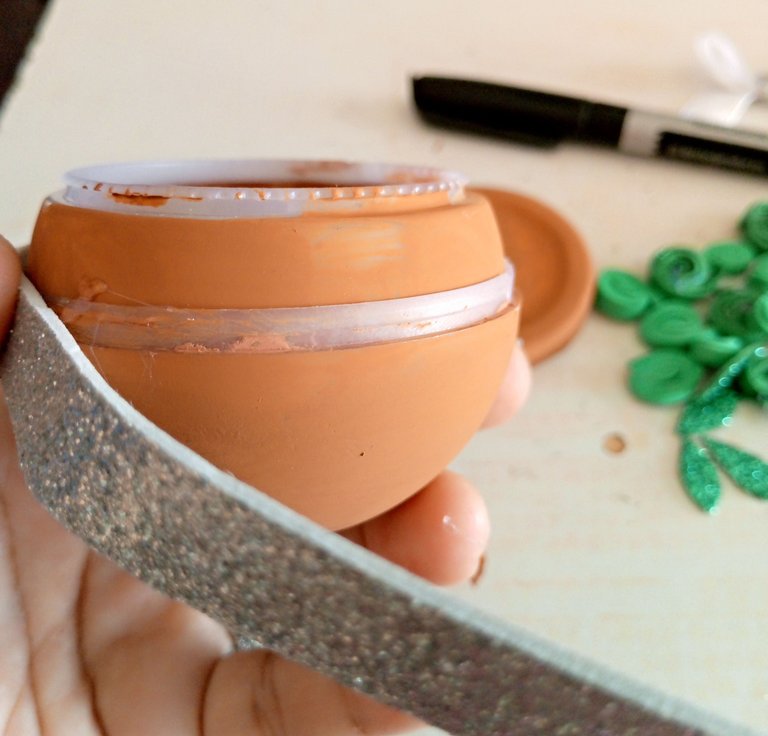
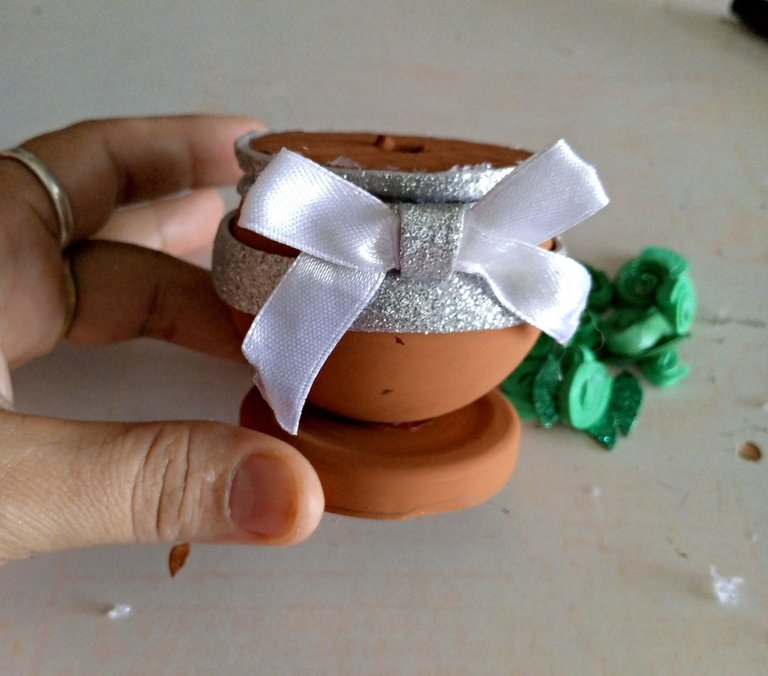
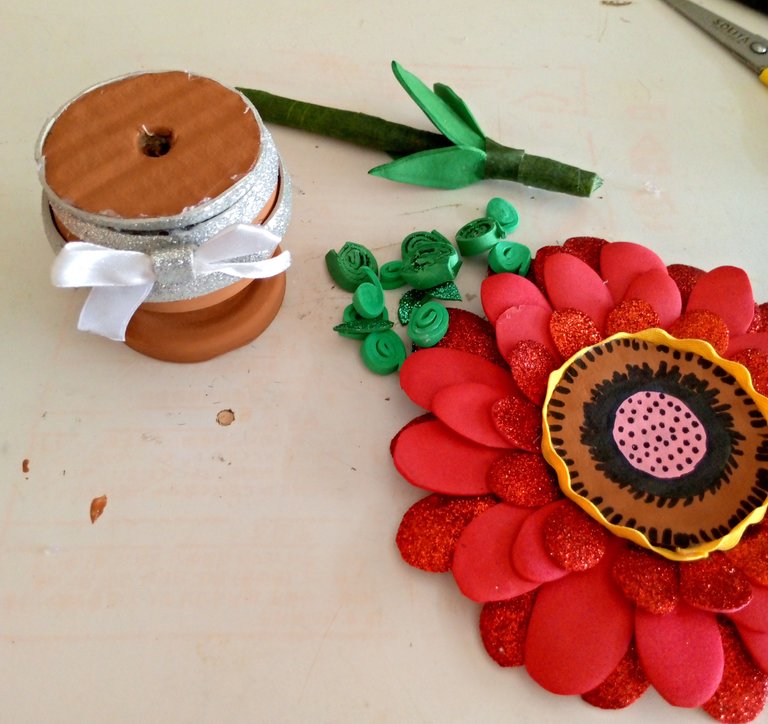
At this point I started to make a beautiful and coquettish flower pot, I made it from some LED bulb screens that I painted with brown paint, as they were 2 screens, one smaller, I joined them placing one inside the other to give it a better look and decorated with a frosted foami ribbon and a white ribbon fabric bow that I glued with hot silicone and at this point I also closed the top of the pot with the circle that I had cut out and drilled in the center for this purpose.
I also glued the already painted metal lid to the base to give it stability, since the bulb shades are round and turn over.
En este punto comencé hacer un hermoso y coqueto macetero para la flor, este lo hice a partir de unas pantallas de bombillos led que pinte con pintura marrón, como eran 2 pantallas una más pequeña las uni colocando una dentro de la otra para darle un mejor aspecto y decore con una cinta de foami escarchado y un lazo blanco de tela de cinta que pegue con silicona caliente y en este momento también cerré la parte superior del macetero con el círculo que había recortado y perforado en el centro para este fin.
También le pegué la tapa de metal ya pintada, en la base para darle estabilidad, ya que las pantallas de los bombillos son redondas y se voltean.

 |  |
|---|
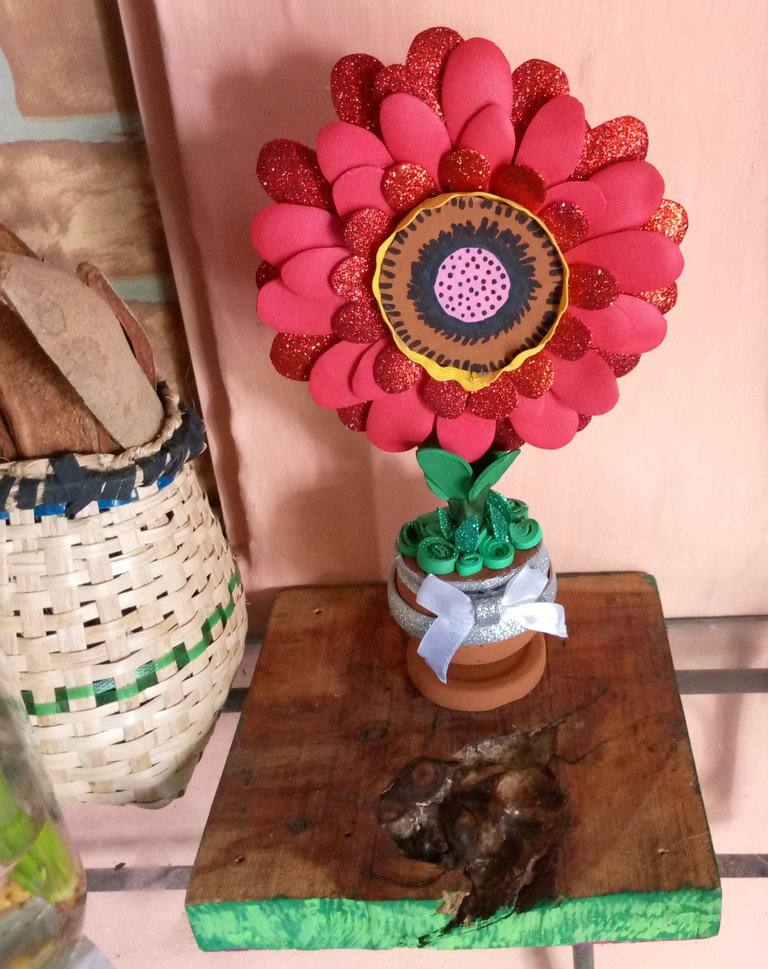
To finish this beautiful detail, use hot silicone and glue each part and assemble the flower in its respective base which is the flower pot, decorating it with some green foami rolls that look very appropriate.
This is how I finish this nice craft to share with all of you this happy moment of celebration of these 3 years of this beautiful Hive Diy community and its Witness @equipodelta.
I hope you like it and keep putting a lot of love to everything you do, congratulations to all. 🌹🌹🌹🎂🎂🎂
Para terminar este bello detalle, use silicona caliente y pegue cada parte y arme la flor en su respectiva base que es el macetero decorando con algunos rollitos verdes de foami que le lucen muy adecuados.
Es así como termino esta linda manualidad para compartir con todos ustedes este feliz momento de celebración de ya, 3 años de esta linda comunidad Hive Diy y su Witness @equipodelta.
Espero que les agrade y sigan poniéndole mucho amor a todo lo que hagan, felicidades para todos. 🌹🌹🌹🎂🎂🎂

social networks / redes sociales
Traductor Deepl
Translated Deepl
Ediciones Canva
Editions Canva

Posted Using InLeo Alpha


