
¡Feliz y bendecida tarde!!! Tengan todos apreciados artesanos de esta hermosa comunidad HiveDiy.
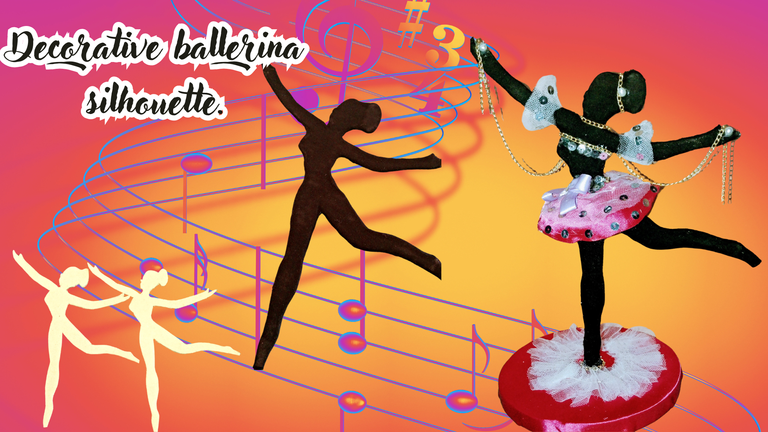
El día de hoy vengó a compartir un tutorial para hacer un adorno muy llamativo, una silueta de bailarina, es bien bonita para colocarla en alguna mesita de nuestro hogar, de hecho yo voy a utilizarla en mi mesita de noche para colocar algunas prendas que tengo por allí, y que quisiera tener más a la vista, así que esta hermosa bailarina me parece genial para este uso tan requerido para mí.
Las fotografías que verán a continuación, fueron tomadas con mi teléfono modelo TECNO SPARK GO 2023.

Happy and blessed afternoon!!!!! Have all dear crafters of this beautiful HiveDiy community.
Today I came to share a tutorial to make a very striking ornament, a ballerina silhouette, it is very nice to place it on a table in our home, in fact I will use it on my nightstand to place some clothes that I have there, and I would like to have more in sight, so this beautiful ballerina seems great for this use so required for me.
The pictures you will see below were taken with my TECNO SPARK GO 2023.

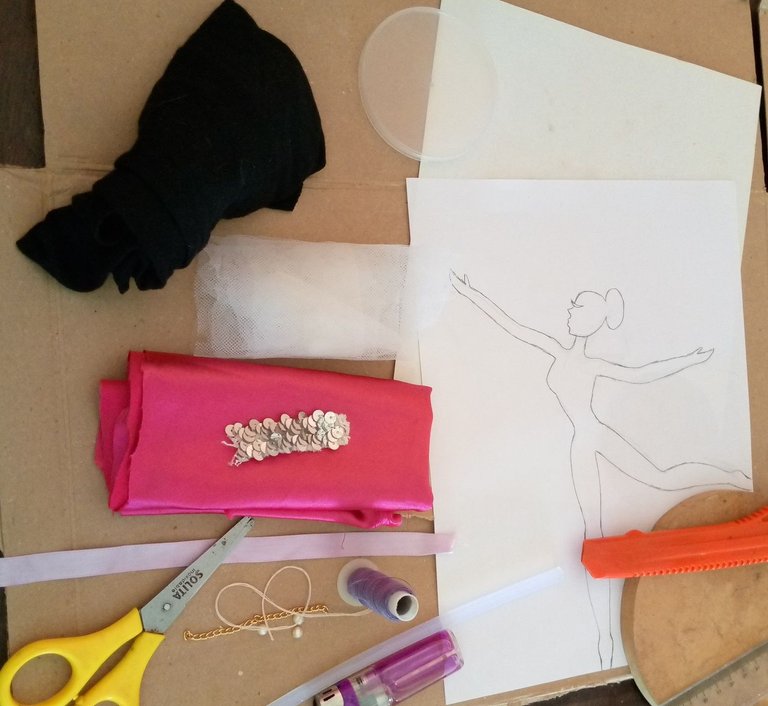

Los materiales son sencillos, y los puedes conseguir en casa, si eres de las que les gusta reciclar, allí los tienes.
- 1 Trozo de cartón resistente.
- 1 Silueta de bailarina hecha en hoja tamaño carta.
- 1 Lámina de cartulina lisa tamaño carta.
- Tela suave color negro.
- Telas de satén fucsia.
- Tela de tul blanco.
- Lentejuelas.
- 1 Cinta de 10 cm color lila.
- 1 Tapa de plástico.
- 1 Círculo de MDF para la base.
- 1 Encendedor.
- 1 Tijera.
- 1 Barra de silicona para pistola.
- 1 Aguja con hilo.
- Pega blanca.
- 1 Cúter.
- 1 lápiz.
- Cadenas de fantasía y perlas para decorar.

The materials are simple, and you can get them at home, if you are one of those who like to recycle, there you have them.
- 1 piece of sturdy cardboard.
- 1 Silhouette of a ballerina made on a letter size sheet.
- 1 sheet of plain cardboard letter size.
- Soft black fabric.
- Fuchsia satin fabric.
- White tulle fabric.
- Sequins.
- 1 Ribbon of 10 cm lilac color.
- 1 Plastic lid.
- 1 MDF circle for the base.
- 1 lighter.
- 1 scissors.
- 1 Silicone stick for gun.
- 1 Needle with thread.
- White glue.
- 1 Cutter.
- 1 pencil.
- Fancy chains and pearls to decorate.

 |  |
|---|---|
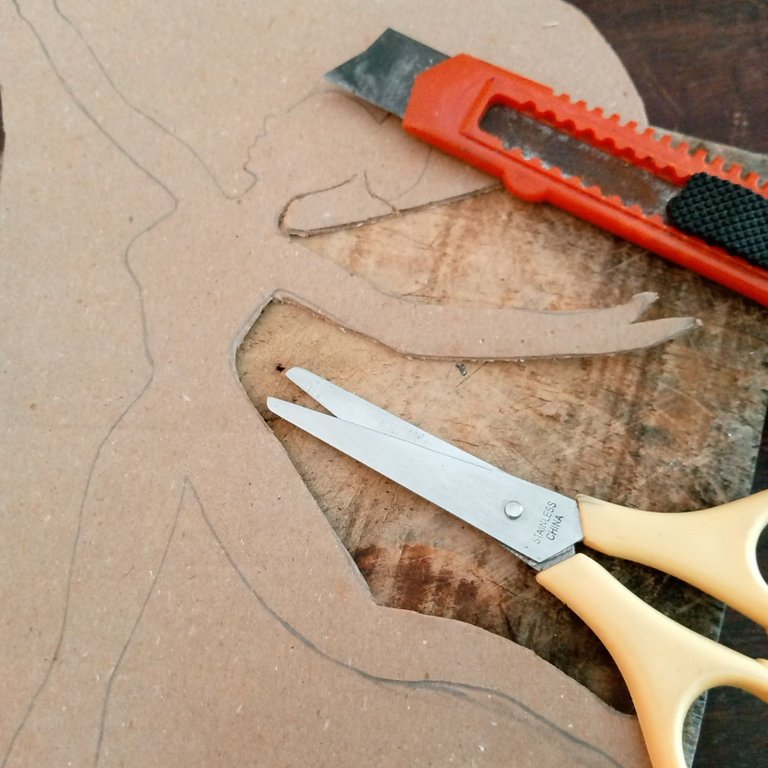 | 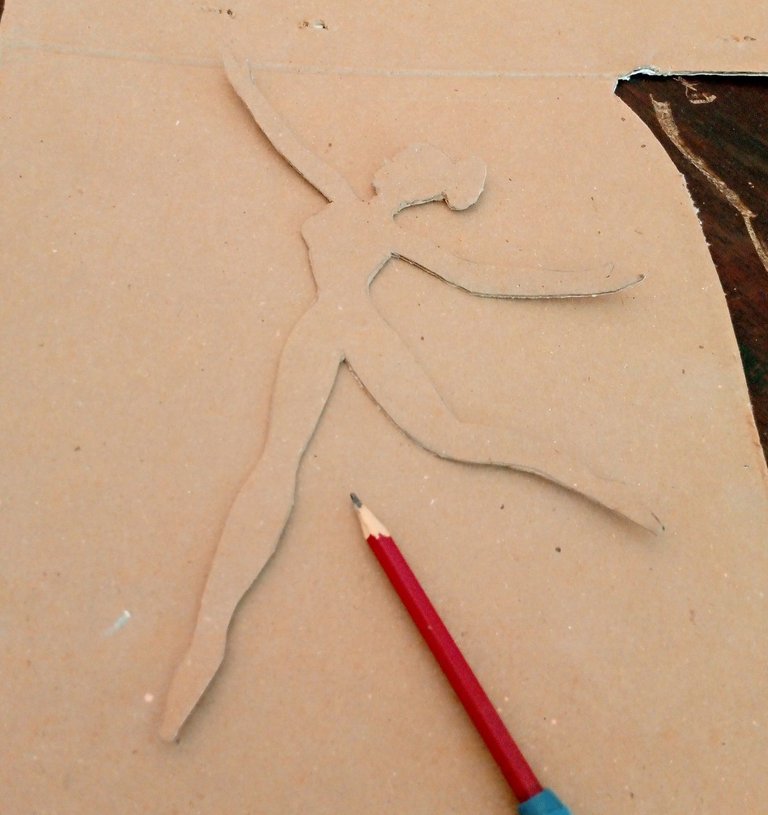 |

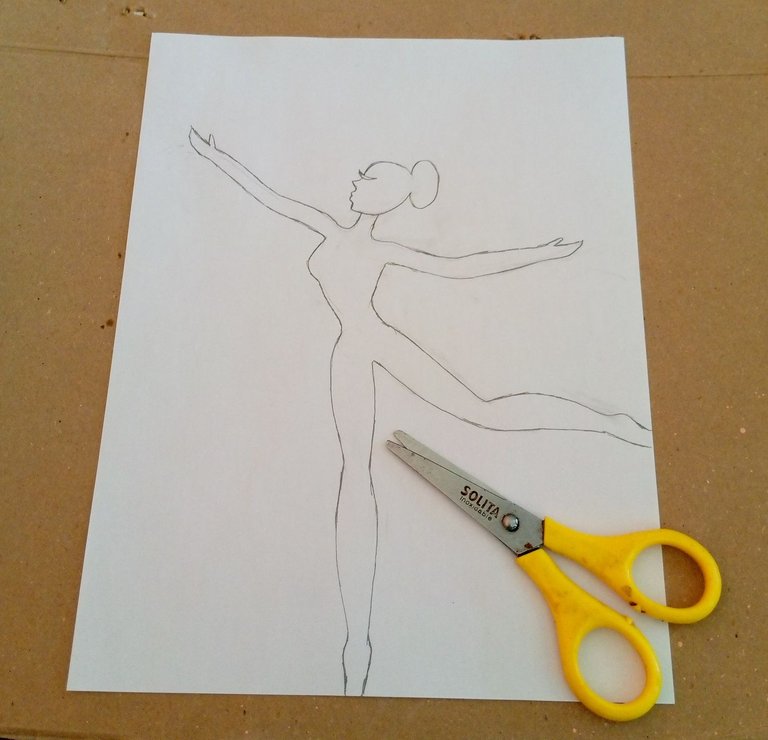
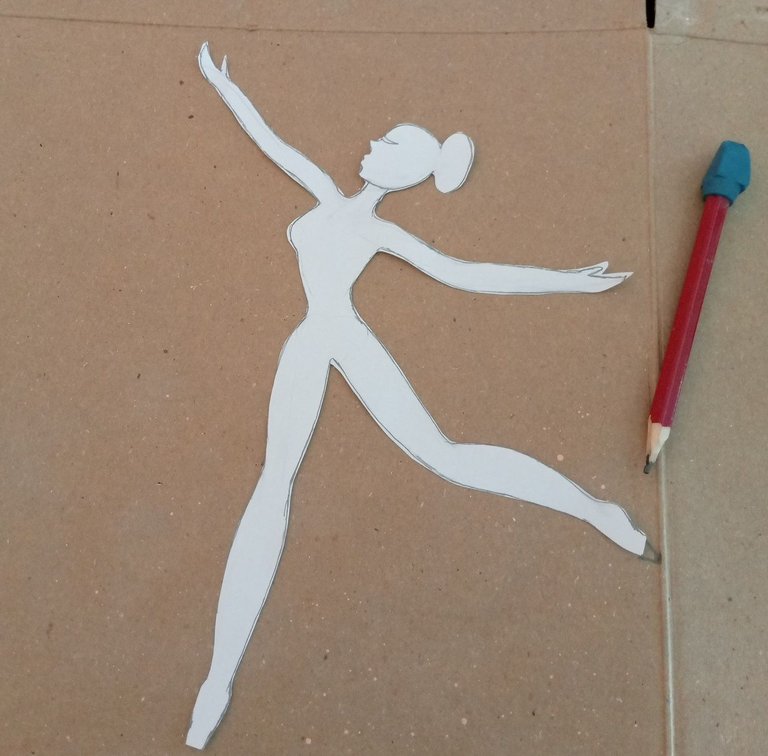
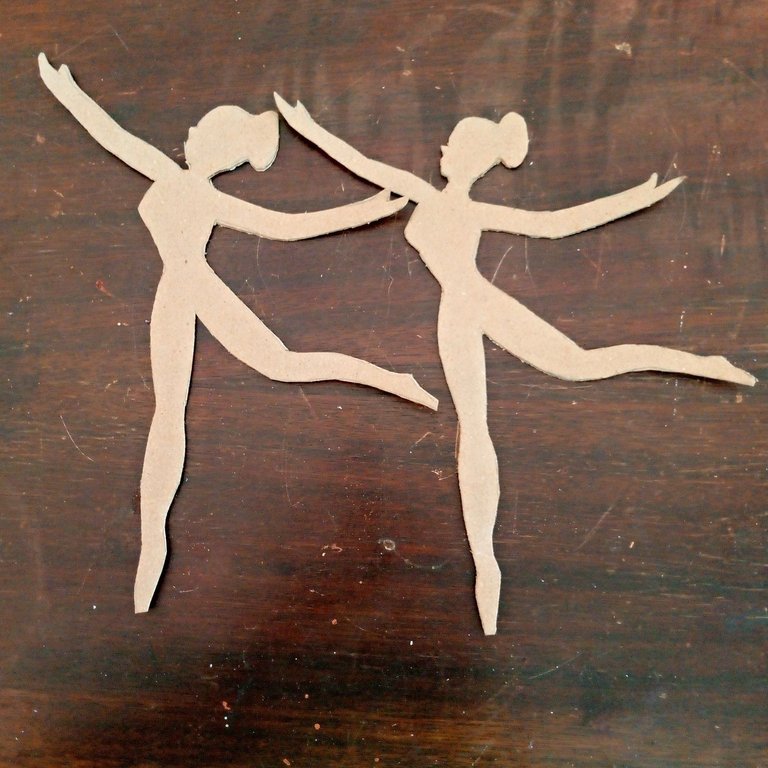
Comenzaremos recortando la silueta, cuando ya esté totalmente recortada la vamos a colocar sobre el trozo de cartón para dibujarla, también la pueden calcar si es de su preferencia, y luego la dibujan, cualquier opción es buena, después de tener nuestra silueta plasmada sobre el cartón comenzaremos a recortar con la tijera y el cúter con mucho cuidado para conservar la forma definida, por eso utilice tijera y cúter para ir sacando las partes más difíciles y no dañarlas, si tienen otra herramienta más útil y más efectiva para cortar aún mejor.

We will begin by cutting out the silhouette, when it is completely cut out we will place it on the piece of cardboard to draw it, you can also trace it if you prefer, and then draw it, any option is good, after having our silhouette captured on the cardboard we will begin to cut with the scissors and the cutter very carefully to preserve the defined shape, so use scissors and cutter to remove the most difficult parts and not damage them, if you have another more useful and more effective tool to cut even better.

 |  |
|---|
 |  |
|---|

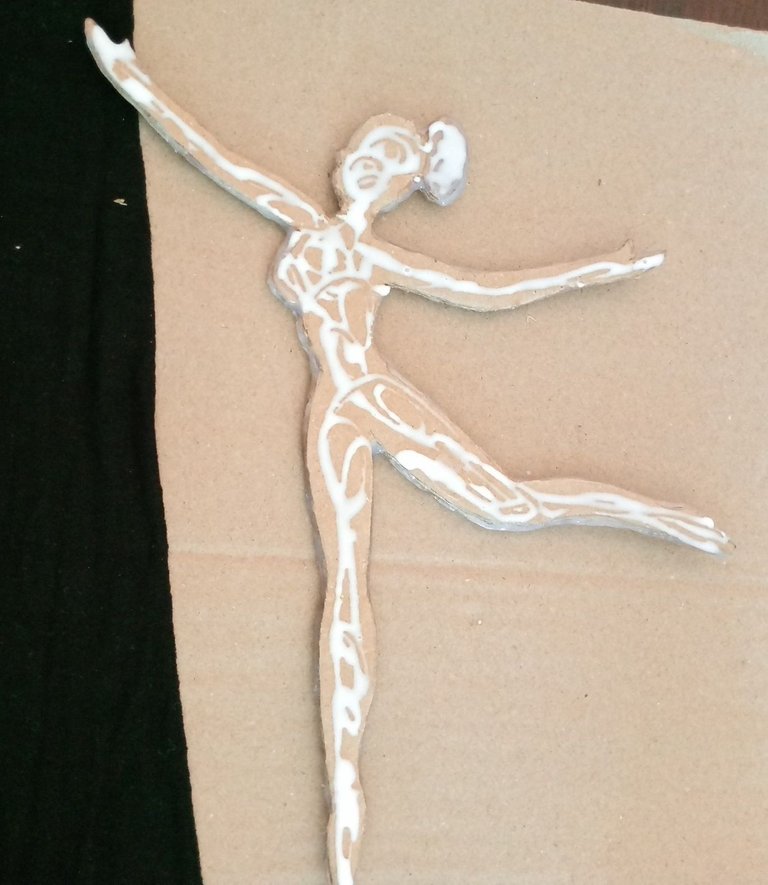
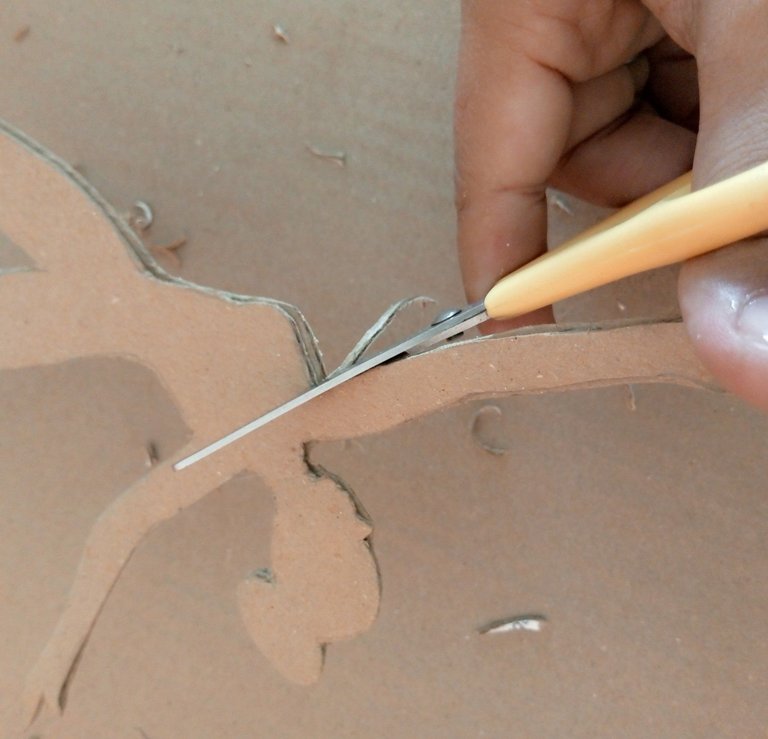
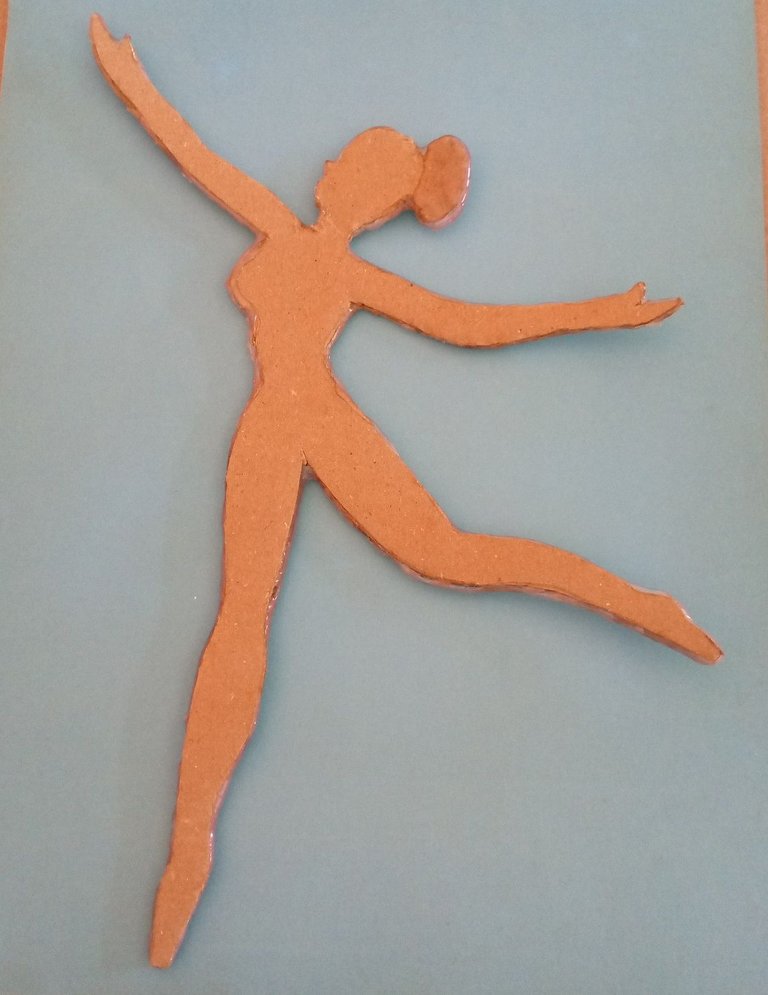
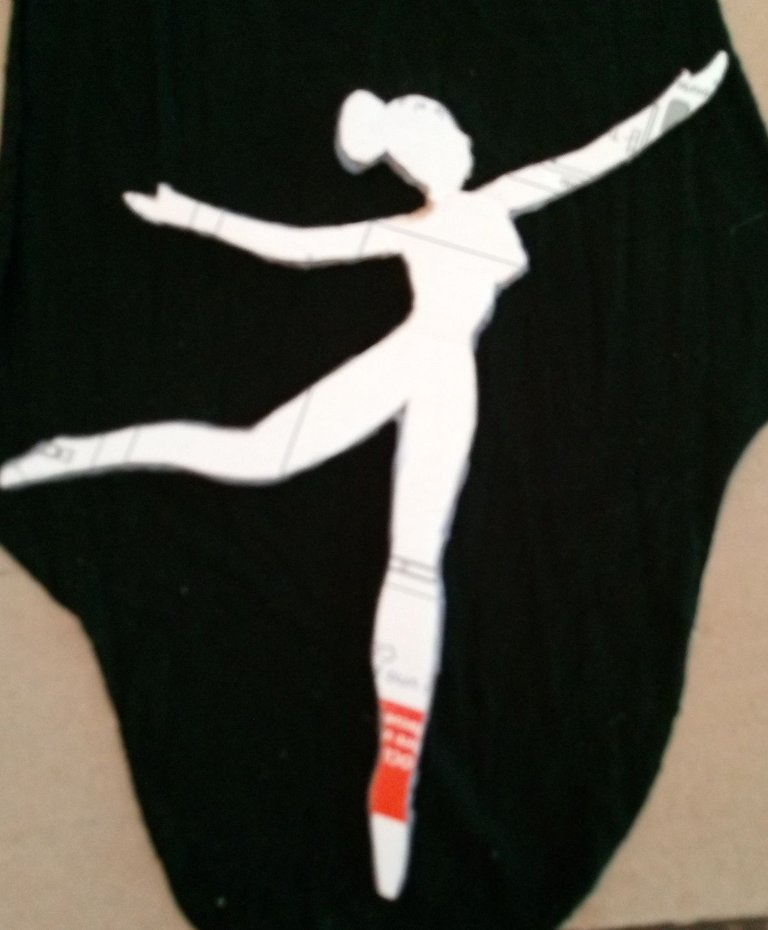
Haremos 2 siluetas iguales, le colocaremos pega blanca y las unimos para que tenga mayor resistencia, después que estén pegadas, recortaremos los excedentes para hacerla más exacta y vamos a colocarle silicona caliente por los bordes para terminar de cerrar y moldear la figura.
En el moño le coloqué silicona para hacer volumen, esto es opcional.

We will make 2 equal silhouettes, we will put white glue and join them together to make it more resistant, after they are glued, we will cut the excess to make it more exact and we will put hot silicone on the edges to finish closing and molding the figure.
On the bow I put silicone to make volume, this is optional.

 |  |
|---|---|
 |  |

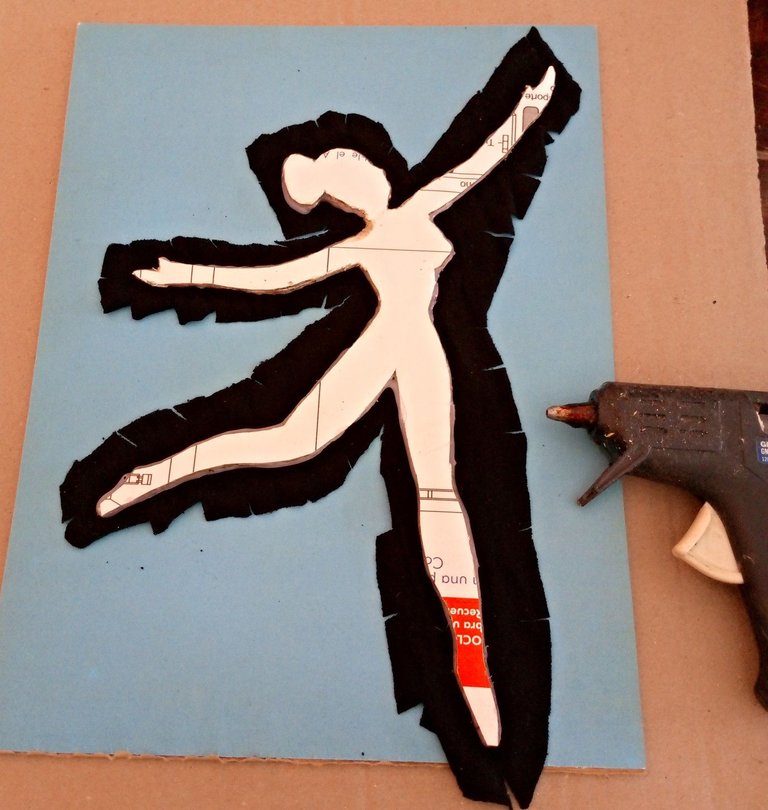
Luego, nuevamente le vamos a colocar pega blanca por uno de los lados y esparcimos por toda la silueta de ese lado, seguido la vamos a colocar sobre la tela negra para que se pegue, me gusta la pega blanca porque al secarse no se nota entre la tela negra que va por encima, dejamos pasar un rato, y mientras esperamos a que seque un poco podemos hacer otras cosas jajajaja.
Transcurrido los minutos ya debería estar esta tela un poco fijada sobre la silueta, en este momento recortaremos la tela dejando un poco que sobresalga para luego pegar por el lado de atrás con silicona caliente, y con la tijera cortaremos la tela que dejamos de los lados para pegar, pero solo vamos a cortar la tela que se vea muy larga que sobresalga luego de pegar.
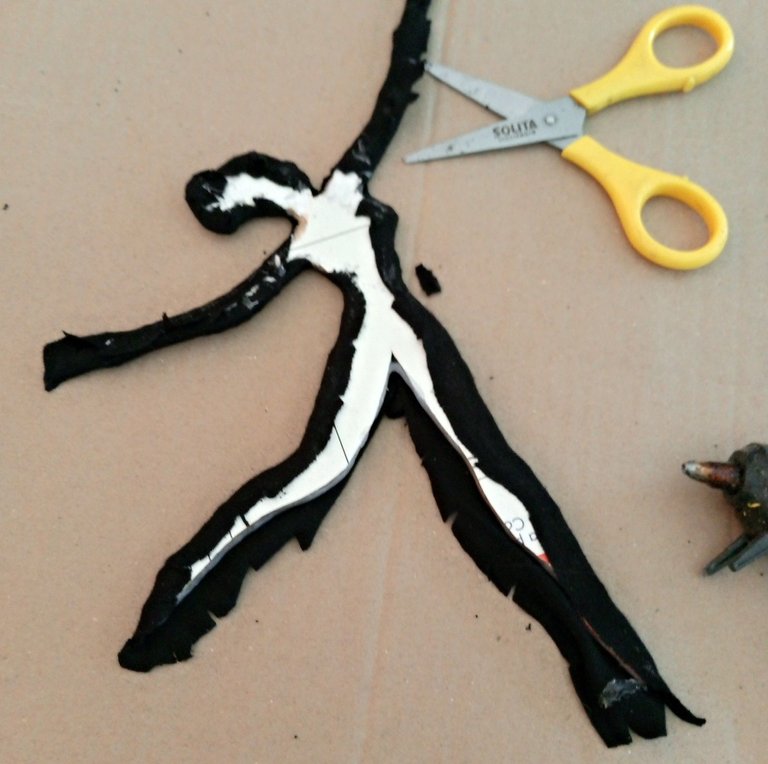
Del lado de atrás no va a quedar totalmente cubierta, lo que haremos será colocar silicona caliente, y un poco de tela para terminar de cubrir la silueta, luego recortamos con cuidando la tela sobrante para evitar que se vea detalles descuidados.
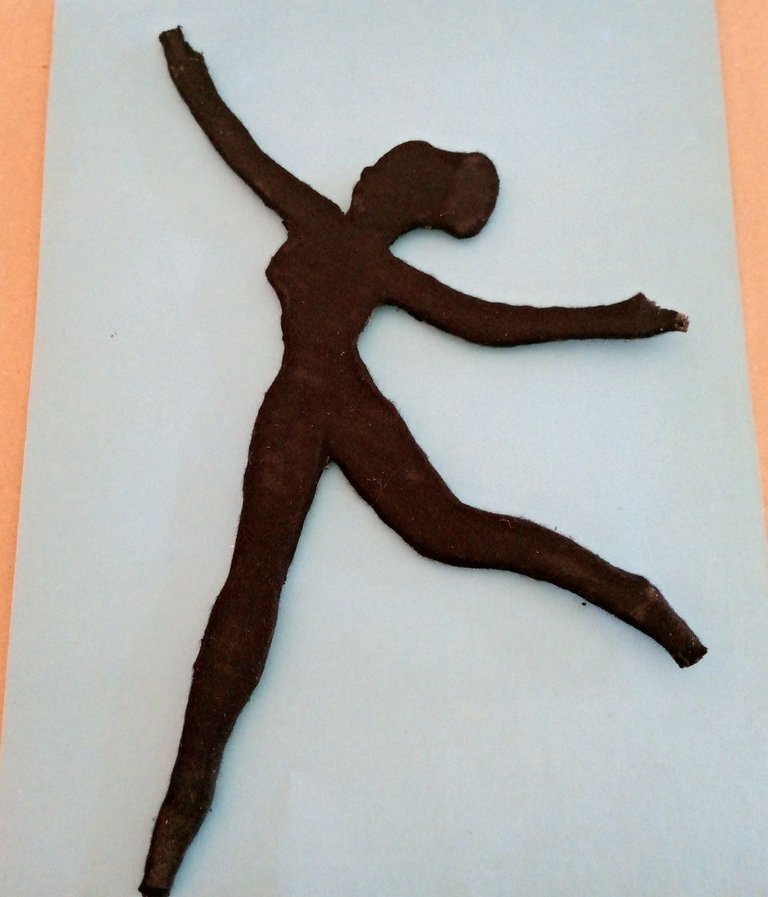
Y así va quedando la silueta bien detallada.

Then, again we are going to put white glue on one side and spread it all over the silhouette on that side, then we are going to place it on the black fabric to stick, I like the white glue because when it dries it is not noticeable between the black fabric that goes on top, we let a while, and while we wait for it to dry a little we can do other things hahahaha.
After a few minutes this fabric should already be a little fixed on the silhouette, at this time we will cut the fabric leaving a little protruding and then paste on the back side with hot silicone, and with the scissors we will cut the fabric we left on the sides to paste, but we will only cut the fabric that looks very long and protruding after gluing.
The back side will not be completely covered, what we will do is put hot silicone, and a little fabric to finish covering the silhouette, then we cut the excess fabric carefully to avoid that it looks sloppy details.
And so the silhouette will be well detailed.

 |  |
|---|---|
 |  |

Lo que resta es hacer el vestuario de la silueta y la base.
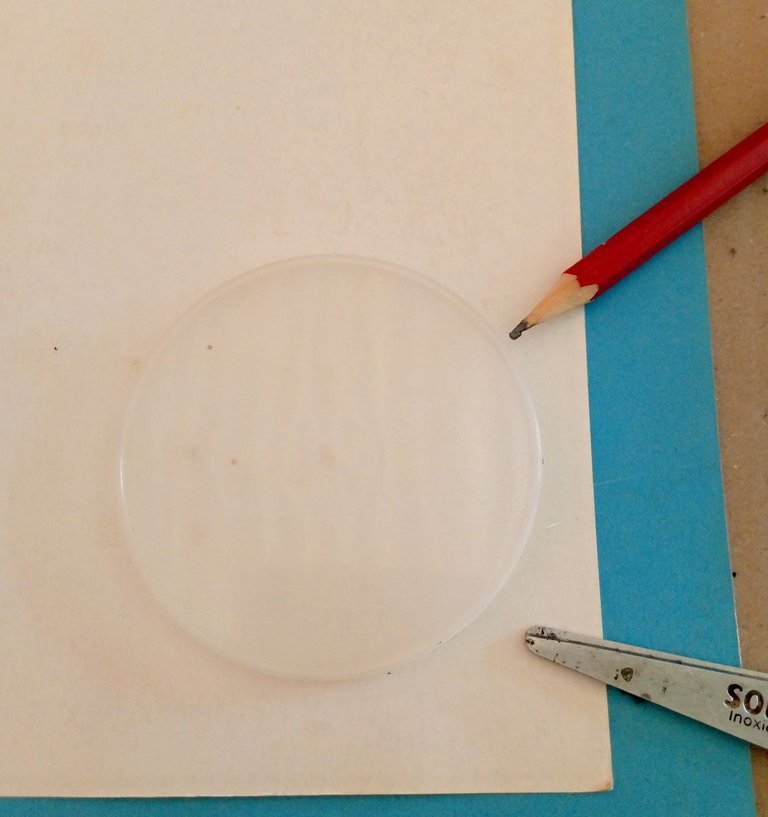
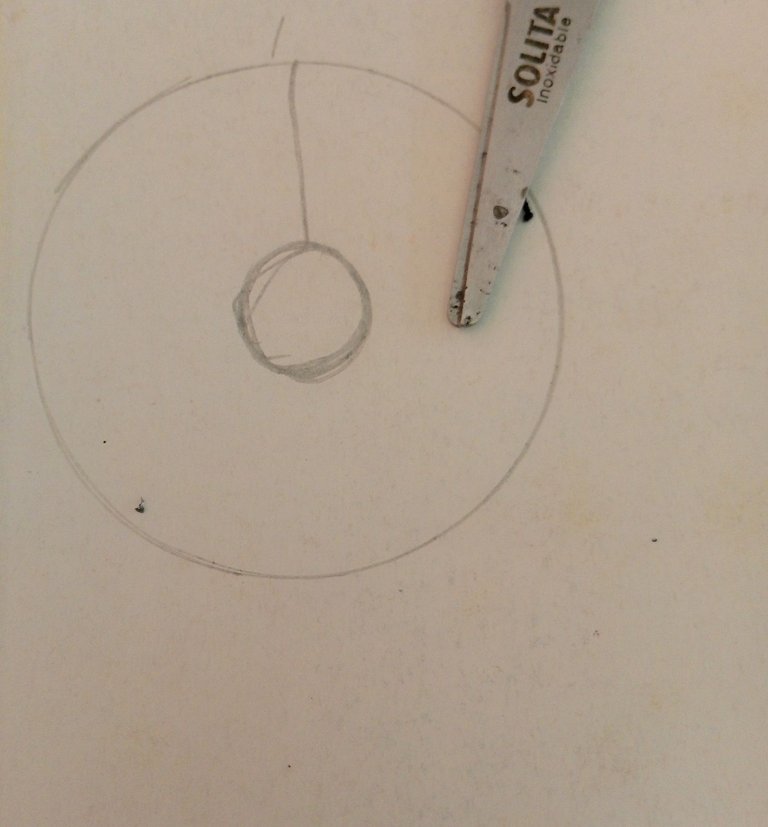
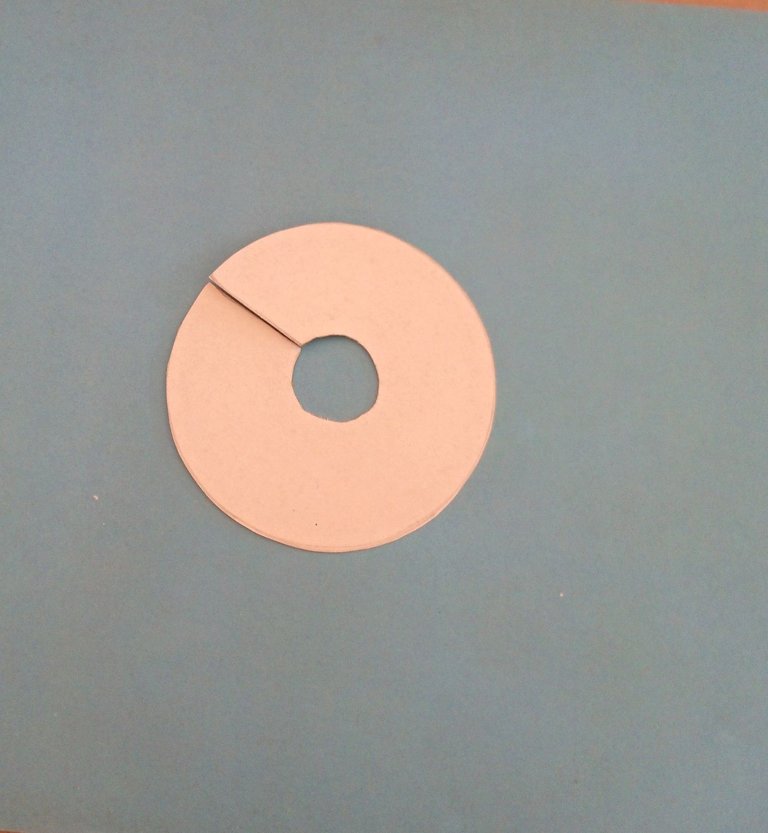
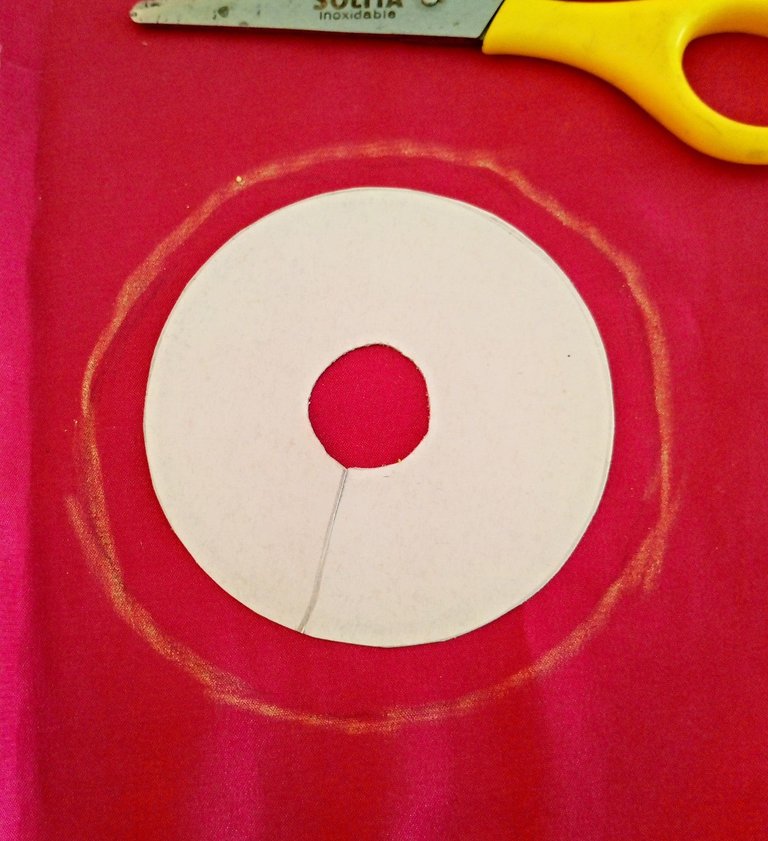
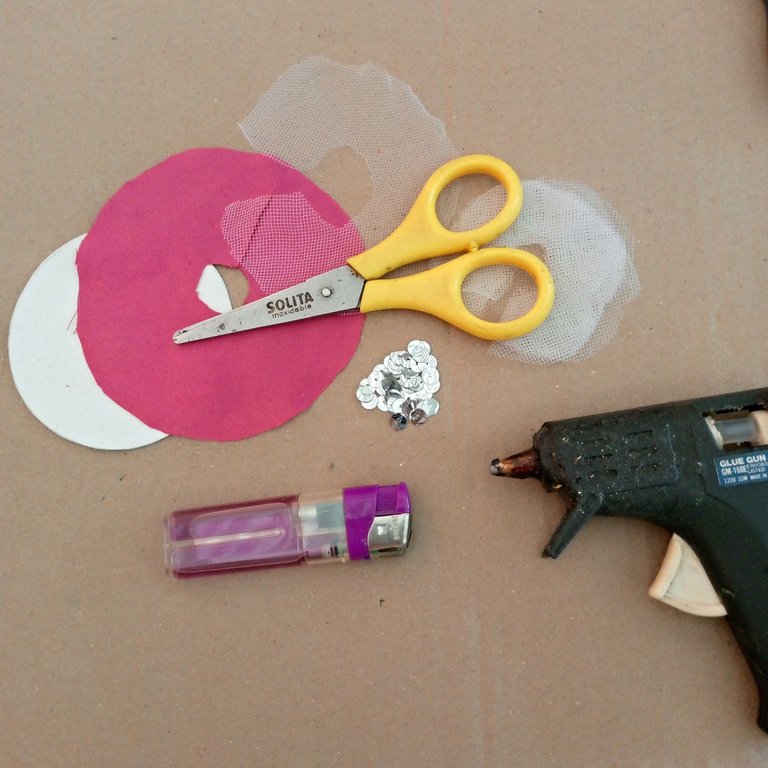
Para hacer el vestuario vamos a colocar una tapa de plástico sobre la cartulina para hacer la falda, luego este resultado lo llevamos a la tela y haremos una réplica pero con 1 cm demás.

What remains is to make the costume of the silhouette and the base.
To make the costume we are going to place a plastic cover over the cardboard to make the skirt, then we will take this result to the fabric and we will make a replica but with 1 cm more.

 |  |
|---|---|
 |  |

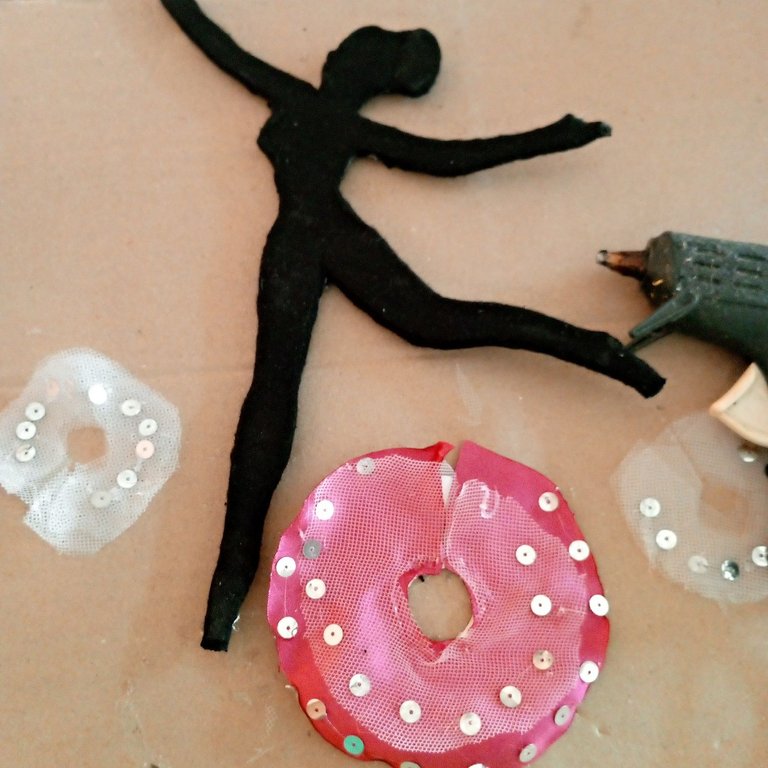
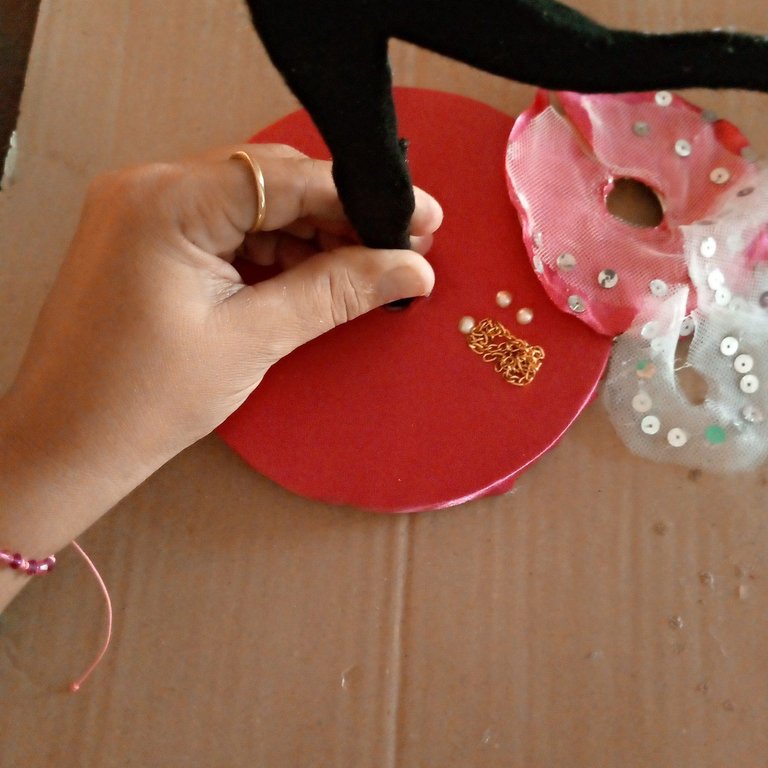
Aquí vamos a utilizar el encendedor para sellar las orillas del tutú de la bailarina, esto evita que se deshile y le da mejor forma, luego lo vamos a pegar en la pieza de cartón por lo que sería la pretina con un poco de silicona caliente, también vamos a pegarle las lentejuelas para que se vea más llamativa, aquí tendremos un tutú con tres capas, una de cartulina, una de tela desaten y una de tela de tul, en este mismo momento haremos otros cortes en círculos para colocárselos de mangas decorativas con tela de tul y lentejuelas, en este punto ya tenemos listo el vestuario de la bailarina, pero antes de vestirla la necesitamos colocar en la base.
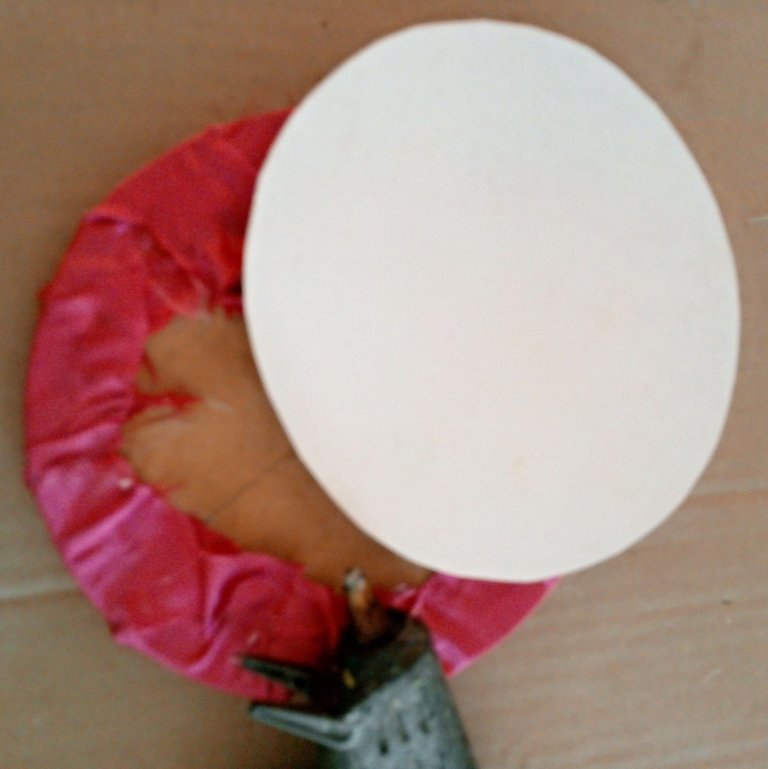
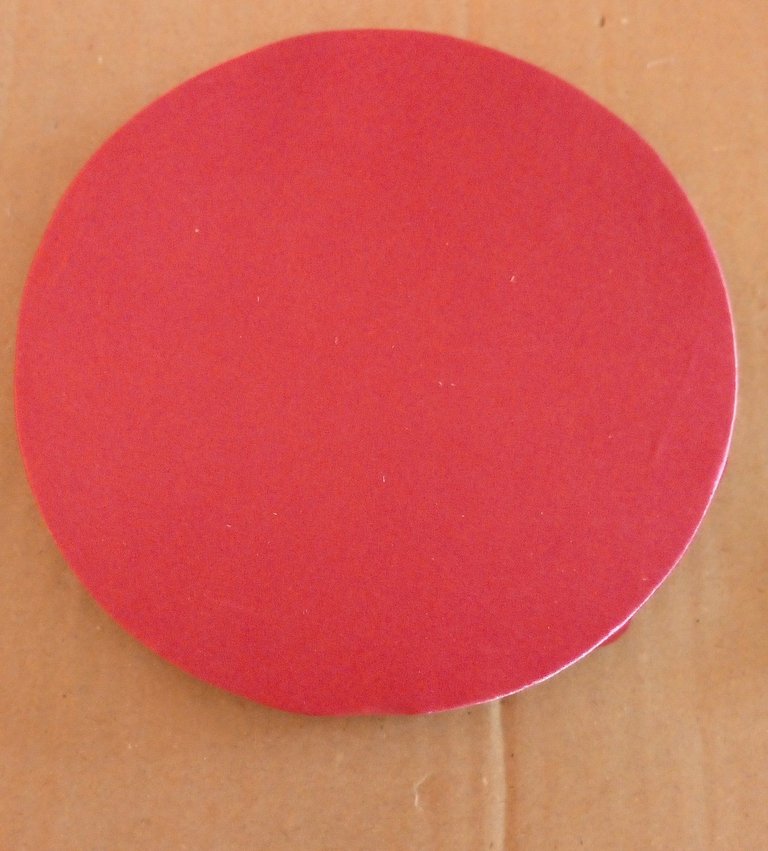
La base la haremos con un material más fuerte como el MDF, esta circunferencia ya la tenía lista, me la regalo un vecino que trabaja con dicho material, y lo que vamos a hacer será forarlo con tela y colocarle un círculo de cartulina en la parte de abajo para que se vea todo bien bonito y cuidando los detalles.

Here we are going to use the lighter to seal the edges of the tutu of the dancer, this prevents it from fraying and gives it a better shape, then we are going to paste it on the piece of cardboard for what would be the waistband with a little hot silicone, we are also going to paste the sequins to make it look more striking, here we will have a tutu with three layers, one of cardboard, one of fabric desaten and one of tulle fabric, at this same time we will make other cuts in circles to place them decorative sleeves with tulle fabric and sequins, at this point we have ready the costume of the ballerina, but before dressing her we need to place it on the base.
The base will be made with a stronger material such as MDF, this circumference already had it ready, a neighbor who works with this material gave it to me, and what we are going to do is to line it with fabric and place a circle of cardboard on the bottom so that everything looks nice and taking care of the details.

 |  |
|---|---|
 |  |

Después que ya tenemos nuestra base lista, vamos a colocar silicona caliente en el pie de la bailarina y pegaremos, dejamos sostenido hasta que se fije bien.
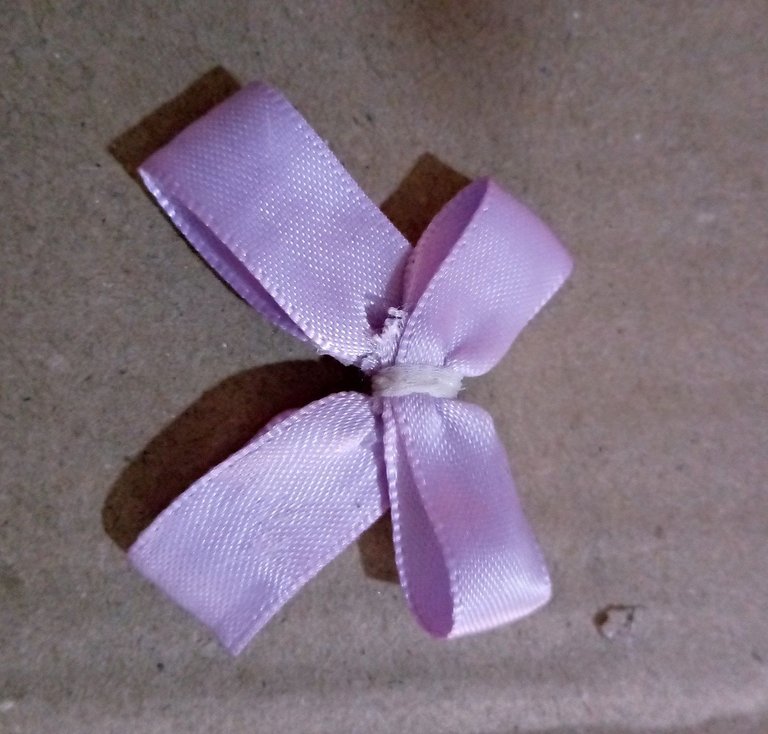
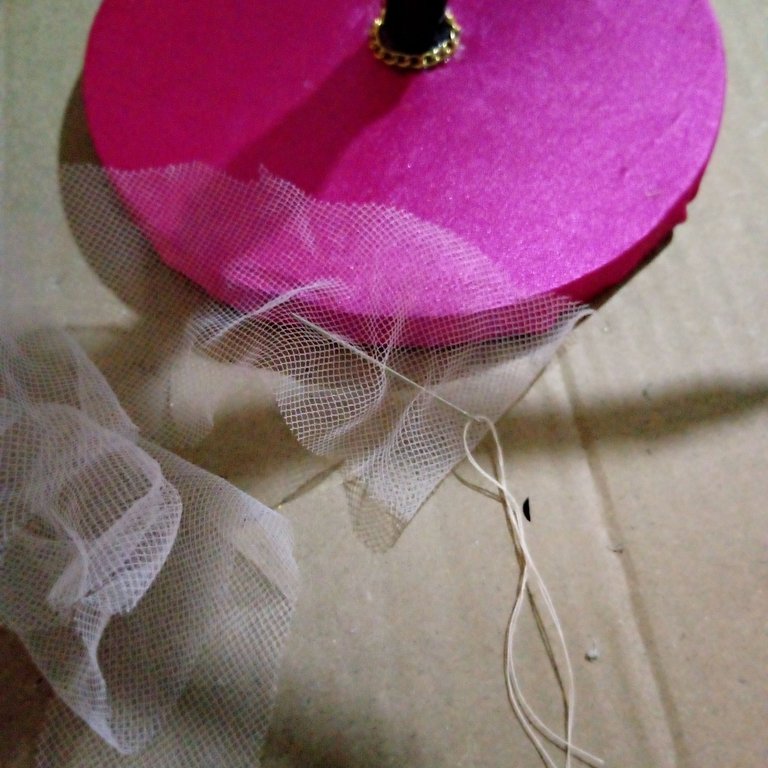
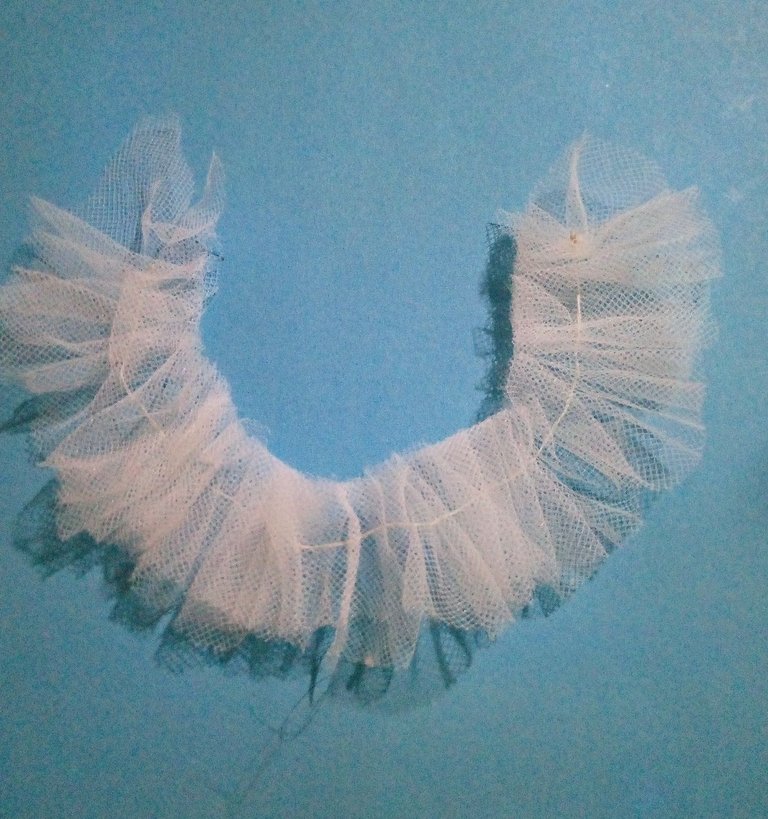
Después que esté bien fijada en la base, le vamos a colocar el vestuario, también haremos un faralado con una cinta de tul para colocarlo en la base como parte de la decoración y hacerla más llamativa, como accesorio de esta bailarina le vamos a colocar cadenas, perlas y cualquier otro detalle que se les ocurra.

After we have our base ready, we will place hot silicone on the foot of the ballerina and glue, let it hold until it is well fixed.
After it is well fixed on the base, we will place the costume, we will also make a faralado with a tulle ribbon to place it on the base as part of the decoration and make it more striking, as an accessory of this ballerina we will place chains, pearls and any other detail that comes to mind.

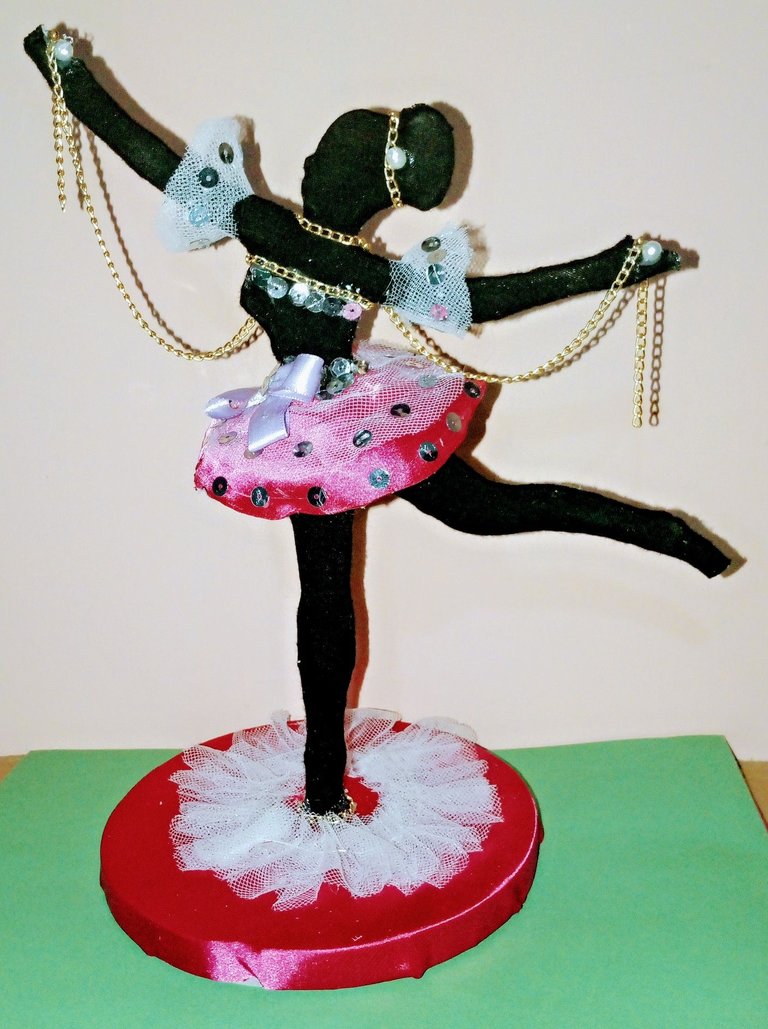

Finalmente decorada nuestra silueta de bailarina, tendremos un adorno más para nuestra casa o para regalar, incluso para decorar en una fiesta, en mi caso la utilizaré para colocar algunas prendas, pero luce muy hermosa donde la vayamos a colocar y sería muy apreciada como para hacer un regalo a una niña o a nuestras amigas.
Espero que se animen hacerla, y que les haya agradado este lindo trabajo.
Deseo que todos se encuentren felices, llenos de salud y amor, donde quiera que vivan en este hermoso planeta.
Gracias por estar aquí.

Finally decorated our ballerina silhouette, we will have one more ornament for our home or to give as a gift, even to decorate at a party, in my case I will use it to place some clothes, but it looks very beautiful where we are going to place it and it would be very appreciated as a gift to a girl or to our friends.
I hope you are encouraged to make it, and that you liked this nice work.
I wish you all to be happy, full of health and love, wherever you live on this beautiful planet.
Thank you for being here.

social networks / redes sociales
Traductor Deepl
Translated Deepl
Ediciones Canva
Editions Canva
