It's been a few months since I made a post in this beloved community and I really miss sharing experiences and knowledge, especially in the field of furniture, and today I'm back to making a post that might be interesting to read, hopefully it can add to your knowledge about the world of furniture, maybe I'm still not very good at explaining step by step but I'm trying my best so that all of you can easily understand every step in the process of making a furniture project.
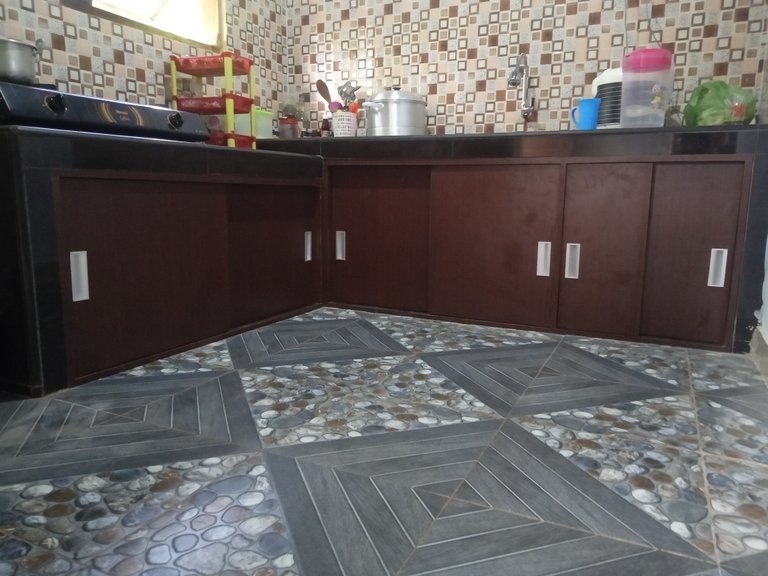
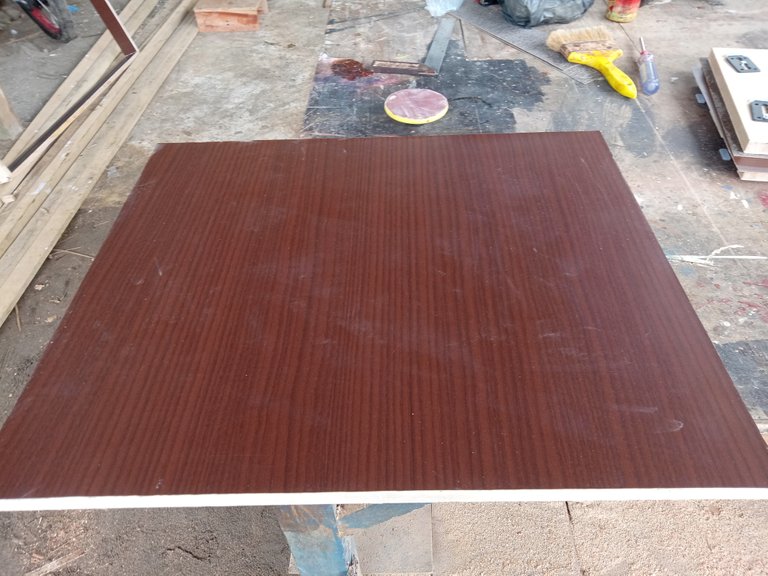
For the project this time is to make and install a sliding door under the kitchen cabinet, in making this project I was assisted by a friend of mine who wanted to learn furniture making techniques, and for this project according to my customer's request that the kitchen cabinet be coated with HPL (High Pressure Laminated) ) not with paint and this process is faster compared to the painting process. HPL is a layer to cover a furniture surface made of synthetic plastic and the working system must be coated with glue on both materials (furniture surface and HPL).
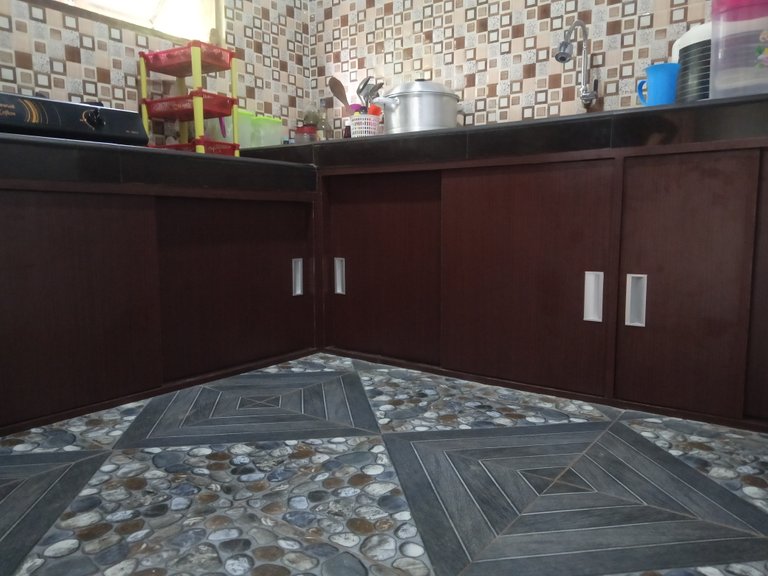
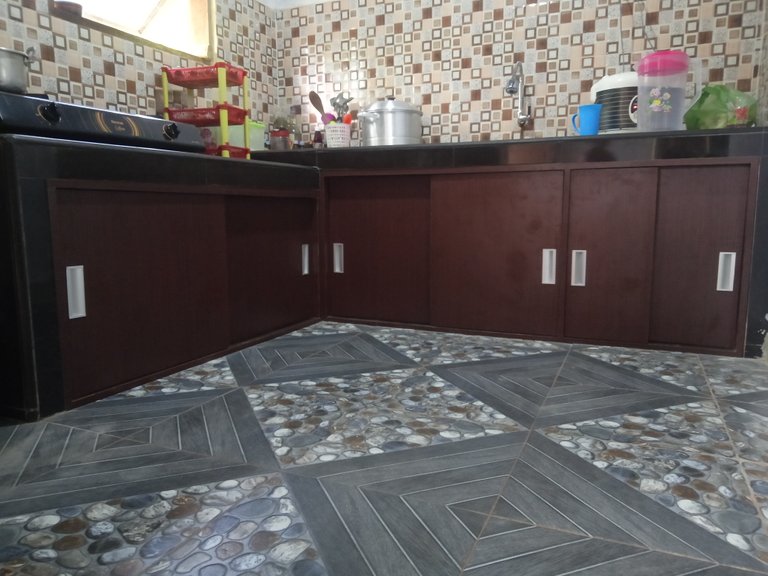
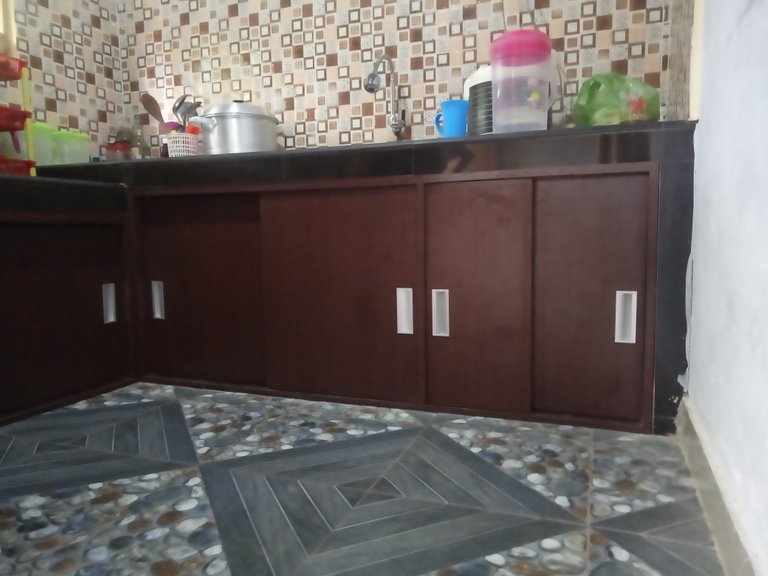
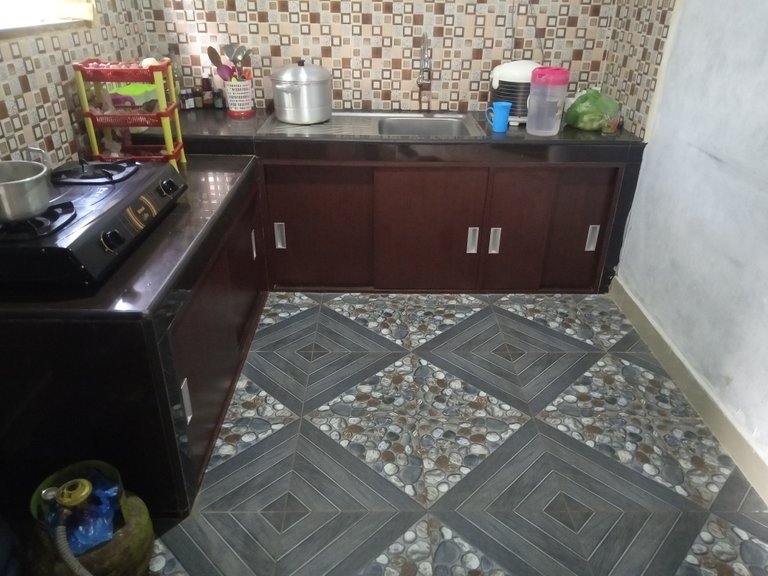
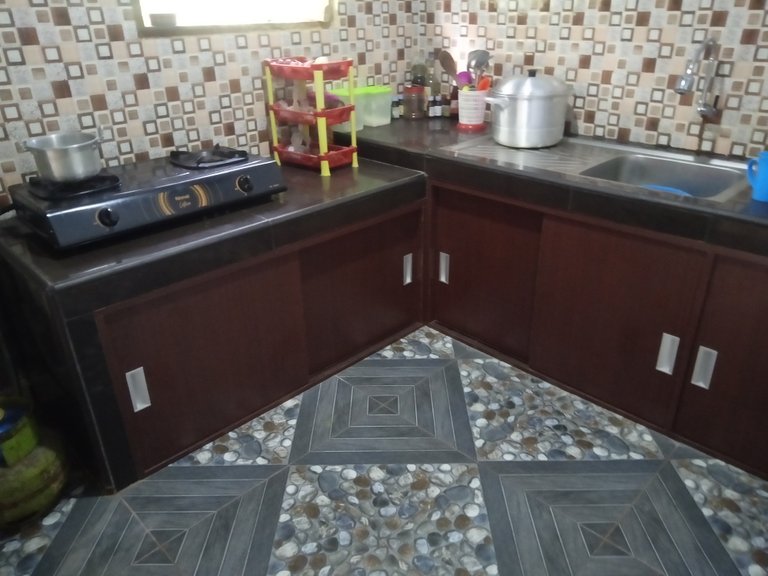
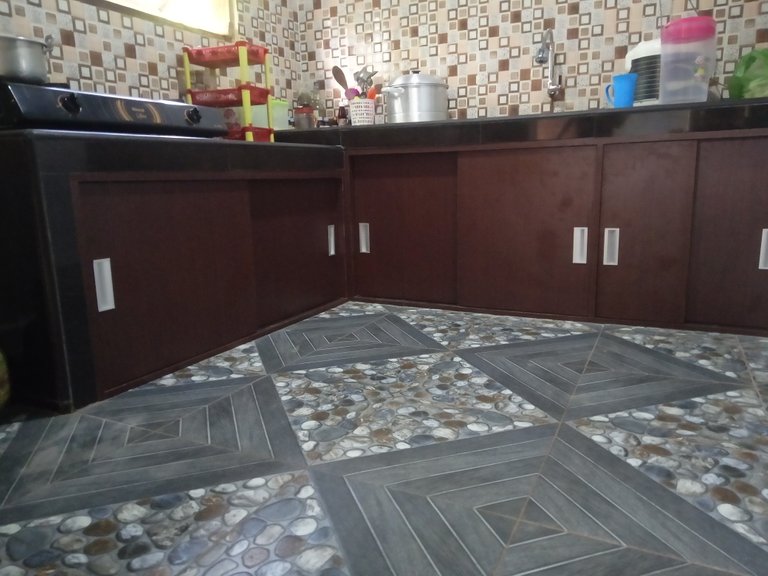
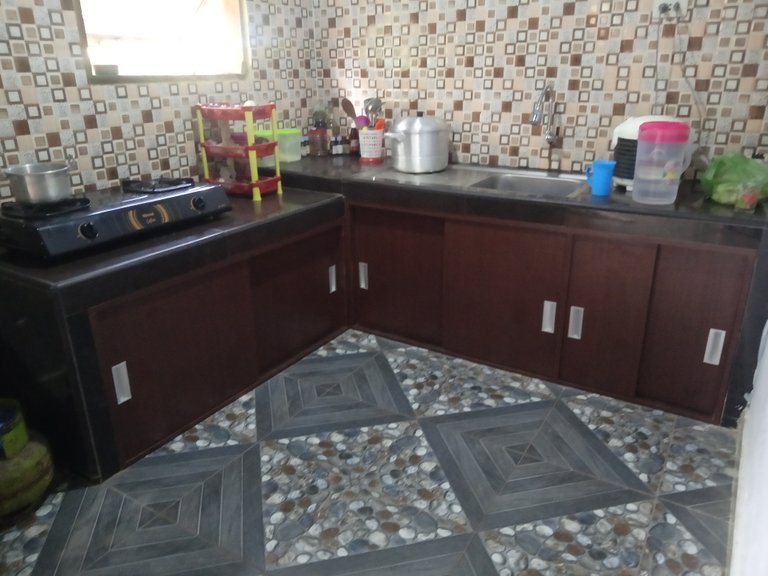
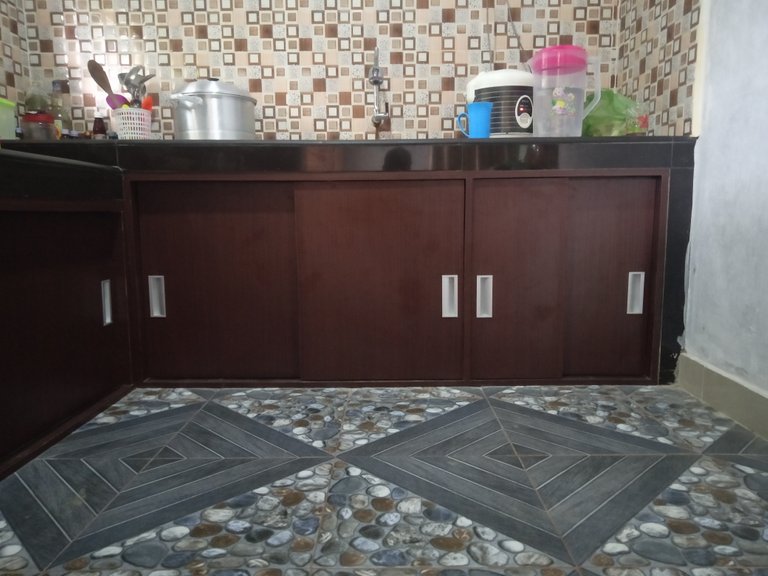
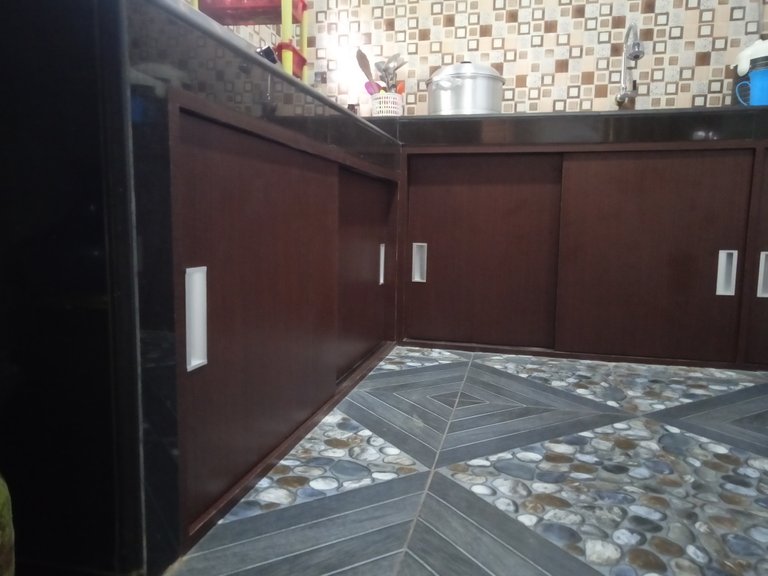
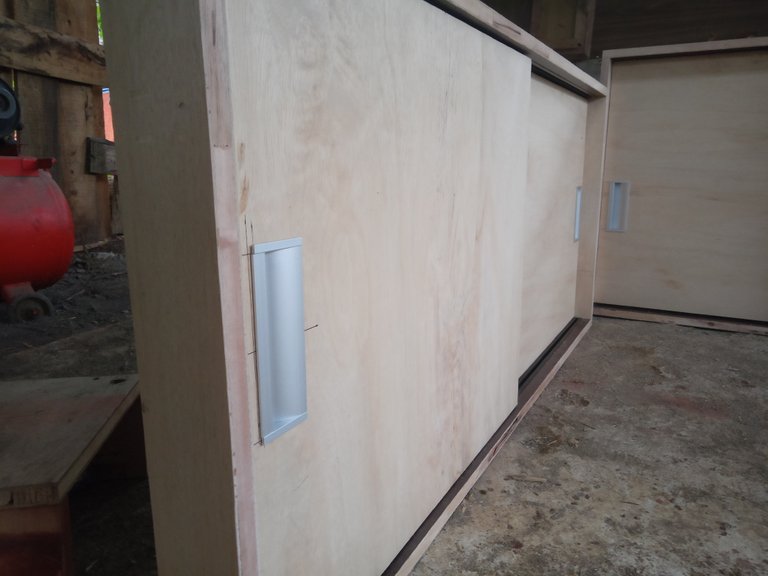
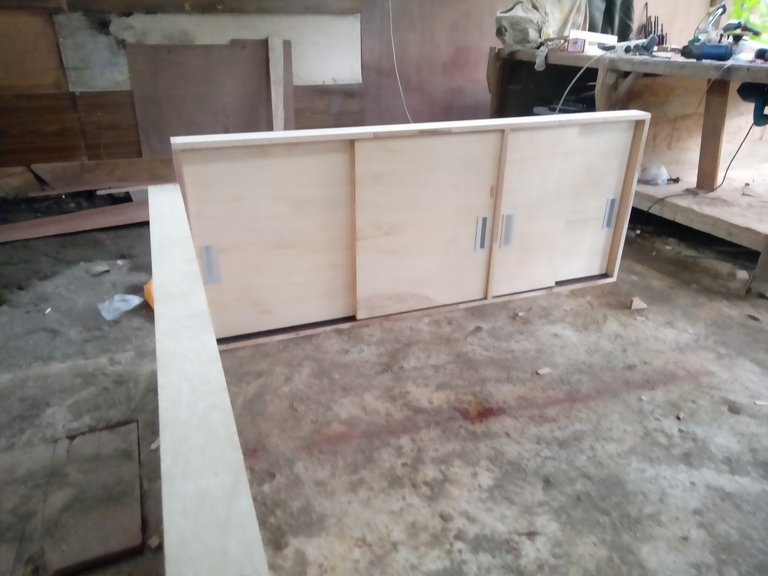
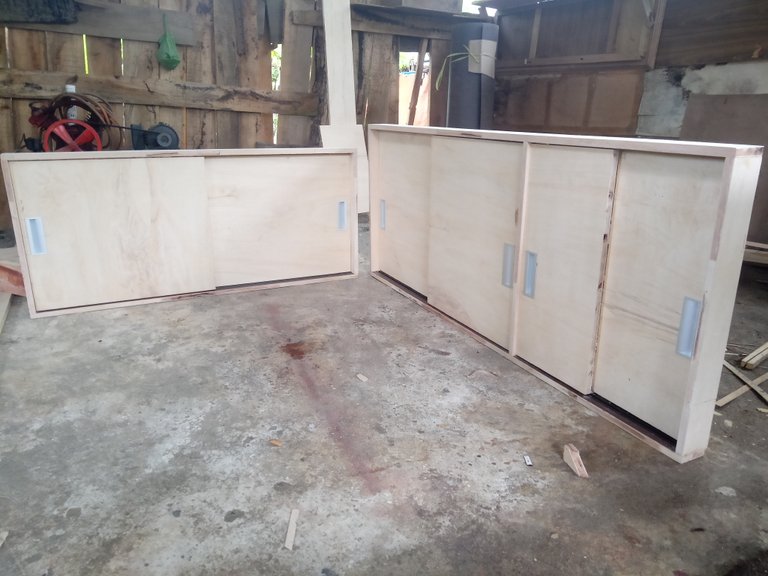
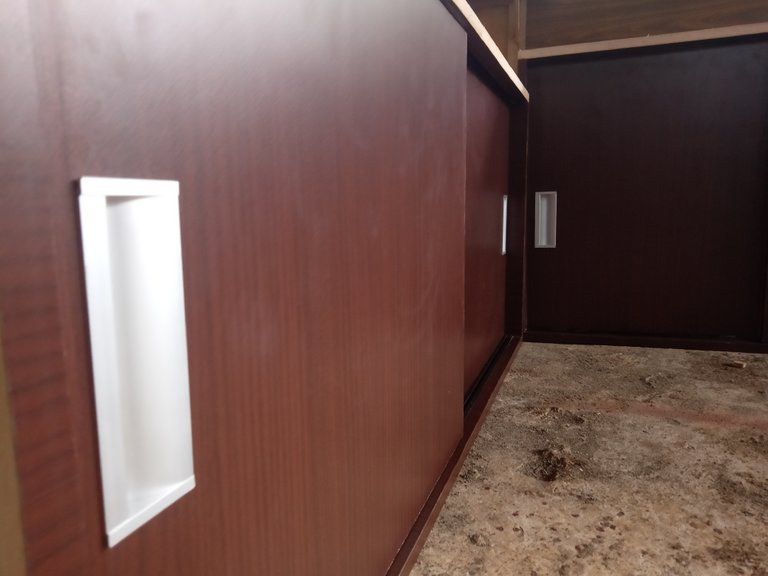
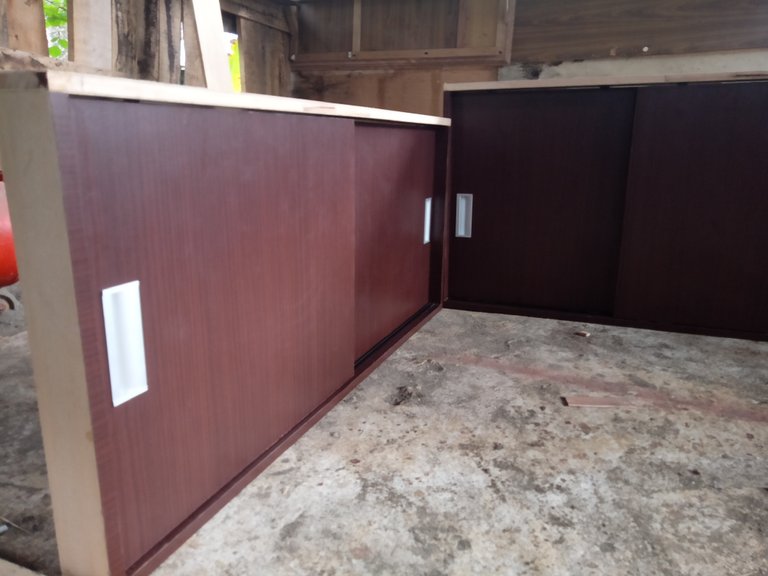
Here are some project photos after the installation.


Making process
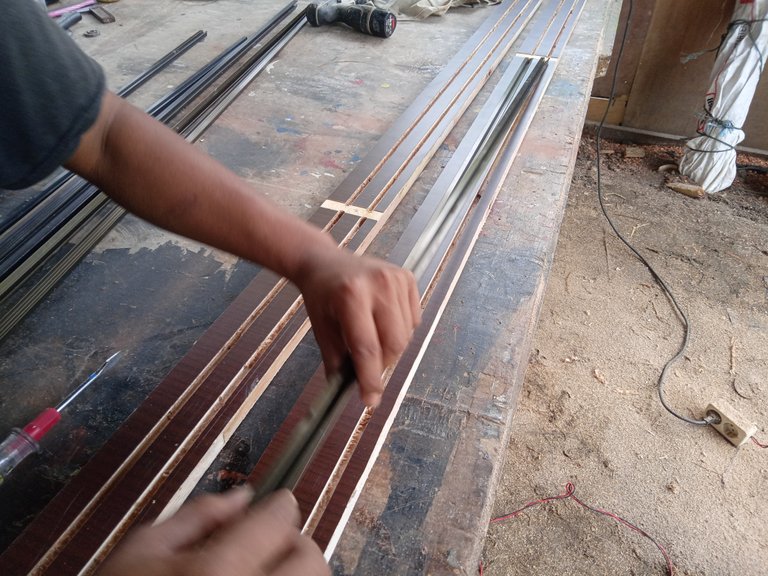
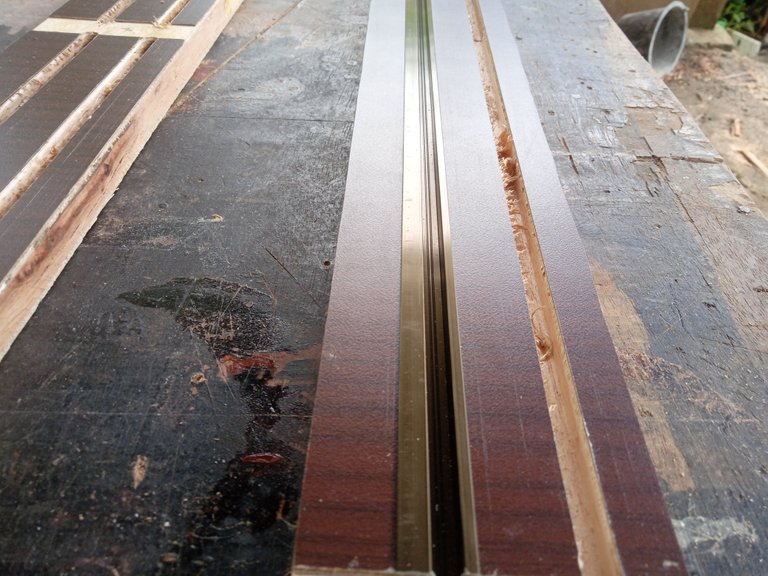
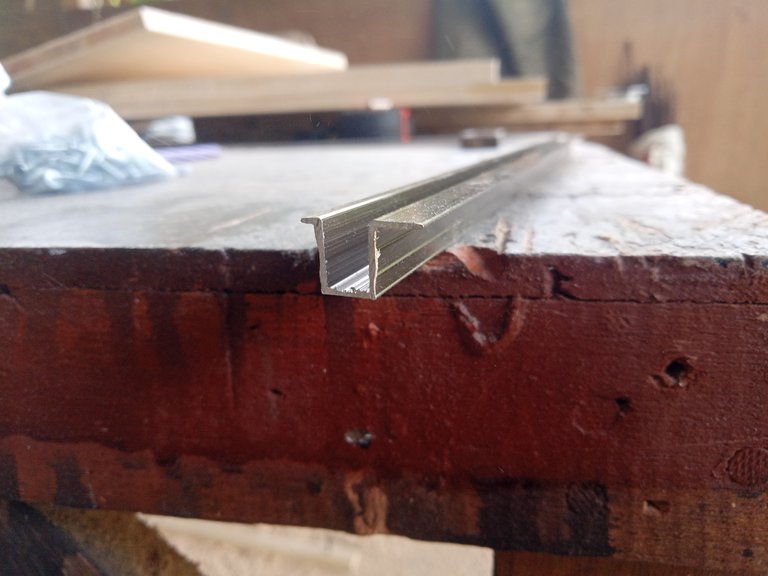
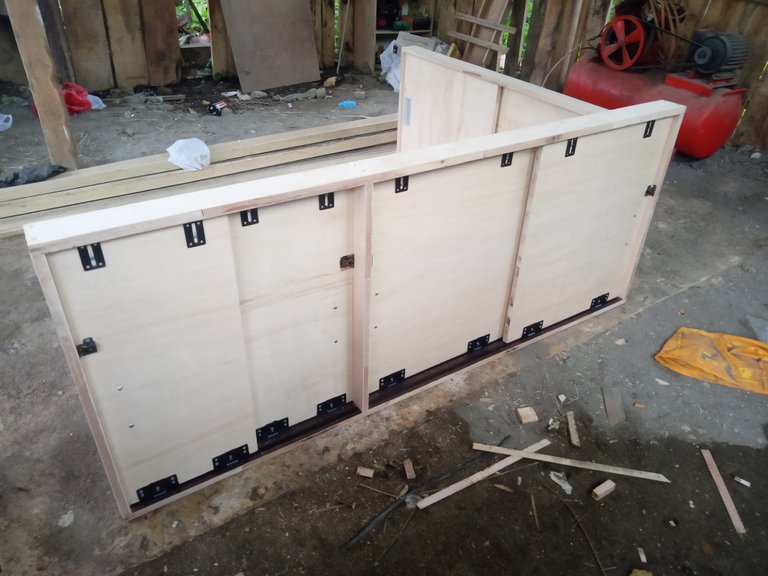
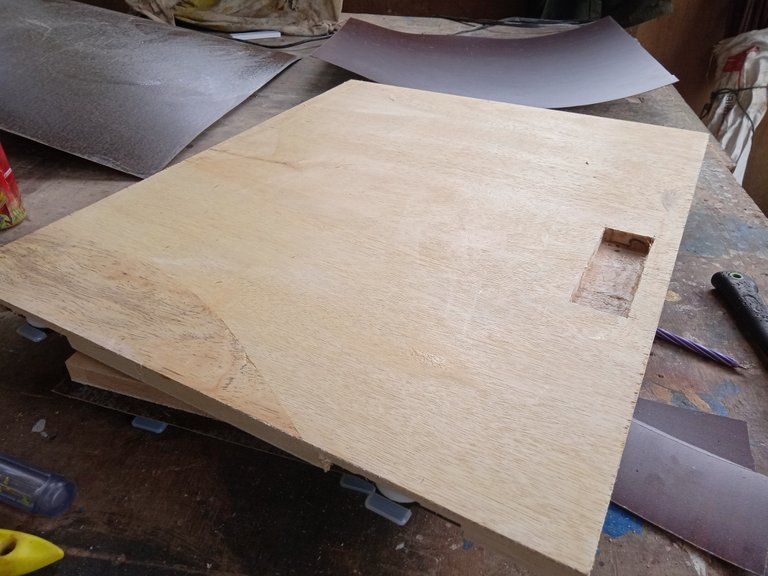
This project consists of a frame and a door, first I made two frames with a height of 68cm and a length of 160cm and a second frame with a height of 55cm and a length of 120cm. I pasted it on the installation site then I made a groove for the door rail and then I assembled the frame, the reason I pasted the HPL first before assembling it was so that the work process was easier and neater than sticking it after assembling it.
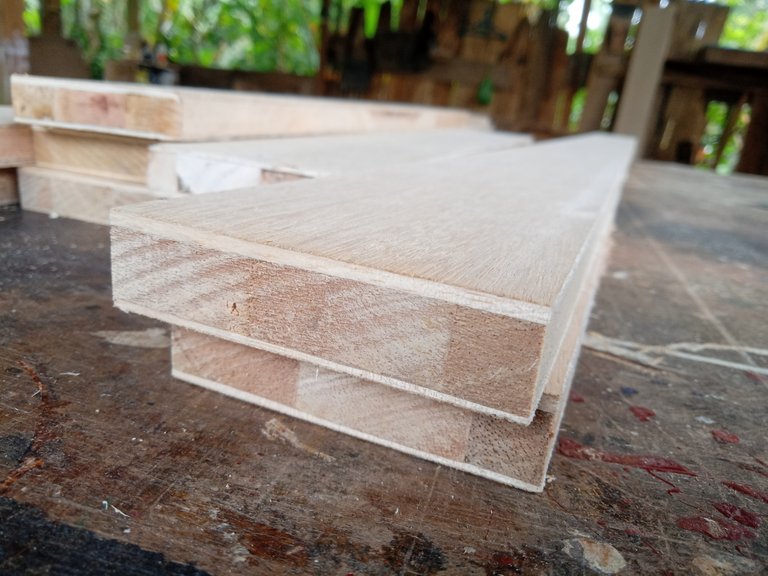


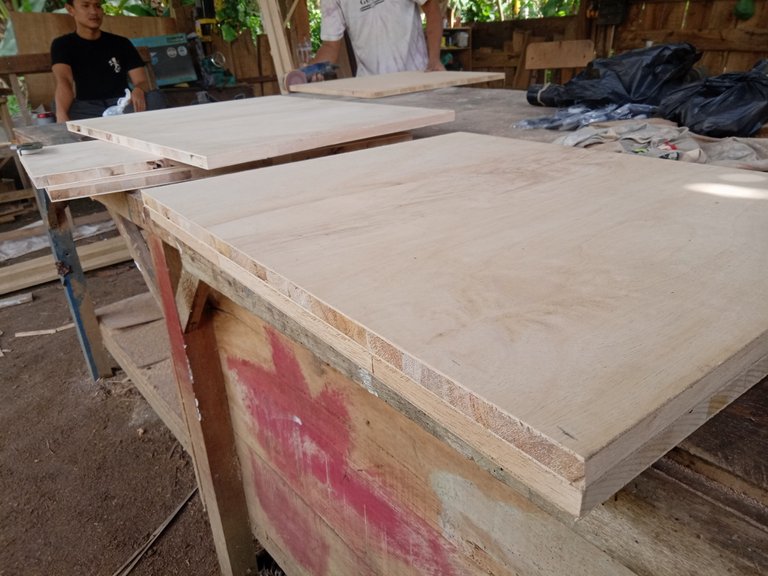
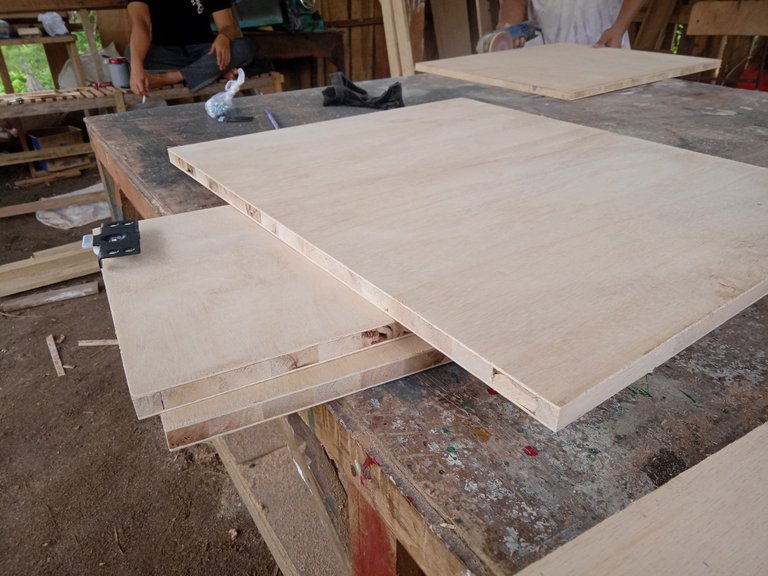
After all the frames have been cut, then I measure to cut the doors, for each door I subtract 0.5 cm from the height of the frame so that the door doesn't lint when opened.
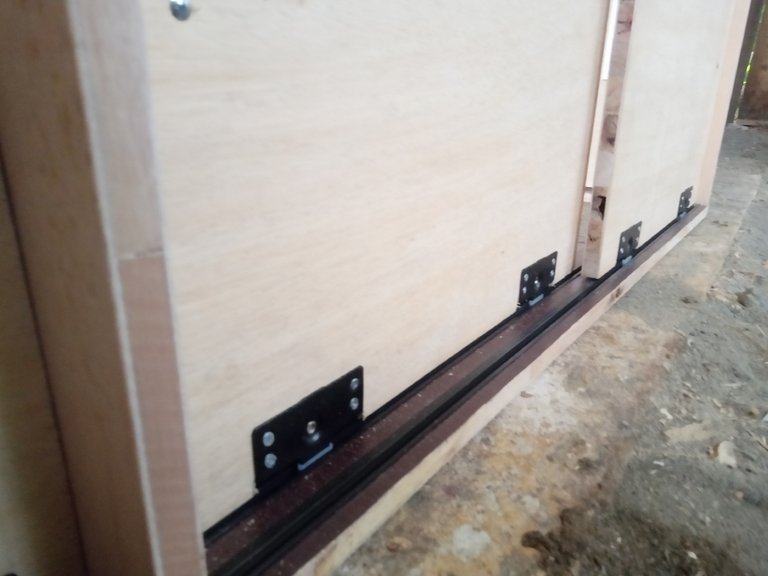
And for the width of the door, I increased each door by 2 cm so that at every junction the two doors do not penetrate inward because of the sliding door system, both doors are positioned on their respective rails.
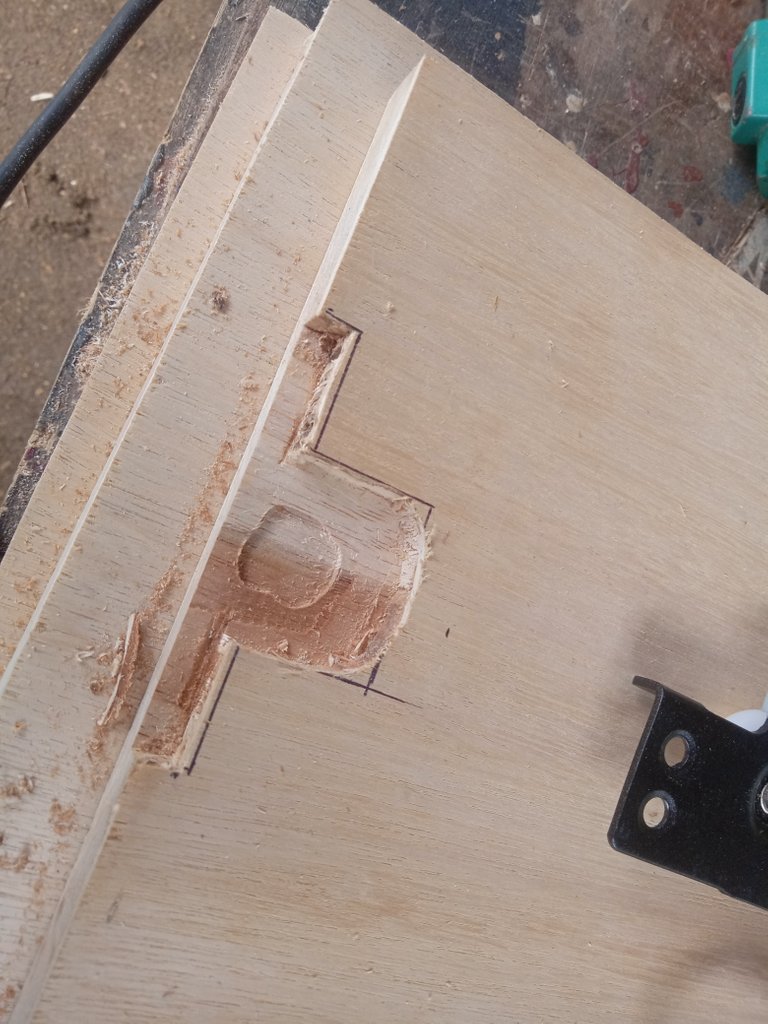
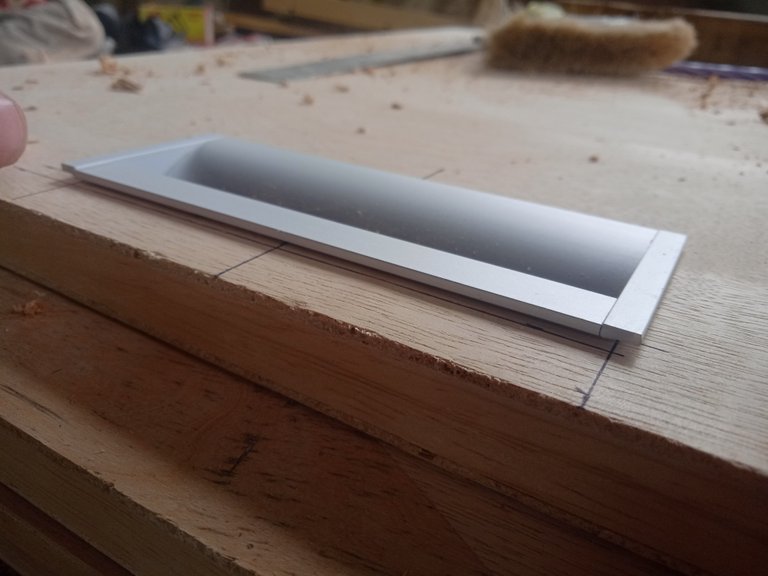
After all the doors were finished, I cut them according to their respective sizes, then I started sculpting holes to install the wheels, each door attached two wheels at the bottom and two adhesives at the top, and I also made holes for the door handles and also for the ticks to hold the door. I covered everything before the surface of the door with HPL. If it was done after sticking the HPL, I was afraid that the HPL would be scratched and might even be damaged, and after I finished carving everything and I made sure everything matched and the wheels on the door also worked optimally, then I glued the HPL on the surface of all doors.
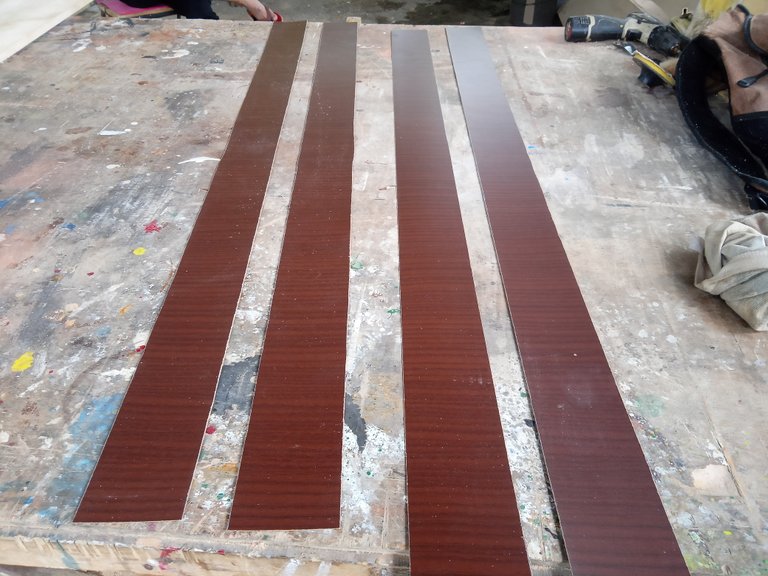
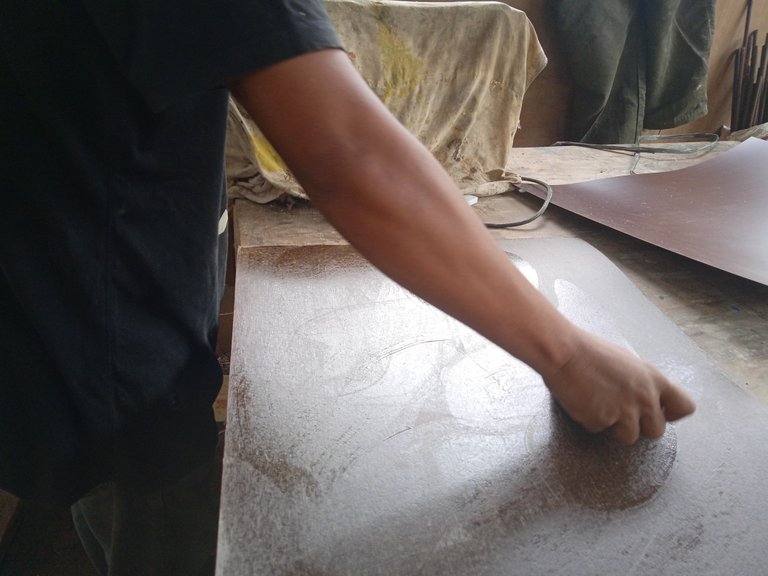
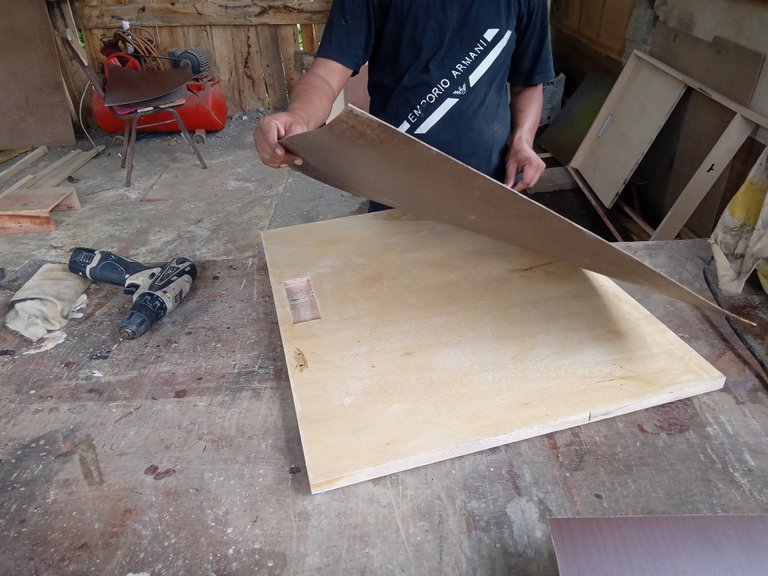
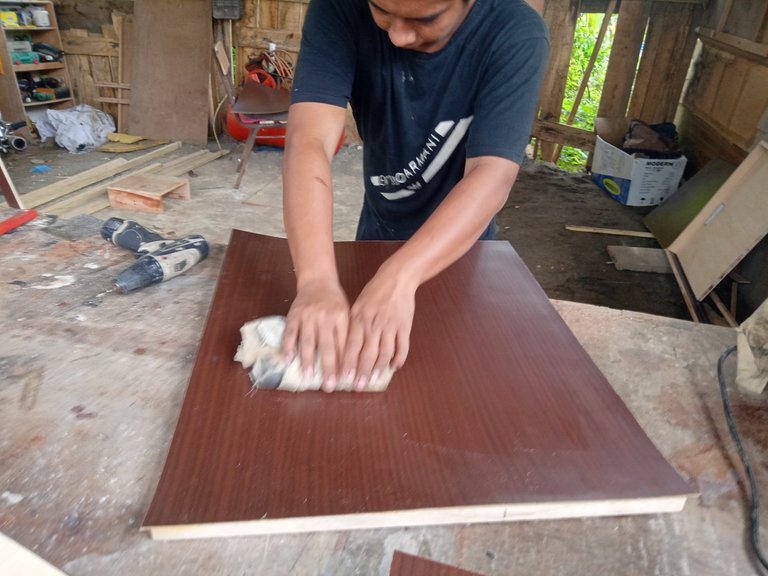
The way to stick it is to apply glue evenly on the surface of the door and also apply glue to the hpl that has been cut to the size of the door then wait for about five minutes until you feel the glue is almost dry then the hpl is attached to the door surface and pressed slightly with wood covered with cloth so that it sticks evenly.
and when cutting the hpl, try to make it a little larger than the size of the door, this aims to make it easy to stick it on, because if the hpl has been pasted and the surface of the door is not covered, it is very difficult to remove the hpl again because the adhesive power to the glue is very strong.


After I finished pasting everything, the project was ready to be brought to the consumer's house and continued with the process
installation
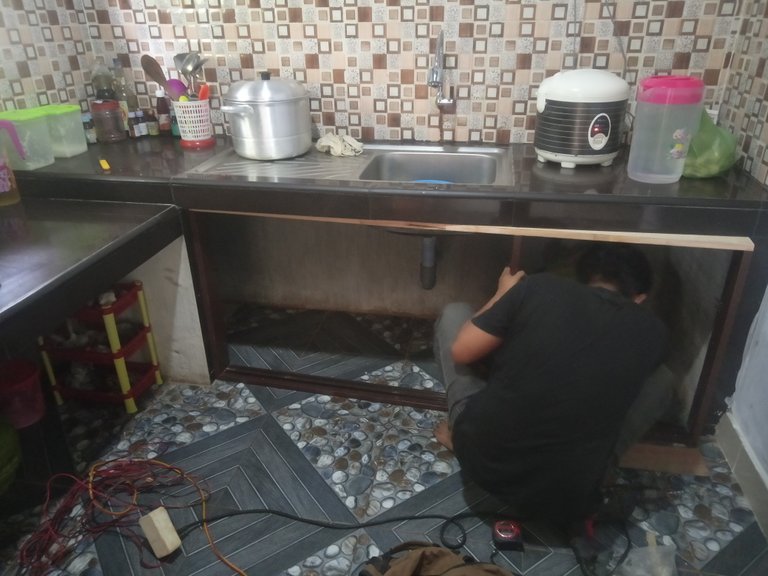
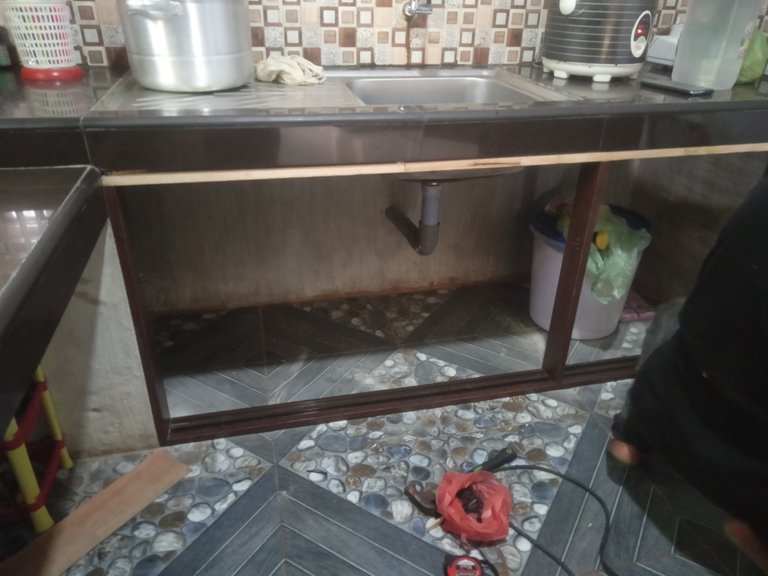
Installation
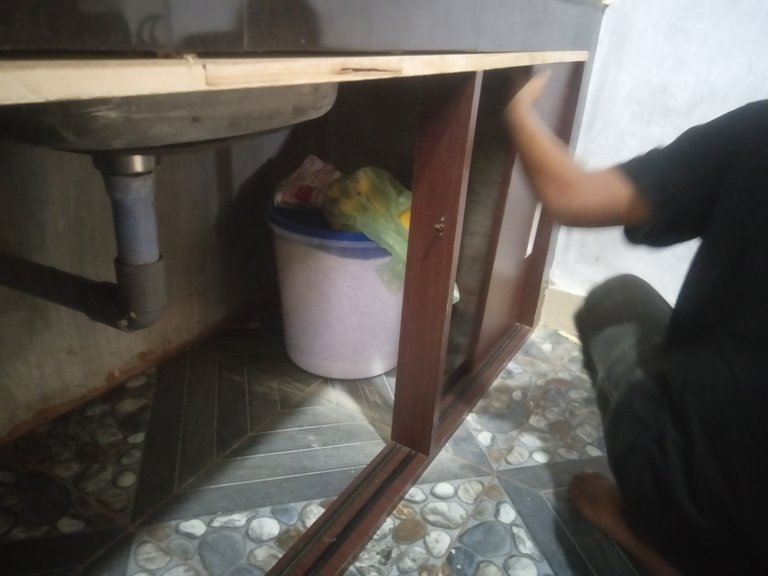
Arriving at the consumer's house, all the doors were removed from the frames so that the frames were easily attached to the kitchen table that had been cast. not too visible because the hpl is also dark.
There were several problems that I encountered during the installation, one of which was the kitchen table which was not precise so there would be a cavity between the frame and the kitchen table and if I followed the table then the door I made would no longer match the frame but I could trick it namely by adding a little wood in the cavities so that when I screw the frame bolts it doesn't follow the table and the door will function optimally.
And after the frame was installed, I pasted the HPL on the front of the frame according to the size needed so that the cavities were all covered and the last thing was wiping all the HPL surfaces that were exposed to dust and the project was finished according to the wishes of the consumer...