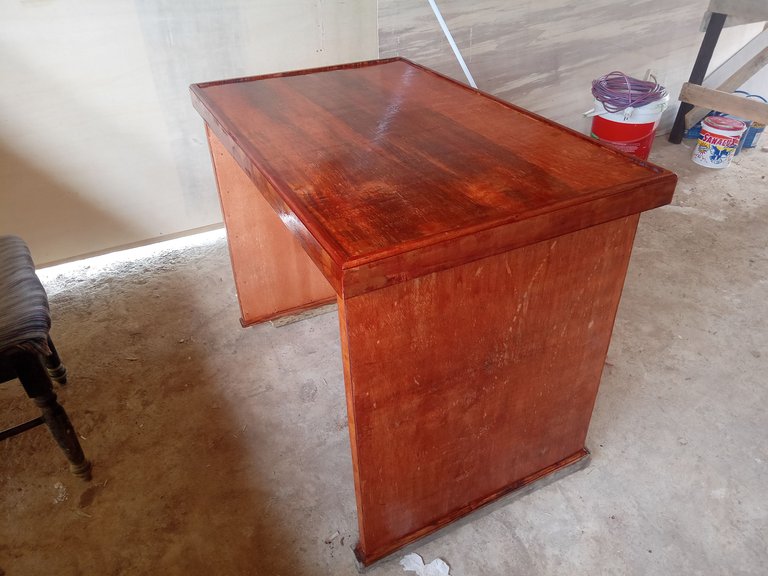
Hello architectural friends, how are you all today, I hope you are always healthy and continue to be enthusiastic in dealing with all the problems that are being faced and don't complain so that we can solve everything....
In the past few months I have found it a little difficult to deal with my routine, as you know I am a woodworker and of course I provide services in making furniture and also providing furniture items that I certainly need to consumers and in my area most of the people are rice farmers. However, now it has been almost a year and a half the people here cannot use their agricultural land because of the destruction of the dam caused by the flood 2 years ago and until now the water does not flow in our irrigation so that the economic ecosystem does not run smoothly and this not only affects the It's just my job but almost all fields are affected, many people who sell other goods also feel it, and that's one of the reasons I rarely make posts about furniture making lately.
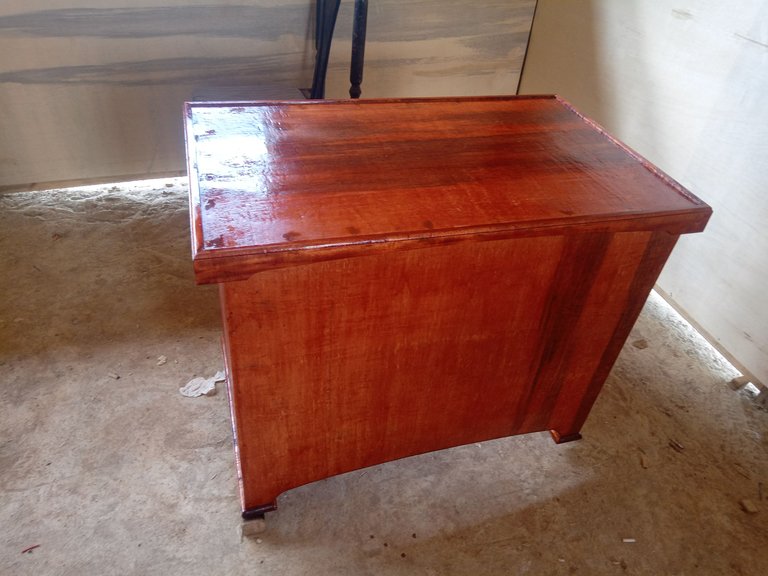
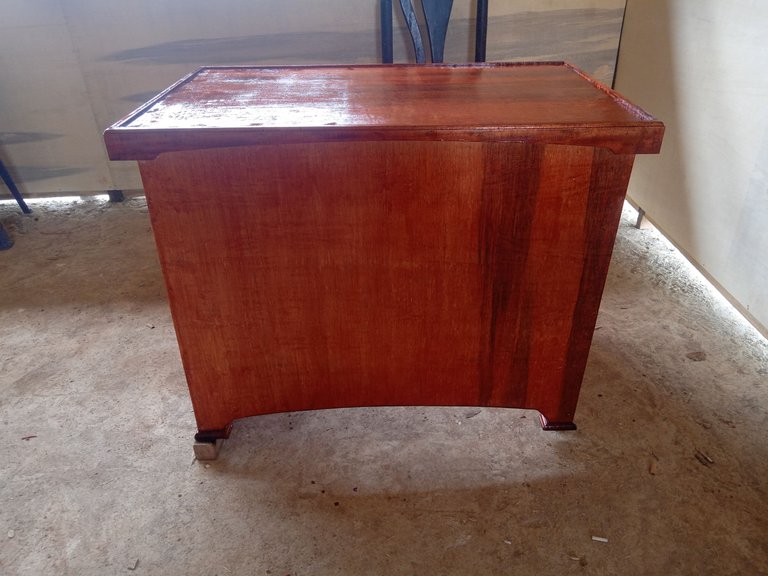
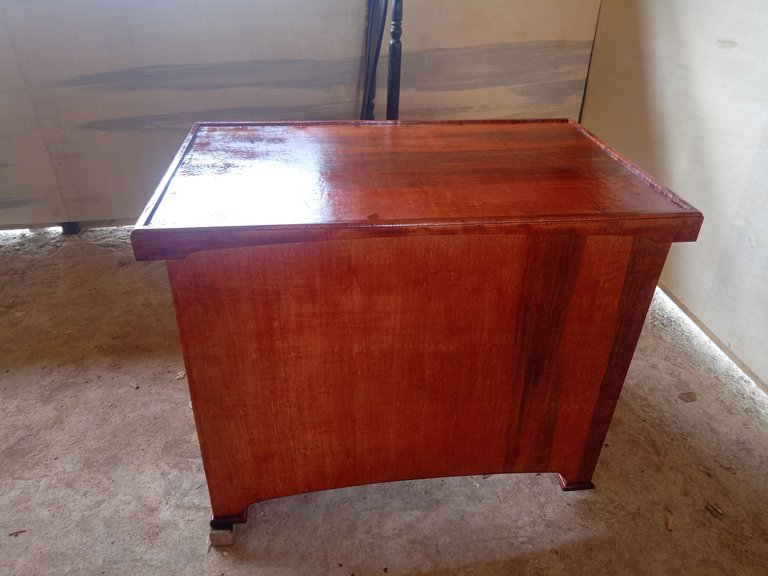
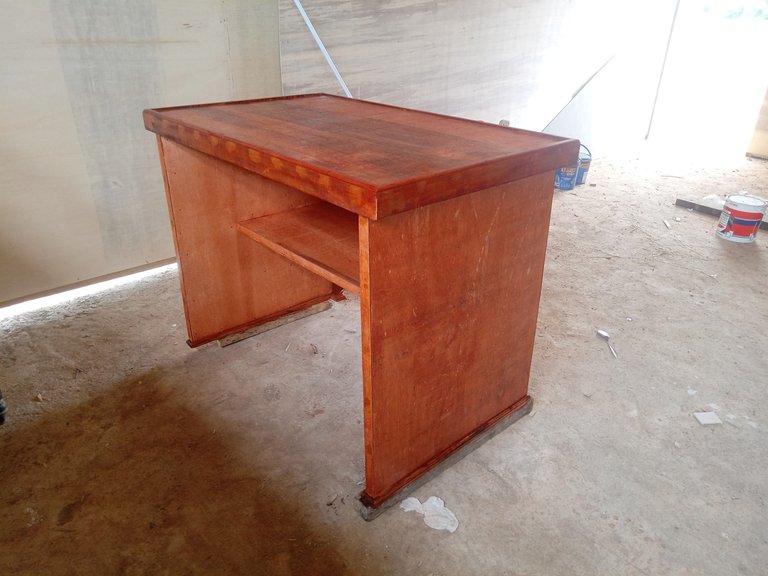
And thankfully 3 days ago you got a little work in my workshop, namely renovating a table that has not been used for a long time, and the owner's request that I fix this table and add a little material to make it look new again.
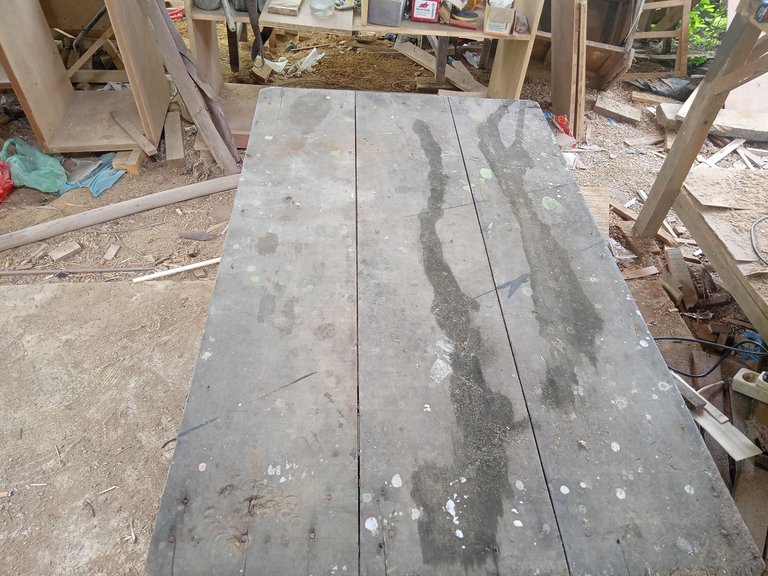
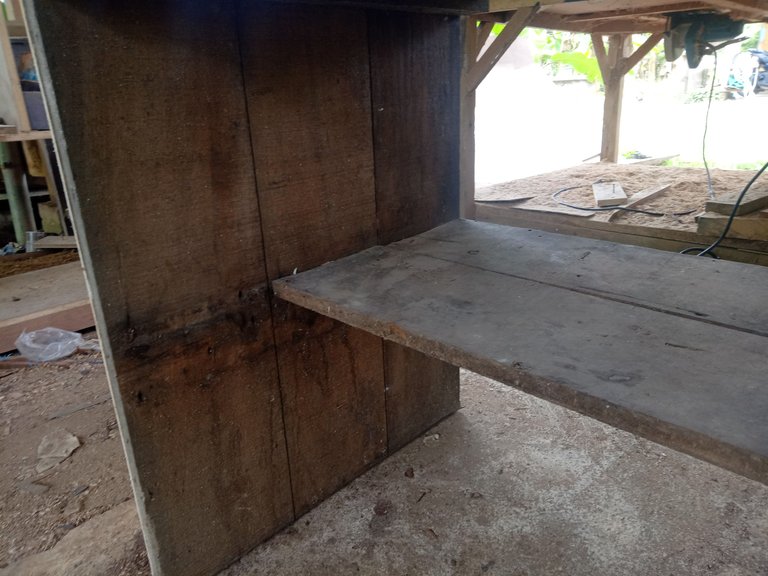
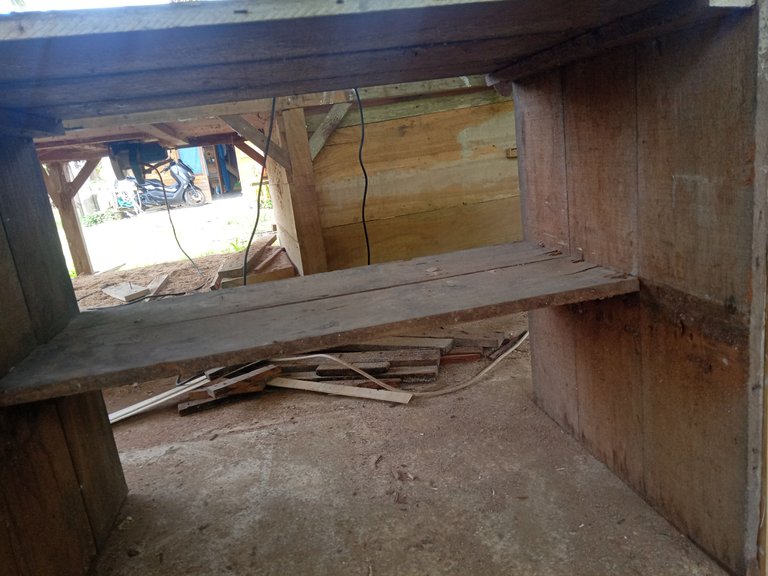
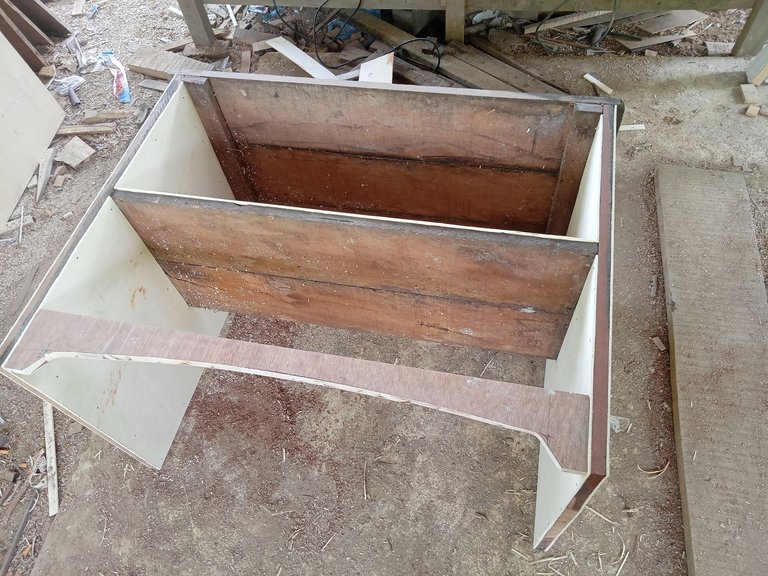
After I checked all the parts of this table there was not a single part that had to be replaced because all the wood was still good and still resistant so I decided to coat all parts of the table with 4 mm playwood which then I made it look as neat as possible, and maybe I can't explain much in this project because I'm just renovating it, different from my previous post which I made from scratch to become a project, but I still try to explain it as best I can.
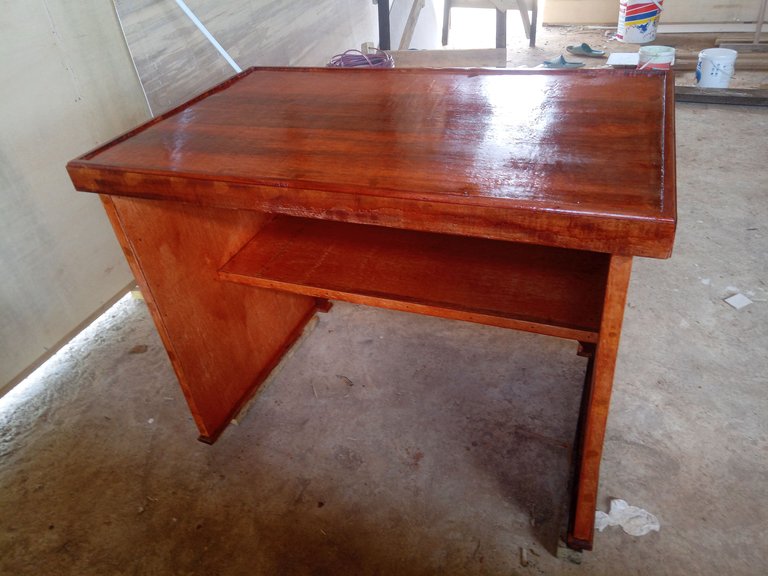
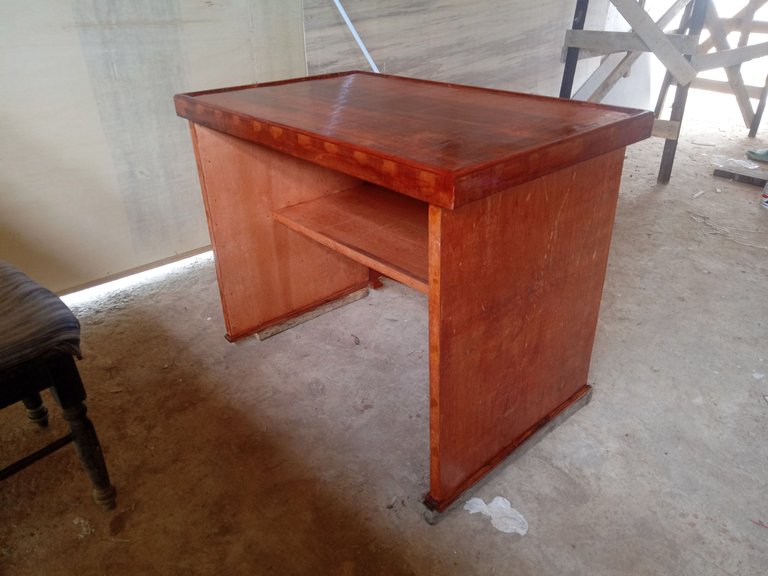
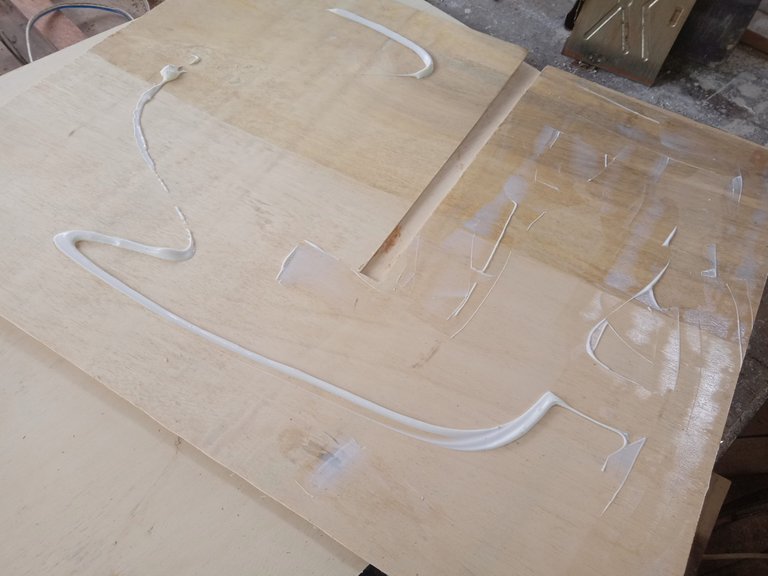
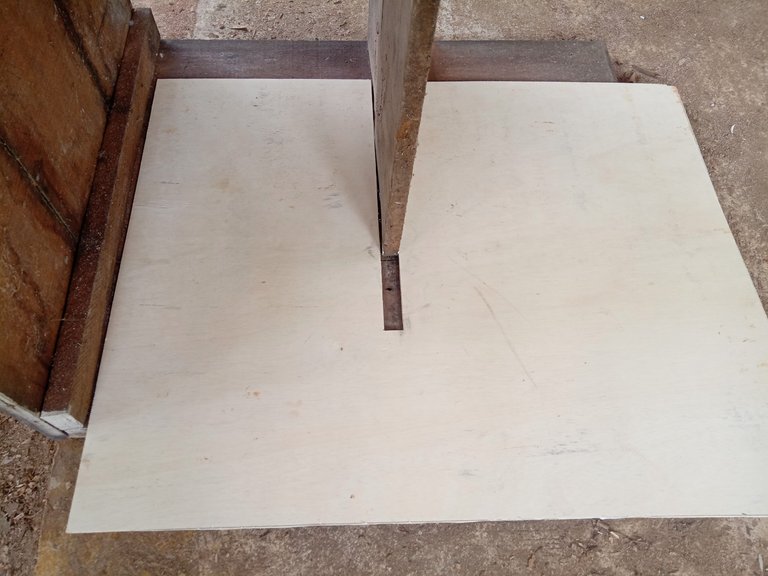
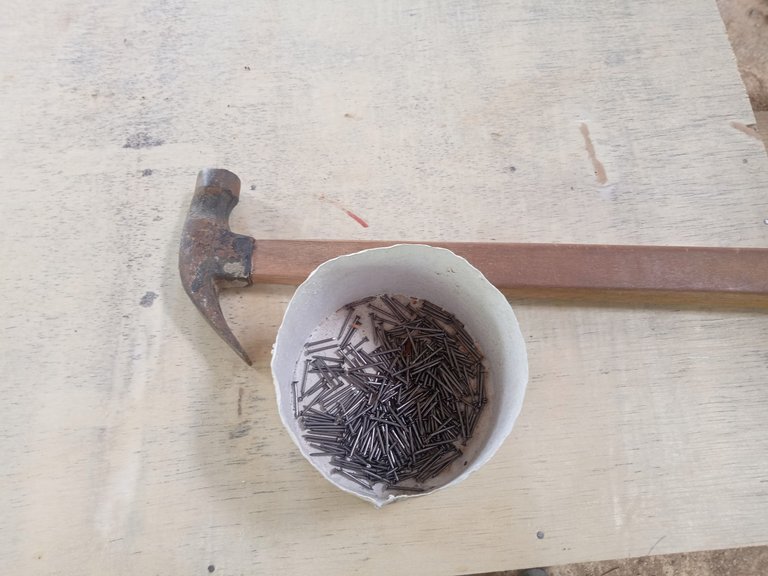
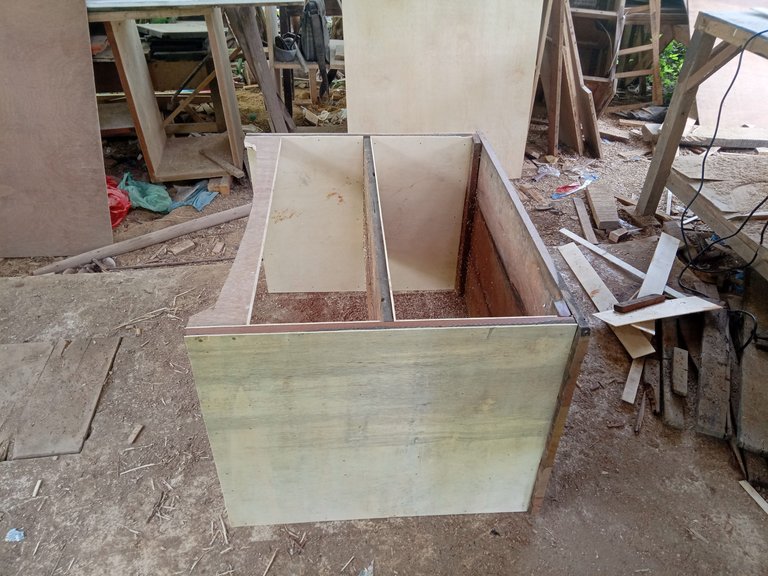
I started splitting the playwood with several sizes according to the table, starting from the inside of the side of the table with a height of 70 cm and a width of 55 cm, after I cut the playwood and then I gave glue to the playwood which I then put on the left and right sides of the table. deep, and then you nail it with small nails so that the playwood is tight and more resistant.
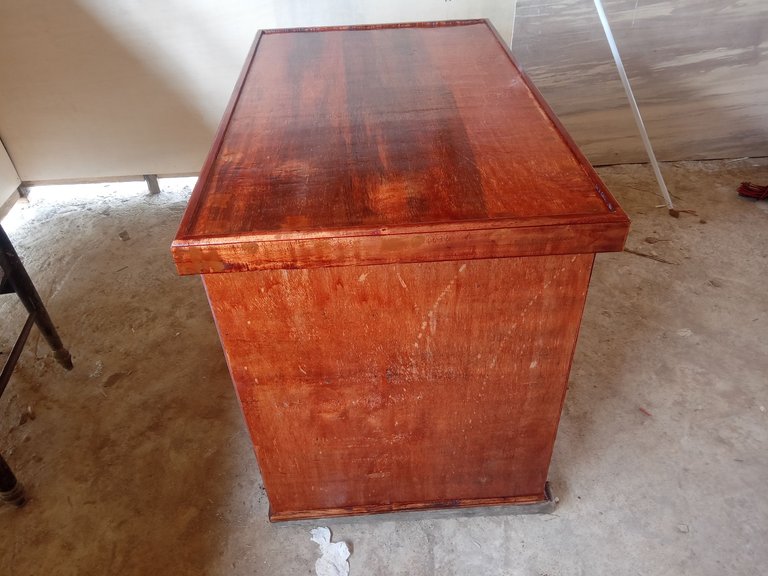
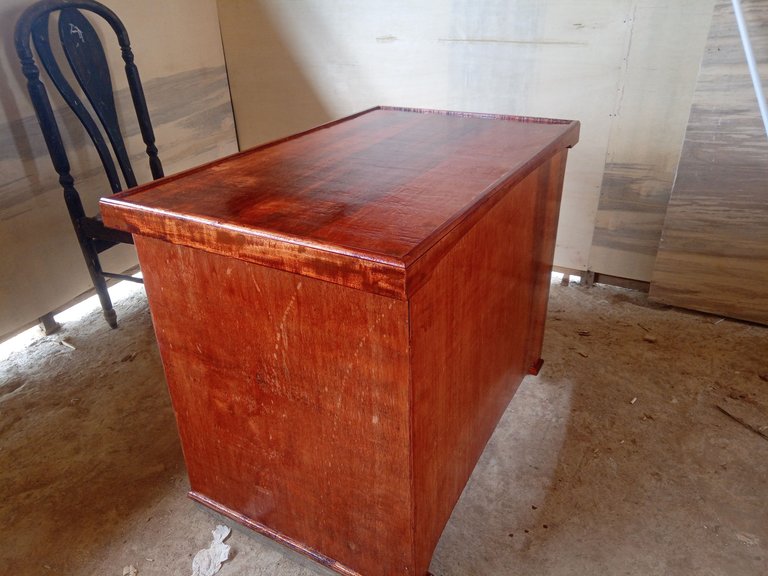
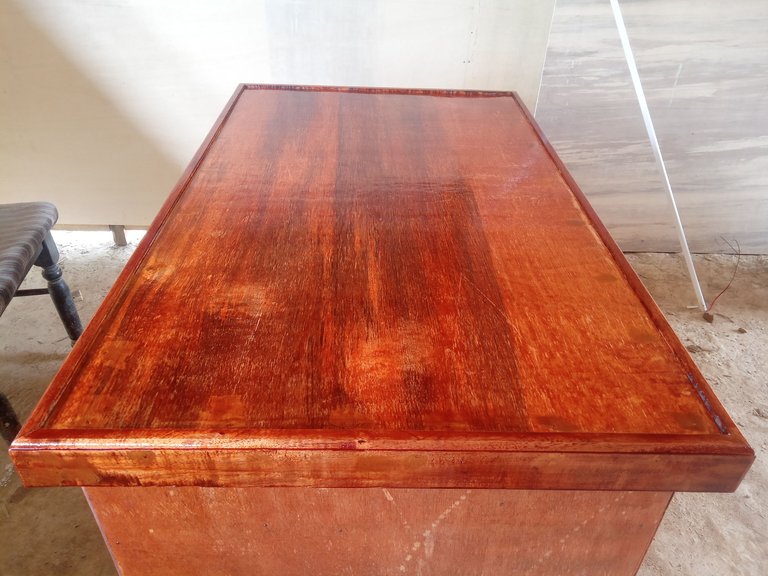
After the inside was finished I continued to attach the playwood to the outside of the table and also the top so that all parts of the table were covered and the base wood was no longer visible.
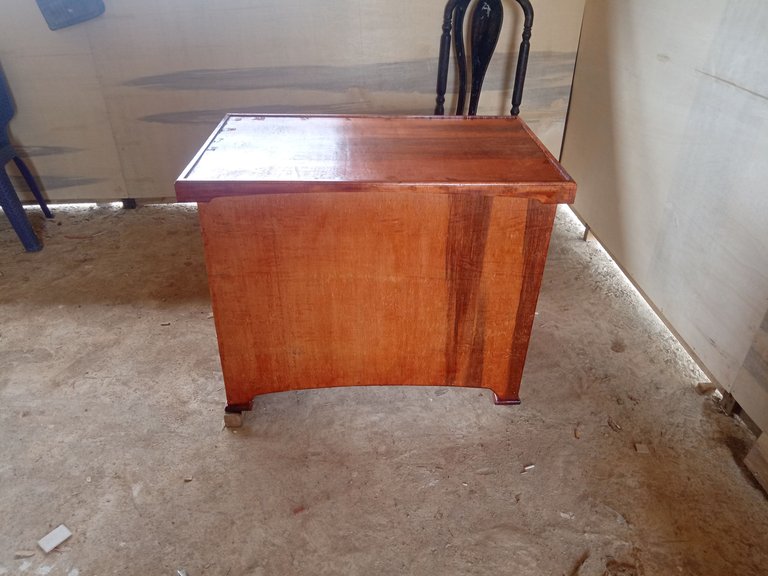
And then I started to cover the front of the table but before that I made a little support at the bottom of the front of the table with 18 mm playwood and I made a little bend to make it look a little better then I attached 4 mm playwood.
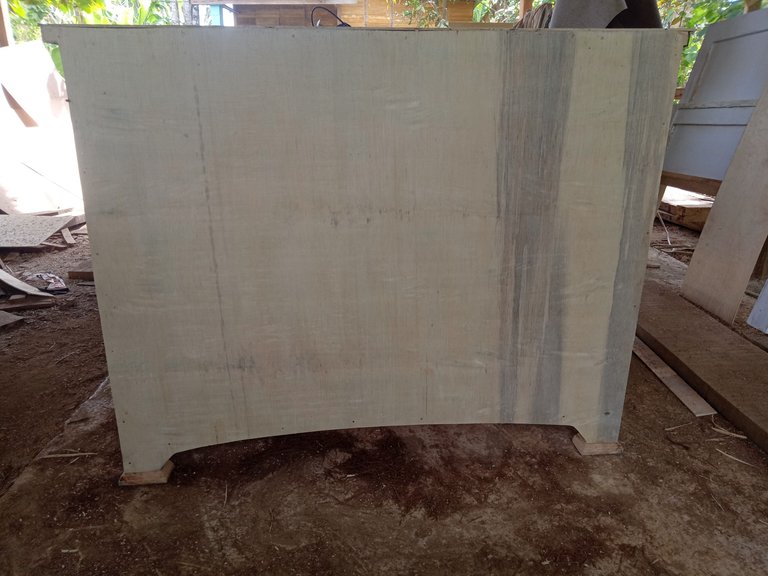
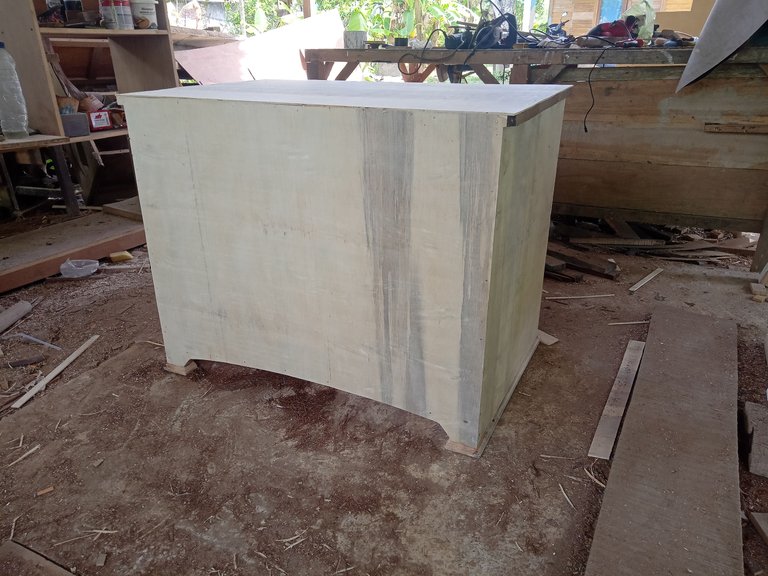
After I finished covering all the parts of the table, I continued to make a little base on the bottom left and right using a 20 mm thick board shaped like the letter L, and I then made a little motif on the side using a router machine to make it look sweeter, then I stick it on the bottom of the table on the left and right.
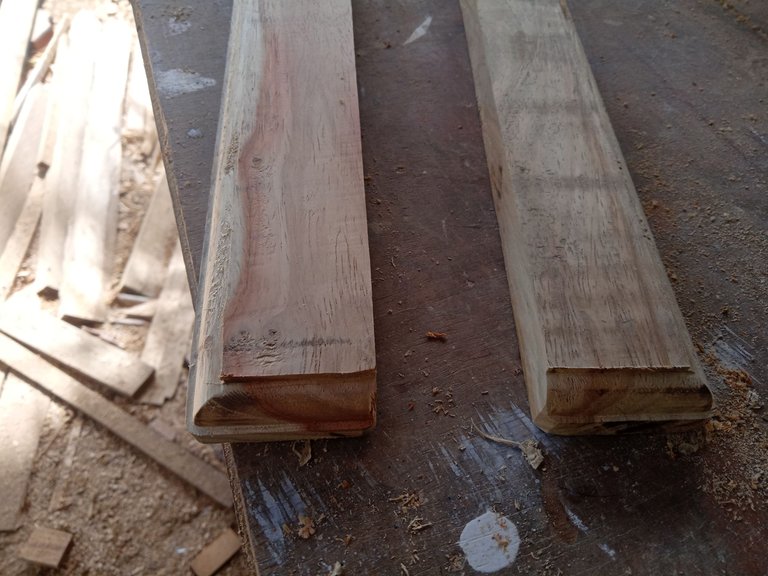
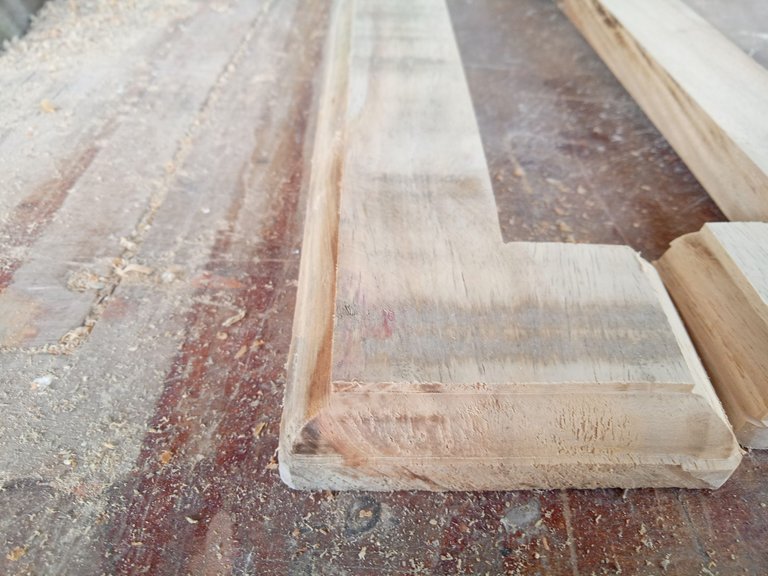
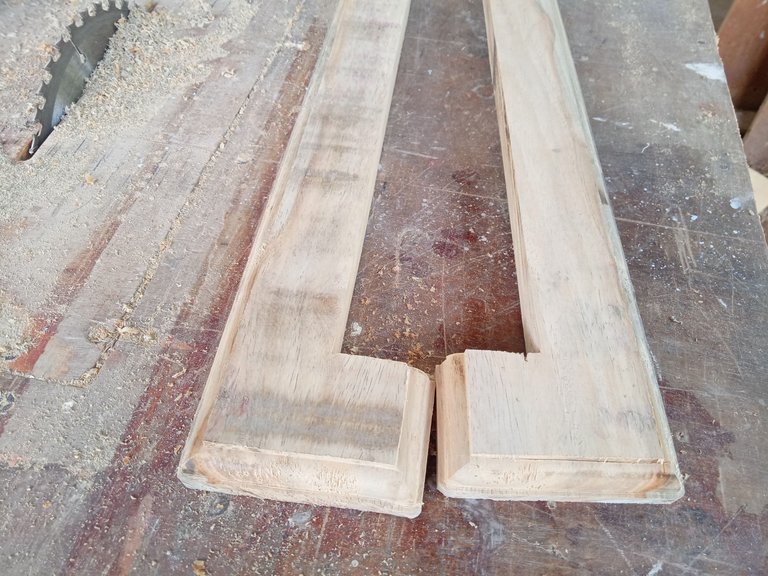
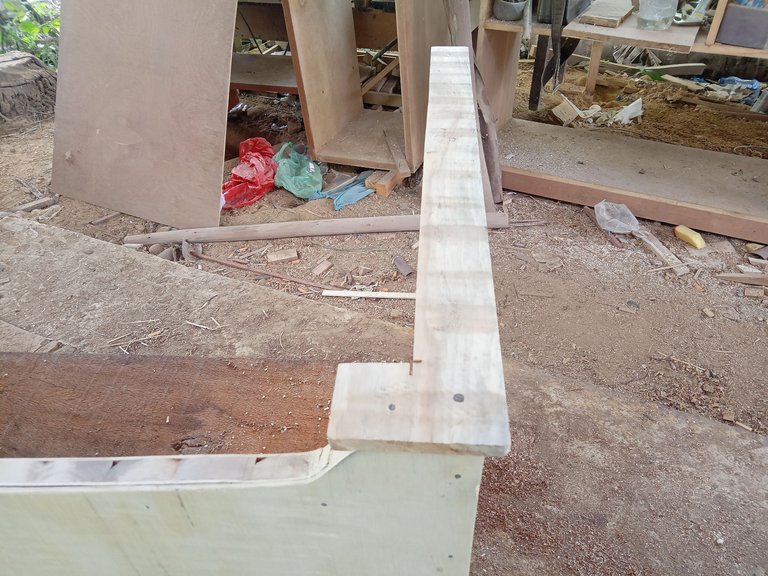
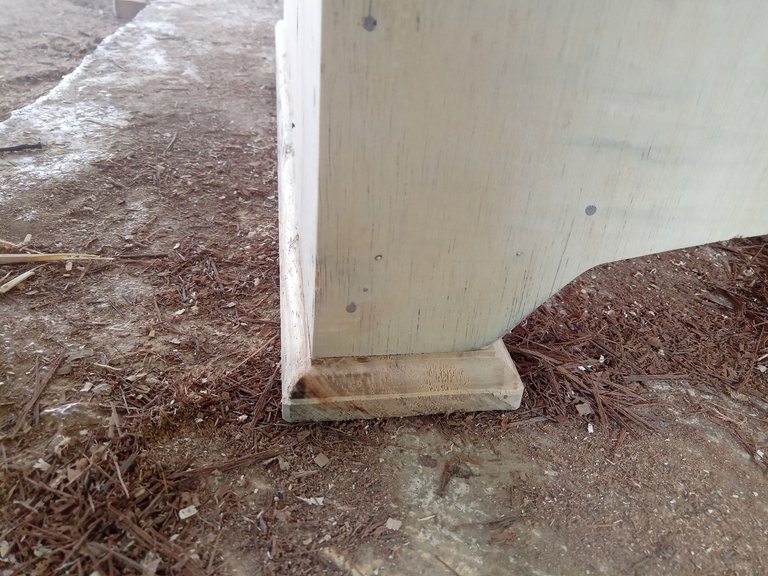
After all that I did, the table was almost finished, then I caulked all the nail marks so that all the surface of the table looked flat, after waiting an hour for the putty to dry then I sanded all the surface of the table to make it look neat and smooth.
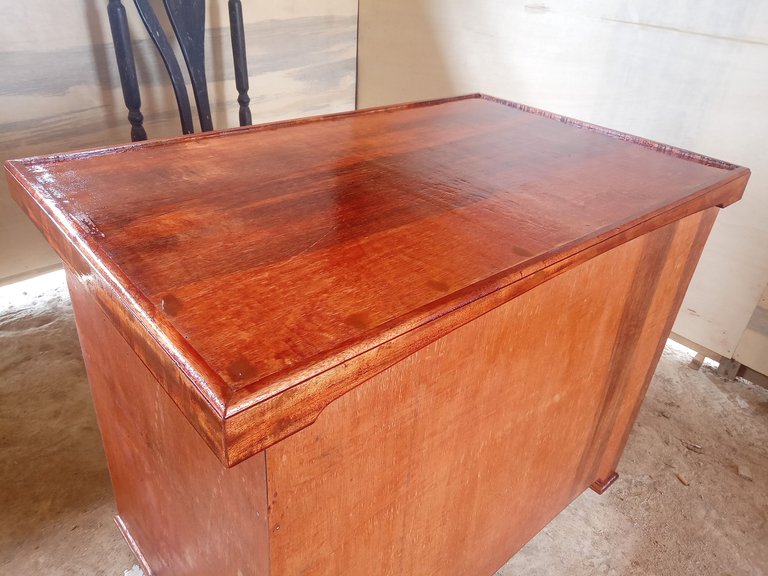
Then I started to paint the table using varnish paint so that the fibers from the playwood are visible and as usual you only paint it using a brush because I don't have a compressor yet, but try my best so that the painting results are good, I did this painting process 2 times, after the painting process first finished I waited for about 2 hours for the paint to dry thoroughly and then I sanded it using used sandpaper and in sanding it shouldn't be pressed just sanding gently so the paint doesn't peel off again, but what is this sanding process for???? This sanding process is carried out because after the first painting there will be fine fibers from the playwood that appear so that a kite sanding process is carried out so that all of it is pulled out.
And after that, I did the second stage of the painting process thoroughly too, and the results looked good.

I hope you like my post and thank you for reading I hope you like it, and see you in the next post.


