Saludos amigos, hace tiempo que no publico aquí en @build-it porque no había realizado más manualidades.
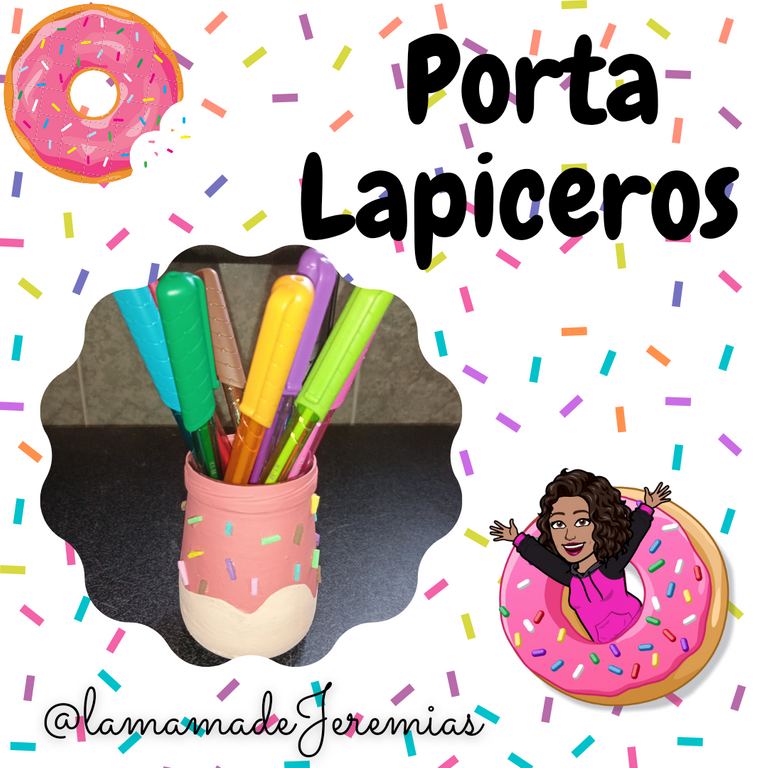
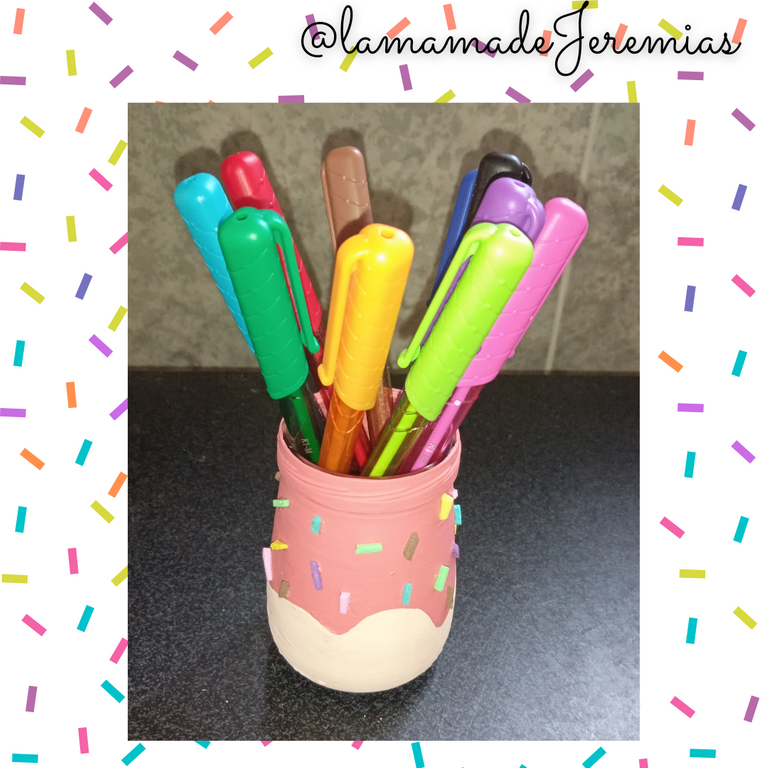
Ayer por fin pude sentarme con calma a ver ideas en Pinterest y encontré una que me encantó y además tenía todos los materiales. Así que me puse manos a la obra. Hice un porta Lapiceros con un frasco de compotas (papilla para bebé). Sin más preámbulo les cuento los materiales que usé y los procedimientos.
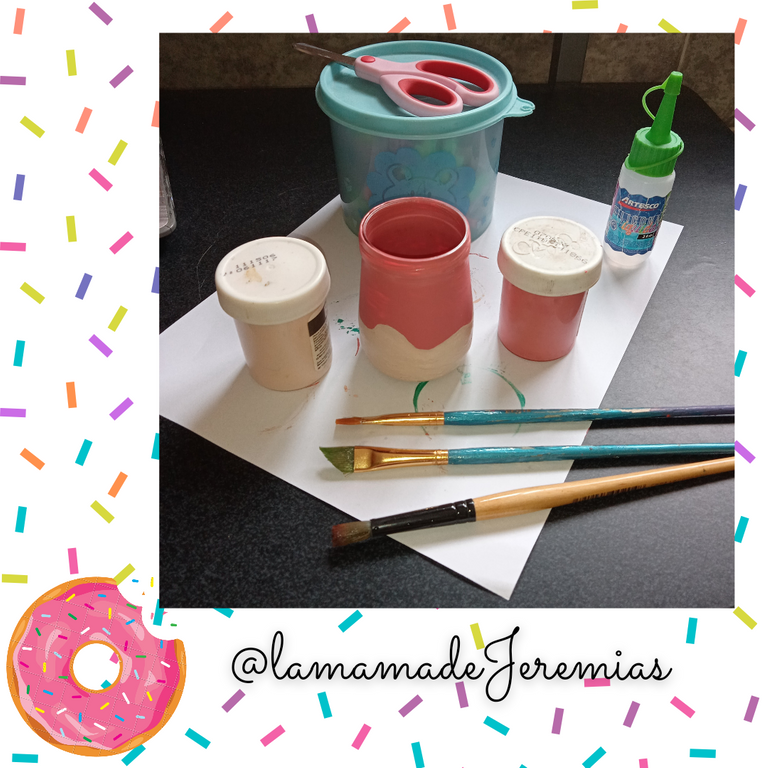
Materiales
Frasco de compota
Pinceles
Pinturas al frío
Virutas de Foami
Silicón frío
Tijera
Procedimientos
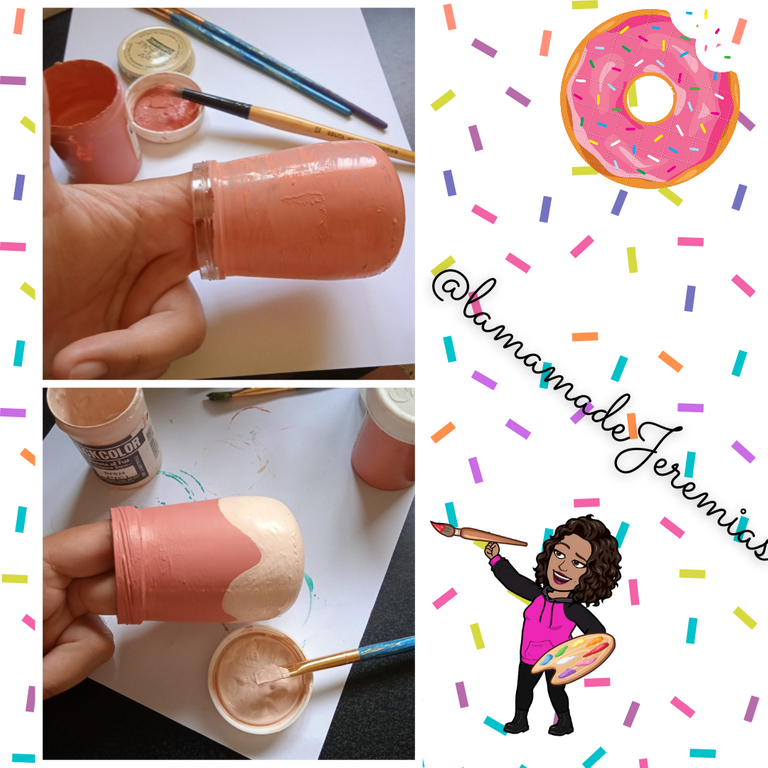
Lo primero fue pintar el frasco de color rosado, hay que darle una mano de pintura y esperar que seque bien y dar la segunda mano de pintura, y así hasta que quede totalmente pintado. Al ser un frasco de vidrio hay que tener paciencia porque la pintura fresca remueve la capa de pintura anterior si no está bien seca, así que hay que esperar que seque bien.
Lo segundo fue pintar la parte de abajo color piel o beige, dando forma de olas, también hay que dar varias capas de pintura hasta que quede bien cubierto y esperar que seque completamente.
Luego seleccionar las virutas de foami de los colores que deseamos y cortarlas en forma de palitos muy finos.
Con la ayuda de un palito de brocheta aplicamos el silicón frío en la viruta de foami con mucho cuidado de no exceder la cantidad de silicón. Y luego pegamos la viruta de foami en el frasco de vidrio, cuidando que no se mueva o riegue el silicón. Yo me ayude con una pinza.
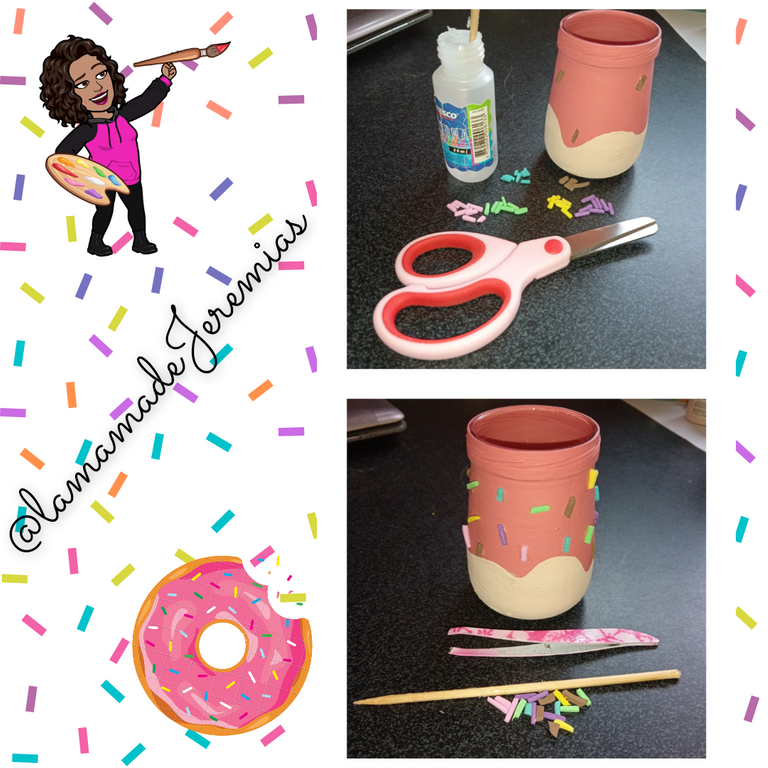
Esperar que seque bien el silicón frío y listo, ya tenemos el porta Lápices listo.
Recomendaciones
La pintura al frío se cae con agua, así que cualquier manualidad que hagamos que necesite ser lavada posteriormente con agua y jabón se dañará si no tiene aplicado un gel brillo protector.
Yo debo comprar ese brillo para aplicarse lo a esta manualidad. Es el único paso que me falta.
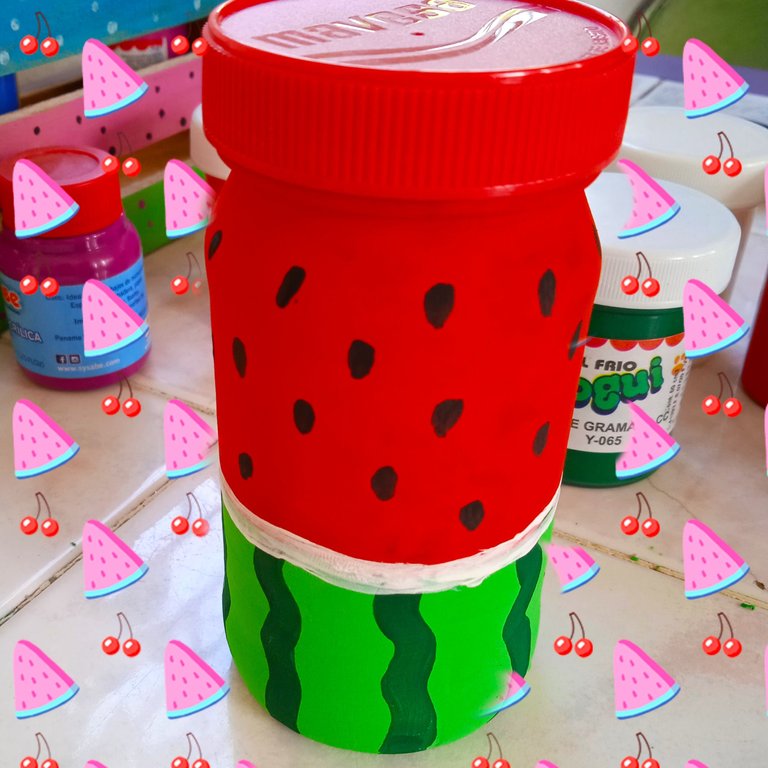
Bueno espero que les haya gustado el porta Lapiceros que realicé y se animen a hacer el suyo con el diseño que deseen. Yo de la emoción realicé uno de Sandía que usaré como alcancía.
Gracias por leer mi publicación.
Fotos de mi propiedad editadas con Canva.
Greetings friends, it's been a while since I posted here on @build-it because I had not made more crafts.
Yesterday I was finally able to sit down calmly to look at ideas on Pinterest and I found one that I loved and also had all the materials. So I got to work. I made a pencil holder with a bottle of compotes (baby food). Without further ado I will tell you the materials I used and the procedures.
Materials.
Compote jar
Brushes
Cold paints
Foami shavings
Cold silicone
Scissors
Procedures.
The first thing to do was to paint the jar pink, you have to give it a coat of paint and wait for it to dry well and give the second coat of paint, and so on until it is completely painted. Since it is a glass jar, you have to be patient because the fresh paint removes the previous layer of paint if it is not well dried, so you have to wait for it to dry well.
The second thing was to paint the bottom of the jar in beige or skin color, giving the shape of waves, you also have to give several coats of paint until it is well covered and wait for it to dry completely.
Then select the foami shavings of the colors you want and cut them in the shape of very thin sticks.
With the help of a skewer stick we apply the cold silicone on the foami chips being very careful not to exceed the amount of silicone. And then we glue the foami chip on the glass jar, being careful not to move or water the silicone. I helped myself with a tweezers.
Wait for the cold silicone to dry well and that's it, the pencil holder is ready.
Recommendations
The cold paint will wash off with water, so any craft we do that needs to be washed with soap and water will be damaged if it does not have a protective gel gloss applied.
I have to buy that glitter to apply it to this craft. It is the only step I am missing.
Well I hope you liked the pencil holder I made and I encourage you to make your own with the design you want.
Thanks for reading my publication.
Photos of my property edited with Canva
Translated with www.DeepL.com/Translator (free version)