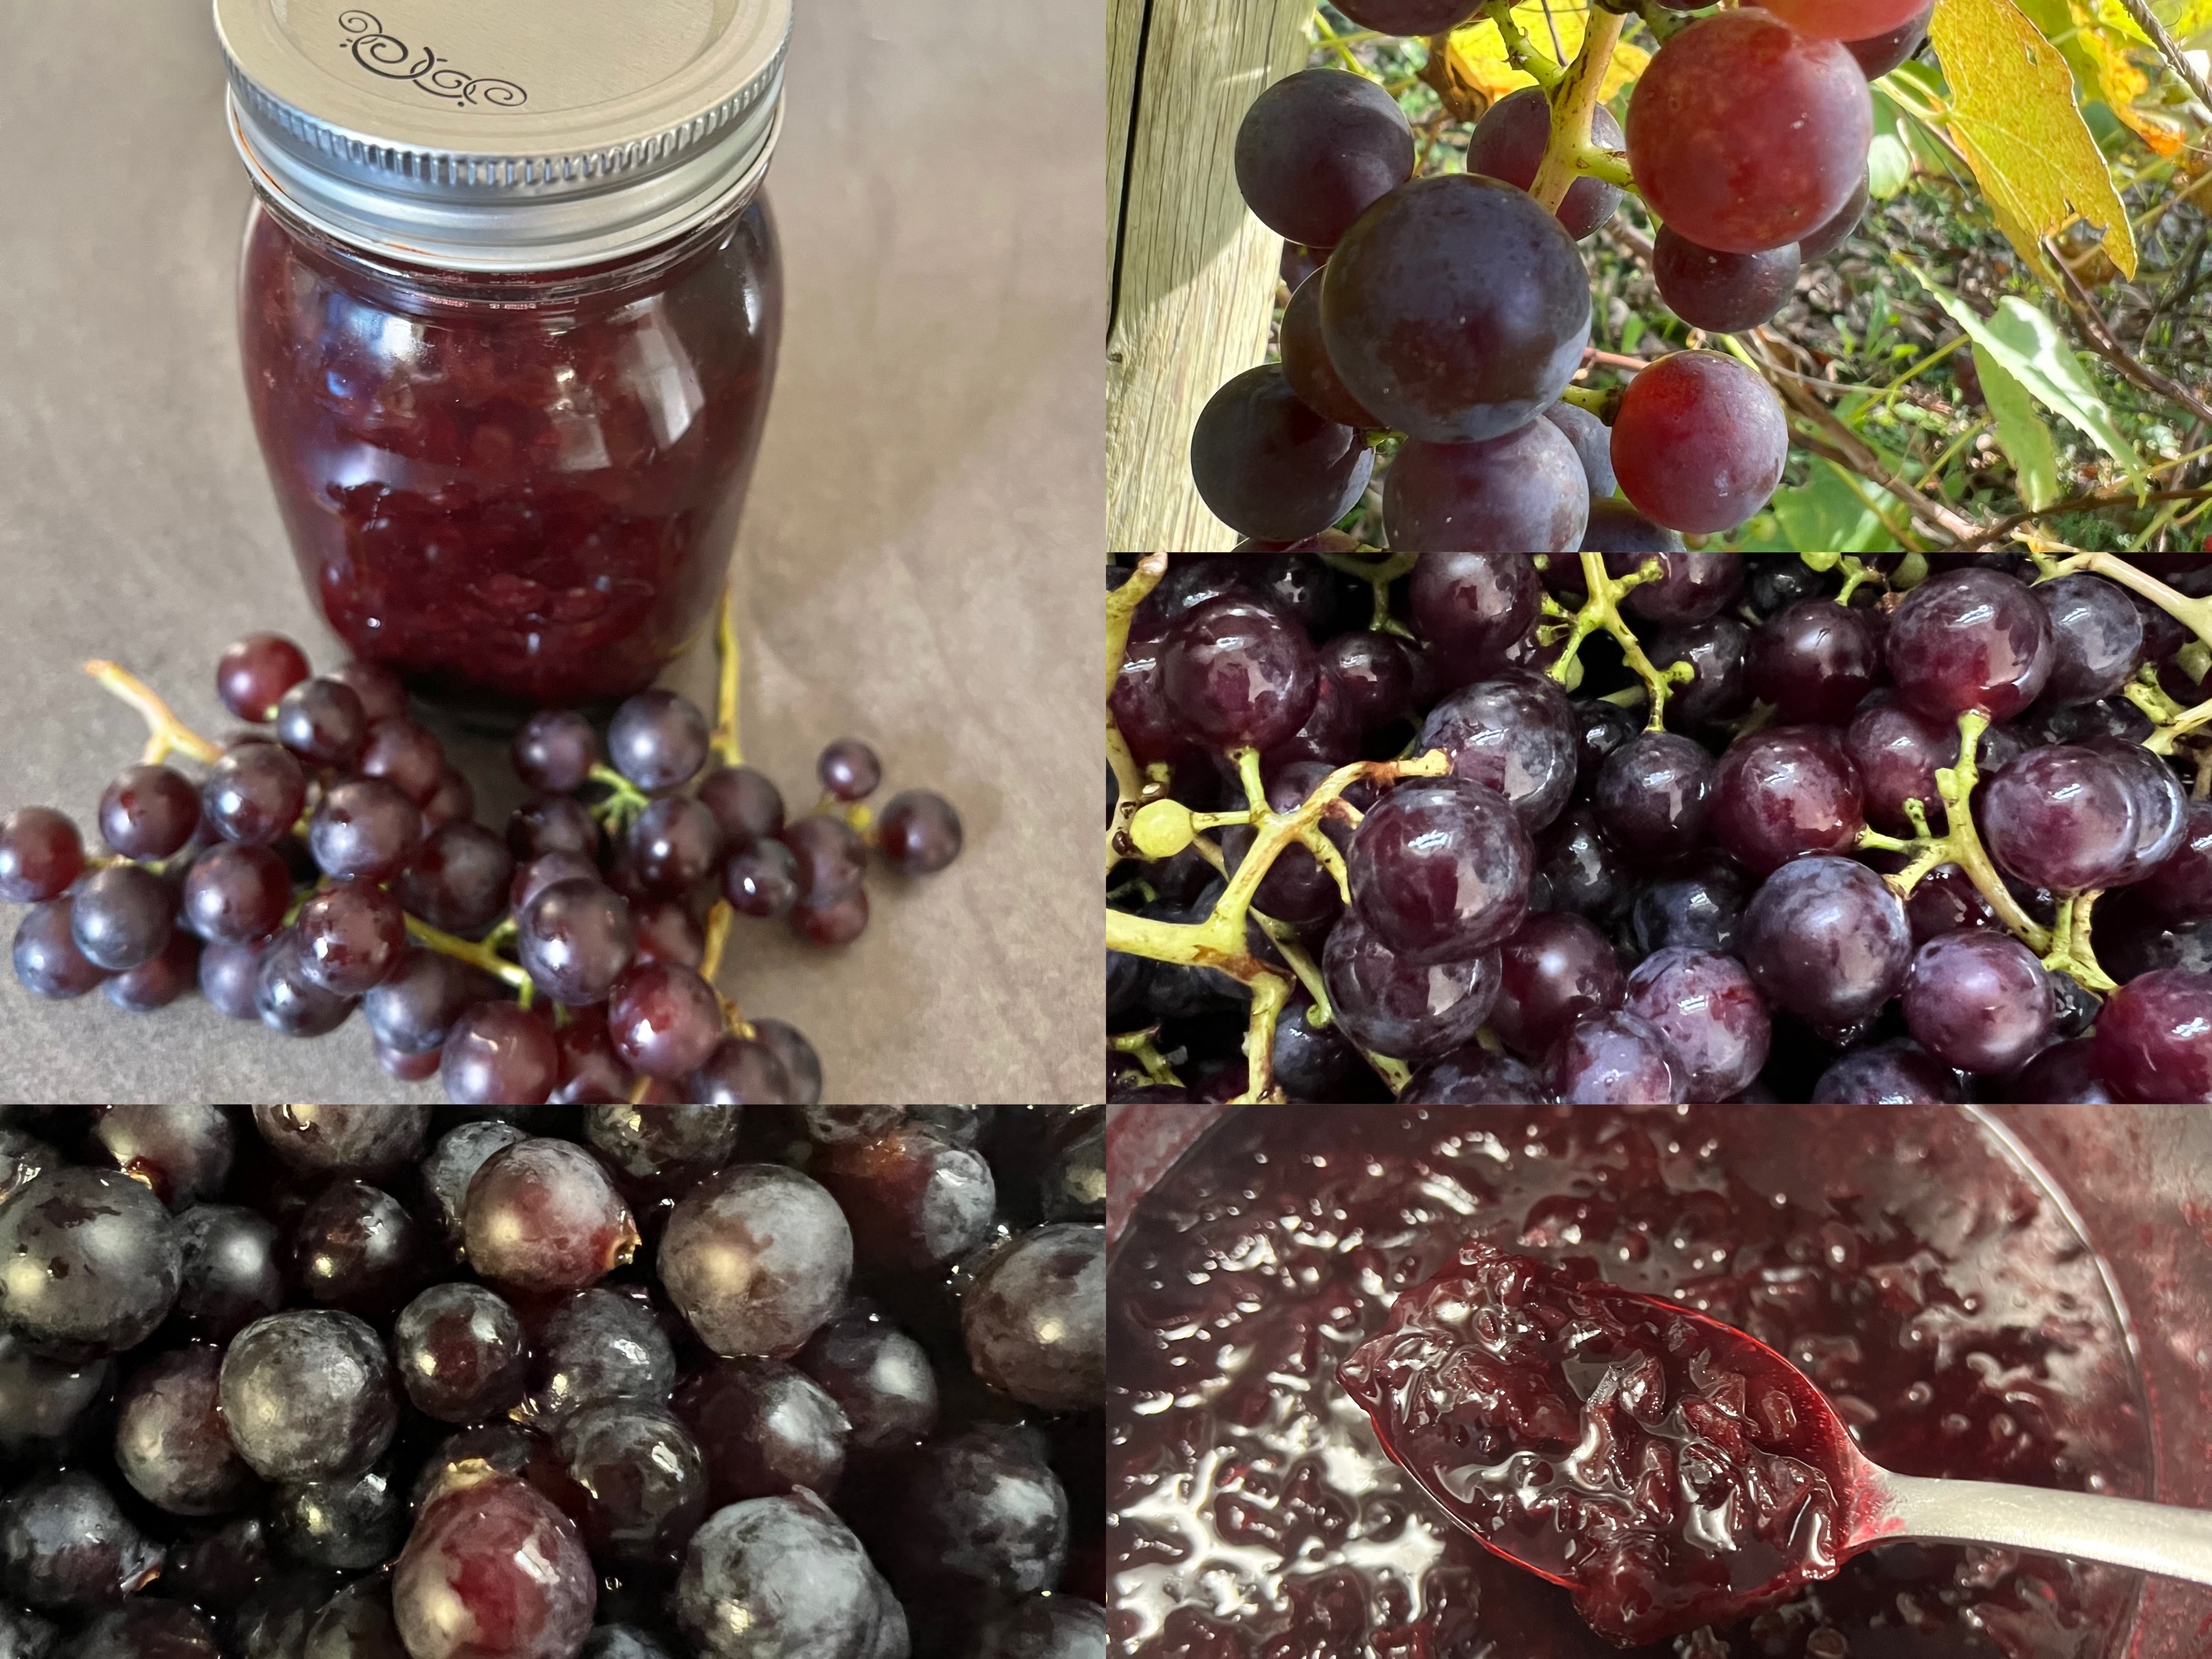
Easy and Tasty Grape Jam
I harvested almost all of the grapes from my garden this year. I left some there to explore their taste. I love eating dark-looking grapes because they are very juicy and sweet. Usually, I pick them up and leave them in my house for a while before eating. The colours gradually change from purple to dark purple inside the house.
I was debating with myself whether to make jam this year. When I saw a bunch of grapes in my strainer, I decided to make jam again because I had lemons and enough brown sugar to do it.
My mixer was not quite strong enough to grind all the seeds, so I needed to pick them out by myself, but I enjoyed the process. My fingers all became black though. Touching the fruit and vegetables from my garden is a truly rewarding experience. Abundant fruits and vegetables make me feel very fulfilled. I had a fresh grape jam with my yogurt the next day!
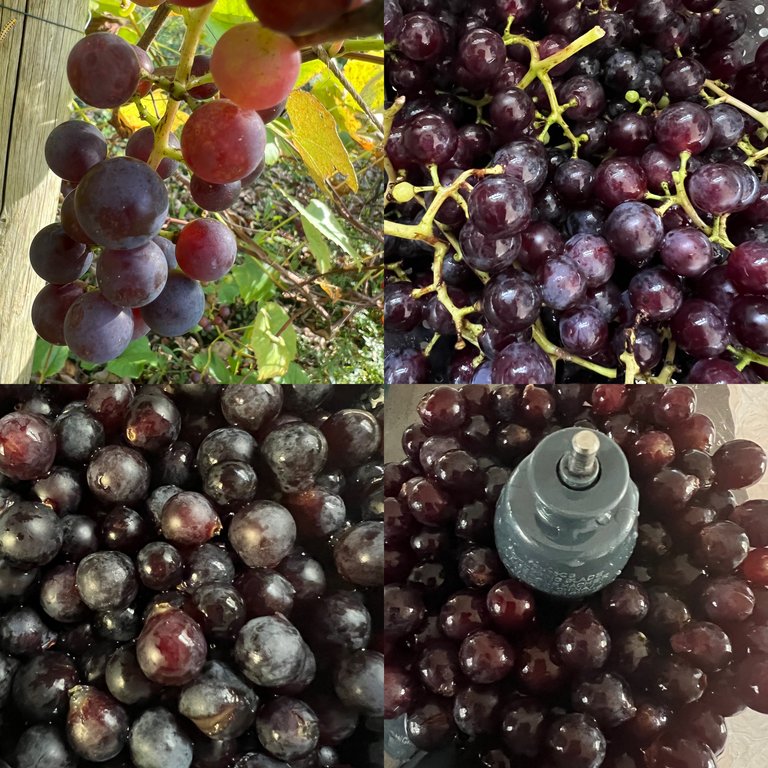
I picked a lot of grapes from my grapevine. After washing them thoroughly, I used my mixer. Normally, I remove all the seeds before boiling them, but this time, I used a mixer. However, my mixer wasn't strong enough to crush all the seeds. After this, I ended up picking out the seeds by hand anyway.
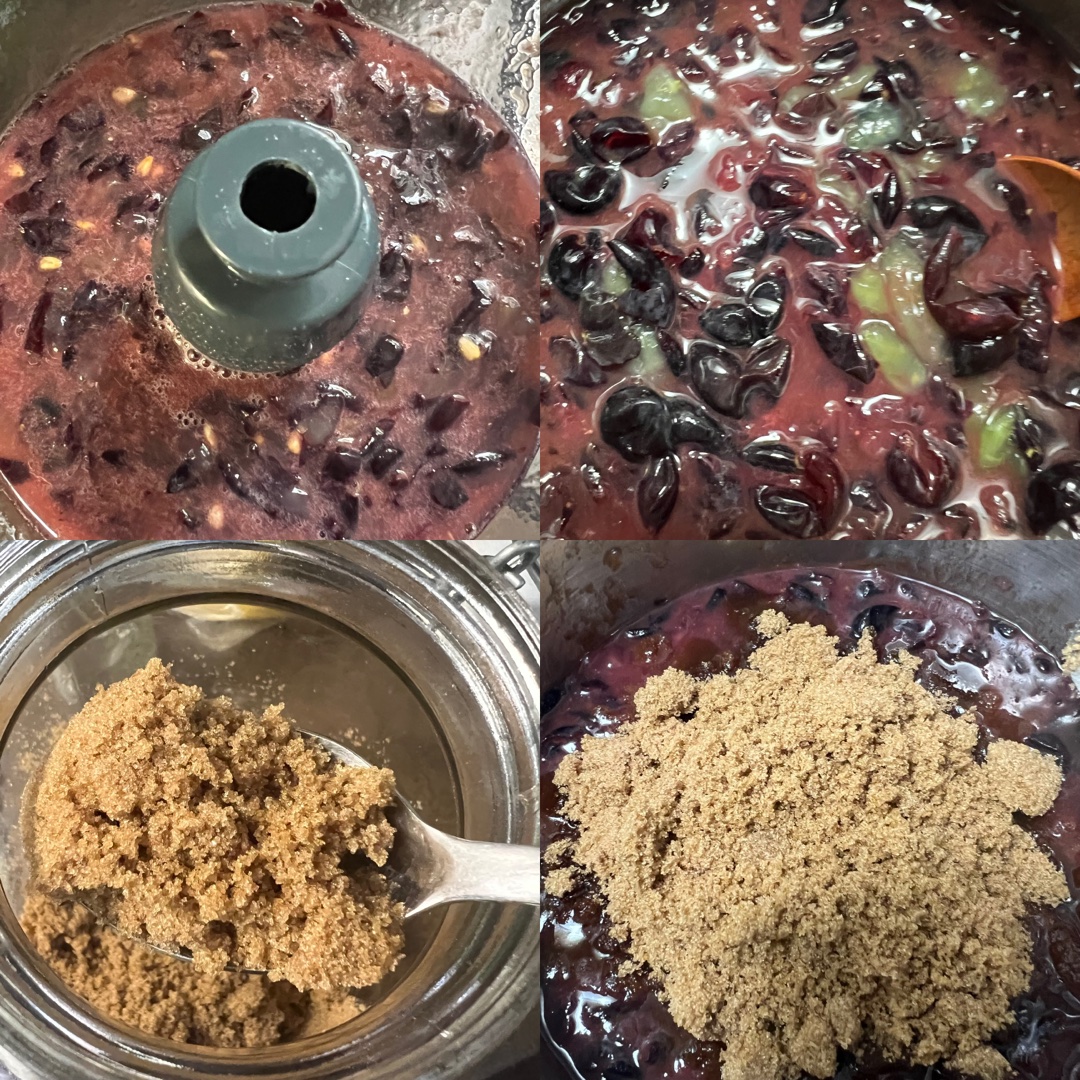
As you can see, the seeds are floating in the mixer. After removing all the seeds, I added some chunks of grapes and their skins without the seeds and began to boil them. I initially used high heat but then switched to medium heat and finally low heat. Next, I added brown sugar. I boiled it for over 15-20 minutes because I wanted it to become thick. If you prefer a thinner style, I recommend not boiling it for as long.
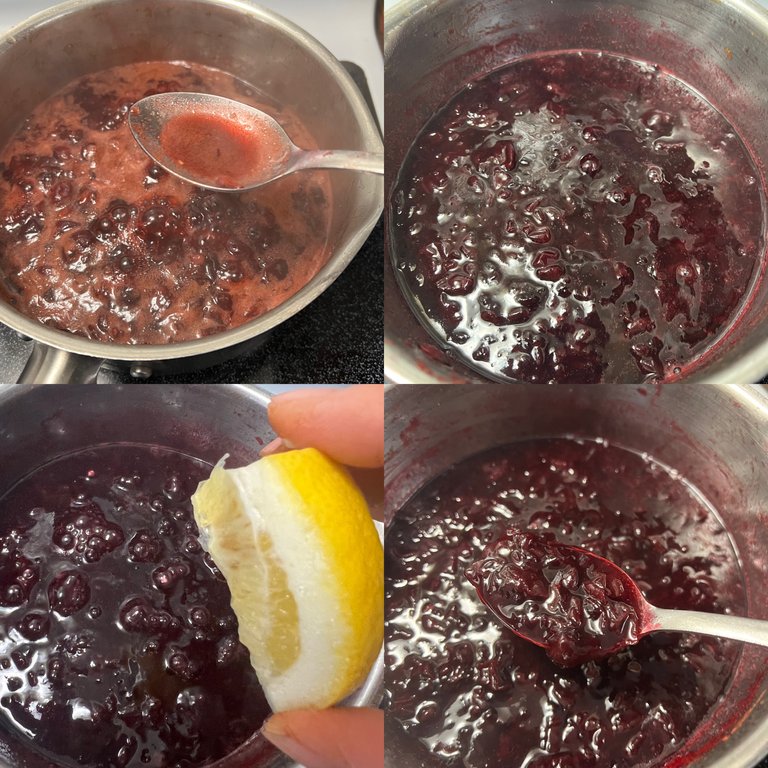
When I was boiling it, I needed to skim off some scum from the surface at times. After it had thickened, I stopped heating and added lemon juice.
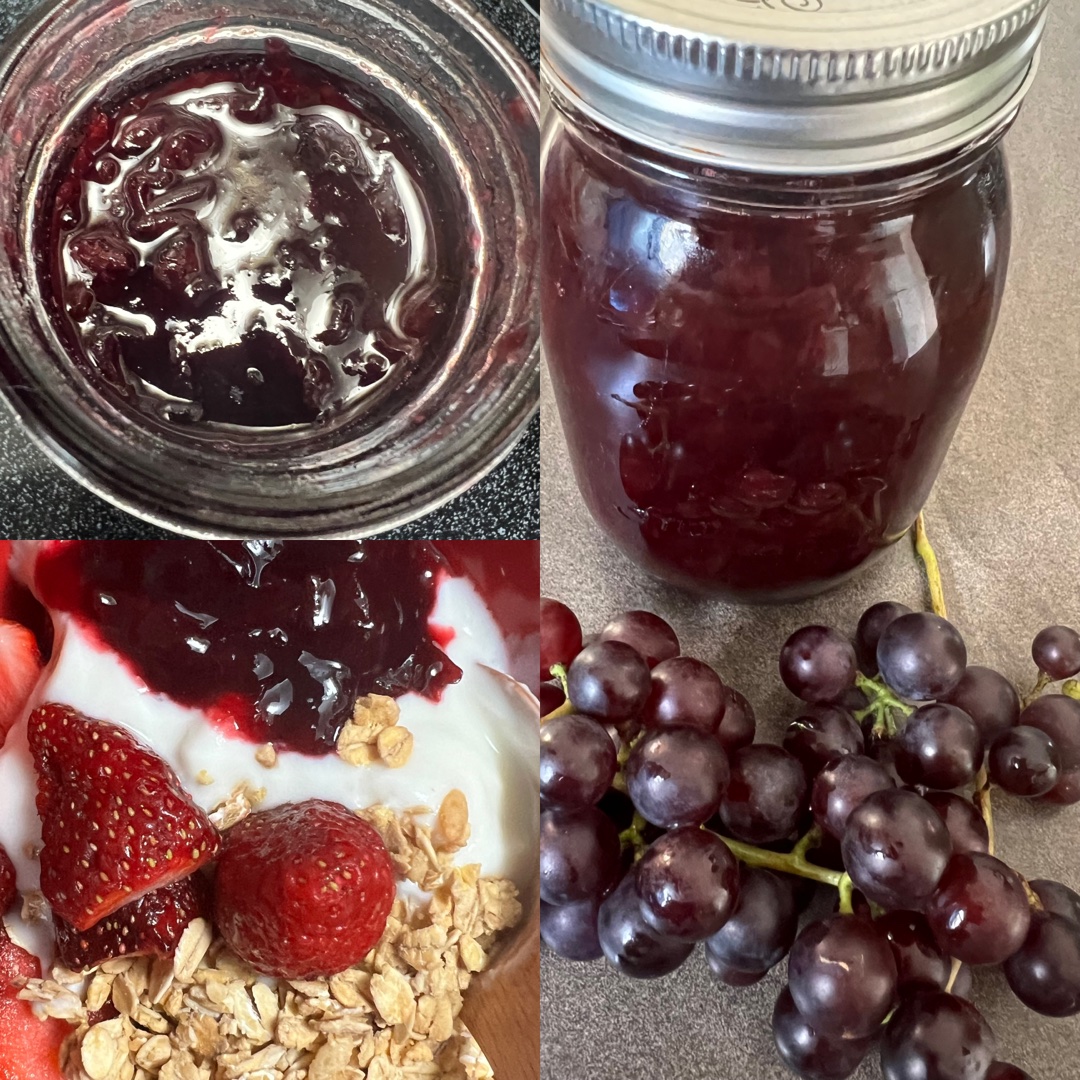
Sterilize a jar in boiling water if necessary, and then pour the fresh jam into it. After it cools, place it in the fridge for at least one night. You can enjoy it with yogurt, bread, cakes, scones, and more!
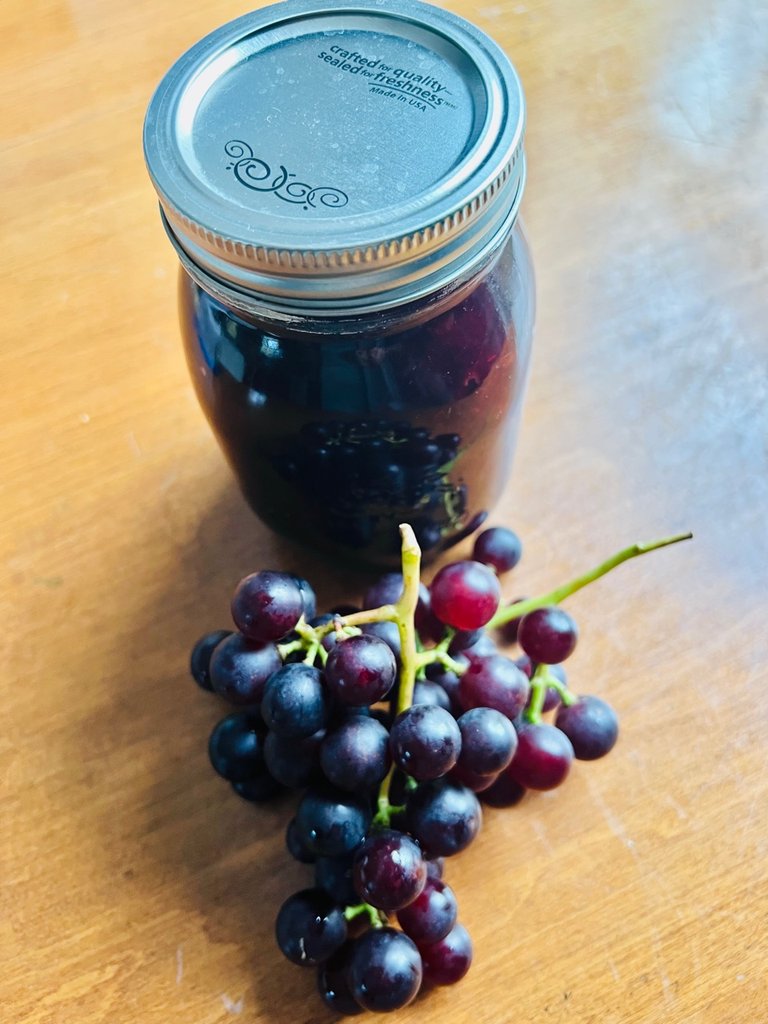
Ingredients
・Grapes: 700g
・Brown sugar: 200g or more
・Lemon juice: 2 tablespoons or more
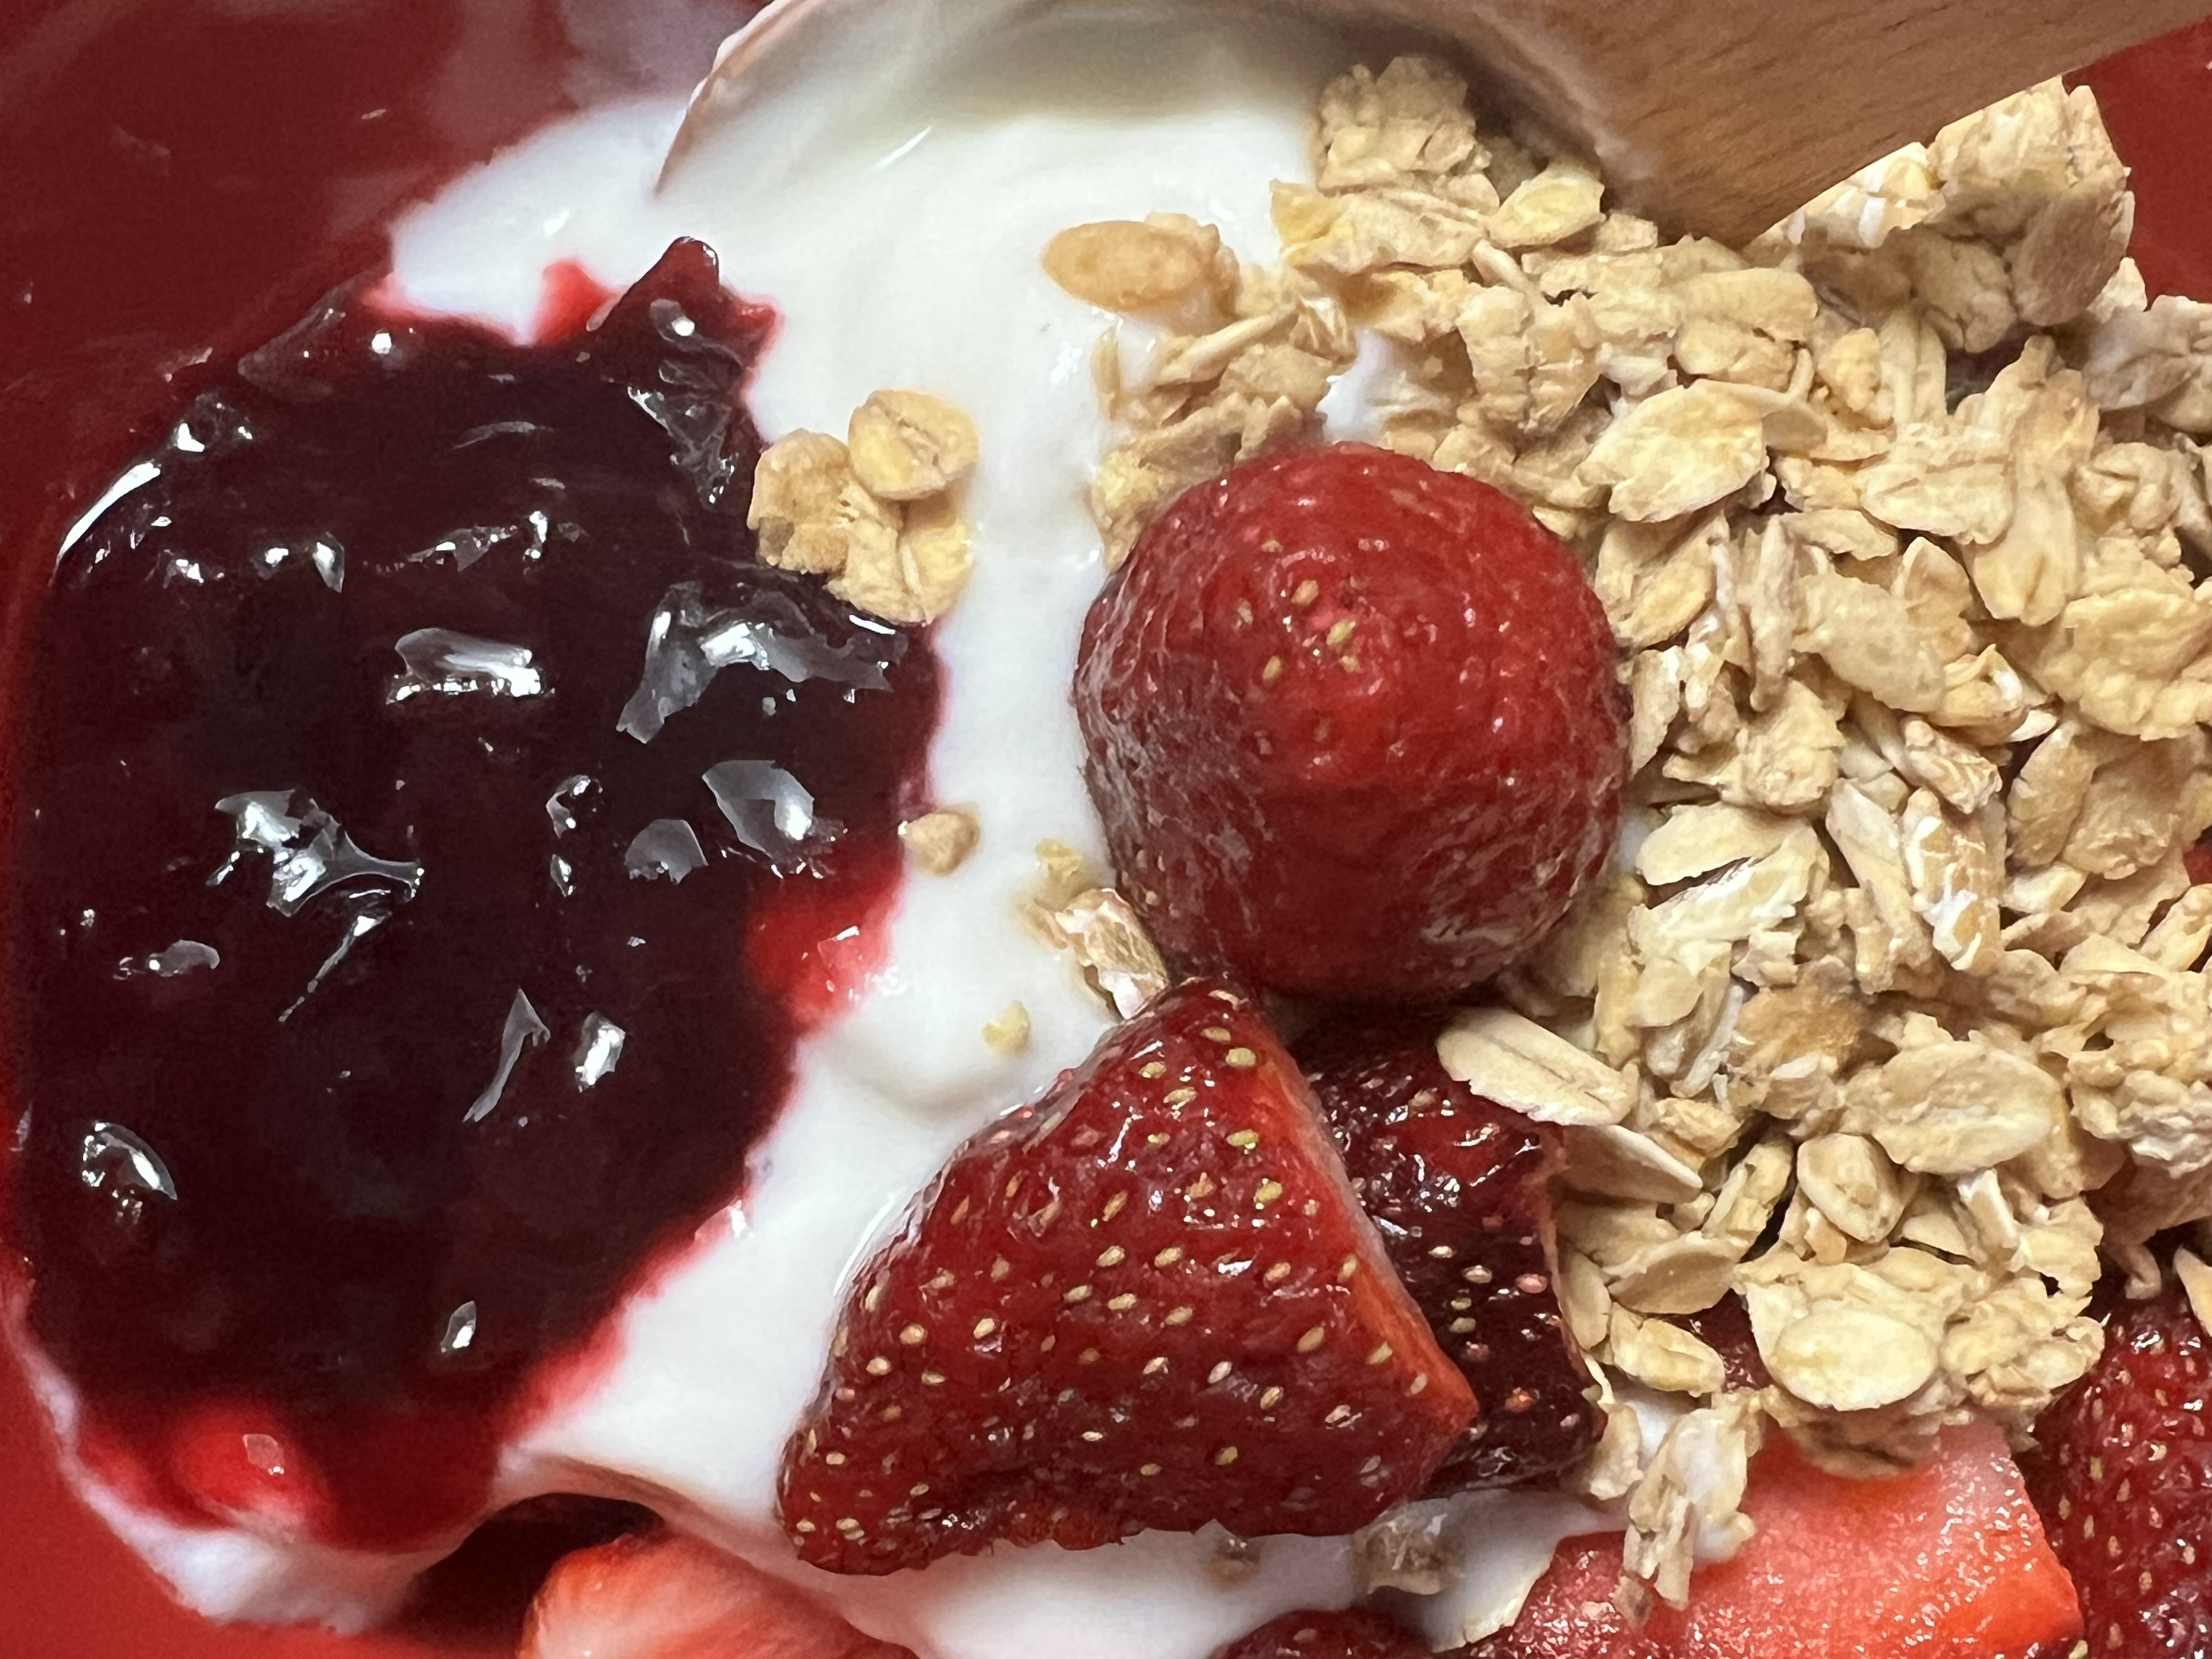
I had it with yogurt, granola, and strawberries. It was very tasty. It wasn't so sweet but I liked it very much.

Japanese 日本語

簡単でおいしいぶどうジャム
庭になった今年のぶどうはほぼ収穫が終わりました。実験のために少しだけ採らずに残してあります。色が濃くなったぶどうは甘くてみずみずしいので好きです。たいてい、採ってから食べるまでの間、しばらく家の中に置いておきます。色が少しずつ変わって濃い紫色に変化します。
今年はジャムを作るかどうかしばらく考えていました。ザルの中いっぱいに収穫したぶどうを見たのと、レモンと砂糖があることで、よしジャムを作ろうと言う気持ちになりました。
私の持っているミキサーは種を砕く力が足りなく、結局自分で種を取り除きましたが、意外と好きな作業過程です。おかげで指が真っ黒になりましたが。庭で採れた果物や野菜を触っていると本当にありがたい経験をしていると感じます。豊作の果物や野菜は気持ちを満たしてくれます。ぶどうジャムを作った翌日は、ヨーグルトにのせておいしくいただきました。

ぶどうの木からたくさんぶどうを採りました。よく洗ってからミキサーにかけました。通常は種を取り除いてから煮るのですが、今回はミキサーを使いました。しかし、私のミキサーは種を砕くほど強くなかったので、結局手作業で種を取り除きました。

ミキサーの中に種が浮いて見えますね。種を全部取り除いたら、同じく種を取り除いたミキサーにかけていないぶどうと皮をそのまま加えてから、煮ました。初めは強火で、その後中火にしてから弱火に切り替えました。次に、ブラウンシュガーを入れて約15分から20分ほど煮込みました。私はトロトロしたジャムにしたかったので長めに煮込みましたが、さらさらしたジャムが好きな方は煮込みすぎないようにした方がいいと思います。

煮込んでいる間、アクが出るので取り除きます。とろとろしてきたら、火を止めてレモン汁を加えます。

ジャムの瓶を煮沸消毒される方はして、出来立てのジャムを中に入れていきます。冷めて熱がとれたら冷蔵庫の中に入れて最低でも一晩冷やします。ヨーグルト、パン、ケーキ、スコーンなどと一緒に食べると美味しいと思います!

材料
・ぶどう:700グラム
・ブラウンシュガー:200グラム またはそれ以上 お好みで調節
・レモン汁:大さじ2 またはそれ以上

次の日にヨーグルト、グラノーラ、いちごと一緒にいただきました。美味しかったです。甘すぎずちょうどいい味です。


