¡Hola queridos usuarios de Hive ✨💕!
Hi dear Hive users ✨💕!
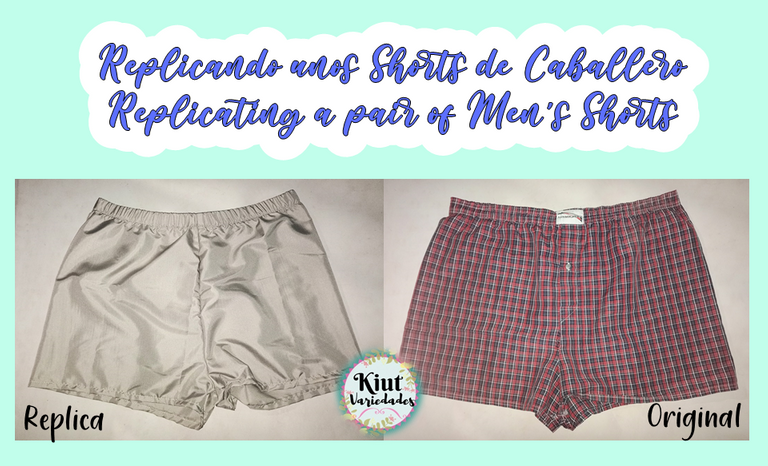
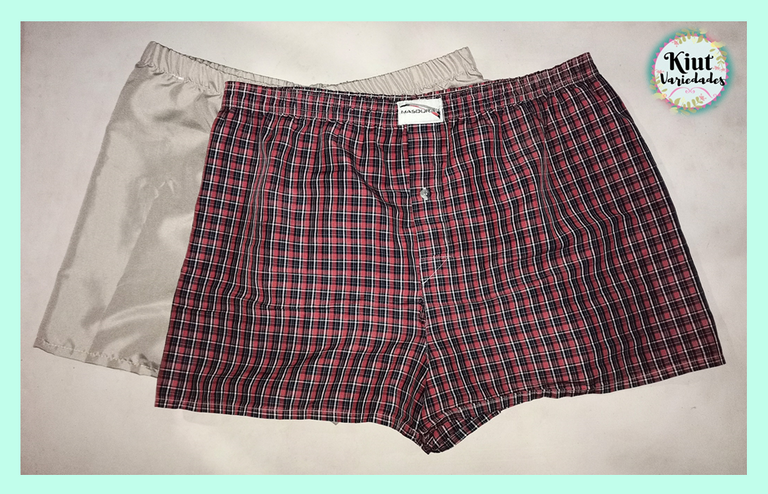
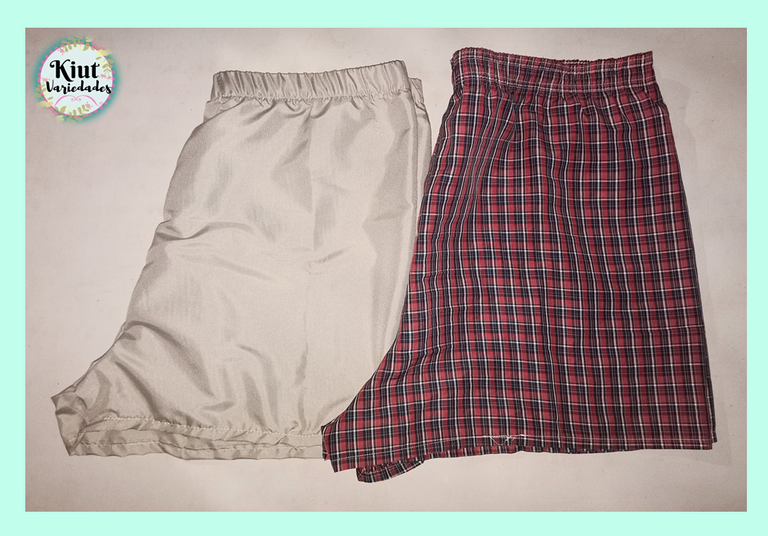
¿No les ha pasado que aman una prenda y no saben cómo replicarla?, resulta que con las blusas esto no es tan complicado, pero con los shorts o pantalones la historia es otra. El día de hoy les mostraré cómo replique éste short de caballero de una forma bien ingeniosa y sencilla, que además se puede aplicar con diferentes prendas 😌😌.
Haven't you ever loved a garment but you don't know how to replicate it?, it turns out that with blouses this is not so complicated, but with shorts or trousers it's a different story. Today I will show you how to replicate this men's shorts in a very ingenious and simple way, which can also be applied with different garments 😌😌.

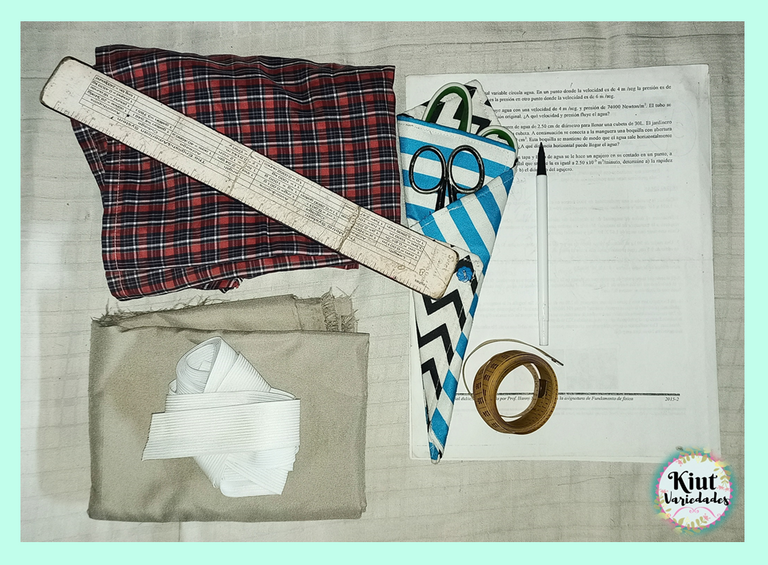
🩳 MATERIALES || MATERIALS 🧵
- Short a replicar.
- Tela no elástica.
- Goma elástica de 3cm de grosor.
- Tijeras para tela y tijeras para papel.
- Reglas de patronaje.
- Hojas de papel.
- Hilo.
- Cinta métrica.
- Máquina de coser.
- Shorts to be replicated.
- Non-stretch fabric.
- 3cm thick rubber band.
- Fabric scissors and paper scissors.
- Pattern rulers.
- Sheets of paper.
- Thread.
- Tape measure.
- Sewing machine.

🩳 COMENCEMOS || LET'S START 🪡
En un papel trace una T en el centro del mismo, a partir de allí comencé a copiar el diseño del short, para ello primero me fui con la parte delantera. La ubique en la parte izquierda de la línea T y con ayuda de un alfiler fui perforando la tela y el papel por toda la línea del tiro. Las partes del largo si las señale con lapicero, luego de tener estos puntos hechos, los fui uniendo con lapicero.
On a piece of paper I traced a T in the middle of it, from there I started to copy the design of the shorts, for that first I went with the front part. I placed it on the left side of the T line and with the help of a pin I pierced the fabric and the paper all along the line of the shot. The parts of the length I marked them with a pencil, after having these points done, I joined them with a pencil.
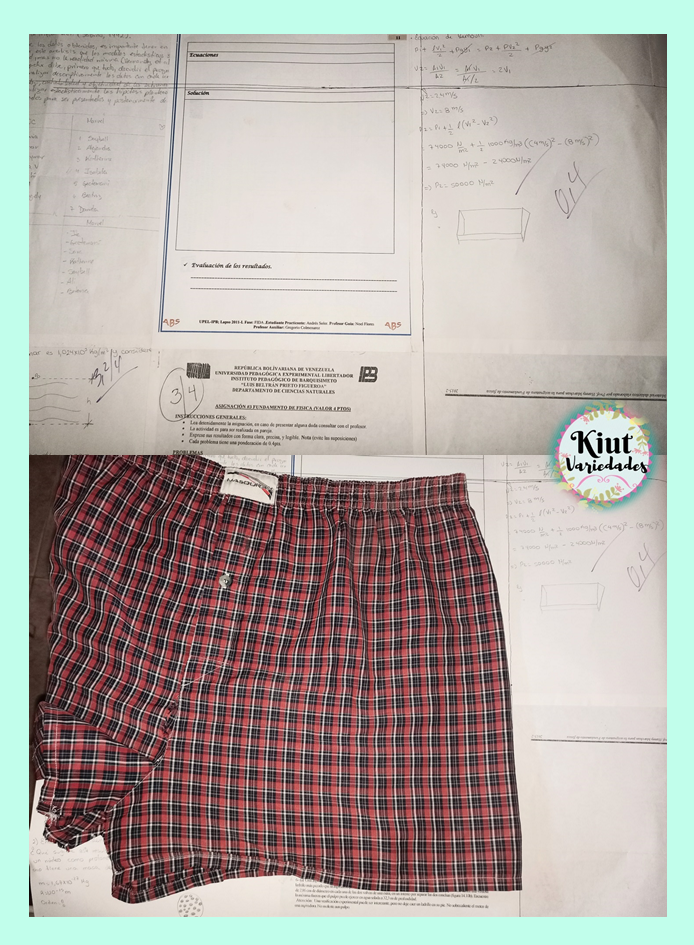
Del lado derecho de la línea T hice exactamente lo mismo pero con parte trasera del short. Con esto listo me pase a dar los márgenes de costura, por todo el contorno de tiro y entrepierna añadí 1cm, en la parte superior añadí 4cm (3 del elástico + 1cm extra de dobladillo) y en la parte inferior 3cm de ruedo.
On the right side of the T-line I did exactly the same but with the back of the shorts. With this ready, I added 1cm to the seam allowances all around the crotch and crotch, 4cm to the top (3cm from the elastic + 1cm extra hem) and 3cm for the hem at the bottom.
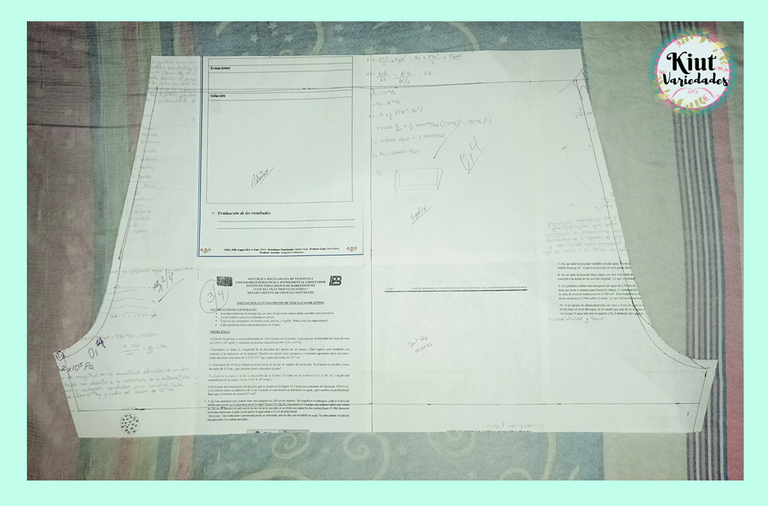
De esta forma obtuve el patrón de este short, y de aquí en Adelante lo que queda es cortar 2 piezas de este patrón y realizar la confección. Empezando por la costura de ambos tiros (enfrentando el derecho de telas).
This is how I got the pattern for these shorts, and from here on what is left is to cut 2 pieces from this pattern and make them. Starting with the sewing of the two seams (facing the right side of the fabrics).
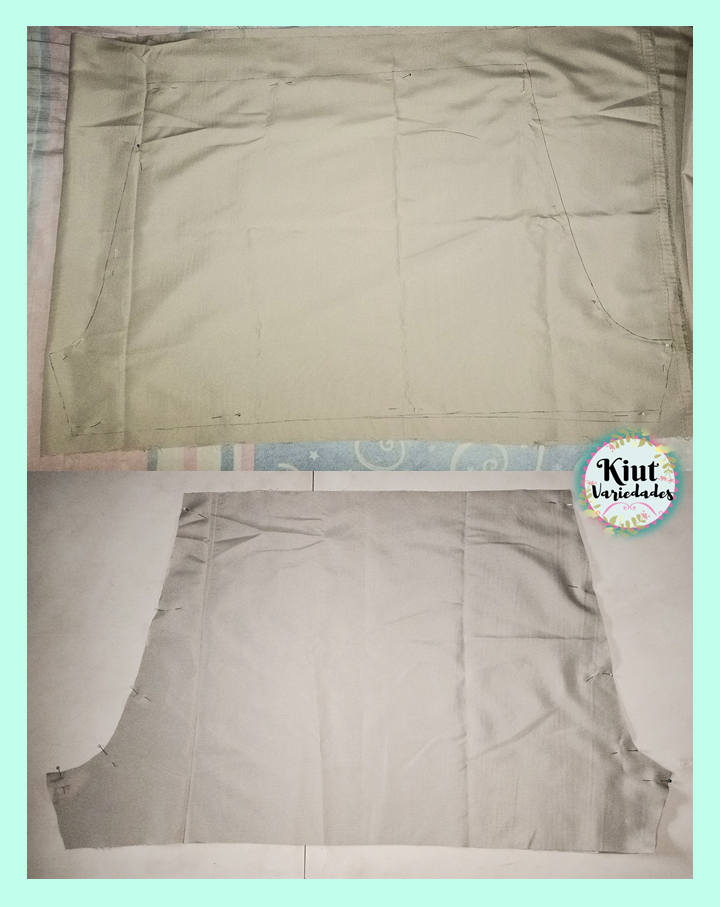
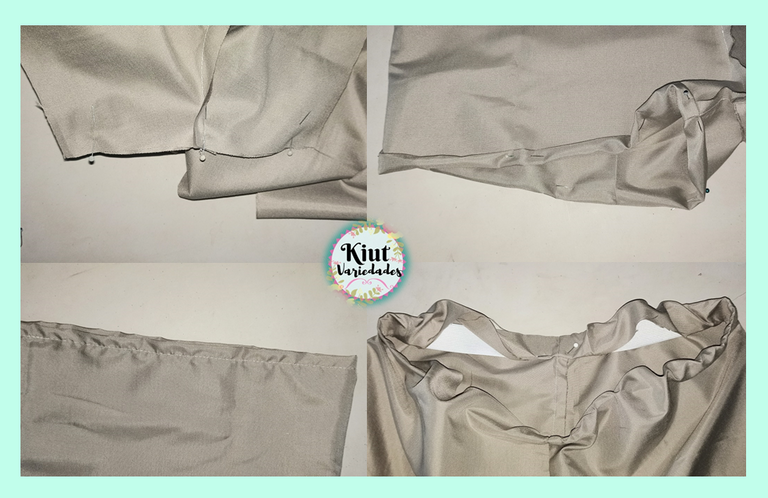
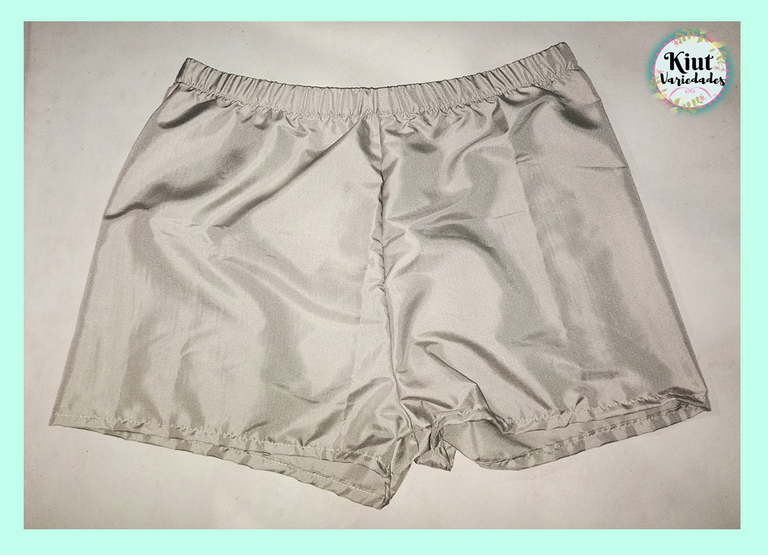
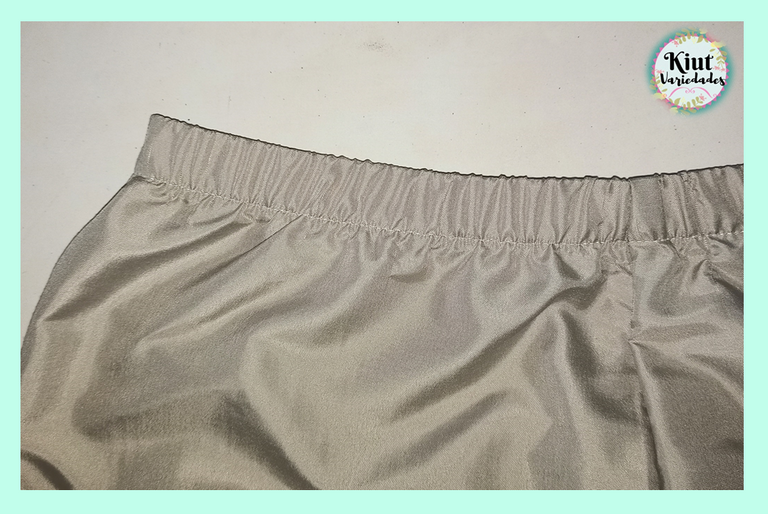
Seguidamente se continúa con la costura del entrepierna y el ruedo de cada pierna, para finalmente coser la goma elástica doblando 1cm encima de la goma, y luego doblando todo el ancho de la goma. Al coser esta parte, es importante estirar lo suficiente.
Then continue with the crotch seam and the hem of each leg, and finally sew the elastic band by folding 1cm over the elastic, and then folding the whole width of the elastic. When sewing this part, it is important to stretch enough.


Te invitamos igual que siempre a que intentes este proyecto por tu cuenta y nos cuentes en los comentarios 👇 como es tu experiencia.
We invite you as always to try this project on your own and tell us in the comments 👇 as is your experience..


Síguenos en todas nuestras redes sociales… || Follow us on all our social networks ...
Facebook:KiutVariedades
Instagram:@Kiut_variedades
Twitter:@Kiut_variedades