¡Hola queridos usuarios de Hive ✨💕!
Hi dear Hive users ✨💕!
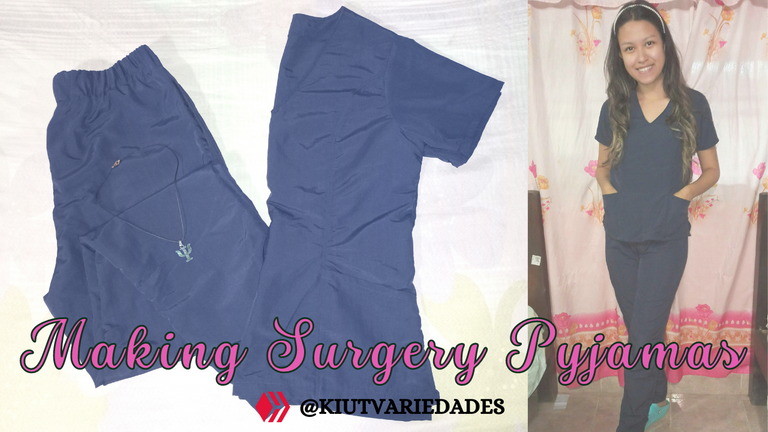
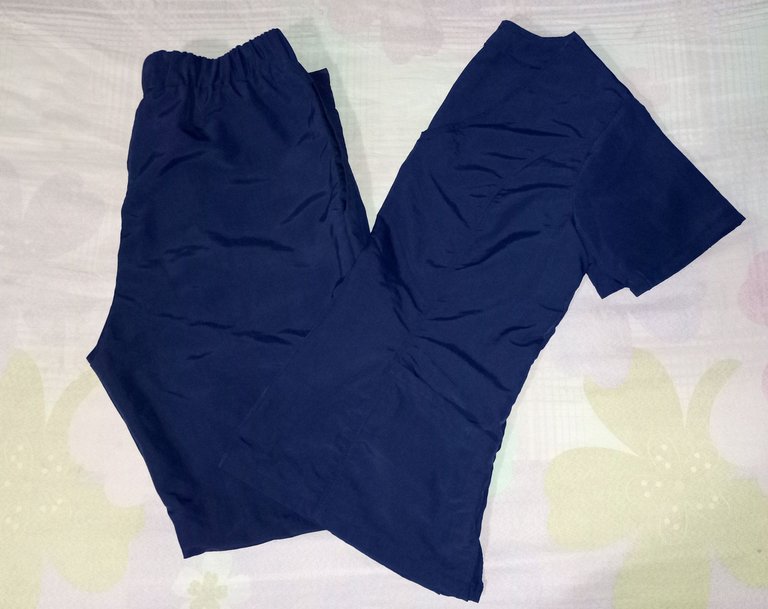
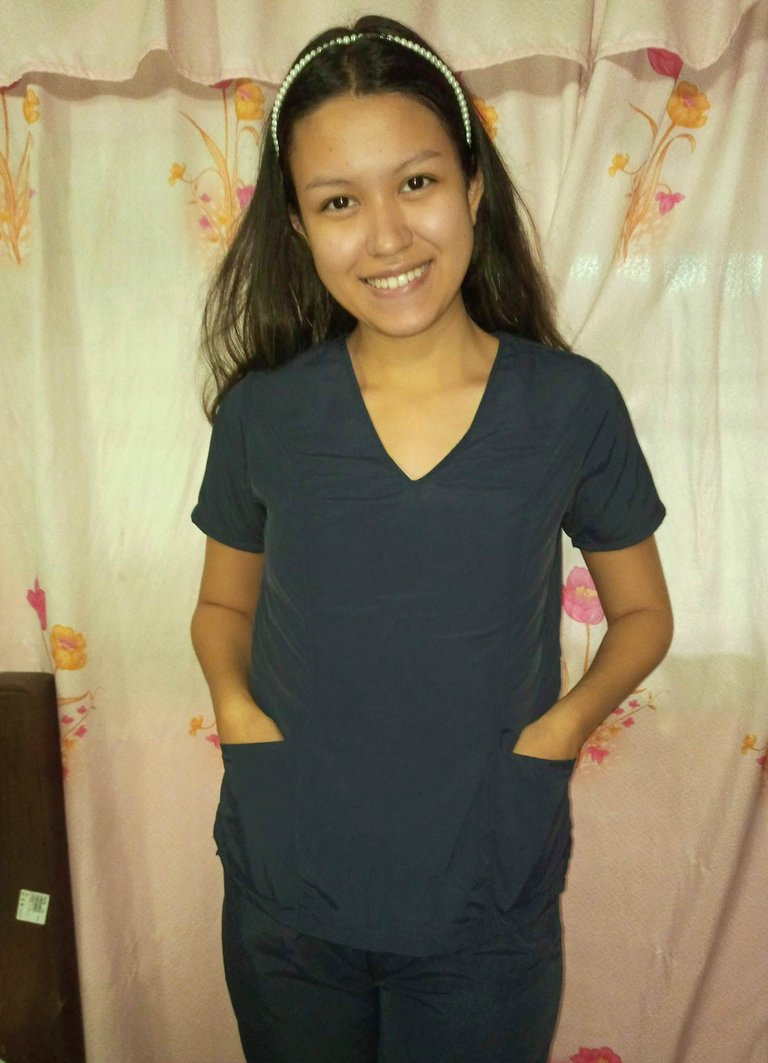
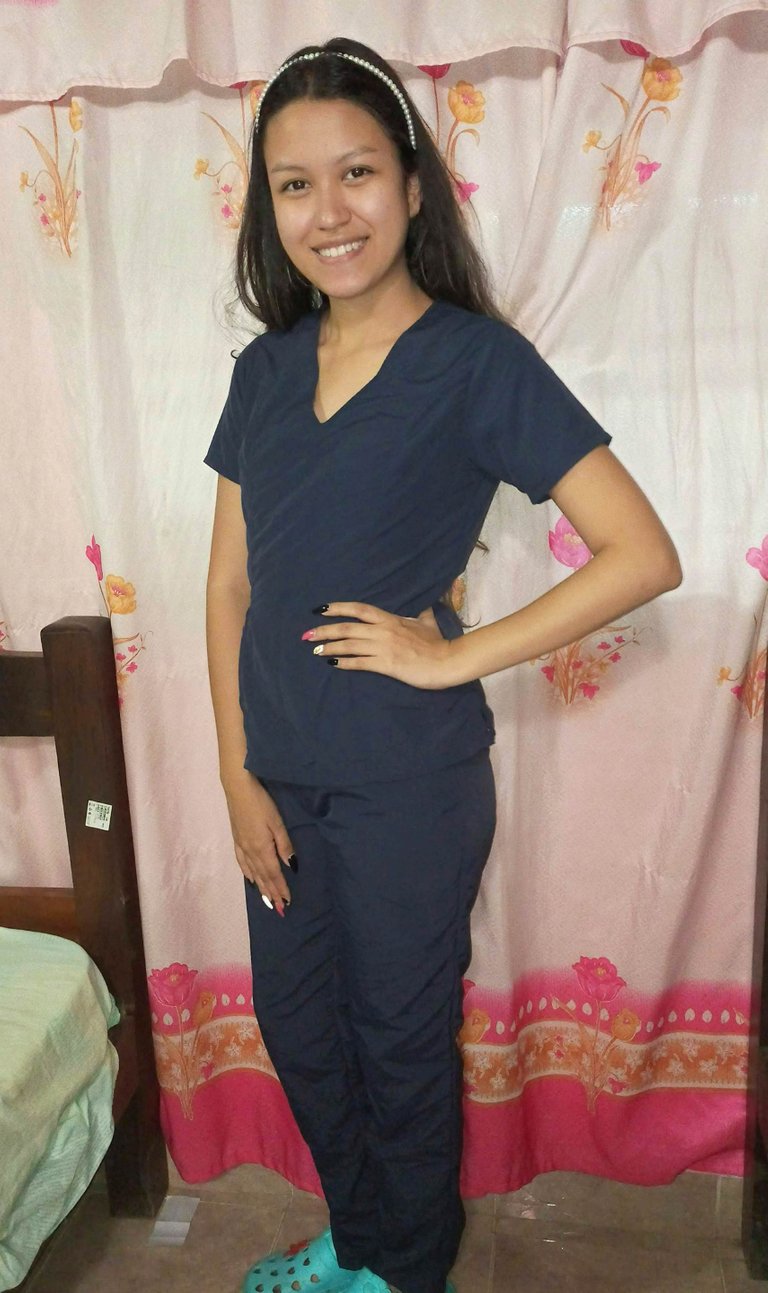
Resulta que con la llegada de las pasantías, también llegó el momento tan esperado por mí de usar el uniforme de pijama quirúrgica, y aunque en teoría debería usarlo en el décimo semestre, pasantías son pasantías y nadie me quitara mi momento de usarlo. Obviamente y por lo quisquillosa que suelo ser con la ropa, decidí hacérmelo yo misma complaciendo todas mis pequeñas exigencias 🤭🤣, así que el día de hoy les mostraré cómo fue el proceso de confección y de ésta forma sumo un uniforme mas a mi closet 🤣🤭.
It turns out that with the arrival of the internships, also came the long awaited moment for me to wear the surgical pyjama uniform, and although in theory I should wear it in the tenth semester, internships are internships and no one will take away my moment to wear it. Obviously and because of how picky I usually am with clothes, I decided to make it myself, satisfying all my little demands 🤭🤣, so today I will show you how was the process of making it and this way I add one more uniform to my wardrobe 🤣🤭.

COMENCEMOS LA CONFECCIÓN || LET'S START THE MAKING
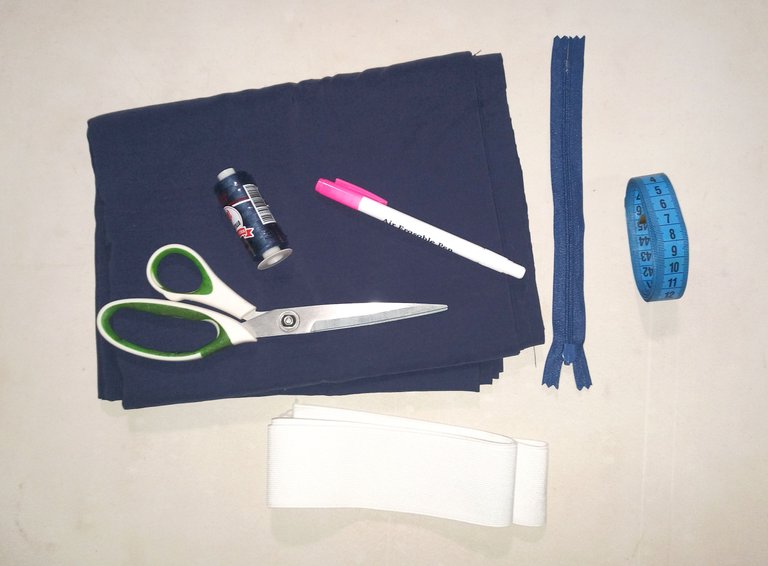
- 2m de tela antifluidos o microfibra.
- Goma elástica de 5cm de grosor.
- Hilo del color de la tela.
- Cinta métrica.
- Patrones.
- Máquina de coser.
- 2m of anti-fluid fabric or microfibre.
- 5cm thick elastic band.
- Thread in the colour of the fabric.
- Tape measure.
- Patterns.
- Sewing machine.

COMENCEMOS LA CONFECCIÓN || LET'S START THE MAKING
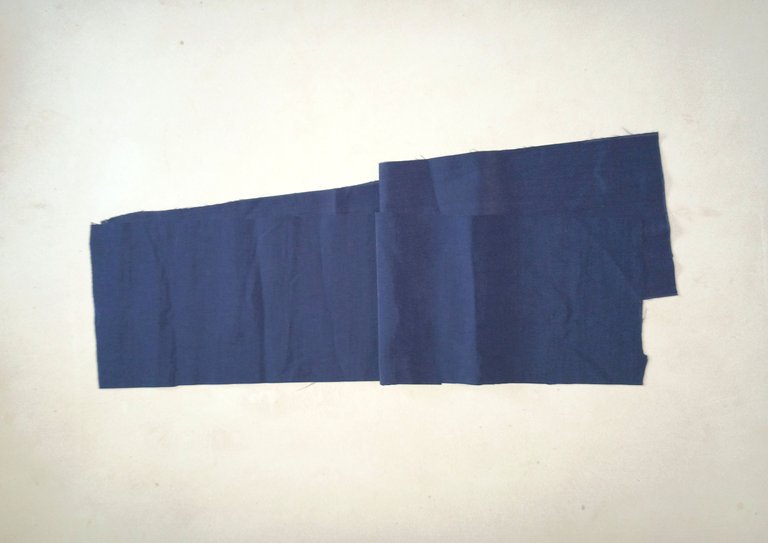
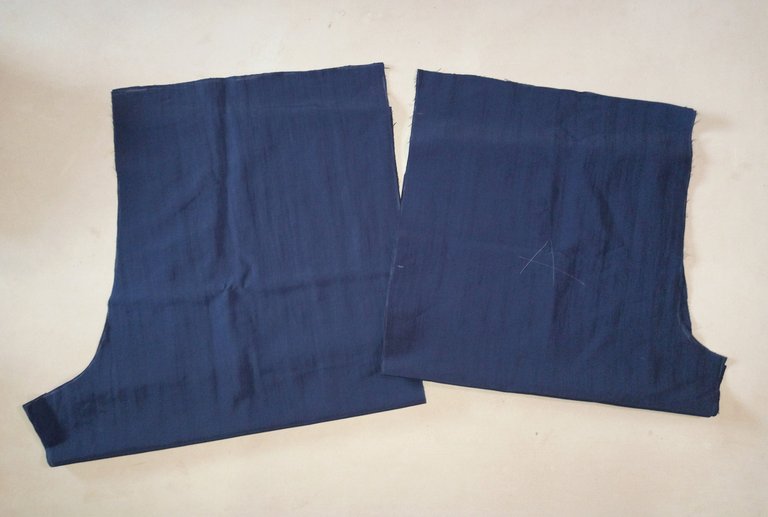
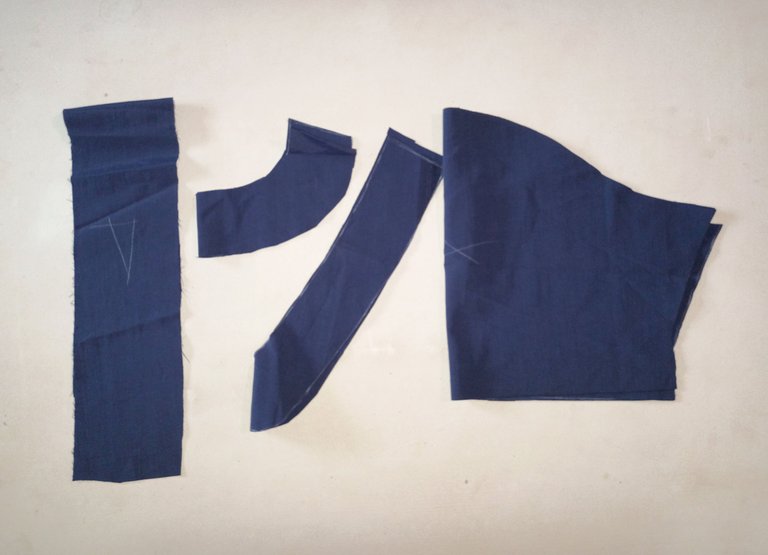
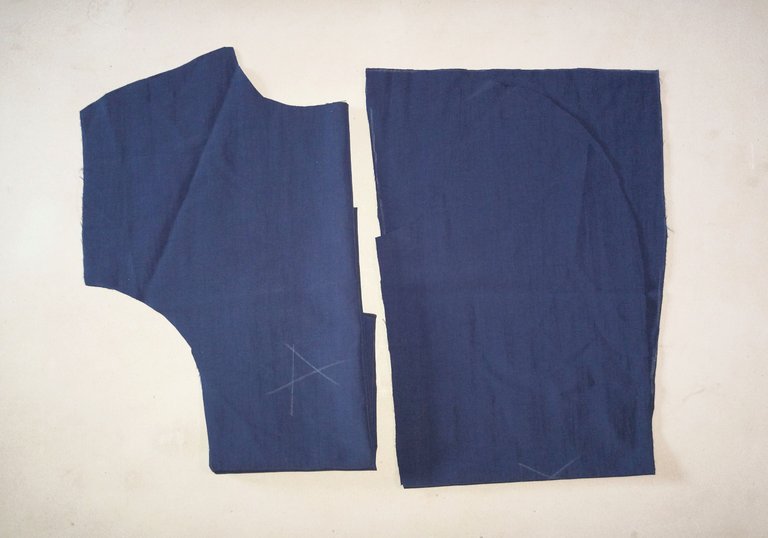
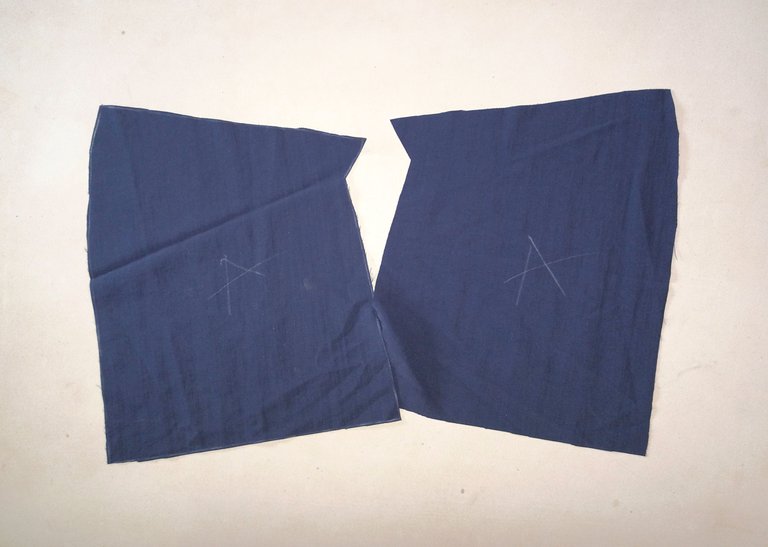
Al igual que como hice unos post atrás con la confección de la camisa, la parte de los patrones me la saltaré pues ya la he explicado anteriormente, y al final del post dejaré los links de las publicaciones respectivas. Lo único variado en ésta confección es el cuello, el cual está en forma de V con vista, la vista se saca del patrón delantero y se le suele dar 3cm de grosor más el margen de costura para unirla a la pieza. Además la parte superior lleva unos bolsillos que también se sacan a partir del patrón delantero, en éste caso del delantero 2 que es el correspondiente al lateral, de la cintura se bajan 3cm por la parte central y del lateral se bajan 6cm para que el bolsillo quede en diagonal, y el último detalle es una pretina que va en la parte de la espalda que se corta una tira de 8cm de ancho por el largo de toda la cintura de la espalda.
As I did a few posts ago with the shirt, I will skip the pattern part as I have already explained it before, and at the end of the post I will leave the links to the respective publications. The only thing that is different is the collar, which is in the shape of a V with a facing, the facing is taken from the front pattern and it is usually 3cm thick plus the seam allowance to join it to the piece. In addition, the upper part has some pockets that are also taken from the front pattern, in this case from the front 2 which is the one corresponding to the side, from the waist 3cm are lowered by the central part and from the side 6cm are lowered so that the pocket is diagonal, and the last detail is a waistband that goes in the part of the back that is cut in a strip of 8cm wide by the length of the whole waist of the back.
 |  |  |
|---|
 |  |  |
|---|
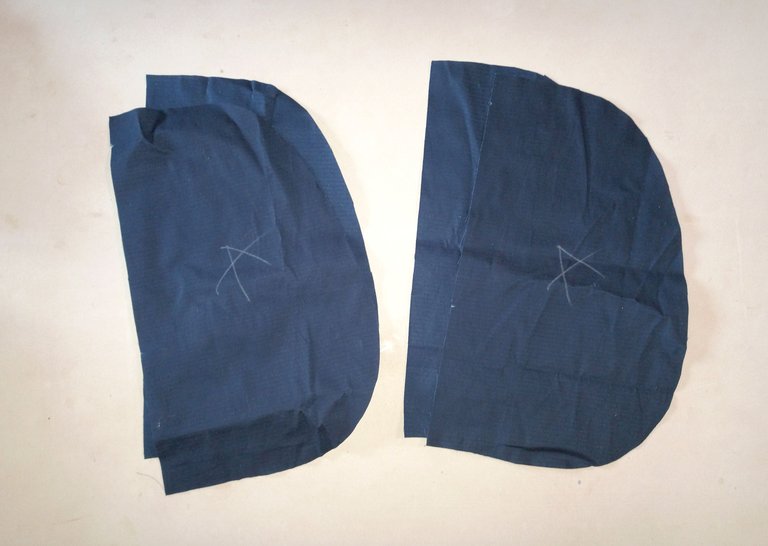
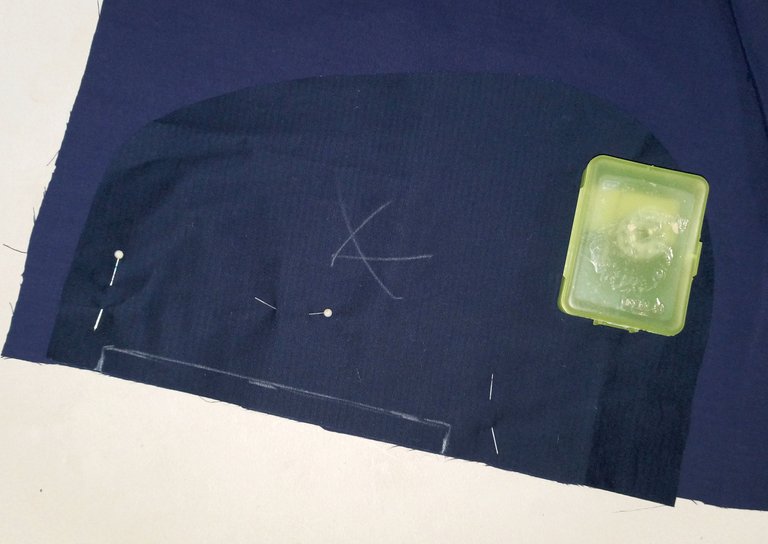
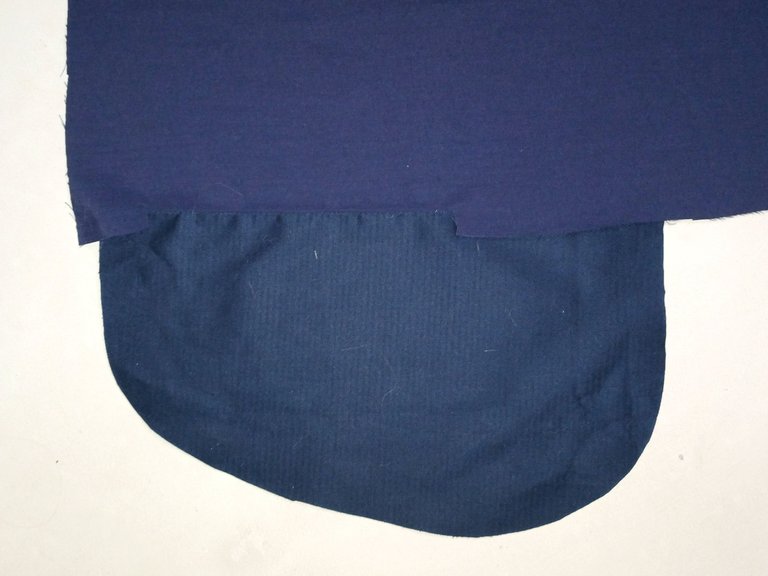
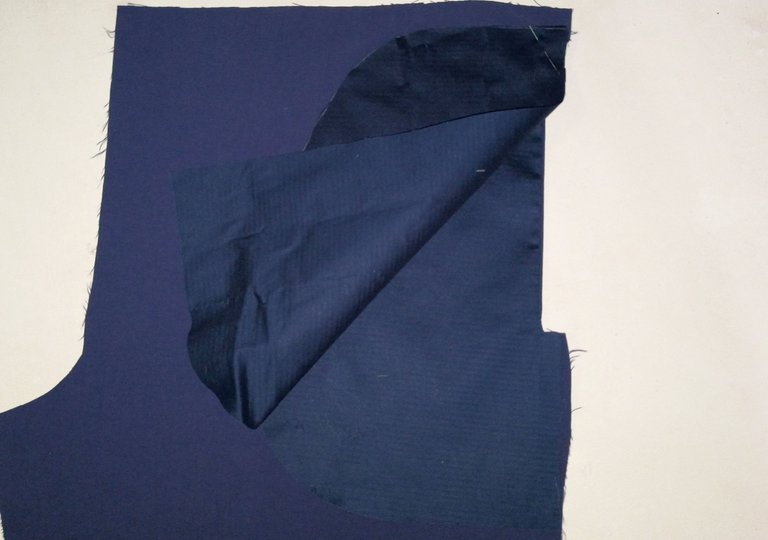
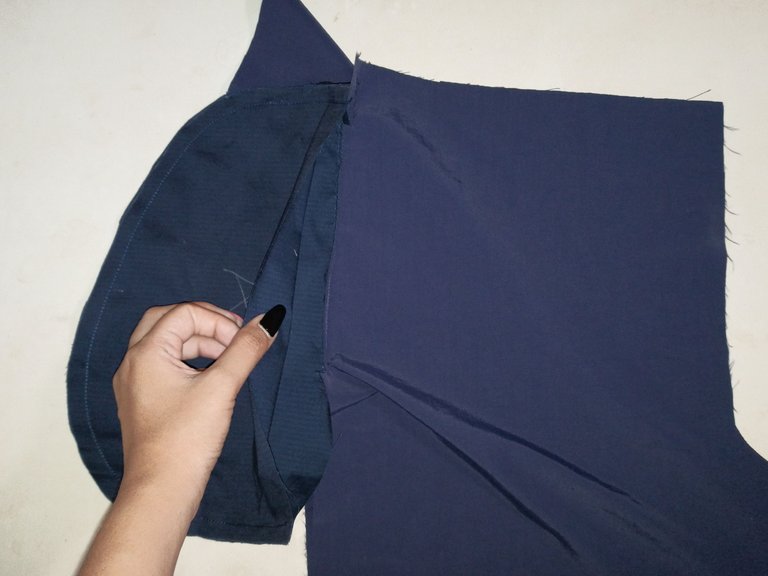
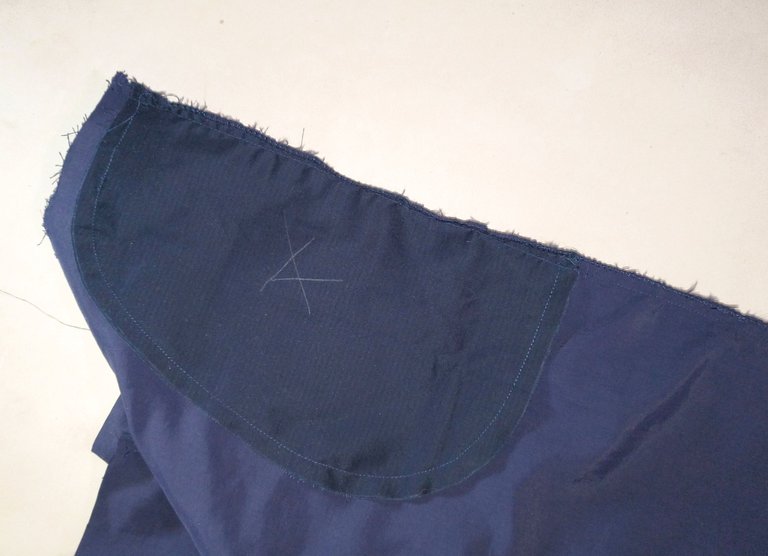
Con las piezas cortadas comencé por la parte del pantalón, al momento de cortar ubique donde irían los bolsillos y marqué tanto en la pieza del pantalón como en la pieza del bolsillo en sí, los junte con alfileres y cosí de marca a marca a 1cm de distancia y luego hice piquetes sin llegar a cortar la costura. Al voltear planche la pieza e hice una costura de asentamiento, enfrente los derechos de las telas de los bolsillos y cosí solo por la curva.
With the pieces cut I started with the trouser part, when cutting I located where the pockets would go and marked both on the trouser piece and on the pocket piece itself, I pinned them together and sewed from mark to mark at 1cm distance and then I made picks without cutting the seam. When I turned over I ironed the piece and made a seam allowance, faced the pocket fabrics right sides together and stitched along the curve only.
 |  |
|---|
 |  |
|---|
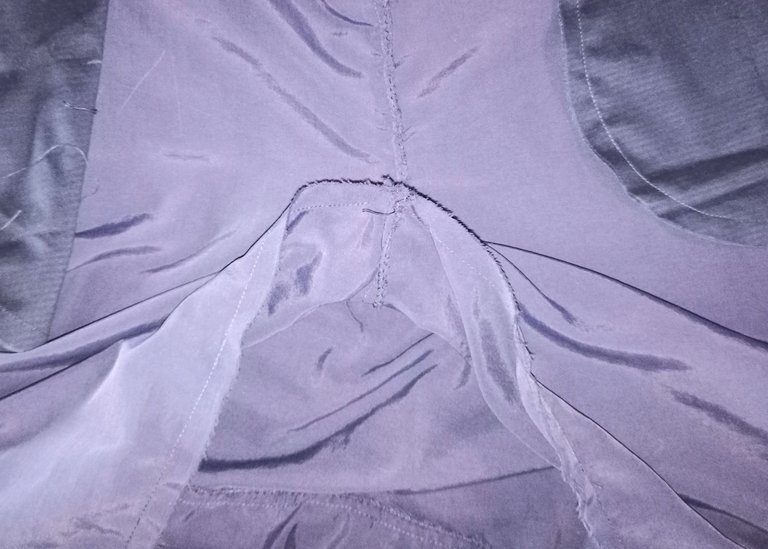
Con los bolsillos listos pasé a unir las dos piezas de la parte delantera y las dos piezas de la parte trasera con sus respectivas costuras en zig zag, luego los uni por los laterales teniendo precaución con lo cerrar los bolsillos 🤣, y después cosi toda la entrepierna.
With the pockets ready I joined the two pieces of the front and the two pieces of the back with their respective zig zag seams, then I joined them on the sides taking care to close the pockets 🤣, and then I sewed the whole crotch.
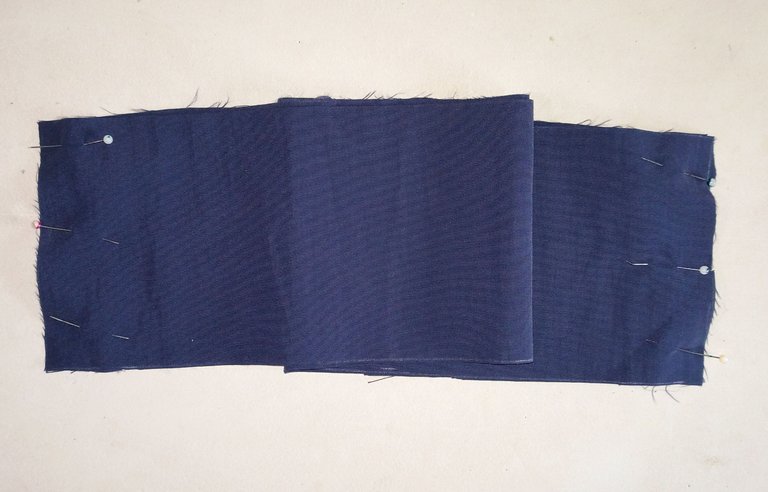
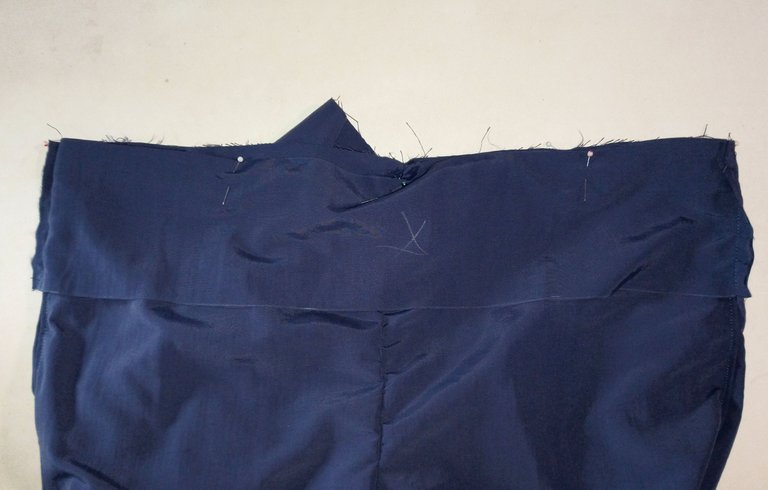
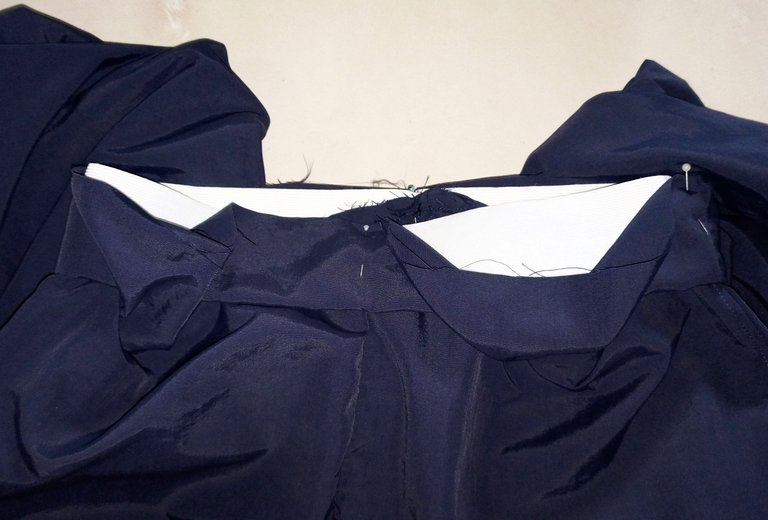
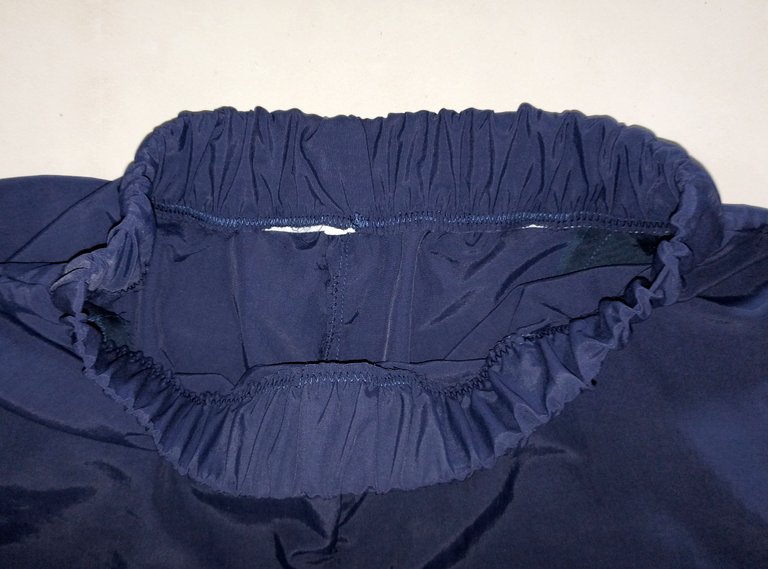
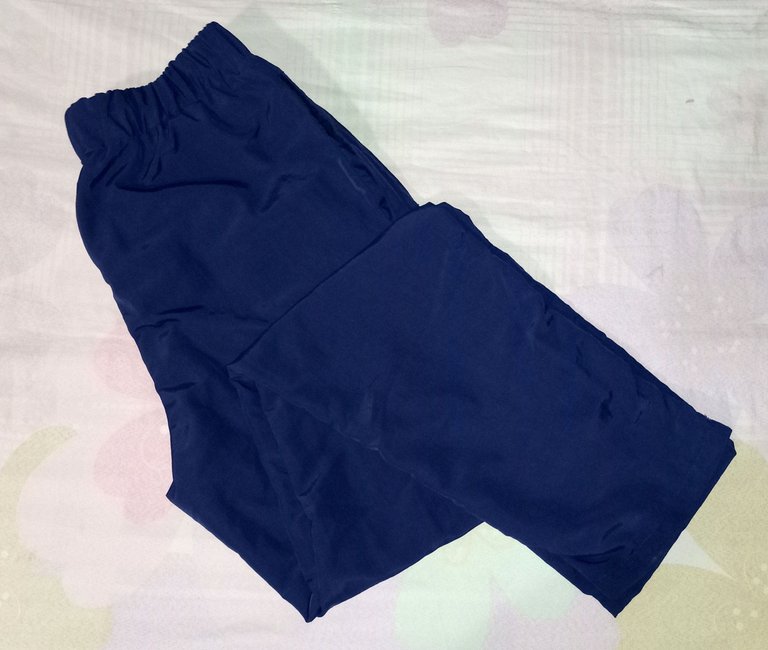
Preparé la pretina del pantalón y la uni a la pieza pero sin doblarla, corté y cerré la goma elástica y la sujete con alfileres al pantalón, aquí sí doblando la pretina y cosiendo con zig zag. Al final solo queda hacer el dobladillo.
I prepared the waistband of the trousers and attached it to the piece but without folding it, I cut and closed the elastic and pinned it to the trousers, here I folded the waistband and sewed with zig zag. At the end all that's left to do is to make the hem.
 |  |
|---|
 |  |
|---|
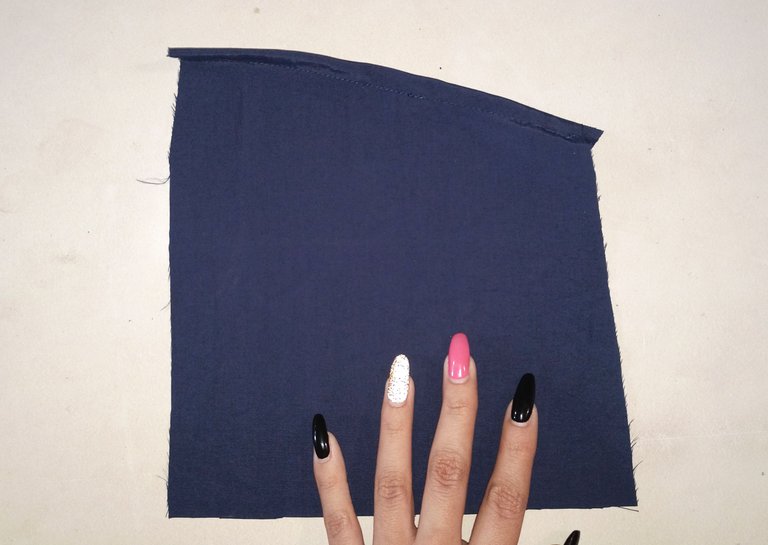
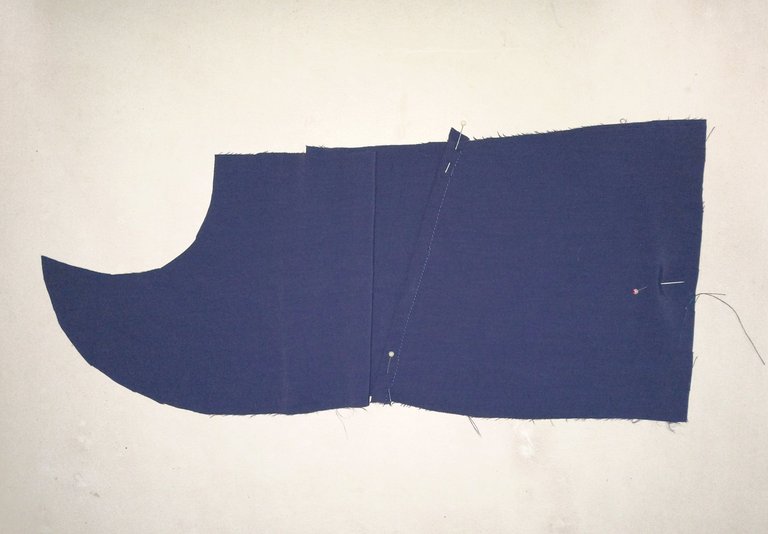
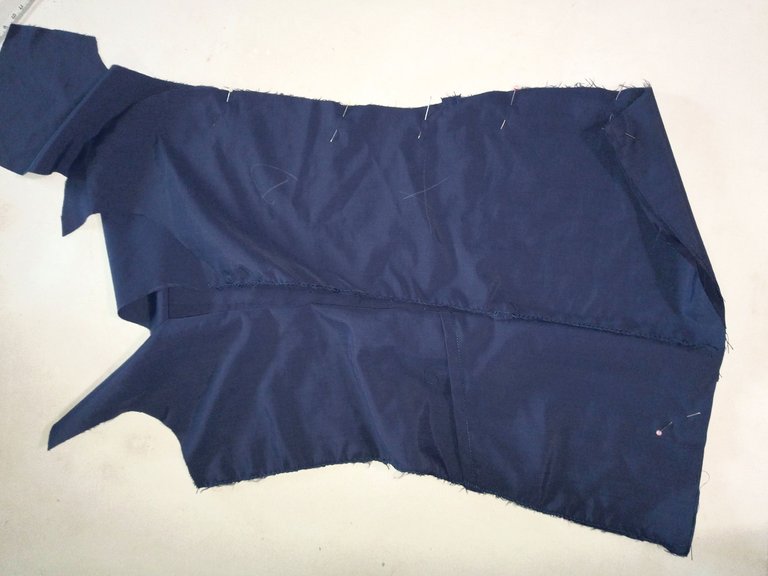
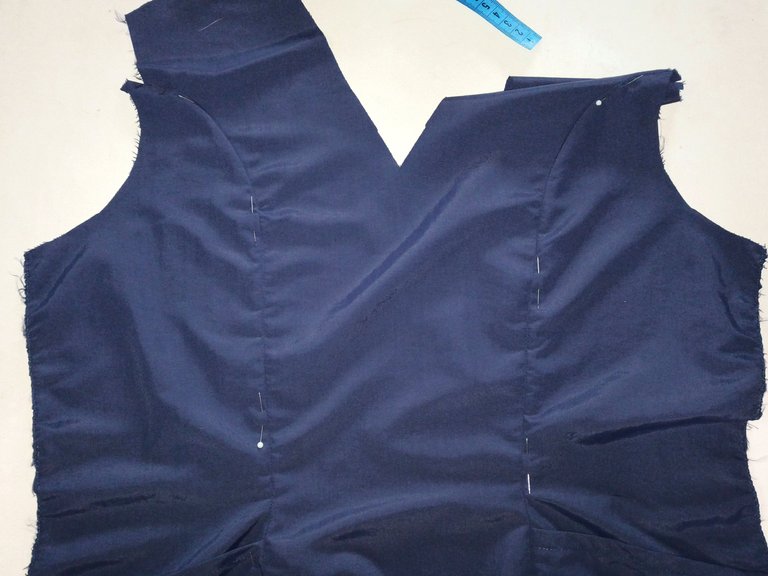
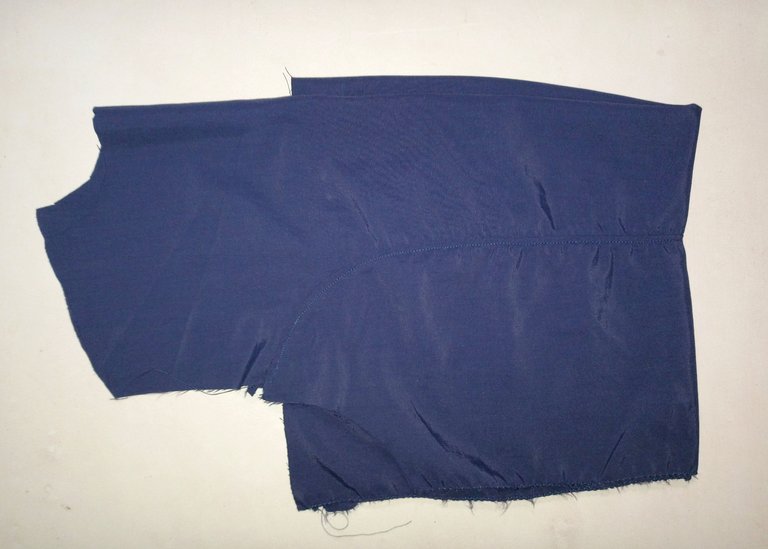
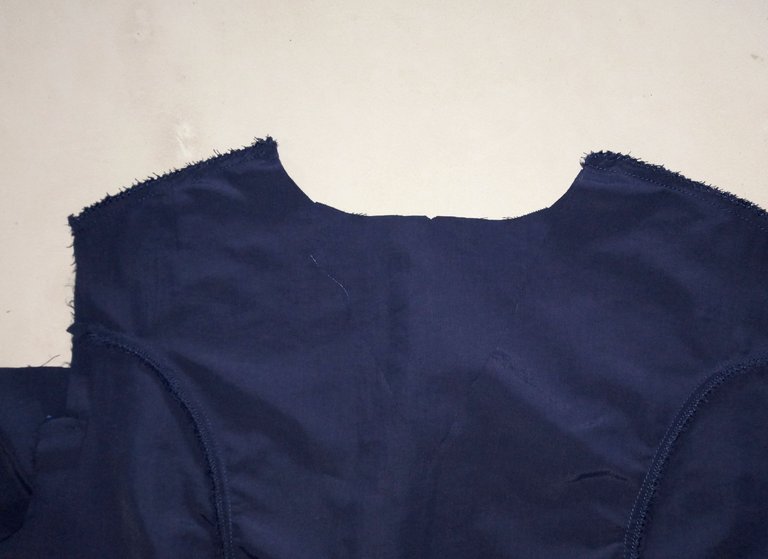
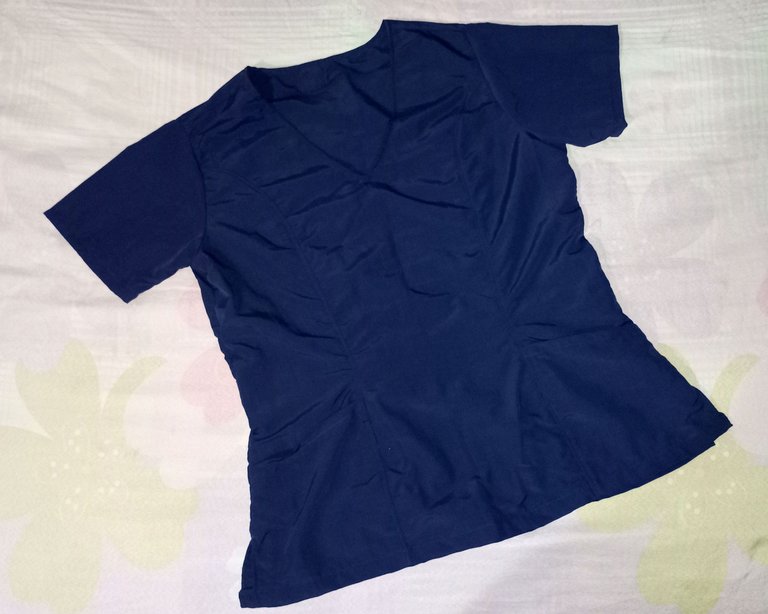
Con la blusa o parte superior empecé haciendo el dobladillo superior del los bolsillos, luego los ubiqué en los respectivos laterales y estos los uní a la pieza central, luego hice una costura de asentamiento para mejor estética. En la parte de la espalda uní los laterales al centro y después ubiqué en la cintura dónde quería que quedara la pretina y allí la cosí. Después cosí delantero y espalda por los hombros.
With the blouse or top I started by making the top hem of the pockets, then I placed them on the respective sides and joined them to the central piece, then I made a seam allowance for better aesthetics. On the back I joined the sides to the centre piece and then I placed the waistband where I wanted the waistband to be and sewed it there. Then I sewed the front and back together at the shoulders.
 |  |
|---|
 |  |
|---|
 |  |
|---|
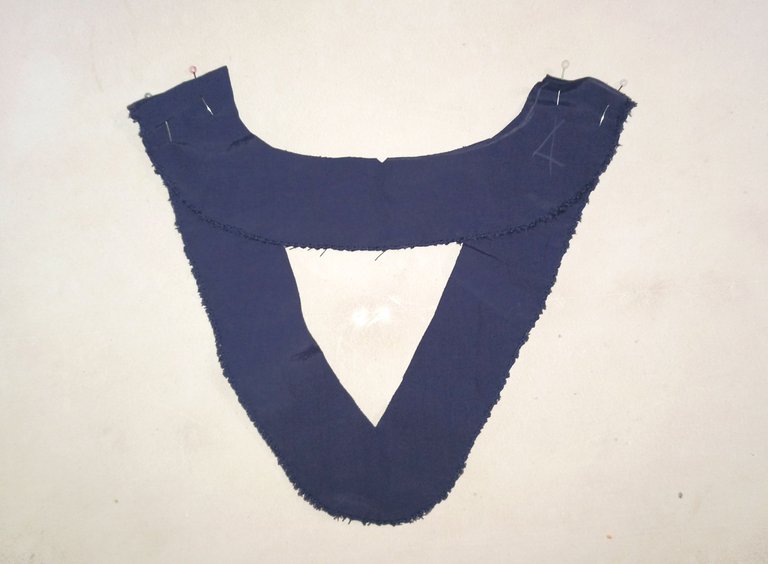
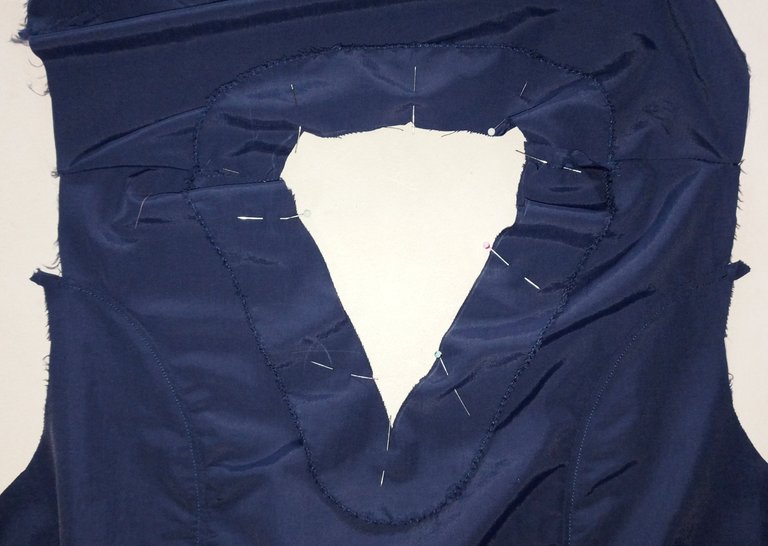
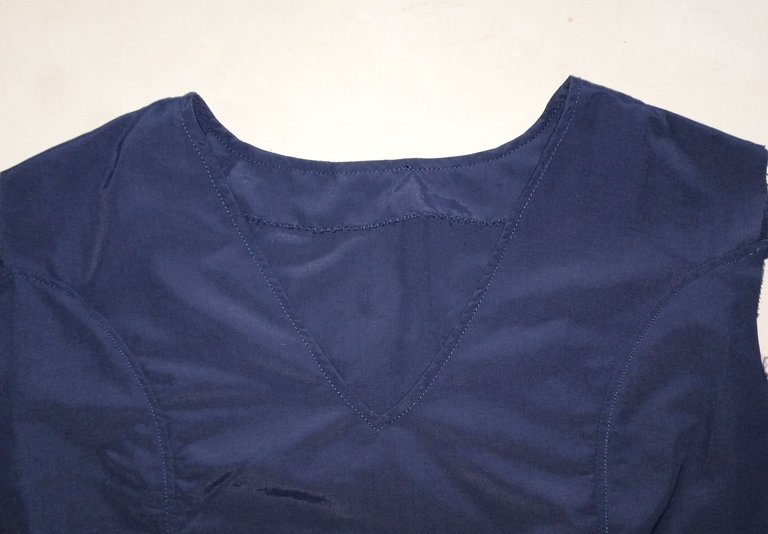
Tomé las vistas del cuello y les pase zig zag por el lado que no estará unido a nada y uní cada vista (delantero y espalda) y luego lo cosí a la blusa, antes de voltear se deben hacer unos piquetes, sobre todo en la punta de la V del escote y ya luego se voltea y se da costura de asentamiento.
I took the neckline views and zig zagged them on the side that will not be attached to anything and joined each view (front and back) and then sewed it to the blouse, before turning it over you should make a few picks, especially at the tip of the V of the neckline and then turn it over and sew the seam allowance.
 |  |
|---|
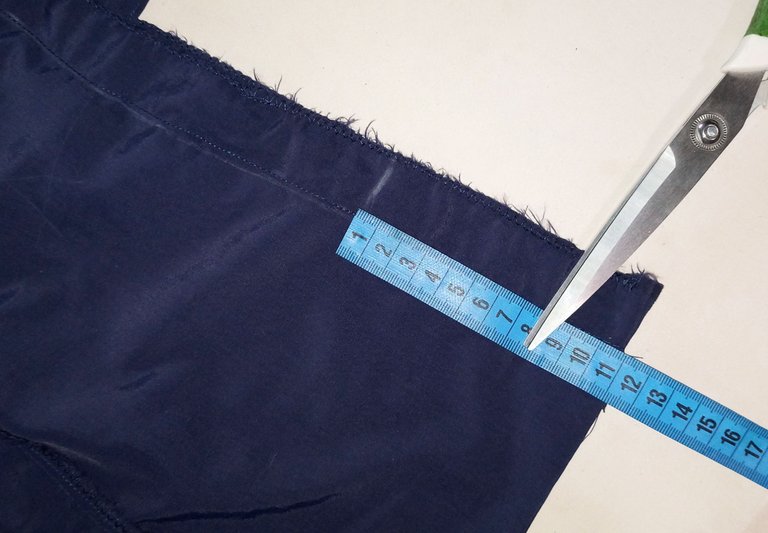
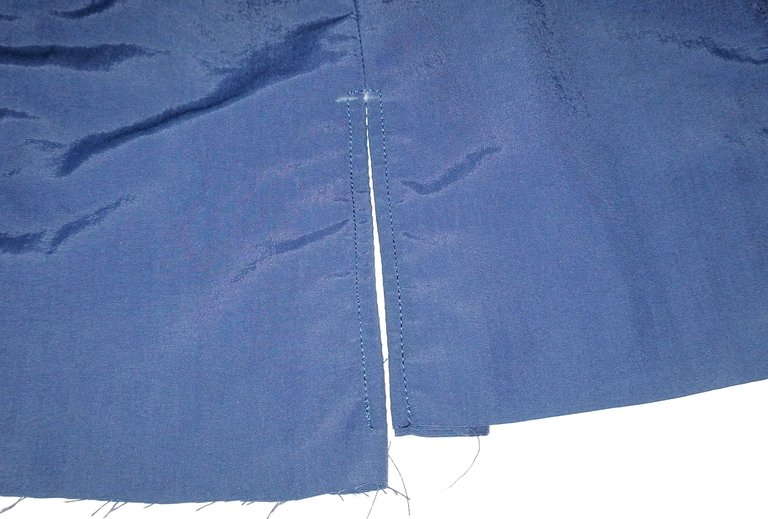
Cosi las mangas y después uni por todo el lateral dejando en la parte de abajo unos 11cm sin coser, aunque también se puede dar una costura larga y floja, ésto para ayudar al siguiente paso. Se plancha la costura abierta y se a 1cm o menos por el borde de la abertura que acaba de quedar y así damos un pequeño afloje que hace lucir mejor la prenda. Finalmente hice los respectivos ruedos.
I sewed the sleeves and then joined all the way around the side, leaving about 11cm unsewn at the bottom, although you can also sew a long, loose seam to help with the next step. I ironed the open seam and then ironed 1cm or so along the edge of the opening to give a little slack to make the garment look better. Finally I made the respective hems.
 |  |
|---|

 |  |
|---|


Sígueme en mis redes sociales… || Follow me on my social networks…
Instagram:@Susijackeline
Twitter:@Kiut_variedades
Publicaciones de interés || Publications of interest
Translator DeepL