Español
Feliz y bendecido 10 de Enero para tod@s...
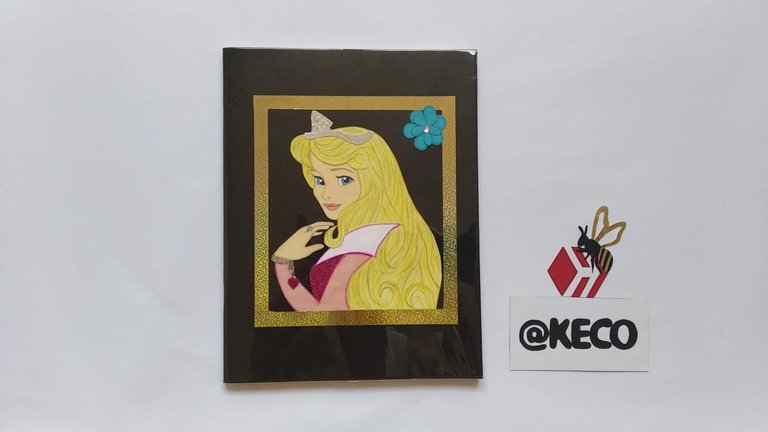
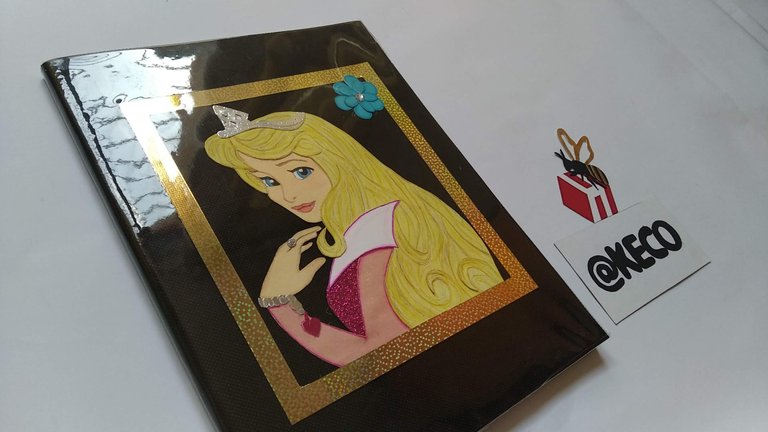
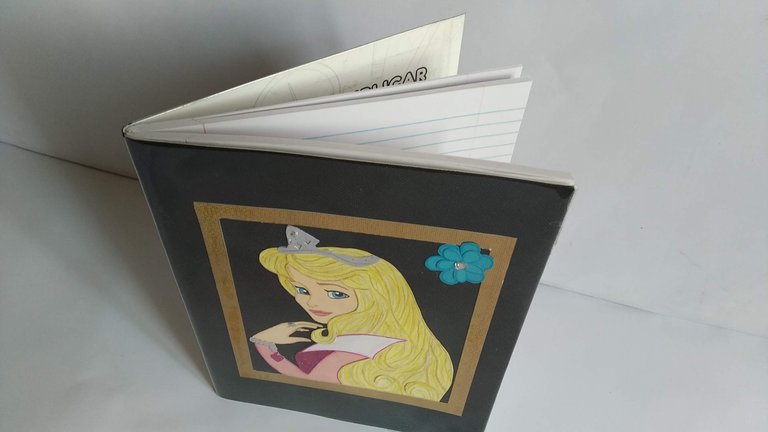
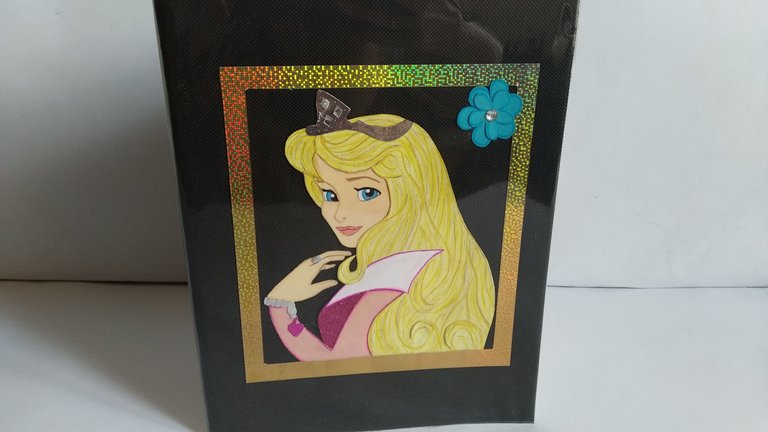
En mi adorado país el día de hoy regresan a las aulas de clases nuestros niños y niñas después de unos días libres por festejos navideños. Y como éste regreso debe celebrarse por todo lo bueno que implica, hoy les mostraré la decoración realizada a una libreta de 100 hojas para que éste regreso a clases esté cargado de motivación y magia en todo momento.
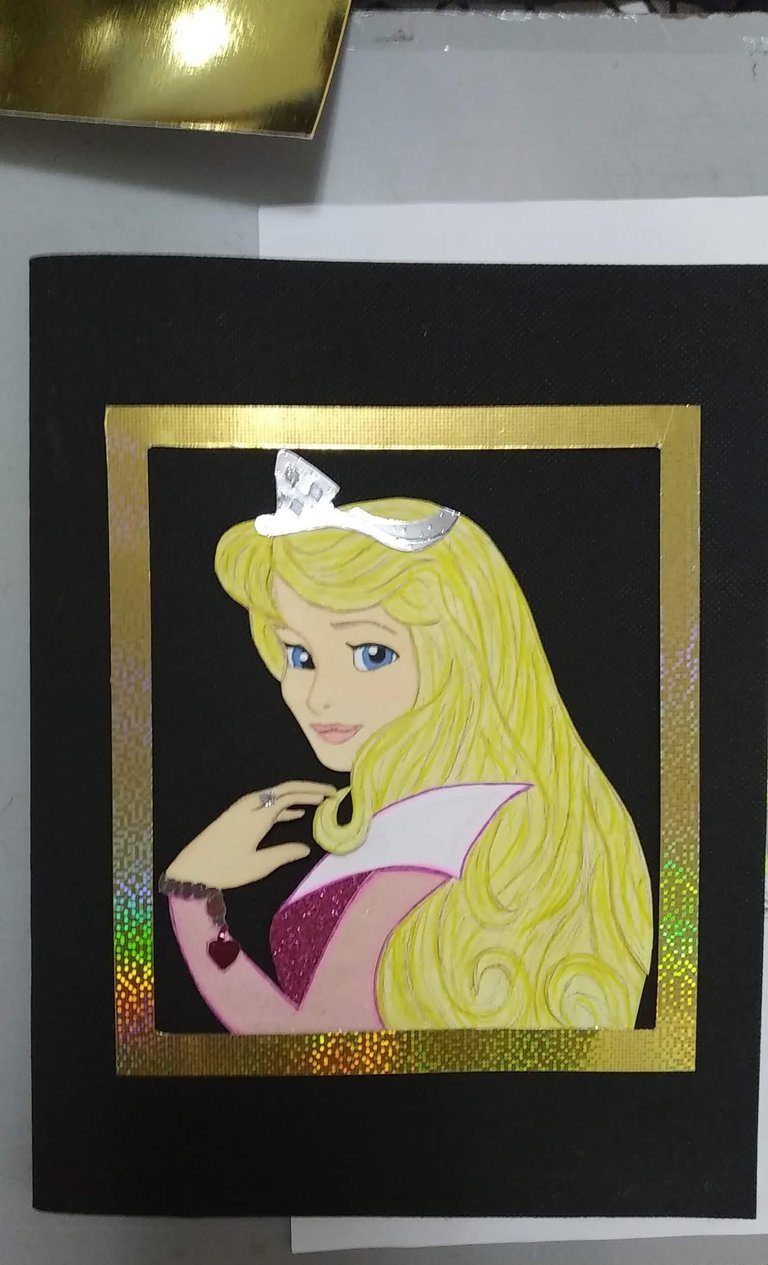
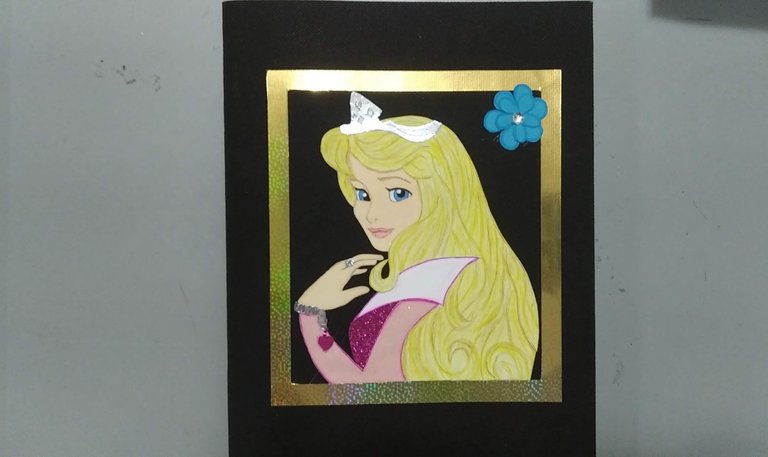
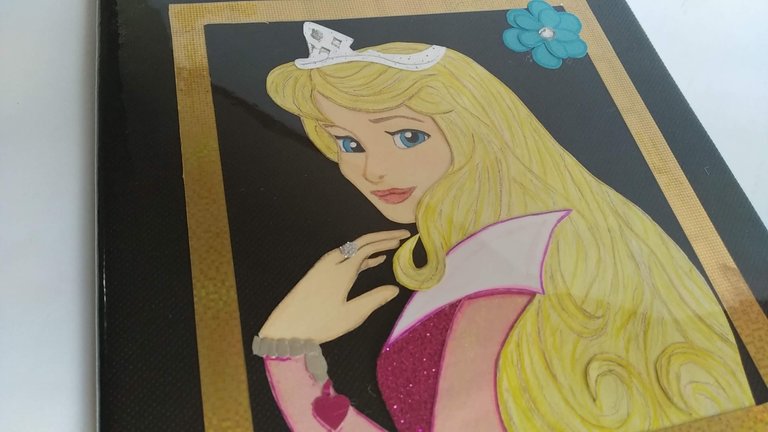
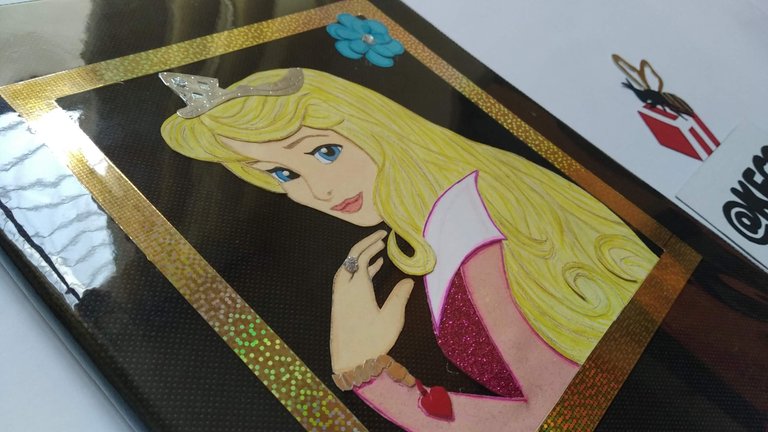
La decoración fue inspirada en la princesa de Disney llamada “Aurora”, mejor conocida como “La Bella Durmiente y aunque es bastante sencilla ofrece una originalidad única que se distingue entre tantos cuadernos en clases.
Sin más y esperando disfruten del trabajo realizado con amor, les dejo los materiales utilizados, el proceso y las imágenes del trabajo.
- Libreta de 100 hojas.
- Tela POP negra.
- PlastiCristal (Hule cristal) para la protección.
- Cartulina de colores (de acuerdo a los colores del personaje).
- Cartulina Dorada holográfica.
- Pintura al frio (azul, negra y blanca, para los ojos).
- Foami escarchado fucsia (un retazo solamente).
- Colores.
- Marcadores de Colores.
- Silicón Frío.
- Cutter.
- Tijera.
- Lápiz.
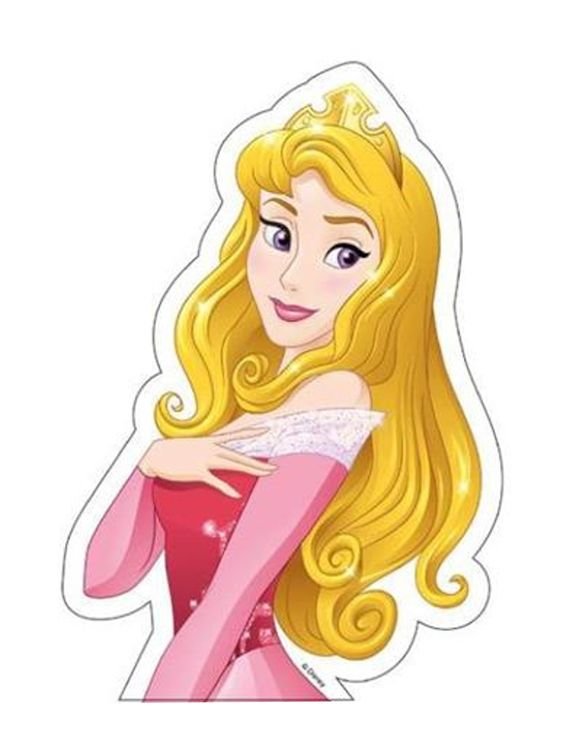
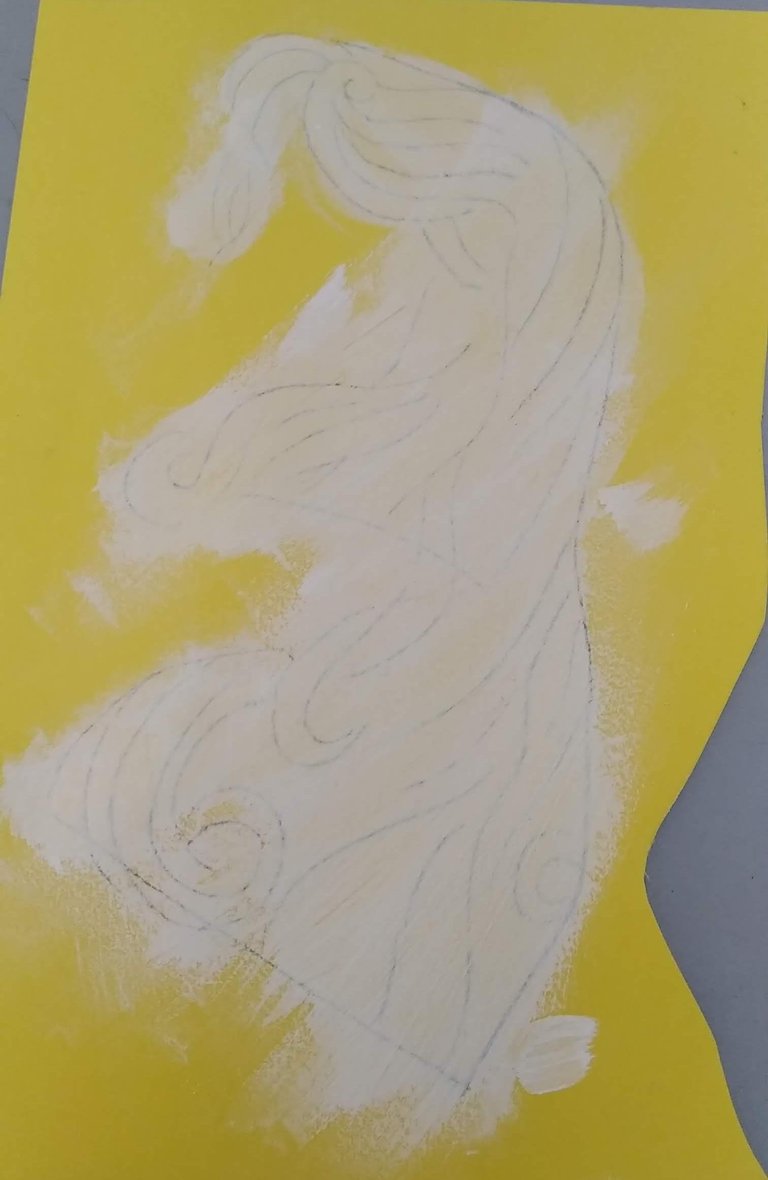
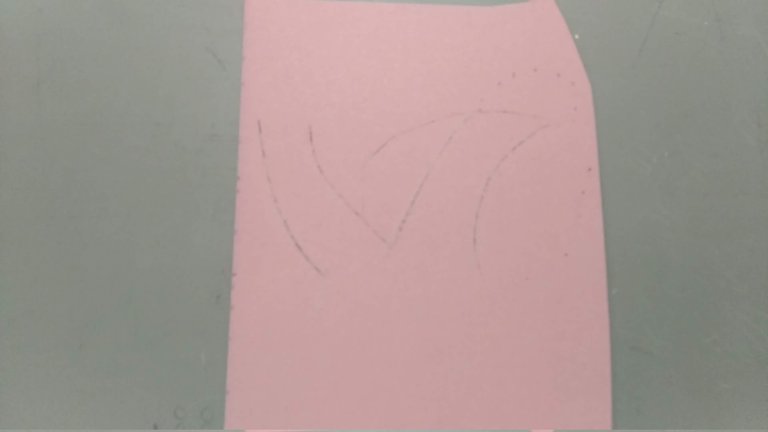
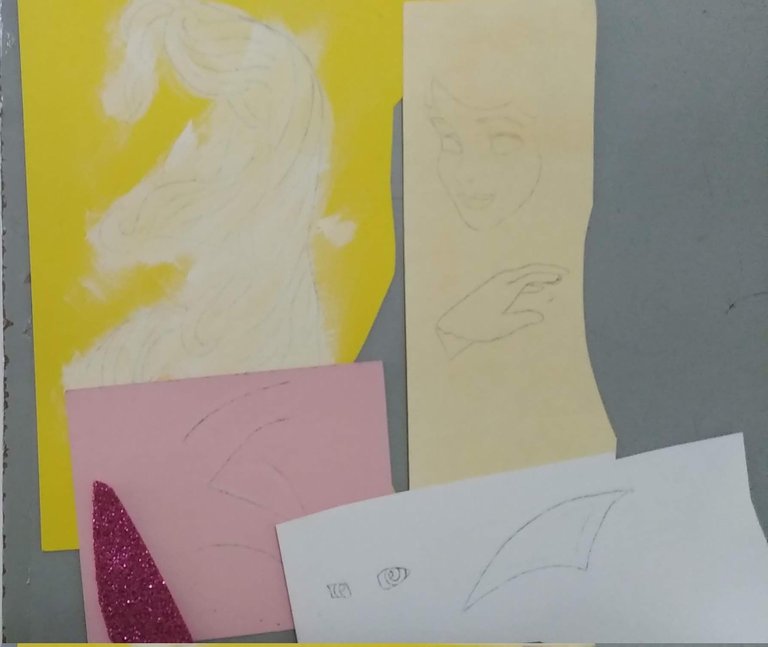
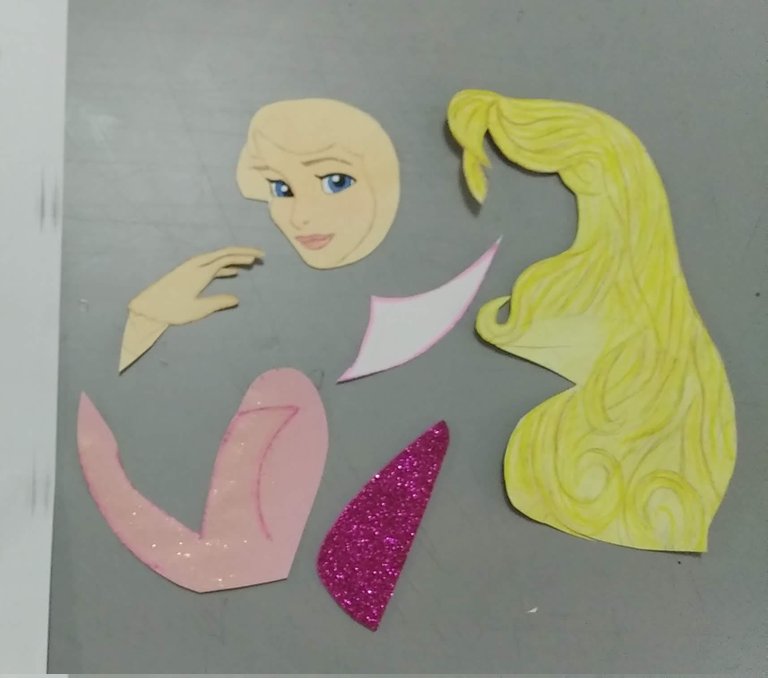
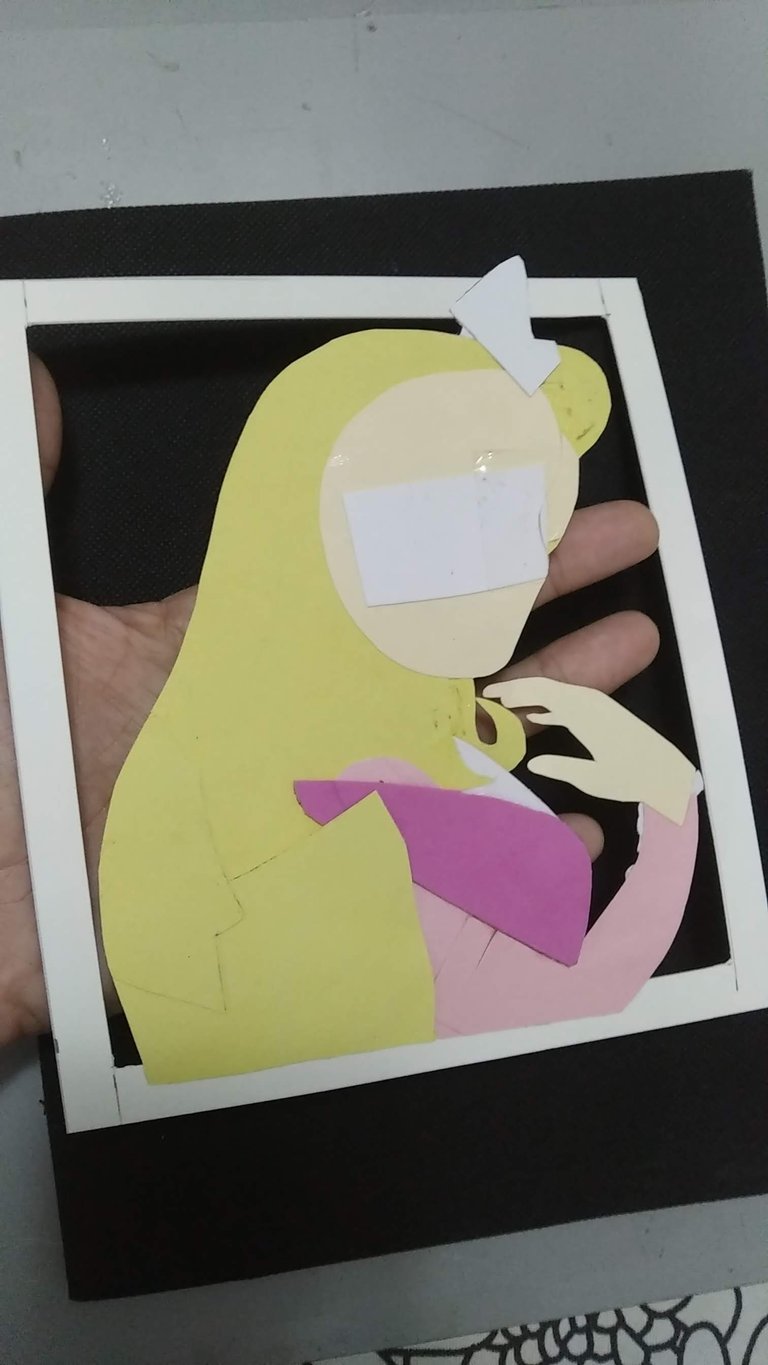
- Siguiendo el patrón de referencia, crear las piezas que conforman el personaje, diseñando, pintando y recortando las piezas en las cartulinas de colores correspondientes; a las piezas deben dejarsele pequeñas áreas que permitan luego en ensamblado de las piezas.
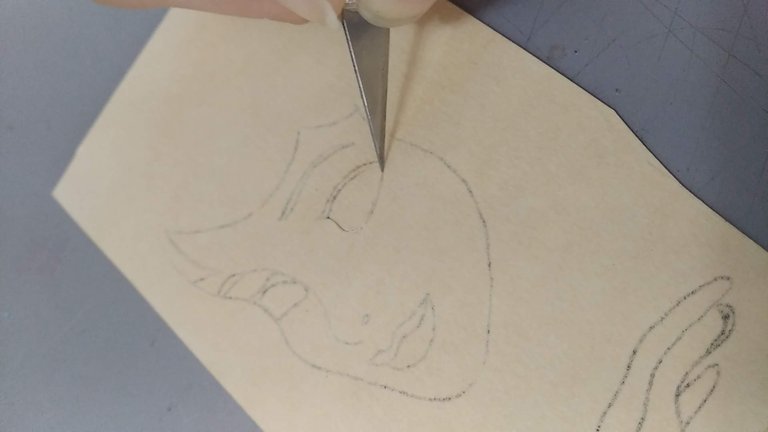
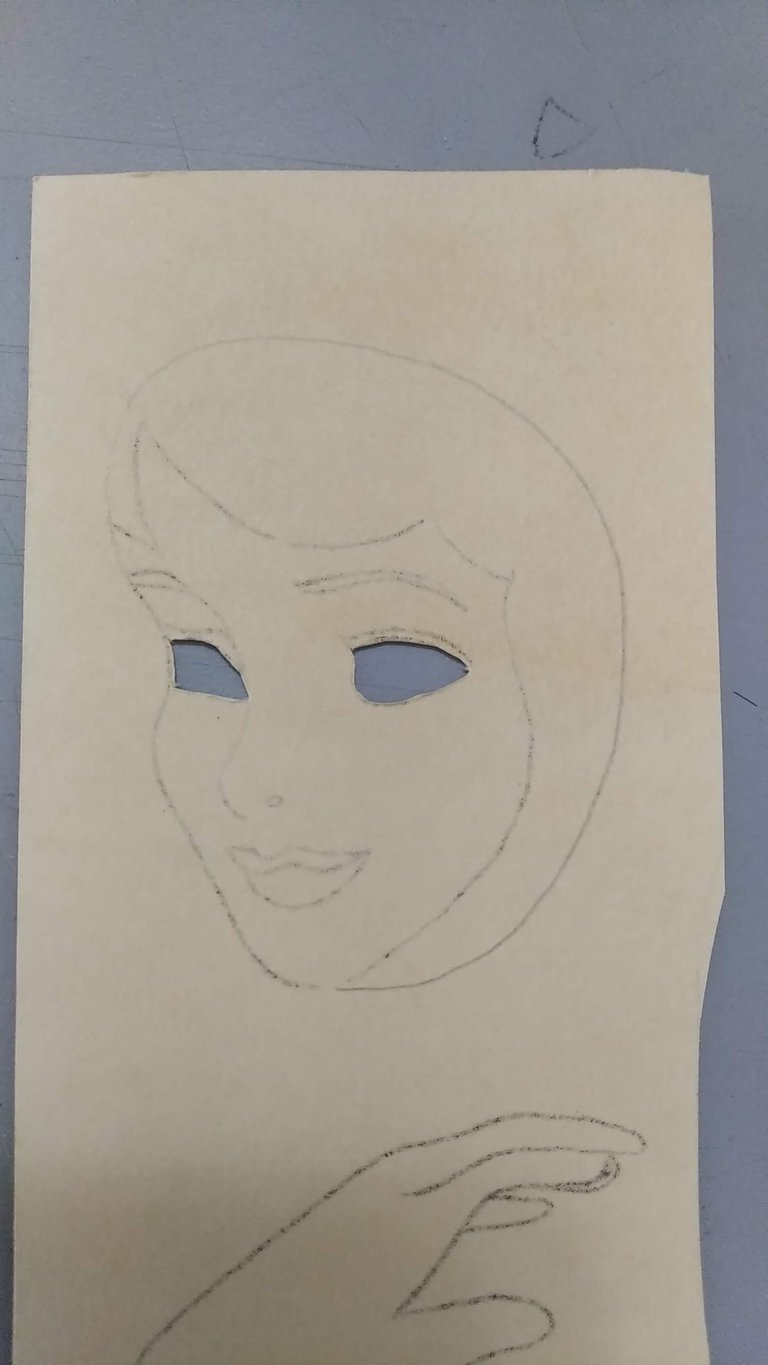
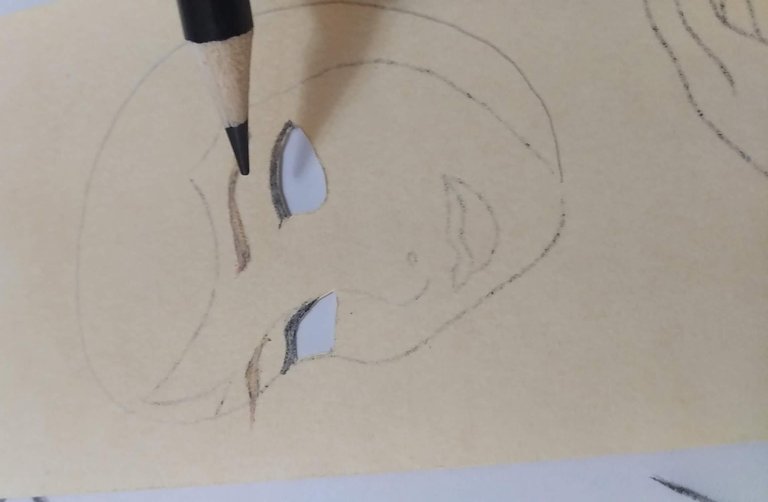
- La pieza correspondiente al rostro debe trabajarse aparte y el área correspondiente a los ojos, debe recortarse con el cutter para un mejor efecto. El resto del rostro pintarlo con colores correspondientes utilizando colores y marcadores.
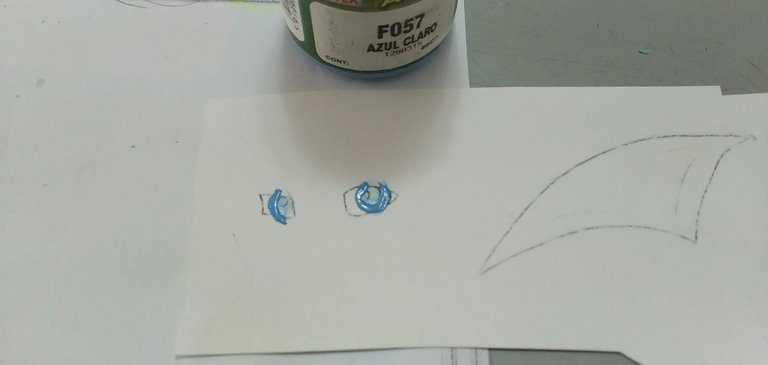
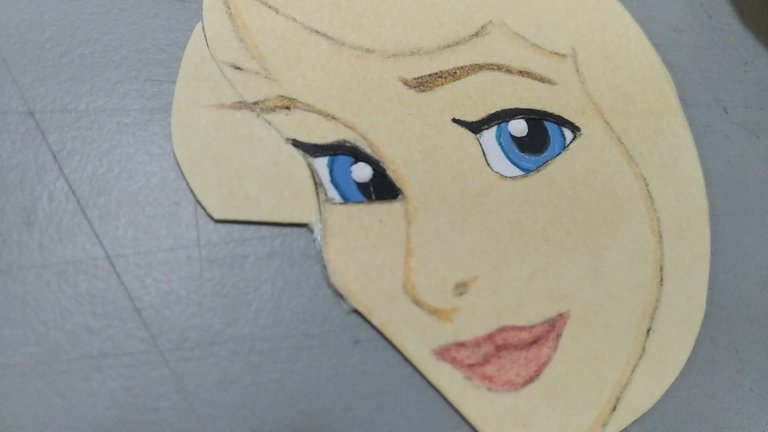
- Los ojos deben pintarse sobre cartulina blanca con las pinturas al frío. Y para no sobrepasar el área exacta usar como referencia el corte realizado con el cutter.
- Ensamblar las piezas de rostro y cuerpo, y decorar con accesorios y detalles como anillo, corona, vestido de foami, pulsera, etc.
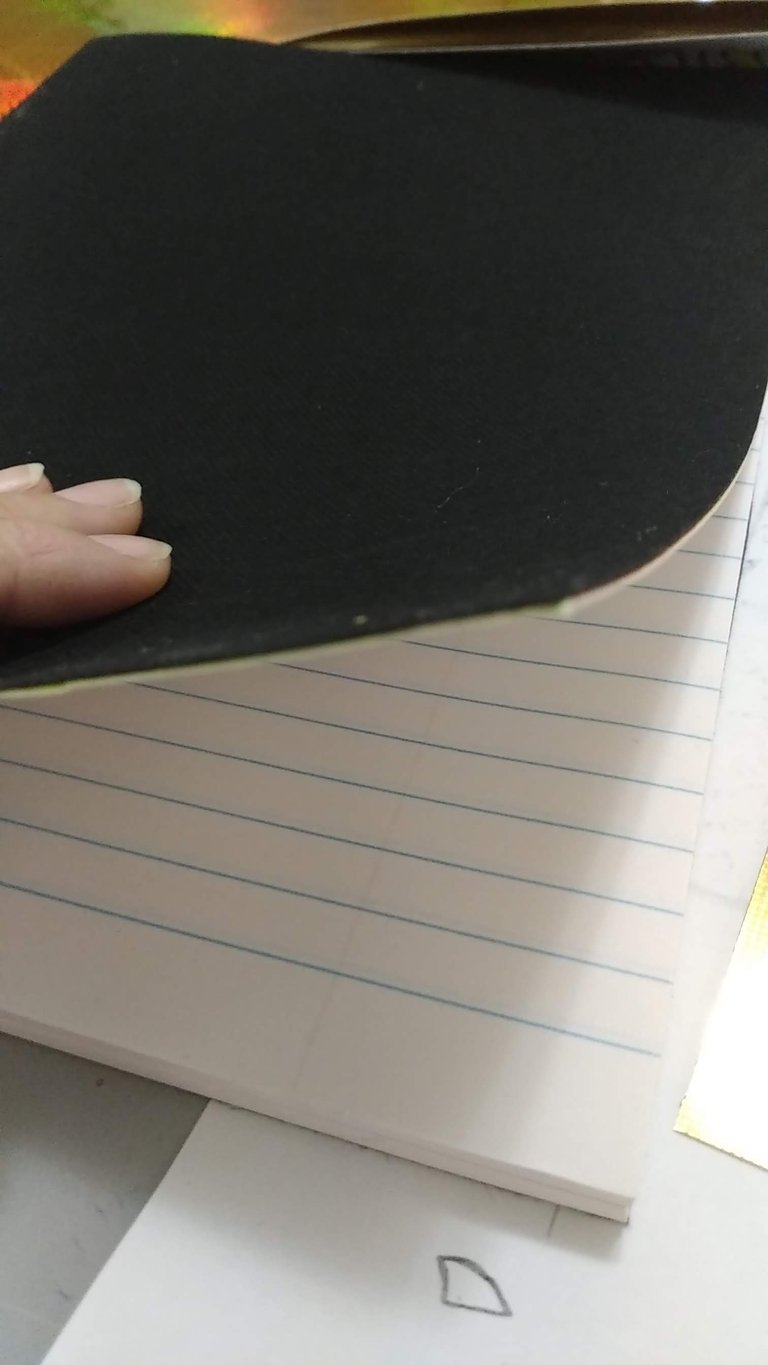
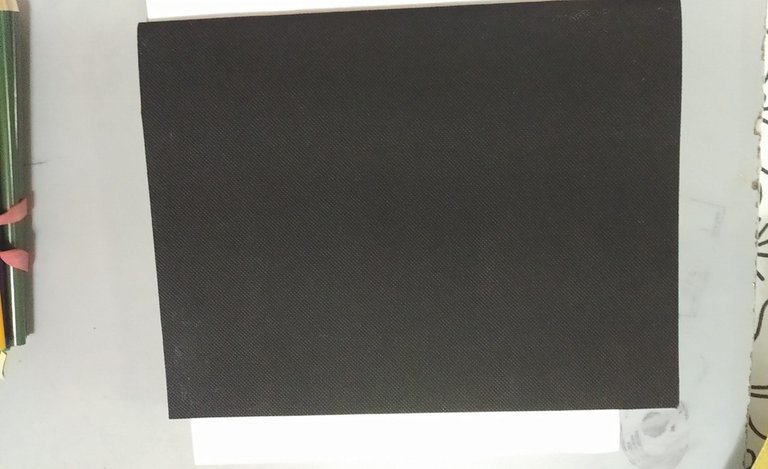
- Forrar la libreta con la tela POP negra, para ello aplicar silicón frío por toda la caratula y recortar al ras de la libreta.
- Recortar un cuadro de cartulina dorada con el que se enmarcará a la princesa.
- Pegar la princesa, luego encima en cuadro dorado y luego pegar a la libreta, pegarla de forma centrada.
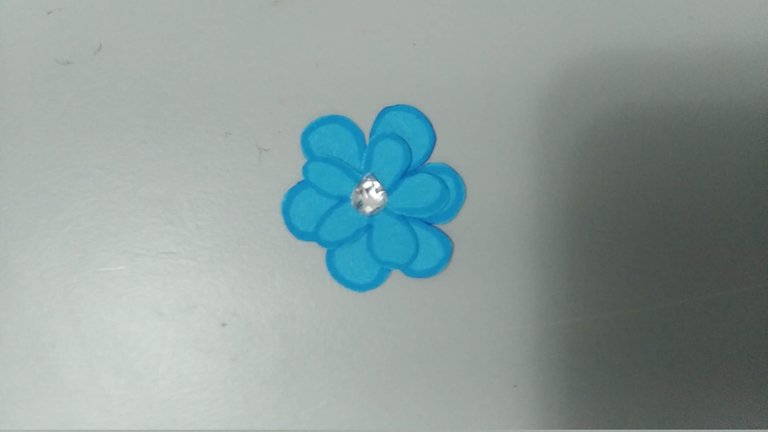
- Realizar una flor como detalle adicional, aplicar gema si gusta.
- Forrar con el hule cristal, cuidando de dejar hacia adentro de las caratulas pequeñas pestañas de hule para ser sujetas con cinta adhesiva transparente.
- ¡listo!, a disfrutar de la magia de lo creado con amor…
English
Happy and blessed January 10th to all of you....
In my beloved country today our children return to the classroom after a few days off for Christmas celebrations. And as this return should be celebrated for all the good things it implies, today I will show you the decoration made to a 100 sheets notebook so that this return to school will be full of motivation and magic at all times.
The decoration was inspired by the Disney princess called "Aurora", better known as "Sleeping Beauty" and although it is quite simple it offers a unique originality that stands out among so many notebooks in class.
Without further ado and hoping you enjoy the work done with love, I leave you the materials used, the process and the images of the work.
- 100 sheet notebook.
- Black POP fabric.
- PlastiCristal (Hule cristal) for protection.
- Colored cardboard (according to the colors of the character).
- Holographic gold cardboard.
- Cold paint (blue, black and white for the eyes).
- Fuchsia frosted Foamie (one piece only).
- Colors.
- Color markers.
- Cold Silicone.
- Cutter.
- Scissors.
- Pencil.
- Following the reference pattern, create the pieces that make up the character, designing, painting and cutting out the pieces in the corresponding colored cardboard; the pieces should be left with small areas that allow the assembly of the pieces.
- The piece corresponding to the face should be worked separately and the area corresponding to the eyes should be cut out with the cutter for a better effect. The rest of the face should be painted with corresponding colors using colors and markers.
- The eyes should be painted on white cardboard with the cold paints. And in order not to exceed the exact area, use the cut made with the cutter as a reference.
- Assemble the face and body pieces, and decorate with accessories and details such as a ring, crown, foami dress, bracelet, etc.
- Cover the notebook with the black POP fabric, apply cold silicone all over the cover and cut flush with the notebook.
- Cut out a golden cardboard frame to frame the princess.
- Glue the princess, then on top of the golden frame and then glue it to the notebook, glue it in a centered way.
- Make a flower as an additional detail, apply a gem if you like.
- Cover with the crystal oilcloth, taking care to leave small rubber tabs inside the covers to be fastened with transparent adhesive tape.
- ready, to enjoy the magic of what is created with love...
Translated with www.DeepL.com/Translator (free version)
IMÁGENES / IMAGES
Fuente
SALUDOS / REGARDS
Todas las Fotos fueron tomadas con mi teléfono Redmi 7A.
Contenido original de @keco (fotos y texto) - Todos los derechos reservados Publicado en HIVE así como en mi instagram : http://instagram.com/carton_pintura_algo_mas
All Photos were taken with my Redmi 7A phone.
Original content from @keco (photos and text) - All rights reserved Posted on HIVE as well as on my instagram: http://instagram.com/carton_pintura_algo_mas

