

Hello my dear readers, I hope you are well and that you have or have had an excellent day. One of the most awaited and longed for moments for anyone who is studying, is graduation. Waiting anxiously for that moment where they go to the graduation ceremony and hear their name and walk up to the stage to receive their degree, is the most wonderful and satisfying moment.

At least that's what I felt, when after years of study, I managed to get my university degree, it was very exciting. Currently, they have been doing graduation ceremonies not only for high school graduates or university graduates, but also for children from kindergarten through elementary school.

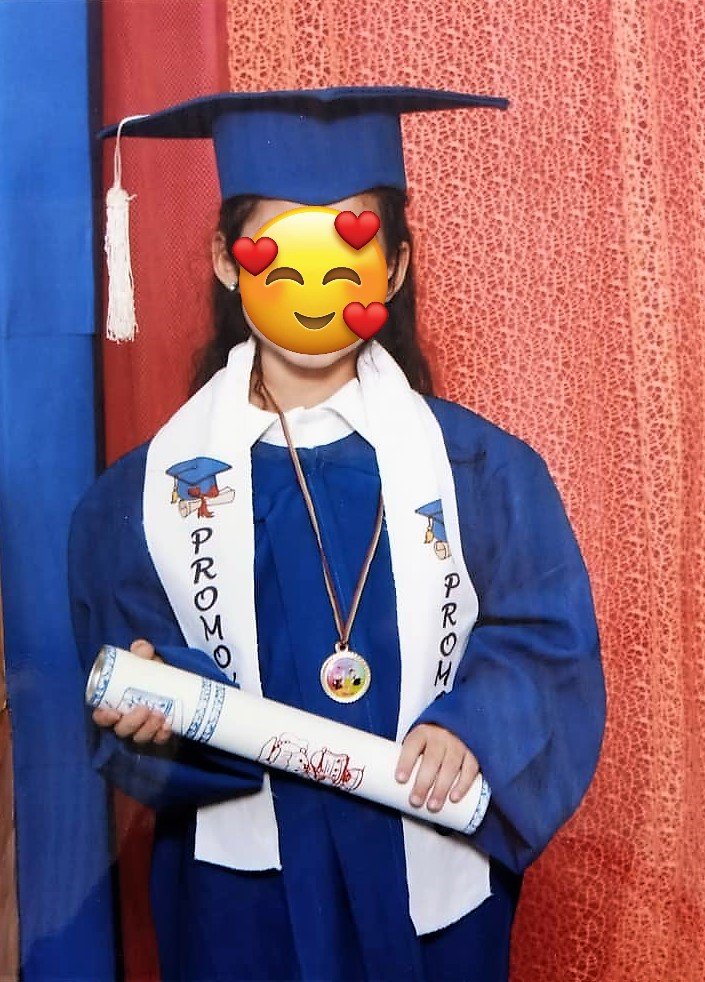
In my case, my 6 year old daughter graduated from Initial Education on her way to elementary school, she had her graduation ceremony and it was very exciting. I hope that in the future she will also receive her university degree, for now she is receiving her first degree.
I also wanted to give her a little detail, after her hard day at the event, so I made her a cotillion with a theme alluding to the graduation and without further ado I show you how I did it.
STEP BY STEP:
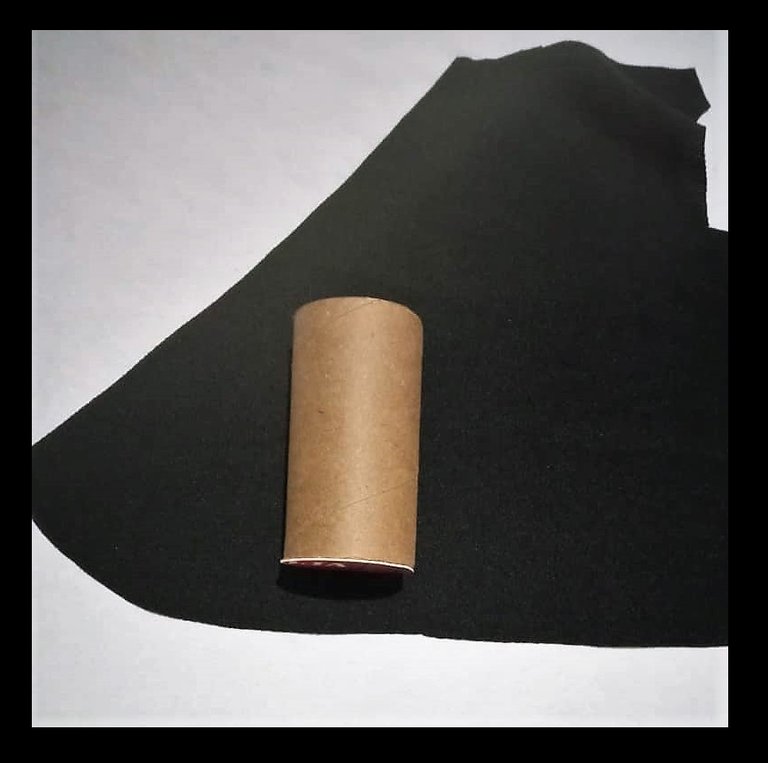
I will start by cutting a circle out of the thick cardboard, the size of the cardboard tube. And with the help of silicone I will glue it to the tube, to seal one of its sides.

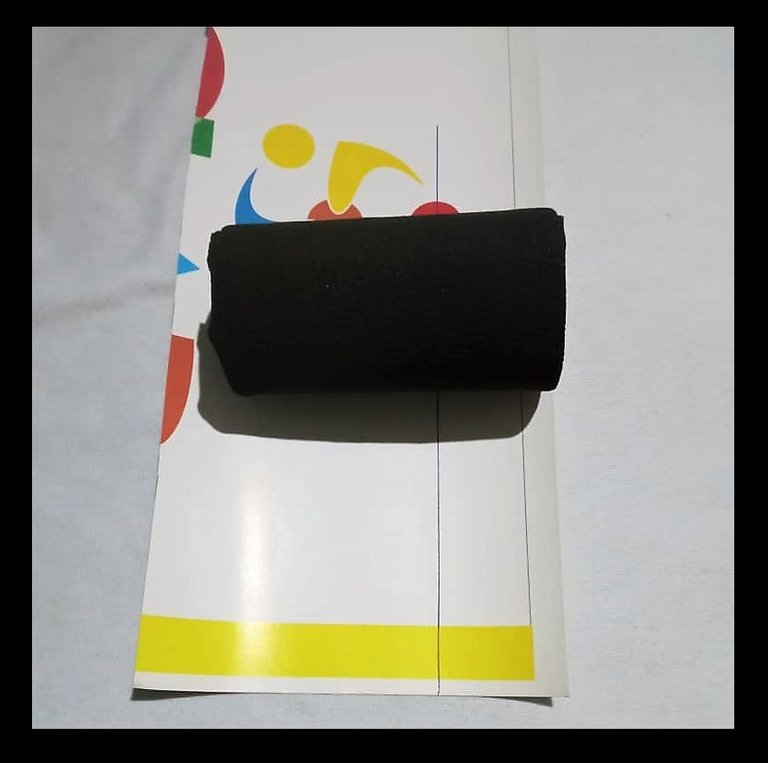
With the black fabric, I will line the tube and glue it with the silicon.
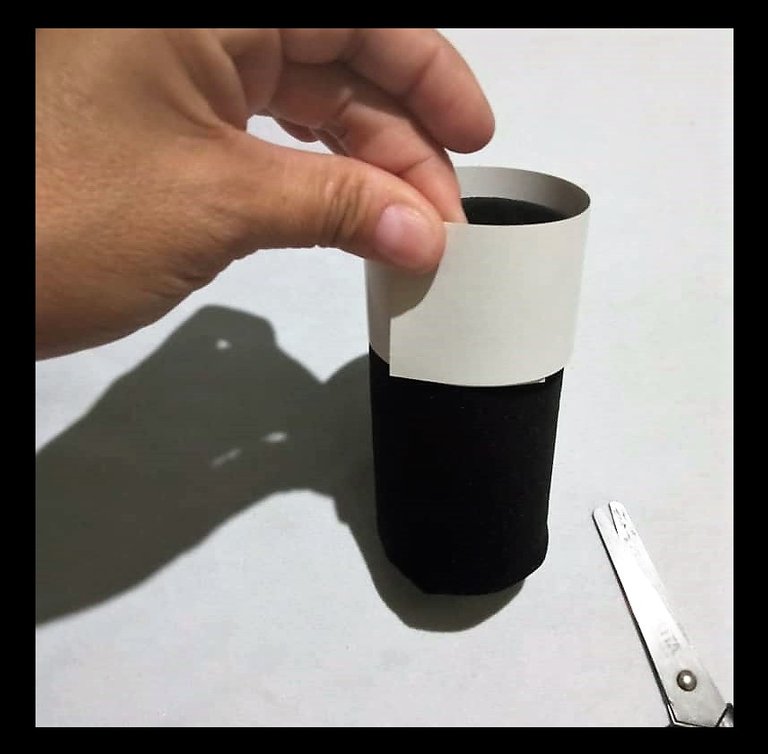
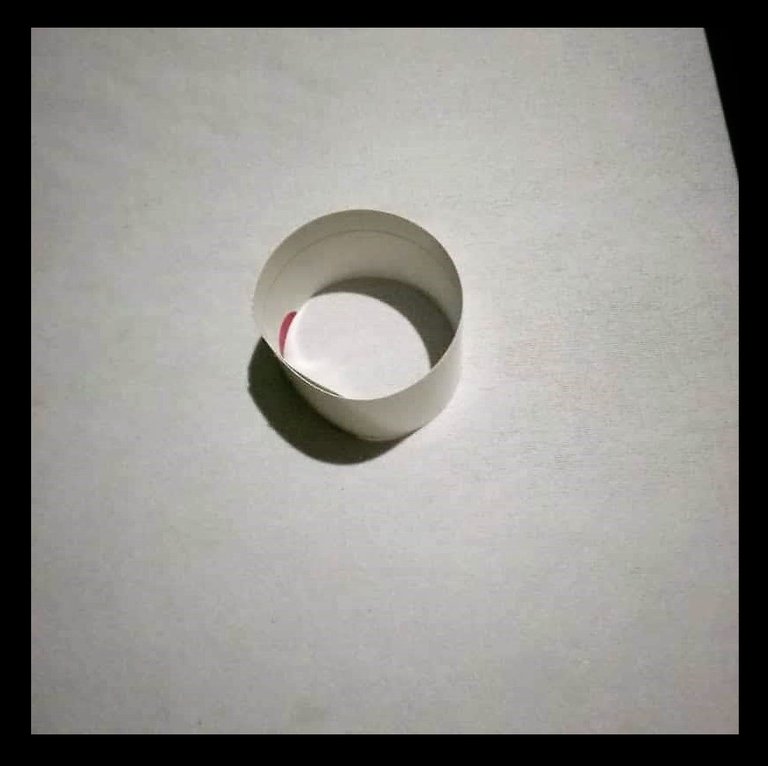
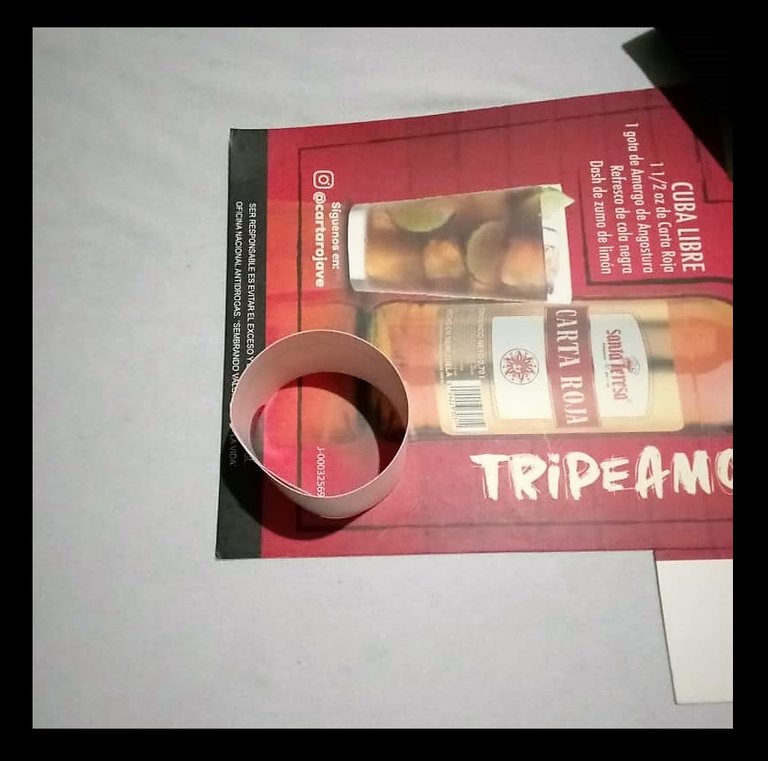
I will take the cardboard that is moldable and cut a strip of approximately 3.5 cm across the width of the cardboard tube. And with the silicone I will glue it, to form a circle.
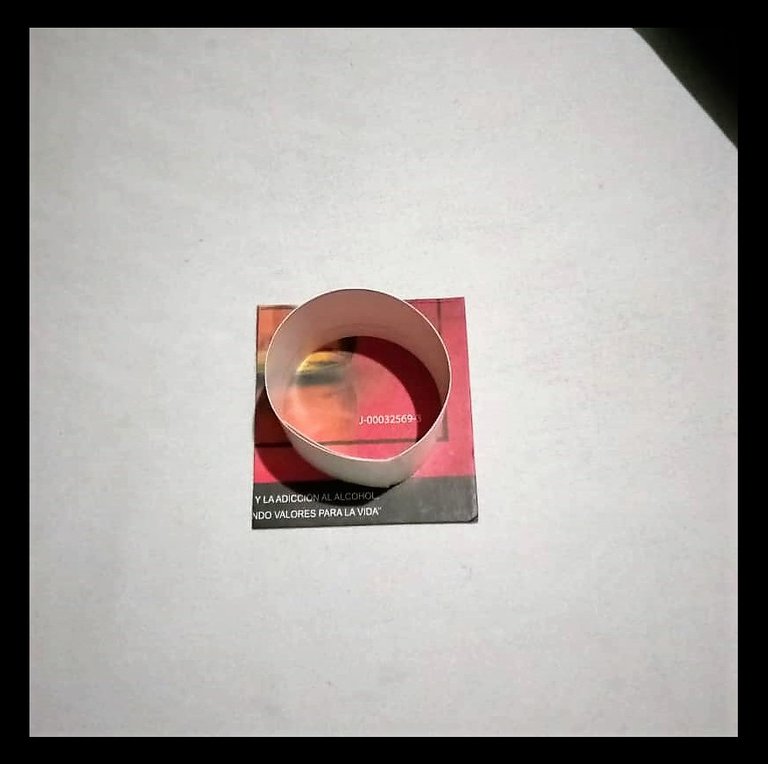
With the thick cardboard I will cut out a square, for this I will place the circle I just made and cut out leaving one centimeter more than the circle measures.
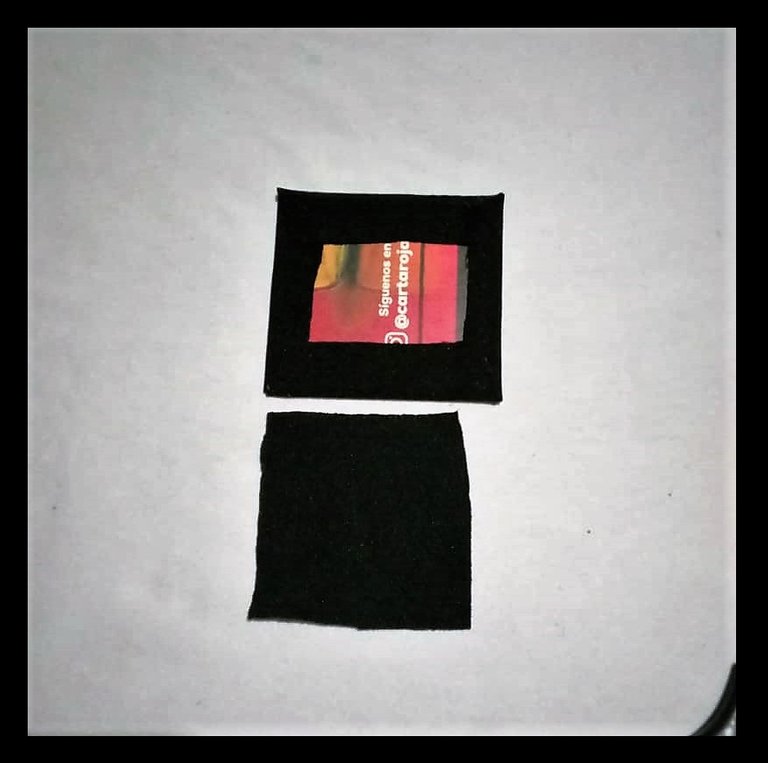
With the black fabric I will line the two pieces, both the circle and the square. Then I will glue the circle to the square, so I will assemble what will be the biretta.
 |  |
|---|
 |  |
|---|
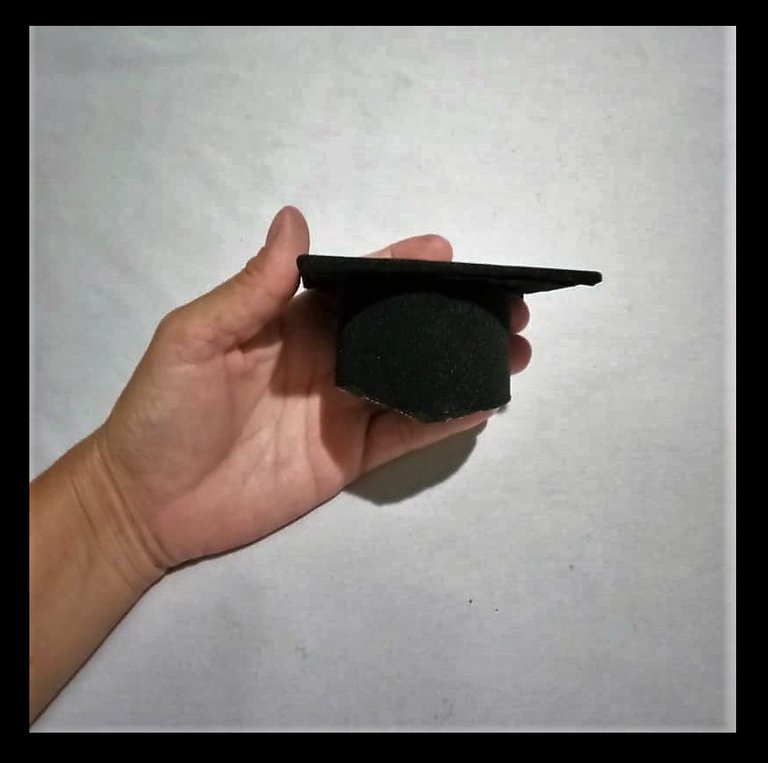
And so I have my biretta ready, I just need to make the rest of the accessories and put together the cotillion.

Now with the thick cardboard, I will cut out a square of approximately 10 x 10 cm. And with the scraps of foami, I will line the cardboard, so it will look like this.

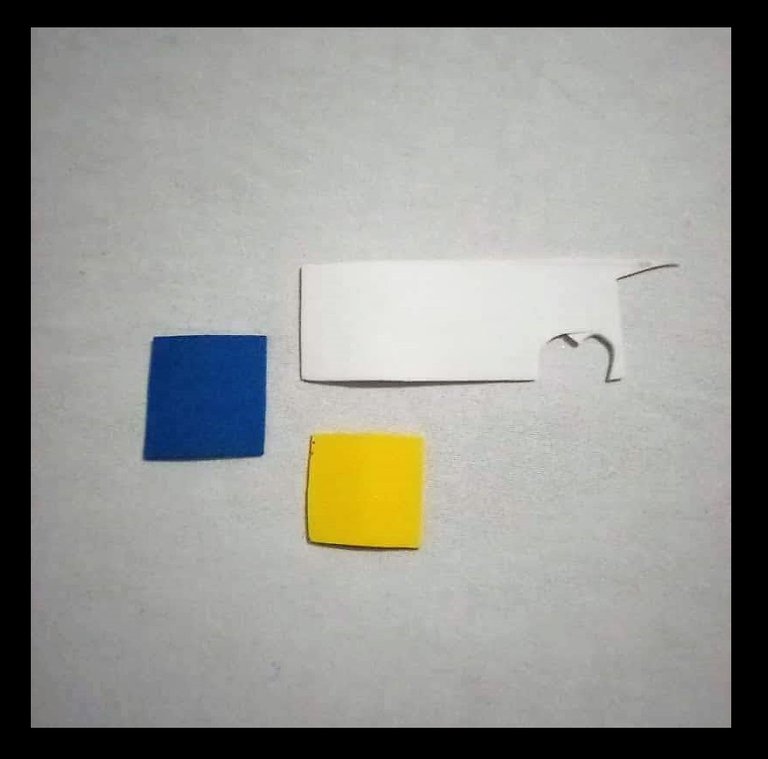
To make the books, I will take the small pieces of foami and cut out 2 squares of approximately 3 x 3 cm and two squares of 2.5 x 2.5 cm.
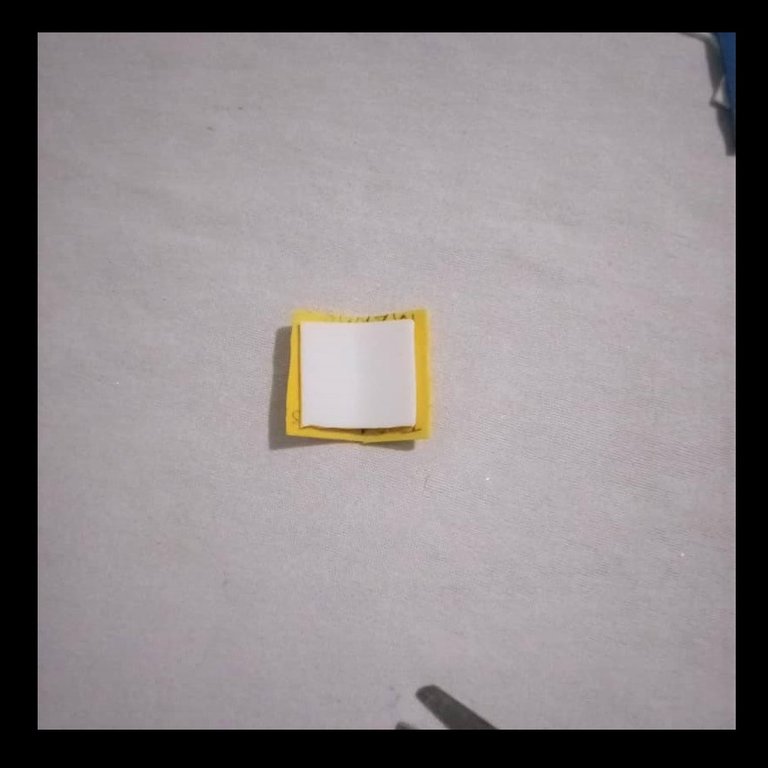
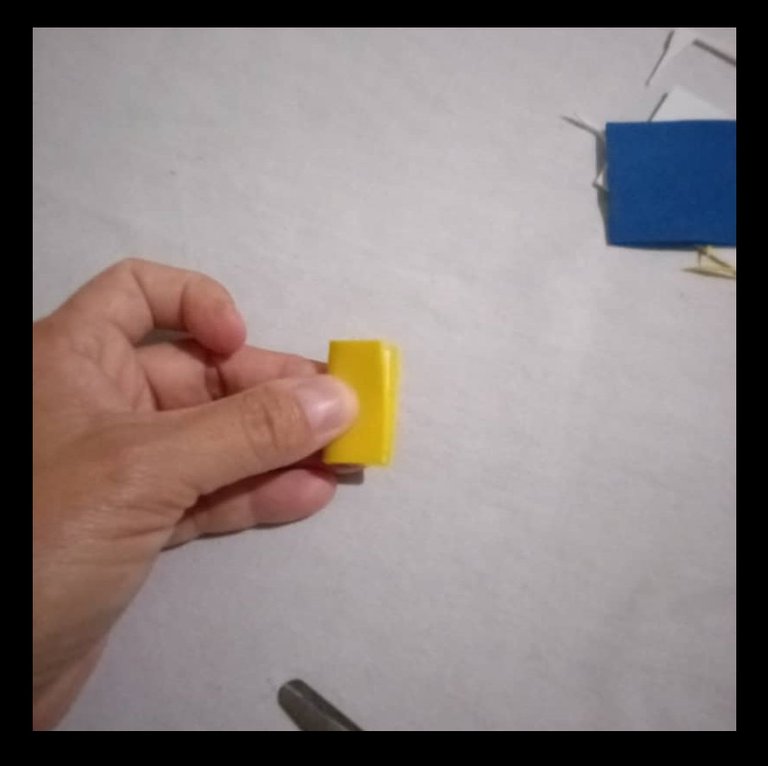
With the help of silicone I will glue each square, first I will glue the smaller square and then I will wrap it with the bigger one, as shown in the image.
 |  |  |
|---|
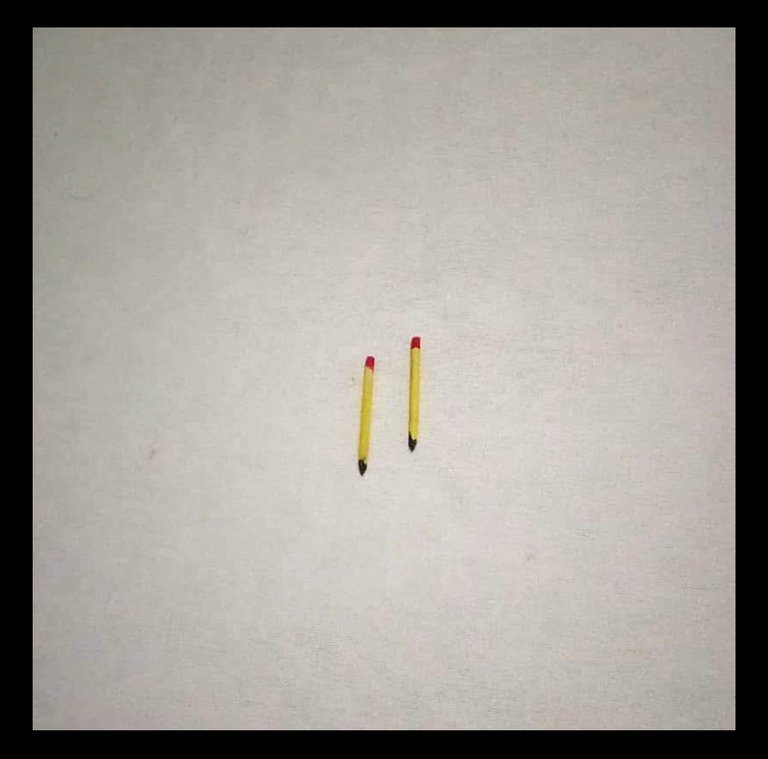
Now I will make some pencils, for this I will use a stick about 5 cm high and I will divide it in two. Then with the yellow tempera I will paint it all and let it dry.
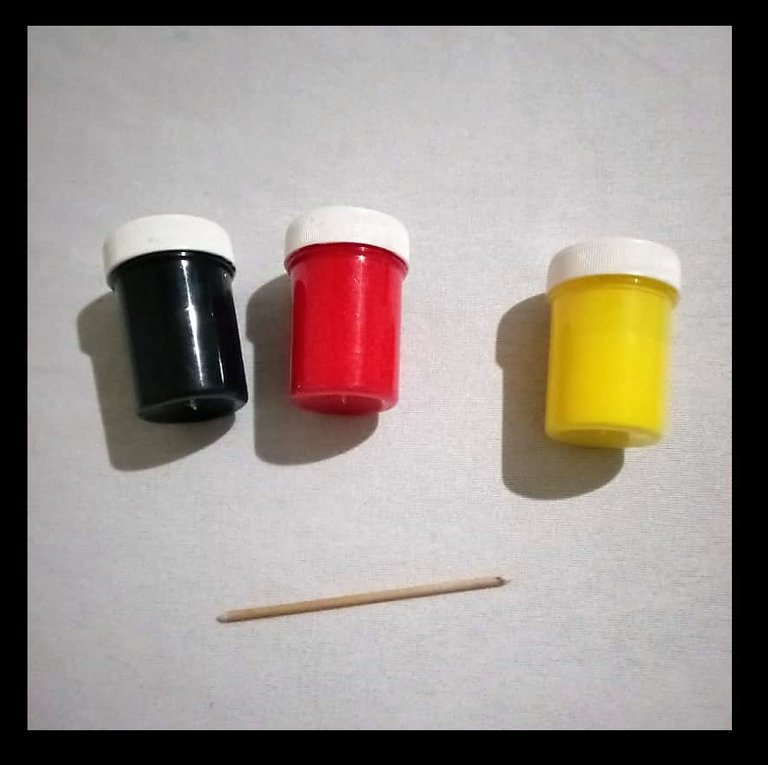

And now with the red tempera I will paint one end of each stick, to simulate the eraser of the pencil. And with the black tempera I will paint the other tip, which will simulate the graphite of the pencil.
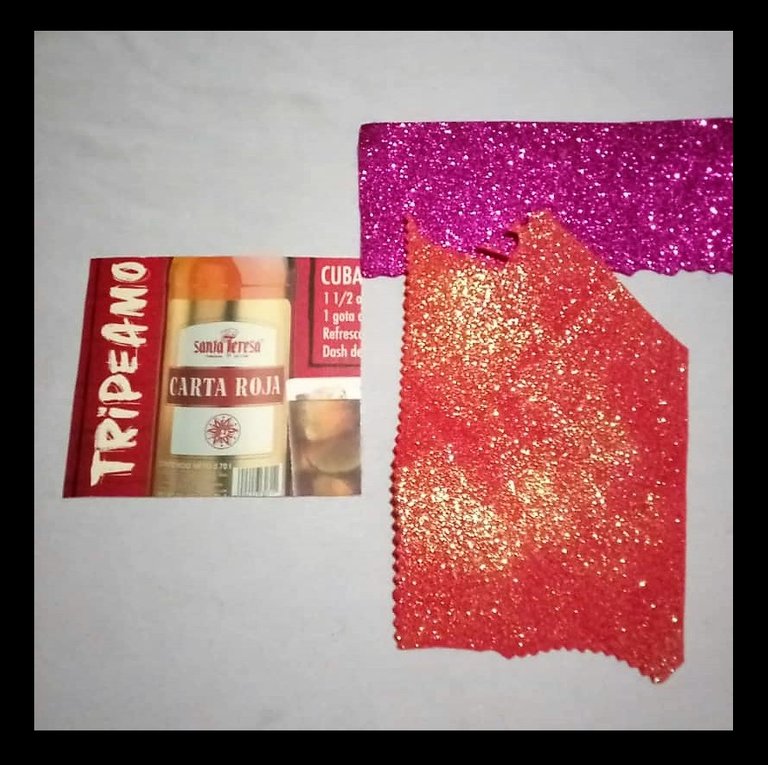
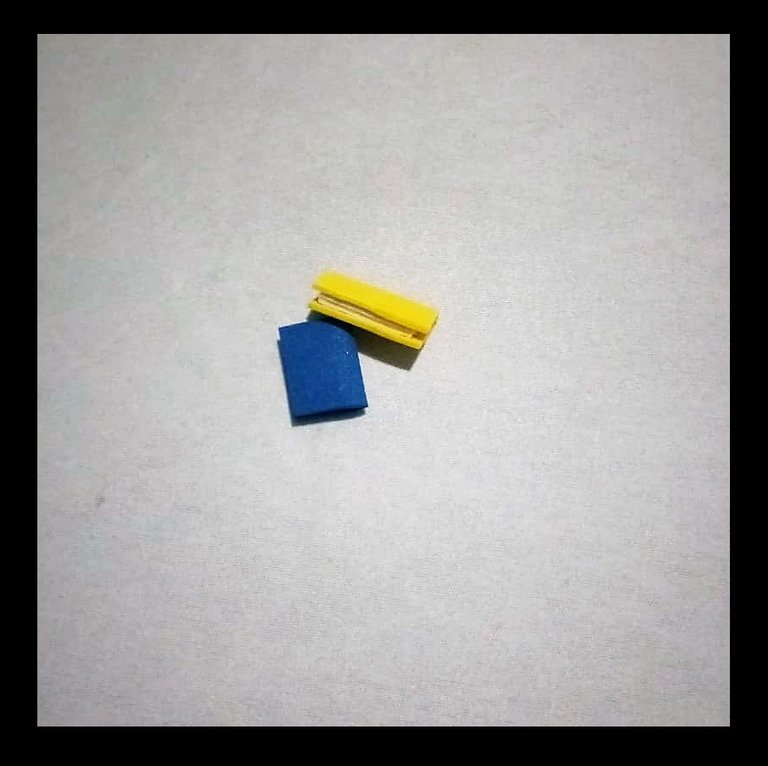
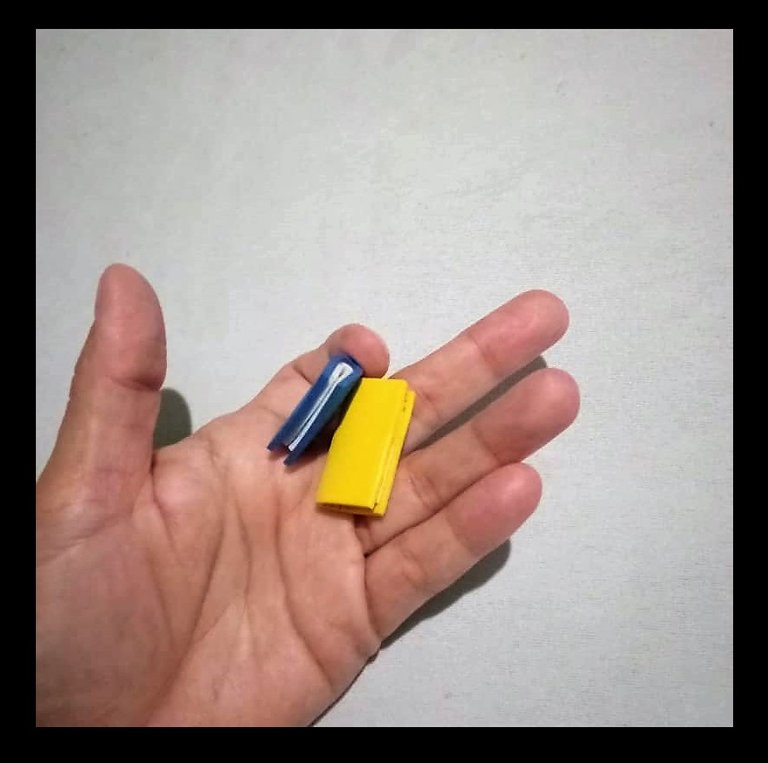
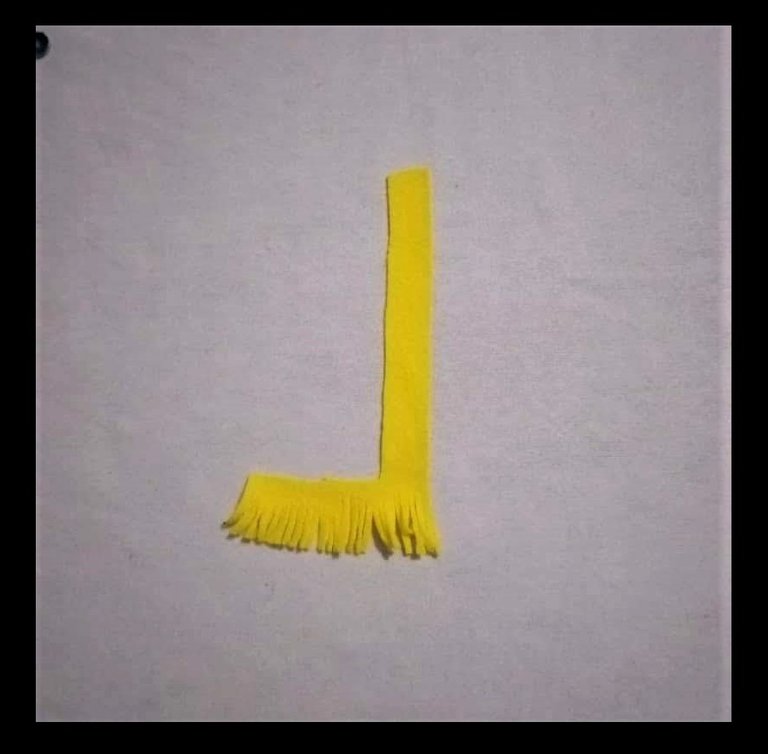
To make the tassel of the biretta, I will cut a strip of yellow fabric in the shape of an L and make a cut at the bottom. Then with the help of the silicone, I will roll it up as you can see in the image.

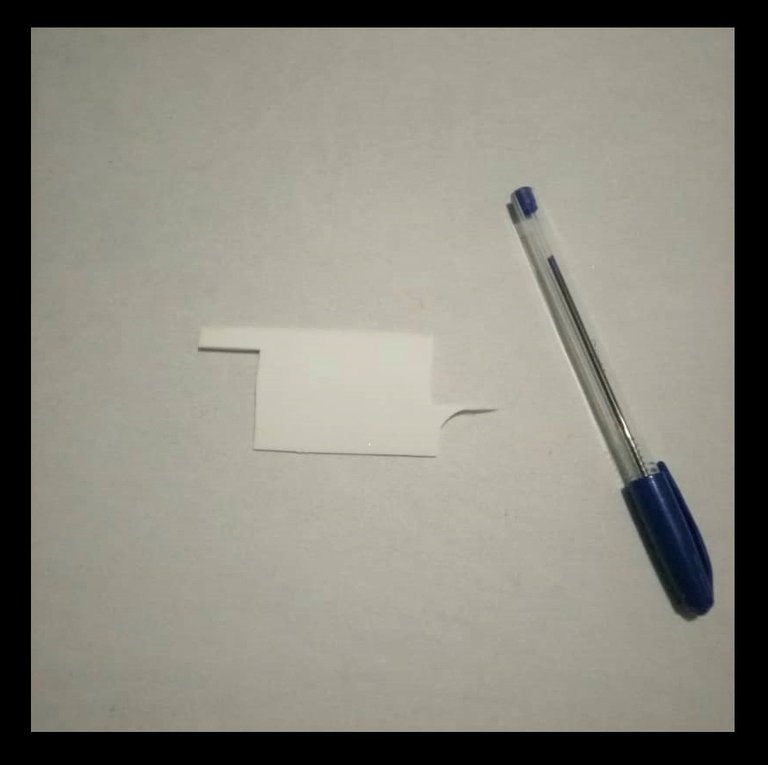
With a piece of white foami, make a label, paint it with yellow tempera all around and with the pencil, place the message.

And now that I have all the pieces ready, I will assemble the cotillion.

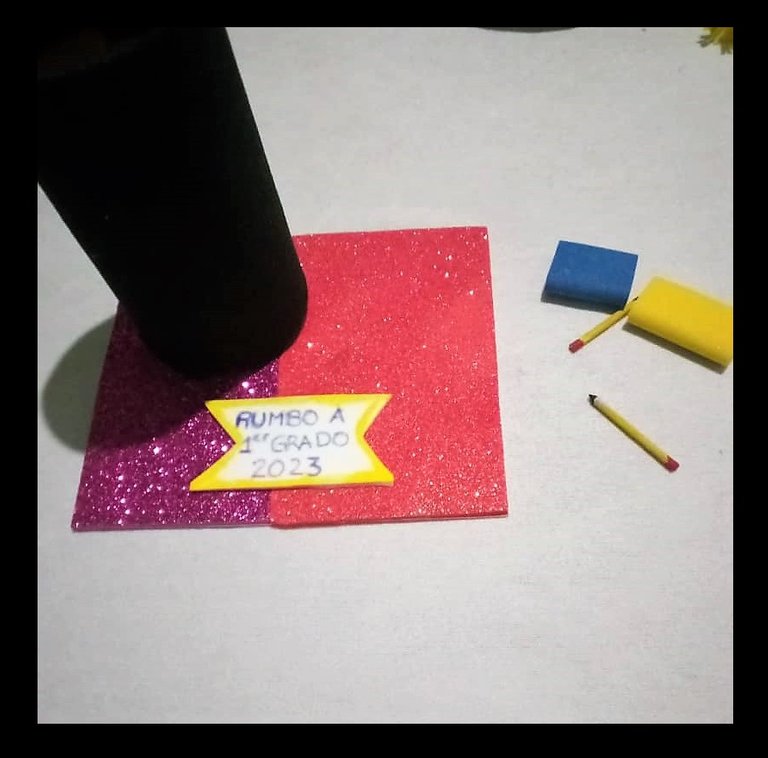
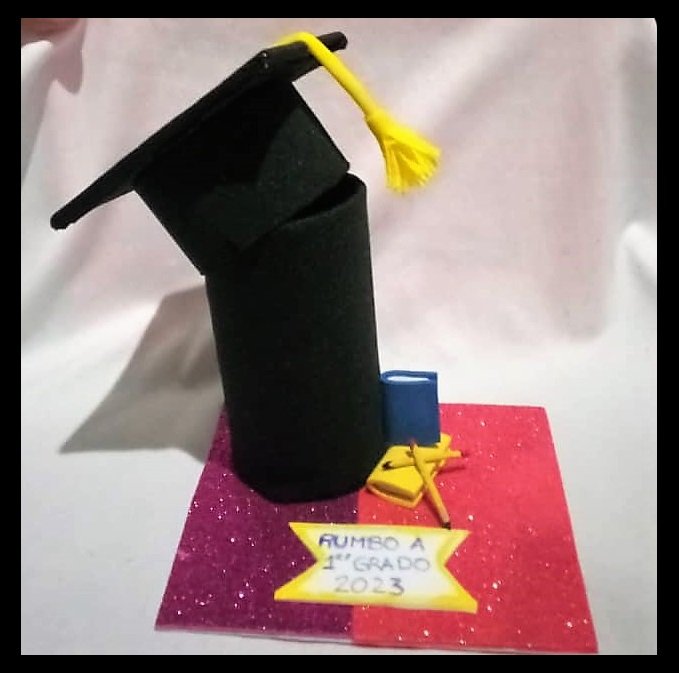
I will glue the biretta in one corner first, so I can see where I will position the other pieces. Place the label in the middle and the books on one side of the cap..
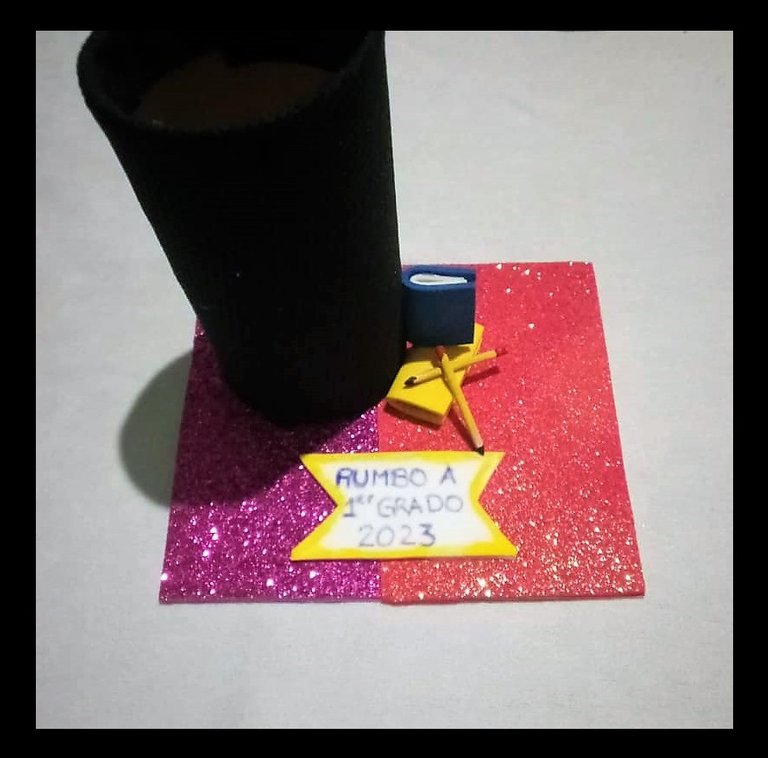
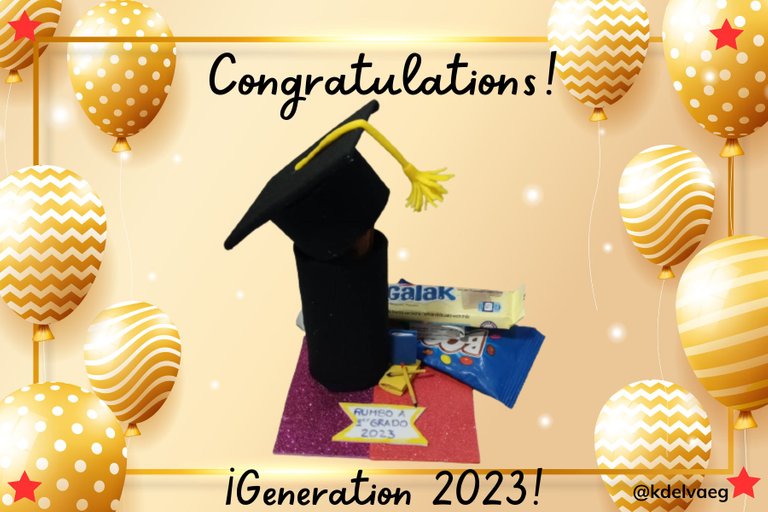
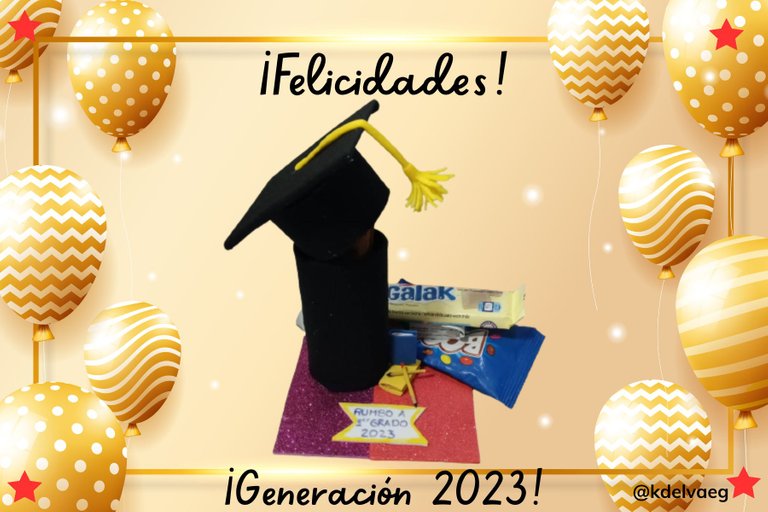
And now I have the cotillion ready, ready to be given as a gift with the filling of your choice. In my case I filled it with candies that my daughter loves.
I hope you liked it and that you can make it, adding your own special touch. I say goodbye as always, but not before thanking you for spending a little of your valuable time reading this tutorial that I gladly prepared for you. Greetings, take care and be well, I hope to see you in my next publication.
Content of the original creation:
🎓 All photos are mine taken and edited with my Alcatel phone.
🎓 The promo photos are from my personal gallery album, they are my family: my daughter and husband and myself.
🎓 The cover image, was made with the Canva app and edited by me.
🎓 The divider images were taken from the Canva page and edited by me in Paint.
🎓 English translation was done with the help of DeepL. 🎓The letters indicating the languages were taken from the Cooltext page.

Hola mis queridos lectores, espero que se encuentren bien y que tengan o hayan tenido un excelente día. Unos de los momentos más esperados y añorados por cualquier persona que esté estudiando, es la graduación. Esperar ansiosamente ese momento donde van al acto de grado y escuchar su nombre y caminar hasta la tarima para recibir su título, es el momento más maravilloso y satisfactorio.
Al menos eso fue lo que sentí, cuando después de años de estudios, logre alcanzar mi título universitario, fue muy emocionante. Actualmente han estado haciendo actos de grados ya no solo para los que salen de bachiller o los que salen de la universidad, sino que también lo hacen a los niños desde la educación inicial que van a la primaria.
En mi caso, mi hija de 6 años se graduó de Educación inicial rumbo a la primaria, le realizaron su acto de grado y fue muy emocionante. Espero que un futuro también reciba su título universitario, por ahora está recibiendo su primer título.
También quise darle un pequeño detalle, después de su arduo dia en el acto, así que le realice un cotillón con un tema alusivo a la graduación y sin más preámbulo les muestro como lo realice.

PASO A PASO:
Comenzaré recortando un círculo en el cartón grueso, del tamaño del tubo de cartón. Y con la ayuda del silicón lo pegare al tubo, para sellar uno de sus lados.
Con la tela negra, forraré el tubo y lo pegare con el silicon.
Tomaré la cartulina que es moldeable y recortaré una tira de aproximadamente 3,5 cm por el ancho del tubo de cartón. Y con el silicon lo pegare, para así formar un círculo.
Con el cartón grueso voy a recortar un cuadrado, para ello colocaré el círculo que acabo de hacer y recortaré dejando un centímetro más de lo que mide el círculo.
Con la tela negra forrare las dos piezas, tanto el círculo como el cuadrado. Luego pegare el círculo al cuadrado, así armare lo que será el birrete.
| |
|---|
| |
|---|
Y asi ya tengo listo mi birrete, solo falta hacer los demás complementos y armar el cotillón.
Ahora con el cartón grueso, recortaré un cuadrado de 10 x 10 cm aproximadamente. Y con los retazos de foami forraré el cartón, quedando así tal como se ve.
Para realizar los libros, tomaré los retacitos de foami y recortaré 2 cuadrados de aproximadamente 3 x 3 cm y dos cuadrados de 2,5 x 2,5 cm.
Con la ayuda del silicón pegaré cada cuadrado, primero pegare el cuadrado más pequeño y luego lo envolveré con el más grande, tal como se muestra en la imagen.
| | |
|---|
Ahora realizaré unos lápices, para ello use un palito de altura de unos 5 cm aproximadamente y lo dividiré en dos. Luego con la témpera amarilla lo pintare todo y dejaré secar.
Y ahora con la tempera roja le pintaré una punta a cada palito, para simular la borra del lapiz. Y con la tempera negra le pintaré la otra punta, que simulara el grafito del lápiz.
Para hacer la borla del birrete, recortaré una tira de tela amarilla, en forma de L y haré corte en la parte de abajo. Luego con la ayuda del silicón, la enrollarle quedando así como pueden ver en la imagen.
Con un retazo de foami blanco, realice una etiqueta, la pintaré con la témpera amarilla por todo el alrededor y con el lapicero, le coloque el mensaje.
Y ahora si ya tengo todas las piezas listas, armare ahora el cotillón.
Pegare primero el birrete en una esquina, asi podre ver donde posicionaré las demás piezas. Coloque la etiqueta en el medio y los libros a un lado del birrete.
Y ahora si ya tengo listo el cotillón, listo para ser obsequiado con el relleno de su preferencia. En mi caso lo rellene con dulces que le encantan a mi hija.
Espero que les haya gustado y lo puedan realizar, colocando su toque especial. Me despido como siempre, no sin antes agradecerles por dedicar un poco de su valioso tiempo al leer este tutorial que con gusto preparé para ustedes. Saludos, cuídense y pórtense bien, los espero en mi próxima publicación.
Contenido de la creación original:
🎓 Todas las fotos son mías tomadas y editadas con mi teléfono Alcatel.
🎓 Las fotos de la promoción son de mi álbum de galería personal, son mi familia: mi hija y mi esposo y mi persona.
🎓 La imagen de portada, fue hecha con la aplicación Canva y editada por mi.
🎓 Las imágenes divisorias fueron tomadas de la página de Canva y editadas por mi en Paint.
🎓 La traducción al inglés se hizo con la ayuda de DeepL. 🎓Las letras que indican los idiomas fueron tomadas de la página Cooltext.


