Hola amig@s de Hive! ヅ| Hello friends of Hive!ヅ
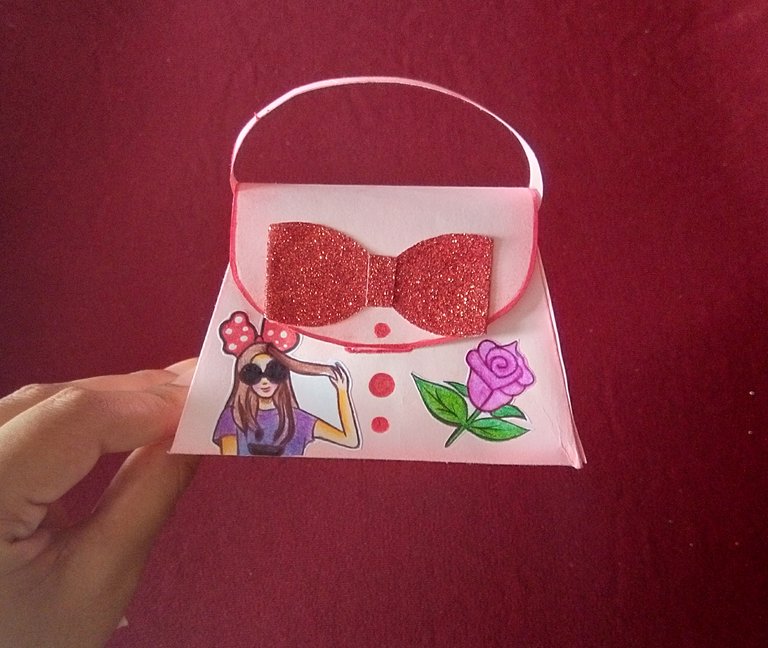
Bienvenidos a mi nuevo post!. El día de hoy quiero compartir con ustedes esta sencilla pero muy útil manualidad, no requiere de muchos materiales y puede funcionar como un cotillón o como un bonito detalle para alguien especial. ¡Empecemos!
Welcome to my new post!. Today I want to share with you this simple but very useful craft, it does not require many materials and can function as a party favors or as a nice detail for someone special. Let us begin!
✩⋆Materiales |Materials⋆✩
Cartulina
Regla y lápiz
Tijera
Pegamento
Dibujitos para decorar
Cardstock
Ruler and pencil
Scissors
Glue
Little drawings to decorate
✩⋆Paso a paso | Step by Step⋆✩
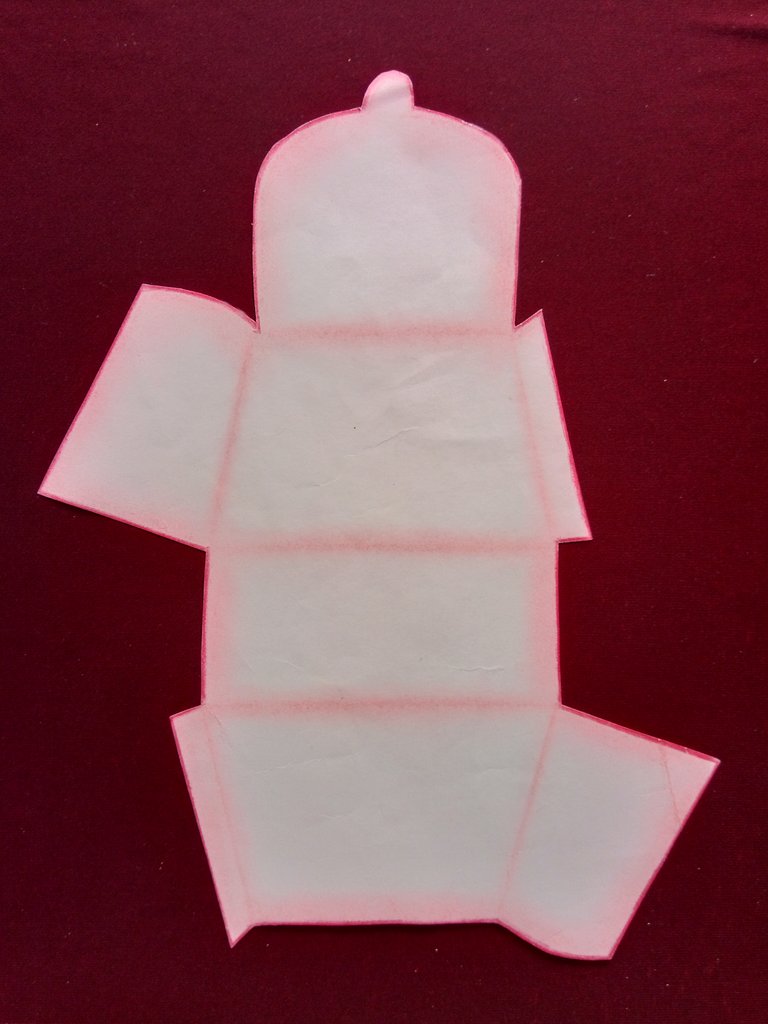
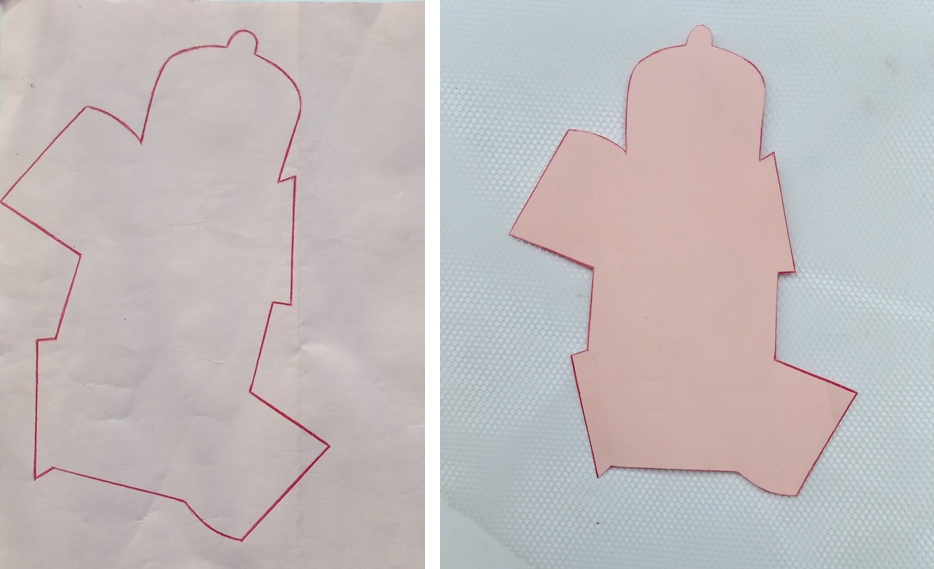
•Paso 1. Para empezar vamos a marcar en nuestra cartulina el siguiente patrón. Como pueden ver se corta en una sola pieza, lo cual facilita el trabajo :P. El tamaño puede ser tan grande o tan pequeño como queramos, esto es a nuestro gusto.
• Step 1. To begin we are going to mark the following pattern on our cardboard. As you can see, it is cut in one piece, which facilitates the work: P. The size can be as big or as small as we want, this is to our liking.
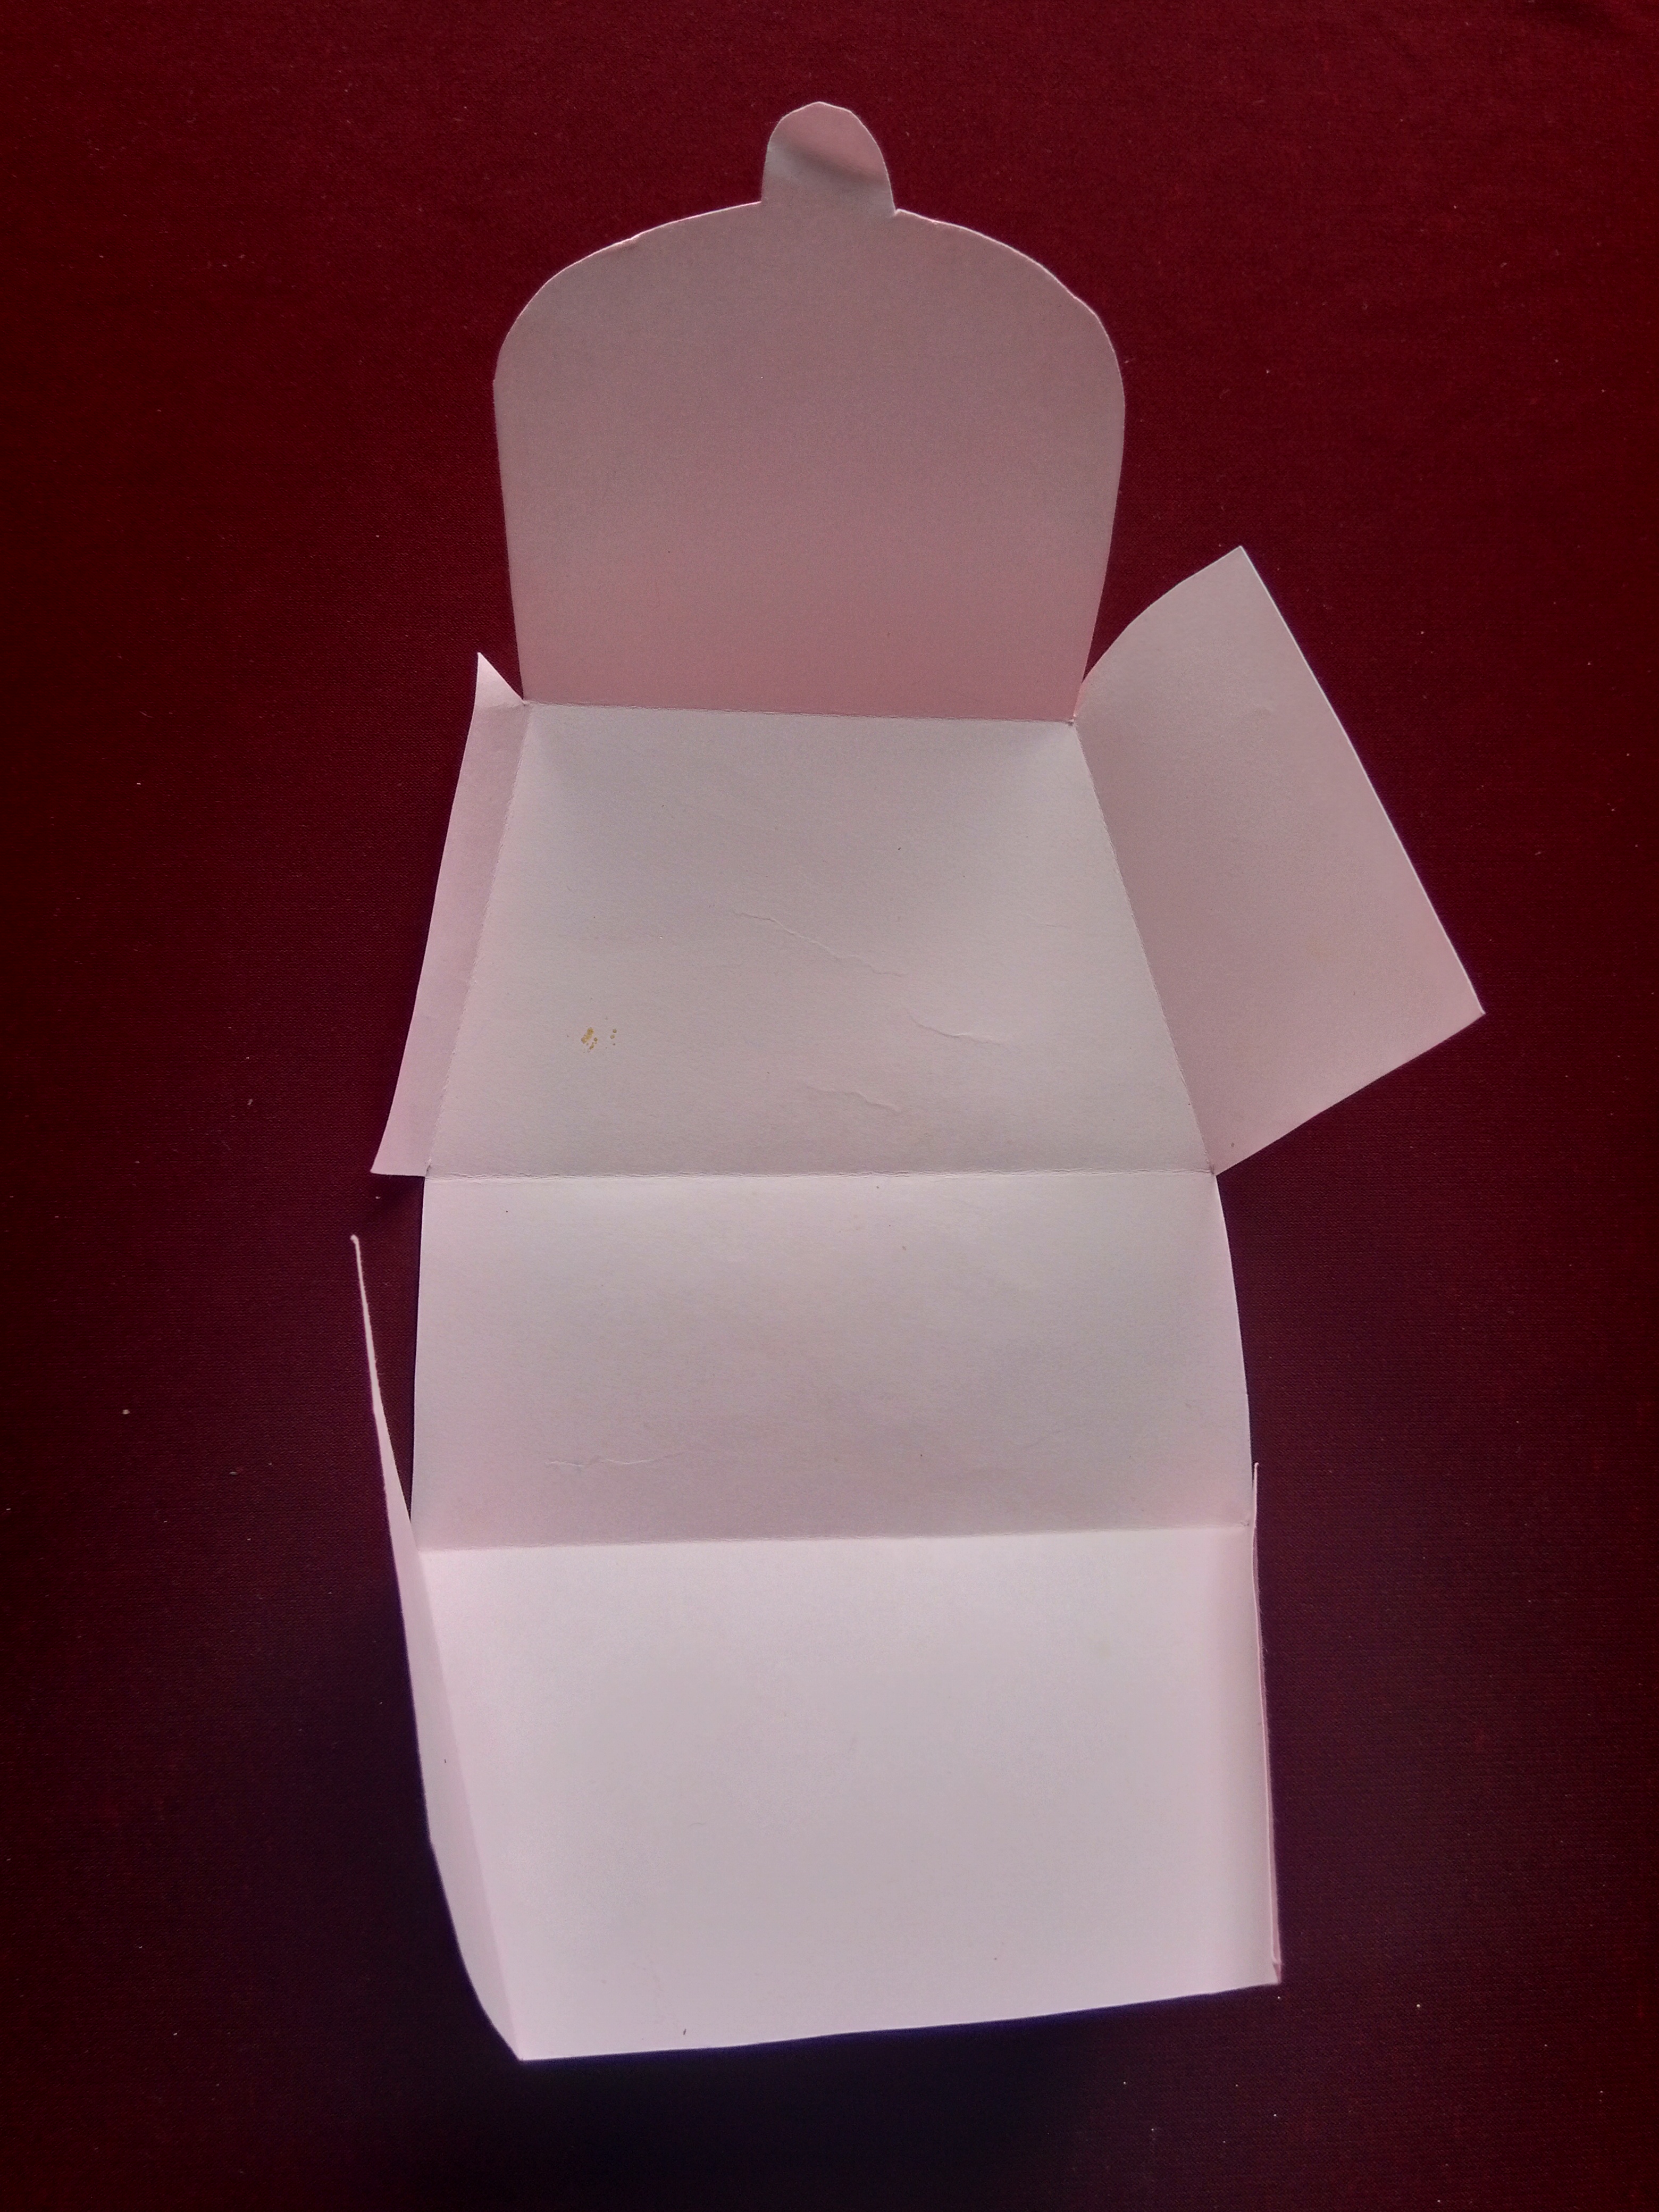
•Paso 2. Ya que recortamos la pieza vamos a agregarle un toque de color en los dobleces, este paso es opcional, a mí me gusta hacerlo porque me parece que se ve más bonito❣. A continuación vamos a plegar los dobleces para que se nos haga más fácil formar la figura.
• Step 2. Since we cut the piece we are going to add a touch of color in the folds, this step is optional, I like to do it because I think it looks more beautiful❣. Next we are going to fold the folds to make it easier for us to form the figure.
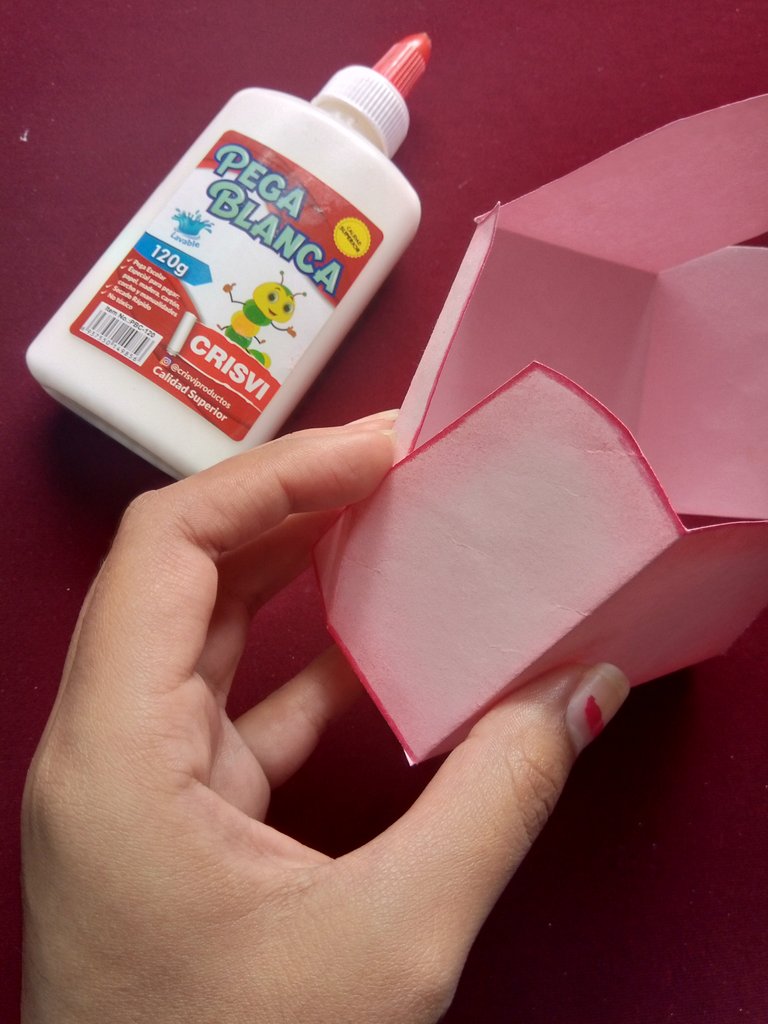
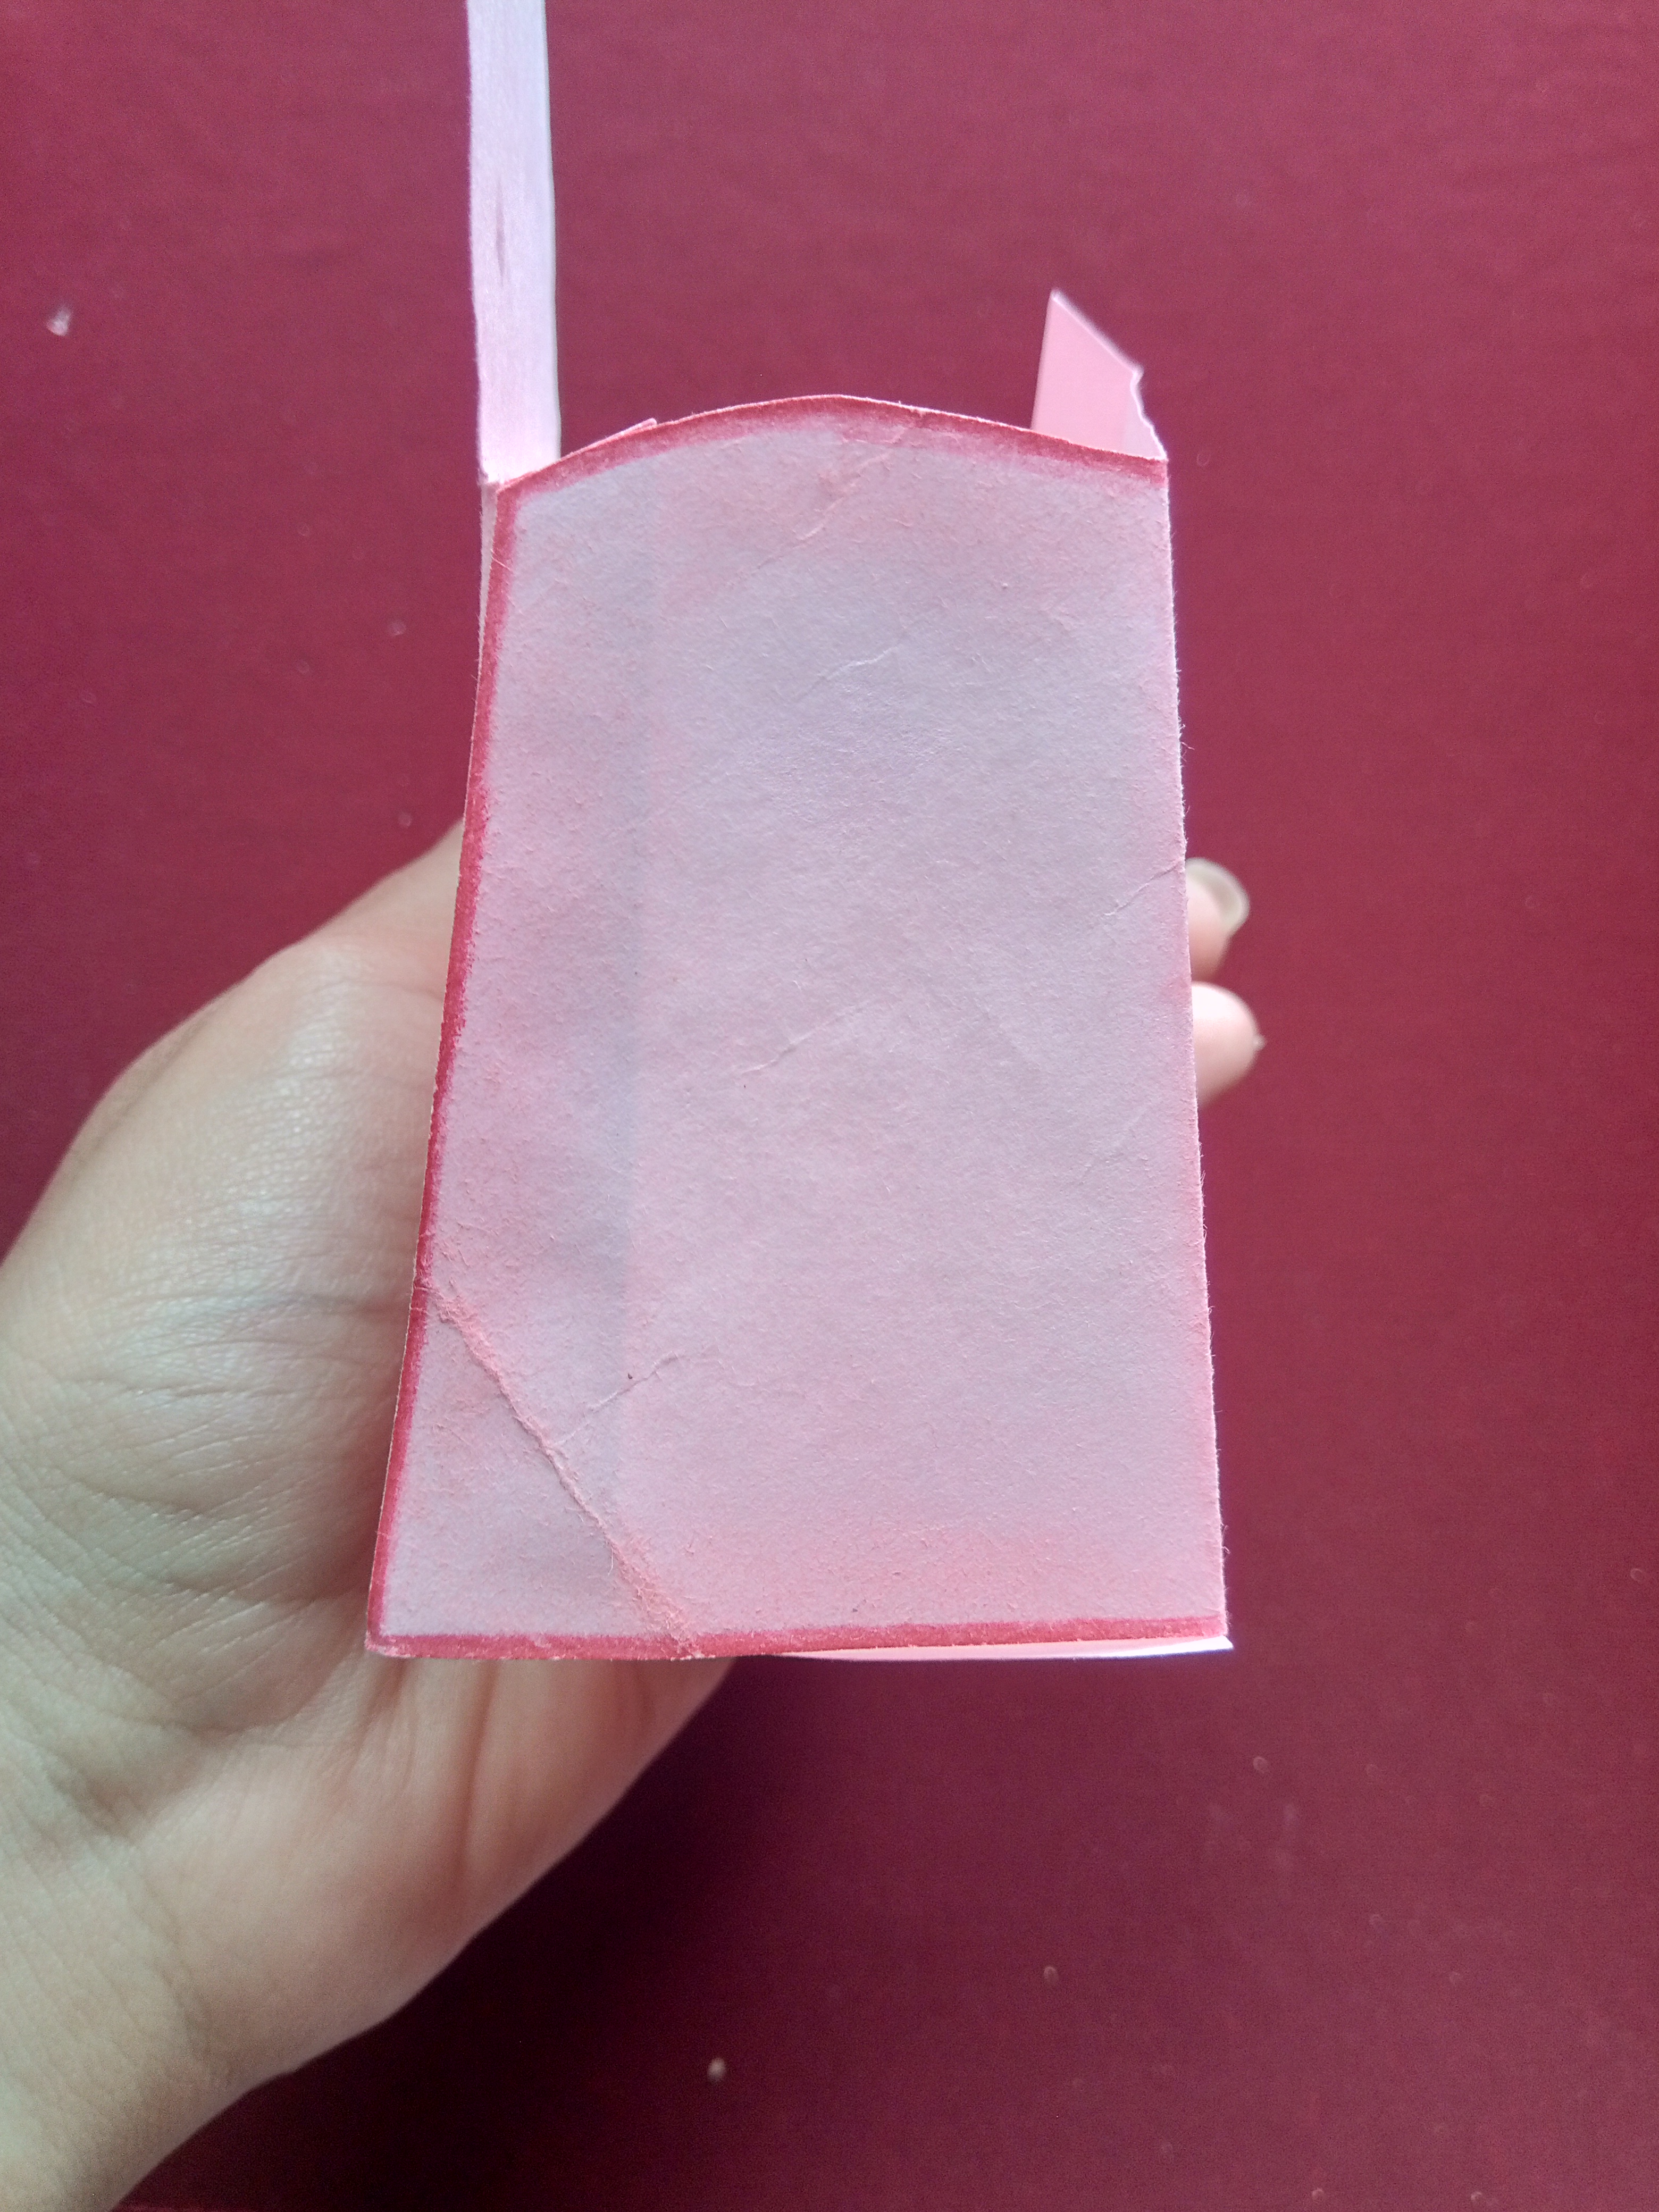
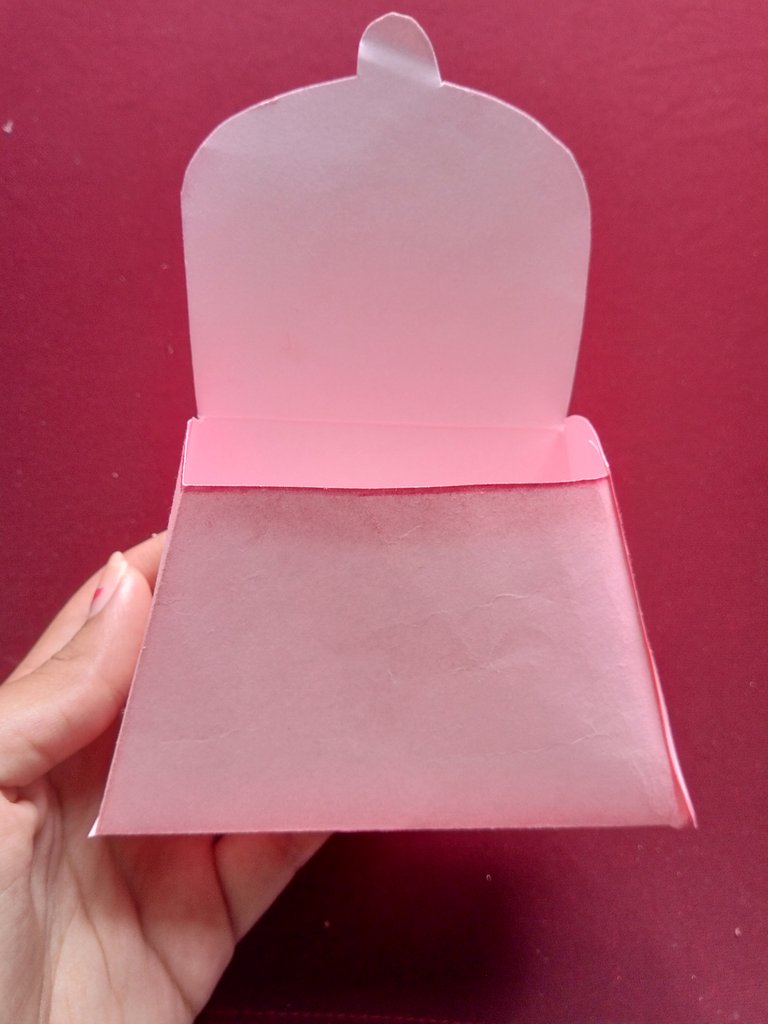
•Paso 3. Seguidamente vamos a ir doblando y utilizando la pega cuando sea necesario para darle forma a la pieza como se indica en las siguientes imágenes:
•Step 3. Next, we are going to fold and use glue when necessary to shape the piece as indicated in the following images:
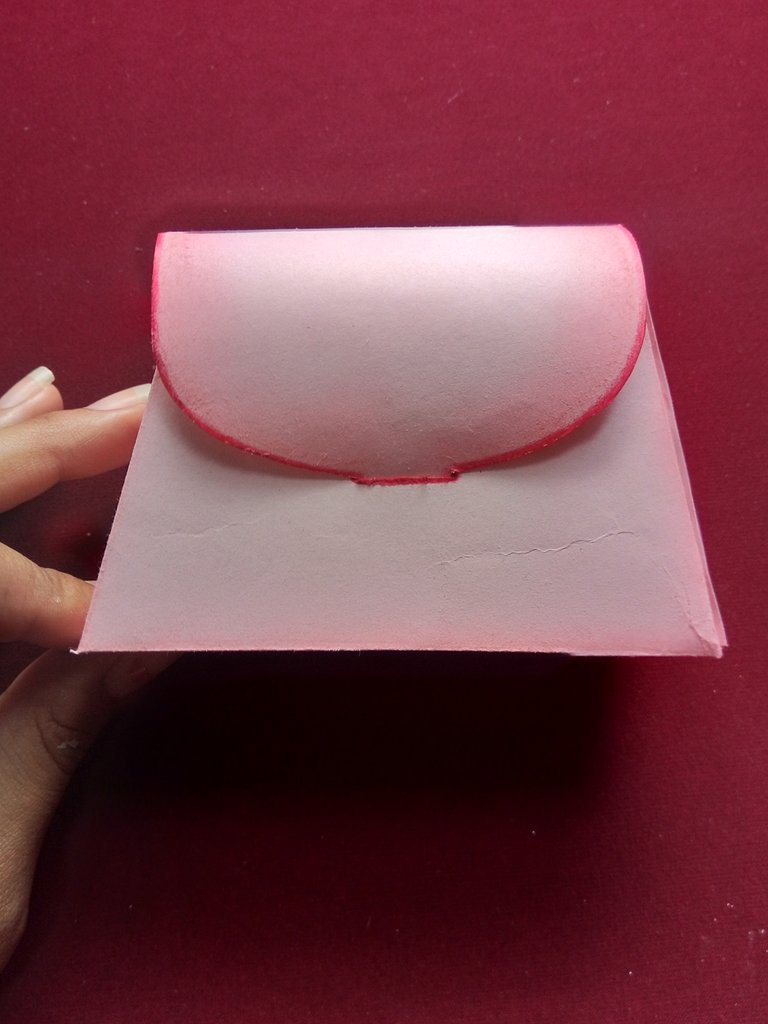
•Paso 4. Ya tenemos nuestra carterita casi lista xD. Ahora, para que podamos cerrarla muy bien vamos a hacerle una pequeña abertura. Posteriormente vamos a mi parte preferida: ¡decorar! . Yo le hare algunos dibujitos, aquí solo tenemos que dejarnos llevar por nuestro lado creativo y escoger la temática que prefiramos. Por último le coloque el aza.•̀ᴗ•̀)
• Step 4. We already have our wallet almost ready xD. Now, so that we can close it very well, we are going to make a small opening. Later we go to my favorite part: decorate! . I will do some drawings for you, here we just have to let ourselves be carried away by our creative side and choose the theme we prefer. Finally I put the aza. • ̀ᴗ • ̀)
⋆✩⋆Resultado final | Final result⋆✩⋆

☜♥☞𝔊𝔯𝔞𝔠𝔦𝔞𝔰 𝔦𝔫𝔣𝔦𝔫𝔦𝔱𝔞𝔰 𝔭𝔬𝔯 𝔳𝔦𝔰𝔦𝔱𝔞𝔯 𝔪𝔦 𝔭𝔬𝔰𝔱. ℌ𝔞𝔰𝔱𝔞 𝔩𝔞 𝔭𝔯ó𝔵𝔦𝔪𝔞, 𝔟𝔶𝔢!!☜♥☞
Infinite thanks for visiting my post. Until next time, bye!
(๑•ᴗ•๑)♡


