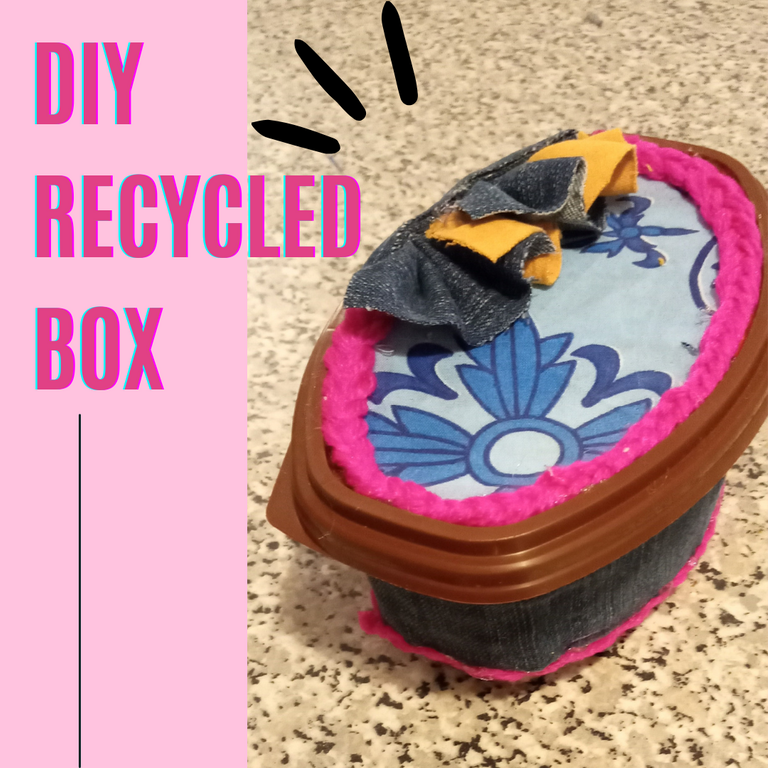
🇺🇸 Hello #HiveDiy community.
Today I share with you the elaboration of a box that I made with recycled materials to store the garters and rubber bands for my daughter's hair, since they were always scattered everywhere. But obviously it serves to store or organize whatever you want.
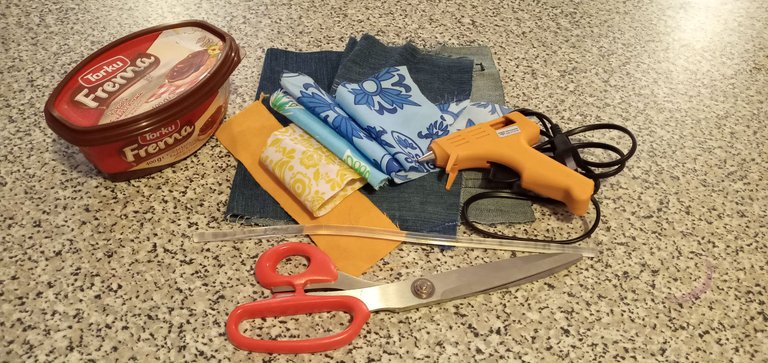
The materials I used for this craft are the following:
☆ Plastic container with recycled lid
☆ Scraps of fabric
☆ Stamen
☆ Scissors
☆ Glue
☆ Thread and needle
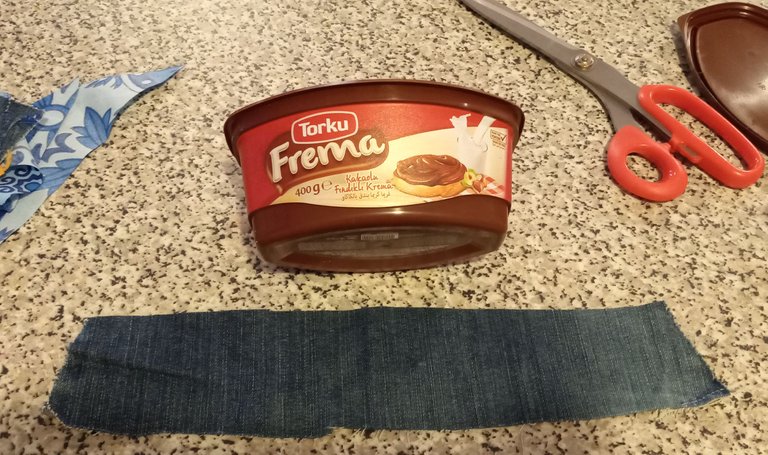
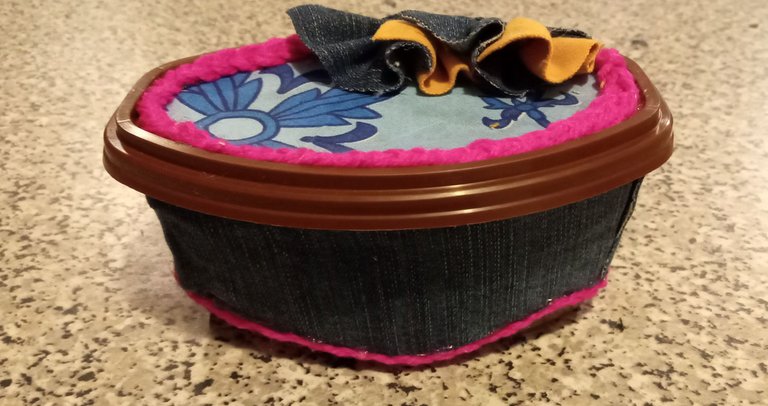
Let's start with the project. Once the container is clean and dry, we measure the height and circumference of the base and cut the fabric we have chosen, stick it with the hot silicone pistol. My container does not have the smooth sides to the base, it has a part that sticks out so I left the fabric a little longer, I chose jeans or denim for the base.
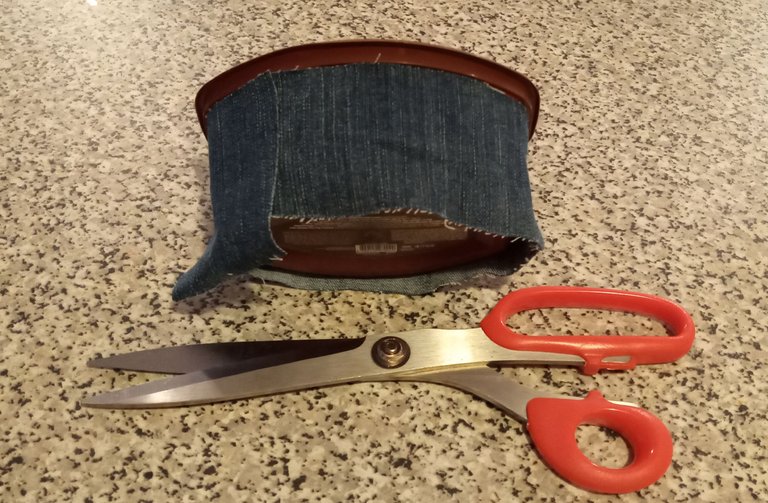
Once well glued, cut with the scissors at the height of the part that is left out following the shape of the container.
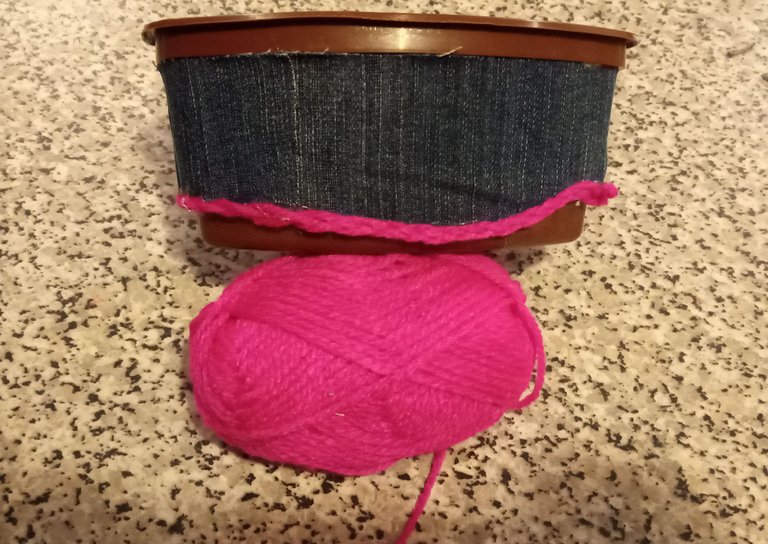
With the yarn, I wove a braid and glued it with silicone along the bottom edge of the fabric so that it had a neater finish and looked more beautiful, I also chose the fuchsia color that my daughter loves.
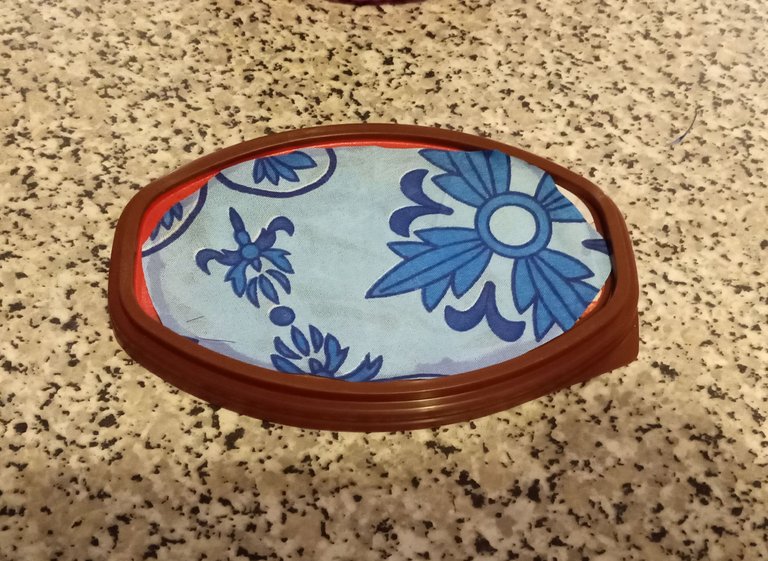
For the cover, I marked the shape on the wrong side of the fabric that I chose for this part of the craft with a pencil, then cut it out. If you notice, I cut it a little smaller because the lid is also irregular, the center is concave and if there is excess fabric it would be difficult to cut it, so I preferred to make the fabric oval a centimeter smaller.
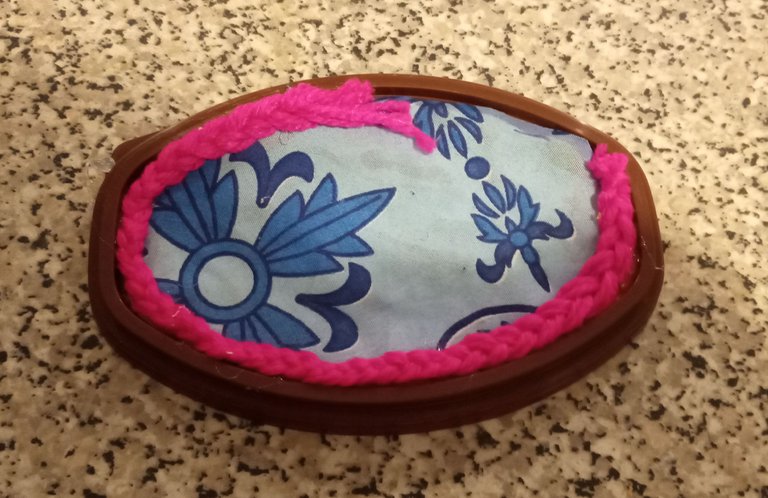
For the top I also wove another braid for the edge, but this time I made it wider than the one at the bottom. Leave a space without braid to glue four fabric fans. The fans are made with a 3-centimeter by 6-centimeter rectangle of fabric, creasing one of the sides and then cooking that part.
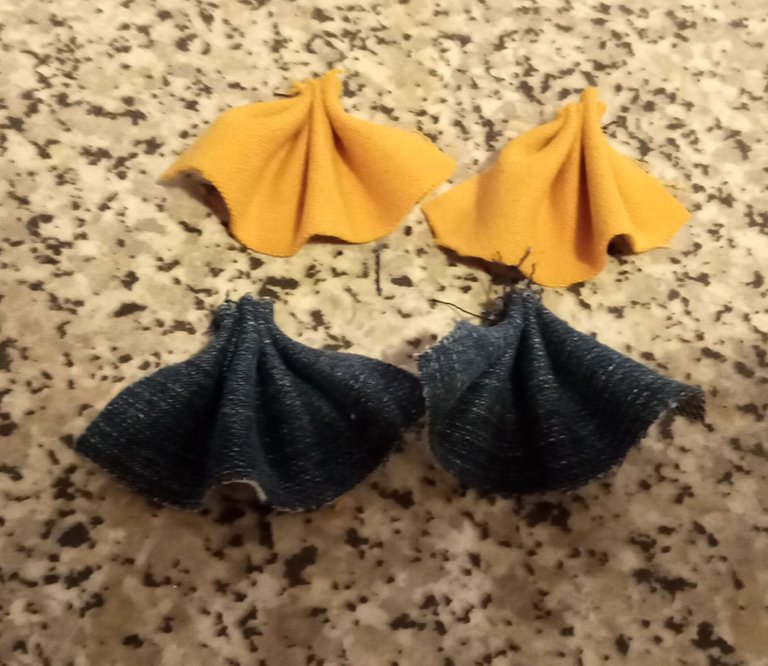
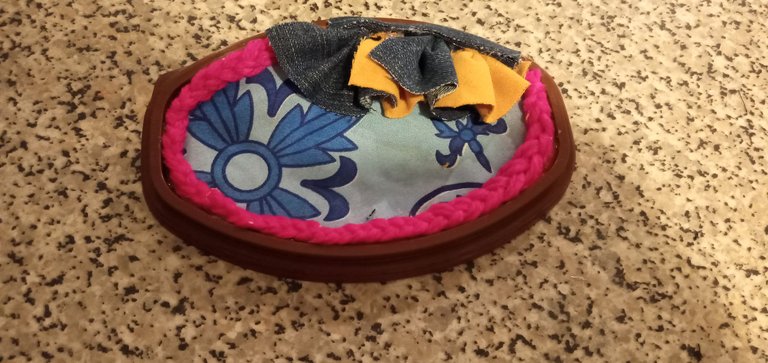
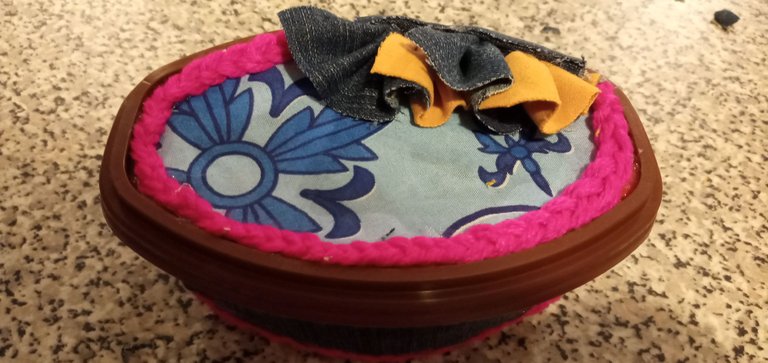
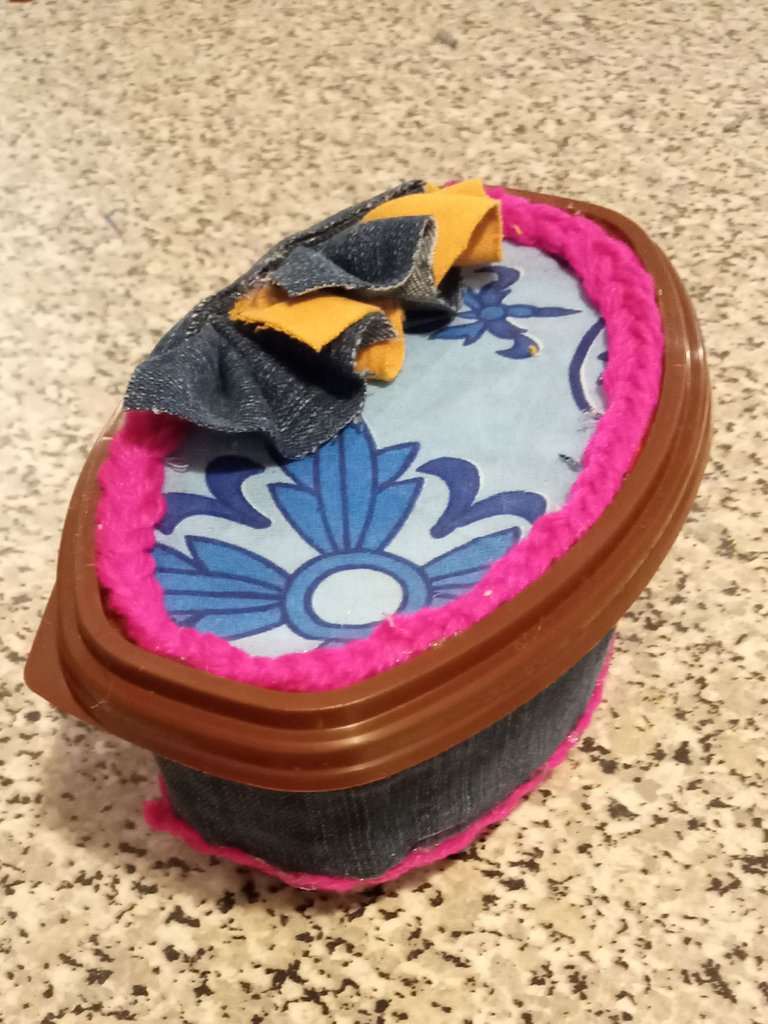
I glued the fans interspersing the colors and then I glued a piece of jeans fabric, the length of the fans, covered the part of the seam. With this you end up a cute and functional box to store whatever you have around the house.
Thank you for joining me, visiting my blog, reading and supporting me. Have a wonderful day full of good energy!
Photography information
Author: @Karbea
Camera: Samsung Galaxy A7
Location: Margarita Island, Venezuela
🇻🇪 Hola comunidad de #HiveDiy.
Hoy comparto con ustedes la elaboración de una caja que realicé con materiales reciclados para guardar las ligas y gomas para el cabello de mi hija, ya que siempre estaban regadas por todos lados. Pero obviamente sirve para guardar u organizar lo que quieras.
Los materiales que usé para esta manualidad son los siguientes:
☆ Envase de plástico con tapa reciclado
☆ Retazos de tela
☆ Estambre
☆ Tijeras
☆ Pegamento
☆ Hilo y aguja
Empecemos con el proyecto. Una vez limpio y seco el recipiente, medimos la altura y circunferencia de la base y cortamos la tela que hayamos elegido, lo pegamos con la pistolita de silicón caliente. Mi recipiente no tiene los lados lisos hasta la base, tiene una parte que sobre sale así que dejé un poco más larga la tela, yo elegí jeans o denim para la base.
Una vez bien pegado, corto con las tijeras a la altura de la parte que sobre sale siguiendo la forma del recipiente.
Con el estambre, teji una trenza y la pegue con silicon por toda la orilla de abajo de la tela para que tuviera una terminación más prolija y se viera más bonito, además elijo el color fucsia que le encanta a mi hija.
Para la tapa, marqué con un lápiz la forma sobre el lado al revés de la tela que elegí para esta parte de la manualidad, luego lo recorté. Si se fijan, lo corté un poco más pequeño porque la tapa también es irregular, el centro es cóncavo y si sobra tela iba a ser difícil cortarla, así que preferí hacer el óvalo de tela un centímetro más pequeño.
Para la tapa también teji otra trenza para el borde, pero esta vez la hice más ancha que la de la parte de abajo. Deje un espacio sin trenza para pegar cuatro abanicos de tela. Los abanicos se hacen con un rectángulo de tela de 3 centímetros por 6 centímetros, arruchando uno de los lados y luego cociendo esa parte.
Pegué los abanicos intercalando los colores y luego pegué un pedacito de tela de jeans, del largo que ocupan los abanicos, cubri la parte de la costura. Con esto terminas una cajita linda y funcional para guardar cualquier cosa que tengas regado en casa.
Gracias por acompañarme, visitar mi blog, leerme y apoyarme ¡Qué tengas un día maravilloso lleno de buena energía!
Información de las fotografías
Autor: @Karbea
Cámara: Samsung Galaxy A7
Locación: Isla de Margarita, Venezuela
