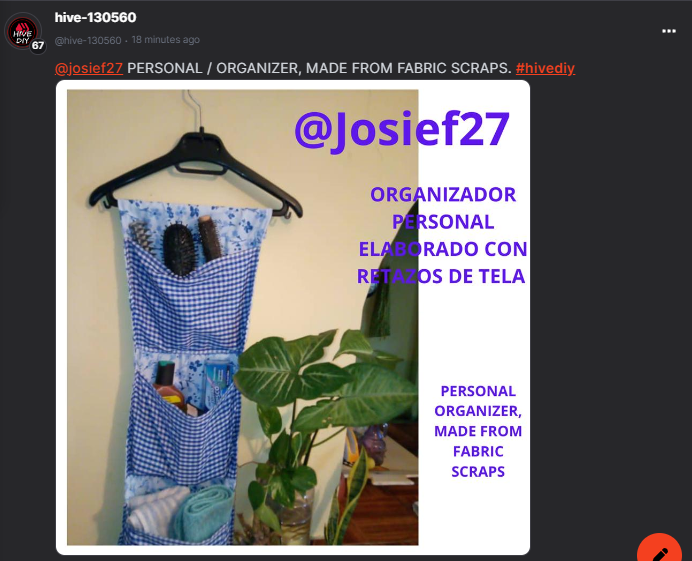

Un saludo afectuoso para mi gente creativa de esta hermosa comunidad, nuevamente por acá, después de algunos inconvenientes. Hoy les traigo un trabajo manual realizado con materiales reciclados que siempre tenemos en casa.
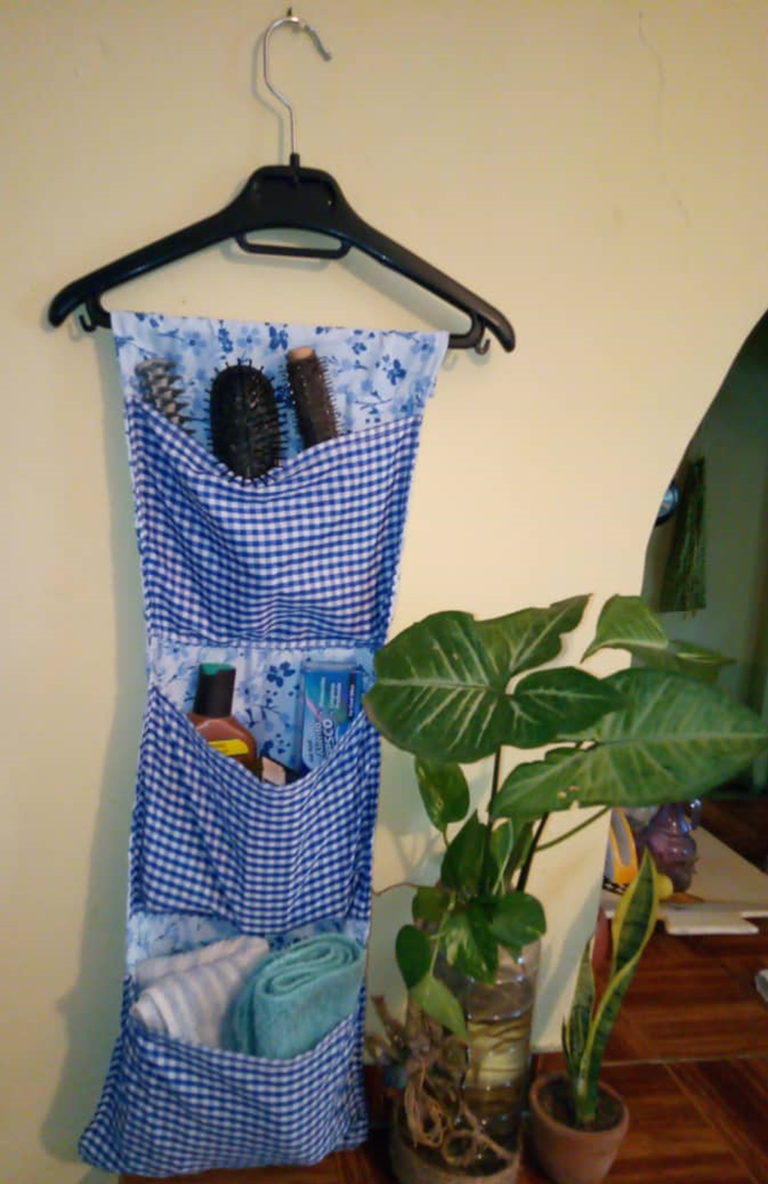
Necesitaba un espacio para guardar algunas cosas personales, para tenerlas a mano, muchas veces tenemos tantas cosas y se nos pierden al momento de buscarlas, por eso decidí elaborar este organizador de tela con sus compartimientos para guardar mis objetos personales. Te cuento como lo hice y los materiales que utilice.
A warm greeting to my creative people of this beautiful community, here again, after some inconveniences. Today I bring you a manual work made with recycled materials that we always have at home.
I needed a space to store some personal things, to have them at hand, many times we have so many things and we lose them when we look for them, so I decided to make this fabric organizer with its compartments to store my personal items. I'll tell you how I made it and the materials I used.
MATERIALES
Retazos de tela
Gancho para guindar ropa en el closet
Tijeras
Alfileres
Hilo
Regla
Máquina de coser
>MATERIALS
>Fabric scraps
Hook to hang clothes in the closet
Scissors
Pins
Thread
Ruler
Sewing machine

PASO A PASO
STEP BY STEP
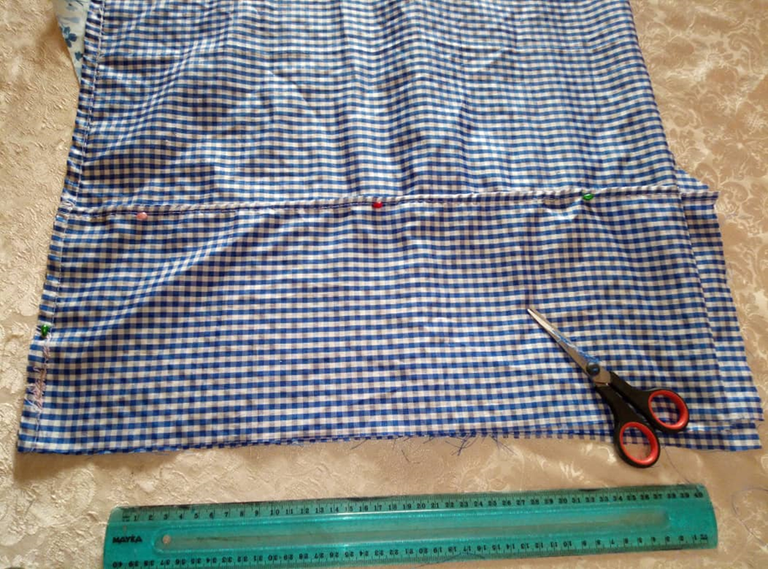
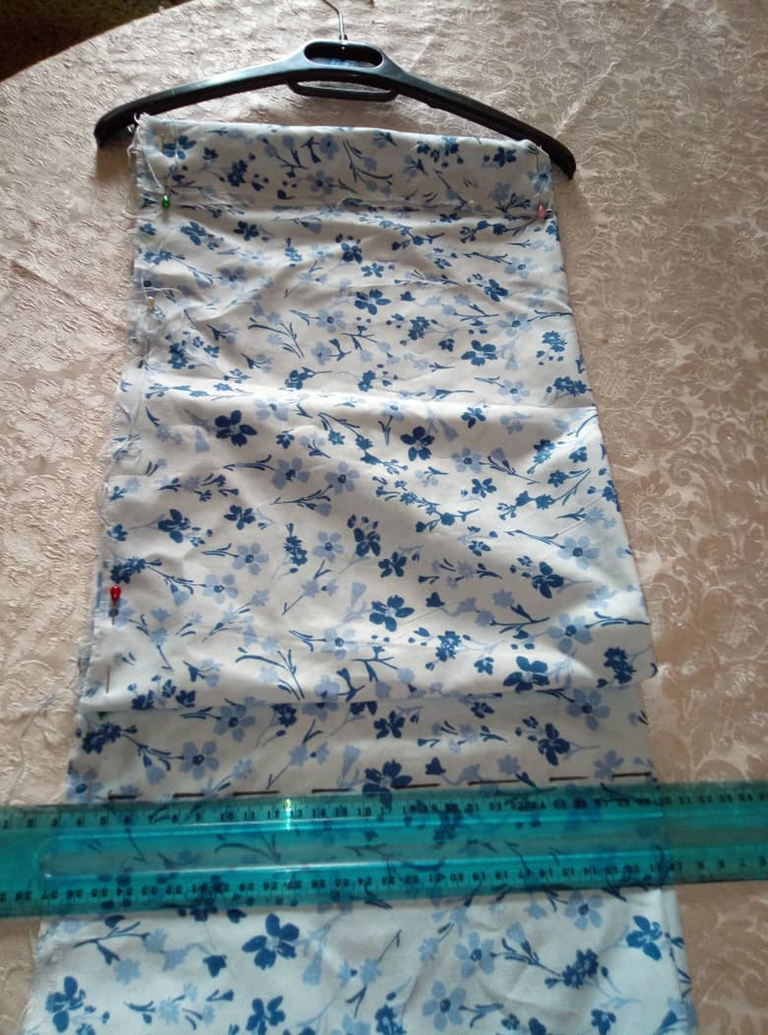
Lo primero que hice fue medir las telas, tanto el largo como el ancho, los bolsillos de los compartimientos que en este caso son tres y dos de la base donde serán colocados.
The first thing I did was to measure the fabrics, both length and width, the pockets of the compartments, which in this case are three, and two of the base where they will be placed.
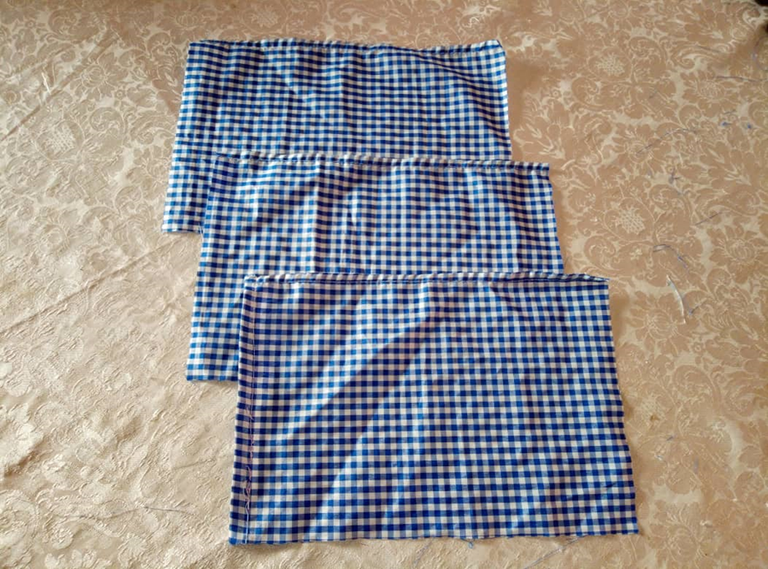
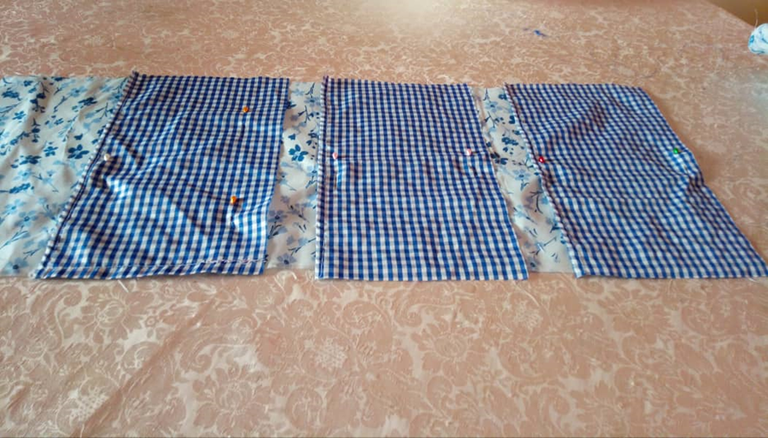
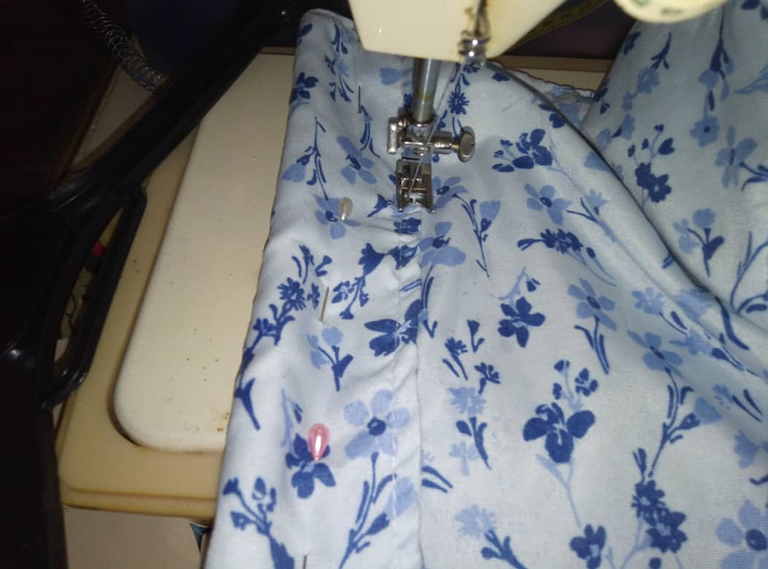
Después de cortadas las telas, fijamos los compartimientos con alfileres a una de las telas de la base, cosemos cada compartimiento.
After cutting the fabrics, we fixed the compartments with pins to one of the fabrics of the base, we sew each compartment.
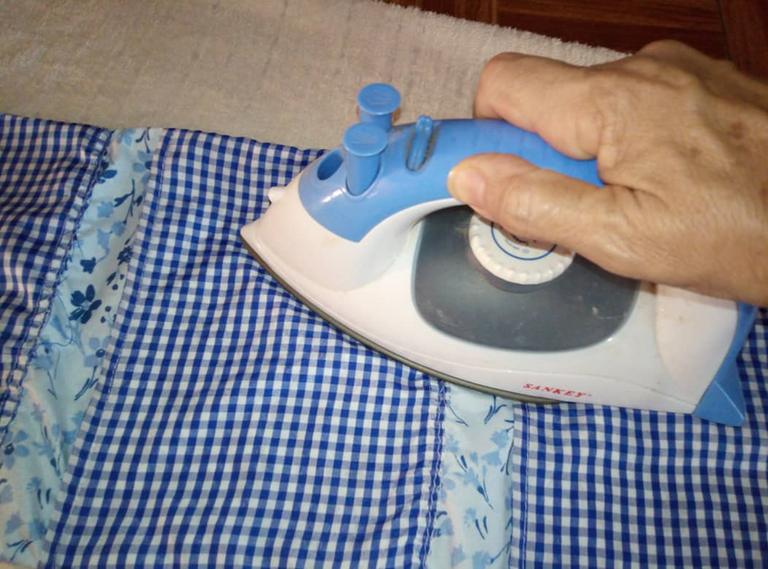
Después de fijar, los compartimientos alisamos las costuras con la plancha caliente.
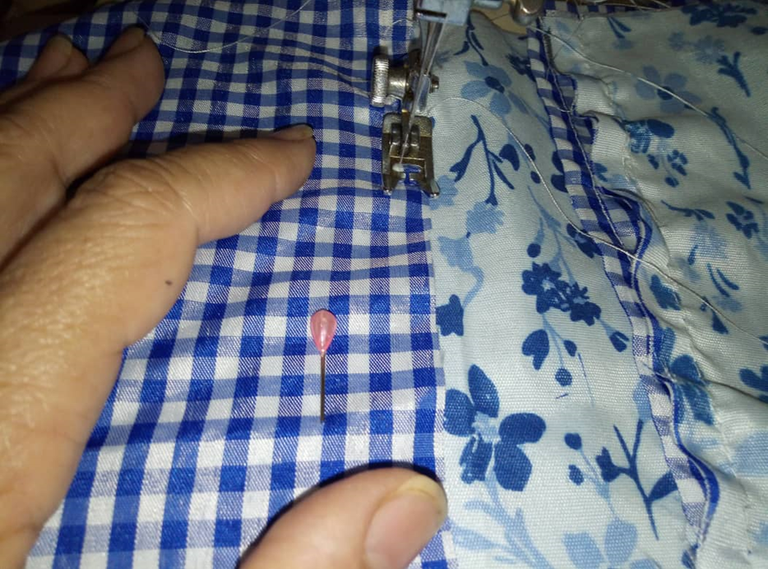
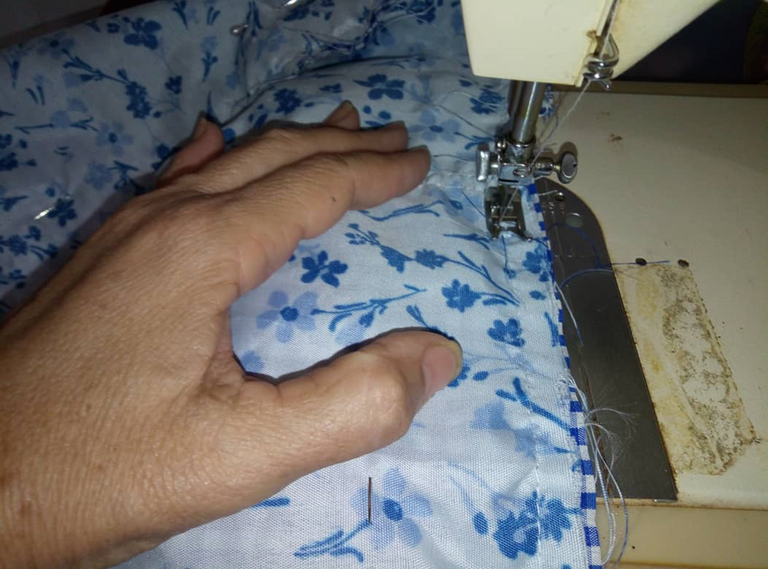
Colocamos la otra base de la tela por el derecho encima de los bolsillos ya pegados y cosemos dejando aproximadamente un cmts. desde el orillo de la tela para que quede bien cosido y evitar que se pueda descoser.
After fixing the compartments, smooth the seams with a hot iron.
We place the other base of the fabric on the right side on top of the already glued pockets and sew leaving approximately one cm. from the edge of the fabric so that it is well sewn and to prevent it from unpicking.
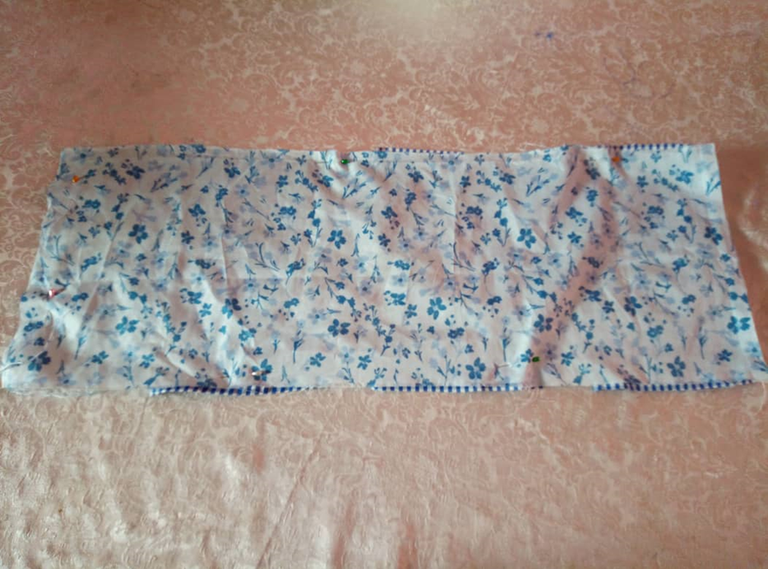
Antes de cerrar por completo, dejamos una pequeña abertura sin cerrar, para poder voltear al derecho nuestra tela.
Before closing completely, we leave a small opening without closing, to be able to turn our fabric right side out.
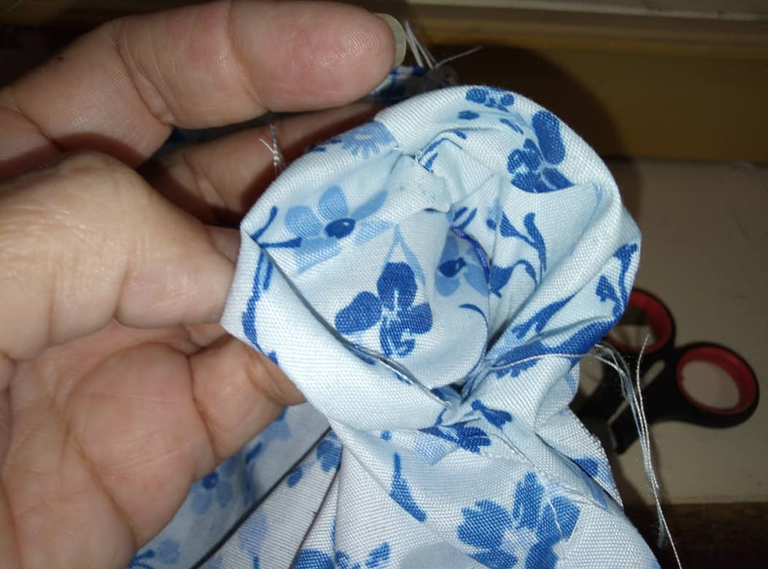
Volteamos el organizador al derecho, haciéndole una costura de ½ cmts. aproximadamente para definir mejor el acabado de nuestro trabajo manual.
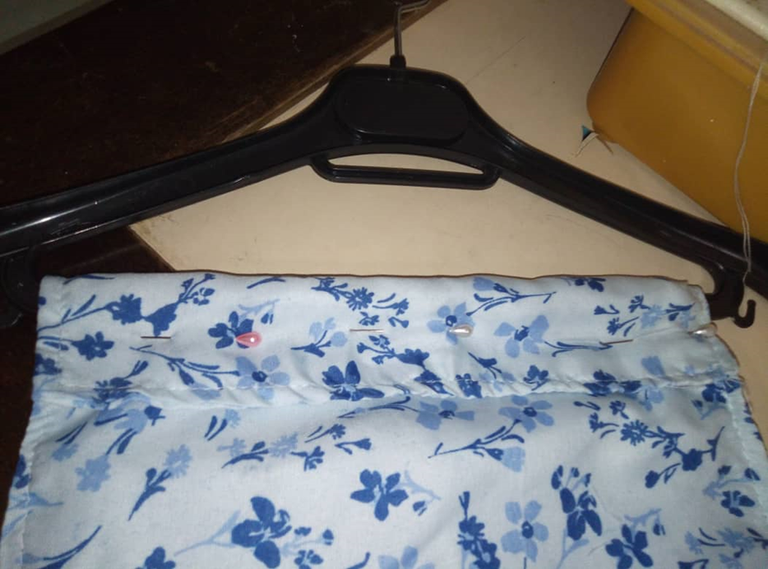
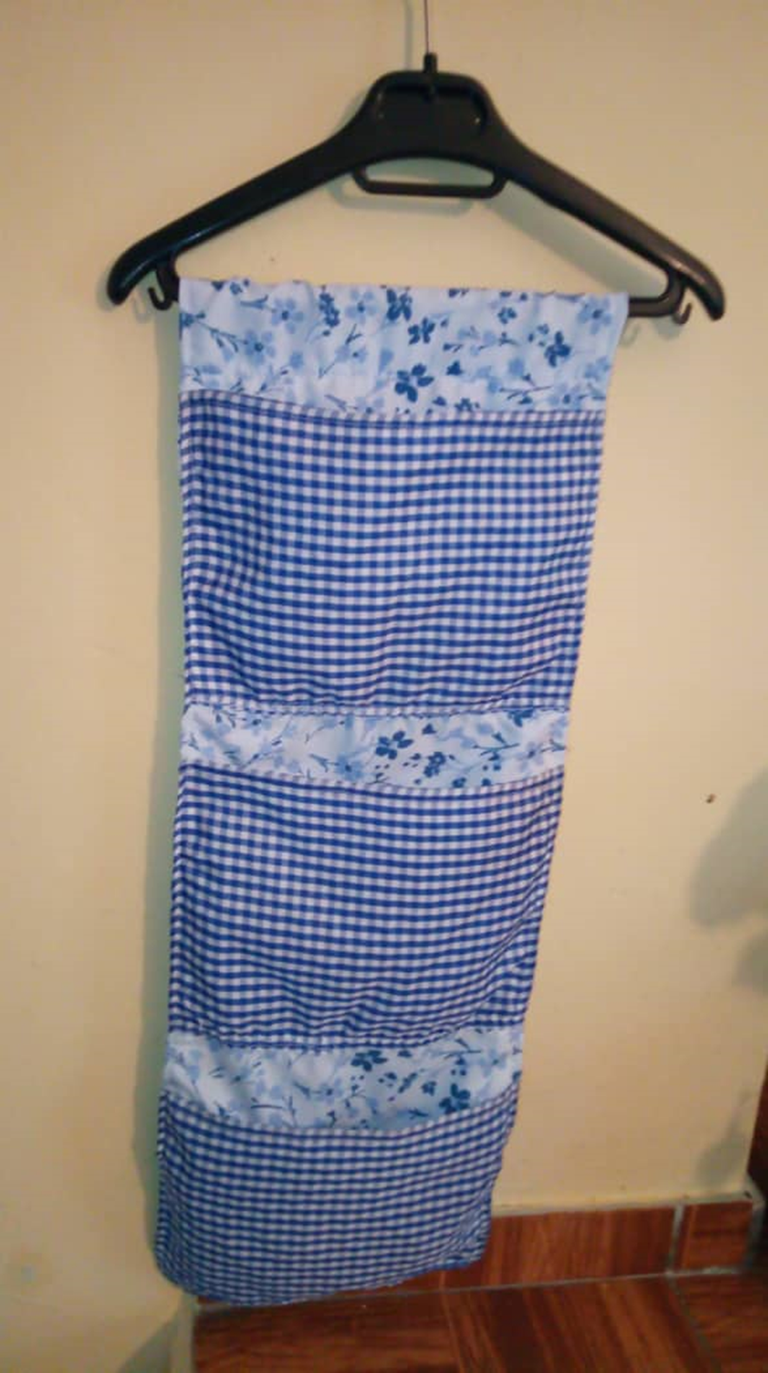
Fijamos con alfileres el gancho de ropa, doblando la tela hacia la parte trasera, dejando espacio suficiente para poder coser sin dificultad.
We turn the organizer right side out, making a seam of approximately ½ cm. to better define the finish of our handwork.
We pin the clothes hanger, folding the fabric towards the back, leaving enough space to be able to sew without difficulty.
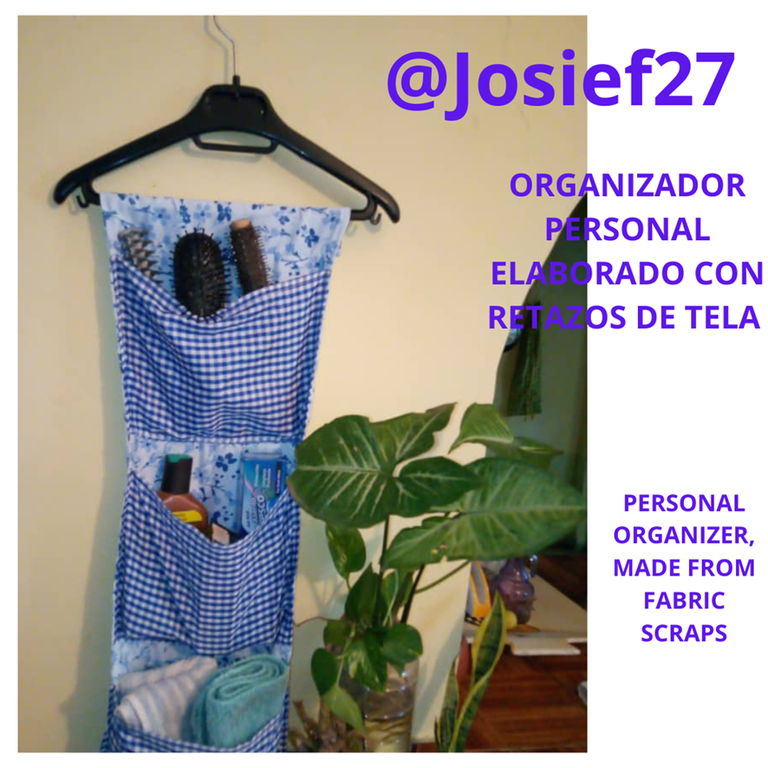
Así quedo este bonito y cómodo organizador, espero les guste, gracias por acompañarme, leer, comentar y votar. Mil gracias.
I hope you like it, thank you for joining me, reading, commenting and voting. Thank you very much.
Las fotos son de mi autoria, tomadas con mi tlf. Honor 7S, editada en Canva, traducido con Deepl.
The photos are my own, taken with my Honor 7S phone, edited in Canva, translated with Deepl.