Hello to all the good people's and lovers of leofinance and all hive communities, it's my pleasure to show you my art work.
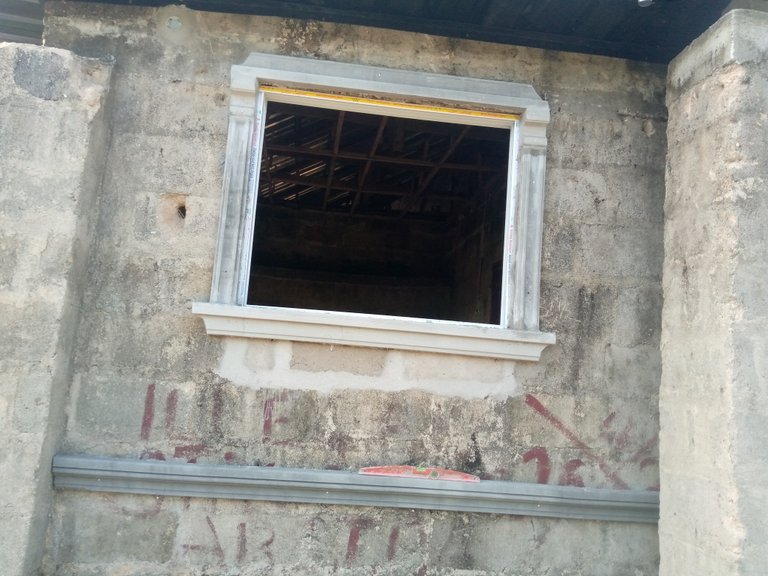
In this post i will be showing my work, windowhood as displays here , this is entirely my creation and i will show the process involved in creating it . but first what purpose does this windowhood serve,it serves as a design,it also serve as a protection to the almaco flame already fixed on the window so that sun,and rain can't easily destroy it.now let's start from what is needed to get the work done to a perfect standard.
:Sand
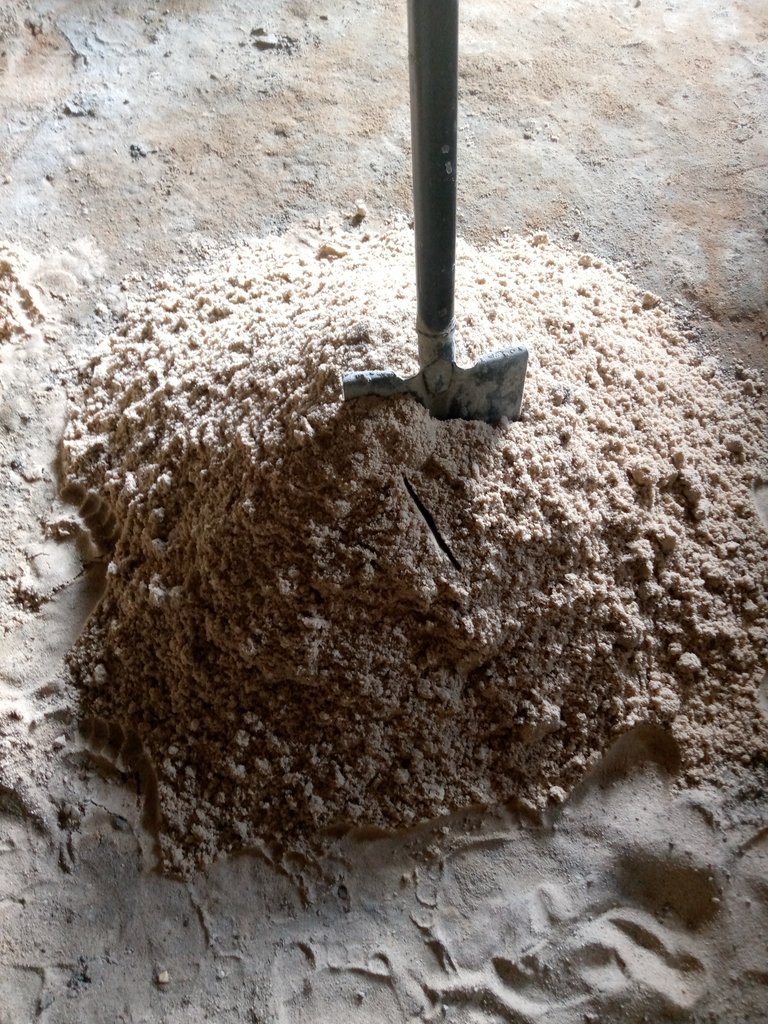
A good white Sharp sand is needed so that after moulding it when dried the color will be neat.cement is also important,and this should not be white cement as it dry faster.now we mixed the sand and cement together and added water.
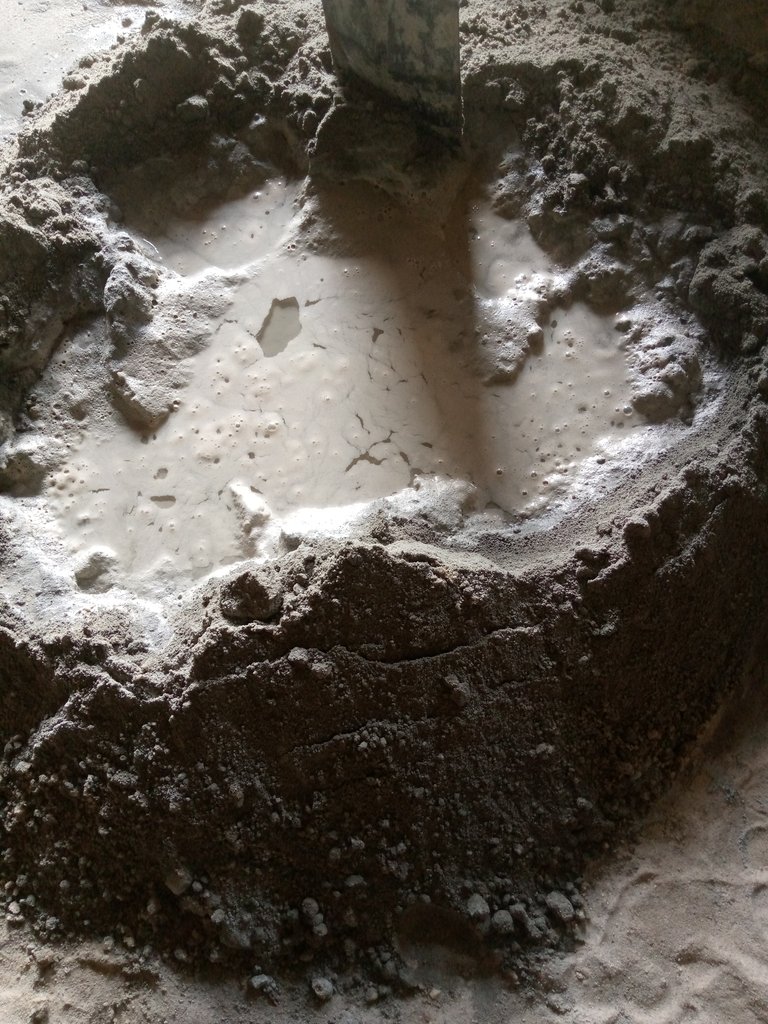
When i turn them it will become watery and soft.lets see another tools.
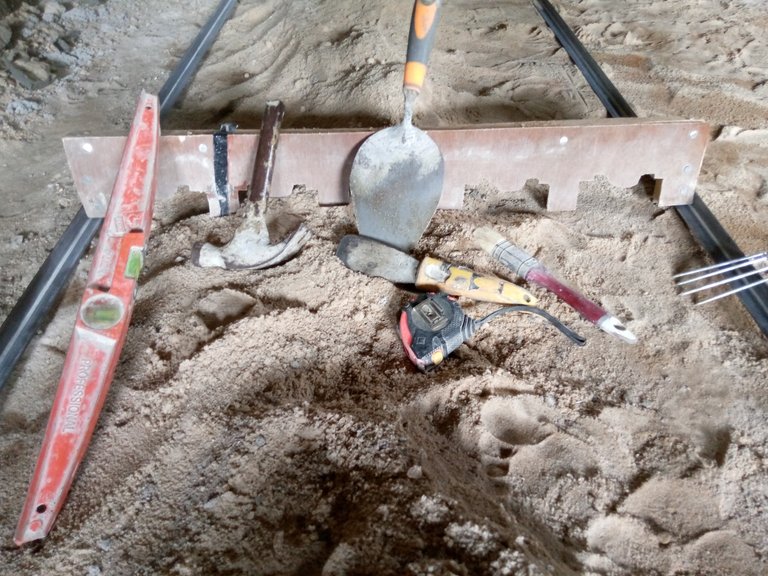
In here you will see angle iron,that long black thing by the side,you will also see a design carved with wood,a hammer,4inches concrete nail, measuring tape,trowel,plume,and brush all this tools help in creating the window hood.
TIME TO MOULD.
To mould i will first put sand in the middle of the angle iron
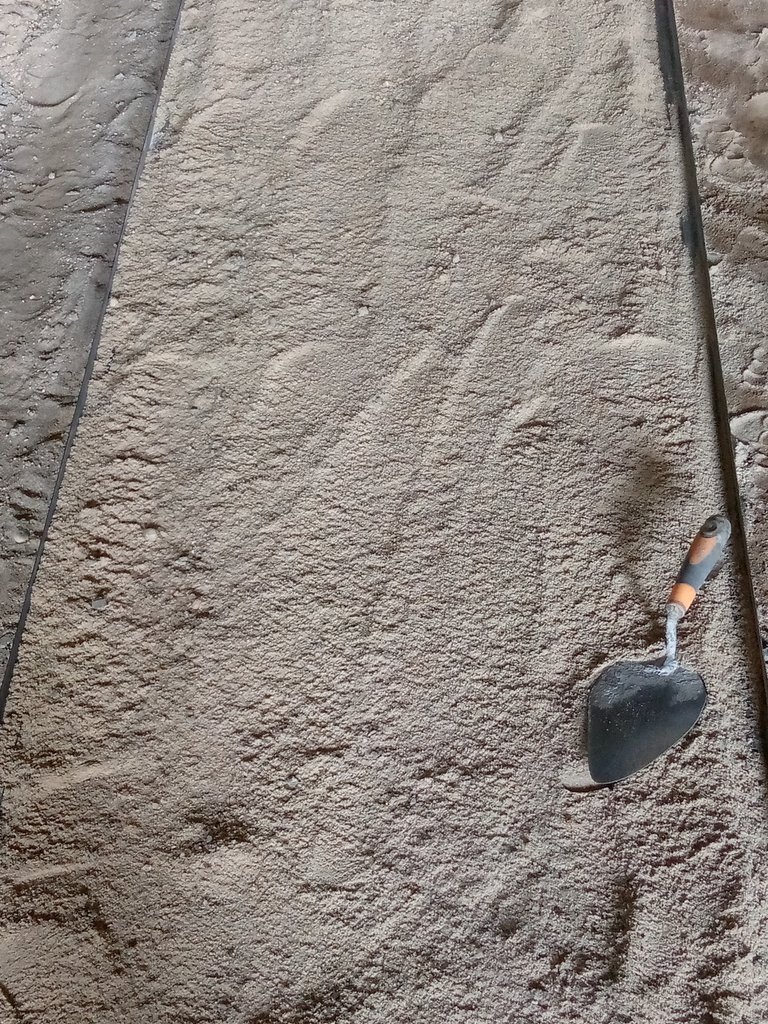
Then i will spread it, this will help me to get the thickness of what am about to mould,it will also help me to pull it out easily when it's dried after that i will now use my shovel take some of the mixed cement and put inside a headpan
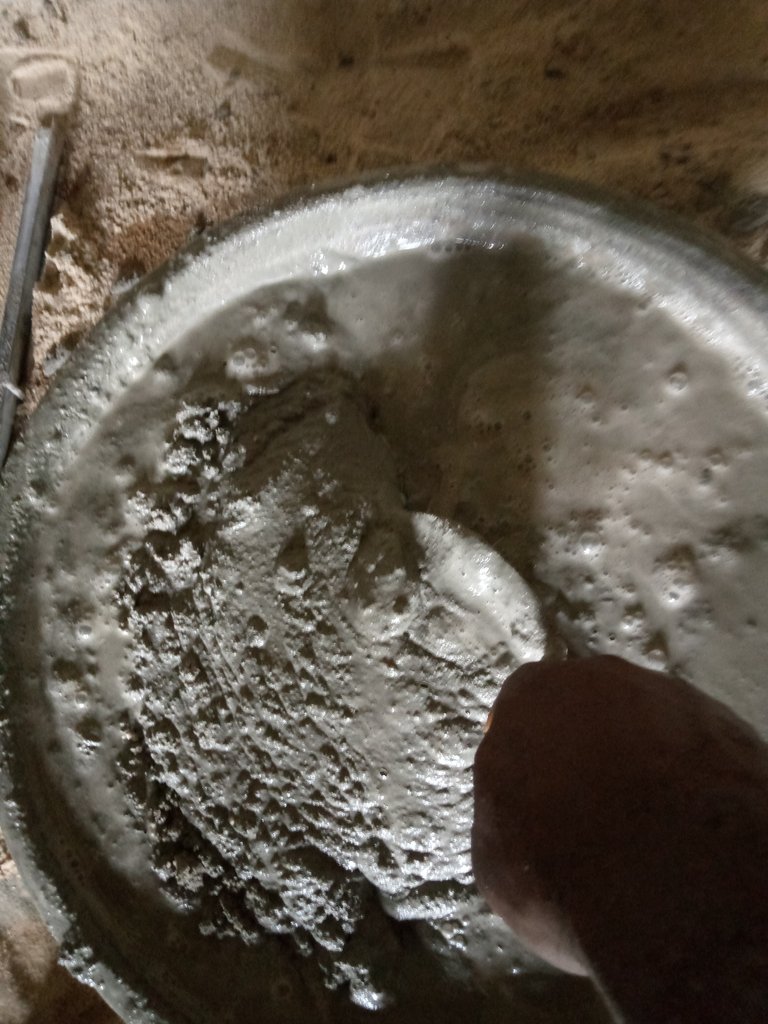
Turn it very well and pour it on the sprayed sand i will now use the design carved in wood to run through it after running through it the designs on it will be visible on the mixed cement and sand
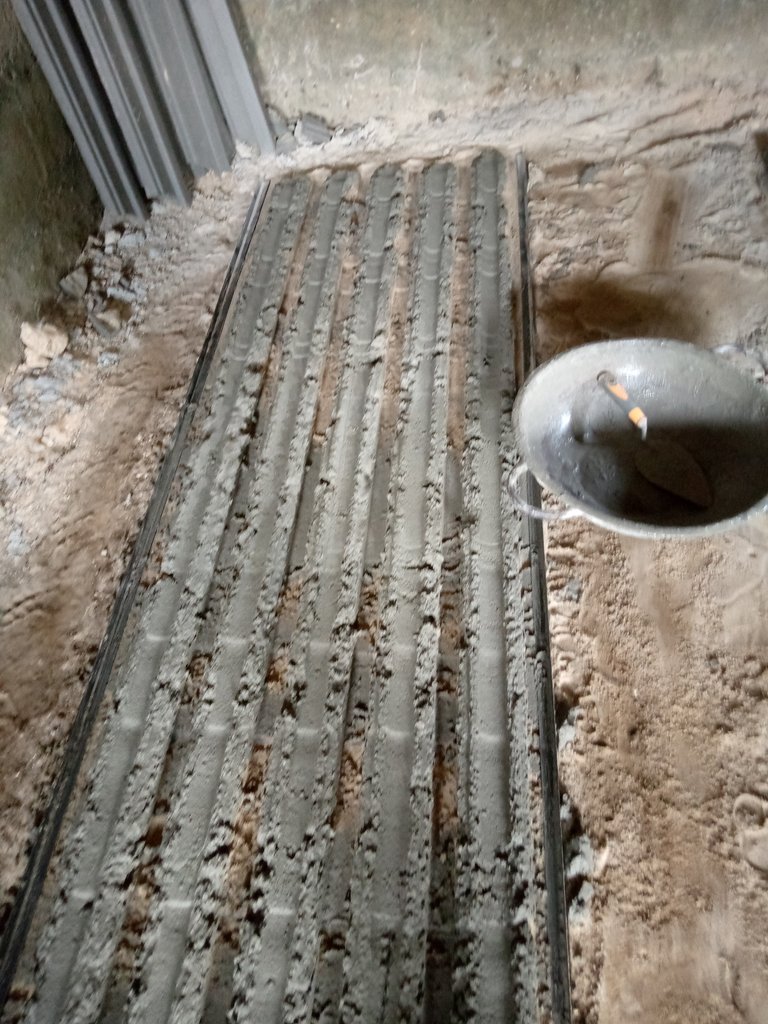
This is how it will be for the first time i will still run it again by putting another cement add some water turn it and pour it on top of the design again this will continue until it becomes like this
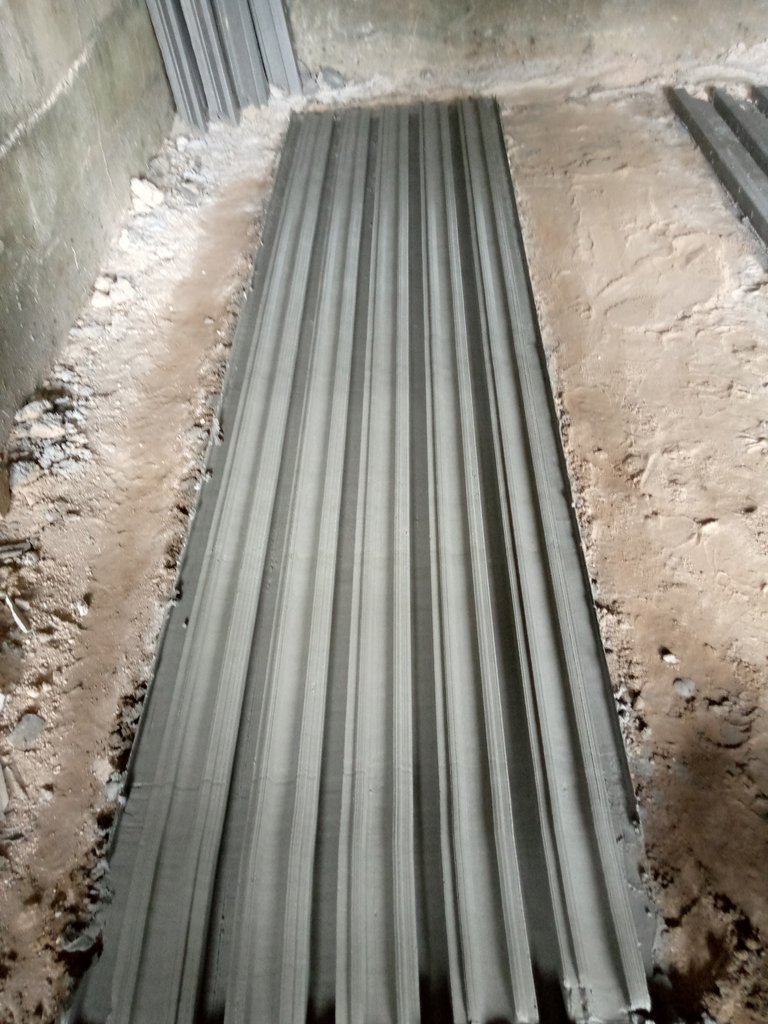
Now i going to give it time to dry a little before cutting it to sizes
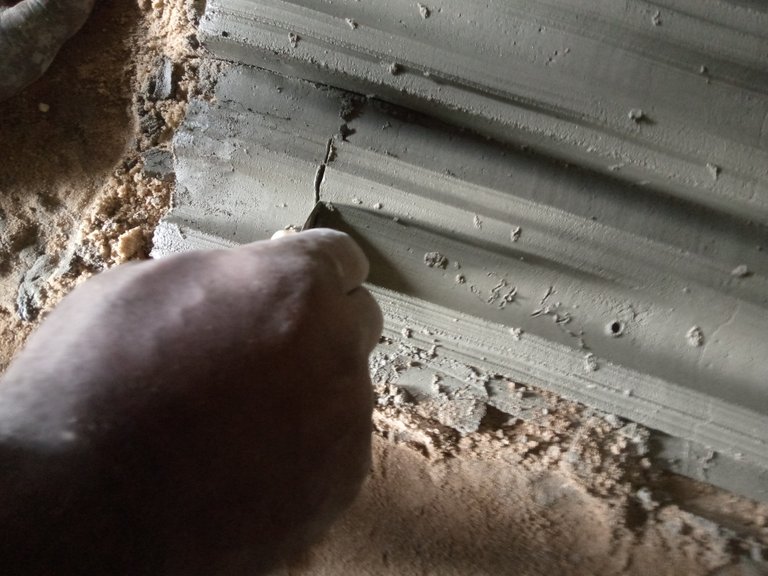
When dried i will first pulled it up and remove the sand so that it can dry some more .
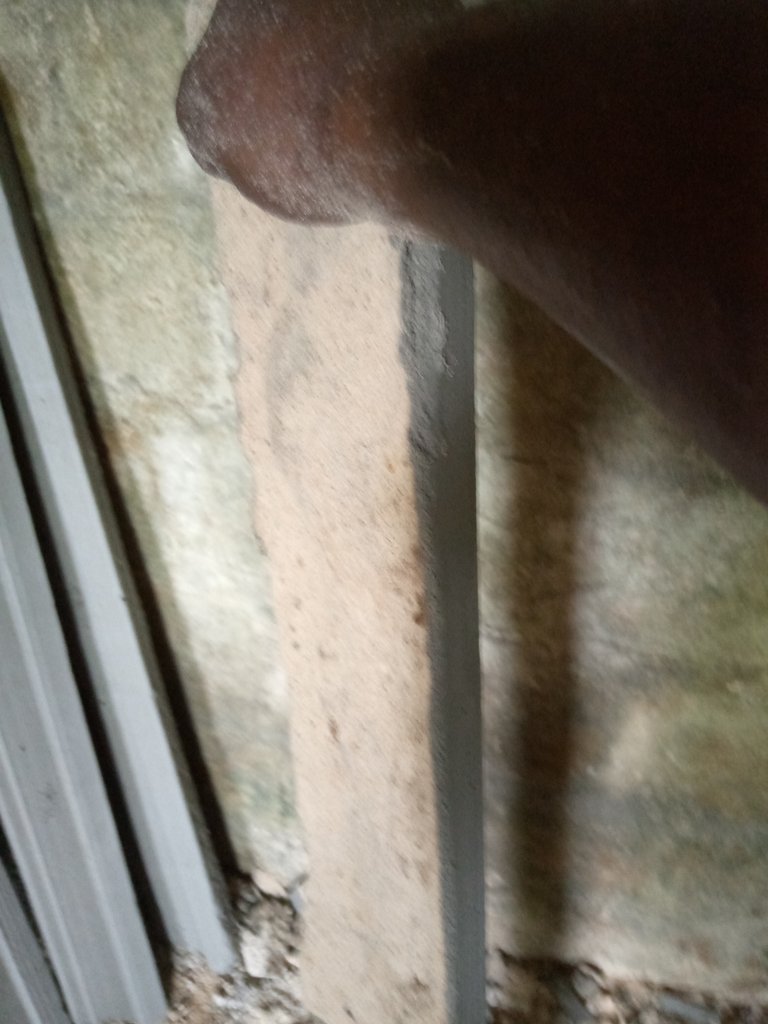
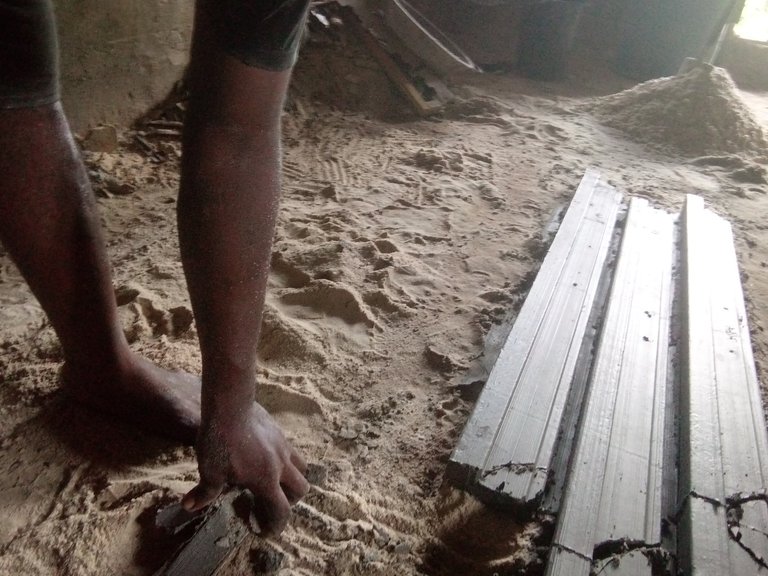
TIME TO FIX IT
To fix it i will first sweep the remaining sand on it out and put nails on the wall this will serve as bracing since the design is going to sit on top of it
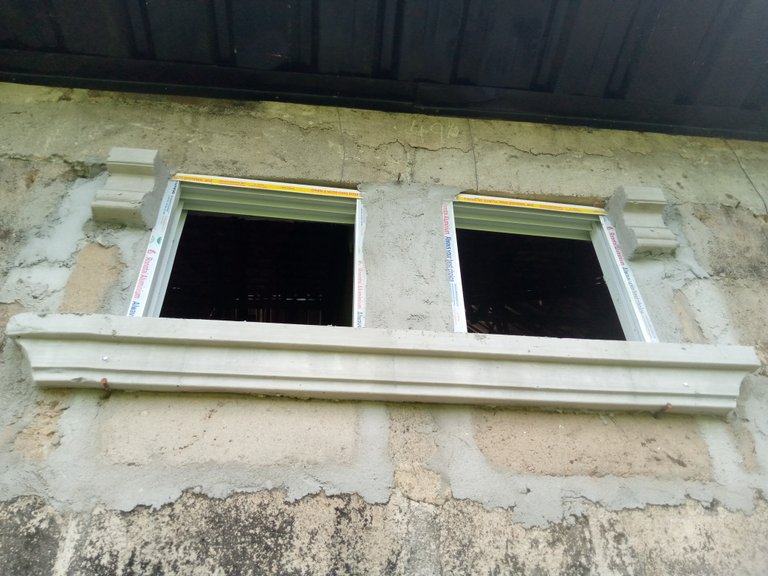
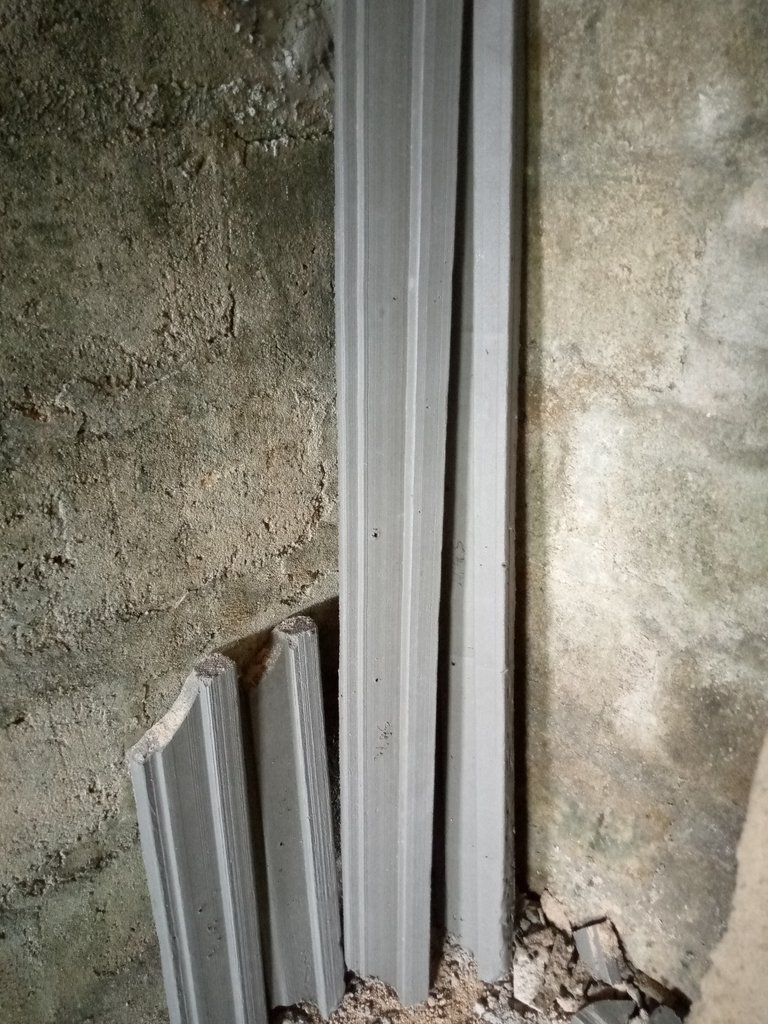
After that i will now fix another small design on top because the window we are trying to fix is three design in one so i will fix that to serve as a carrier because another thing will be untop of it and in each of this i will make use of concrete nail 4inches to be precise when i nail it ,it will now hold the design and make it stronger the mixed cement that i add will also help but the nail work as additional support

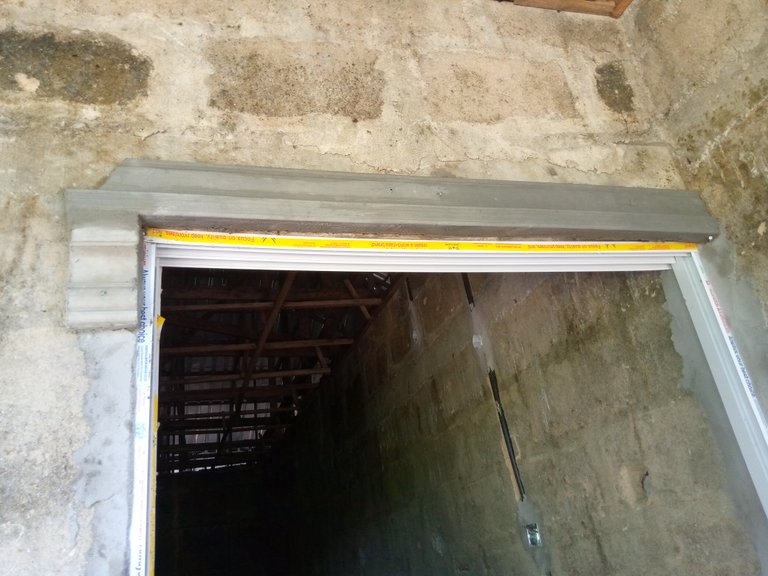
Now this the top is fixed resting on top of that small design i now dress it to make it looks good and smooth using to do this i will deep my brush or small foam inside water and use it to brush the cement i used in dressing it.
To complete the work i need to fix the sides
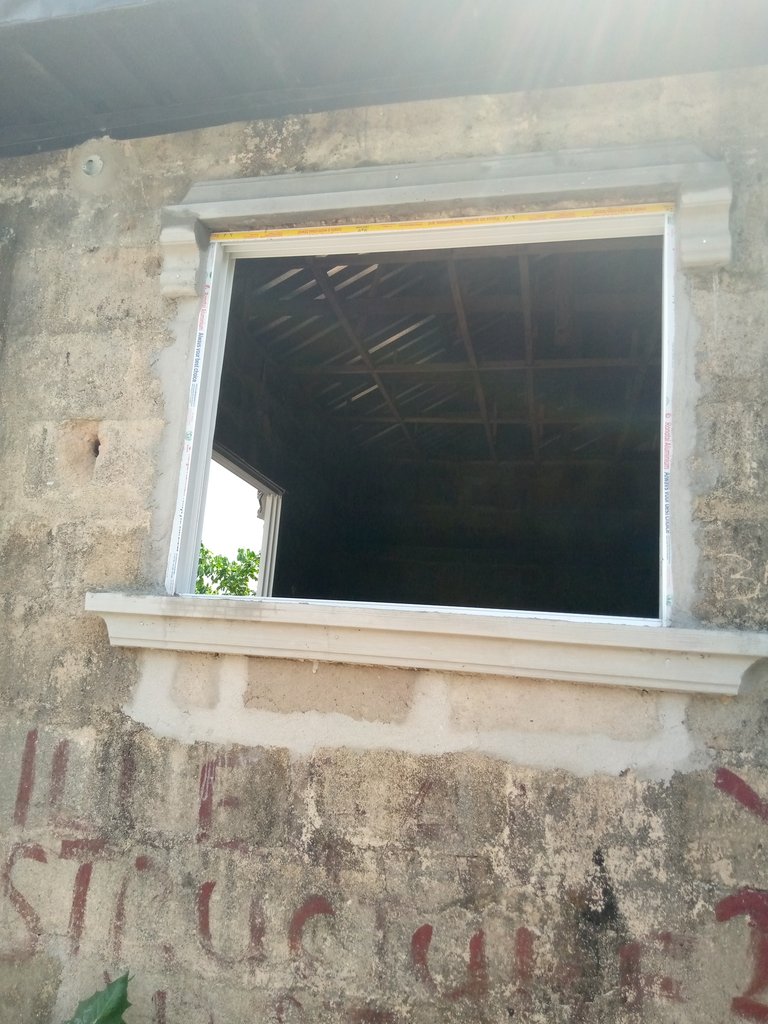
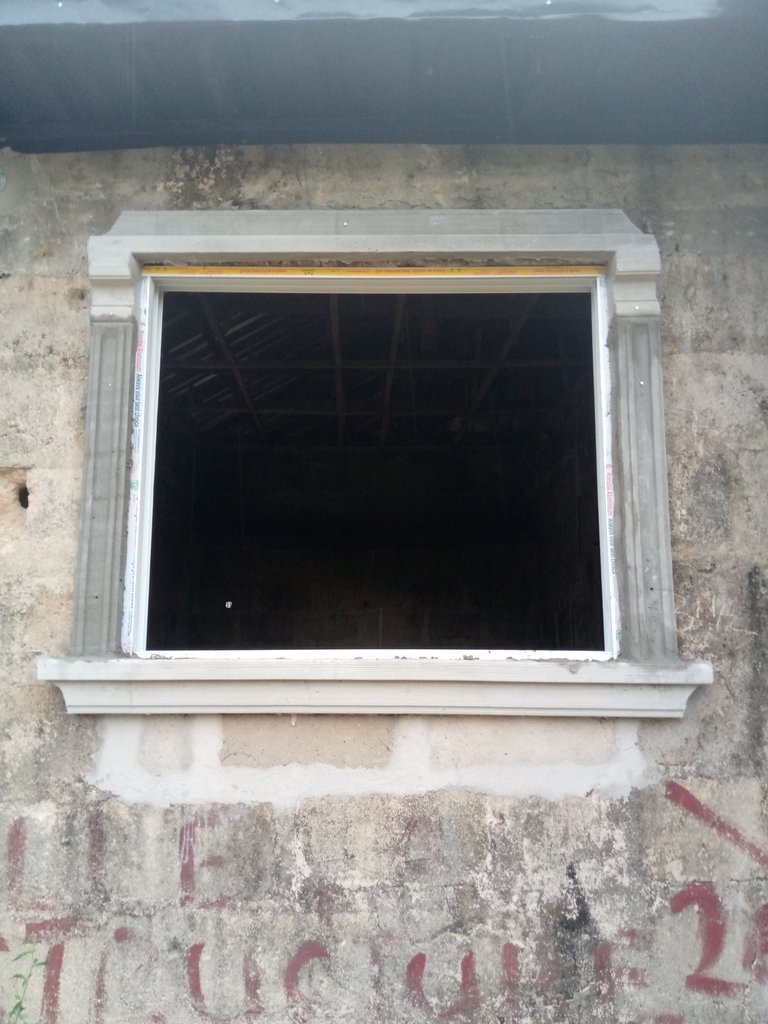
The sides have been fixed as usual I will dress it to make look attractive.

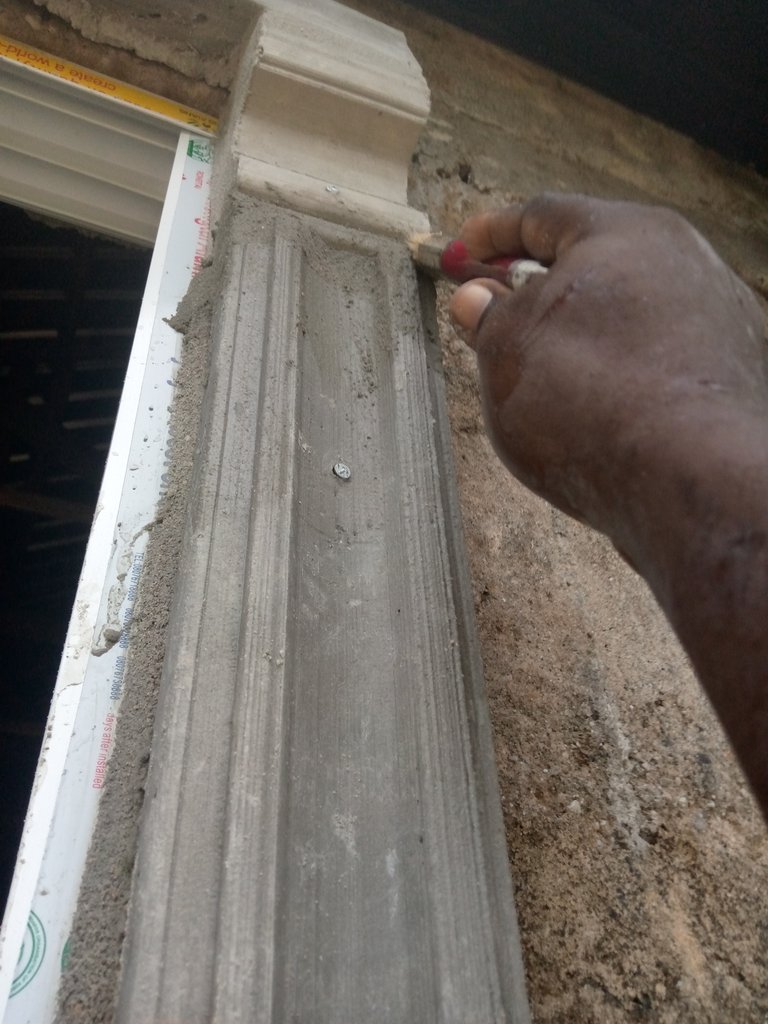
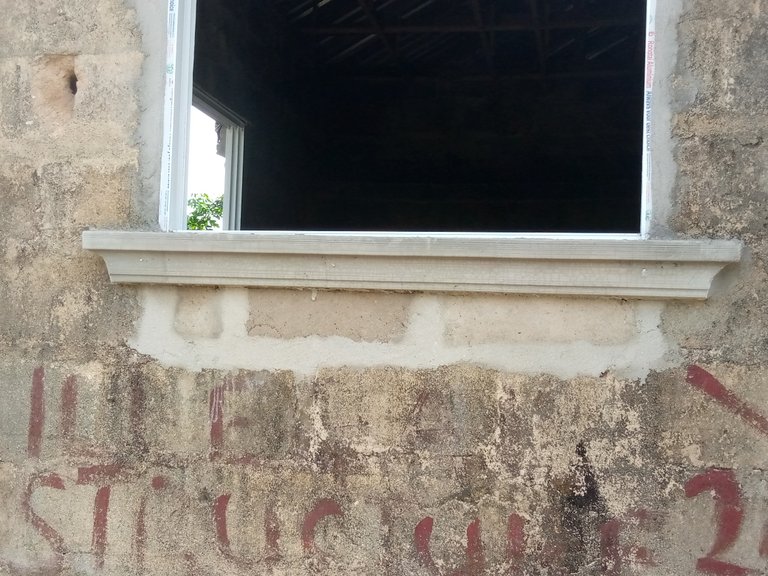
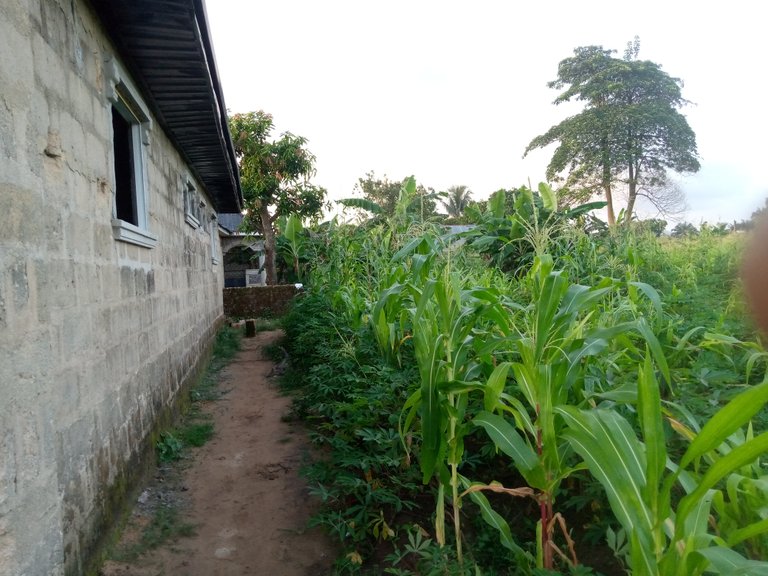
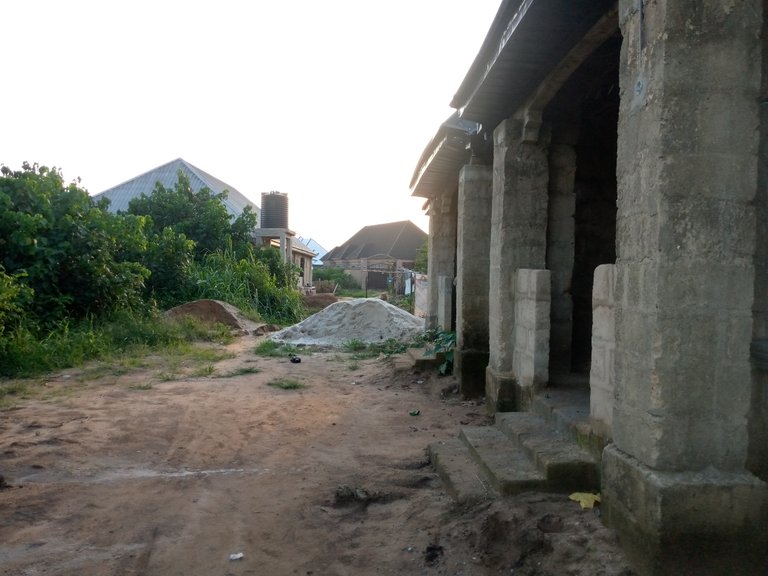
The work is now complete
THANKS FOR MAKING OUT TIME TO LOOK AT THIS.
In my next post i will be showing yet another design.
Thanks once again
All the pictures are from my Tecno spark 4.