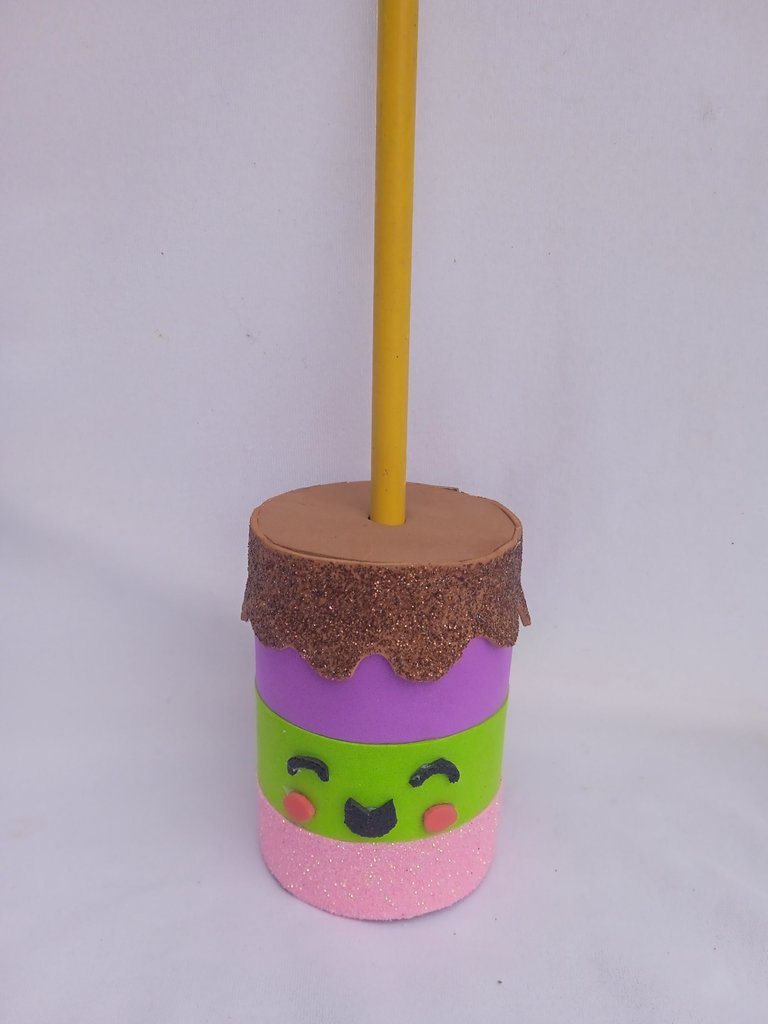
Hola buenas noches mis hermosos amigos , feliz inicio de semana para todos , hoy les quiero compartir un hermoso y muy útil tutorial para los que estudiamos o tenemos pequeños en la escuela , se trata de la restauración y creación de un depósito para un saca puntas
Hello good evening my beautiful friends, happy start of the week for everyone, today I want to share a beautiful and very useful tutorial for those of us who study or have little ones in school, it is about the restoration and creation of a tank for a tip remover.
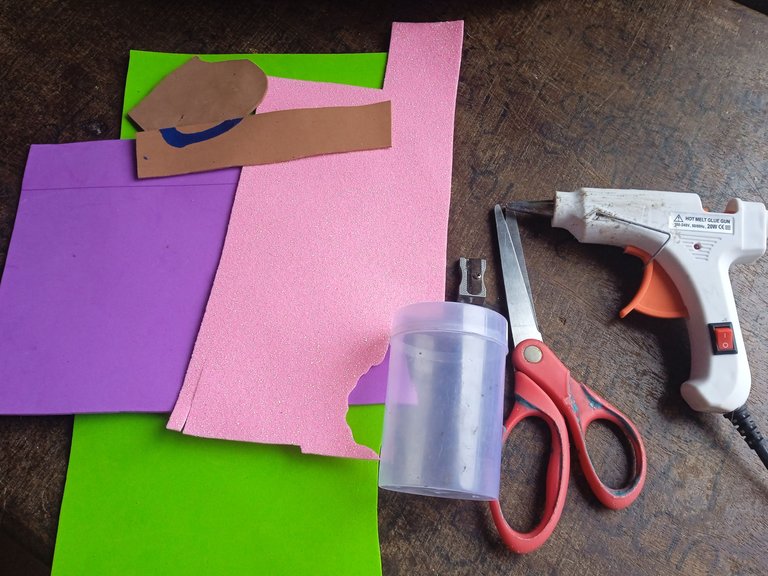
Materiales que utilice :
-Foamis
-Envase plástico
-Silicon
-Tijera
-Saca punta viejo
Materials I used :
-Foamis
-Plastic container
-Silicon
-Scissors
-Old tip remover
A continuación los pasos a seguir:
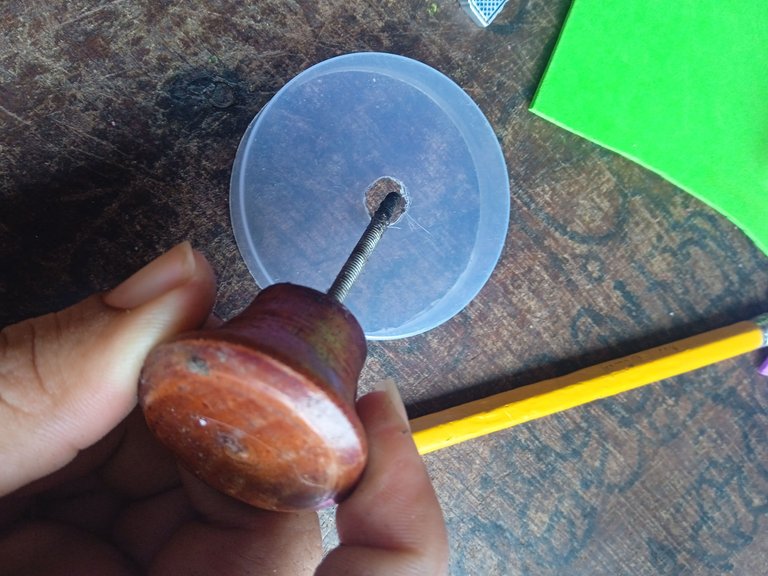
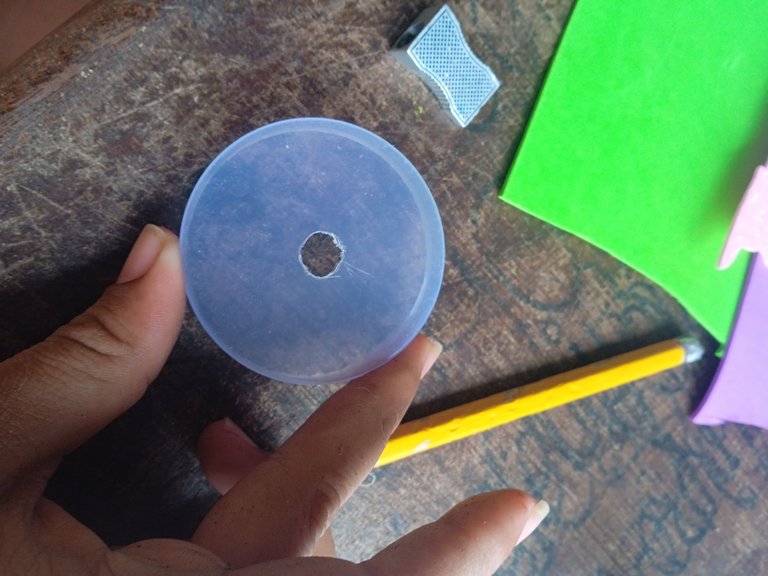
Iniciaremos tomando la tapa de nuestro envase ,marcaremos la medida de nuestro saca punta ,y abriremos el agujero con un tornillo caliente , el envase que utilice para mí saca puntas es un envase reciclado de hisopos
Here are the steps to follow:
We will start by taking the lid of our container, we will mark the size of our tip remover, and we will open the hole with a hot screw, the container I used for my tip remover is a recycled swab container.
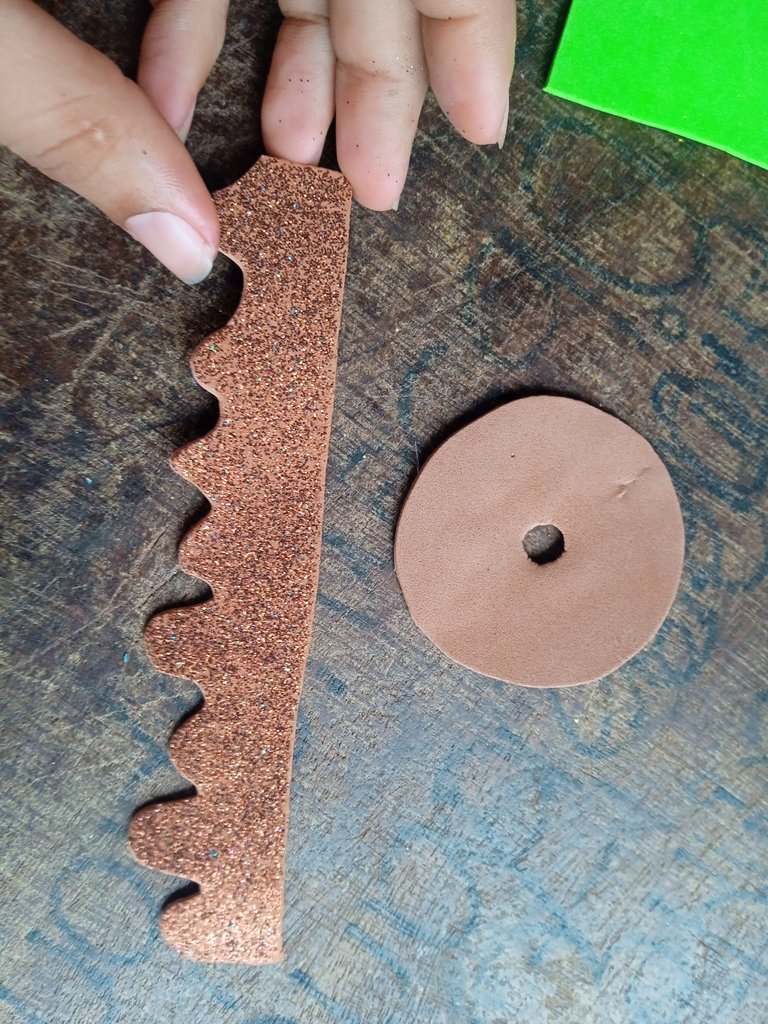
Luego continuaremos recortando las piezas con las que decorare la tapa ,recortare un círculo de la misma medida de la tapa , y una tira en forma de glaseado derretido para decorar el alrededor ya que la temática es de helado ,el círculo debe tener el agujero en el mismo lugar de la tapa
Then we will continue cutting out the pieces to decorate the lid, I will cut out a circle of the same size as the lid, and a strip in the form of melted icing to decorate around it since the theme is ice cream, the circle must have the hole in the same place of the lid.
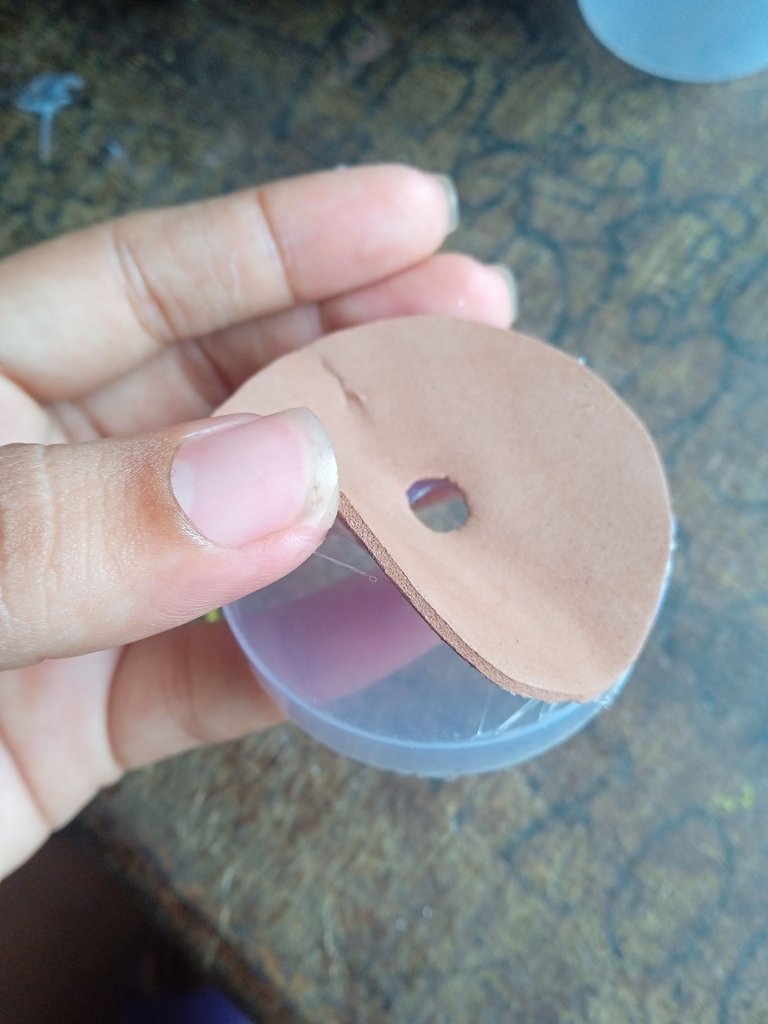
Una vez que recortemos nuestras piezas iniciaremos pegando el círculo en la parte de arriba de nuestra tapa
Once we cut out our pieces we will start gluing the circle on the top of our lid.
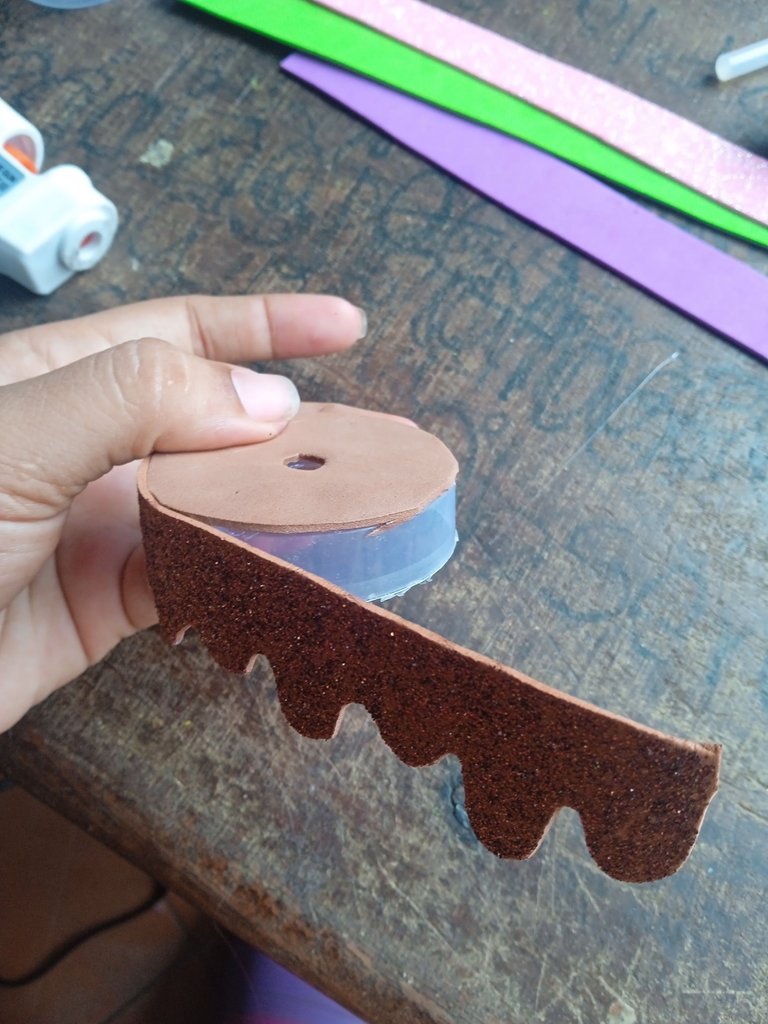
Luego continuamos pegando el glaseado derretido por el alrededor de la tapa
Then we continue gluing the melted icing all around the lid.
Para decorar el fondo de la tapa y no se notará el silicón por dentro ,continúe pegando un círculo color verde , este circulo debe tener un agujero ubicado en el mismo lado donde lo lleva la tapa
To decorate the bottom of the lid and the silicone will not be noticed inside, continue gluing a green circle, this circle should have a hole located on the same side where the lid is.
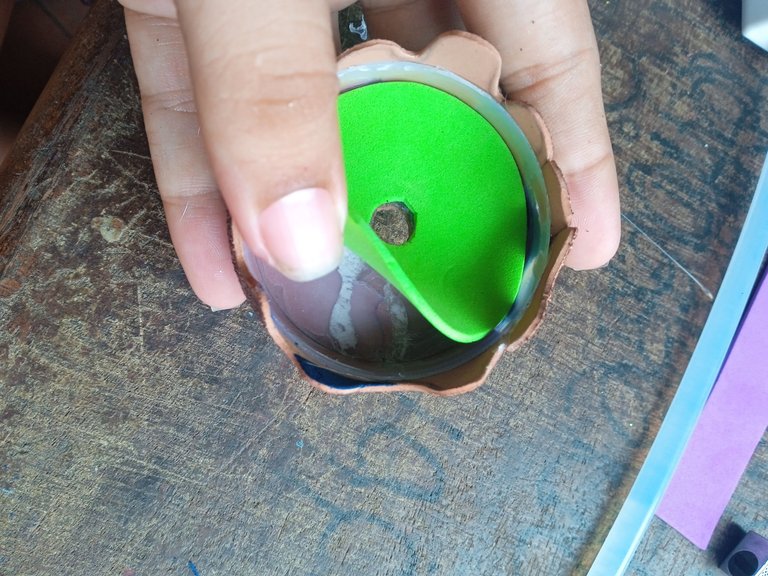
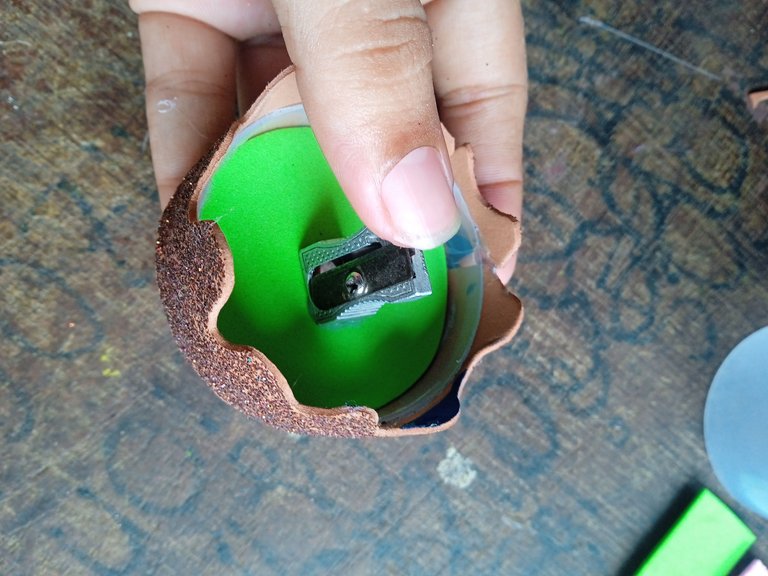
Por último tomaremos nuestro sacapuntas y lo pegaremos en la parte de adentro de nuestra tapa para que quede la basura de el lápiz reciclada en el fondo y no ensuciemos
Finally, we will take our pencil sharpener and glue it on the inside of our lid so that the recycled pencil waste remains on the bottom and we don't make a mess.
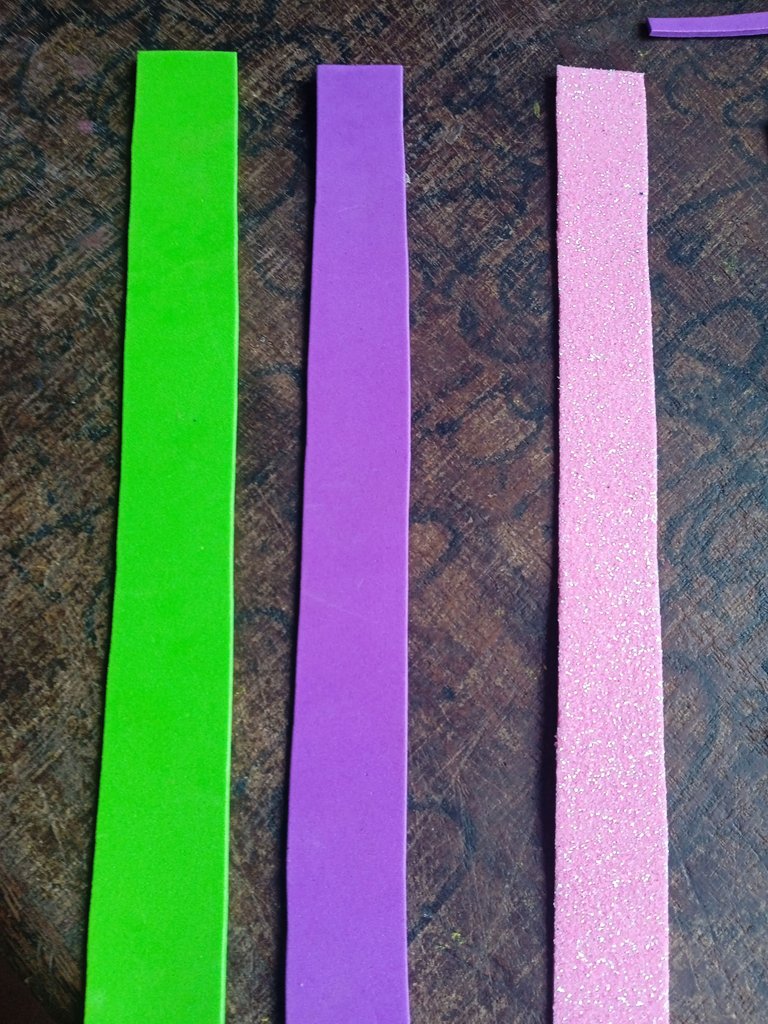
Luego continuaremos recortando tres tiras , estás tiras la utilizaremos para decorar el depósito de nuestro sacapuntas ,utilice tres tonos para que sea con temática de helado
Then we will continue cutting out three strips, these strips will be used to decorate the reservoir of our pencil sharpener, use three tones to make it ice cream themed.
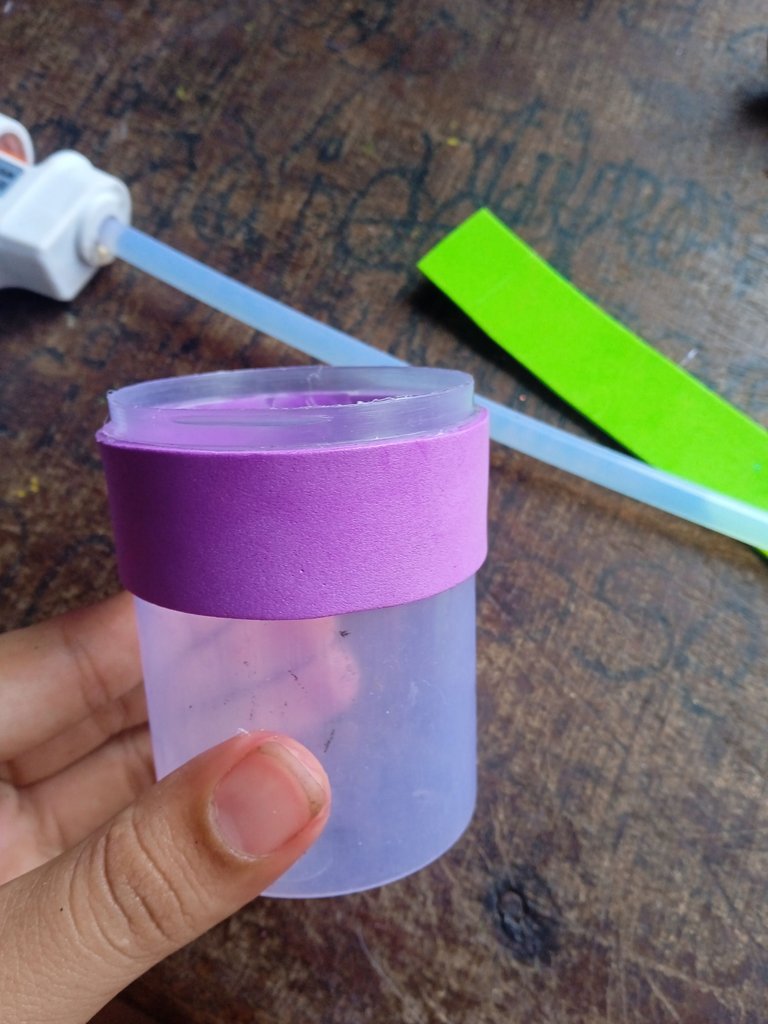
Una vez que tengamos listas nuestras tiras ,vamos a continuar decorando el envase , iniciaremos pegando primeramente nuestra tira morada en la parte de arriba
Once we have our strips ready, we will continue decorating the container, we will start by first gluing our purple strip on the top.
Luego continuamos pegando la tira color verde en el centro y por último la tira color rosa en la parte de abajo
Then we continue gluing the green strip in the center and finally the pink strip at the bottom.
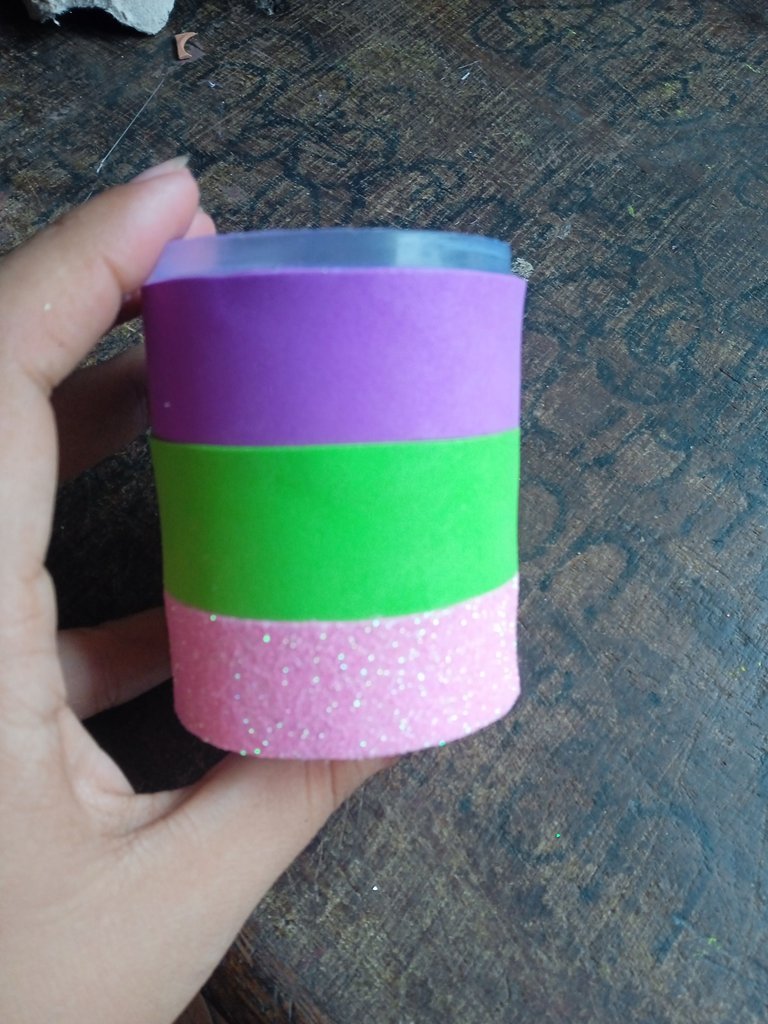
Una vez que cubramos nuestro envase ,vamos a continuar recortando el rostro kwai a nuestro sacapuntas ,sacaremos sus ojos tipo arco similando que están cerrado ,su boca y sus cachetes sonrojados
Once we cover our container, we will continue cutting out the kwai face to our pencil sharpener, we will take out his eyes, his mouth and his blushing cheeks.
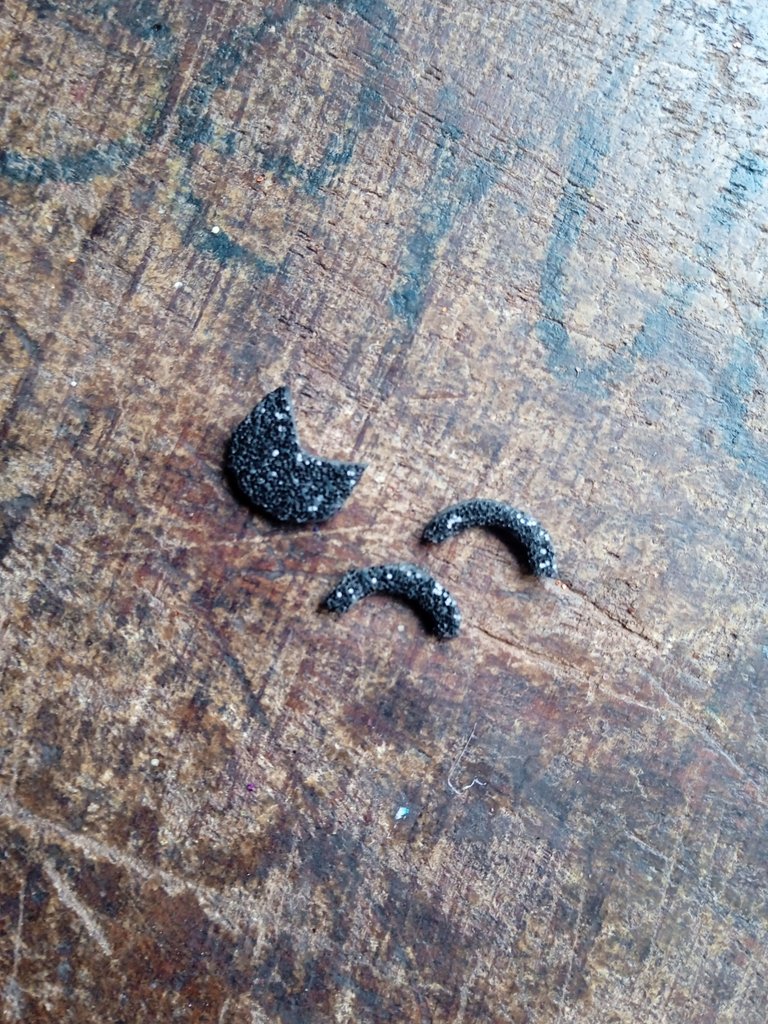
Finalmente tomaremos el rostro y lo pegaremos en todo el centro ,semi separados sus ojos ,en el centro su boca y a los lados sus cachetes sonrojados
Finally we will take the face and glue it in the center, half separated his eyes, in the center his mouth and on the sides his blushing cheeks.
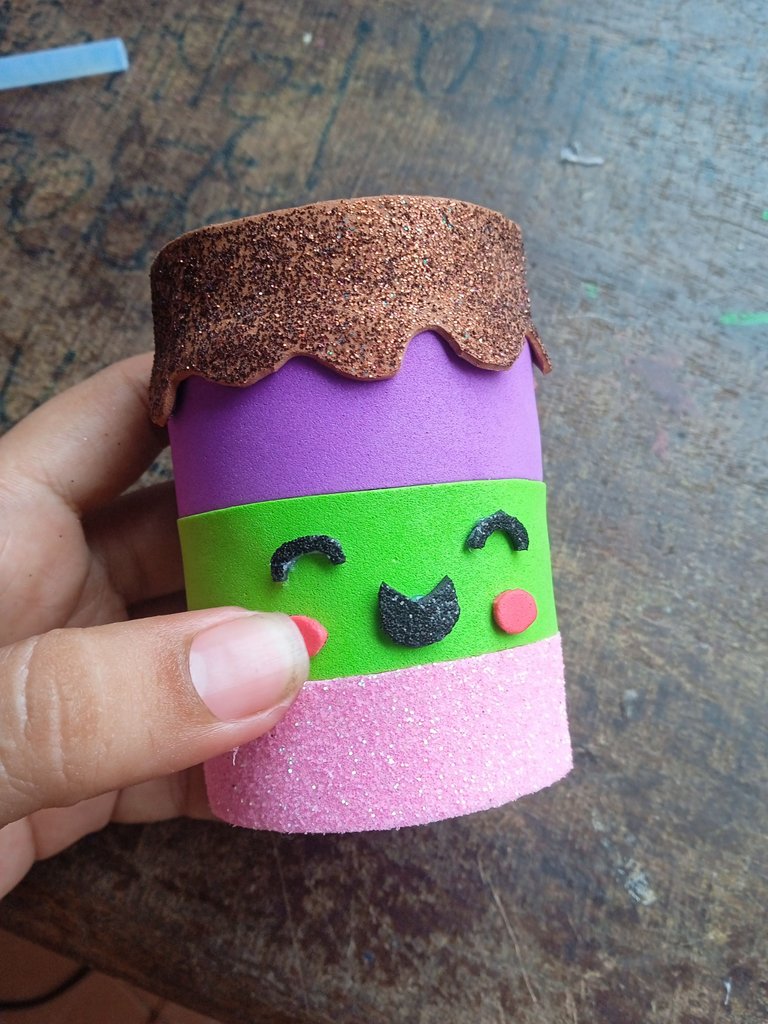
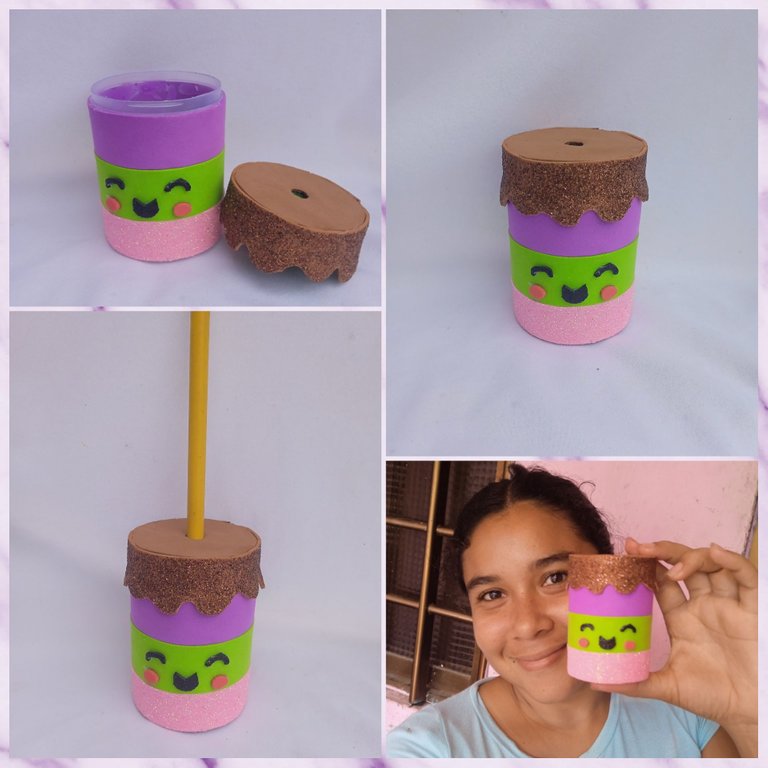
Este es el resultado final de mi hermoso sacapuntas con depósito para reciclar la basura , ideal para que los pequeños asistan y lleven a clases , una idea para reciclar ,ahorrar y transformar ,las fotos las tomé con mi teléfono Redmi 9C y los textos los traduje con el traductor deepl ,feliz noche
This is the final result of my beautiful pencil sharpener with tank to recycle garbage , ideal for the little ones to attend and take to class , an idea to recycle ,save and transform ,the photos were taken with my phone Redmi 9C and the texts I translated with the translator deepl ,happy night
