Hola, hermosa comunidad de Hive!😆, el día de hoy vengo a enseñarles como hacer de manera rapida y facil unos rosetones, que te podran servir para usarlos en tus decoraciones.
Hello, beautiful Hive! community, today I am going to show you how to quickly and easily make rosettes that you can use in your decorations.
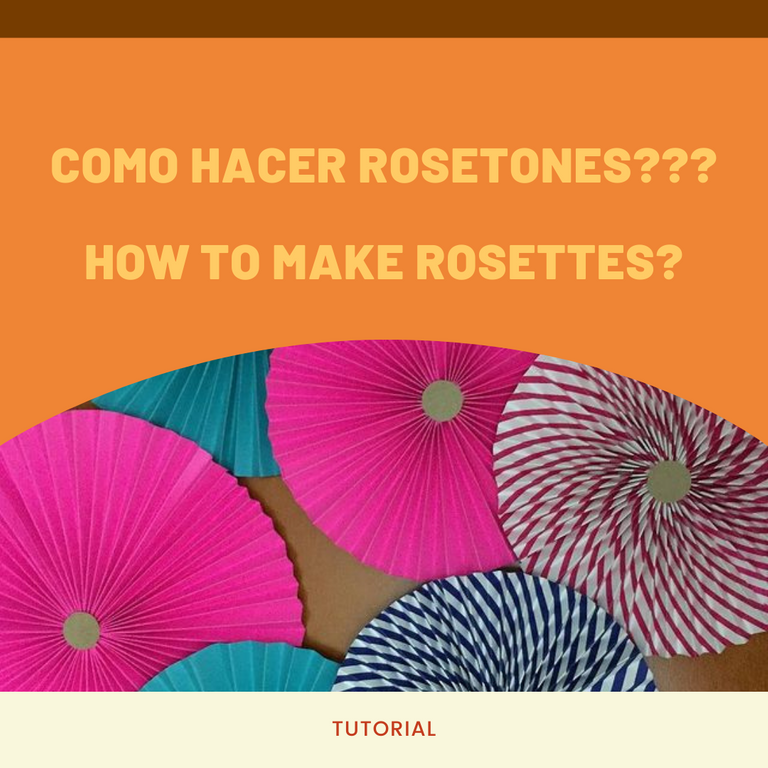
QUE SON LOS ROSETONES? // WHAT ARE ROSETTES?
Los rosetones de papel, son círculos plegados que se convierten en tus aliados al momento de realizar una decoración. Son económicos y fáciles de hacer. Tiene infinidades de usos por lo que podemos utilizarlos para decorar las paredes de tu hogar, las habitaciones de nuestros hijos, decoraciones para fiestas, hacer un espacio para fotos, en arreglos con globos, etc.
The paper rosettes are folded circles that become your allies when making a decoration. They are inexpensive and easy to make.
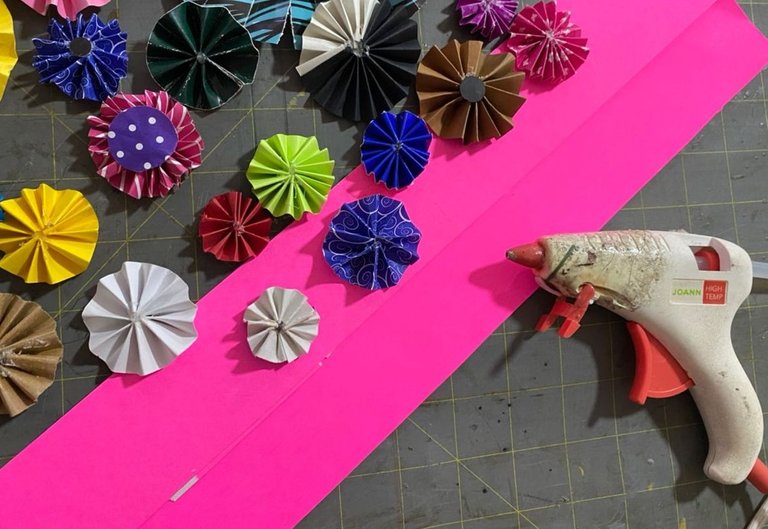
They have infinite uses so we can use them to decorate the walls of your home, your children's rooms, party decorations, to make a space for photos, in arrangements with balloons, etc.
MATERIALES
Para realizar los necesitaremos los siguientes materiales:
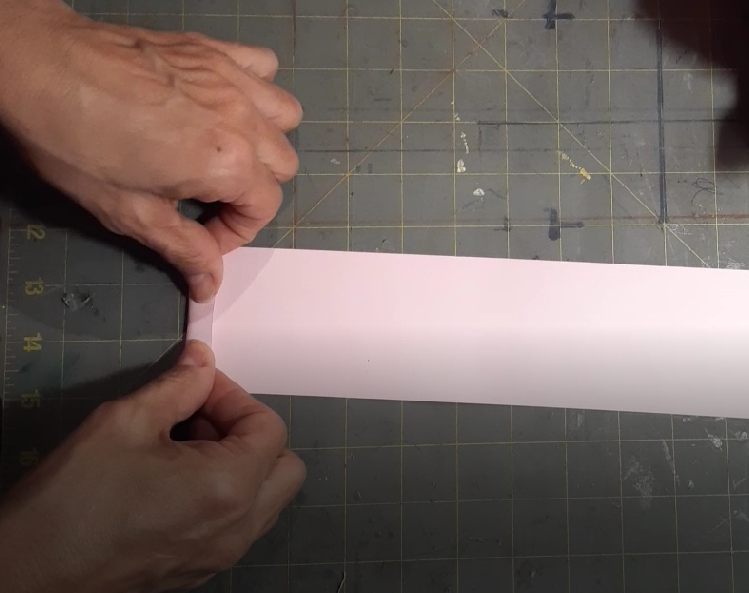
Para un rosetón de 10cm de diámetro:
• 2 tiras de papel o cartulina de 20cm de largo por 10 cm de ancho
• Pegamento caliente de silicón.
For a rosette of 10cm in diameter:
- 2 strip of paper or cardboard 20cm long by 10cm wide.
- Silicone hot glue
¿Cómo hacer rosetones de papel? // How to make paper rosettes?
PROCEDIMIENTO
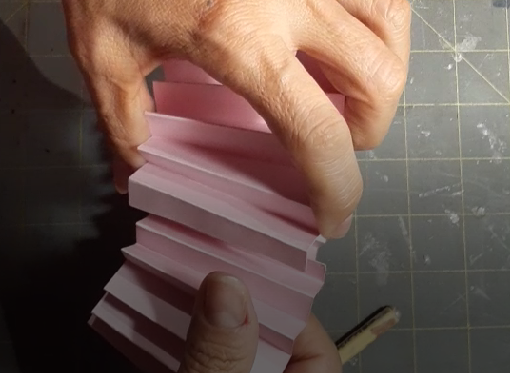
Comenzaremos plegando la tira de papel haciendo dobleces de 1 cm de ancho.
We will start by folding the strip of paper making folds of 1 cm wide.
Una vez plegadas las dos tiras, verificando que cada extremo de la tira quede opuesto al otro, ya que esto nos permitirá unirlas mejor.
Once the two strips are folded, making sure that each end of the strip is opposite to the other, as this will allow us to join them better.
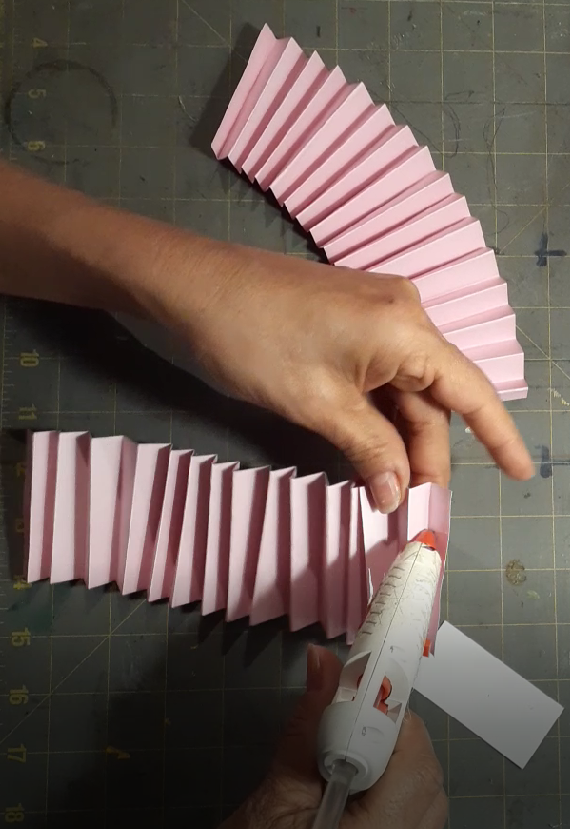
Procedemos a pegar con silicón caliente o pegamento en barra, los extremos de cada tira para unirlas.
We proceed to glue with hot silicone or glue stick, the ends of each strip to join them together.
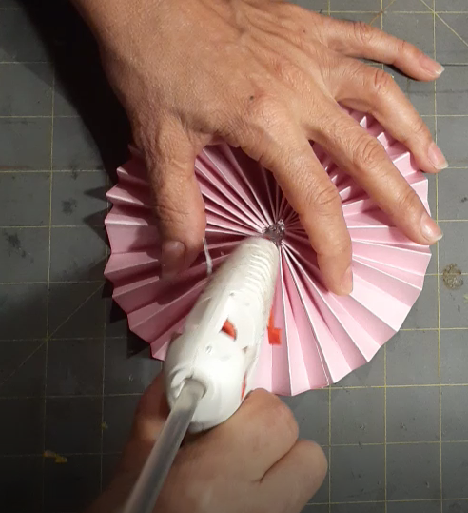
Formaremos un círculo con los extremos de la cartulina, el cual lo vamos a cerrar uniendo la primera tira con la última tira y sellaremos el centro con silicón caliente.
We will form a circle with the ends of the cardboard, which we will close by joining the first strip with the last strip and seal the center with hot silicone.
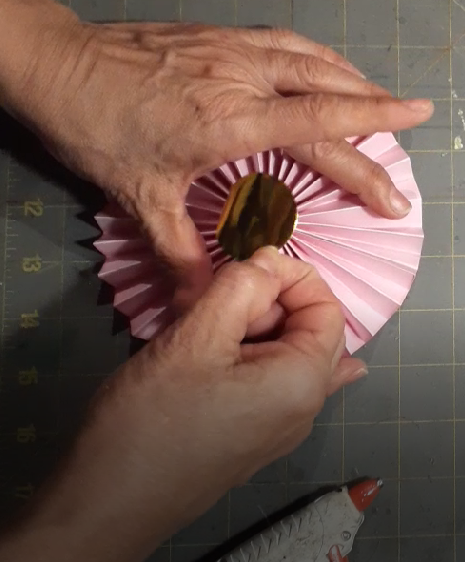
Puedes colocar un círculo pequeño o cualquier figura para que no se note el pegamento.
You can place a small circle or any figure so that the glue is not noticeable.
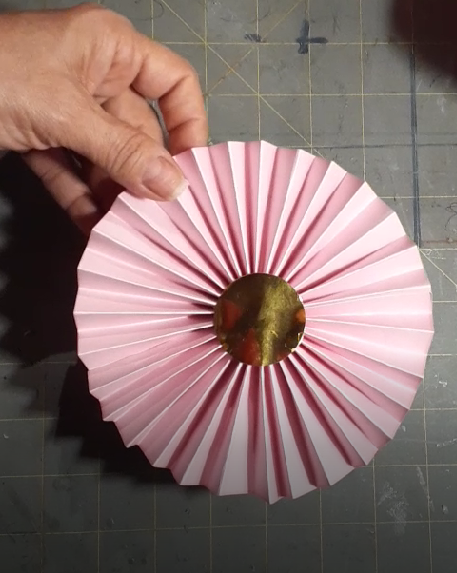
Y listo !! // And that's it!
Muy agradecida de poder aportar algo para ustedes y de corazón muchisimas gracias por estar aqui!!!!!
Very grateful to be able to contribute something for you and from my heart thank you very much for being here

EDITOR:
Photos by me Author's rights reserved
Camera: Samsung A20
Traducido con www.DeepL.com/Translator (versión gratuita)