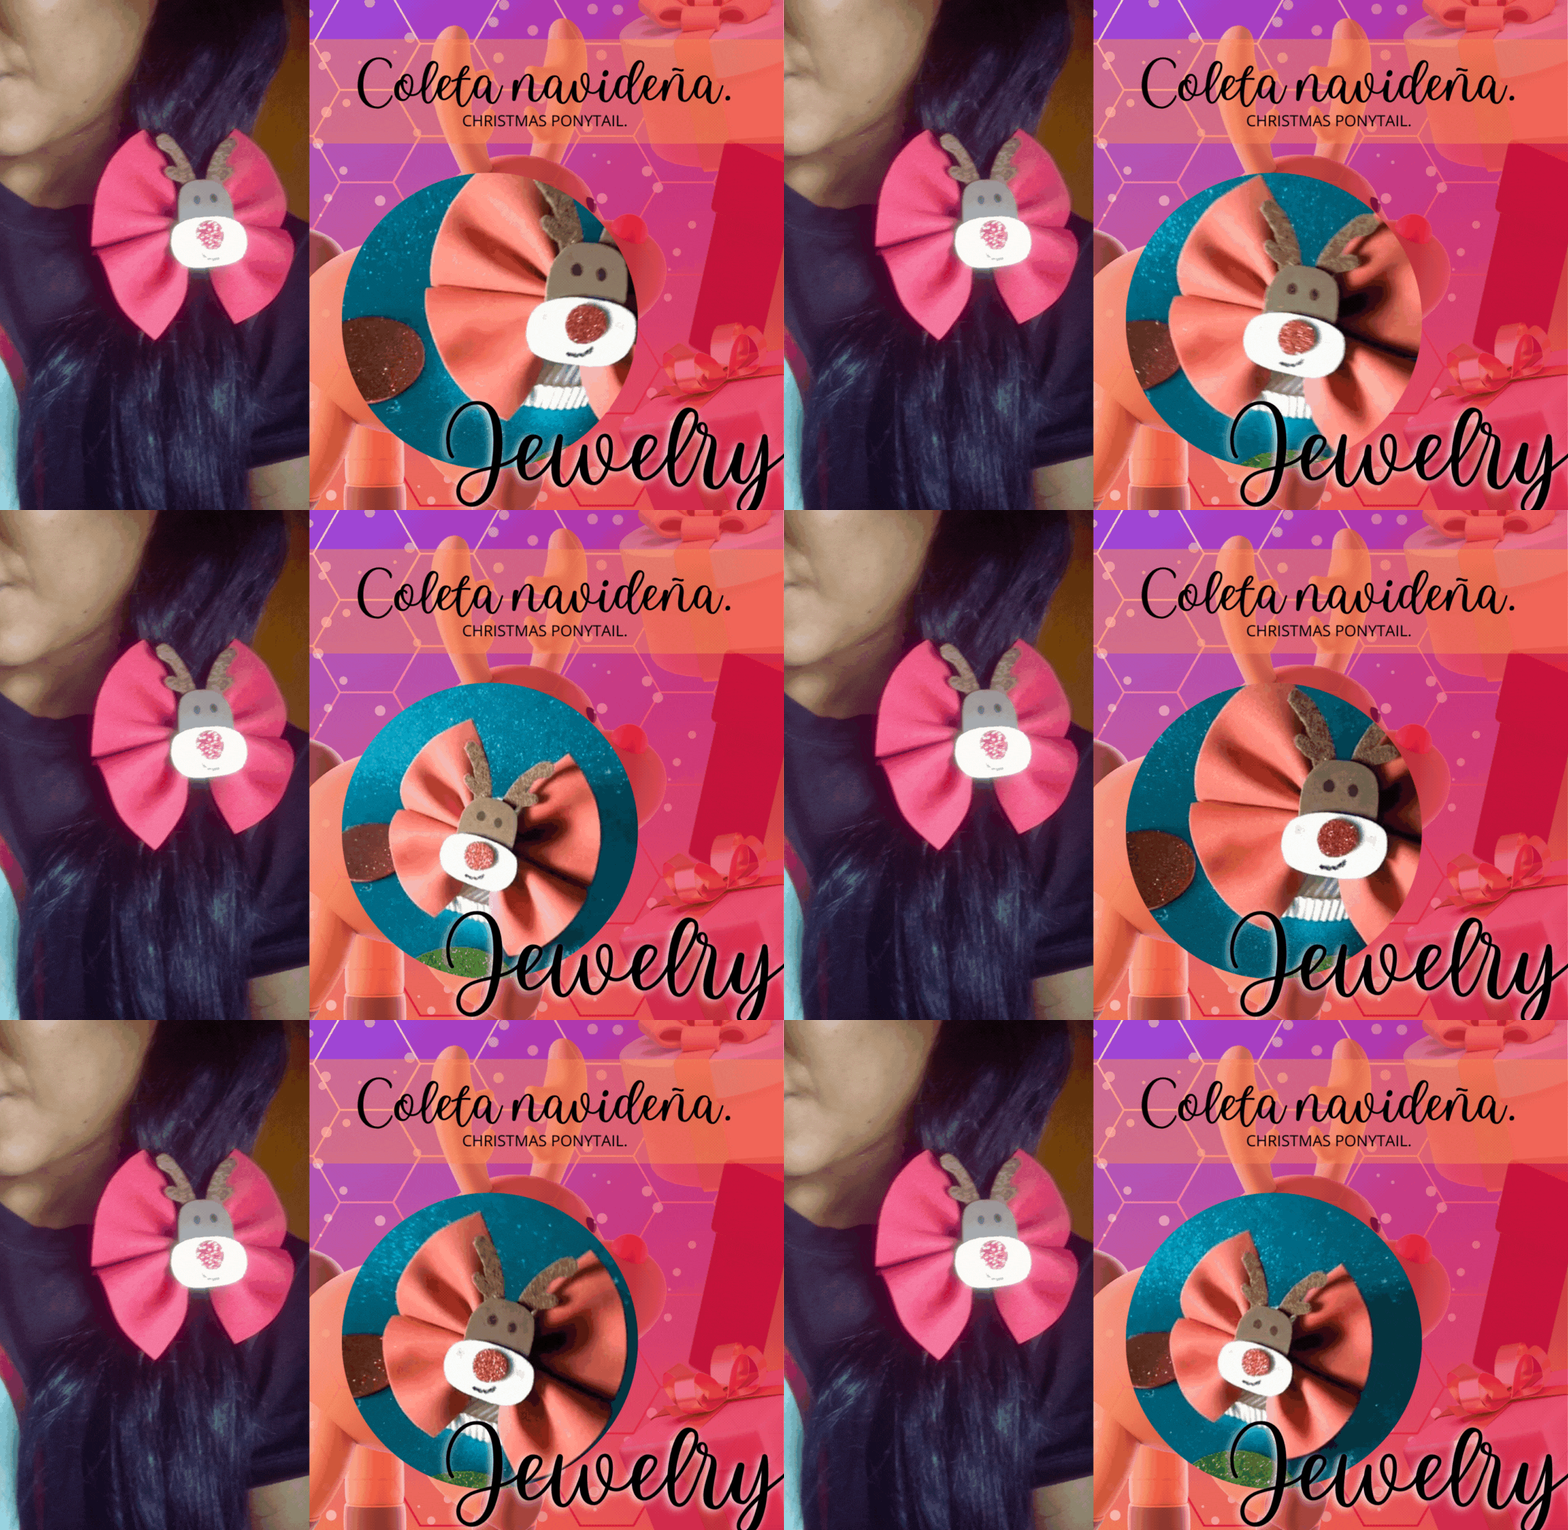
Hasta ahora no he compartido ninguna coleta alusiva a navidad, crear un pequeño reno para decorar nuestro cabello me resulta muy tierno, para las pequeñas y no tan pequeñas, pero si amantes de la navidad es perfecta esta coleta, pueden hacer un par si cuentas con bastante material, incluso el lazo base puede hacerse en tela no solo tendrá un mejor acabado, además será una coleta duradera. Combiné varios materiales sobrantes que tenía guardados para sacarle el mayor provecho, muchas veces no necesitamos comprar materiales, es cuestión de revisar que tenemos a la mano y cómo podemos convertirlo en algo hermoso.
So far I have not shared any pigtails alluding to Christmas, creating a little reindeer to decorate our hair is very cute, for the little ones and not so little, but if you love Christmas this pigtail is perfect, you can make a couple if you have enough material, even the base bow can be made in fabric not only will have a better finish, it will also be a durable pigtail. I combined several leftover materials that I had saved to get the most out of it, many times we don't need to buy materials, it's a matter of reviewing what we have at hand and how we can turn it into something beautiful.
Coqueta, tierna y fácil de hacer es este accesorio para el cabello, casi acaba el año, pero las ideas creativas no, aún tengo en mente hacer cintillos festivos que no cesen las ideas, disfruten del tutorial.
Flirty, cute and easy to make is this hair accessory, the year is almost over, but creative ideas are not, I still have in mind to make festive headbands that do not cease ideas, enjoy the tutorial.


Materiales: || Materials:
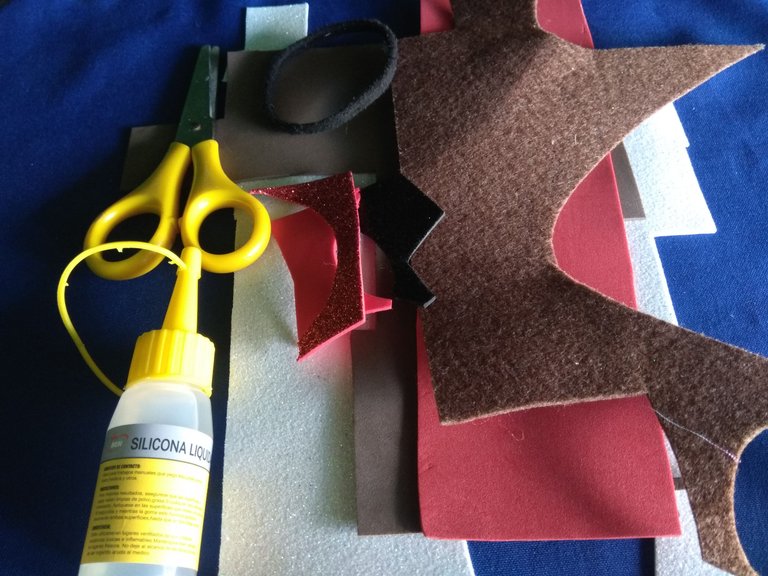
▪️ 1 liga para cabello, foami rojo, blanco, marrón, fieltro marrón oscuro, marcador negro, silicón líquido, tijeras.
▪️ 1 hair tie, red, white, brown foami, dark brown felt, black marker, liquid silicone, scissors.


Paso a paso: || Step by step:
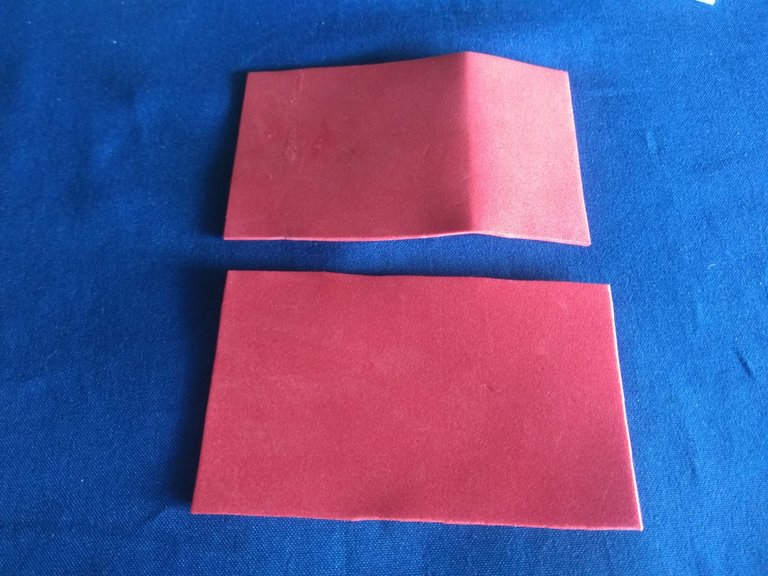
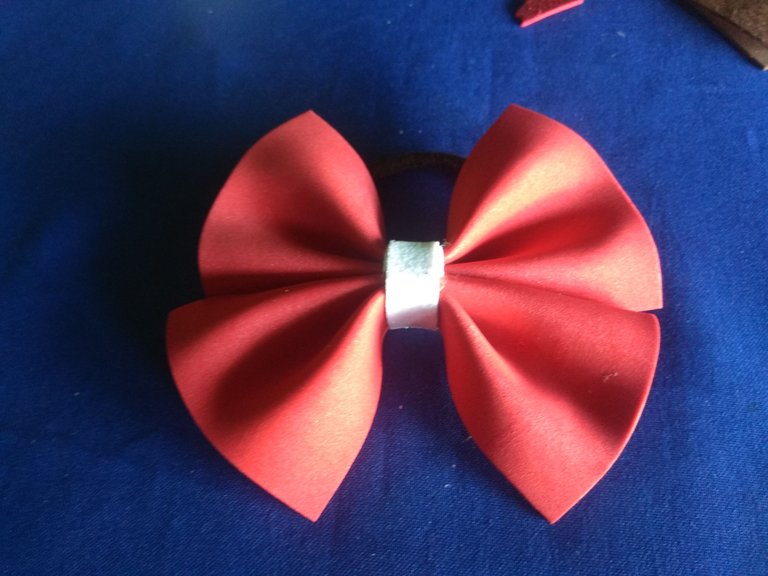
Recortar 2 rectángulos de 10 cm x 7 cm en color rojo, con ellos harán 2 lazos los cuales son la base para la coleta.
Cut out 2 rectangles of 10 cm x 7 cm in red color, with them you will make 2 loops which are the base for the ponytail.
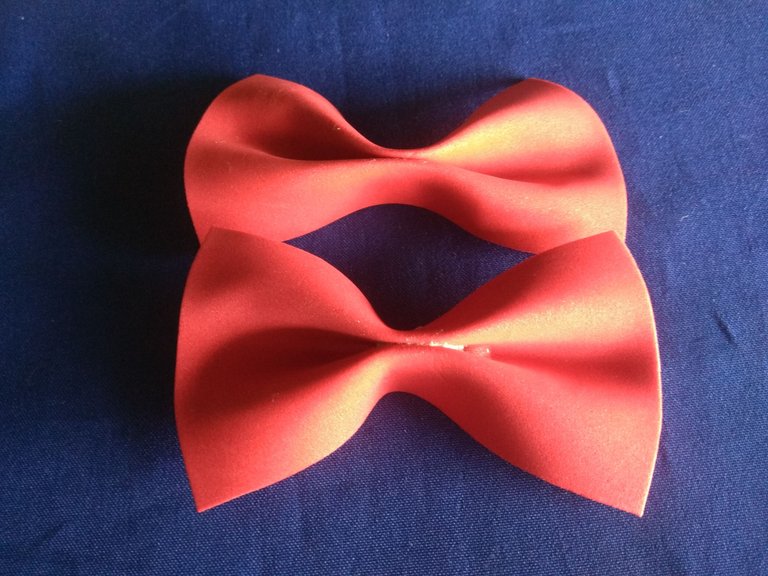
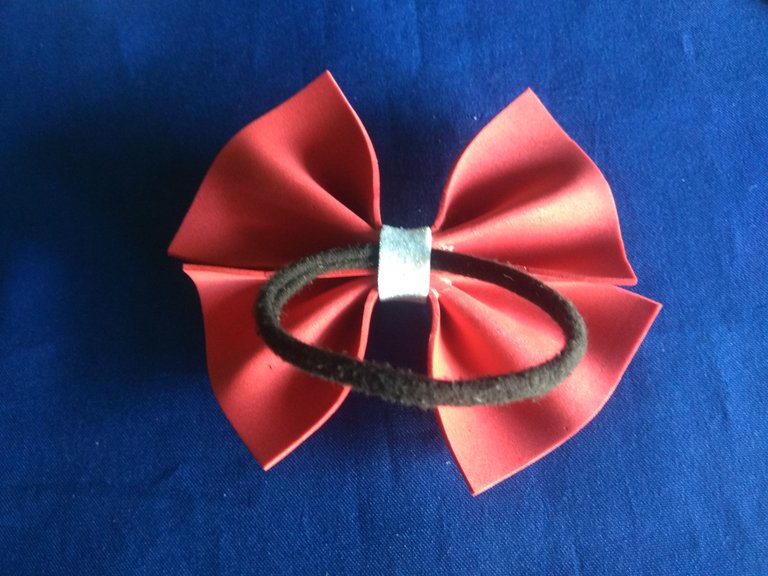
Necesitamos una tira de foami blanco para unir ambos lazos, antes de aplicar el pegamento colocaremos en la parte trasera la liga para el cabello, dejen secar el pegamento antes mientras pueden crear la decoración.
We need a strip of white foami to join both ribbons, before applying the glue we will place the hair tie on the back, let the glue dry before while you can create the decoration.
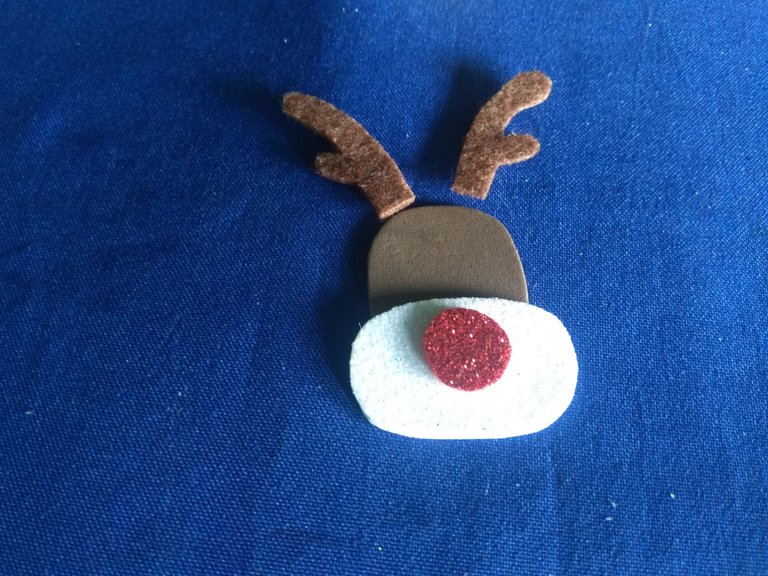
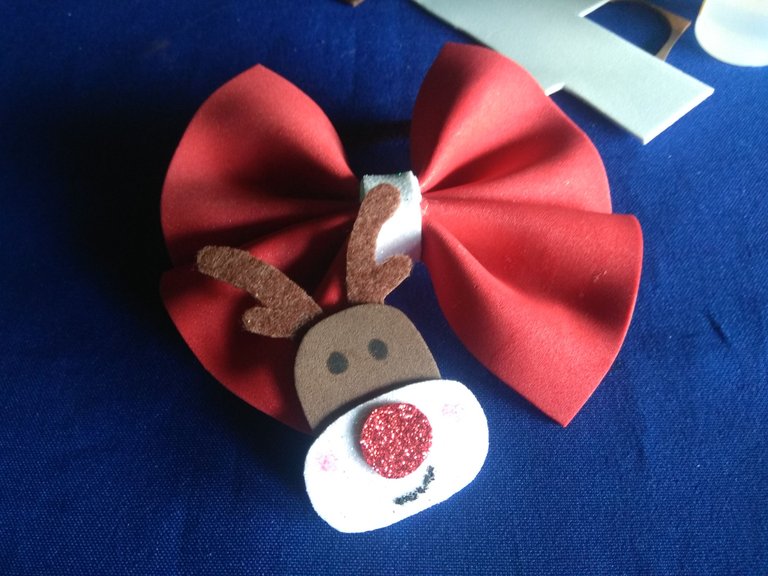
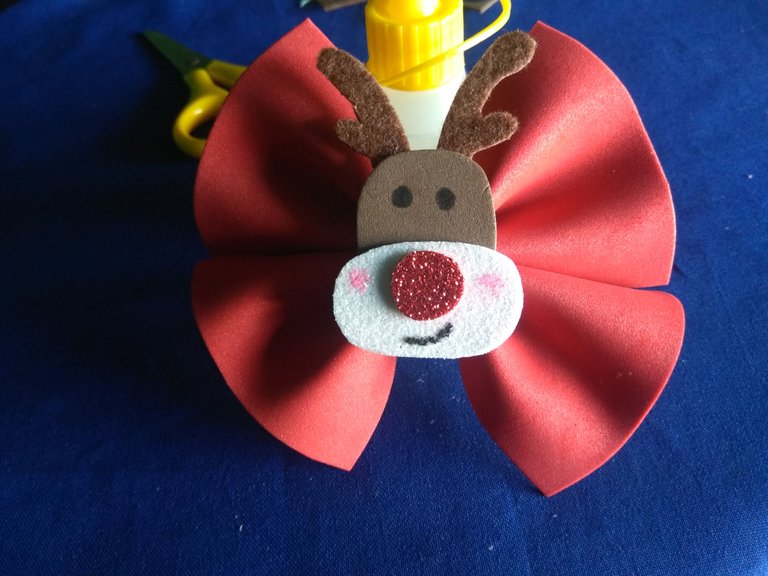
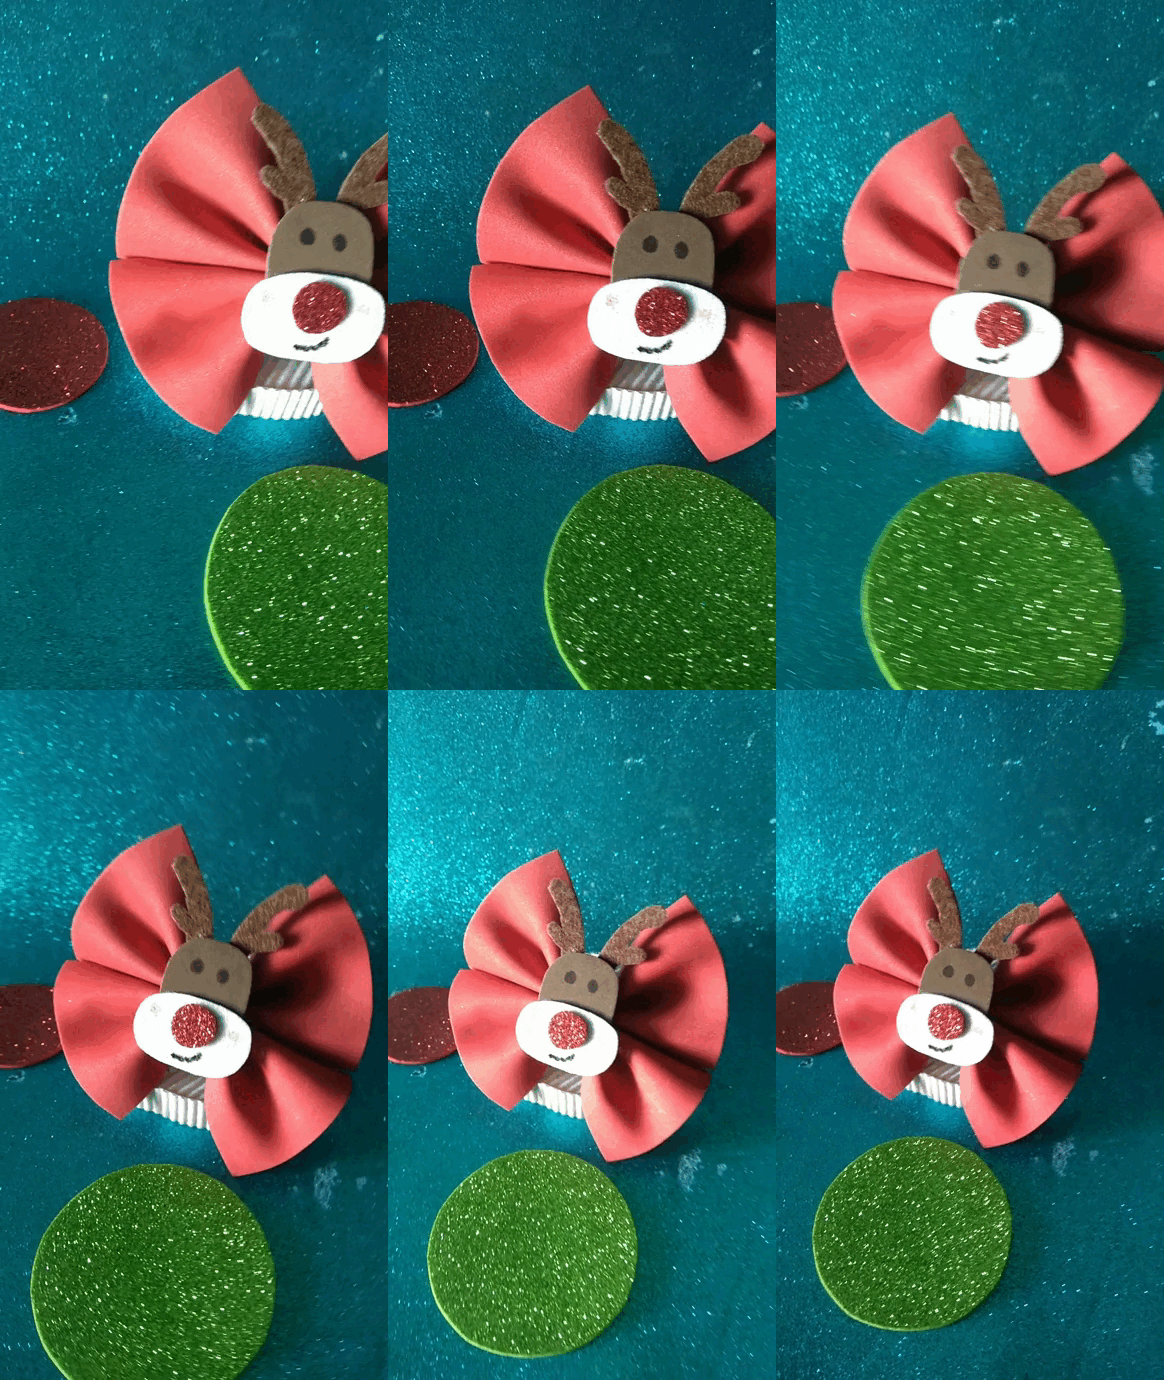
La cara de Rodolfo son varias piezas, 1 ovalo blanco, 1 círculo marrón, 2 cuernos en fieltro, 1 nariz roja, peguen todas las piezas y con el marcador haremos los ojos y la boca.
Rodolfo's face is made of several pieces, 1 white oval, 1 brown circle, 2 felt horns, 1 red nose, glue all the pieces together and with the marker we will make the eyes and mouth.
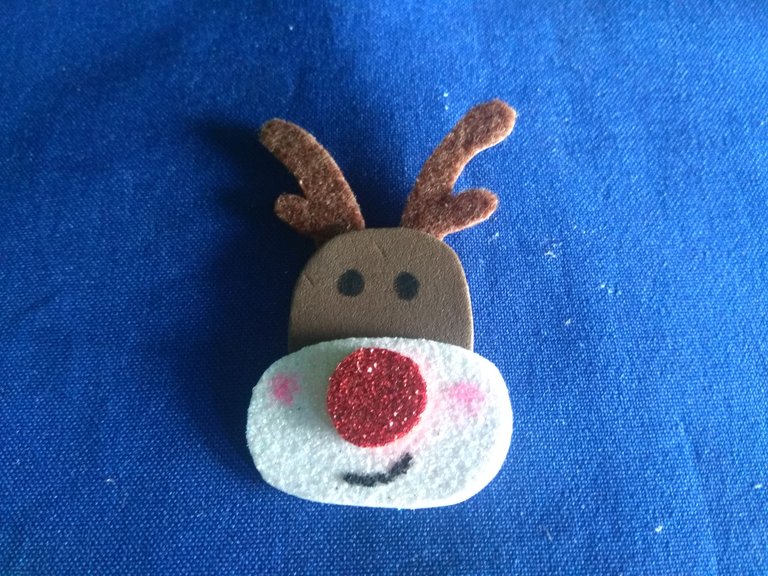
Peguen la cara sobre la tira que une ambos lazos, dejen que el pegamento seque por completo antes de usar.
Glue the face on the strip that joins both loops, let the glue dry completely before using.


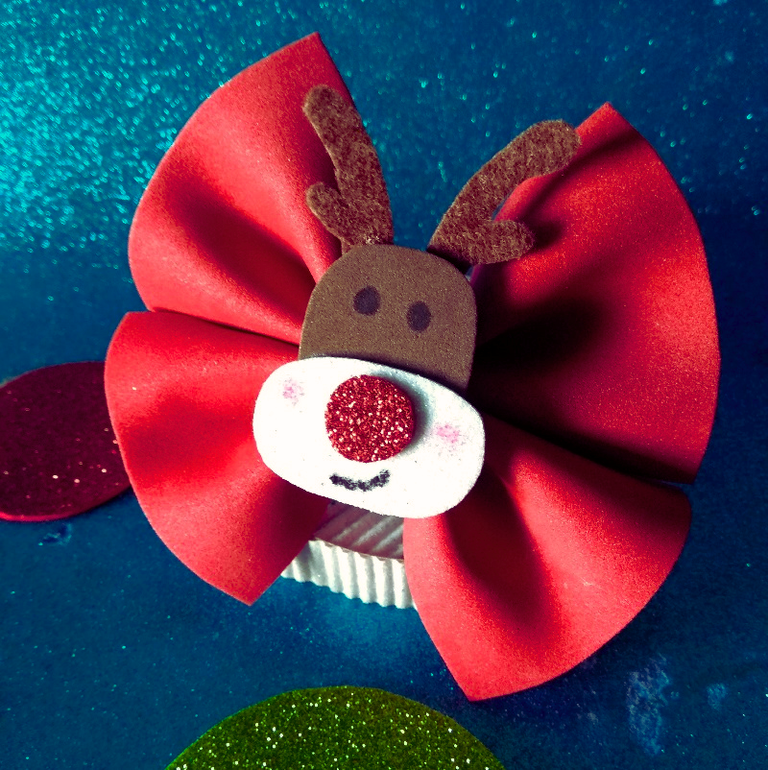

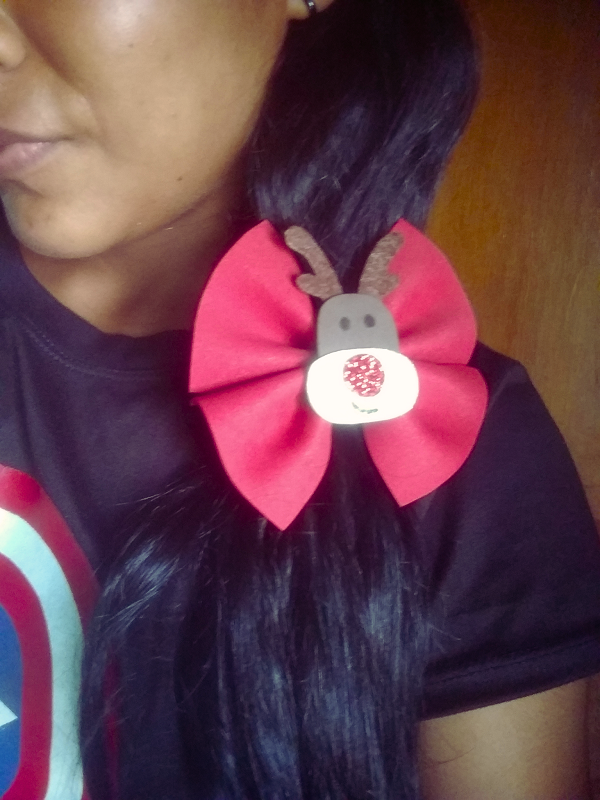
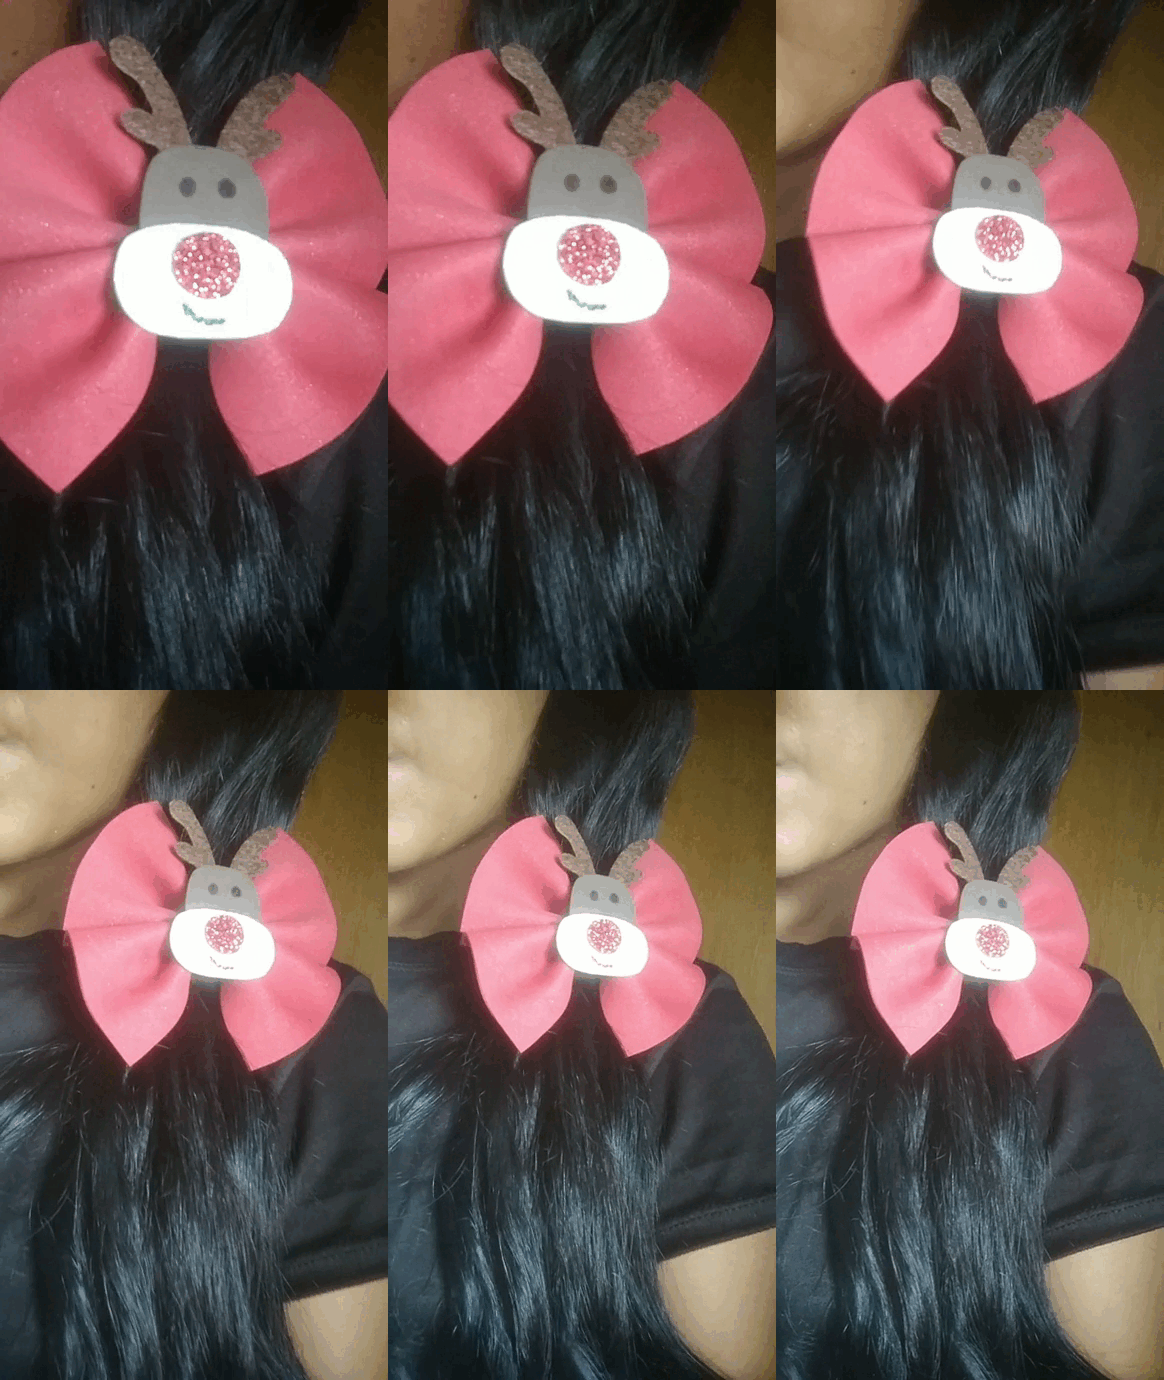

Una coleta con mucho espíritu navideño, con inspirada en uno de los personajes más amados de estas fechas, el tutorial no puede ser más simple, poco pasos y materiales económicos, no requieres hacer grandes gastos para lucir unos accesorios lindos, cuéntame en los comentarios que opinas sobre esta coleta, gracias por llegar hasta aquí.
A ponytail with a lot of Christmas spirit, inspired by one of the most beloved characters of these dates, the tutorial could not be simpler, few steps and inexpensive materials, you do not need to make big expenses to wear some cute accessories, tell me in the comments what you think about this ponytail, thanks for coming here.


Imágenes tomadas desde mi Xiaomi Redmi Note 4. || Images taken from my Xiaomi Redmi Note 4.
Separadores hechos en Canva. || Dividers made in Canva.
Ediciones hechas en Canva. || Editions made in Canva.
Vídeos convertidos en gif || Videos converted to gif IMG2GO
Translator Deepl.