In this section of creative Sunday, I will be making a peal beaded bag. Please stay turn and enjoy the process.

MATERIALS
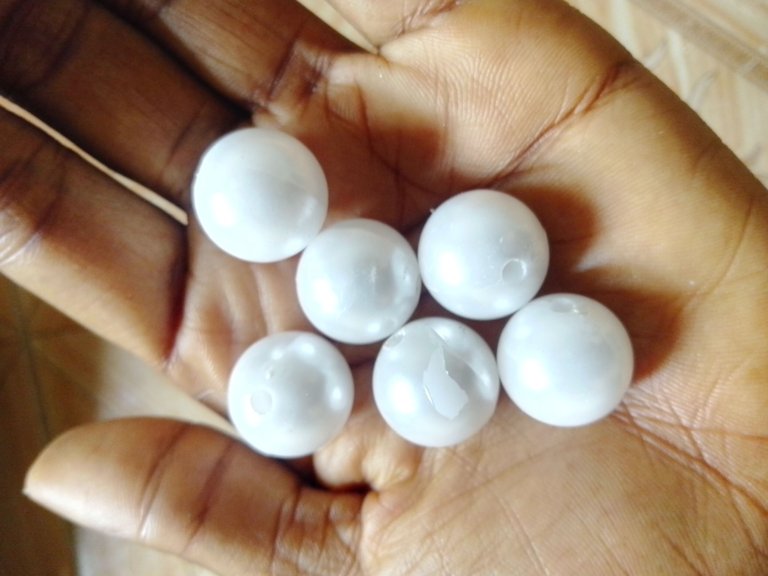
•14mm pearl beads
•6mm gold beads
•0.7mm thread (crystal string)
•A pair of scissor
•Plate
PROCEDURES
Step1
I started with cutting the length of thread, not too long, not too small. But I refer mine long enough so it will enough for the base.
Step2
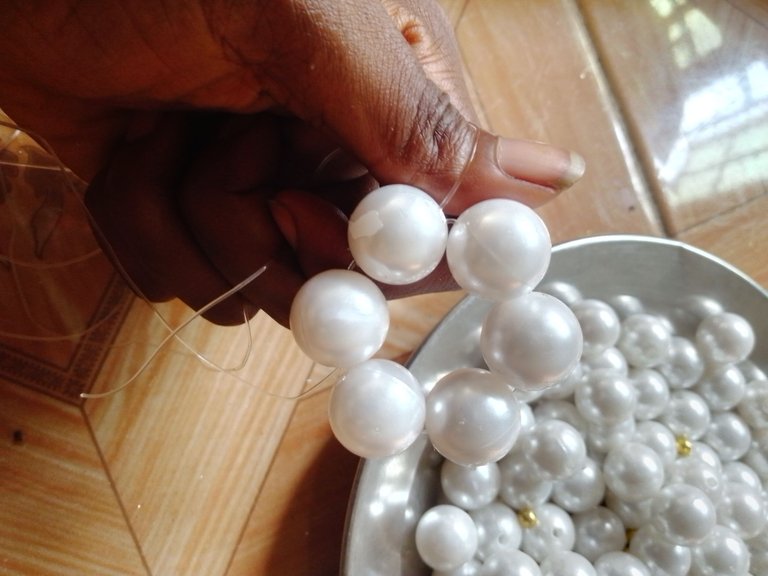
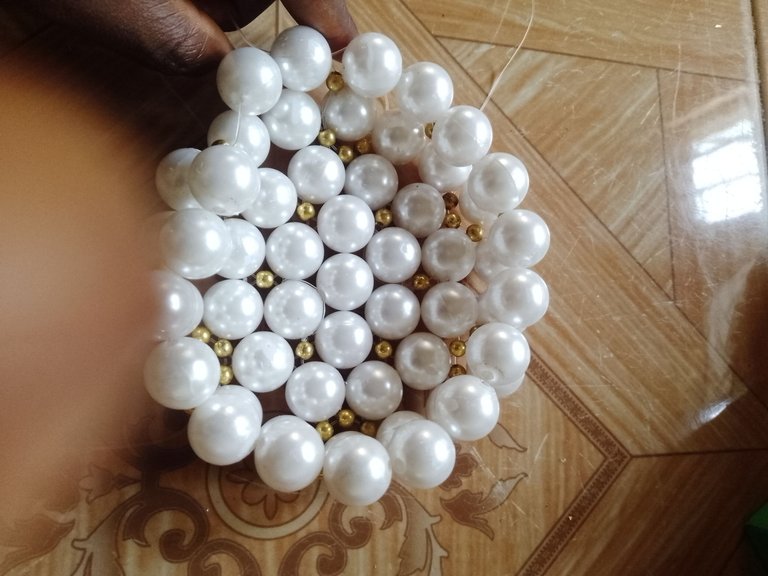
After cutting the desired length of thread,I began making the base of the bead bag using the pearl bead first.
Step 3
I began with this six peal bead, using my left line for putting the bead while my right line for interchanging. After putting the bead,the sixth bead is crossed over with my right line to form a flower shape like this
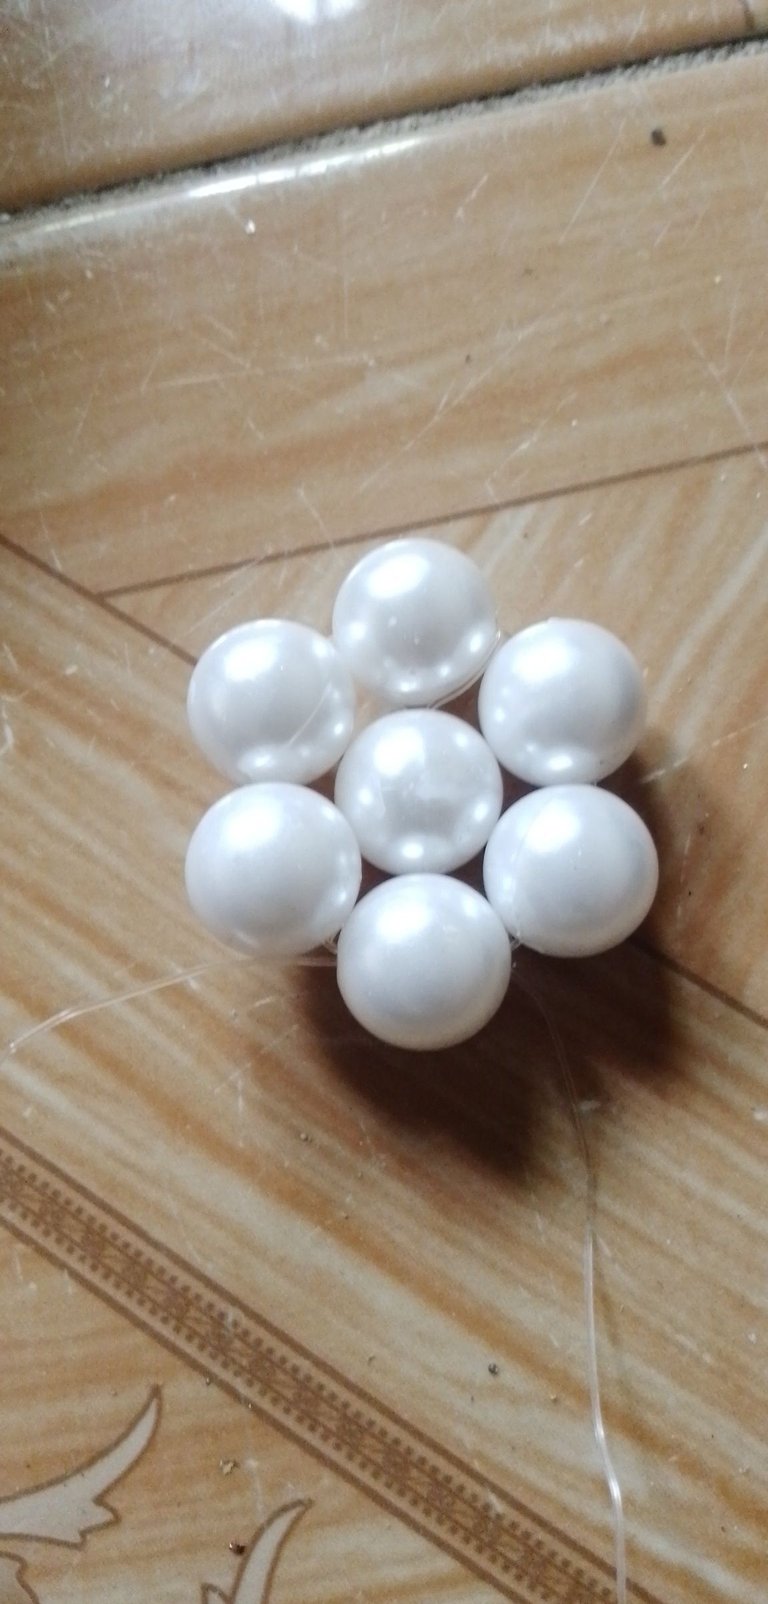
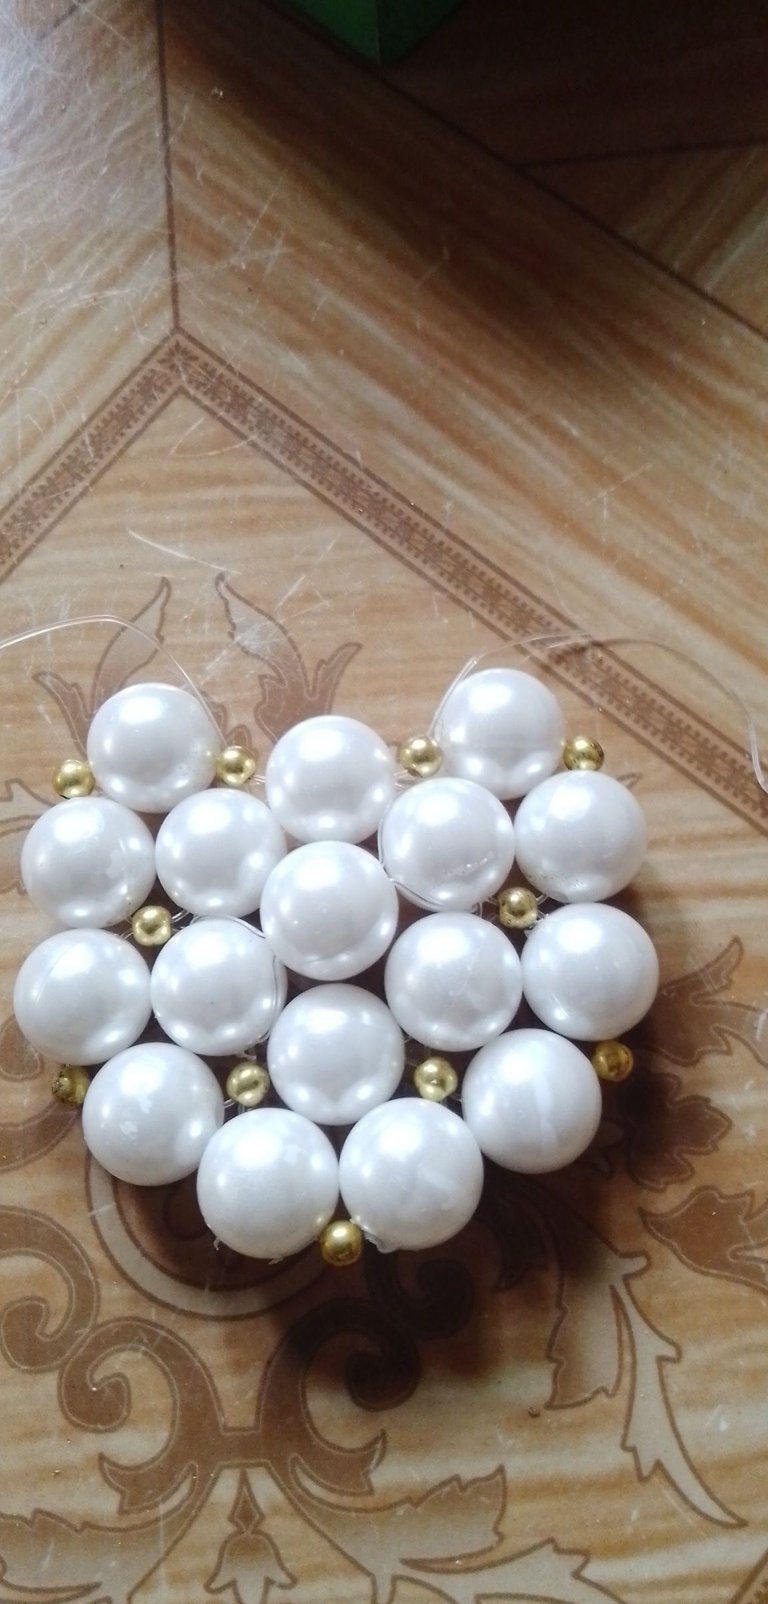
Step 4
After forming the shape, another peal bead is put into the line just a single peal bead with both line, then pressed to sit at the center.
The bead infront of the middle one is interchanged, you may choose the one infront or at the back but not sideways. After which we start with two gold beads and two peal bead. Your left line should be used for putting the bead( that is the line on your left hand) while the right line is for crossing over the bead and progressing the bead process.
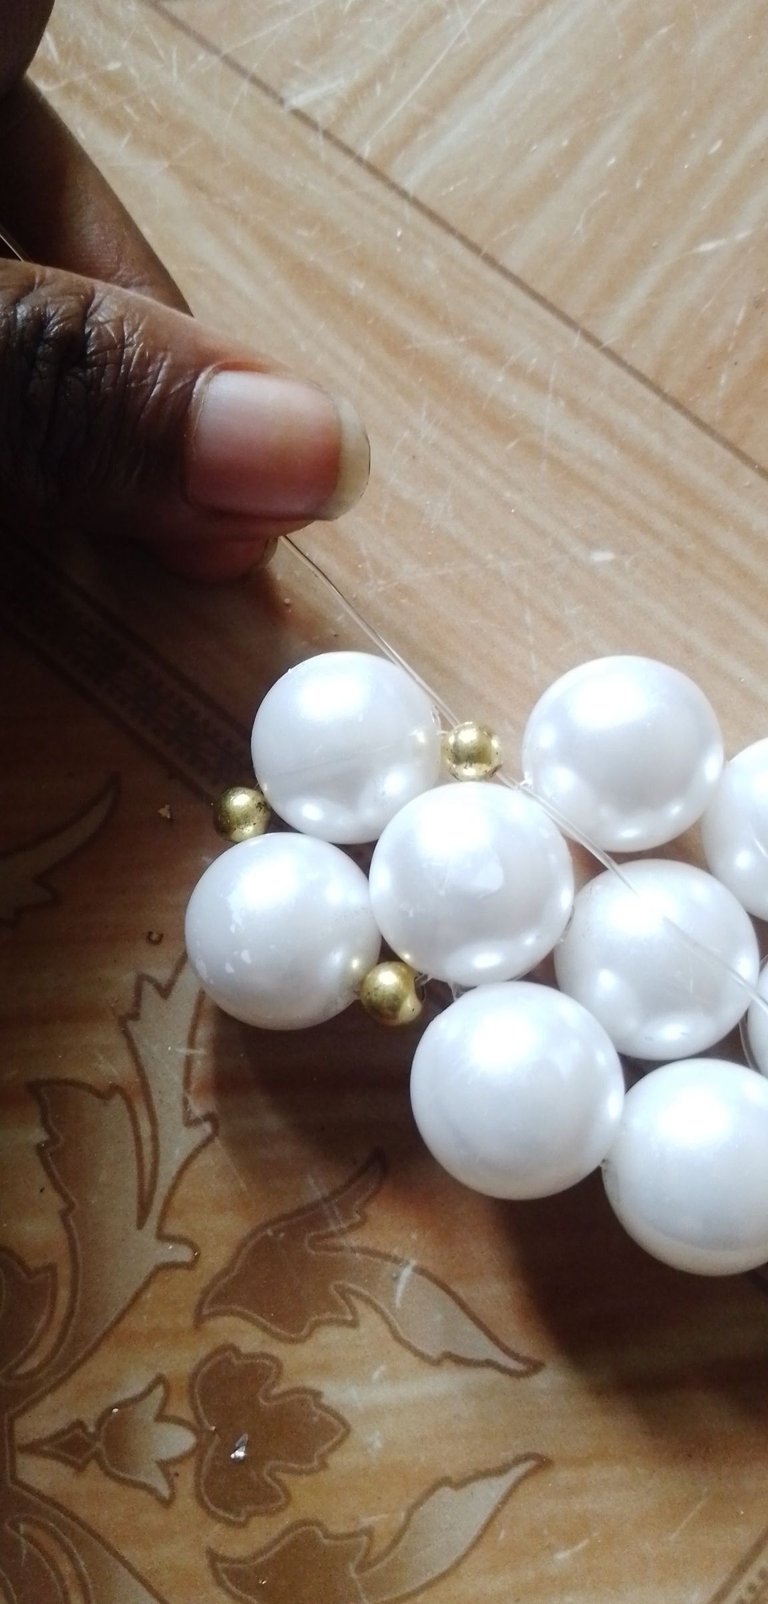
Firstly put one gold bead, followed by the two peal bead then the last gold bead which will be crossed over with my right line.
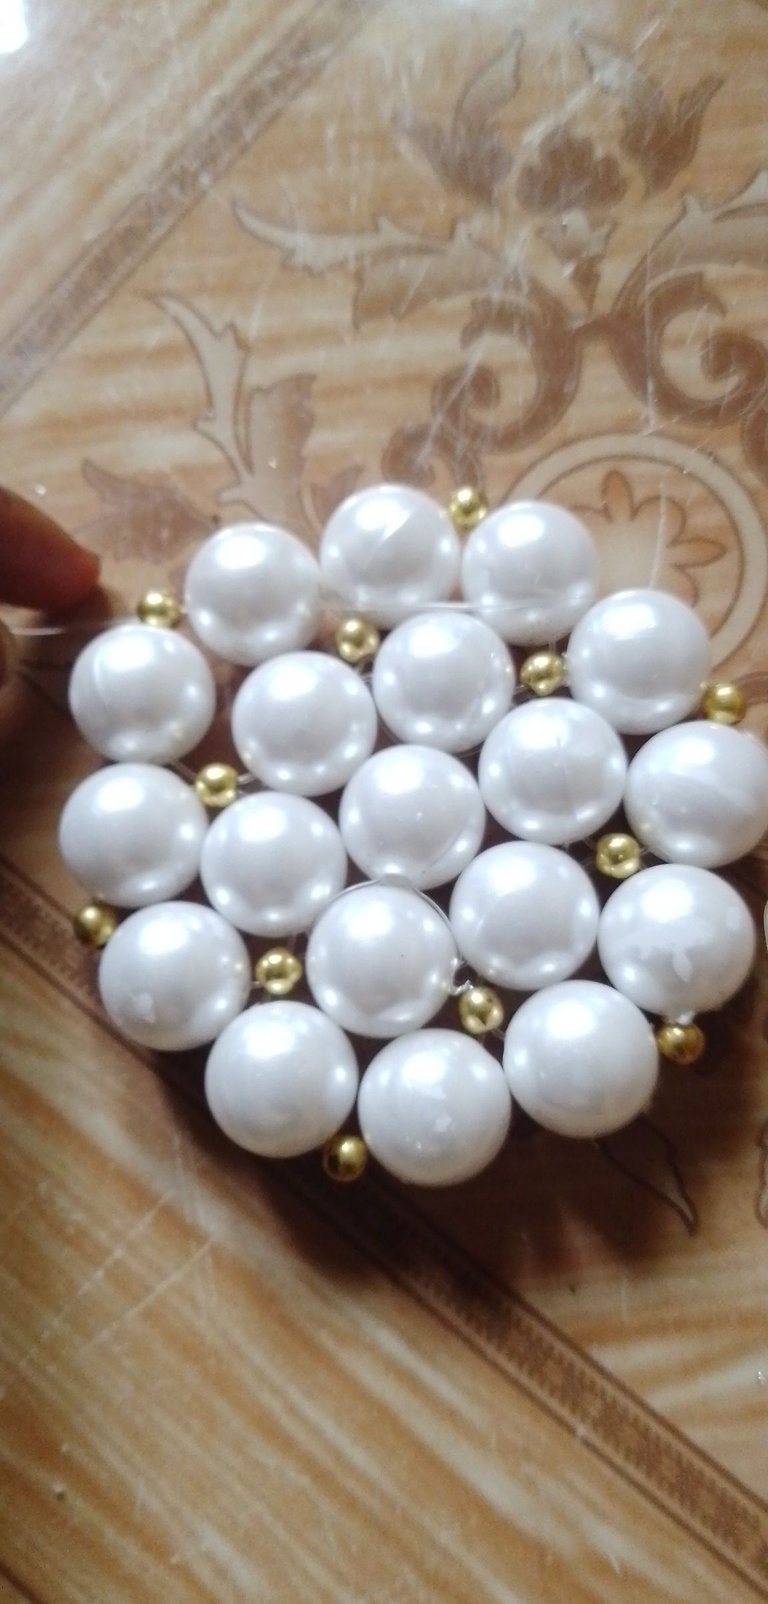
Using the line down which is the right line,pass it to the next peal bead then add two peal bead to your left line and a gold bead using your right line cross over with the gold bead. It continues that way till you get this shape.
At the last juncture, you pass your right line with the peal and gold bead, then put one peal bead to your left line crossing it over with the right line to close that section to get this
Step 4
The last section of the base, this time, I have to use two peal bead and a gold bead. One gold bead is put on my left line, followed by two peal bead and a gold bead which is crossed with my right line to get this
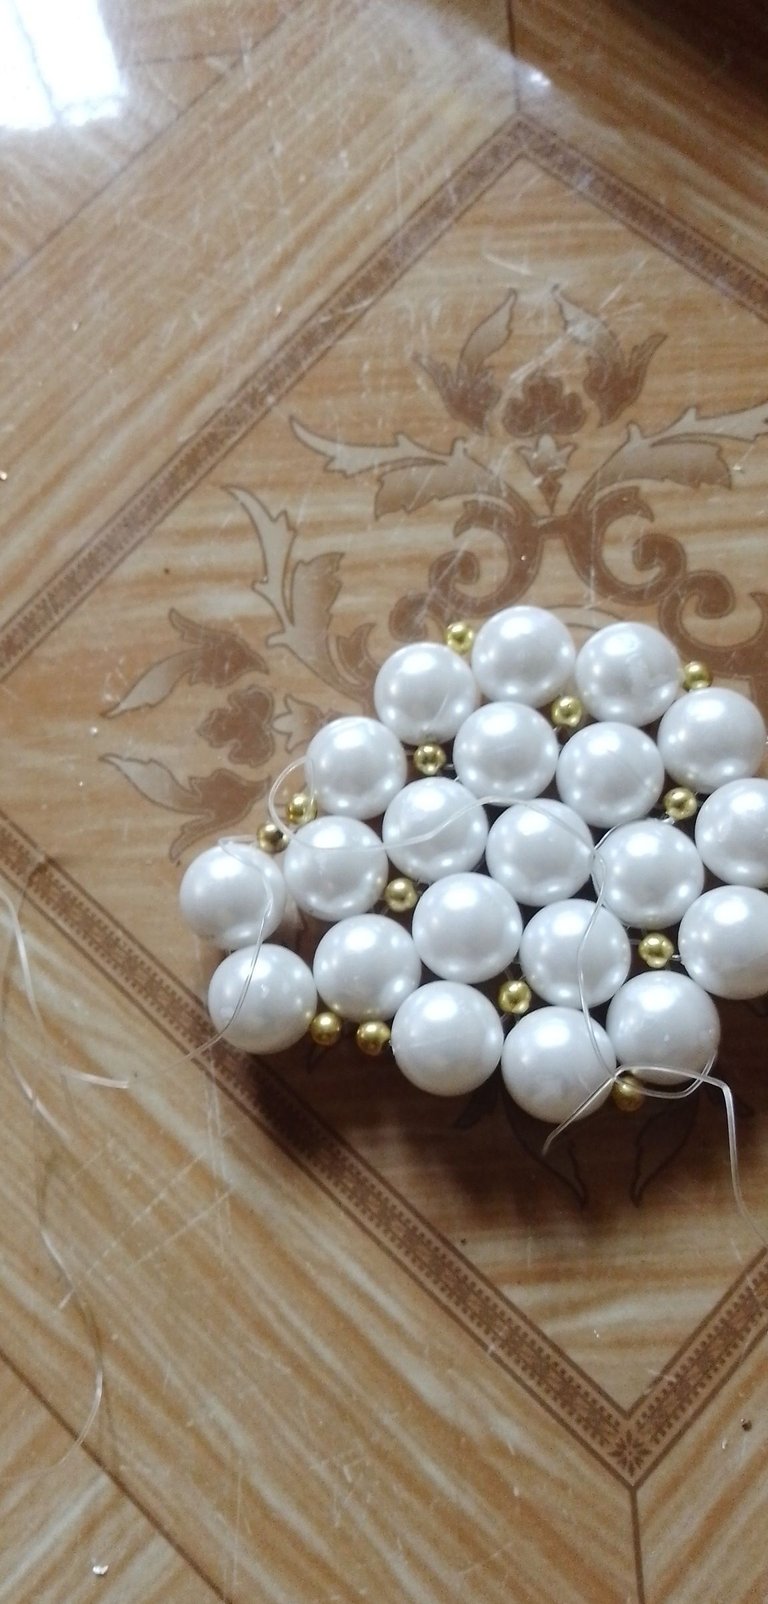
The section continues with a two peal bead and a gold bead to get this which is the last of the base before building up.
Step 5
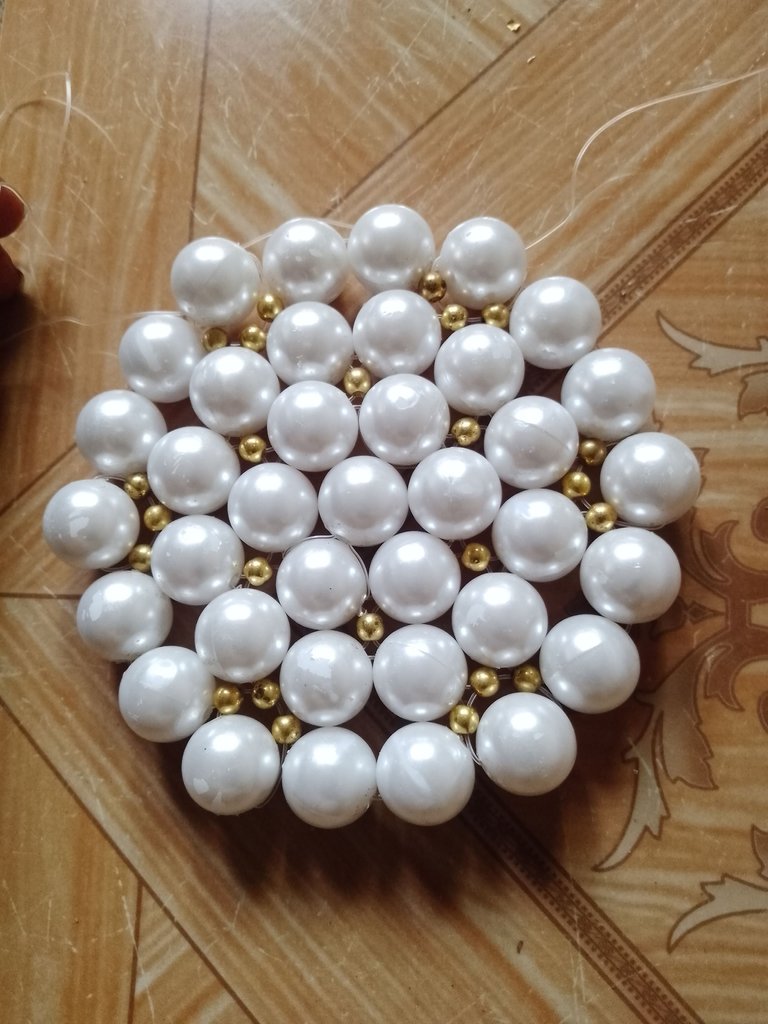
After forming the base, then next is to build up. I will be starting with a gold bead then two peal bead and then a gold bead which will be crossed with my right line.
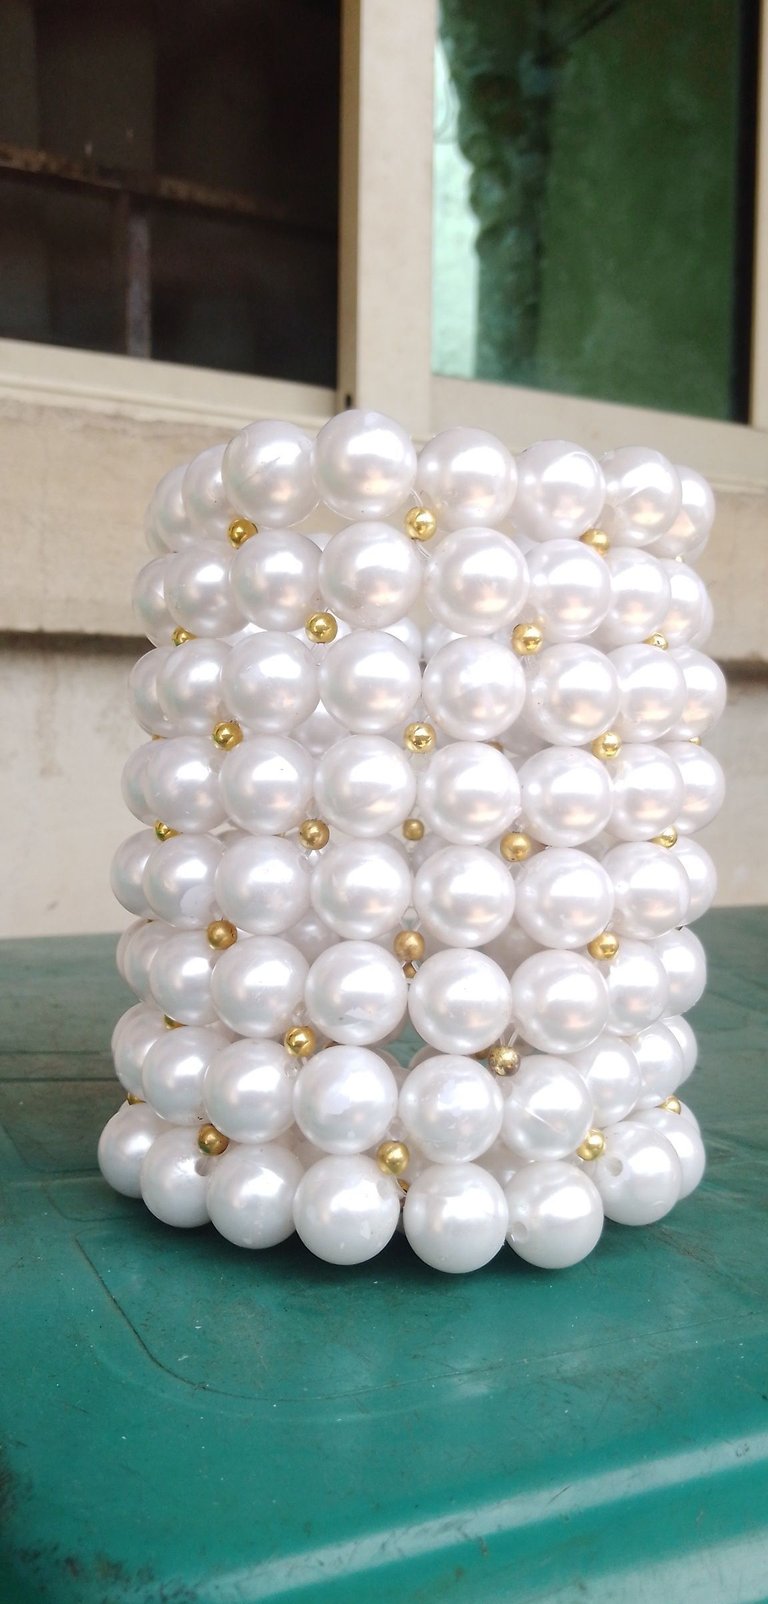
Step 6
I crossed over my right line with the next pearl bead then adding two peal bead and a gold bead crossing it over with my right line. I progressively build up my bead bag.
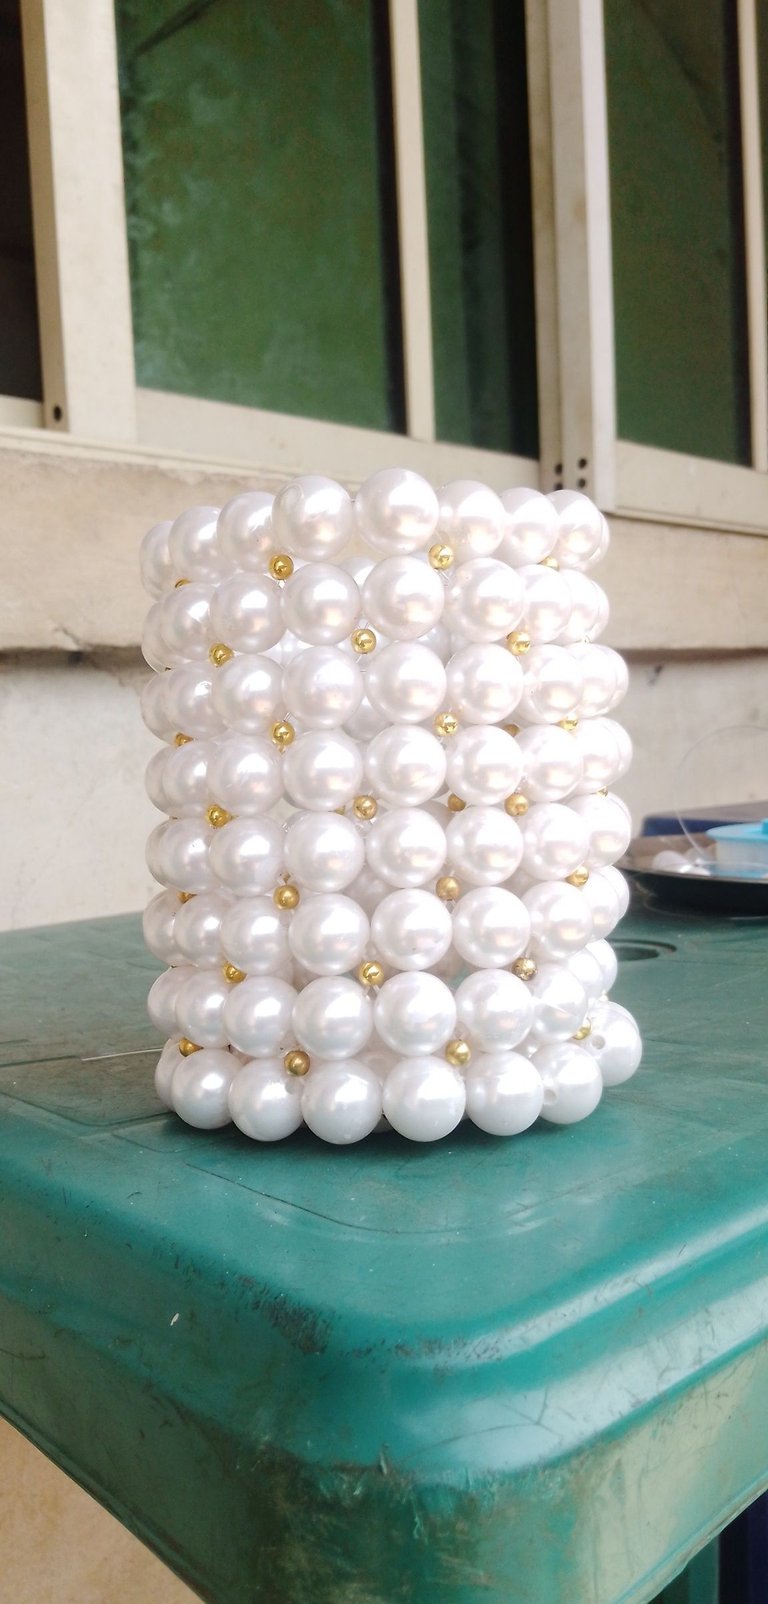
At any point when your thread get smaller, then weave it into the bead, cut another new thread and continue the process.
After getting the desired amount of bead count you want, then progress to the handle. I usually go for eight before making my handle.
Step 7
To get the middle for the handle,you have to count the peal bead to find the middle after which I cut out another thread, putting three gold bead differently in my left and right line, then I joined the both line putting 8 peal bead. At the end of the peal bead I put the same three gold bead differently on my left and right line before weaving the other end into my bead bag.
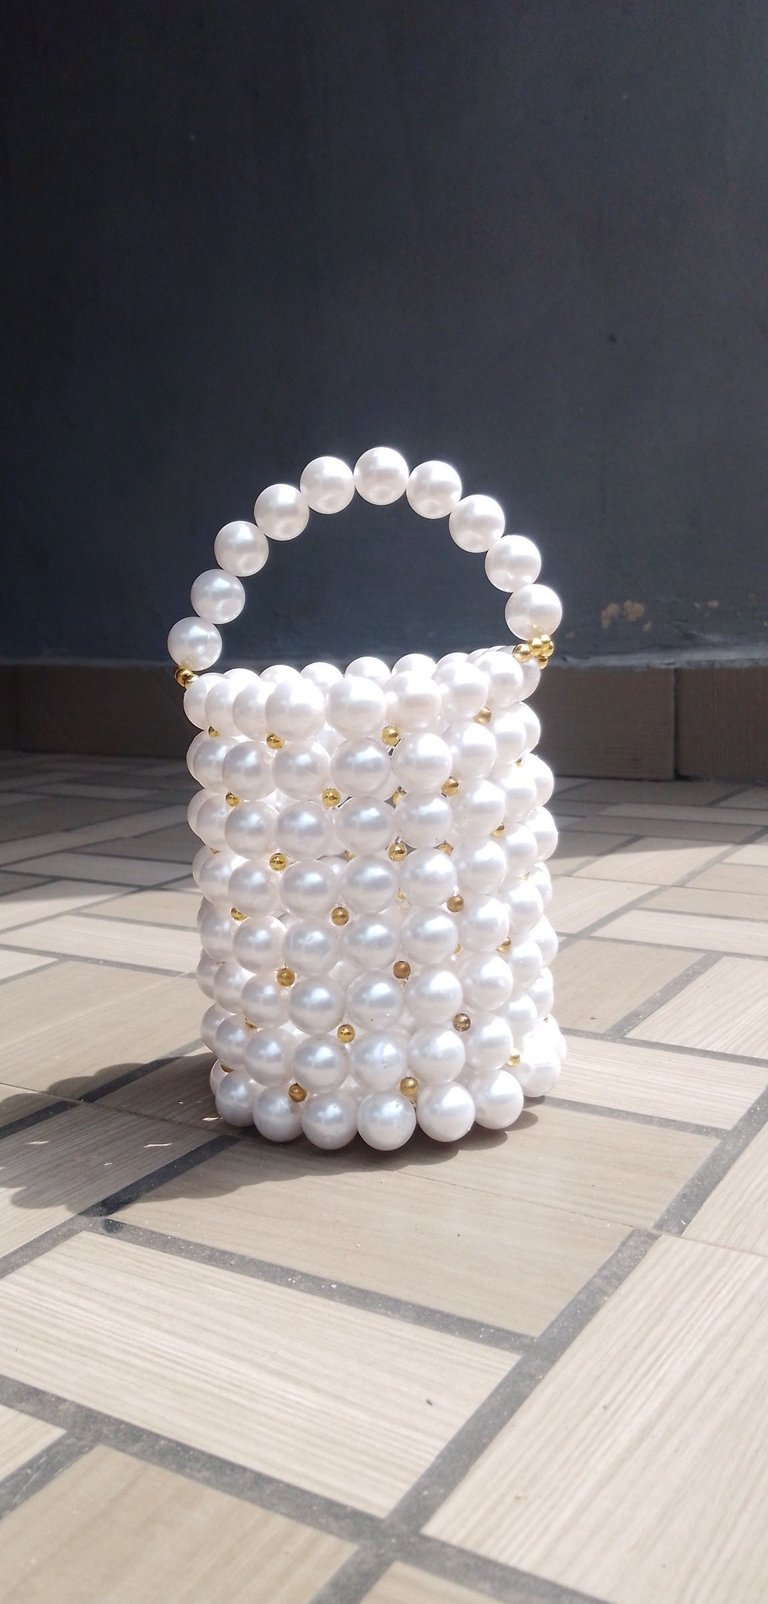
This peal bead can be rocked to perfection.

Thank you for your time!