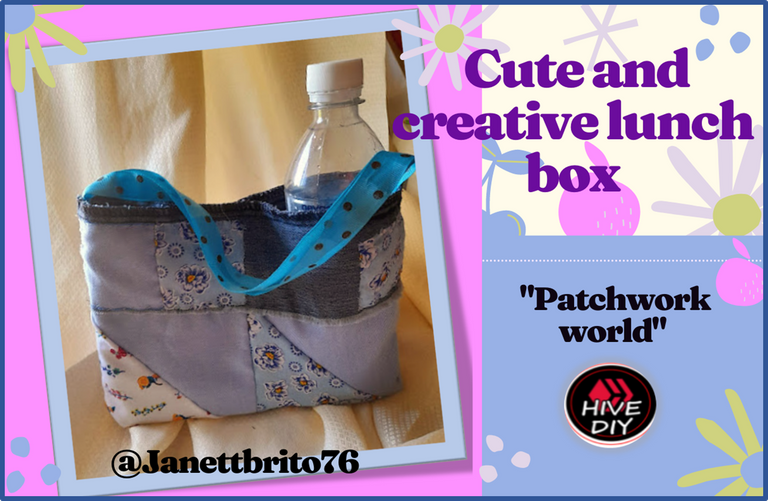

Greetings to all my dear crafter and artisan friends of my beautiful #HiveDiy community I hope you are doing great and filled with lots of health and prosperity. Once again I am happy to be part of this new initiative that invites us this wonderful community, which always give us the opportunity to put our imagination to fly.
My dear friends, this time I join this contest with a nice and creative lunch box using the technique of "Patchwork", which consists of joining several pieces of fabric to form a new garment, also this technique is characterized by creativity in its design, as it can be used in clothing, cushions, bag, .... I tell you that when I read about the contest to apply this Patchwork technique it made me remember that a mother's friend who is a seamstress, whenever she came on vacation to our house she always gave us bags that she made us with those scraps of fabric that she had left from her sewing and she even gave my mom a blanket that she still has, which is quite colorful because the scraps of fabric are of various colors and patterns ...
I am going to use this cute and creative lunch box to carry my snacks and water to work or I can also use it to carry a small towel for when we go for walks on the weekends. Well, my creative friends, don't miss the step by step instructions to make this cute lunch box using the Patchwork technique, let's get to work!

Saludo para todos mis queridos amigos artesanos y craftero de mi bella comunidad de #HiveDiy espero se encuentren muy bien y que llenos de mucha salud y prosperidad. Una vez más me encuentro contenta de formar parte de esta nueva iniciativa que nos invita esta maravillosa comunidad, la cual siempre nos dan la oportunidad de poner a volar nuestra imaginación.
Mis apreciadas amigas en esta oportunidad me uno a este concurso con una linda y creativa lonchera aplicando la técnica de “Patchwork”, la cual consiste en unir varios trozos de tela para forma una nueva prenda, además esta técnica se caracteriza por la creatividad en su diseño, ya que se puede utilizar en la ropa, en cojines, bolso, … Les cuento que cuando leí lo del concurso de aplicar esta técnica de Patchwork me hizo recordar que una comadre de mi mamá que es costurera, siempre que ella venia de vacaciones a nuestra casa nos regalaba bolsitos que nos hacía con esos retacitos de tela que le quedaba de sus costuras y hasta una cobija le regaló a mi mamá que todavía la conserva, la cual es bastante colorida porque los retacitos de tela son de varios colores y estampados…
Esta linda y creativa lonchera la voy a utilizar para llevar la merienda y el agua al trabajo o también la puedo utilizar para llevar una pequeña toalla para cuando realizamos las caminatas de los fines de semana. Bueno mis creativas amigas no se pierdan el paso a paso para elaborar esta linda lonchera utilizando la técnica Patchwork. ¡¡Manos a la obra!!


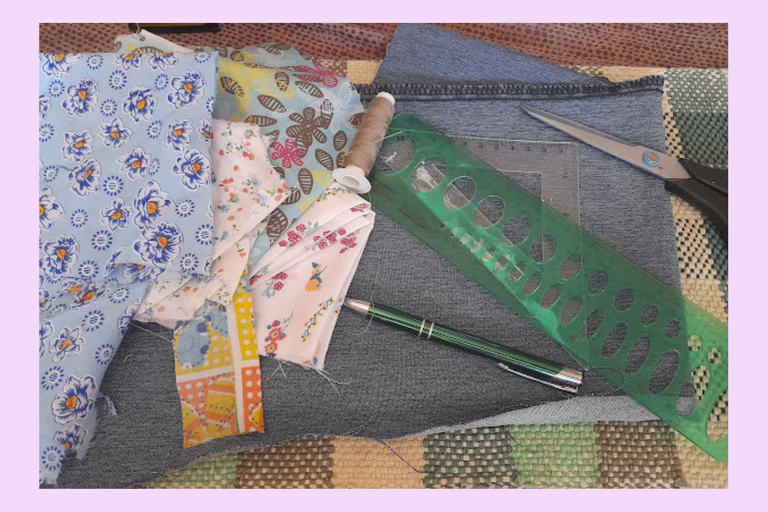
- Piece of fabric (floral, blue and denim prints)
- Needle
- Thread
- Ruler
- Magic clasp
- Blue cross ribbon

- Retazo de tela (estampadas de flores, azul y jean)
- Aguja
- Hilo
- Regla
- Cierre mágico
- Cinta cross azul


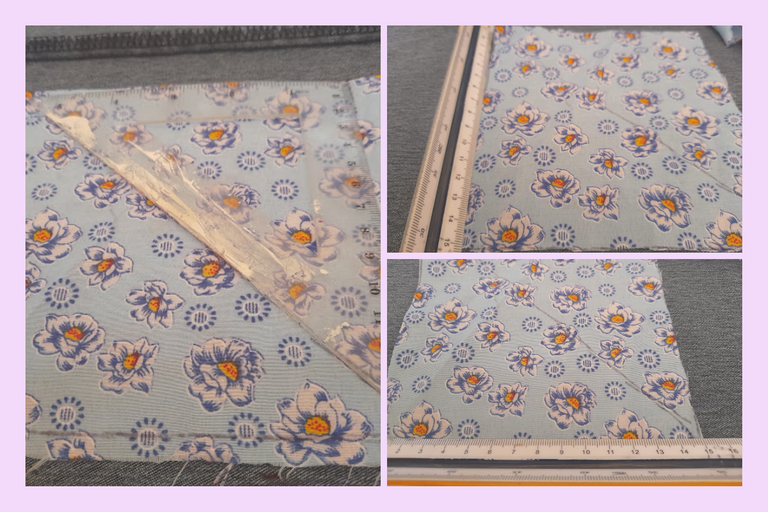
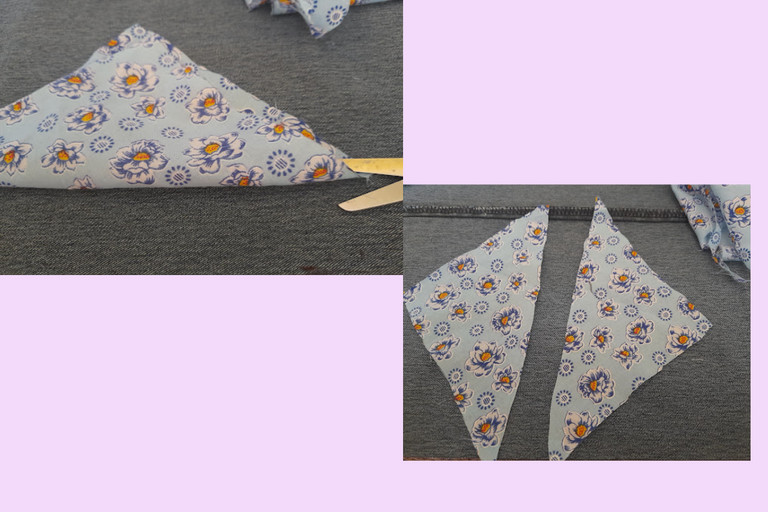
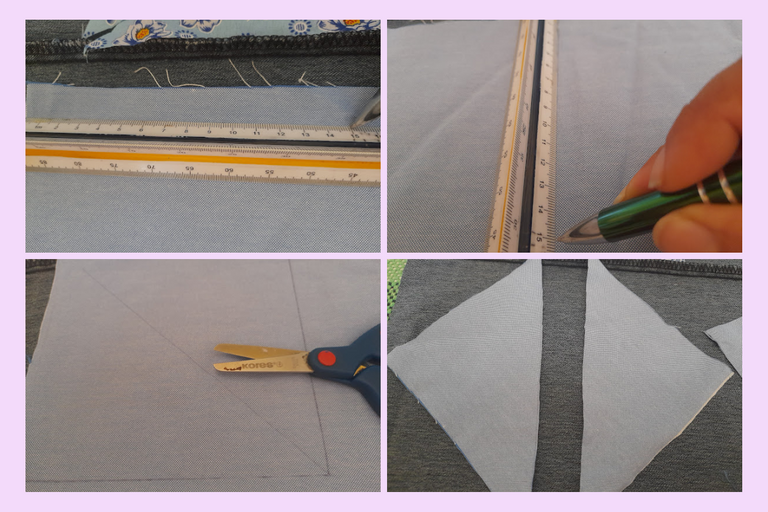
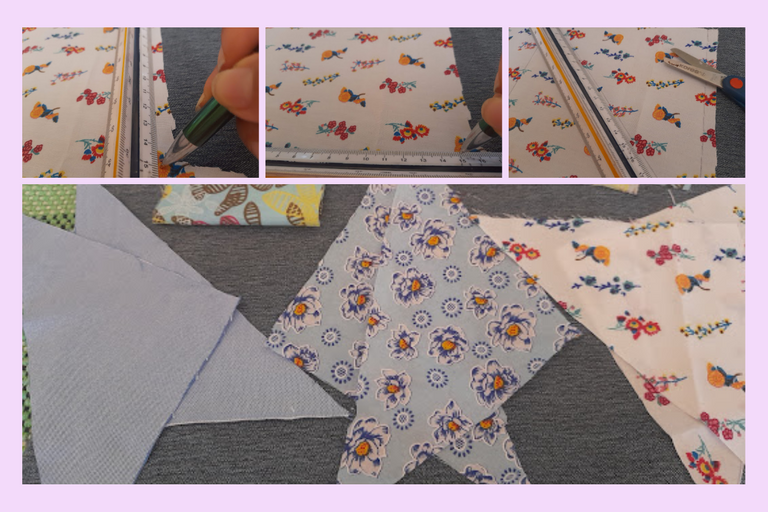
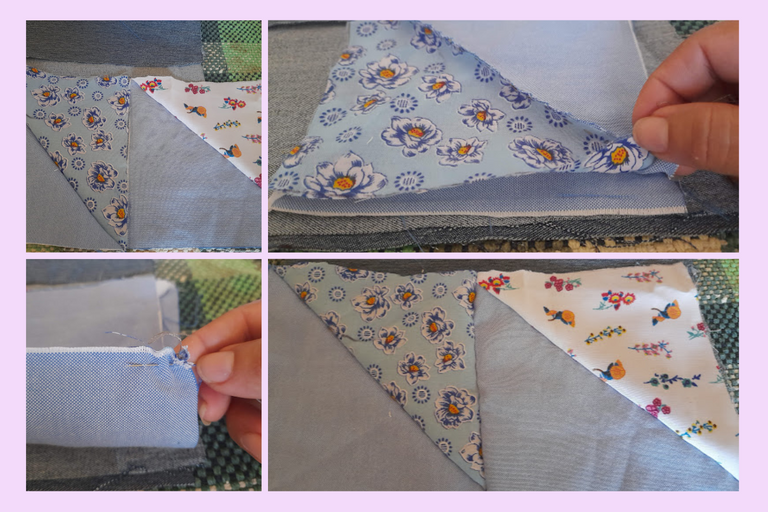
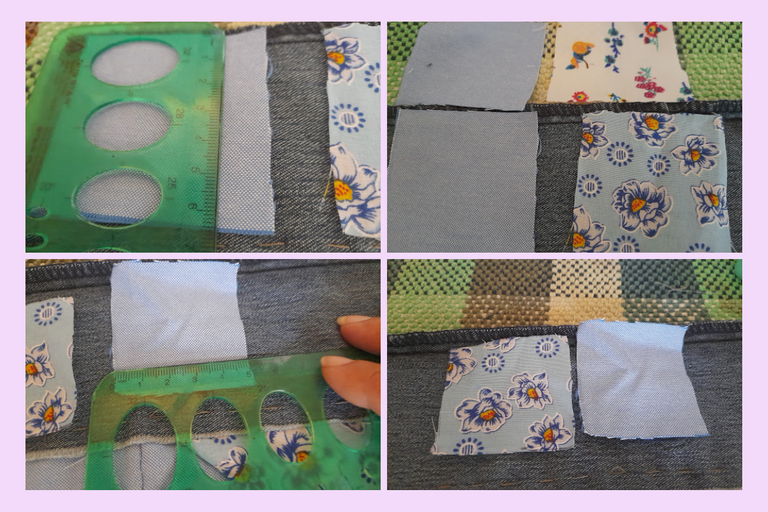
1: To start my nice lunch box I cut several squares of 15 centimeters long by 15 centimeters wide of the different designs and colors I had, then I took each of the squares and folded them in half forming a triangle and cut them, as you can see in the images.

1:Para iniciar mi linda lonchera corte varios cuadrados de 15 centímetros de largo por 15 centímetros de ancho de los distintos diseños y colores de retazo que tenia, luego tome cada uno de los cuadrados y los doble a la mitad formando un triangulo y los corte, como pueden observar en las imágenes.


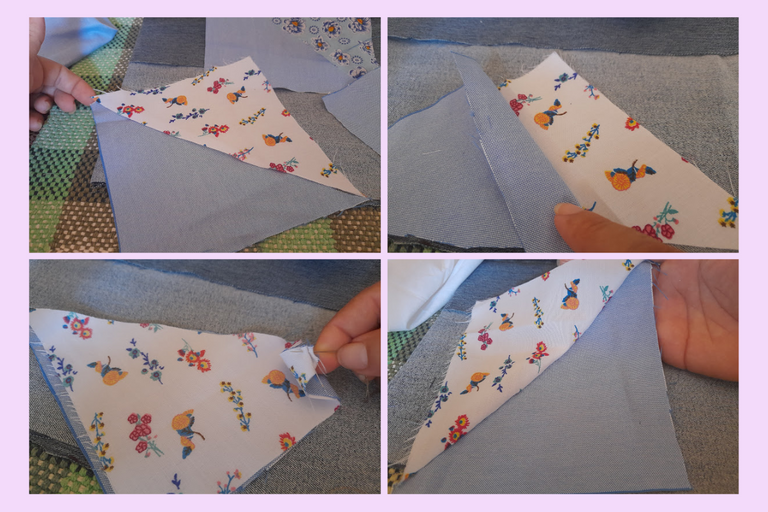
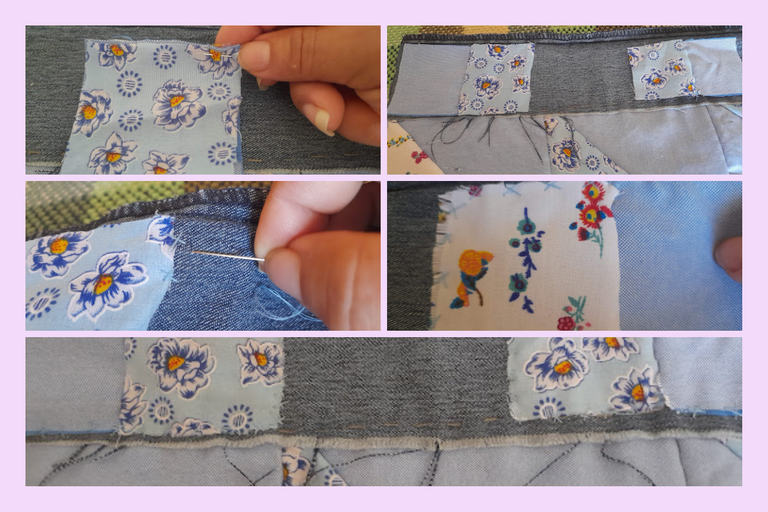
2: Then I presented each square as I was going to combine them, which I placed a printed triangle with a blue triangle, then I faced the right sides of each triangle and little by little I began to join them with a backstitch stitch, which consists of pricking the needle into the fabric and take it out approximately 2 or 3 mm beyond the line of the seam, then prick again at the starting point and take out the needle advancing 2 or 3 mm and so on until the seam is finished.

2: Seguidamente presente cada cuadrado como lo iba a combinar,los cuales los coloque un triangulo estampado con uno triangulo azul, luego enfrente los derecho de cada triangulo y poco a poco comencé a unirlos con unas puntadas de Pespunte, la cual consiste en pinchar la aguja en la tela y sacarla de 2 ó 3 mm aproximadamente mas allá de la línea de la costura, luego se vuelve a pinchar en el punto de inicio y se saca la aguja avanzando 2 ó 3mm y así sucesivamente hasta terminar la costura.
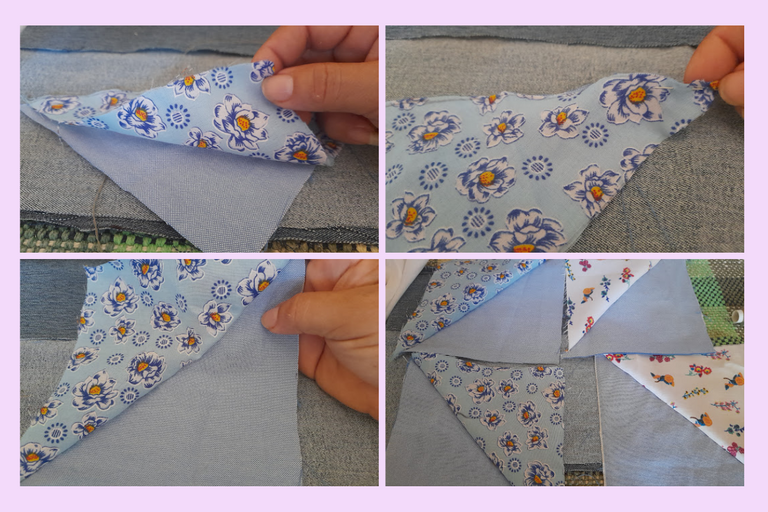


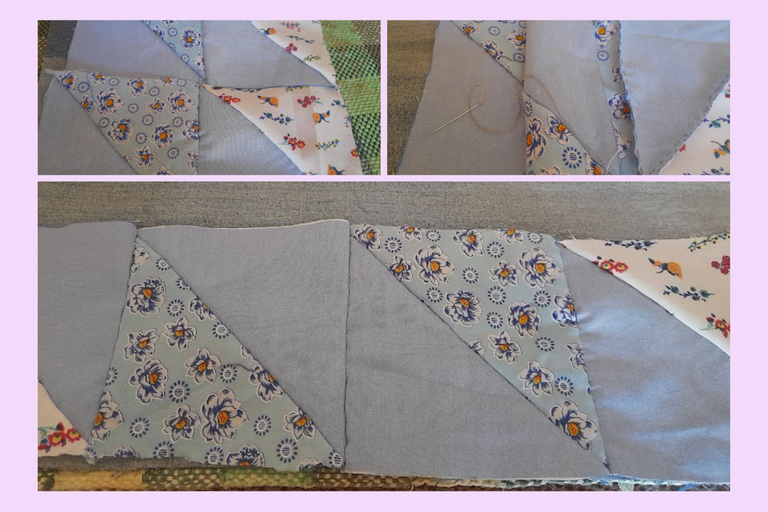
3: Then I joined each square with a few backstitches on one side of each of them forming a rectangle, as you can see in the pictures.

3: Luego uní cada cuadrado con unas puntadas de Pespunte por un lado de cada uno de ellos formando un rectángulo,como pueden observar en las imágenes.


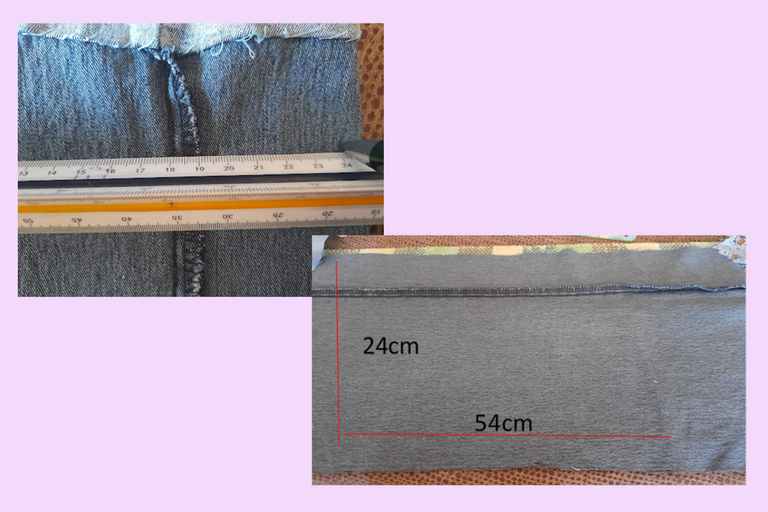
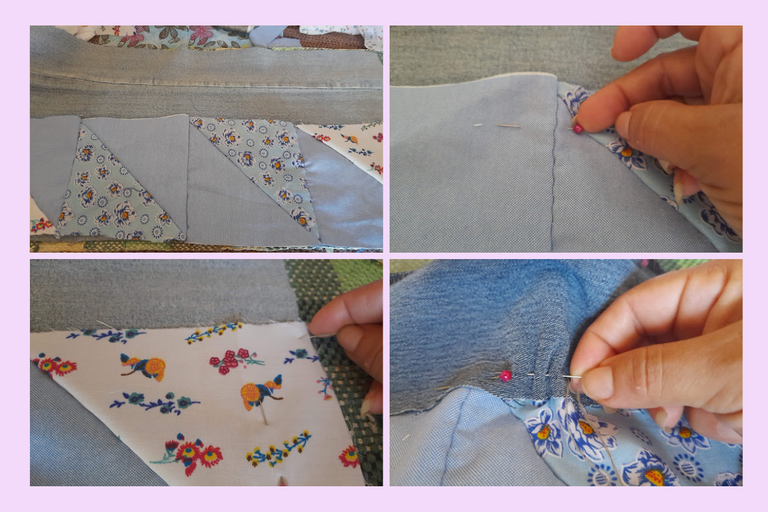
4: Then take a piece of jean fabric 24 centimeters high by 54 centimeters wide, which will be the base of the lunch box, then with some pins I fixed the squares that I made in the previous step and proceeded to sew it. then cut some squares of 5 centimeters and others of 6 centimeters and gradually joined them with a seam on the back and finally sewed them on top of the base of the jean fabric with some stitches in "X" as you can see.

4: Después tome un trozos de tela de jean de 24 centímetros de alto por 54 centímetros de ancho, el cual va ser la base de la lonchera,seguidamente con unos alfileres fije los cuadros que realice en el paso anterior y procedí a coserlo. luego corte unos cuadritos de 5 centímetros y otros de 6 centímetro y poco a poco los uní con una costura al reverso y finalmente los cosí en la parte superior de la base de la tela de jean con unas puntadas en "X" como pueden observar.


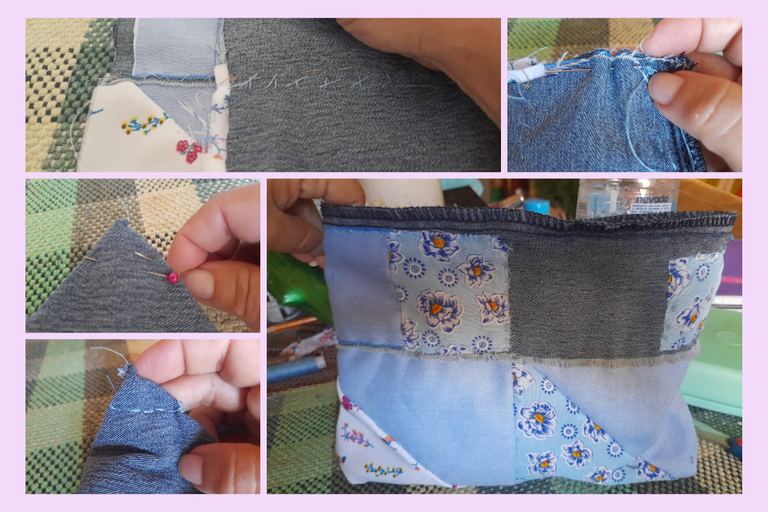
5: To finish the lunch box I folded it in half to join with strong stitches one of the sides and the bottom of the lunch box, then I made a triangular seam in each of the corners of the bottom to give shape to the bag, then I sewed the magic zipper and the cross ribbon at each end of the bag not too long because it is to carry it in the hand and that's it.

5: Para finalizar la lonchera enfrente ambas partes, doblándola a la mitad para así unir con unas puntadas bastante fuertes uno de los costados y la parte inferior de la lonchera, luego le realice una costura triangular en cada una de las esquinas de la parte inferior para darle forma al bolso, seguidamente le cosí el cierre mágico y la cinta cross en cada extremo del bolso no muy larga porque es para llevarla en la mano y listo.
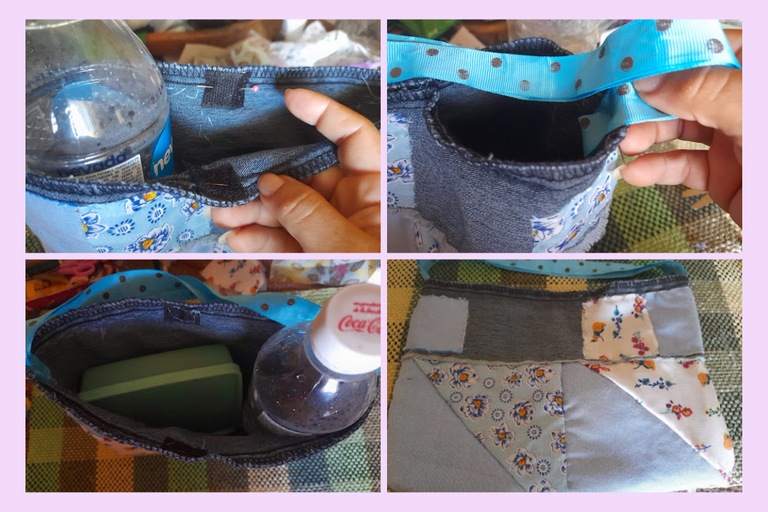
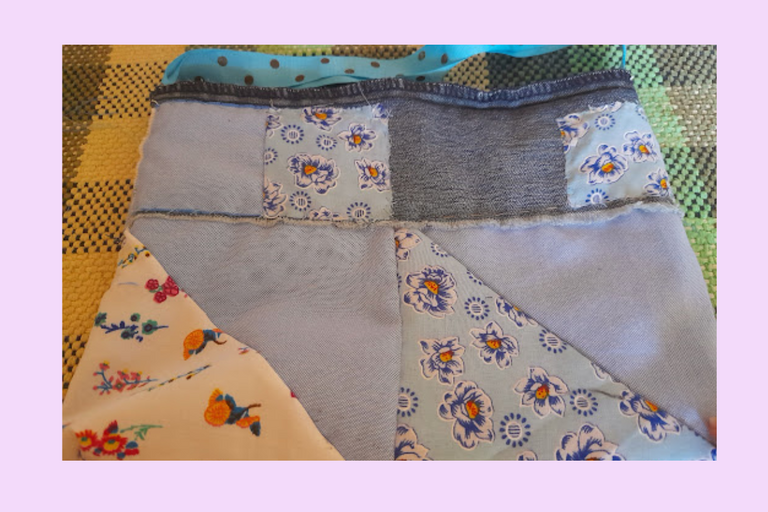


Ready friends, this is the great result of my cute and creative lunch box, I hope you like it and I hope you like my project today!
My dear friends, see you in the next contest!

Listo amigas, este es el estupendo resultado de mi linda y creativa lonchera.¡Espero les sea de su agrado y les guste mi proyecto del dia de hoy!.
¡Mis queridas Amigas hasta un próximo concurso!
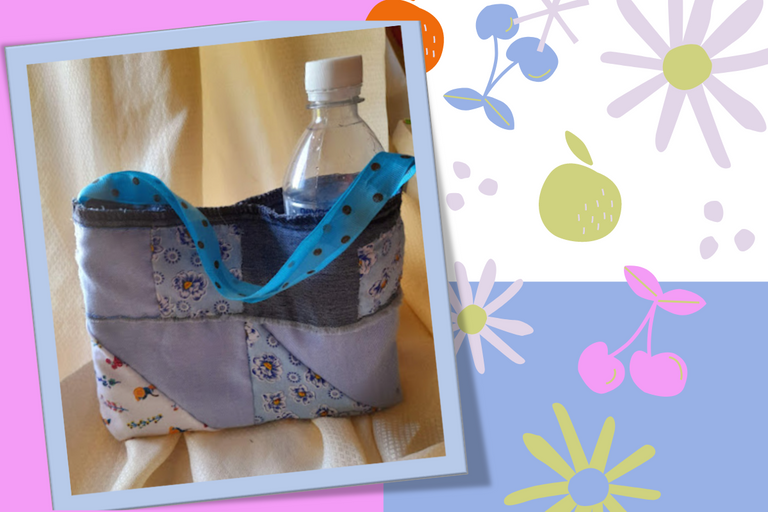
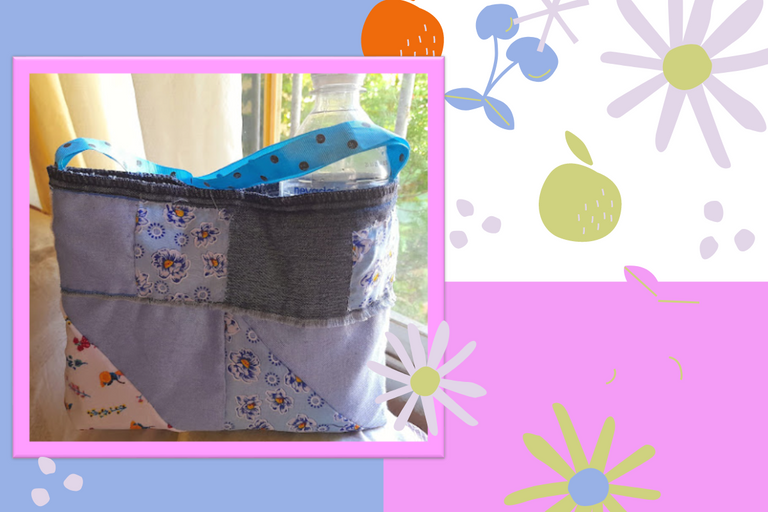
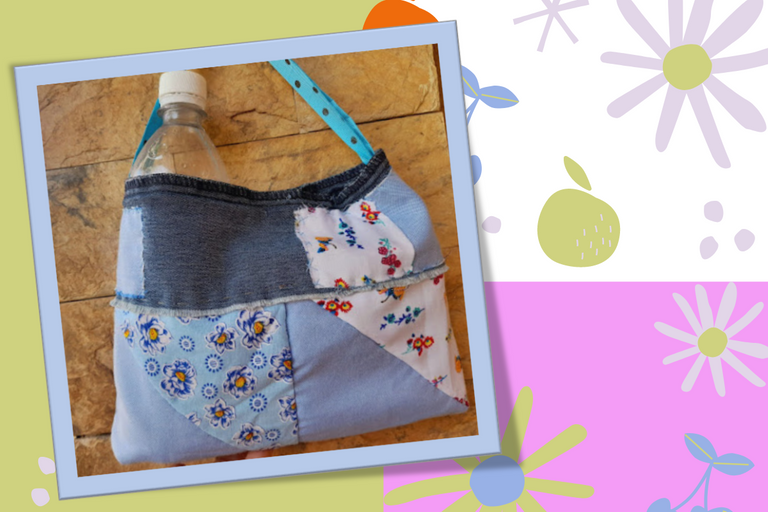
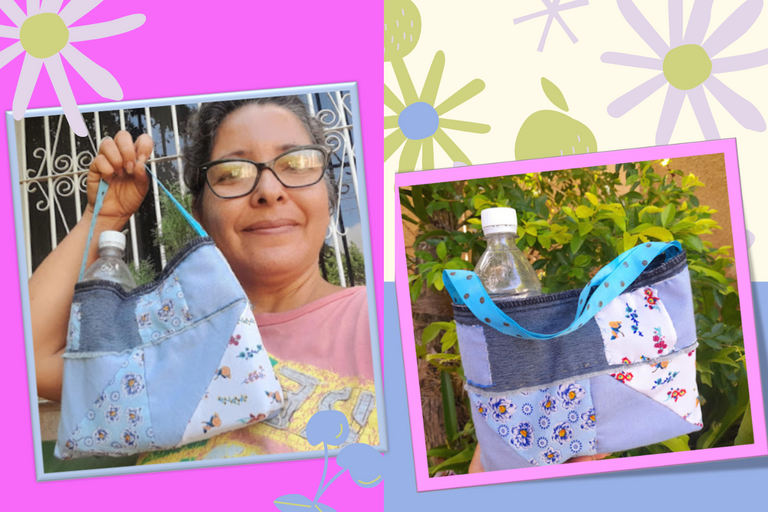
Portada y plantillas elaboradas en canva
Fuente Separador

The photographs were taken with a Samsung A12 smartphone, the text was translated into English with the Google translator.link
The banner was designed on canvas link

Las fotografías fueron tomadas con un teléfono inteligente Samsung A12, el texto fue traducido al ingles con el traductor de Google.link
El banner fue diseñado en canvas link


