I've been practicing using Davinci Resolve lately and This time I tried to edit my Splinterlands Weekly Fan Art Entry using Davinci Resolve
My Entry

To view the full video view it on 3speak
Resources
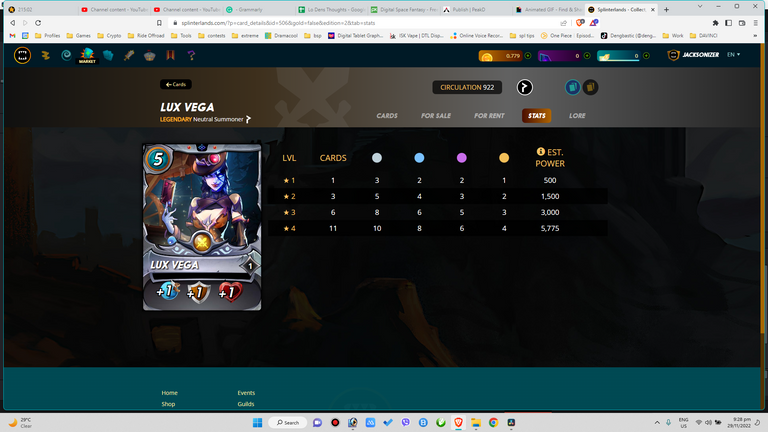
Screen Shot of Lux Vega from Splinterlands Website

Background video from Pixabay
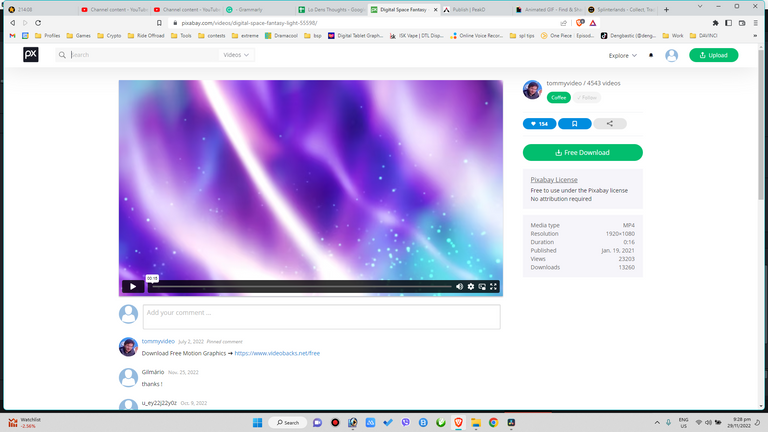
Video by Tomislav Jakupec from Pixabay
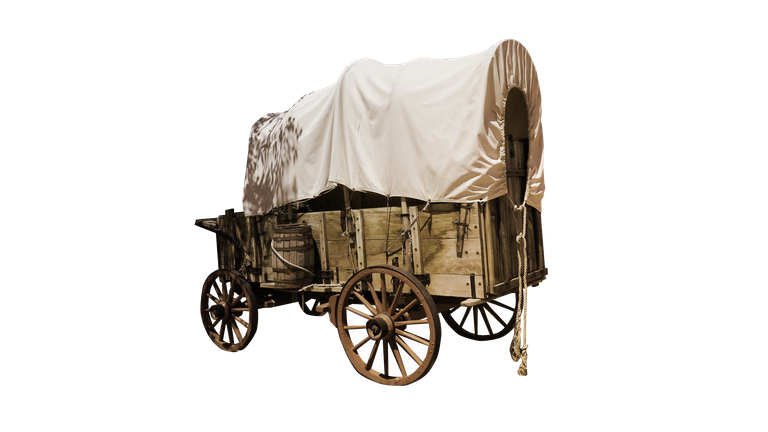
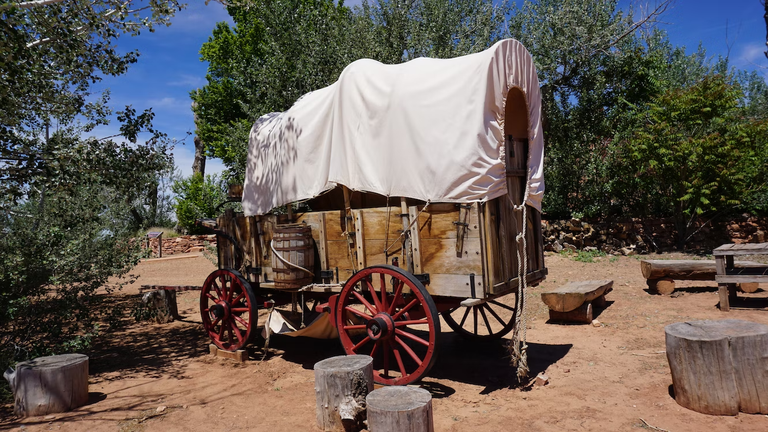
Photo by Roger Lipera on Unsplash

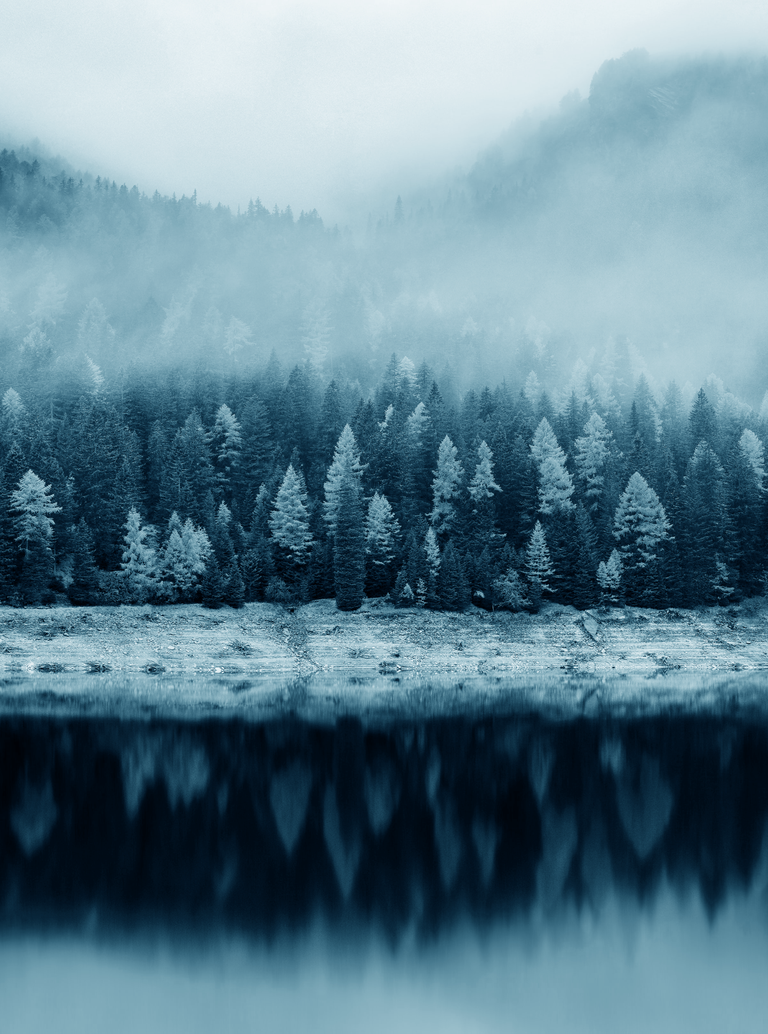
Photo by Samuel Ferrara on Unsplash
First of all I apologized if I cant explain the full work here in details, The art consists of multiple programs and multiple overlays and nodes that even if I explain, most of you wont understand. I'll try my best to explain things as easy as possible.
Programs used
Adobe Photoshop and Davinci Resolve 18
Steps
To do this Lux Vega 3D you need to screenshot and edit the image in Adobe Photoshop
Note: if you just right click and save, the abilities will not be included in the picture
Cleaning the Card
Cut out Lux Vega from the background you need to do this because the one in the lore is too pixelated.
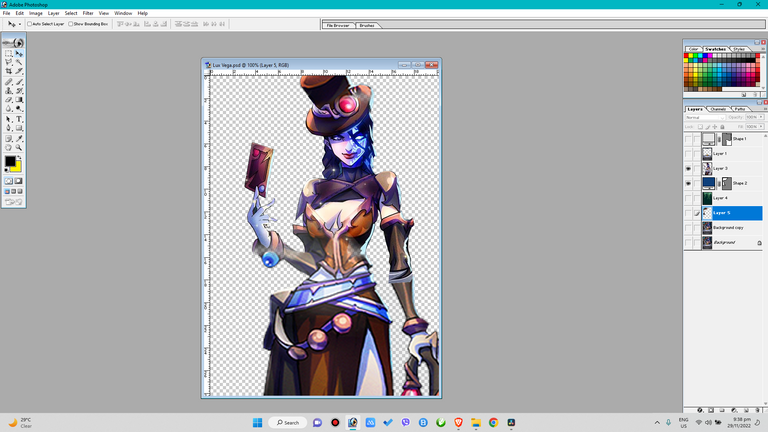
Overlay the big lux on the whole body lux and try to trim it as much as possible
Edit the forest back ground
to match the color of the forest in the card
Edit the wagon and trim out unnecessary objects
Make individual file of the cards parts


Yeah I know too much work :)
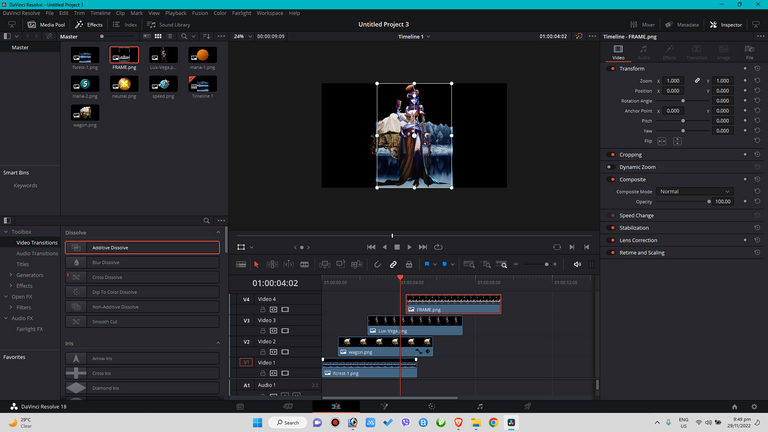
Open the files in Davinci Resolve and put it in the time line.
You need to create 3 separate files in Davinci before compiling it into 1 video.
The First file id the one were Lux Enters the card
Overlay the forest, wagon Lux and card parts on top of each other
create a zoom effect with Lux until she fits the card
Save File
The Second Davinci File that you willcreate is the Spinning 3d Card
This is done in Davinci Fusion
Import the image in fussion and use these nodes
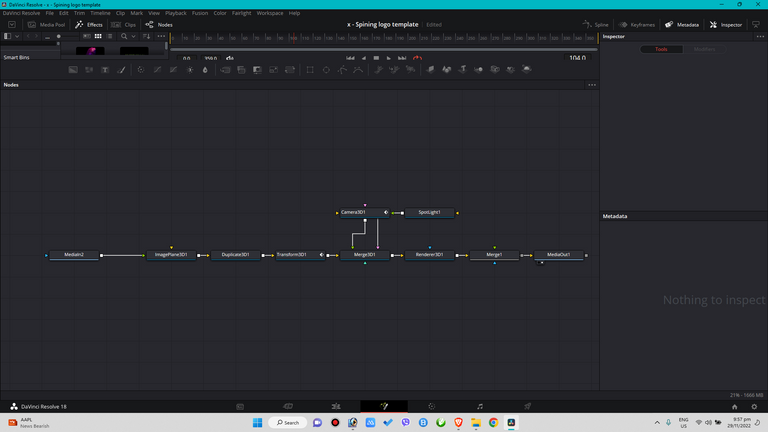
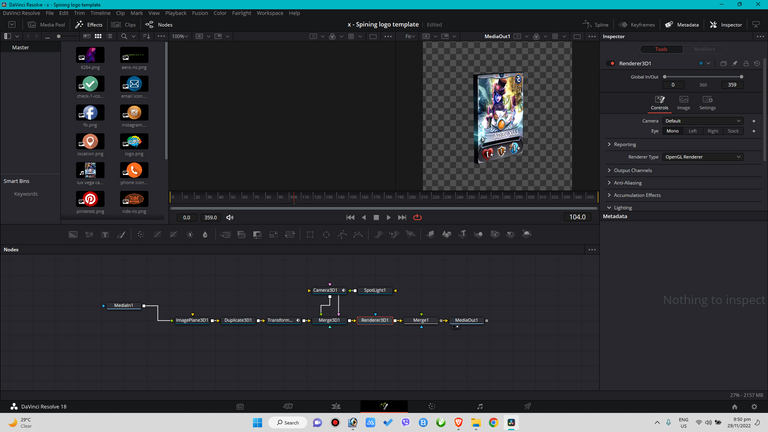
Save File
The 3rd Davinci File is the spinning Splinterlands Logo
Do the steps that you did in Lux Vega
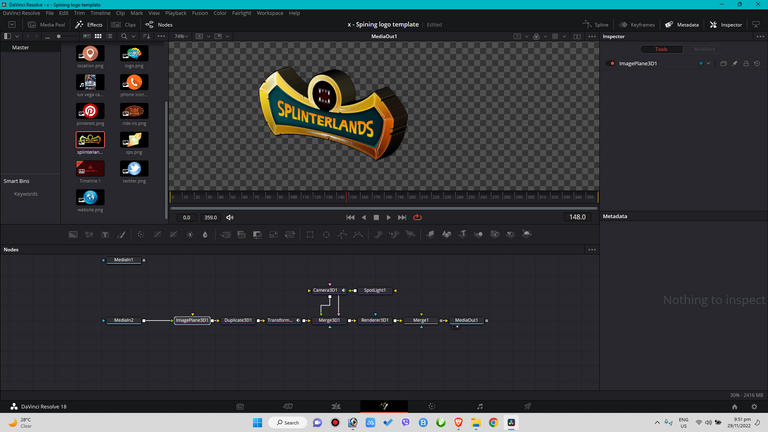
save File
The Final Step
Overlay the Video files in order
Background from Pixabay
The First Lux Vega File
The 3D Lux Vega File - Remove green screen in fussion by using delta keyer
The 3D Splinterlands File - Remove green screen in fussion by using delta keyer
Thank you for reading my post and I hope you liked my Lux Vega Animated Card.
Note: I forgot to tell you that I used 3d camera in creating the rotating the Lux Vega File