Hello 🤗 welcome to my blog. I'm so excited to participate in this amazing #HiveDIY community, I know I've been inactive and haven't been very social and it's just that my work and college classes have been very time-consuming. Yesterday I couldn't post here because I had a math evaluation, and then I had to go to work. Well, Tuesday was my best friend's birthday Eledio Arismendi although unfortunately, I couldn't share much with him 🥺 because we met that day at the time of leaving work (6:00 pm) and I couldn't be away from home any longer. But the great thing is that I did manage to give him the gift I made with so much love for him 😊. Anyway, today I show you how I made the gift bag, I recommend you use craft paper, as it can be cheaper, I didn't get it and that's why I had to use cardboard, but I bought one from my best friend's favorite color (green). Without further ado, let's get to work.
Buenas 🤗 bienvenidos a mi blog. Estoy tan emocionada de participar en esta increíble comunidad #HiveDIY, sé que he estado inactiva y no he sido muy sociable y es que mi trabajo y las clases de la universidad han consumido mucho el tiempo. El día de ayer no pude publicar por acá porque tuve una evaluación de matemáticas, y después tuve que ir a trabajar. Bueno, el día martes cumplió año mi mejor amigo Eledio Arismendi aunque lamentablemente no pude compartir mucho con él 🥺 porque nos encontramos ese día en la hora de salida (6:00 pm) del trabajo y no podía estar más tiempo fuera de mi casa. Pero lo genial es que sí logré darle el regalo que hice con tanto amor para él 😊. En fin, hoy les muestro como hice la bolsa de regalo, recomiendo que usen papel craft, puede ser más económico, yo no conseguí y por eso tuve que usar cartulina, pero compré una del color favorito de mi mejor amigo (verde). Sin más que decir, pongamos manos a la obra.
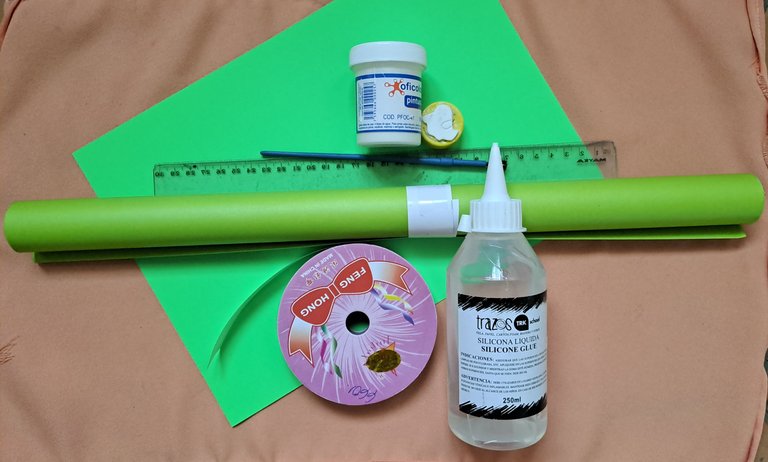
👻 MATERIAL USED/MATERIAL USADO 👻:
- Green cardboard or the color of your choice, it can also be craft paper.
- Ruler.
- Scissors.
- Liquid silicone or white glue.
- White cold paint.
- A paintbrush.
- Ghost stamp.
- A fine tip marker.
- Another piece of stronger cardboard, or a piece of cardboard.
- Punch.
- Paper tape, in this case I also bought it in green.
- Cartulina verde o el color de tu preferencia, también puede ser papel craft.
- Regla.
- Tijera.
- Silicona líquida o pega blanca.
- Pintura al frío blanca.
- Un pincel.
- Sello de fantasma.
- Un marcador punta fina.
- Otro pedazo de cartulina más fuerte, o un trozo de cartón.
- Sacabocado.
- Cinta de papel, en este caso también la compré de color verde.
👻 PROCESS/PROCESO 👻:
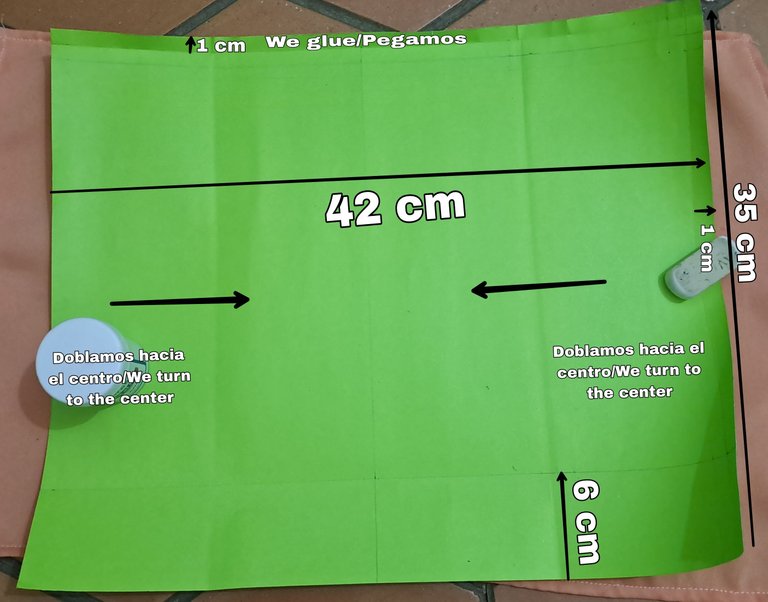
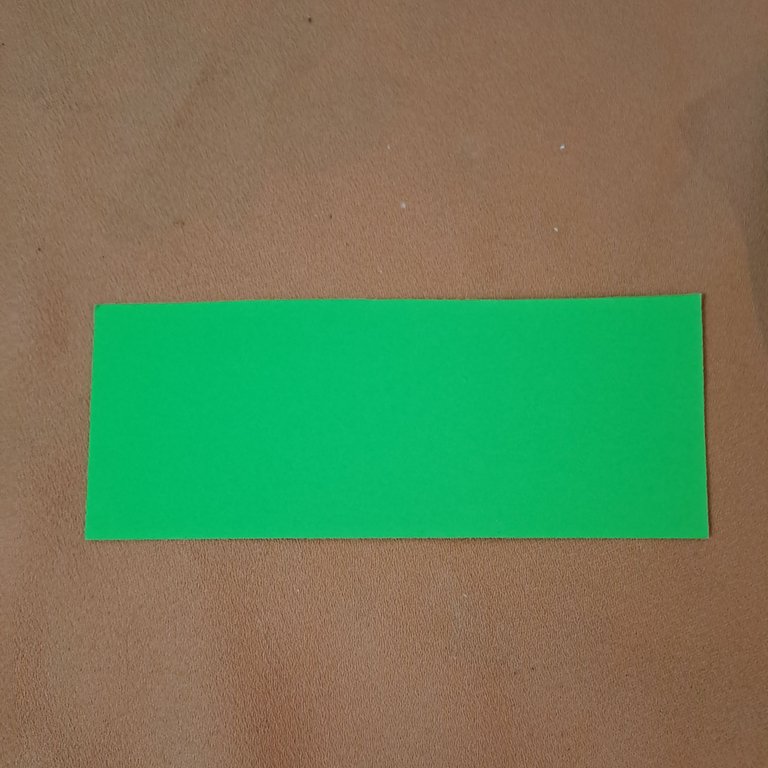
- Cut a rectangle 35 cm high by 42 cm wide. We leave 1 cm on two sides of the rectangle, the centimeter at the top we glue it so that the irregular cuts of the scissors are not visible on the bag. The centimeter that is on the side of the width, that is to know that there we will join when we fold the sides to the center, as shown in the image.
- Cortamos un rectángulo de 35 cm de alto por 42 cm de ancho. Dejamos 1 cm en dos lados del rectángulo, el centímetro de la parte superior lo pegamos para que a la bolsa no se le vean los cortes irregulares de la tijera. El centímetro que está en el lado del ancho, ese es para saber que ahí uniremos cuando doblemos los lados al centro, como lo muestra la imagen.
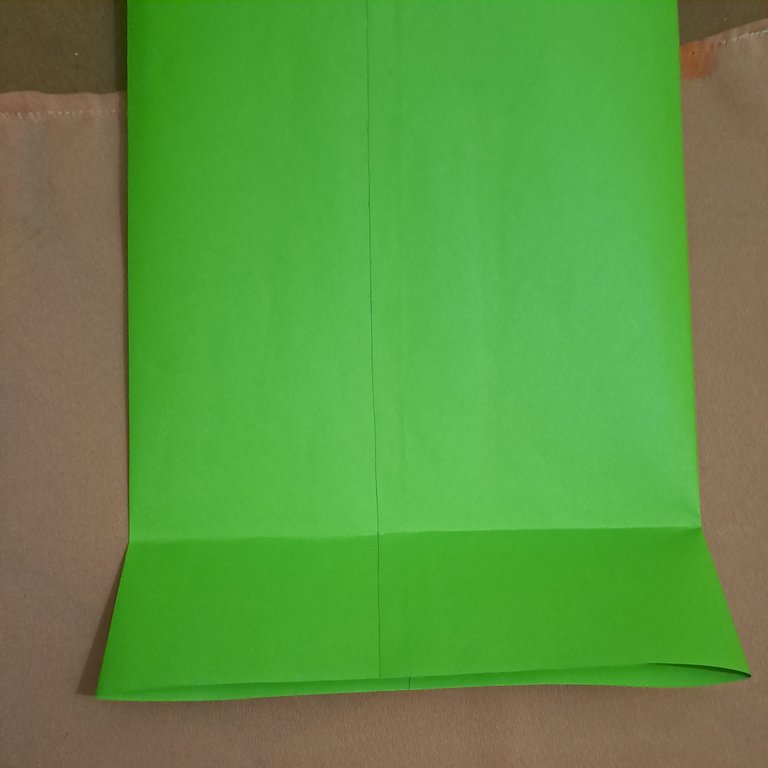
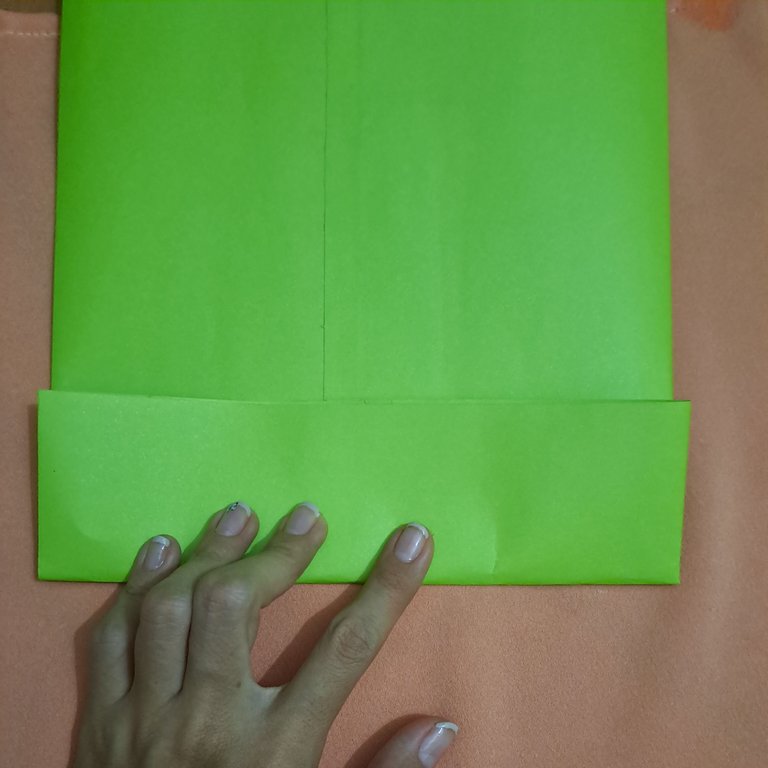
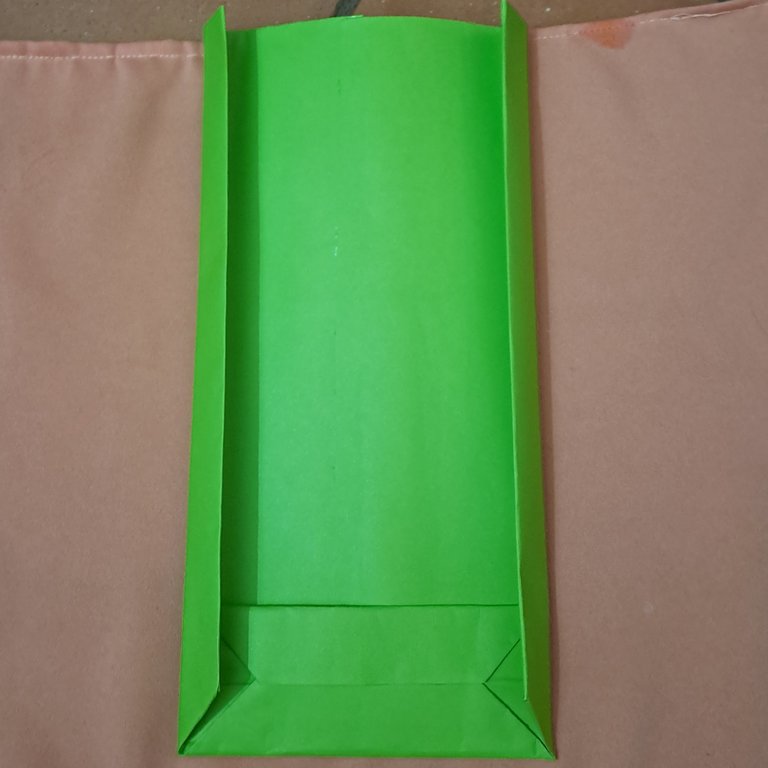
- As you can see here I already glued everything, and after that I folded up the 6 cm of the bag.
- Como pueden ver aquí ya pegué todo, ya después de eso doblé hacia arriba los 6 cm de la bolsa.
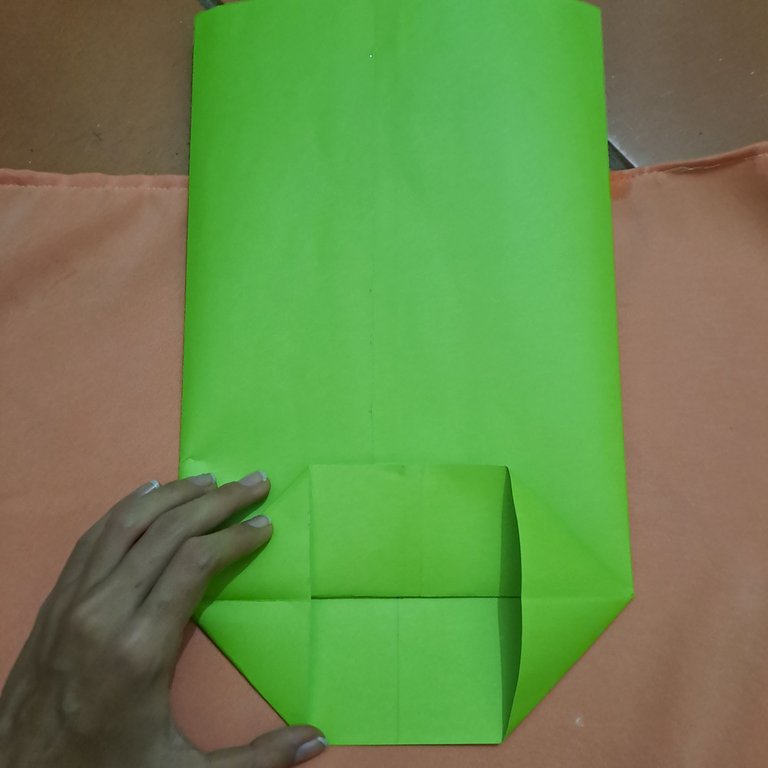
- Then, we fold inward forming two triangles, as shown in the image. Then we make the next fold (second image).
- Luego, doblamos hacia adentro formando dos triángulos, como se ve en la imagen. Después hacemos el siguiente doblez (segunda imagen).
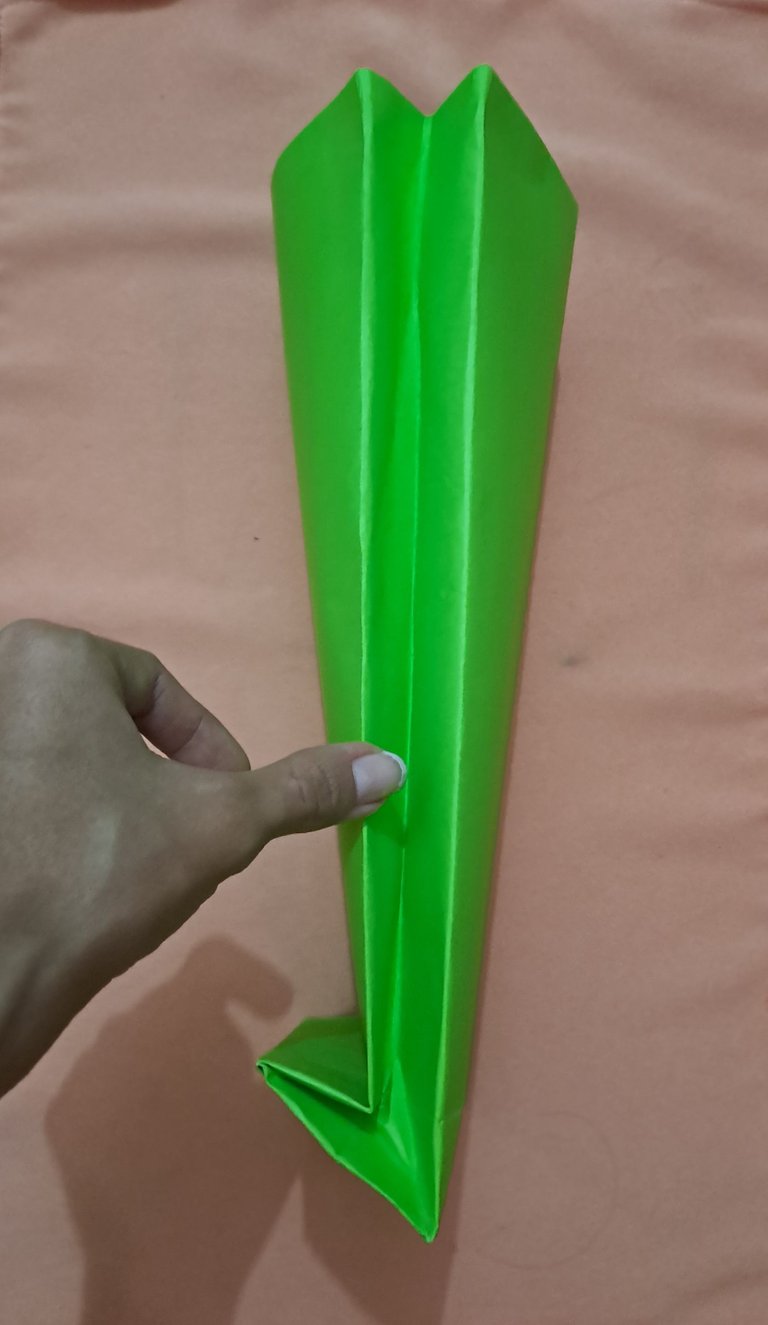
- After having it folded, we glue it with the liquid silicone, just where the image is scratched.
- Después de tenerlo doblado, pegamos con la silicona líquida, justo donde está rayada la imagen.
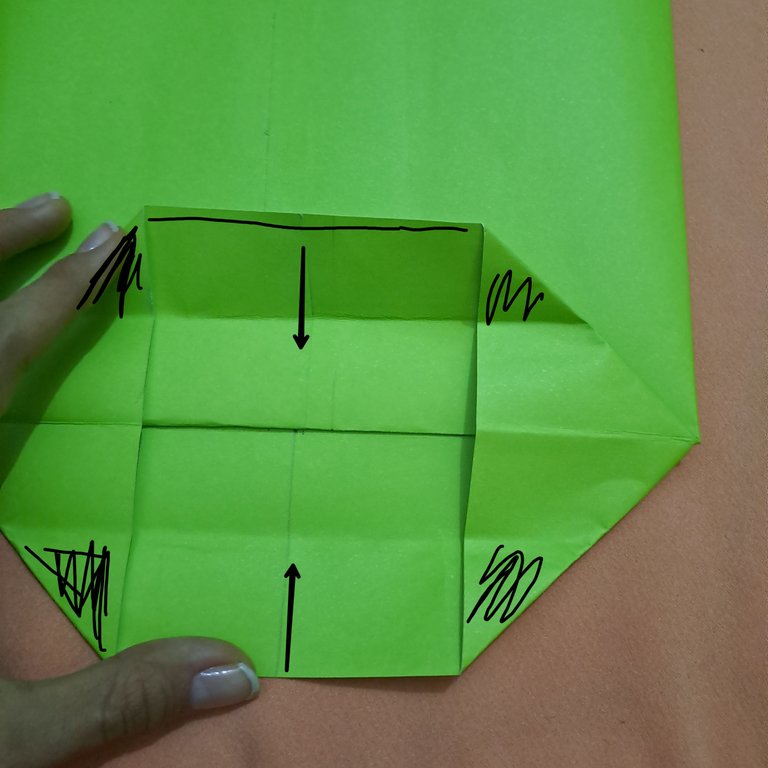
- Then, we fold the corners as follows.
- Luego, doblamos las esquinas de la siguiente manera.
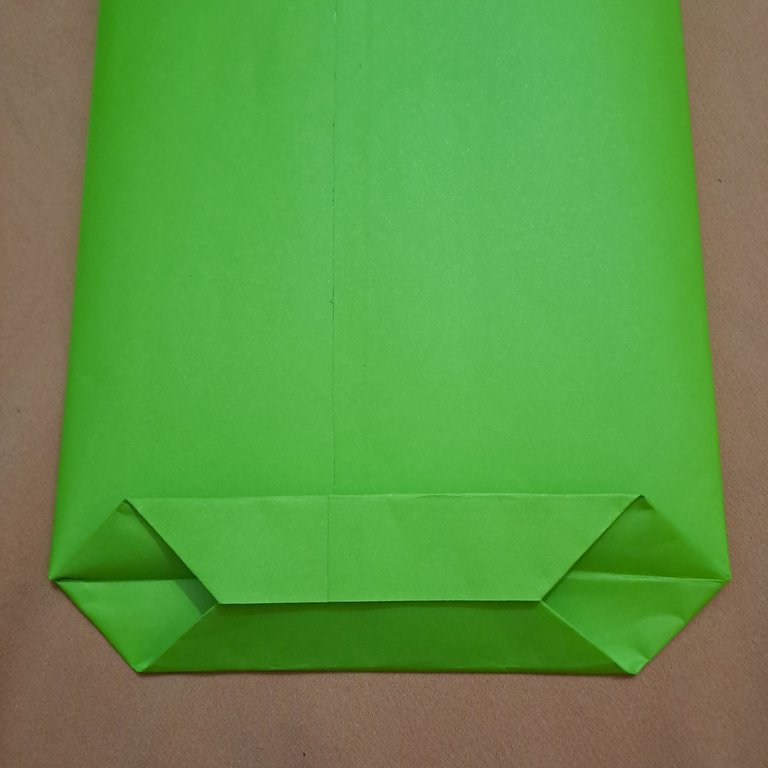
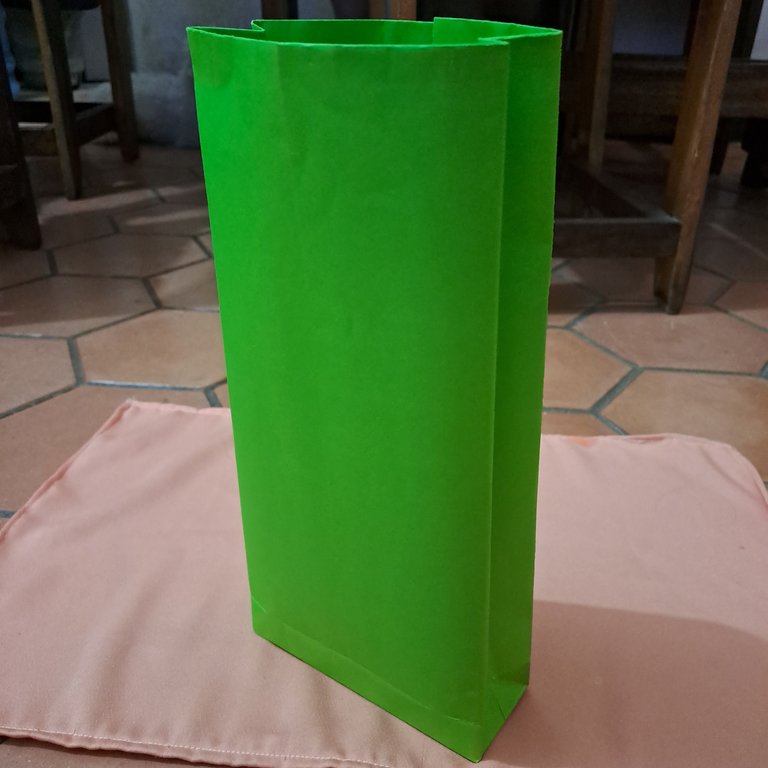
- We open the bag and then we put in the corners that we folded previously, so that it looks like this.
- Abrimos la bolsa y luego metemos las esquinas que doblamos anteriormente, para que nos quede así.
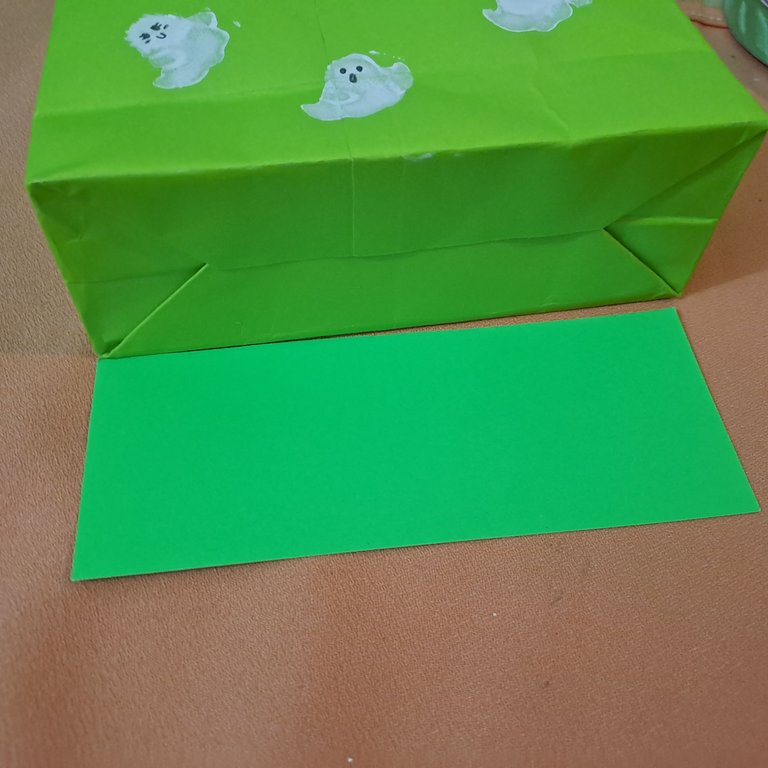
- This is what our bag must have looked like. Now comes the fun part, decorating it.
- Así nos debe de haber quedado nuestra bolsa. Ahora viene lo divertido, decorarla.
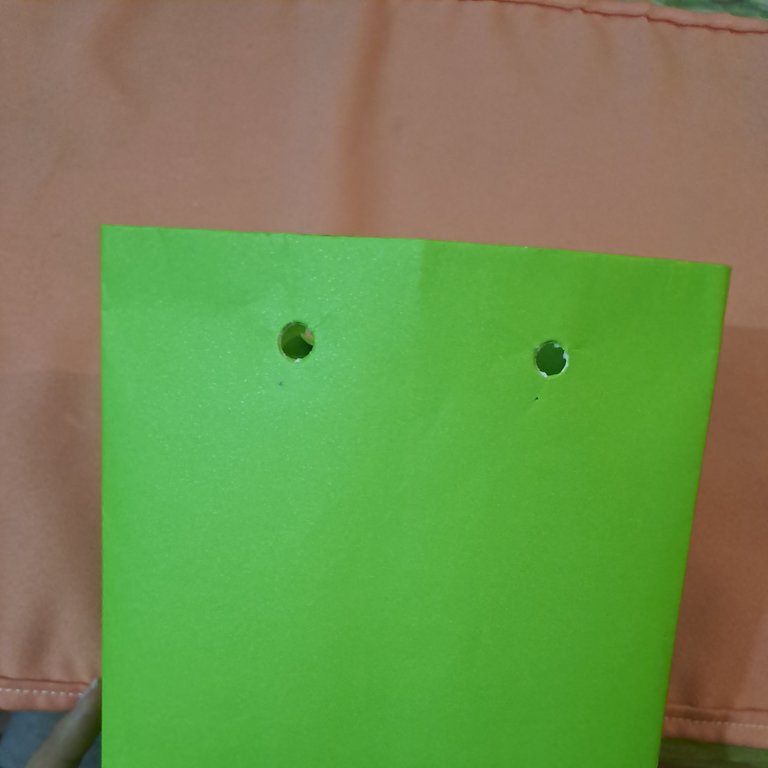
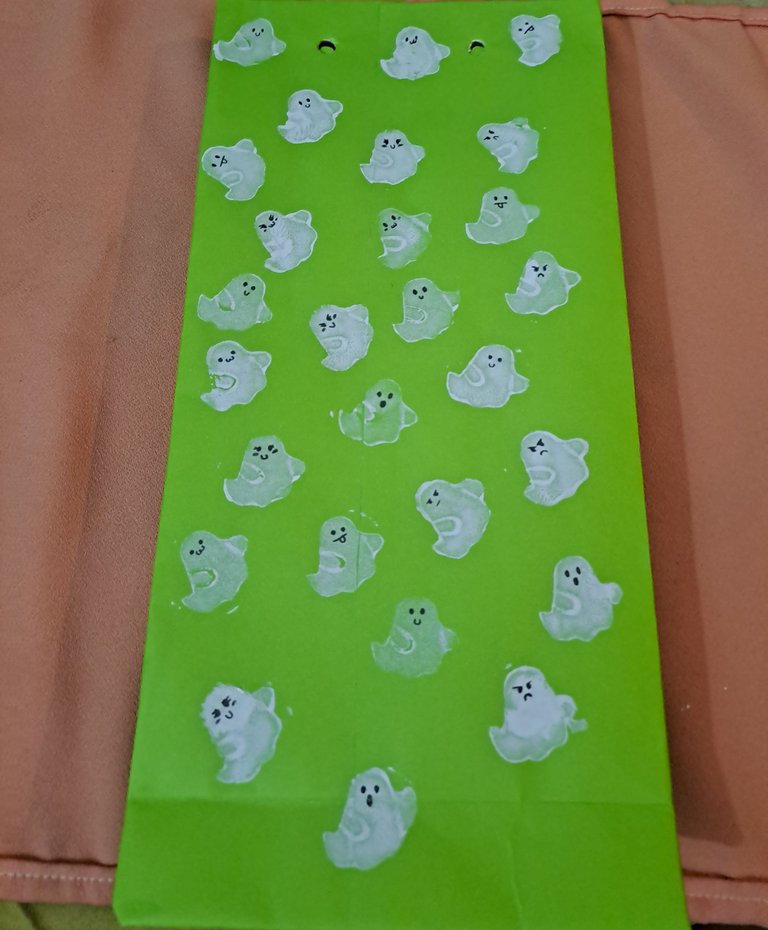
- With a punch, we open the holes where we will insert the ribbon later.
- Con un sacabocado, abrimos los huecos donde meteremos más adelante la cinta.
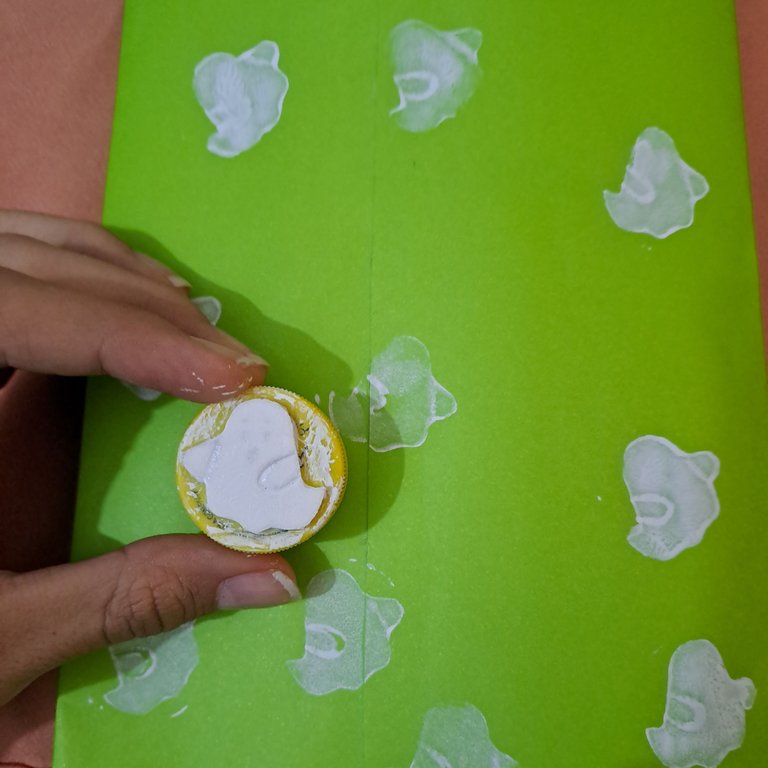
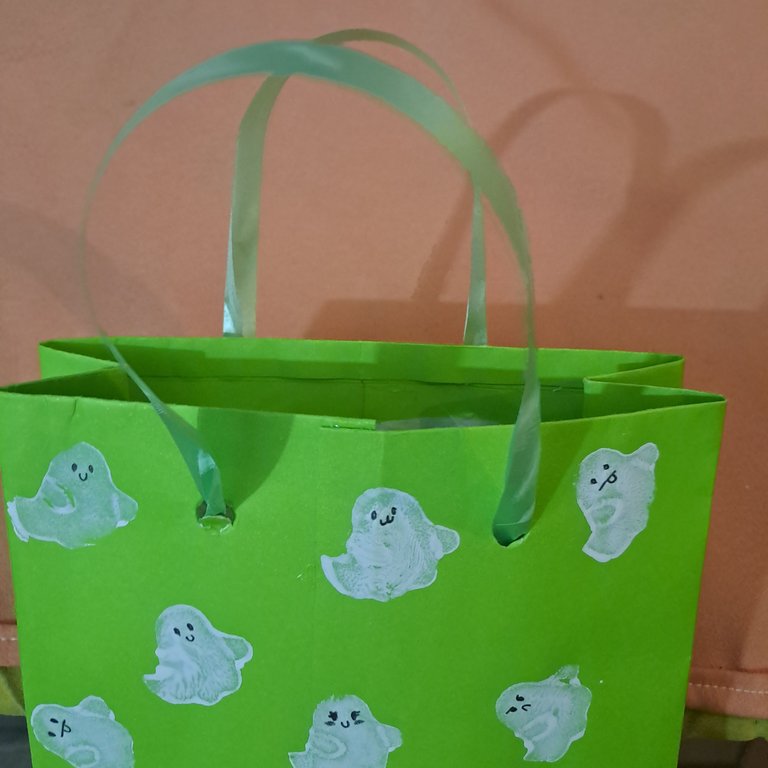
- With the ghost stamp 👻 I decorated the whole bag. Here is the tutorial of how I made the ghost-shaped fomi stamp. Then with the fine tip marker we make expressions to the ghosts.
- Con el sello de fantasma 👻 decoré toda la bolsa. Aquí está el tutorial de como realicé el sello de fomi con forma de fantasma. Luego con el marcador punta fina le hacemos expresiones a los fantasmas.
- To make the bottom of the bag more resistant, I cut a rectangle of thick cardboard, the size of the bottom. We glued it with liquid silicone on the inside of the bag.
- Para hacer el fondo de la bolsa más resistente, corté un rectángulo de una cartulina gruesa, del tamaño del fondo. Lo pegamos con silicona líquida por dentro de la bolsa.
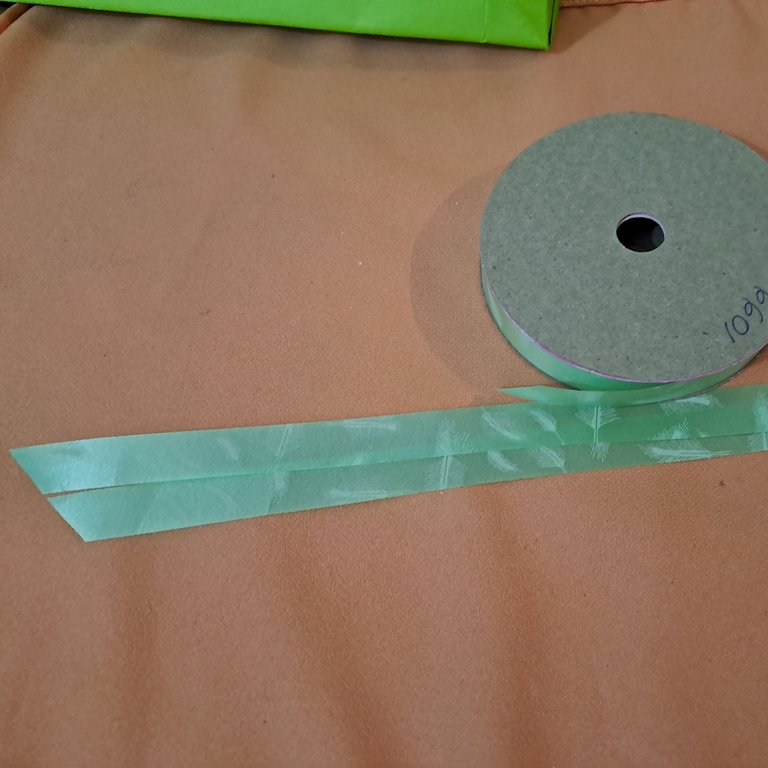
- We cut 38 cm of ribbon, twice, in order to have the handles of the bag. We help them inside.
- Cortamos 38 cm de cinta, dos veces, para así tener las asas de la bolsa. Los ayudamos por dentro.
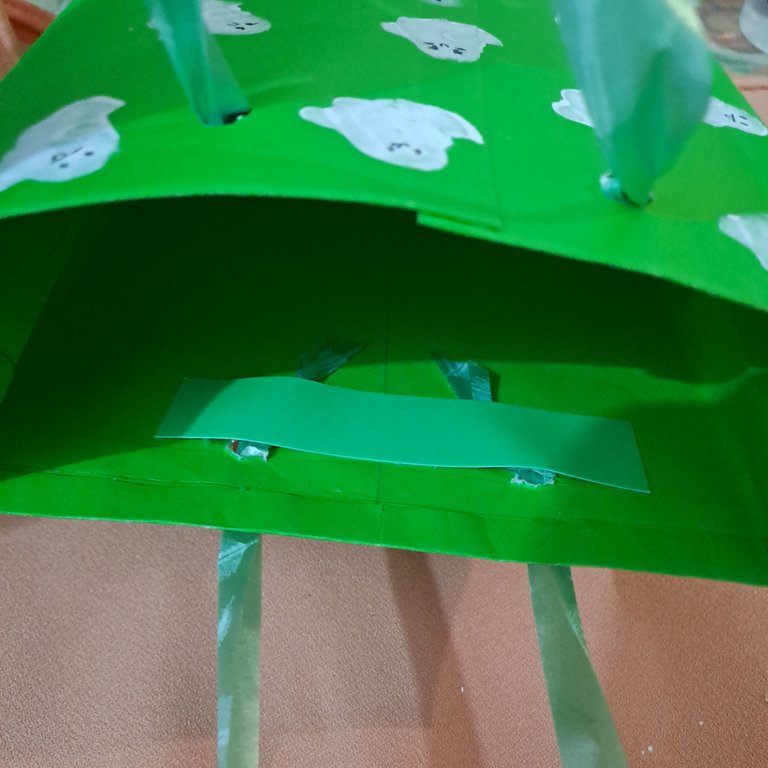
- We cut two strips of the thicker cardboard and glue them on top of the ribbon knots, so that the knots do not come out of the handles.
- Recortamos dos tiras de la cartulina más gruesa y la pegamos encima de los nudos de la cinta, para que no se salgan los nudos de las asas.
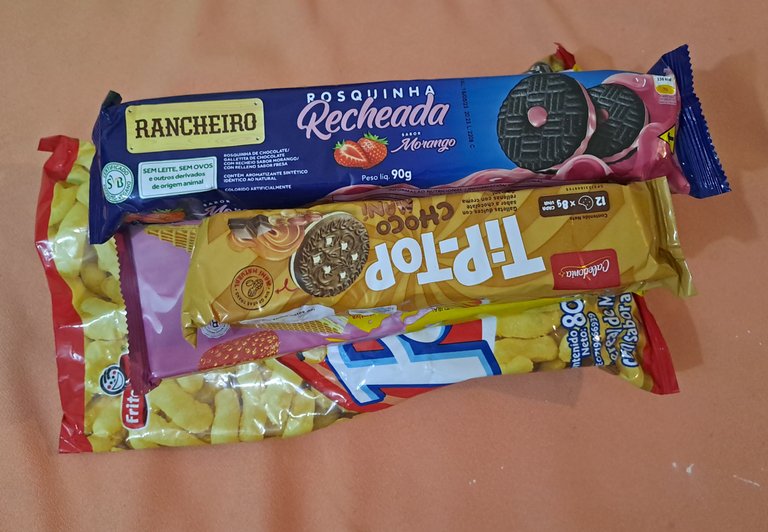
- We take our favorite candy, in this case my best friend's favorite candy. And put them in the bag. We close the opening of the bag with a little bit of transparent tape.
- Tomamos las chucherías (golosinas) favoritas, en este caso las favoritas de mi mejor amigo. Y las metemos a la bolsa. Cerramos la abertura de la bolsa con un poquito de cinta transparente.
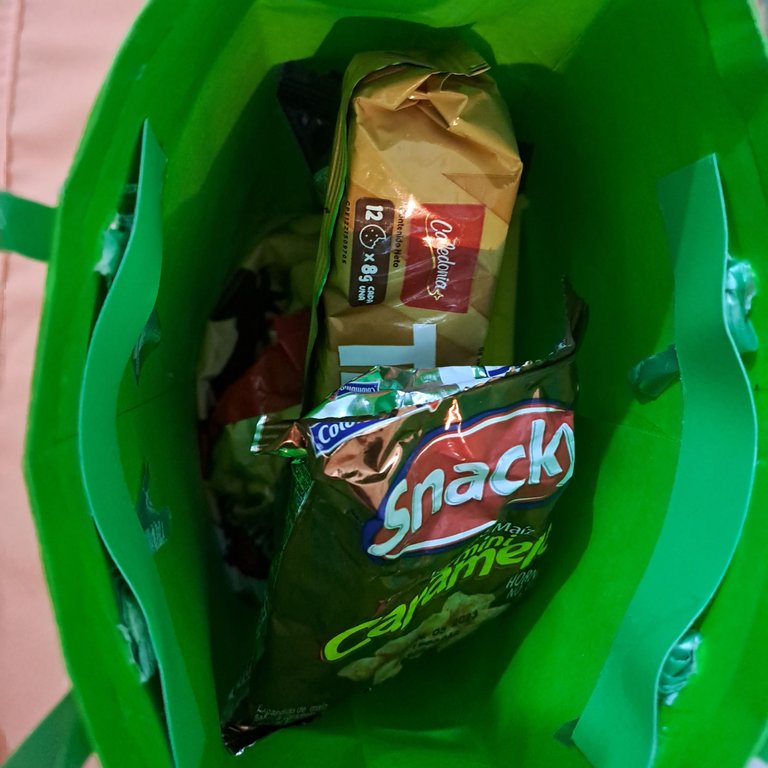
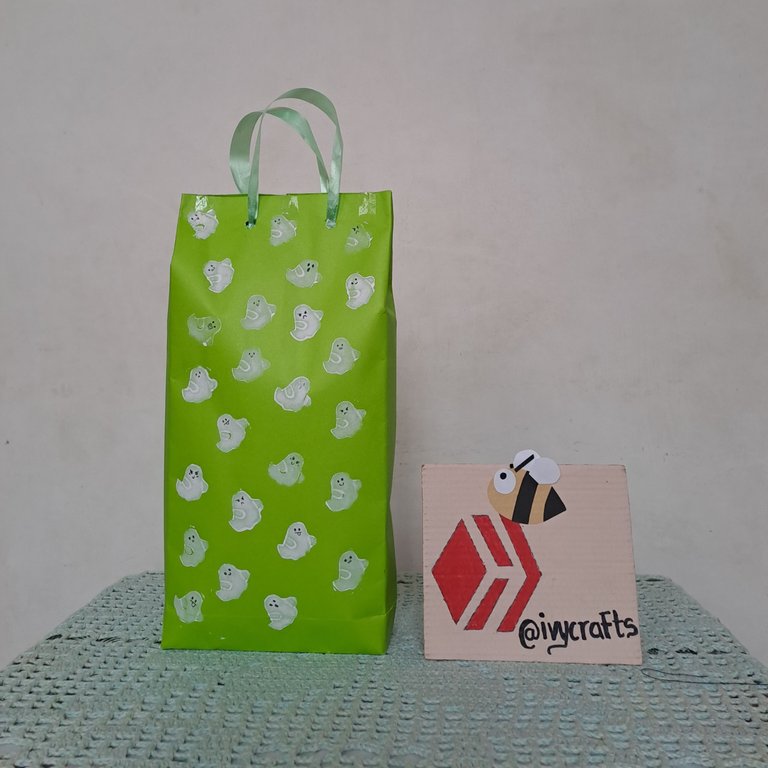
And that's it, that's how I got the bag with the candies inside. Since it was the first time I made a bag, I didn't know how to calculate the measurements very well, but I was very happy with the result.
Y listo, así me quedó la bolsa ya con sus golosinas adentro. Al ser la primera vez que realizo una bolsa, pues no supe calcular muy bien las medidas, de todos modos me encantó mucho el resultado.
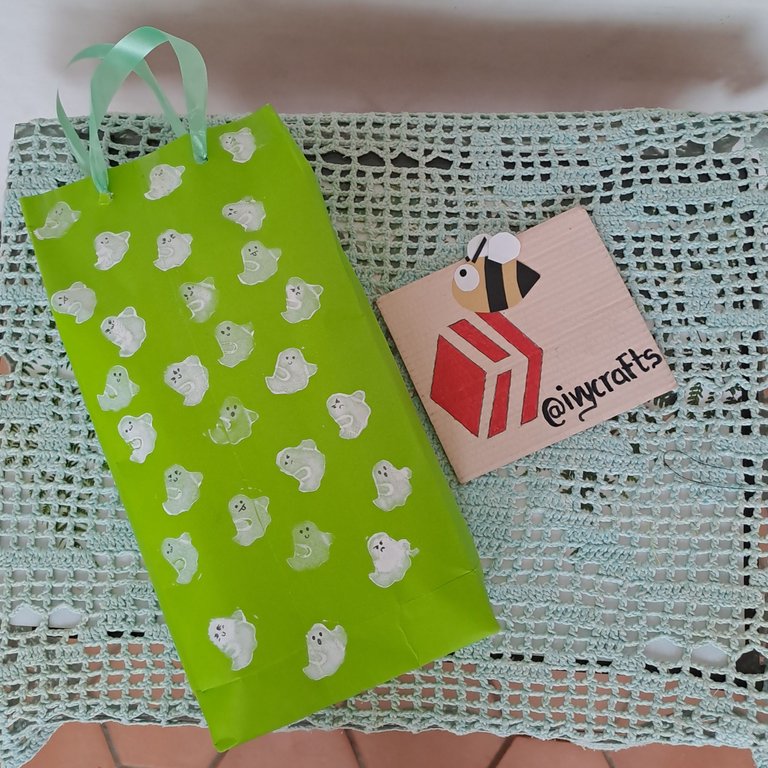
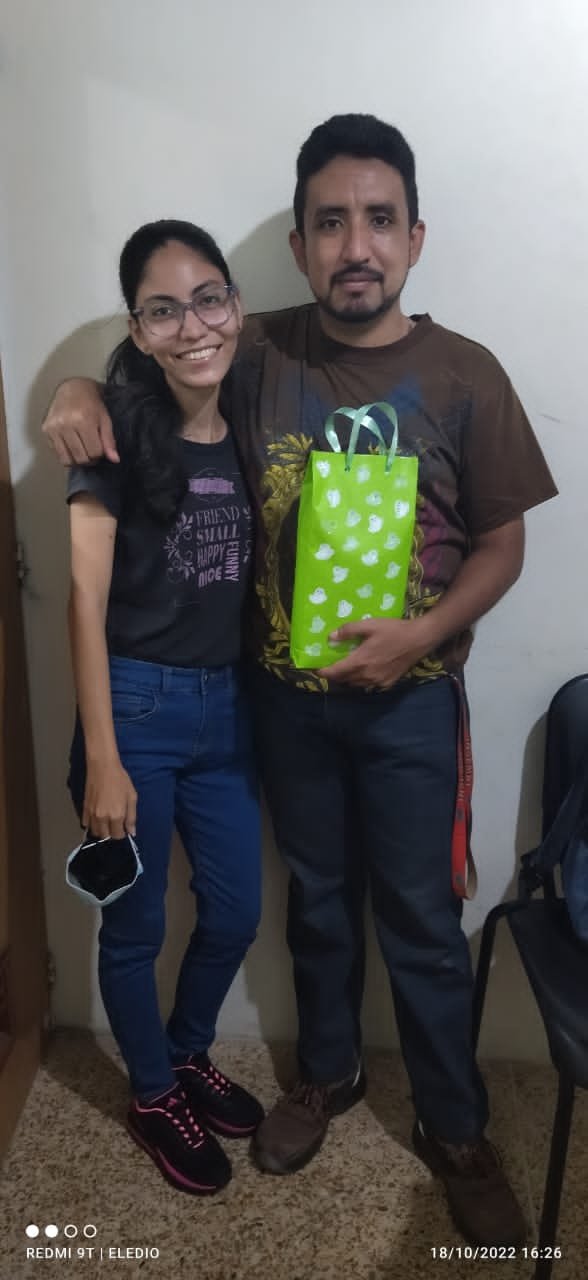
Photo with my best friend, with his little gift 💕 I say goodbye, I hope you have a beautiful day. Until next time.
Foto con mi mejor amigo, con su regalito 💕 Me despido, espero que tengan un hermoso día. Hasta una próxima oportunidad.
You have reached the end of my post. Thanks for reading me❤️ Have a nice day 😊❤️ If you need help do not hesitate to write me on my Discord Ivycrafts#0396.❤️
Has llegado al final de mi publicación. Gracias por leerme❤️ Ten un lindo día 😊❤️ Si necesitas ayuda no dudes en escribirme a mi Discord Ivycrafts#0396.❤️
Text and photos are my authorship. Text translated with DeepL. Photos taken with my Xiaomi Redmi 8. Text separator created with Canva Pro.
Texto y fotos son de mi autoría. Texto traducido con DeepL. Fotos sacadas con mi Xiaomi Redmi 8. Separador de texto creado con Canva Pro.


