Cover
🇫🇷Cliquez ici pour la version Francophone, située plus bas dans le texte
🇬🇧Click to jump to English version
📲Comments

🇬🇧
ENGLISH VERSION
My wife and I bought a new kitchen tool, the ice cream maker. This post shows you the very first trial. We used an exsiting recipe found here.
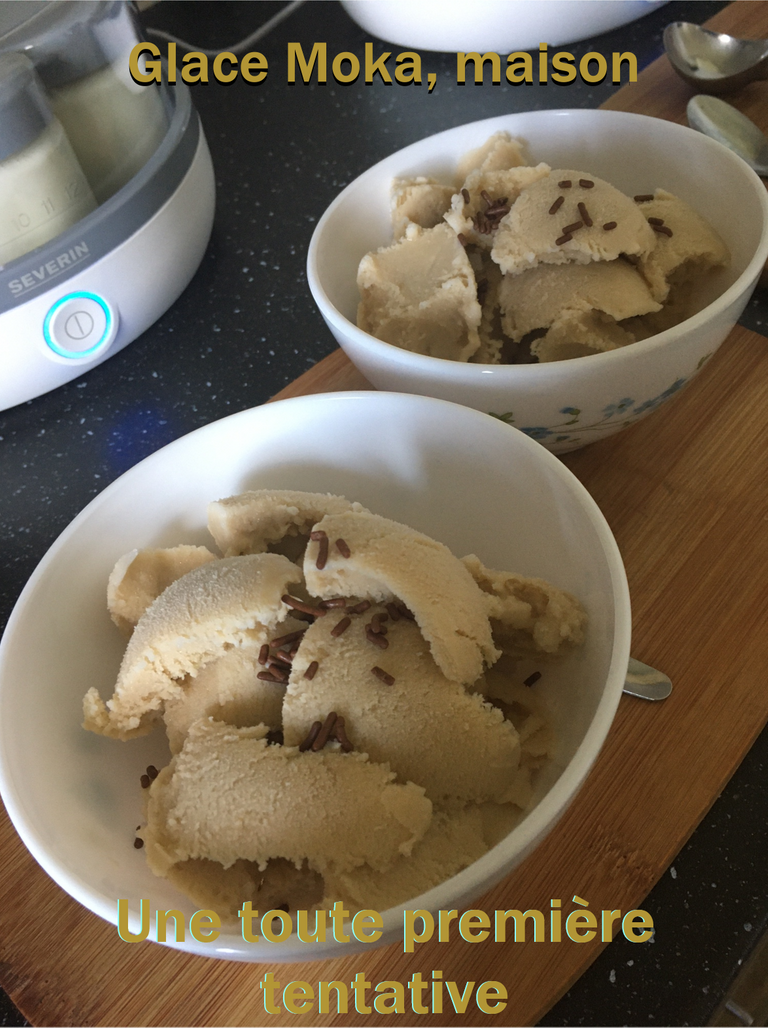
It's almost a success, even if, as you can see on the last picture, we should probably have chosen the 50 minutes program on the ice cream maker and eat the ice cream right after finishing it.
We have put the ice cream in the freezer when the maker finished, and I suppose it was a mistake.
But it was totally edible and was really tasty.
We shall not make ice cream too often, the recipe is way too rich for our diet, lol :-)
RECIPE:
For about 3/4 liter of your home made ice cream (+- 9 scoops)
1/2 vanilla pod (or a tablespoon of flavoring - optional)
20 cl liquid cream
70 g sugar
30 cl milk
1 pinch salt
150 ml strong coffee (2 large espressos)
Use the coffee you prefer, the one that fits your tastes.
4 egg yolks
Step by Step:
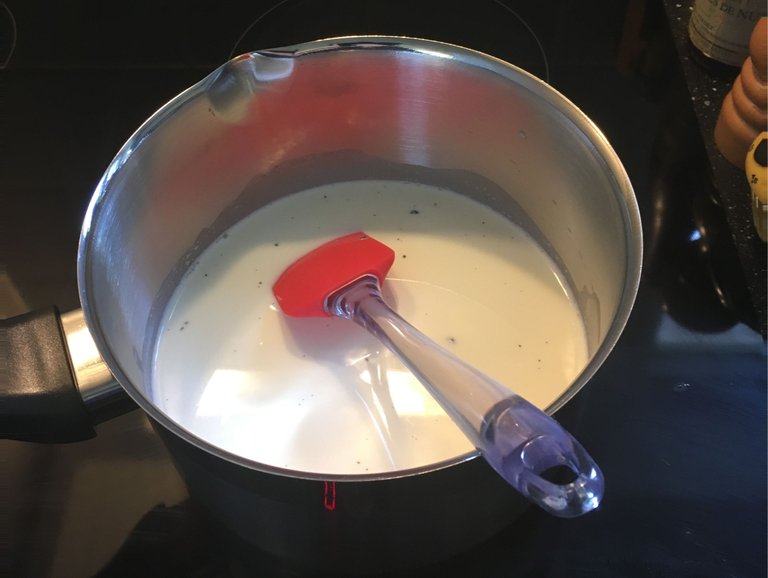
You can place the milk, cream and salt in a saucepan.
Add half a vanilla pod, split open, you will need to scrap it with the tip of a knife for better results.
Bring to the boil point and leave to infuse for an easy ten minutes.
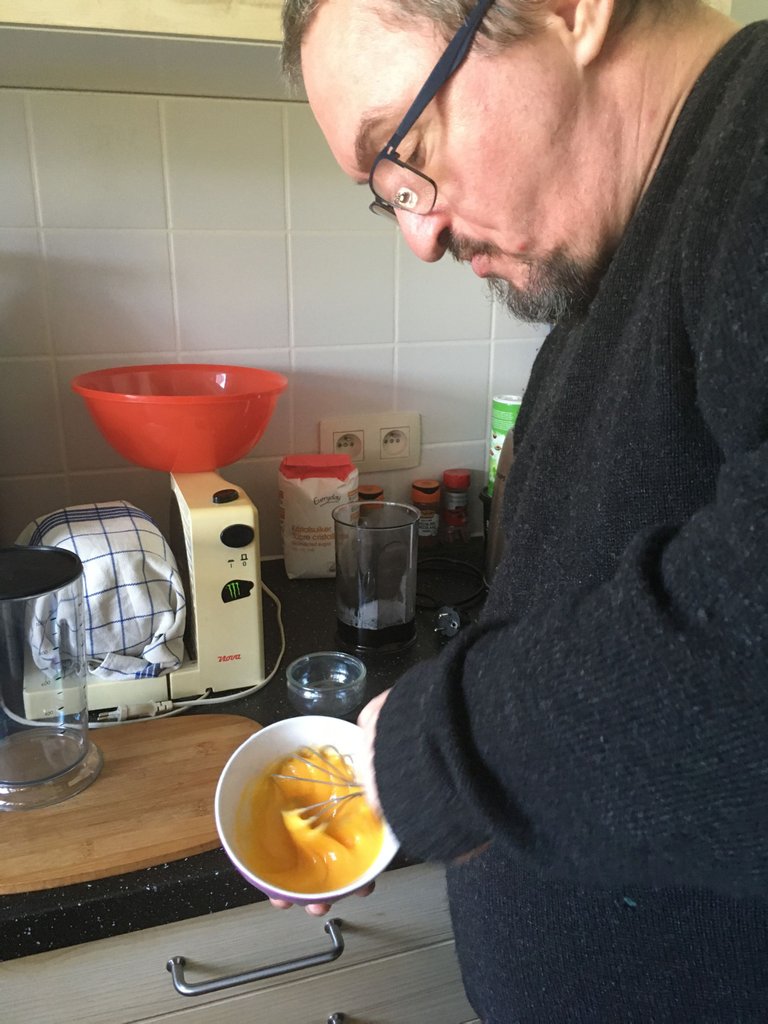
Meanwhile, whisk the yolks with the sugar until the mixture whitens. as shown on the following picture. It takes some time when you do it manually like I did...
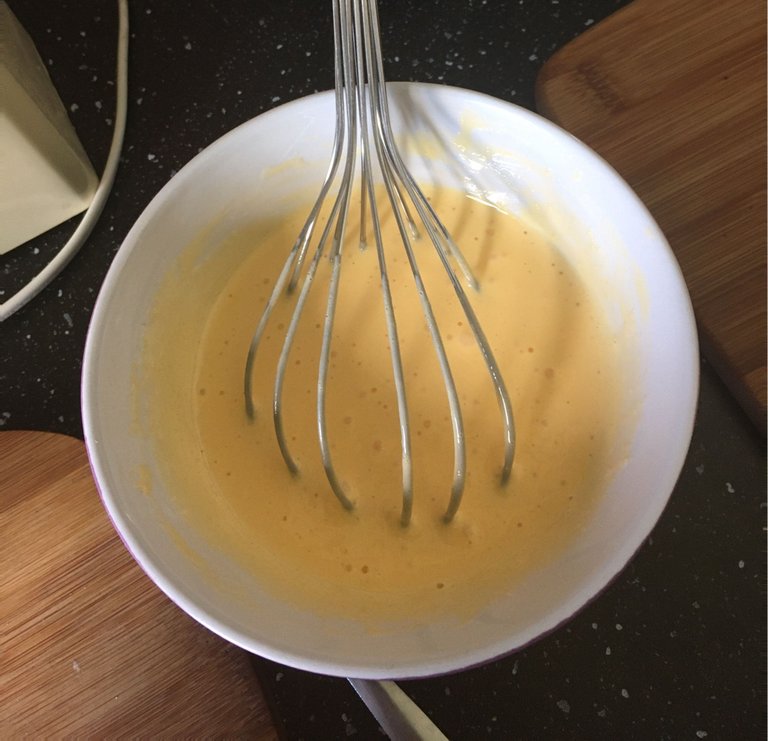
The air and the sugar make the mixture whiter than it was before whisking ...
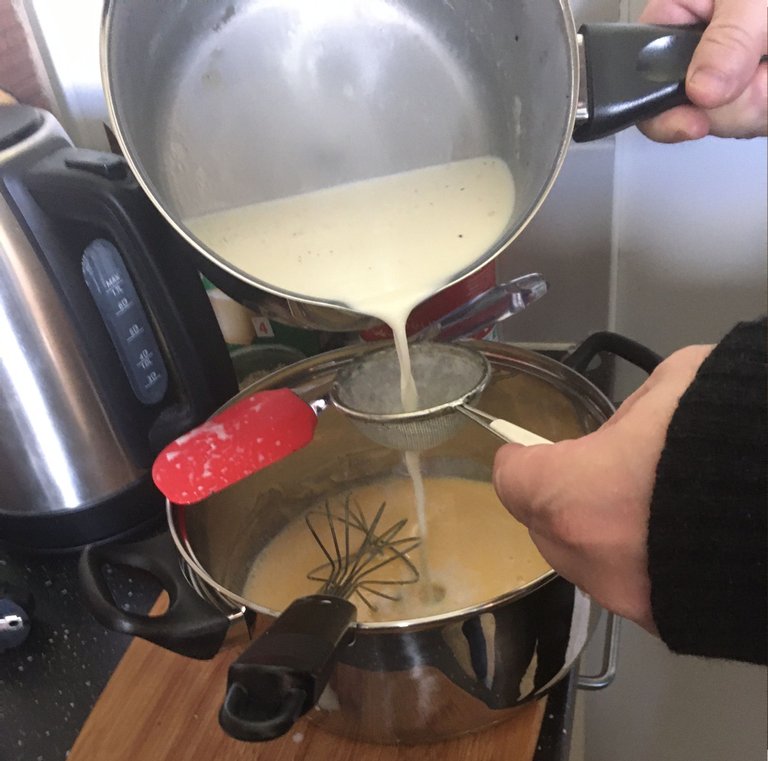
Pour the boiling mixture over the yolks, straining the vanilla through a strainer and stirring the yolks. Or do the best you can without getting burned as you can see here :) I stirred after filtering, since my strainer had to be held in place, and it worked very well.
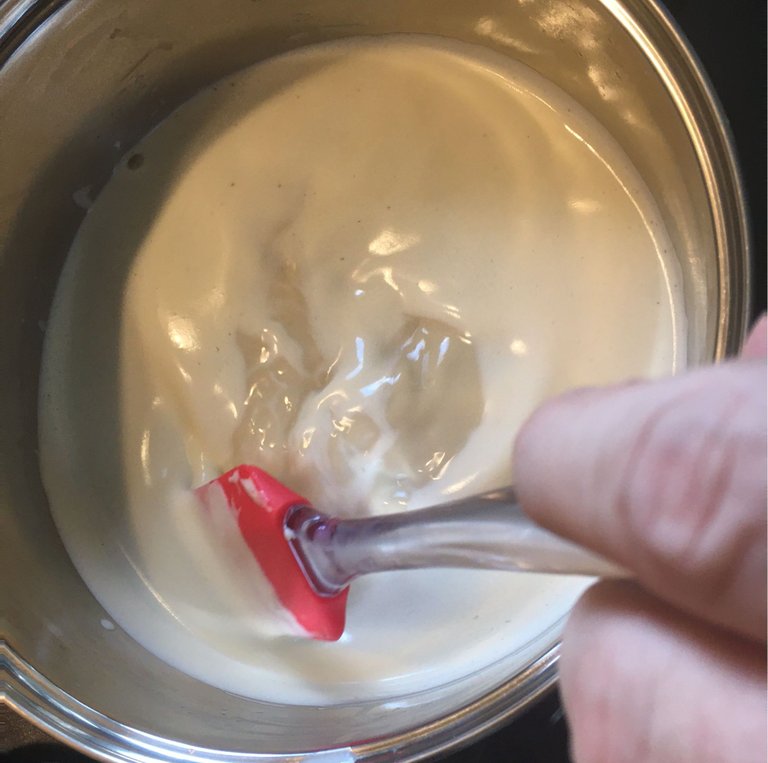
Return to the saucepan and heat over at medium heat, stirring, until the mixture thickens slightly. It should just coat the spoon.
Add the coffee and stir.
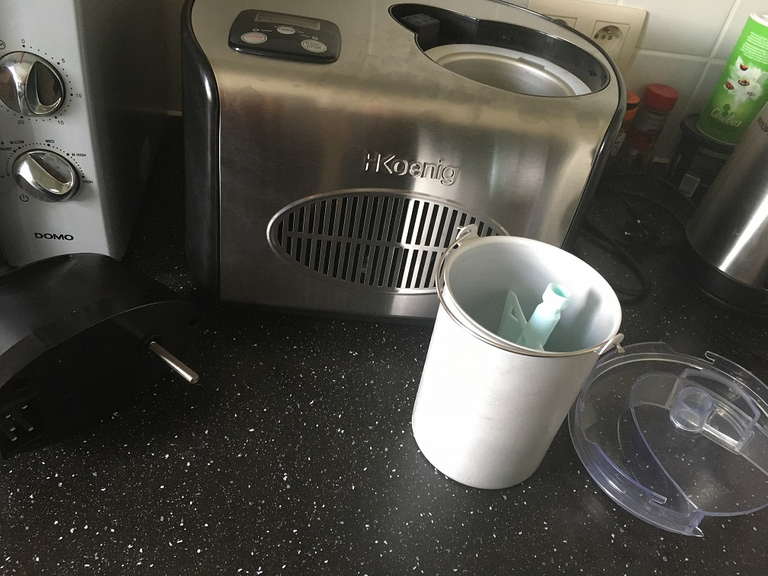
Cool completely (ideally 24 hours in a cool place) and place in the ice-cream maker.
And voilà, your very own ice-cream should be done by now :) Enjoy it!
📤Back to Top - 📲Reach Comments - 🇫🇷Check French version

🇫🇷
VERSION FRANCAISE
Mon épouse et moi-même avons acheté un nouvel outil pour la cuisine : La turbine à glace. Ce post vous détaillera notre toute première expérience. Nous avons, avouons-le, utilisé une recette trouvée ici afin de nous aider à ne pas trop foirer notre coup.
D'ailleurs, c'est un demi succès, dirons-nous, l'erreur que nous avons faite est d'avoir placé la glace au congélateur une fois qu'elle fut prête puisque nous avons utilisé un programme trop court sur la turbine, nous aurions probablement du prendre 50 minutes au lieu des 30...
Mais au final, elle était bien bonne, même si la texture n'était pas aussi crémeuse qu'espérée.
Chose est sure, nous ne préparerons pas de glace trop souvent, au vu des ingrédients, c'est bien trop riche pour notre régime :)
Recette utilisée:
Pour près 3/4 de litre de glace (ce qui donnera environ 9 boules)
70 g de sucre
30 cl de lait
20 cl de crème liquide
1 pincée de sel
1/2 gousse de vanille (ou une cuillère à soupe d’arôme – facultatif)
150 ml de café corsé (soit 2 grands espresso)
Sentez vous libre d'utiliser le café que vous préférez.
4 jaunes d’œufs
Étape par étape:

Mettez le lait, la crème et le sel dans une casserole. Ajoutez la demi gousse de vanille ouverte en deux, raclez bien avec la pointe d’un couteau afin d'extraire un maximum de vanille pour bien exprimer sa saveur.
Ensuite, faites chauffer à la limite de l’ébullition puis, enfin, laissez infuser la vanille une bonne dizaine de minutes.

Pendant que cela chauffe, fouettez les jaunes avec le sucre jusqu’à ce que le mélange blanchisse.
Cela pourra prendre un certain temps, si comme moi, vous le faites à la main...

L'air et le sucre bien incorporés font que le liquide devient plus blanc qu'avant l'avoir fouetté...

Verser le mélange bouillant sur les jaunes en filtrant la vanille à l’aide d’une passoire (chinois) et en remuant le tout. Ou faites de votre mieux avec vos outils, le tout sans vous bruler... Chose pas toujours aisée comme le montre la photo :) J'ai remué après avoir filtré, puisque mon chinois devait être maintenu en place, et cela a très bien fonctionné.

Reversez le tout dans la casserole et faites chauffer à feu moyen tout en remuant jusqu’à ce que le mélange s'épaississe un peu. Il doit pouvoir napper la cuillère.
Ajoutez le café et mélangez.

Laissez refroidir complètement (l’idéal étant de laisser 24 heures au frais) et laissez faire la turbine à glace.
Voilà qui devrait vous donne rune glace maison succulente. Bon appétit!
📤Retour au sommet - 📲Voir les commentaires - 🇬🇧Lire la version Anglophone

A bientôt,
≋𝕴𝖙𝖍𝖆𝖗𝖆 𝕲𝖆ï𝖆𝖓≋
| Fondateur de la Principauté du Bastion | Membre de la Communauté Francophone sur Hive |
|---|---|
 |  |
≋≋≋≋≋≋≋≋≋≋≋≋≋≋≋≋≋≋≋≋≋≋≋≋≋≋≋≋≋≋≋≋≋≋≋≋≋≋≋≋
Helping the Principality: Hive Tips | Paypal
BTC : bc1qxtaam3mq62kpa0vlafjlpdfluqt6anh22qyu3k
DASH: Xuetc3zEDQfx7WGHpJUtPdrgB4tQJEQbat
DOGE: DD5MZYCeEA68D4FLNmqt51VUEg8mG3yeHR
LTC : ltc1q32fq9ae55l0zmrqjc5h763s8x0y2dv7pwk699c
ETH : 0x710c5Ea59F8ae07b7C005C516B7865CDd94Fa52a
All donations are appreciated and welcomed, thank you.
≋≋≋≋≋≋≋≋≋≋≋≋≋≋≋≋≋≋≋≋≋≋≋≋≋≋≋≋≋≋≋≋≋≋≋≋≋≋≋≋


