Hello everyone hive friends!
Welcome to this post in which I will show you how to recycle a hat (it had been accidentally burned) to make a cute winter headband with its yarn. You can also make it with new yarn if you don't have something to recycle and you like this pattern.
Hola a todos, amigos de hive!
Bienvenidos a este post. Aquí les voy a mostrar cómo reciclo un gorro (se había quemado una orilla por accidente) para hacer una linda diadema de invierno con su hilo. También puedes hacerla con hilo nuevo si no tienes algo papa reciclar y te gusta este patrón.

RECYCLE YARN
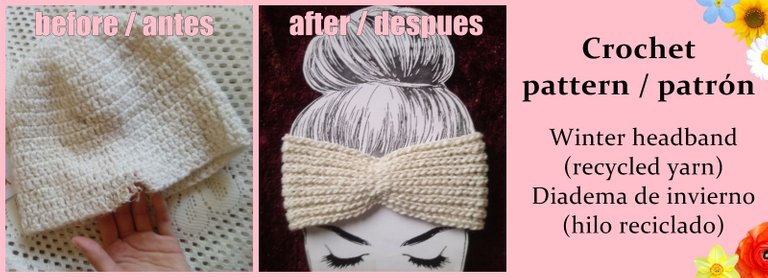
To start: unravel the hat and make a hank with yarn
- put all the yarn around an object (book, box, etc)
- join the ends of the yarn
- tie with another yarn so it doesn't get tangled
RECICLAR EL HILO
Comenzaremos desarmando el tejido y armando una madeja:
- envolver todo el hilo alrededor de un objeto (cuaderno grande, caja, etc)
- unir los extremos del hilo
- hacerle nudos con otro hilo para que no se enriede
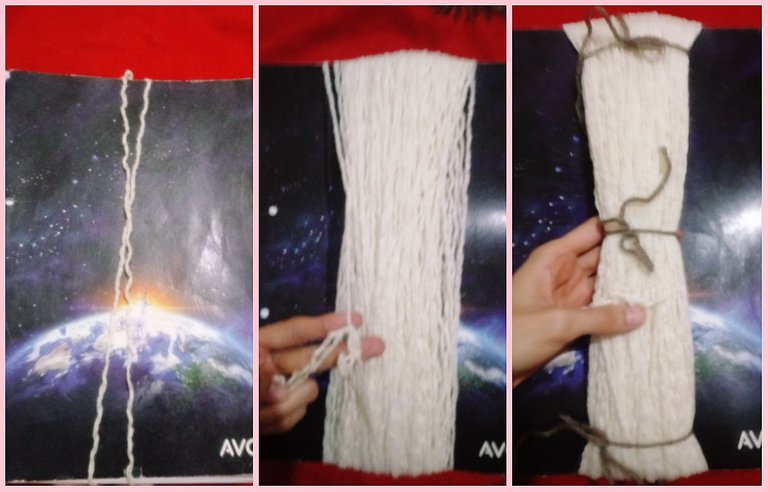

To straighten the yarn, we will do it with water vapor:
- put the hank in a colander
- put it on a saucepan with a little boiling water (do not touch the colander)
- cover and wait 2 minutes
- when the 2 minutes are up, stretch and twist the yarn to straighten it
- repeat point 3 and 4 until the yarn is straight
- make a ball
Para alisar el hilo, lo haremos con vapor de agua:
- poner la madeja en un colador
- ponerlo sobre una cacerola con un poco de agua hirviendo (que no toque el colador)
- tapar y esperar 2 minutos
- cuando pasen los 2 minutos, estirar y retorcer el hilo para que se alise
- repetir punto 3 y 4 hasta lograr el liso deseado
- ovillar.

MAKE THE HEADBAND
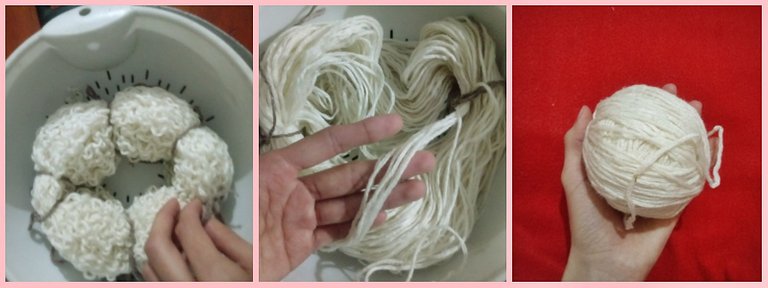
The design I made is simple.It is crocheted, in a very elastic point and requires few materials. It is a good idea to make with a recycled yarn or with yarn that you have left over from another project.
HACER LA DIADEMA
El diseño que hice es muy simple. Está tejida a crochet, en un punto muy elástico y necesitas pocos materiales.
Es una buena idea para hacer con un hilo reciclado o con hilo que te sobró de otro trabajo.

MATERIALS
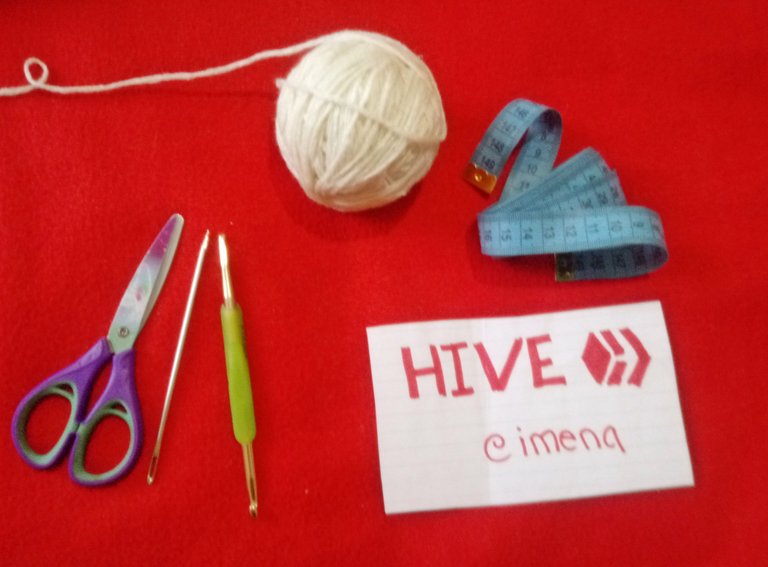
- 50 grams of yarn
- needles of the ideal size for your yarn (I have a 4 mm needle)
- wool needle
- scissor
- measuring tape
MATERIALES
- 50 gramos de hilo
- agujas del tamaño ideal para tu hilo (yo tengo aguja 4 mm)
- aguja lanera
- tijera
- cinta metrica

Our headband is crocheted in "yarn over slip stitch" (video)
Nuestro trabajo está realizado en "punto inglés" de crochet (video)

Crochet the chains (I'll do 63) and join with a slip stitch.
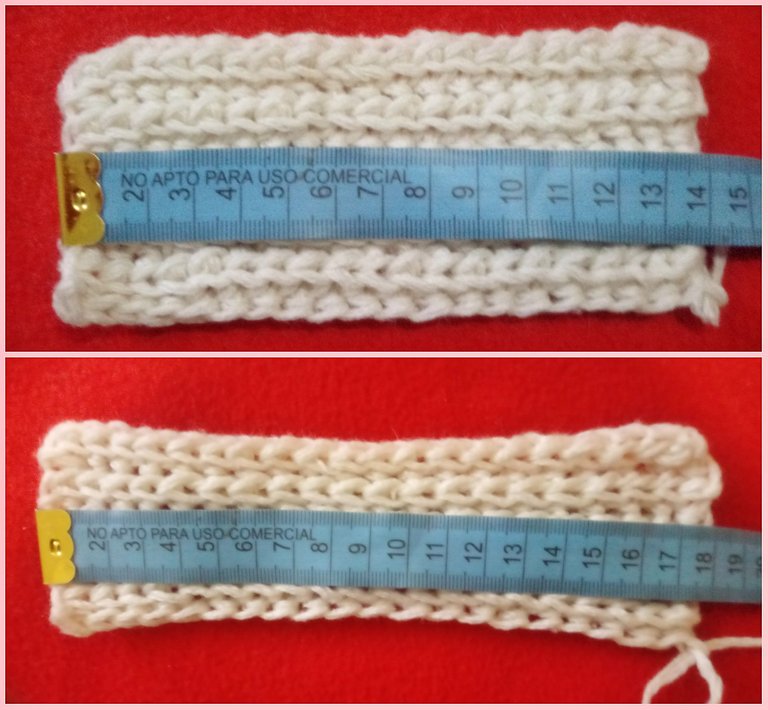
I need my headband to stretch up to 56 cm, so I crocheted 20 stitches and it stretched up to 18 cm.
20 (sts) ÷ 18 (cm) = 1.1 × 56 (cm) = 63 (62,2) sts
Montar las cadenetas (yo haré 63) y unir con un punto deslizado.
Yo necesito que mi diadema se estire hasta 56 cm, así que hice una muestra de 20 puntos y se estiraba hasta 18 cm.
20 (pts) ÷ 18 (cm) = 1.1 × 56 (cm) = 63 (62,2) pts

- Crochet the first round and close it with a slip stitch.
- Crochet all rounds in the opposite direction to the previous round and close with a slip stitch
- Tejer la primera vuelta y cerrar con un punto deslizado.
- Tejer todas las vueltas siguientes en la dirección contraria a su vuelta anterior y cerrarlas con un punto deslizado


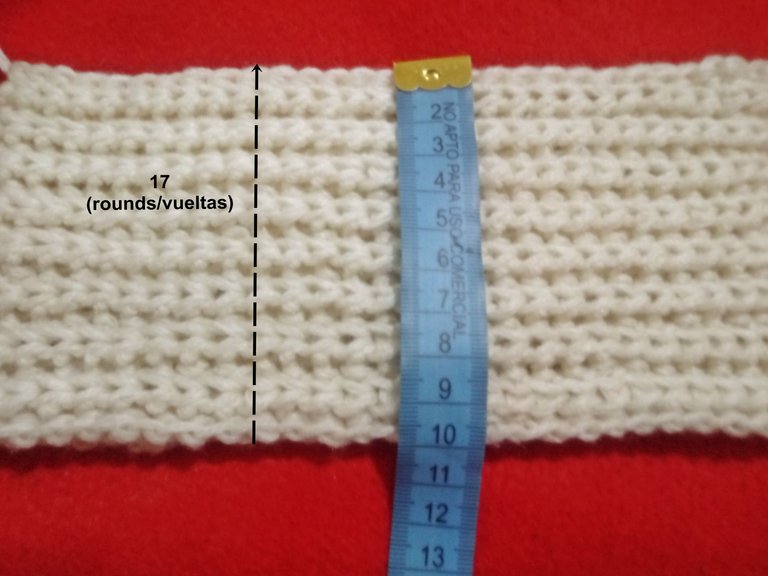
It is important to do an ODD number of rounds (eg 15, 17, 19, 21 rounds). I did 17 and my headband is 10 cm.
QuoteEs importante hacer una cantidad de vueltas IMPAR (por ejemplo 15, 17, 19, 21 vueltas). yo hice 17 y mi diadema mide 10 cm.

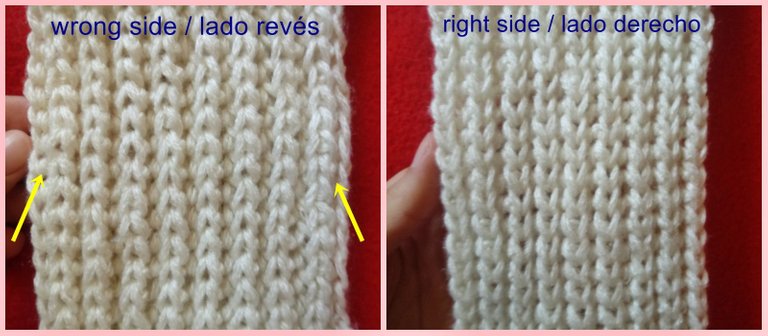
These are the right side and the wrong side
Estos son el lado derecho y el lado revés

On the wrong side we will pass a thread to make a pleat on the forehead (as shown in the image)
En el lado revés pasaremos un hilo para formar un frunce en la frente (como se muestra en la imagen)


Then stretch the thread, make a double knot and cut it.
Luego fruncir, hacer un doble nudo y cortar el hilo


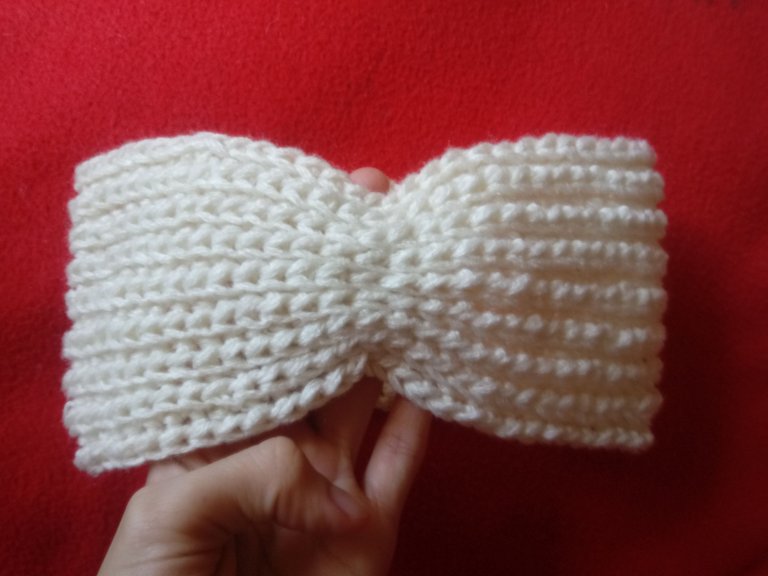
Flip it over to the right side and voila! Our headband is ready!
Darla vuelta hacia el lado derecho y listo! ya está hecha nuestra diadema!

I made this pattern myself
I took the photos with my phone, and edited them in Photoscape.
The text separator was edited by me in Photoscape.
The video shared is from youtube author.
Este patrón es de mi autoría
Tomé las fotos con mi teléfono, y las edité en Photoscape.
El separador de texto fue editado por mí en Photoscape.
El video compartido es de una autora de youtube


