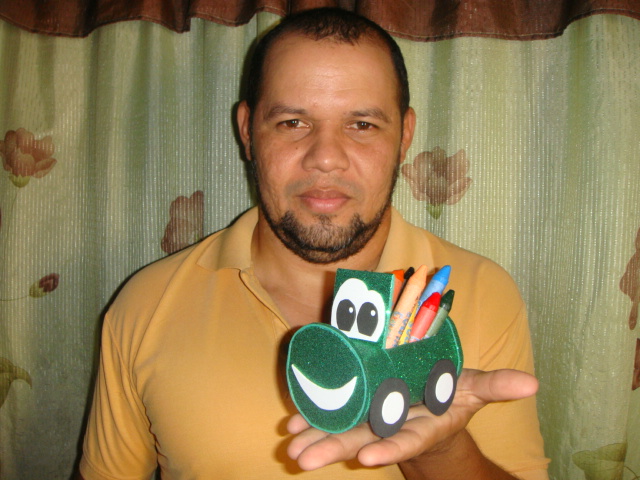
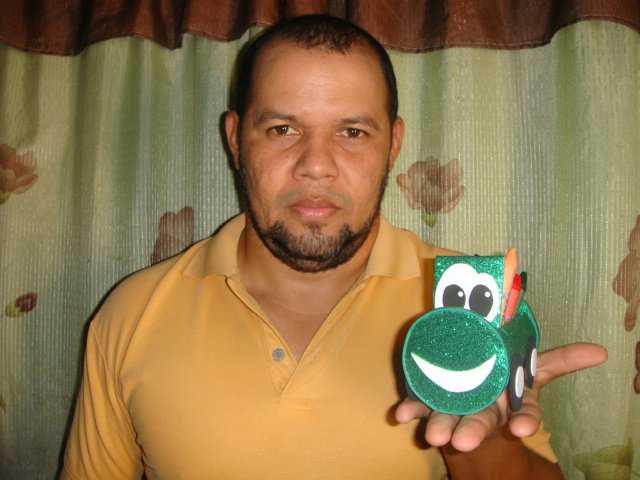
Un cordial saludo amigos de hive, mi trabajo creativo de hoy para ustedes consiste en la elaboración de un organizador en forma de carro, hecho con material reciclable, espero sea de su agrado.
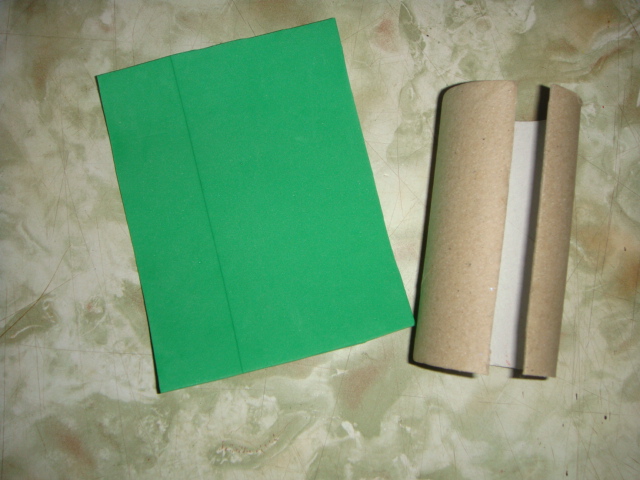
MATERIALESfoami.Silicón.<div class="text-justify" Rollo de papel higiénicoTijera.
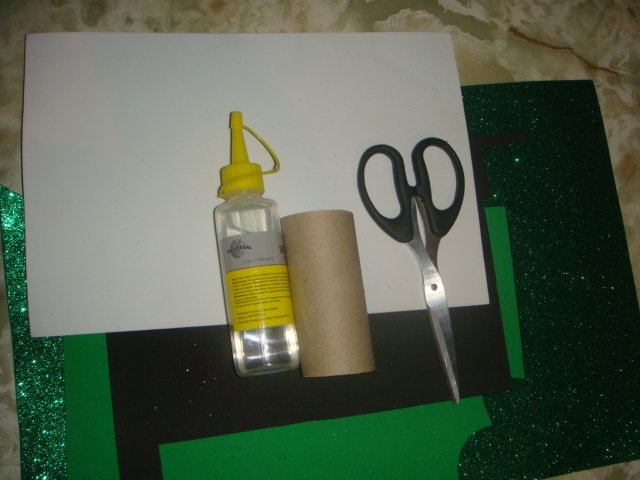
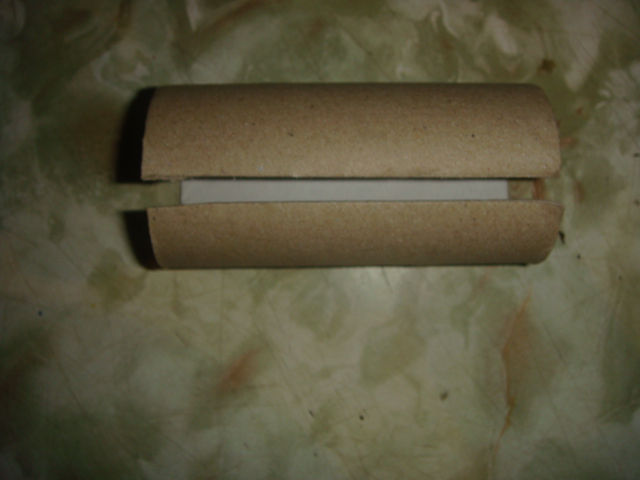
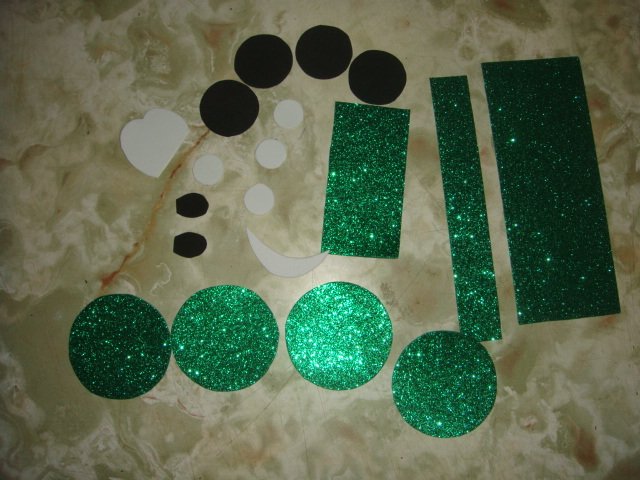
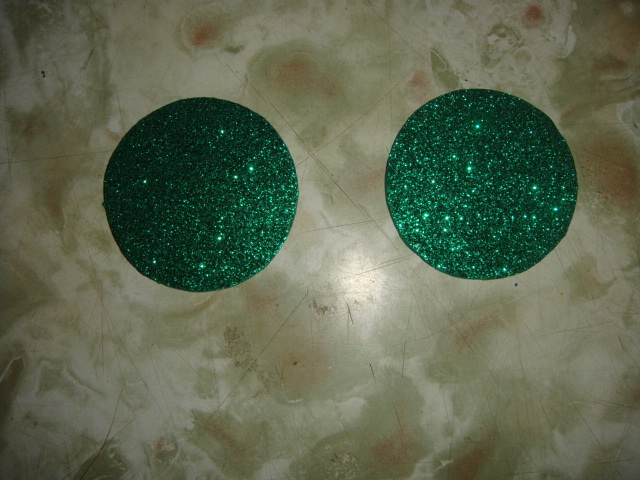
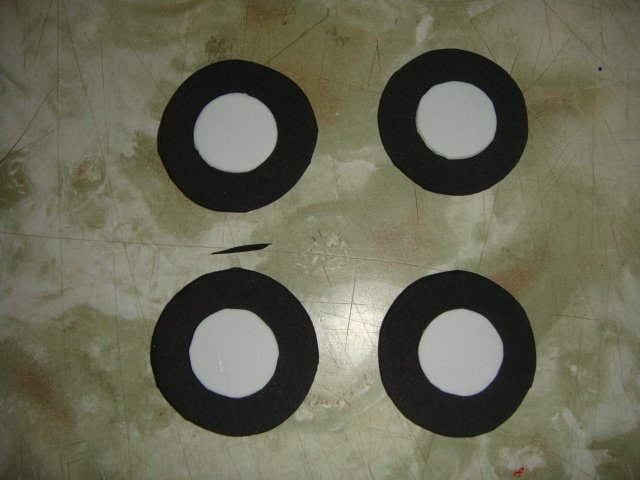
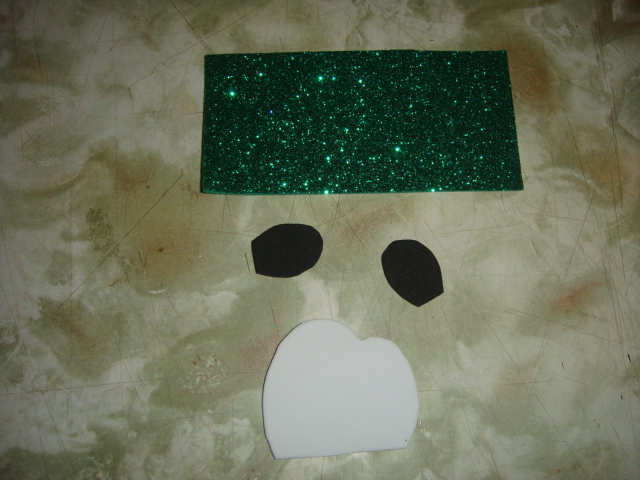
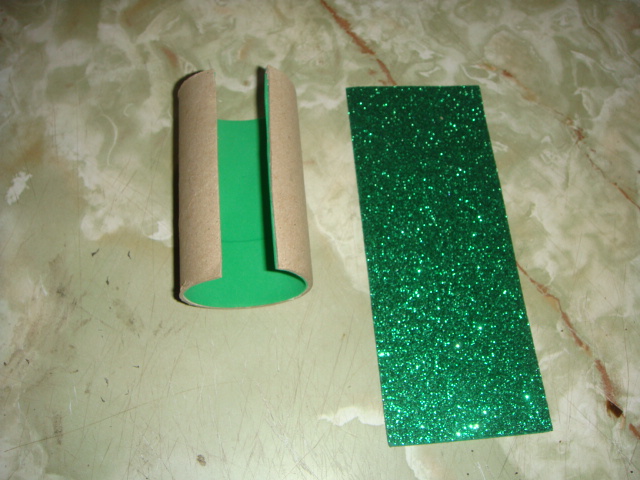
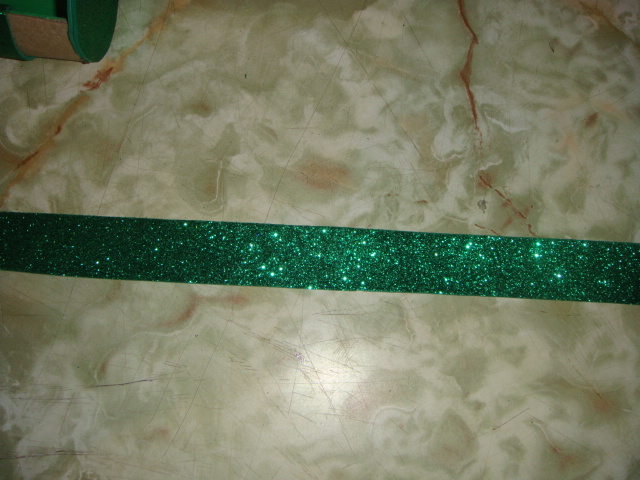
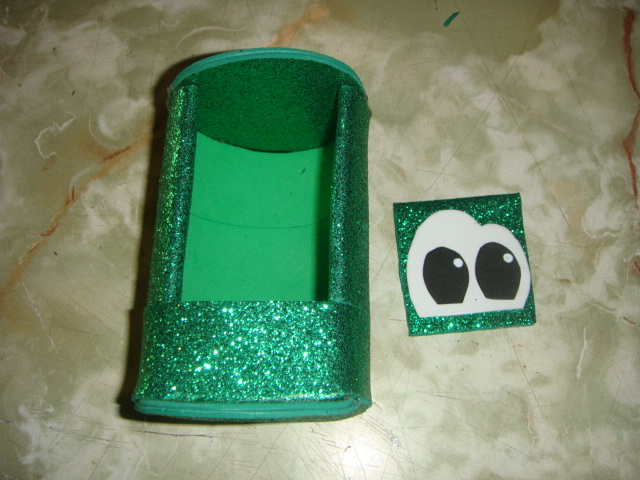
PASO A PASOLo primero que haremos será cortar el rollo por un lado para poder trabajarlo, también sacaremos todas las piezas que necesitaremos para armar nuestro organizador, las cuales son las siguientes: cuatro circunferencias de 8 cm de diámetro, cuatro circunferencias de 4 cm de diámetro, cuatro circunferencias de 2 cm de diámetro, un rectángulo de 5 x 10 cm, una tira de 2,5 x 25 cm, un rectángulo de7 x 18 cm, 9,5 x 18 cm, también sacaremos las piezas para armar la cara y boca, el tamaño será a gusto de la persona.
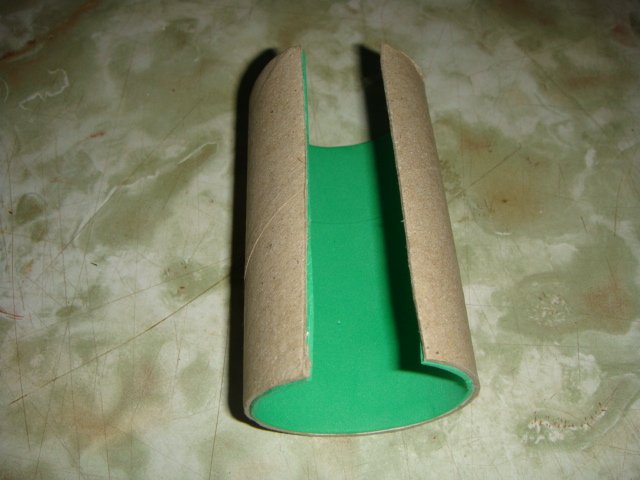
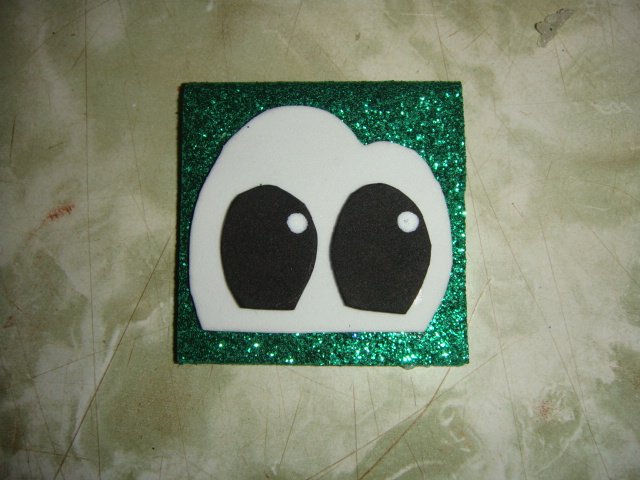
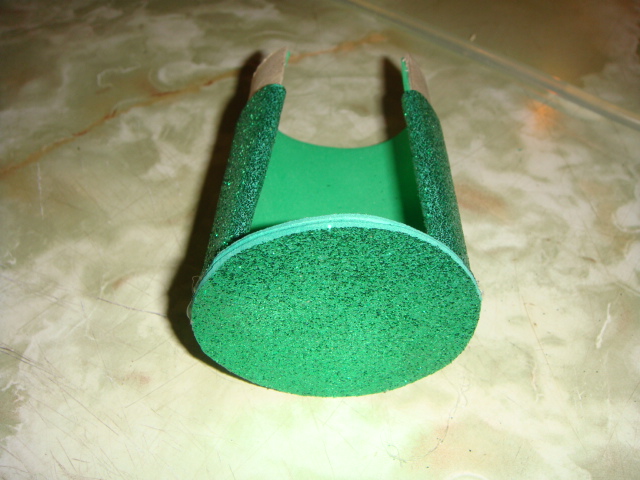
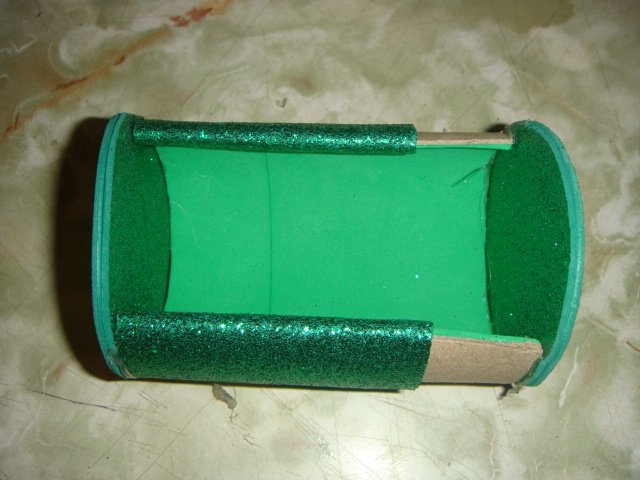
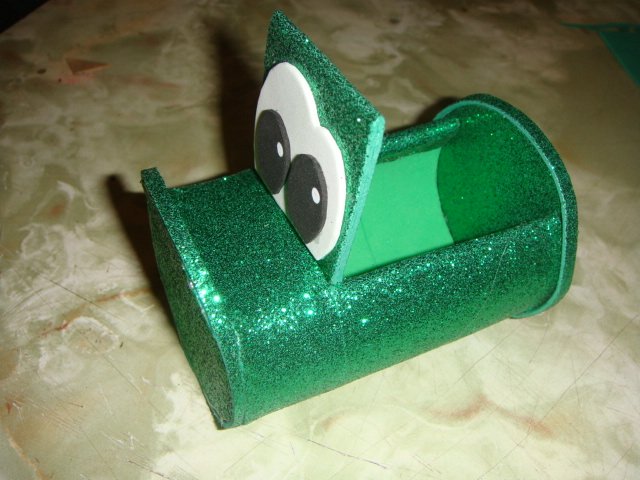
Al tener todas las piezas listas pasaremos a trabajar en el carro y comenzaremos forrando el interior con la pieza de 9,5 x 18 cm, esta pieza se corta en foami sencillo. Pegaremos las circunferencias de 8 cm para obtener 2 y las circunferencias de 2 cm las pegaremos sobre las de 4 cm, estas serán los neumáticos del carro. El rectángulo de 5 x 10 lo doblaremos a la mitad para formar el para brisas y sobre este fijaremos la cara.
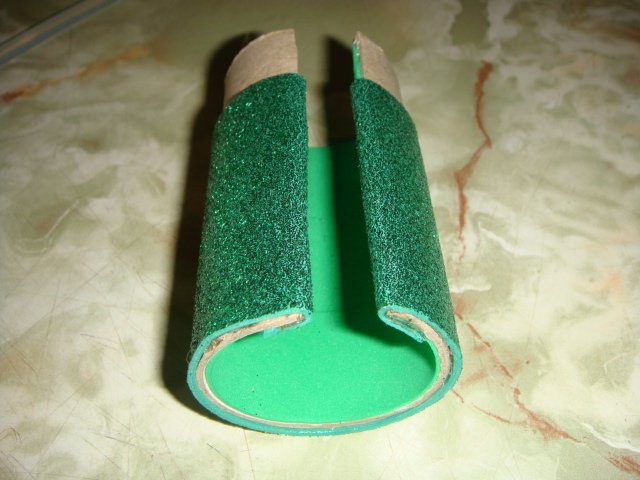
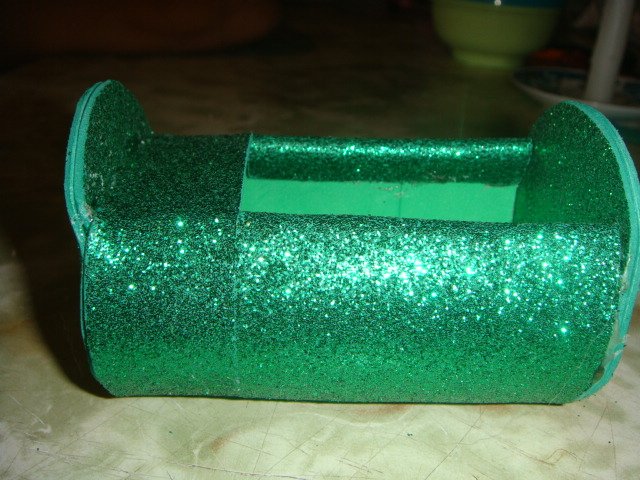
Pasaremos a forrar la parte exterior de rollo con el rectángulo de 7 x 18 cm, lo pegaremos por un lado del mismo, ahora pegaremos las circunferencias de 8 cm a cada lado del rollo abriendo este de manera que quede pegado por el borde de la circunferencia. Con la tira de 2,5 x 25 cm terminaremos de forrar el carro y simularemos en capot.
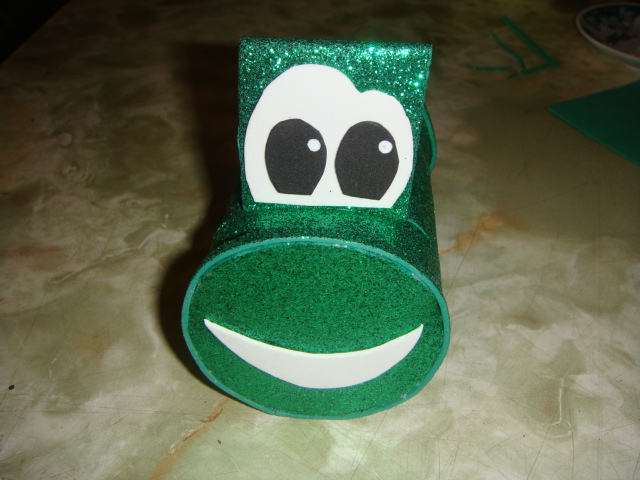
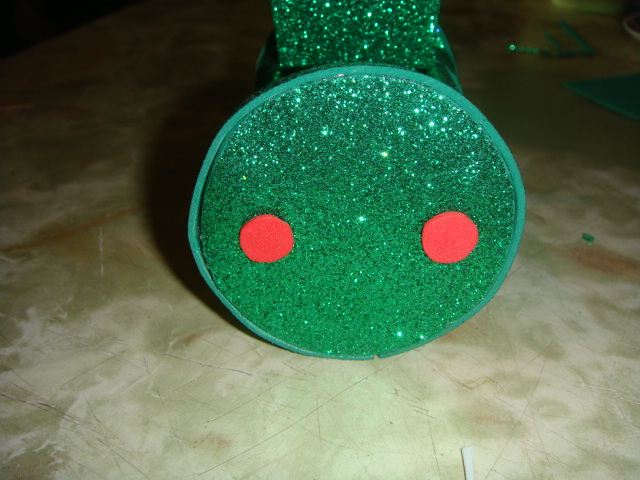
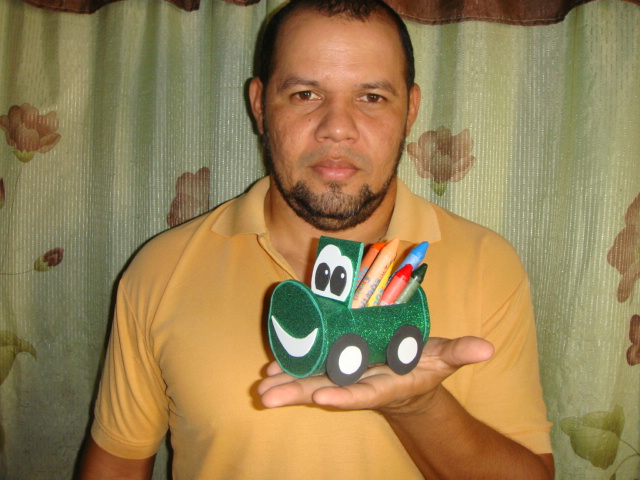
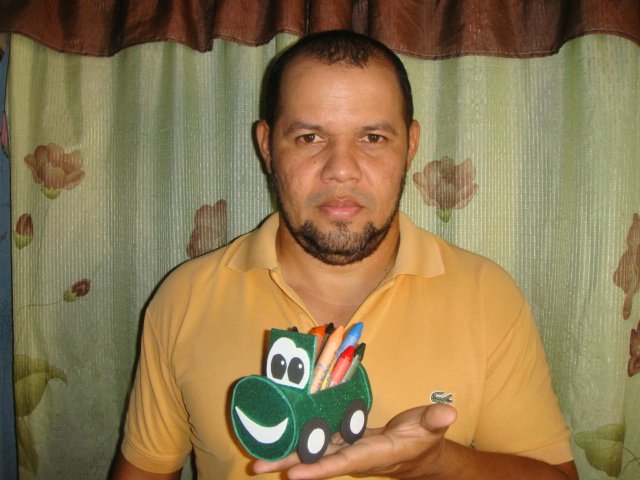
Pegamos el parabrisas, la boca, las luces traseras y para terminar fijaremos los neumáticos.
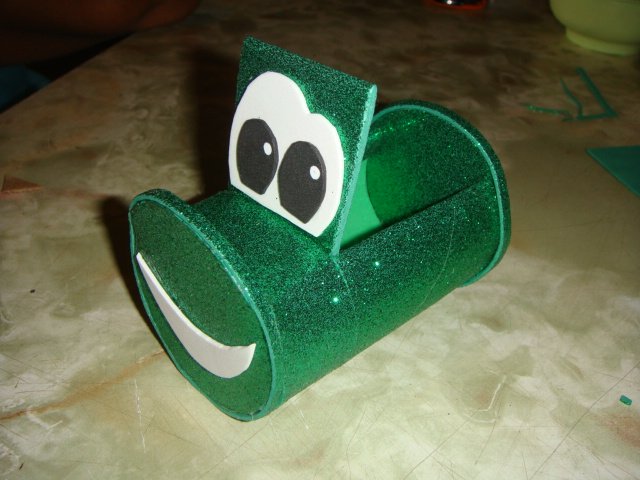
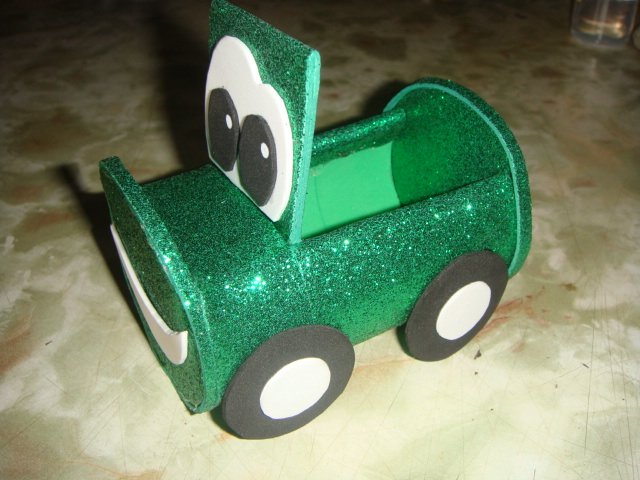

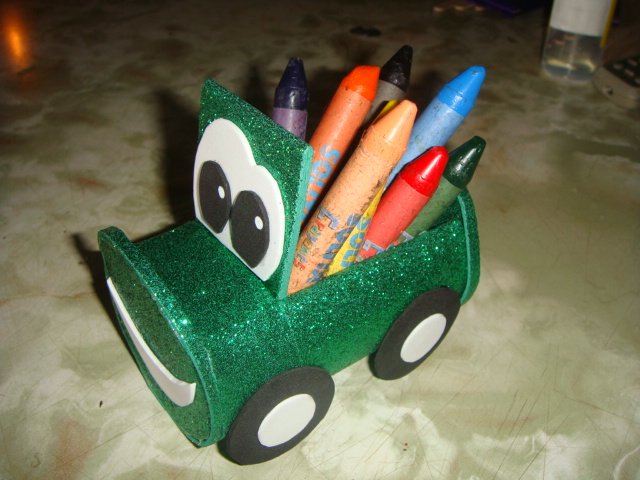
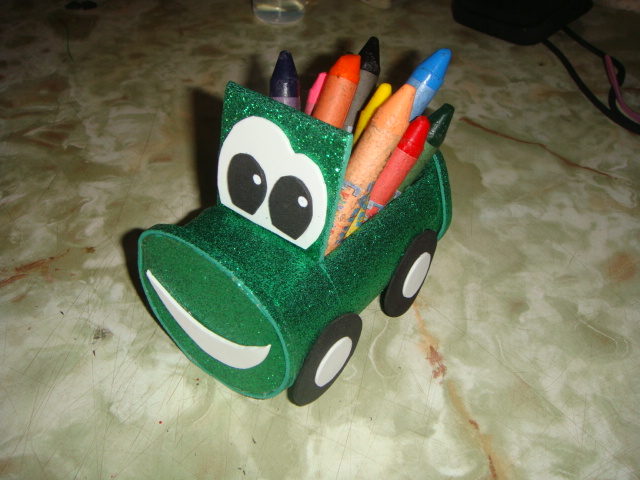
Resultado final un organizador en forma de carro, espero les haya gustado.
Todas las imágenes fueron tomadas con mi cámara SONY.