Saludos a toda la comunidad de hive, espero se encuentren bien, hoy les vengo a compartir la elaboración de una oruga decorativa de papel, con materiales muy sencillo que por lo general siempre encontramos o tenemos en nuestras casas, es muy sencilla de hacer, espero les guste aquí les explico todo el proceso de elaboración.
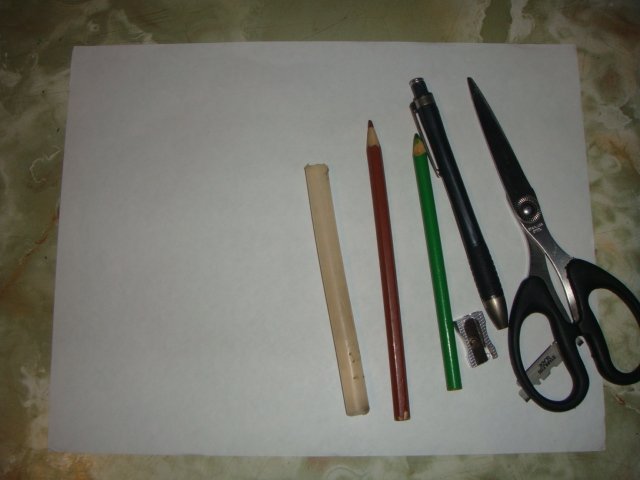
MATERIALES.Una hoja de papel.Colores.Tijera.Pega o silicon.Lapiz.Regla.
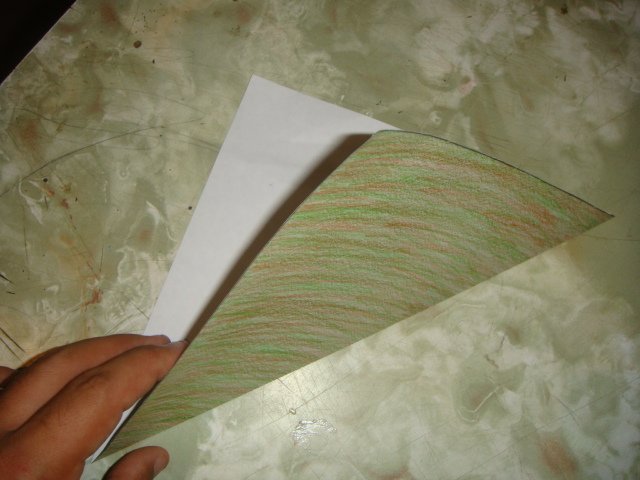
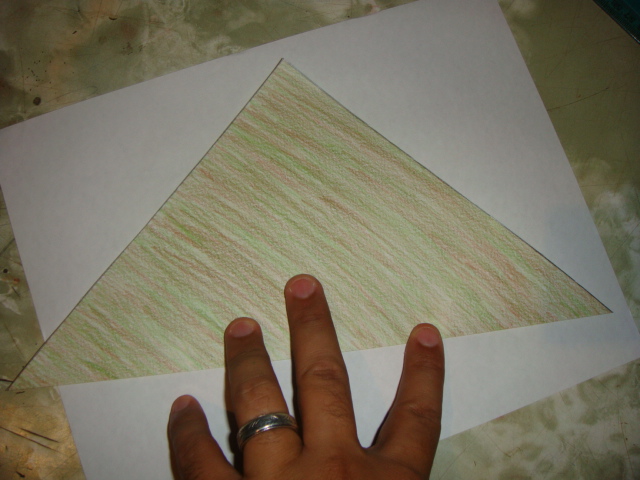
EMPEZAMOS.Aquí iniciaremos haciendo un cuadrado de 21cms de alto por 21cms de ancho para luego colorear a gusto del color que quieran hacer su oruga.

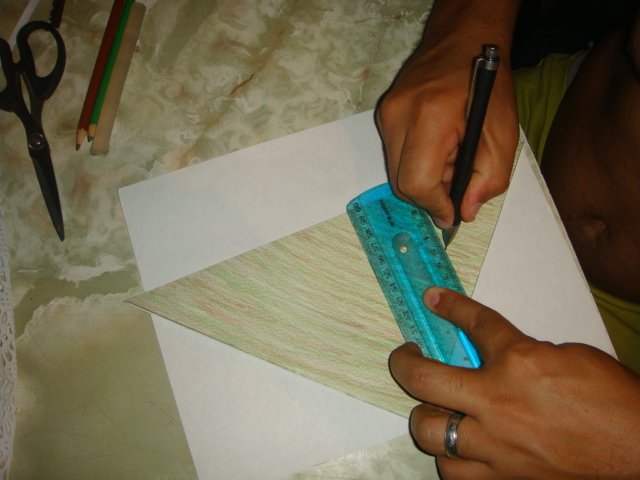
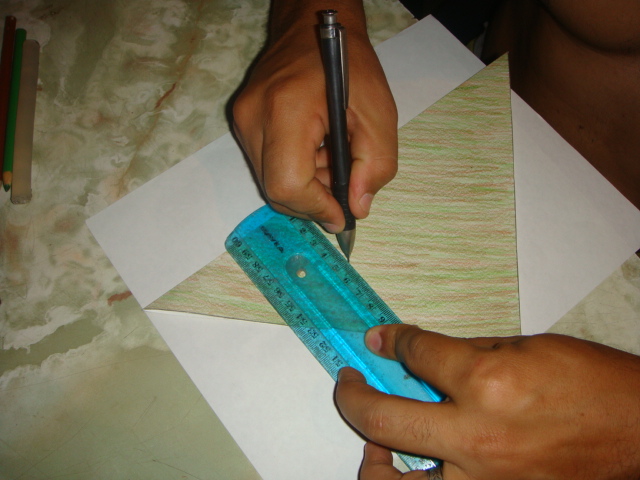
Seguidamente procederemos a doblar este cuadrado uniendo dos de sus esquinas en diagonal dejando la parte coloreada del papel por el lado exterior o el lado de afuera.
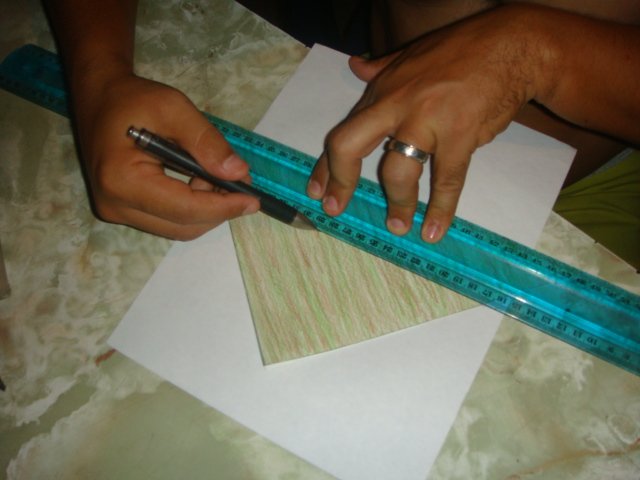
Luego procederemos a tomar una medida de 5cms desde la base del triangulo que nos ha quedado hacia arriba, para luego hacer un dobles y nos quedara asi.
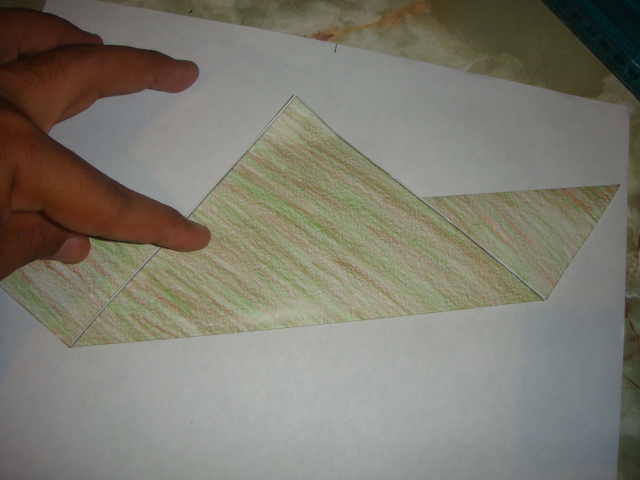
Luego abriremos el papel por completo y doblaremos las puntas del triangulo que teníamos anteriormente hasta tocar la base del triangulo opuesto asi.
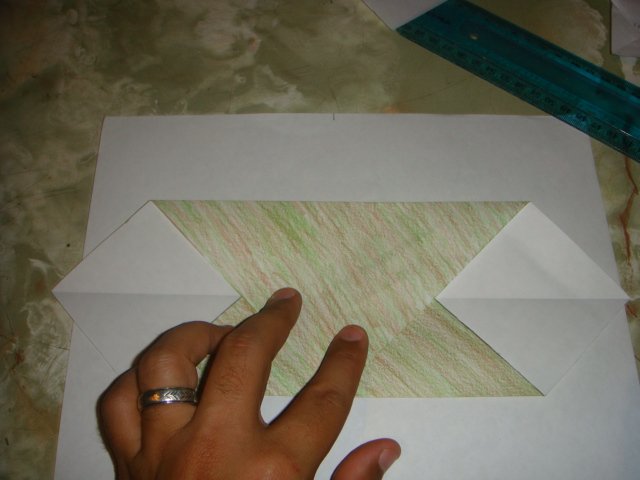
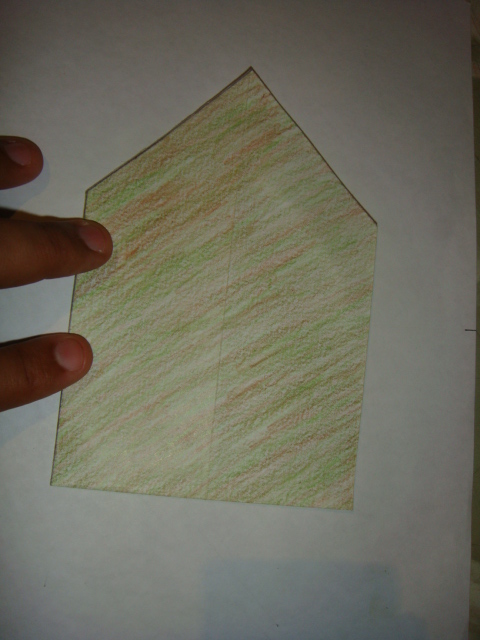
Seguidamente a esto doblaremos esto por la mitad de manera que las puntas que están en blanco se unan y este papel quede formando especie de una casita, asi.
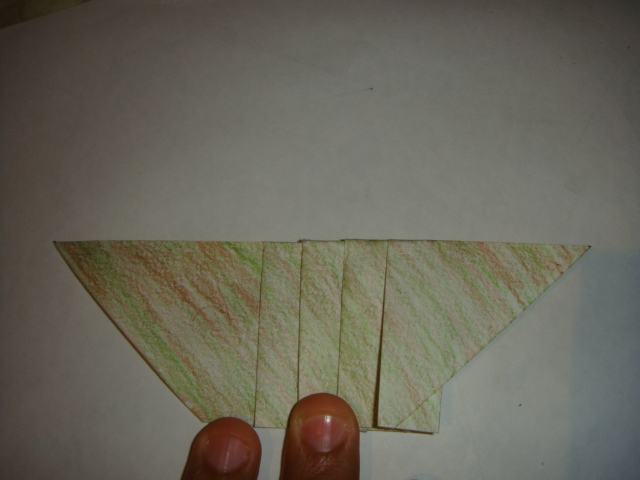
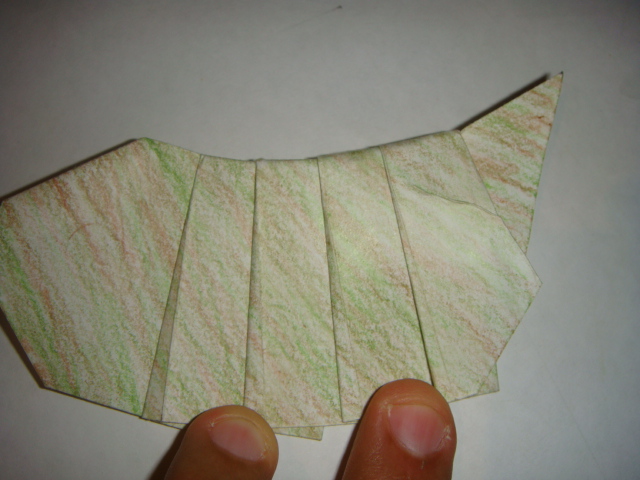
Luego procederemos hacer unos dobles en la misma para hacer las capas de la oruga pera esto abriremos el papel a lo largo y haremos los dobles de esta manera.
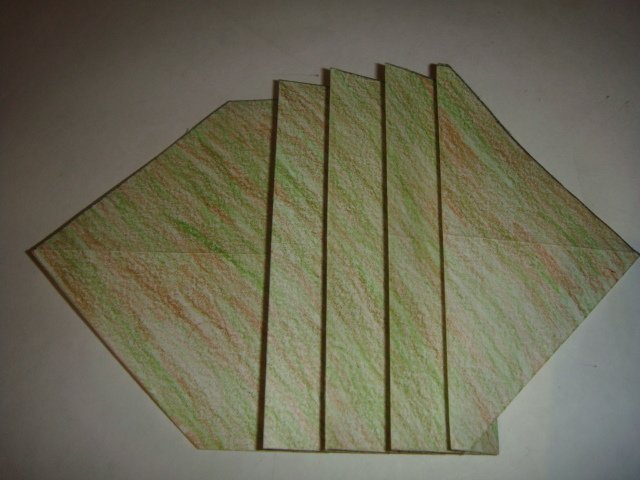
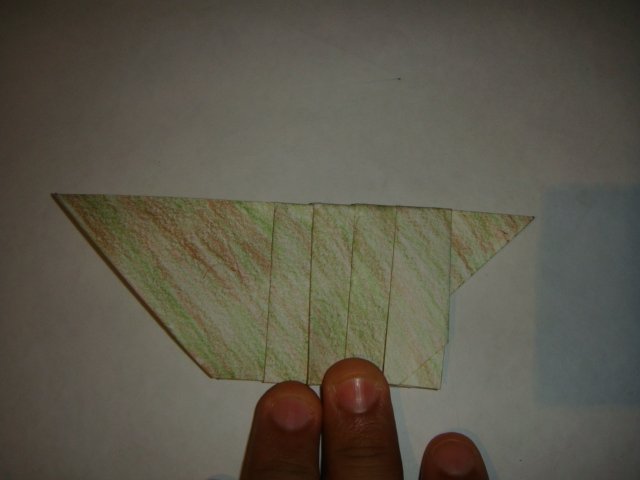
Seguidamente de hacer los dobles doblaremos el papel por la mitad a manera de que nos quede asi.
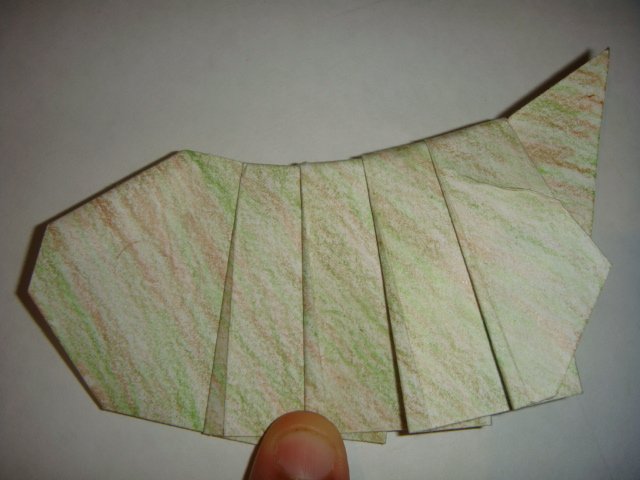
Despues doblaremos las puntas de ambos extremos para darle forma tanto a la cola como a la cabeza de nuestra oruga.
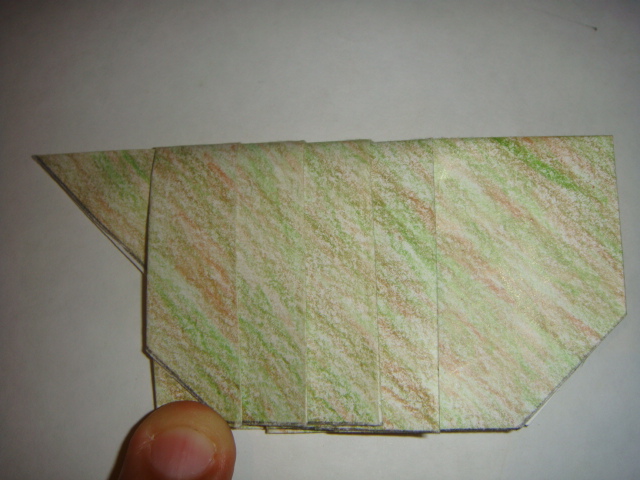
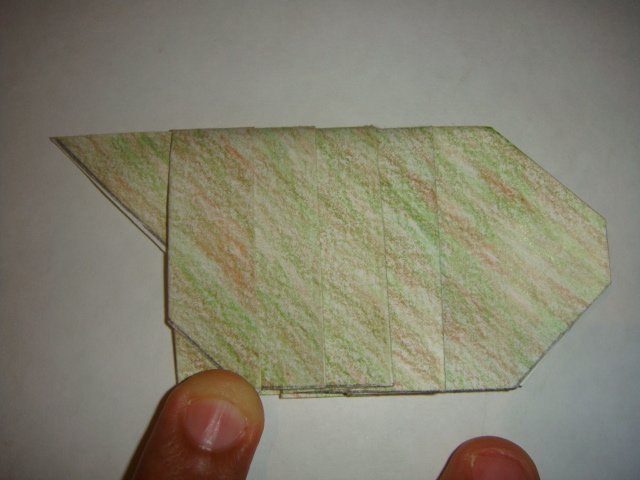
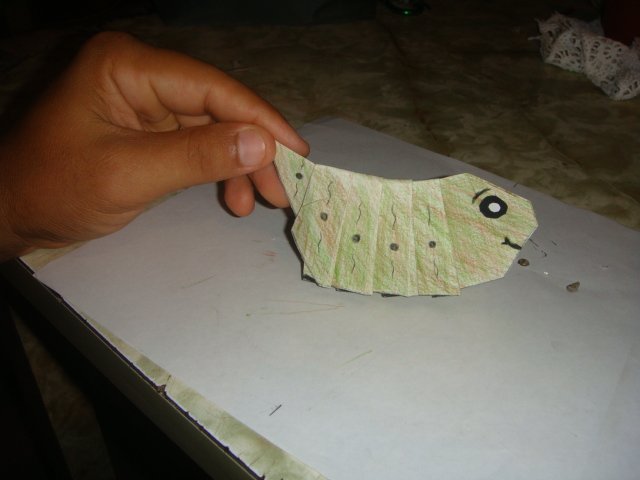
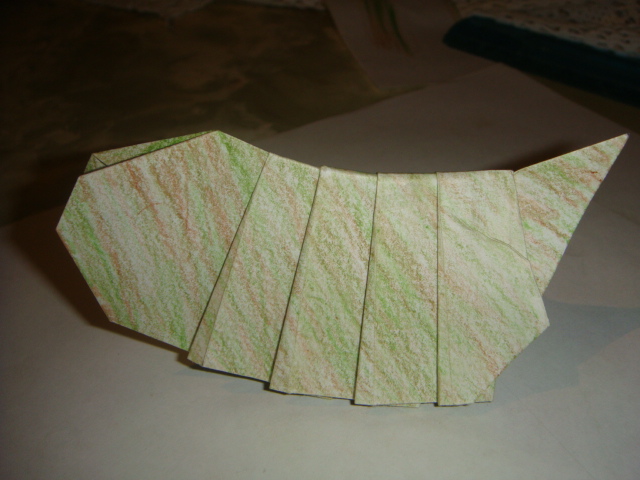
Seguido a esto abriremos un poco las capas de la oruga hacia la parte de atrás como si la estuviéramos halando para darle movimiento y balance a la hora de pararla de esta manera para que se vea asi.
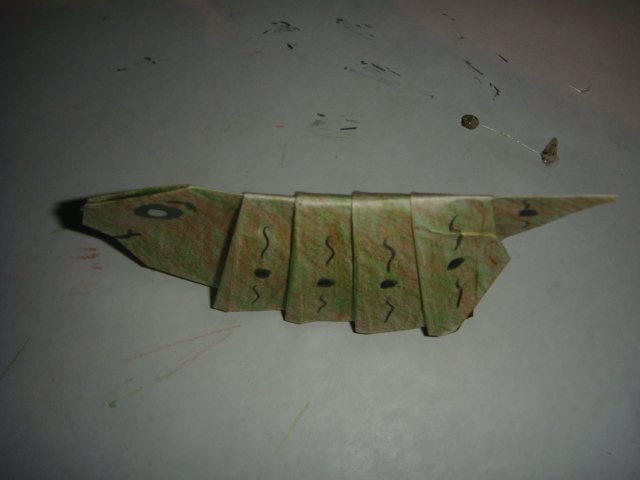
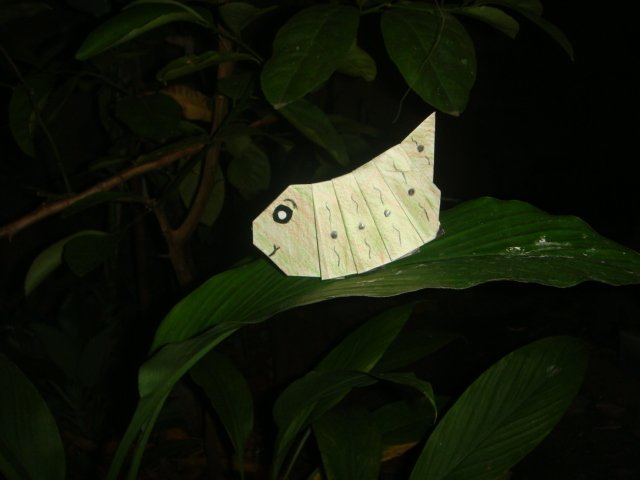
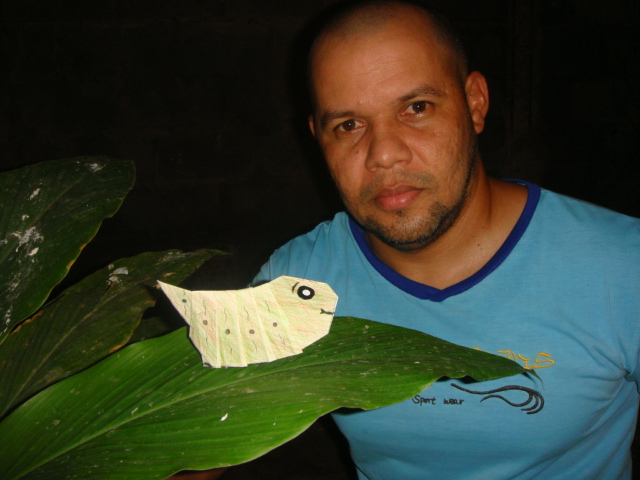
Y ya para finalizar procederemos a pintarle sus ojos, boca y hacerles todas sus patitas y pintas para obtener este resultado, espero les guste.