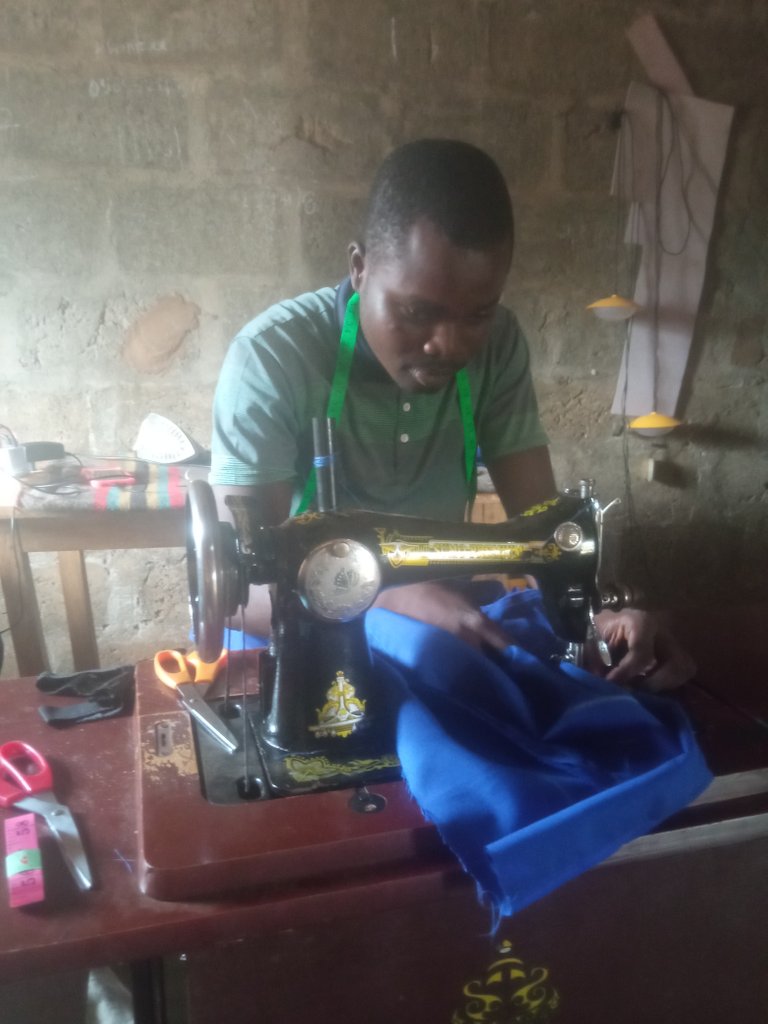
Greetings to everyone who love needles and threads, I wish you are enjoying good health, and also wishing you happy new month and wish that this new month brings us with lot of blessings for your homes and families and that the plans and goals you have for this month are achieved; I am happy to share with you my first sewing projects and which is my first time on here and my first time at work as an apprentice. As a graduate with no job, i decide going to learn this skills so as to start a new life with a handwork.
Although it haven't been easy but with determination i believe all will be at ease, and here is the first job and first practical done at work, which i will love to explain and share with you. What we are about to understand how to make or what am going to talk about is how to make a SCRUB.
A SCRUB is a uniform that is used by the medical students or medical personnel, and it can be use in medical schools, medical labs, or hospitals. And below will be the procedure and steps that was made to accomplish our scrub and what was needed to make the scrub.


Materials needed
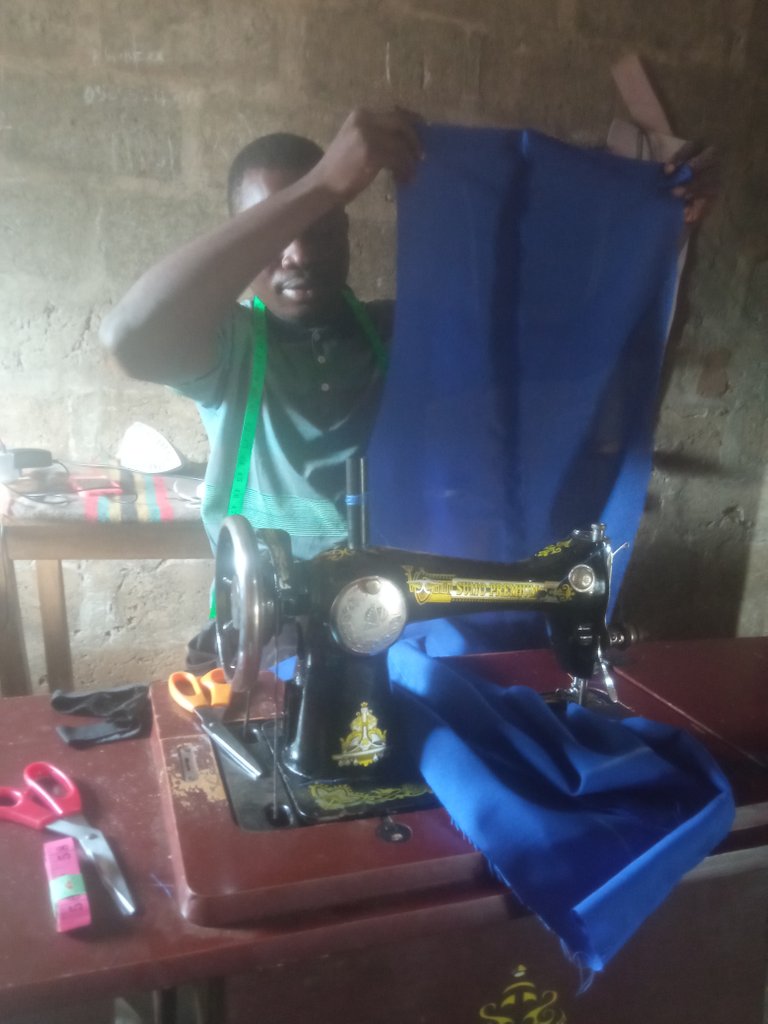
- A blue clothing material
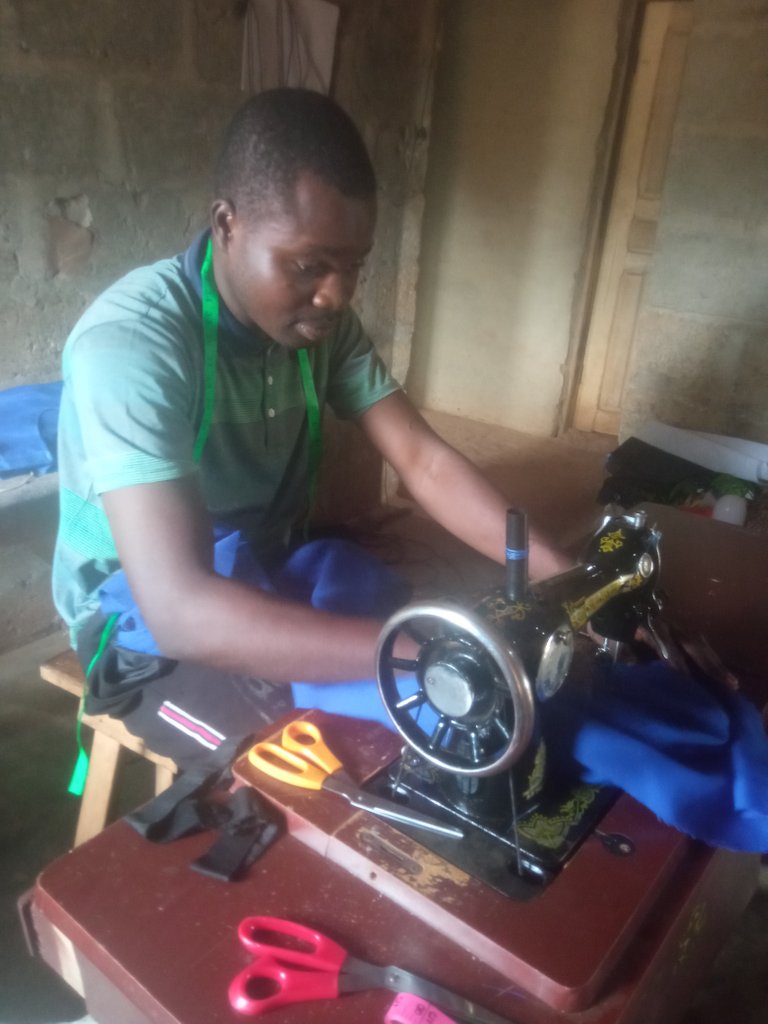
- Seeing machine
- Scissors
*Tape rule
Procedure in making a Scrub
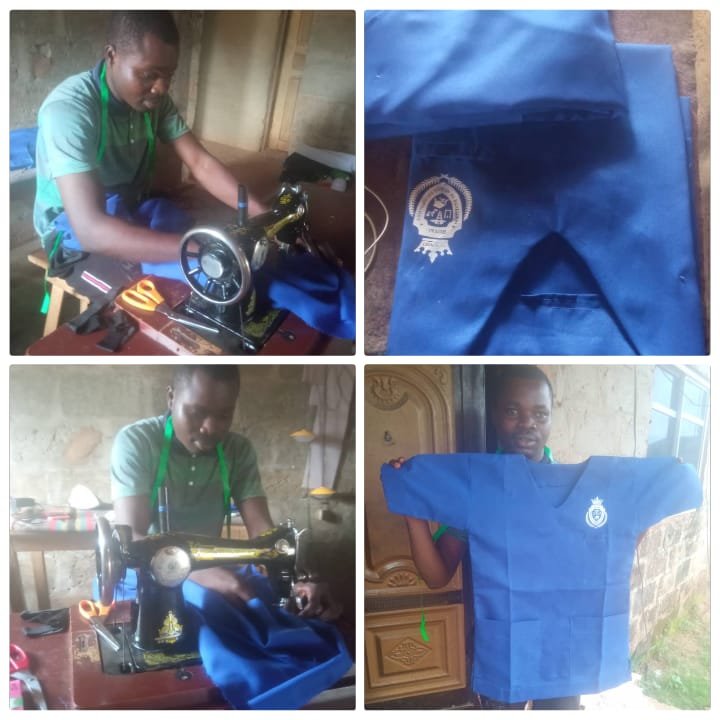
- Firstly the sleeves was cut out of the whole material and it is measured 29 length and also we add the some sewing allowance to the cut out sleeves which we add extra 3 inches to each sleeves and we separate it out of the whole material to start the measurements and cut out of the next
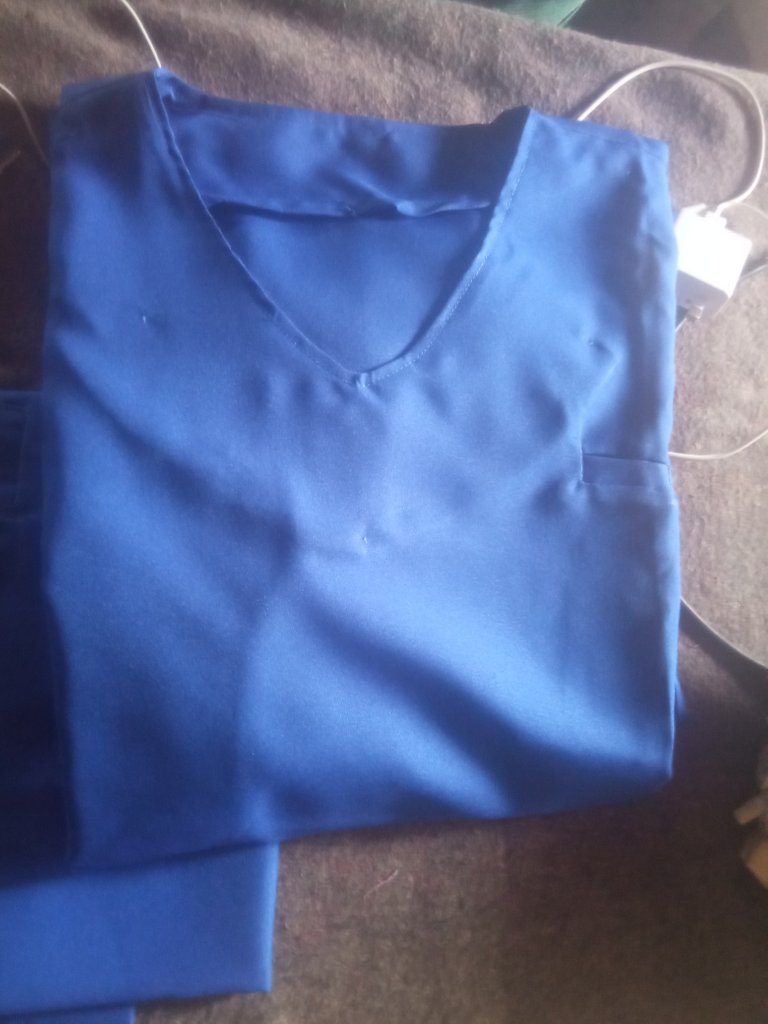
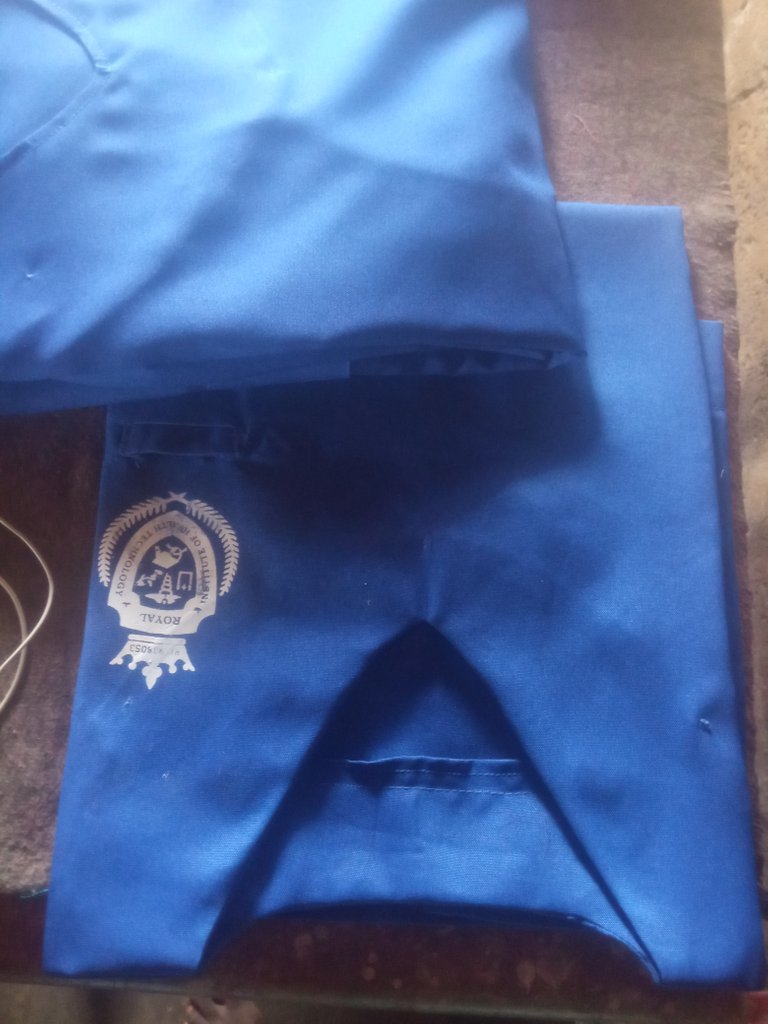
- Following, the scrub neck is always in a V-Shape, so when we about to cut the front neck it was designed and cut out in V-Shape and also there is always a small pocket at the top part of the shirt as a storage for writing pens for the user of the scrubs.
Further more, the lenght of the back of the sleeve is measured 18 and it was cut and removes out of the material and we all have out pieces ready to be joined together.
We started joing our cut out pieces together starting from joining the sleeve with the front of the scrub and the back of the scrub pieces and after been joined the sleeve with both the front and back pieces of the scrub, we moved by joining the neck and placement of the underlay of the neck.
So after been done with all that, we then join both the front and back together and it brings out our end result and we finally made a scrub for our customer today and its very nice learning all this and then the logo of the school of our customer who ordered for the scrub was placed infront of the scrub as you can see it.
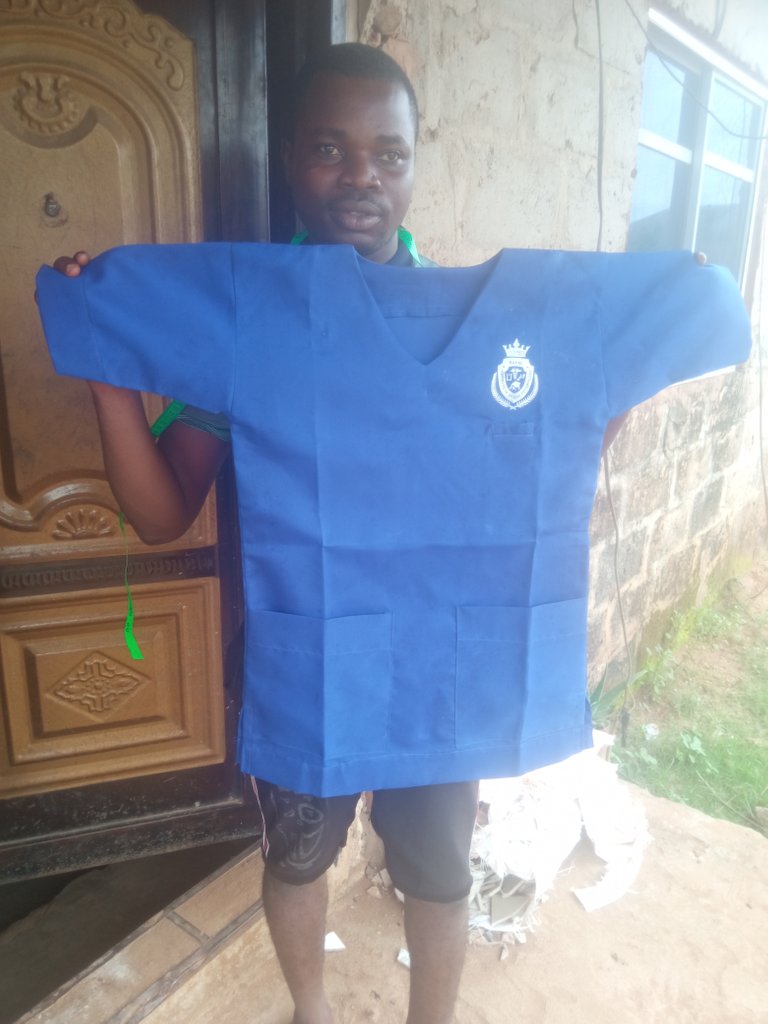
- This is how we made out our SCRUB and here is it, which am holding to show you all for the day practice. Thanks for stopping by my post and its nice learning and sharing to the community.
SPANISH
Saludos a todos los amantes de las agujas e hilos, deseo que estén gozando de buena salud, y también desearles un feliz inicio de mes y que este nuevo mes nos traiga muchas bendiciones para sus hogares y familias y que los planes y metas que tienen para este mes se logran; Estoy feliz de compartir con ustedes mis primeros proyectos de costura y cuál es mi primera vez aquí y mi primera vez en el trabajo como aprendiz. Como graduado sin trabajo, decido aprender estas habilidades para comenzar una nueva vida con un trabajo manual.
Aunque no ha sido fácil pero con determinación creo que todo estará a gusto, y aquí está el primer trabajo y la primera práctica realizada en el trabajo, que me encantará explicar y compartir con ustedes. Lo que vamos a entender como hacer o de lo que vamos a hablar es como hacer un SCRUB.
Un SCRUB es un uniforme que usan los estudiantes de medicina o el personal médico, y puede usarse en escuelas de medicina, laboratorios médicos u hospitales. Y a continuación estará el procedimiento y los pasos que se realizaron para realizar nuestro exfoliante y lo que se necesitó para realizar el exfoliante.
Materiales necesitados
- Un material de ropa azul.
- Máquina de ver
- Tijeras
*Regla de cinta
Procedimiento para hacer un Scrub
- En primer lugar, se cortaron las mangas de todo el material y se mide 29 de largo y también agregamos un margen de costura a las mangas recortadas que agregamos 3 pulgadas adicionales a cada manga y las separamos de todo el material para comenzar las medidas y cortar de la siguiente
- A continuación, el cuello médico siempre tiene forma de V, por lo que cuando estamos a punto de cortar el cuello delantero, se diseñó y cortó en forma de V y también siempre hay un pequeño bolsillo en la parte superior de la camisa como un almacenamiento para escribir bolígrafos para el usuario de los uniformes médicos.
Además, el largo de la parte de atrás de la manga es de 18 y se cortó y se quitó el material y tenemos todas nuestras piezas listas para unir.
Comenzamos a unir nuestras piezas recortadas comenzando por unir la manga con el frente del uniforme y la parte posterior de las piezas del uniforme y después de unir la manga con las piezas delantera y trasera del uniforme, avanzamos uniendo el cuello y colocación de la base del cuello.
Entonces, después de haber terminado con todo eso, luego unimos tanto el frente como la parte posterior y se obtiene nuestro resultado final y finalmente hicimos un exfoliante para nuestro cliente hoy y es muy agradable aprender todo esto y luego el logo de la escuela de nuestro cliente que ordenó el exfoliante se colocó frente al exfoliante como puede verlo.
- Así es como hicimos nuestro SCRUB y aquí está, que estoy sosteniendo para mostrarles a todos la práctica del día. Gracias por detenerse en mi publicación y es agradable aprender y compartir con la comunidad.